Gentlemen,
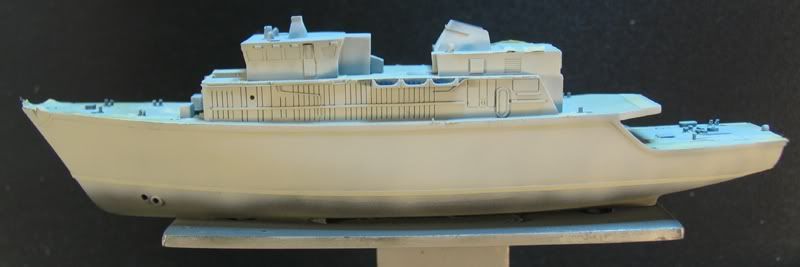
getting a �clean start� is always good advice. So first I remove all parts from their casting stubs and remove the flesh. Only the hull requires a bit more attention to get the stem and bottom clean. As previously mentioned I will set up a seascape display so remove the bilge keels at this point, as well. After a more than astounding 45 minutes I can start to clean up the parts using oven spray and a tooth brush. All parts are being rinsed with warm water. Finally I spray all parts with window cleaning agent that will ensure than no lime scale will encrust the parts by accelerating the evaporation process. As our tab water is quite hard, I found this quite helpful. Of cause you may use distilled water for rinsing and safe the trouble.
In a next step I paint the model all over using Revell dark grey to achieve a pre-shading effect as the plane guys usually do. With the paint on the previously mentioned handful of pin holes become evident. All of them are filled using a needle and white glue. As soon as this is dry I run a couple more passes of grey over those filled up holes. Then the deck is sealed using Revell flat coat. While this dries I demark the boot topping area in black. As soon as all paints are dry the deck and boot topping line are masked off.
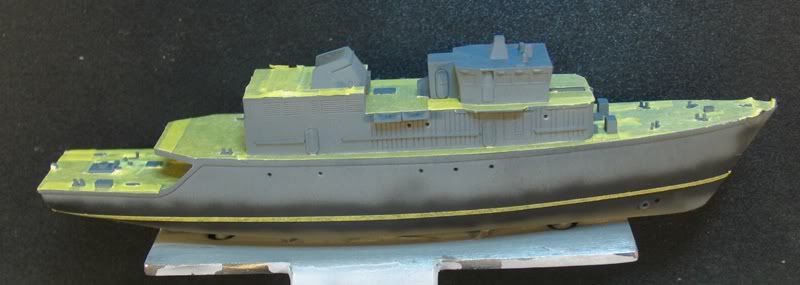
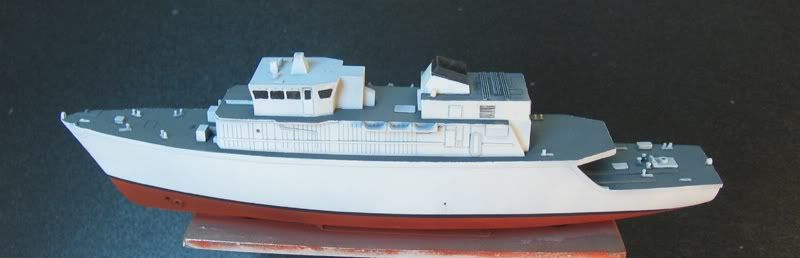
I found that WEM Admiralty light grey fits the grey used by the French Navy quite well, so I quickly decided to build a French vessel. I run multiple layers of thin coats across the hull taking care to leave a cloudy pattern simulating wear and allowing the recesses to stay a tad bit darker than the flat surfaces.
WEM asks for 6 hours of drying time, which is happily granted, even though I would wish for an acrylic colour coats line of such fine naval shades and quality. However, John and Caroline have again declined any request for a WEM acrylic paint line for good economical and quality control reasons.
Anyway, six hours later the best part of the hull remains being masked off, while the bottom gets sprayed in a blend of Revell�s fiery red with a drop of black.
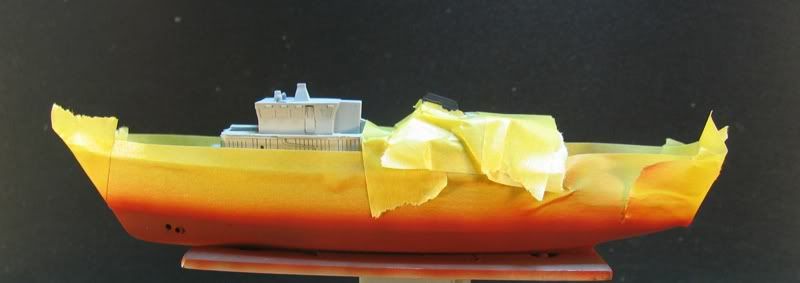
An hour later I have removed the masking and start to touch up and paint the windows.
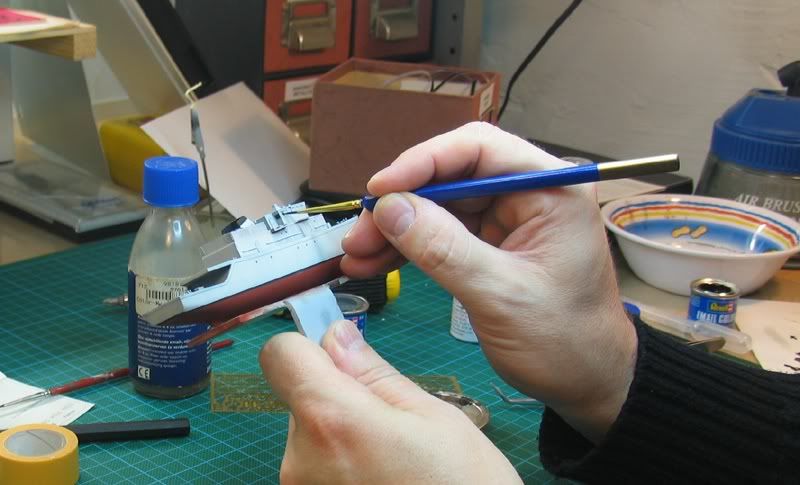
The bridge area is quite big and if you should try to open the bridge fully and install all the dashboards, etc. you probably won�t find it too daunting. I however have decided to go for a bit of a quicker build this time.
The only omissions in the hull casting are the bile pump outlets, which I have added using a .4mm drill bit. By the end of the second session of the build, I have to say that this is what I call �a straight forward build�. So far writing this report has required as much time as the build itself.
I wonder if there are any tripping ropes on the way ahead.
TBC
Guido