Tks Steve!

I've started painting Delphine's deck with a coat of primer.
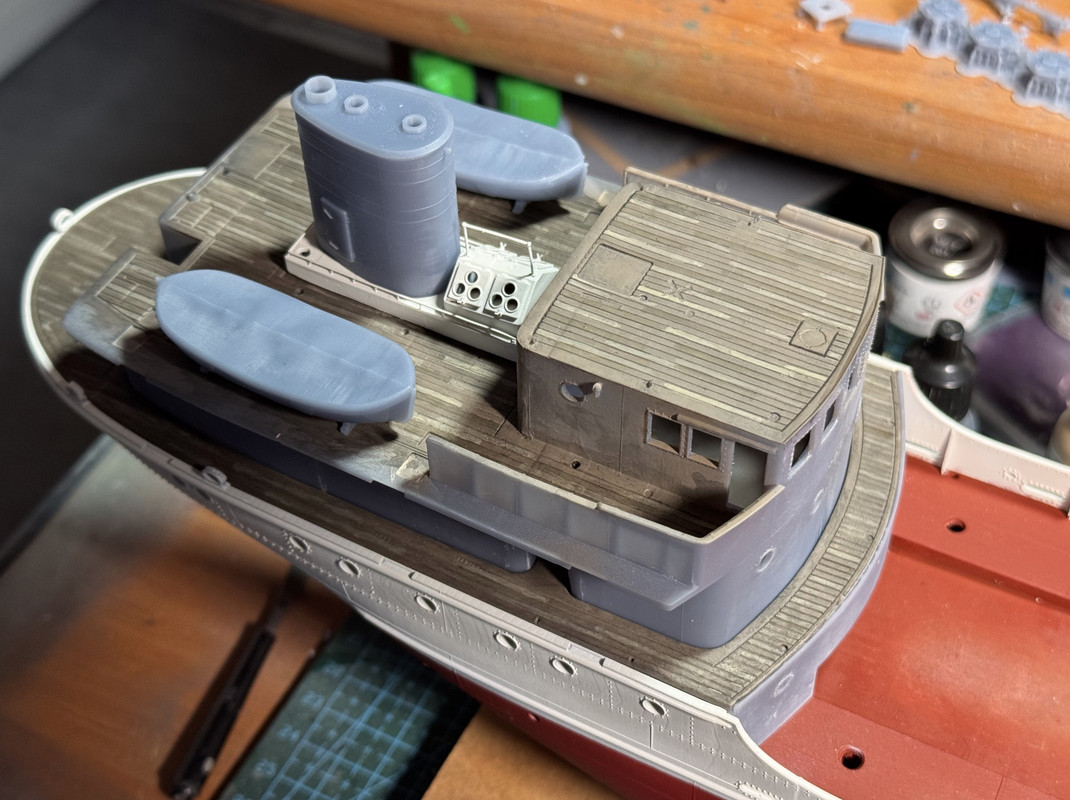
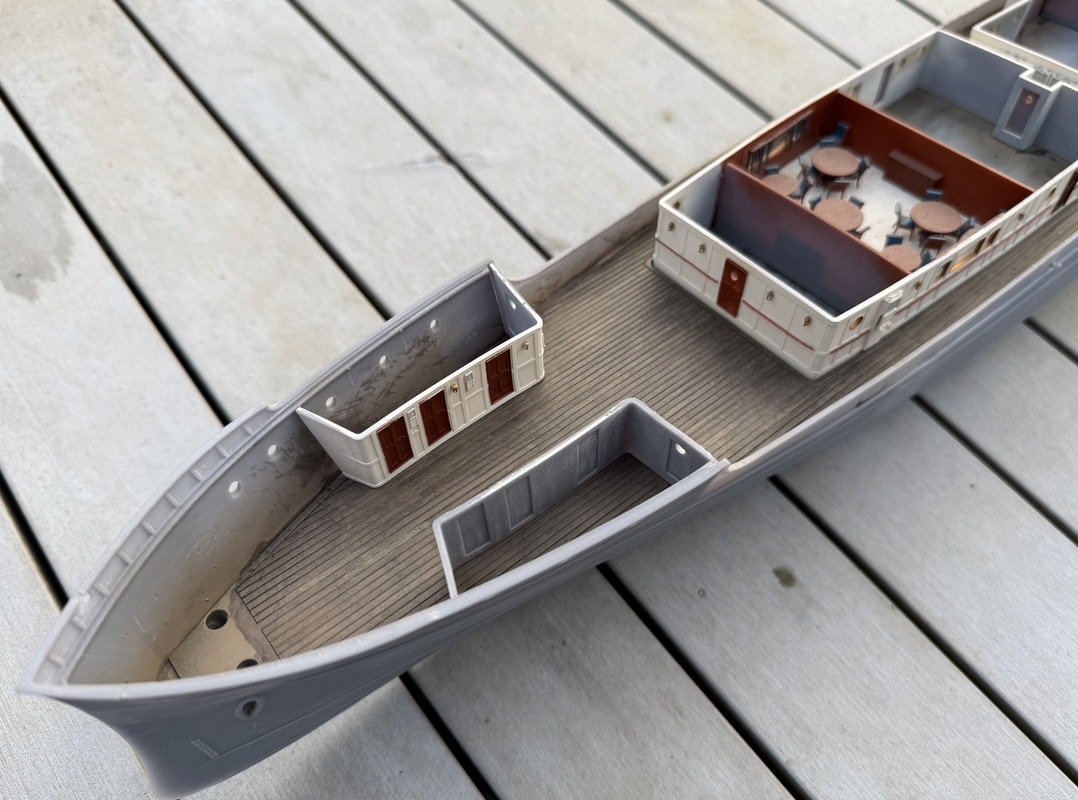
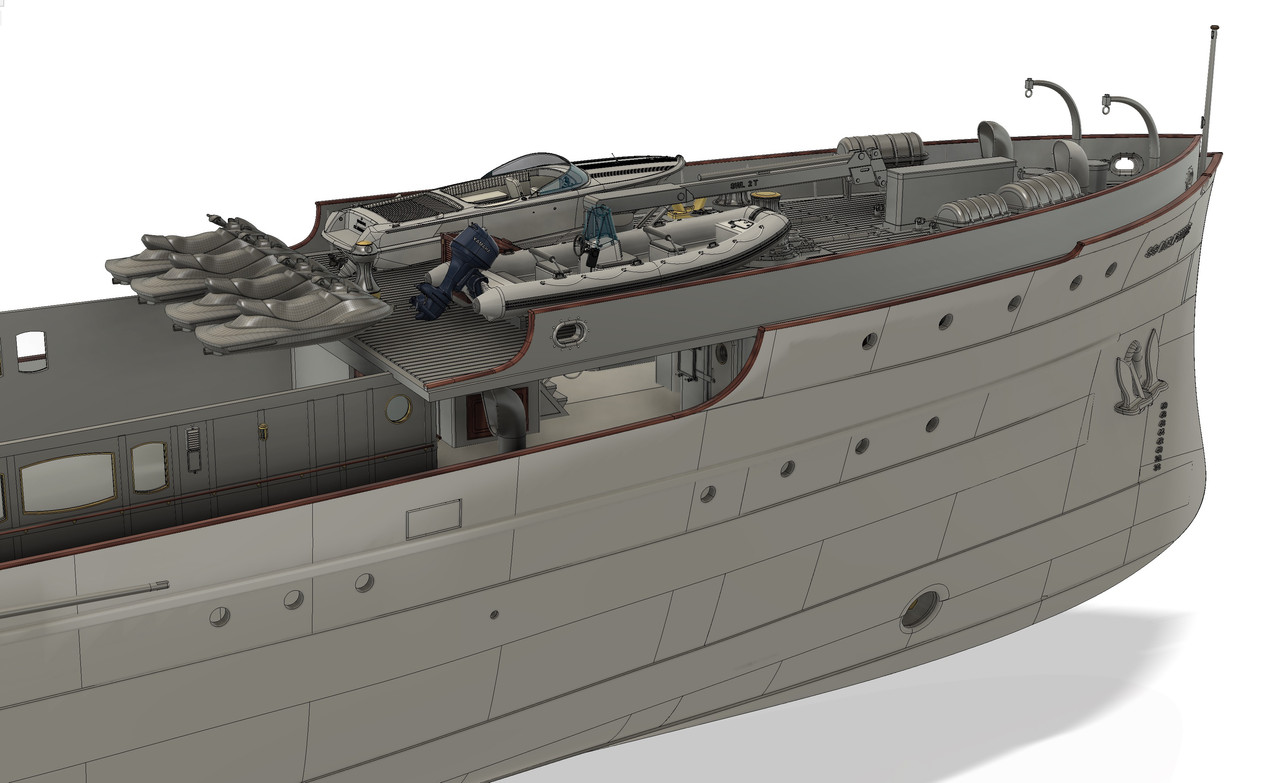
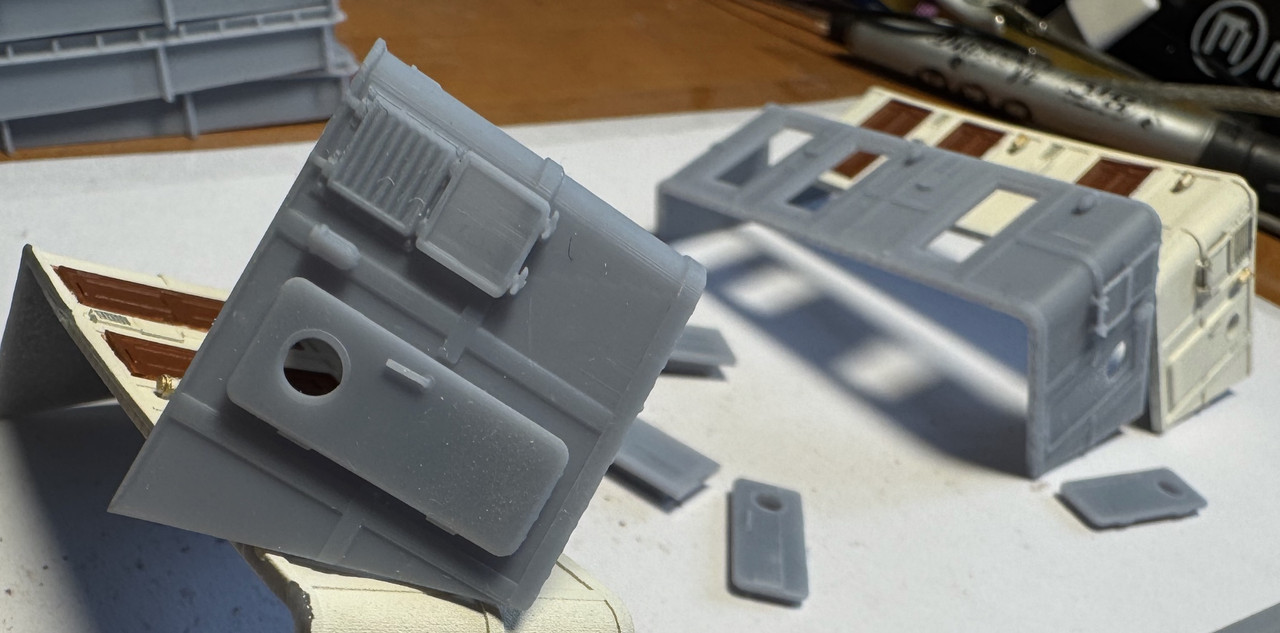
I made some modifications to the forecastle in the photo above, the deck was too thin (1 mm), hence the deformations. I made it 1.5 mm thick, easy to say, but it also requires a rectification of the parts under the forecastle as I lowered the ceiling...
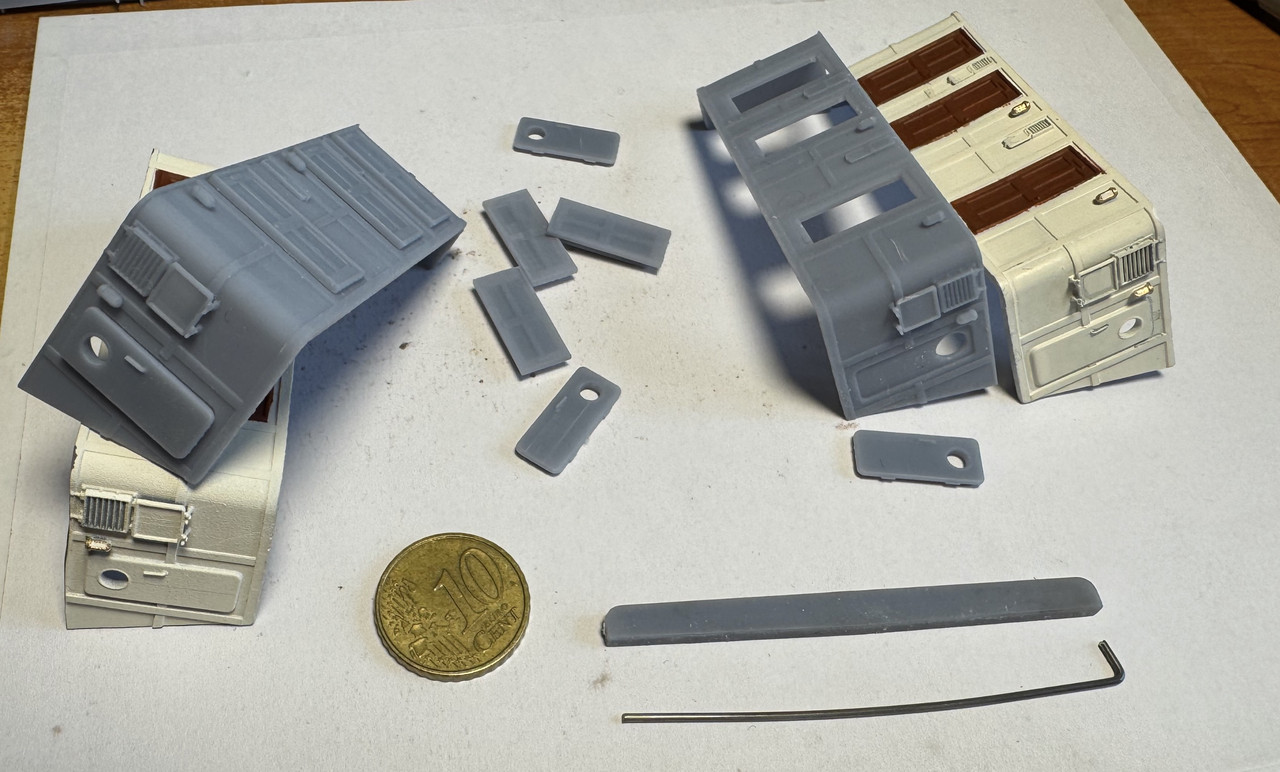
I'm going to reprint it with other parts and of course start painting again. I've also rectified the bulkheads so that the 8 doors are printed separately.
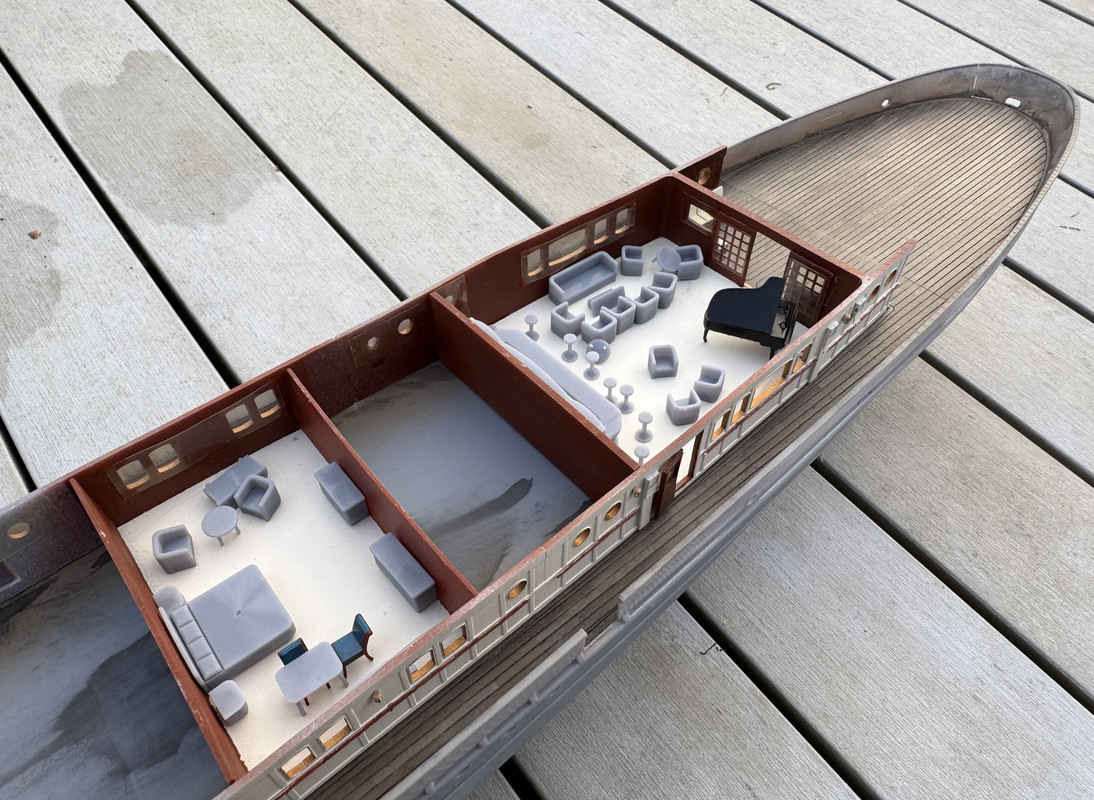
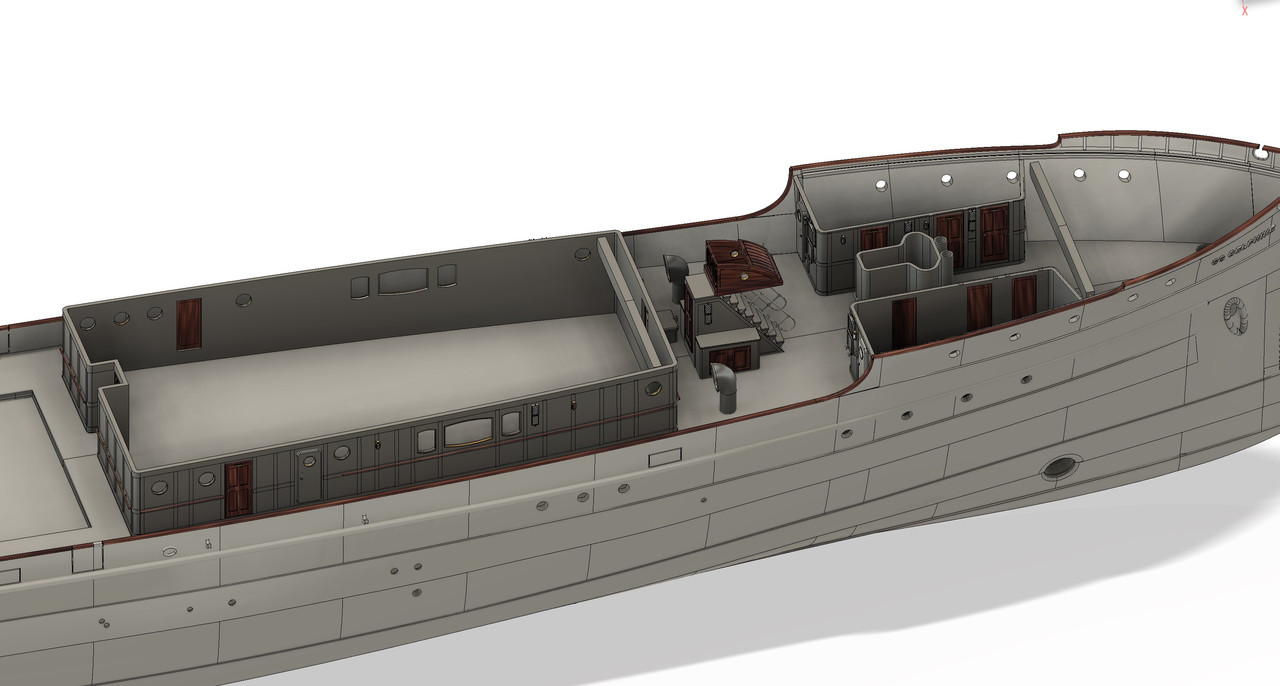
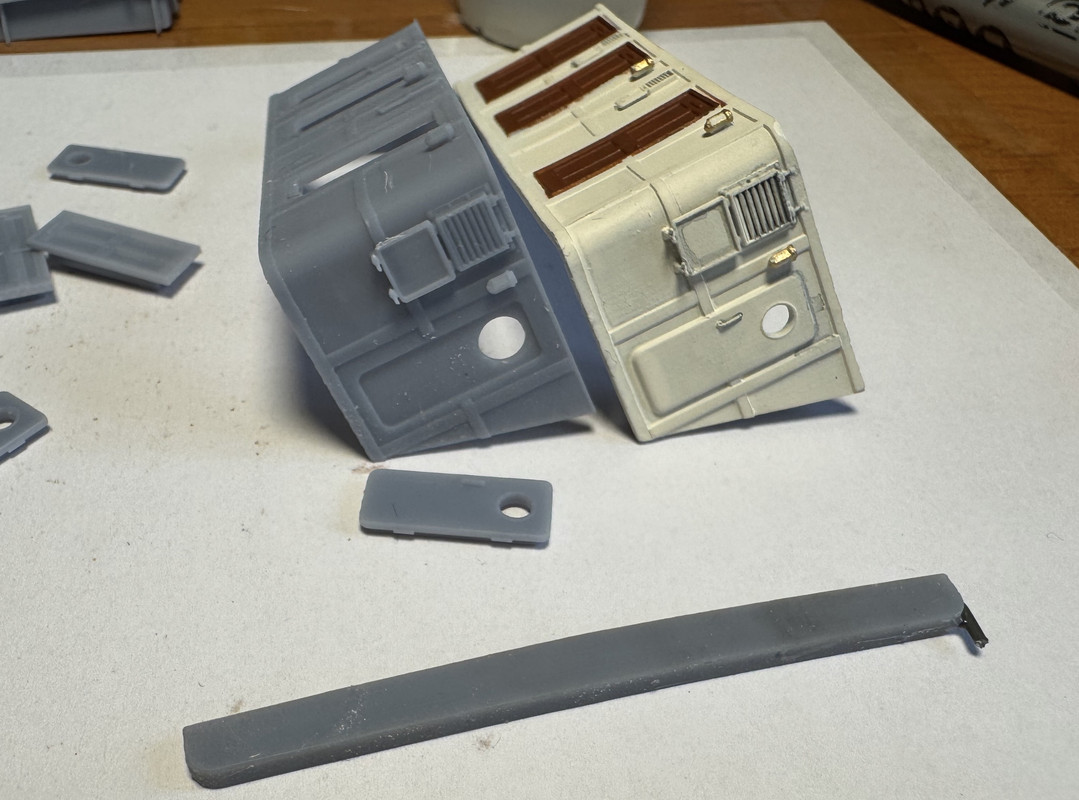
I've drawn some reinforcements (deck beams) to keep the deck moving once printed, some sort of beams that will be reinforced with piano wire, so they won't be visible.
All these effective modifications are possible thanks to the previous ships made, feedback from experience, particularly from Brittany, these ships are long, 80 cm, when the decks are made of large surfaces, the resin doesn't like it.
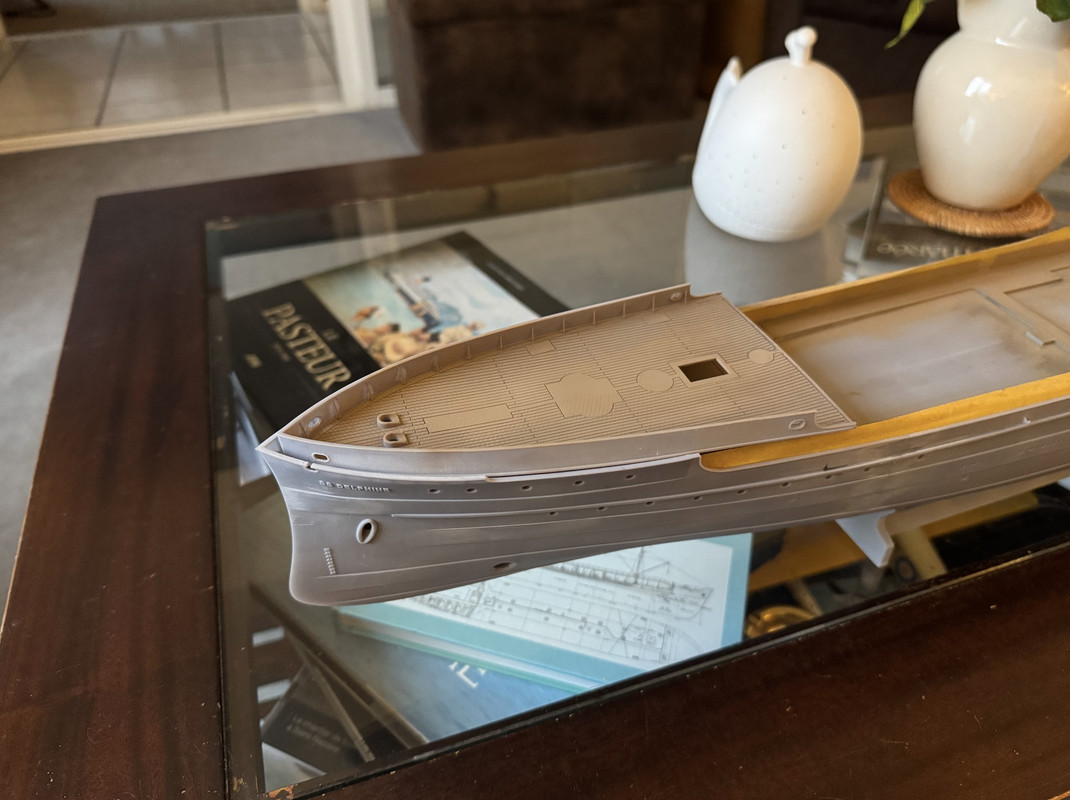
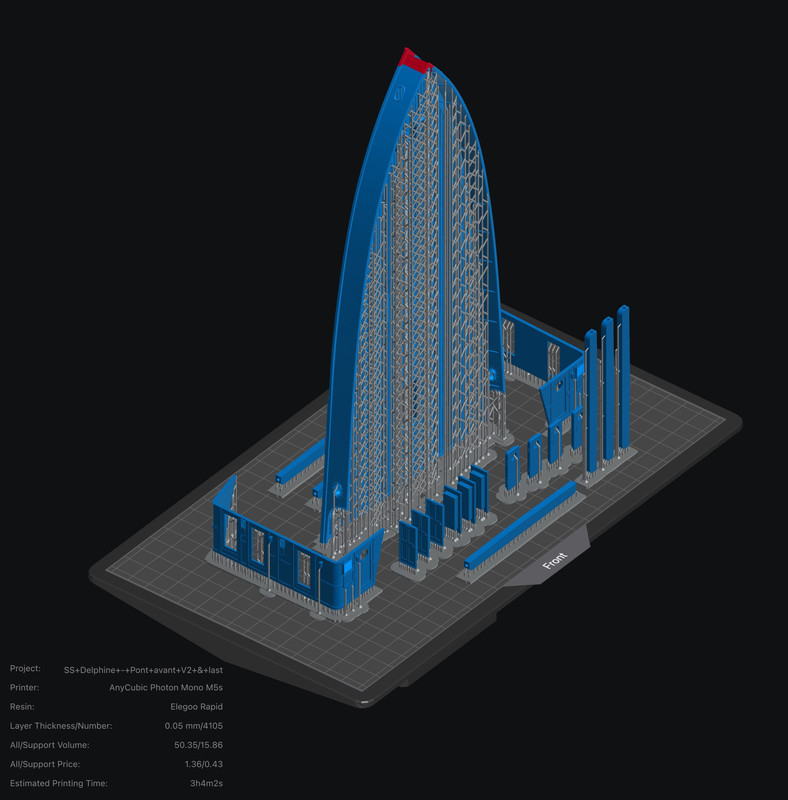
We can see that it won't fit on the M5s printer, so it will be printed on the MonoX 4K (red end out of print volume). There wasn't much missing. I could have tilted it, but that poses other problems and a large number of supports to be fitted...
You can see the reinforcing beams.
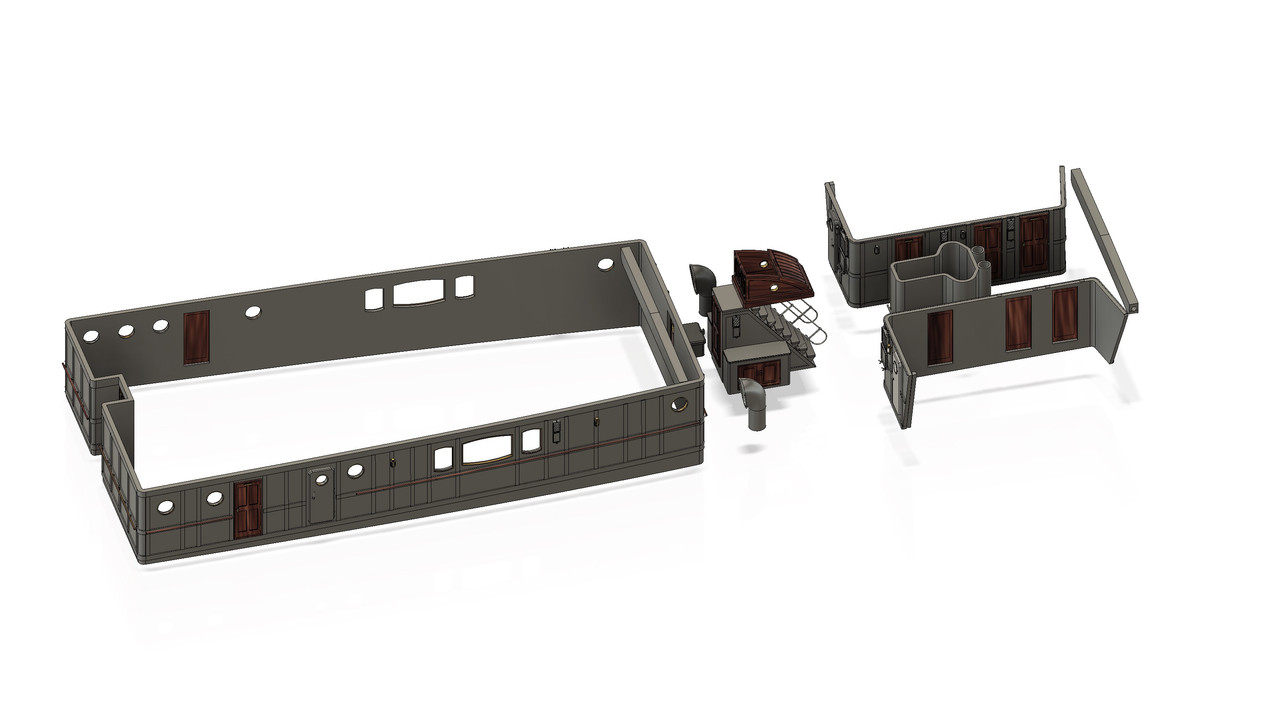
Here I've modified the cabin bulkheads under the forecastle to incorporate the difference in deck thickness, and printed doors separately. It's more realistic than the doors integrated into the bulkhead when printed (white parts). What's more, it's easier to paint and the lines are sharper.
You can see the deck beams that I've also printed. They have a hole drilled in them for a piano wire that I've pre-stressed, which will reinforce the shape of the deck once the beams are glued underneath.
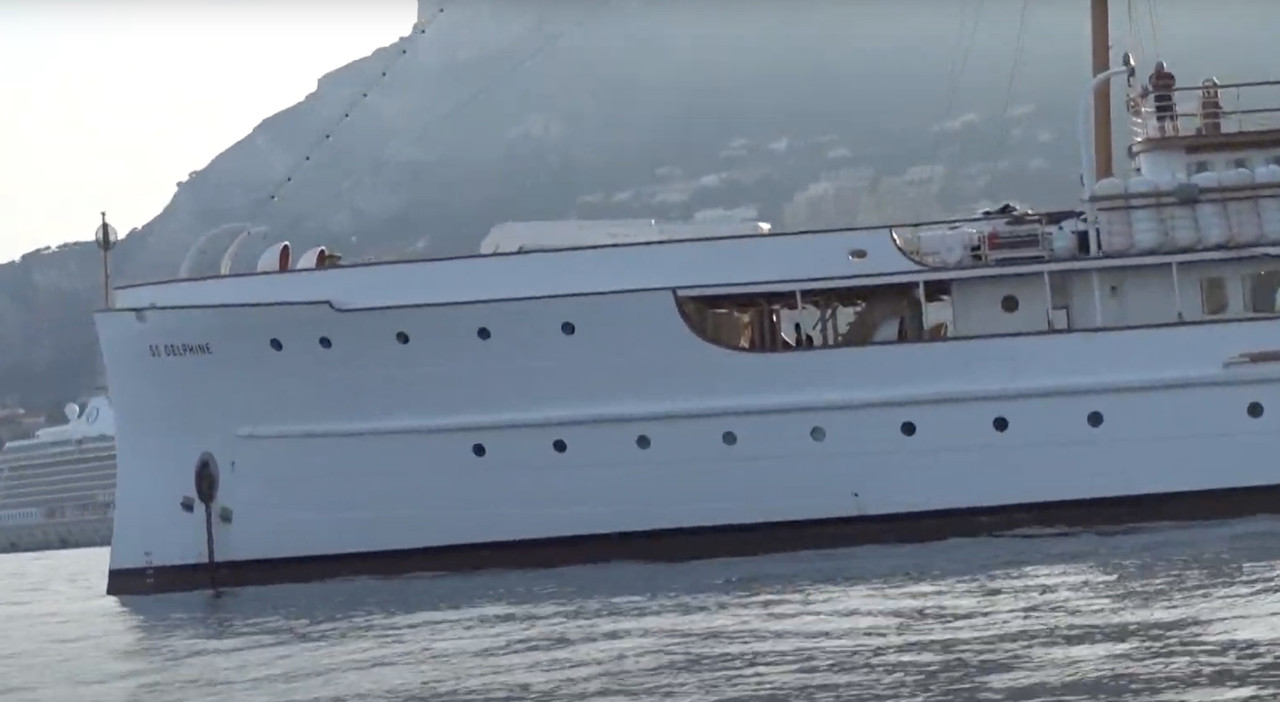
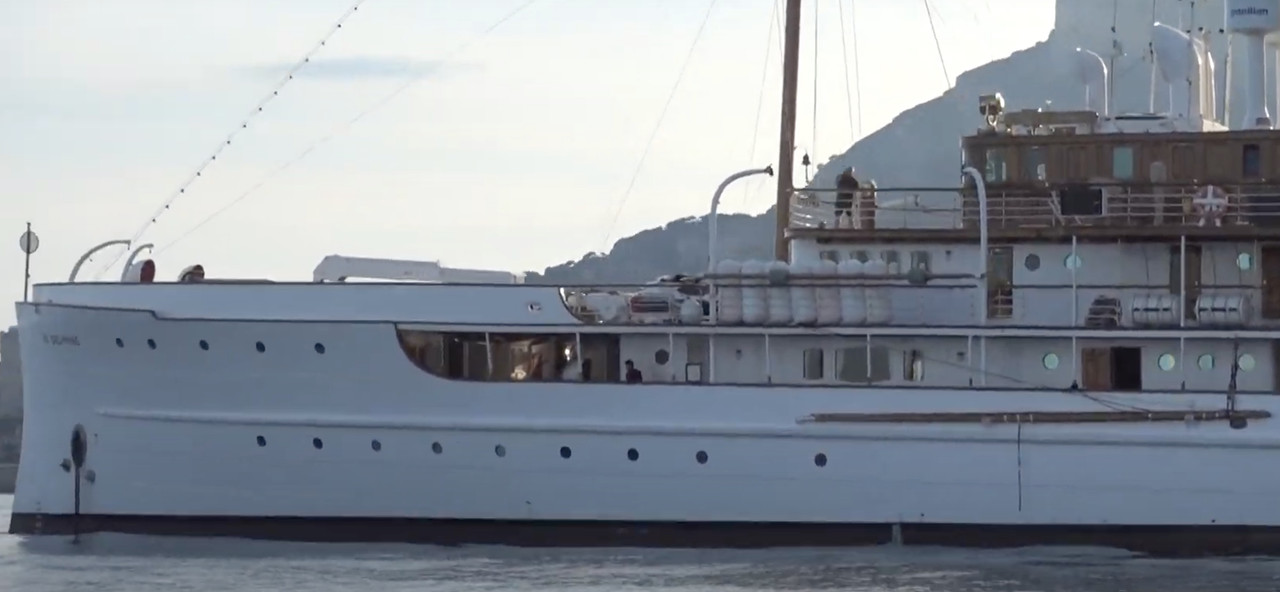
These bulkheads are a part of the ship that will be visible below deck.


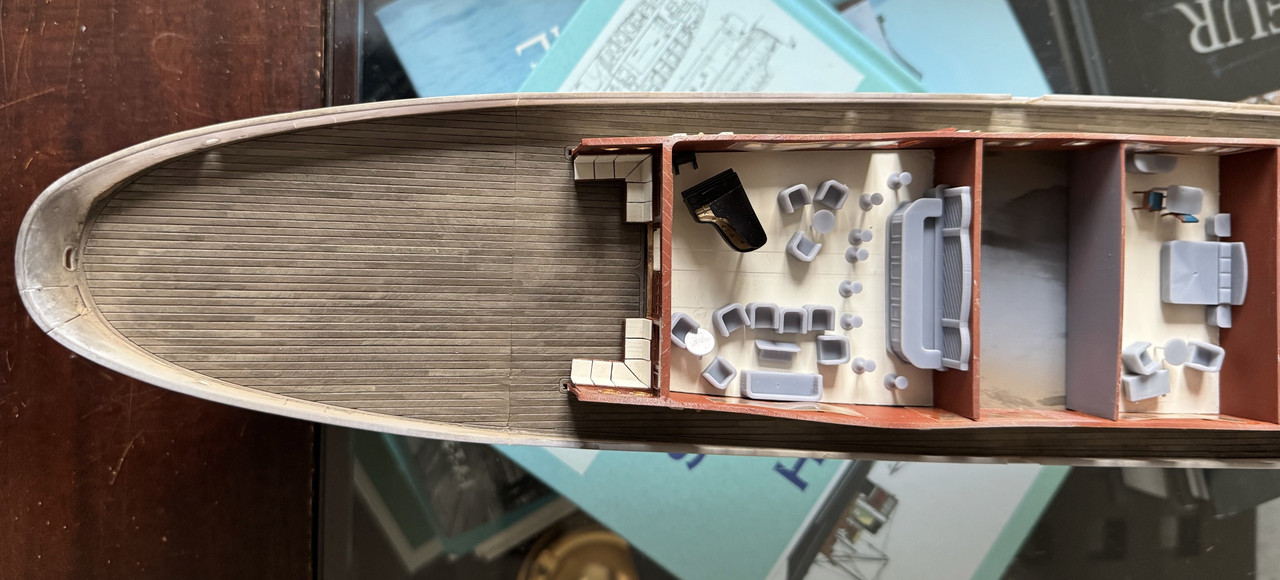
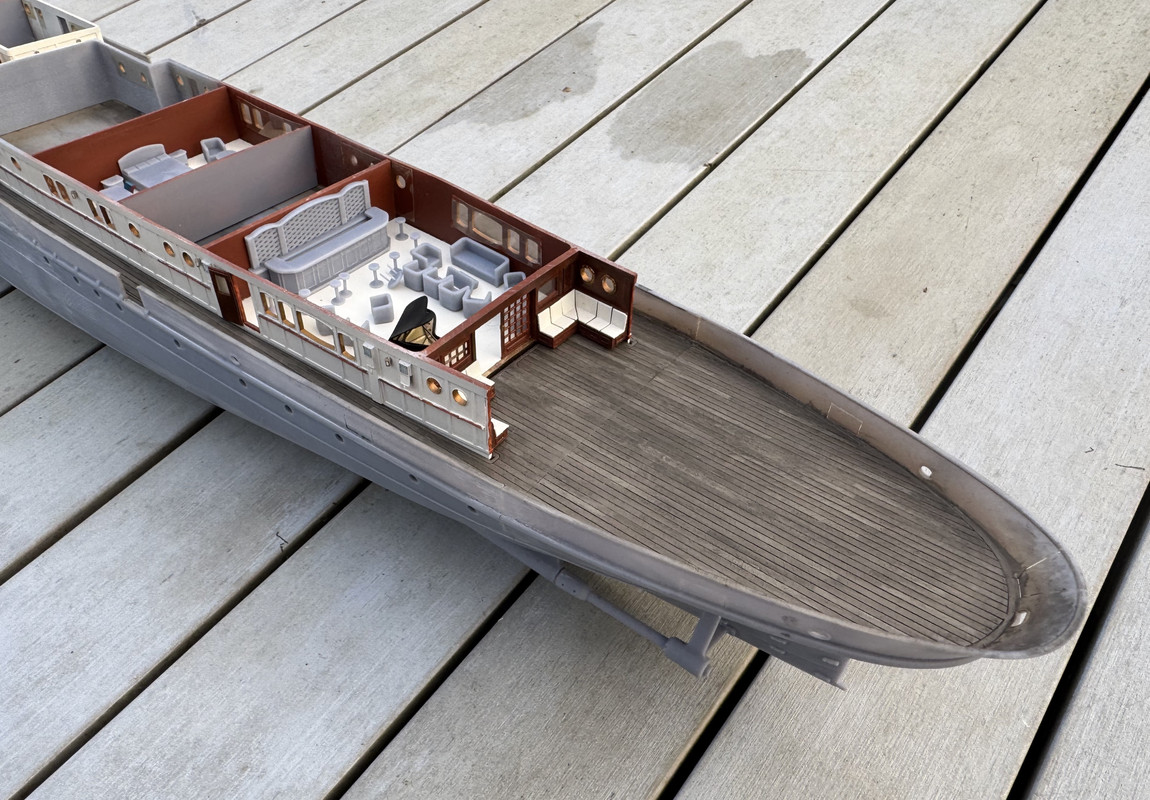
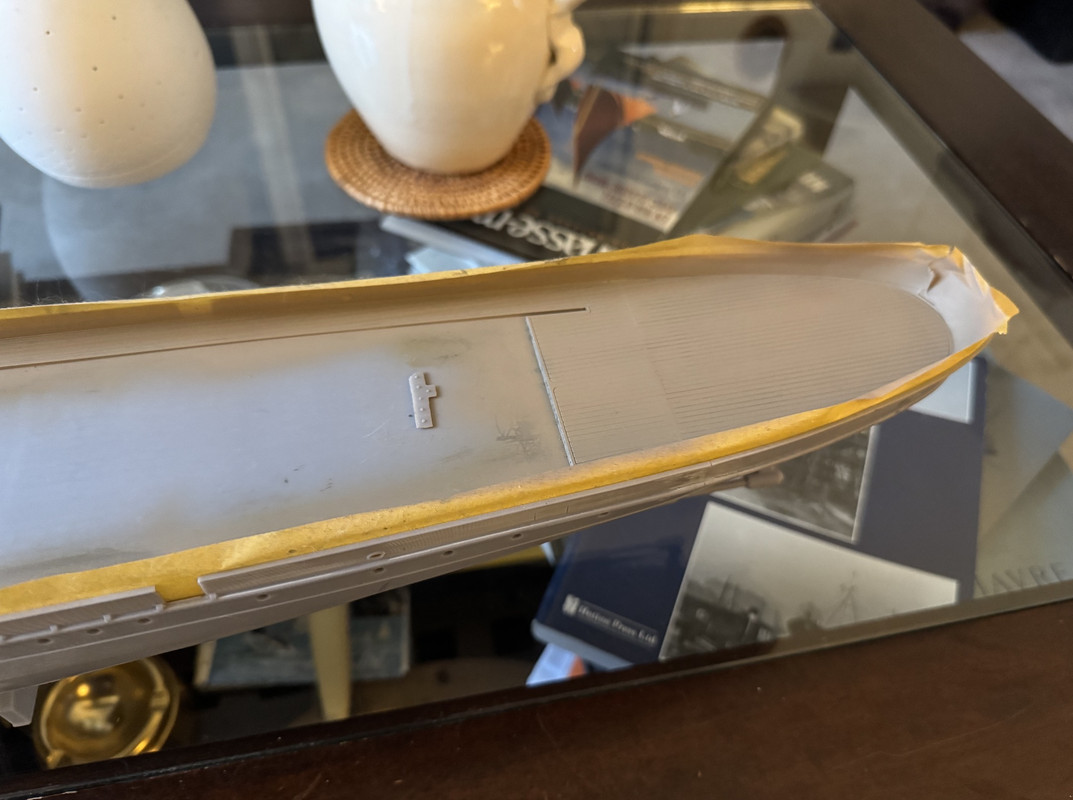
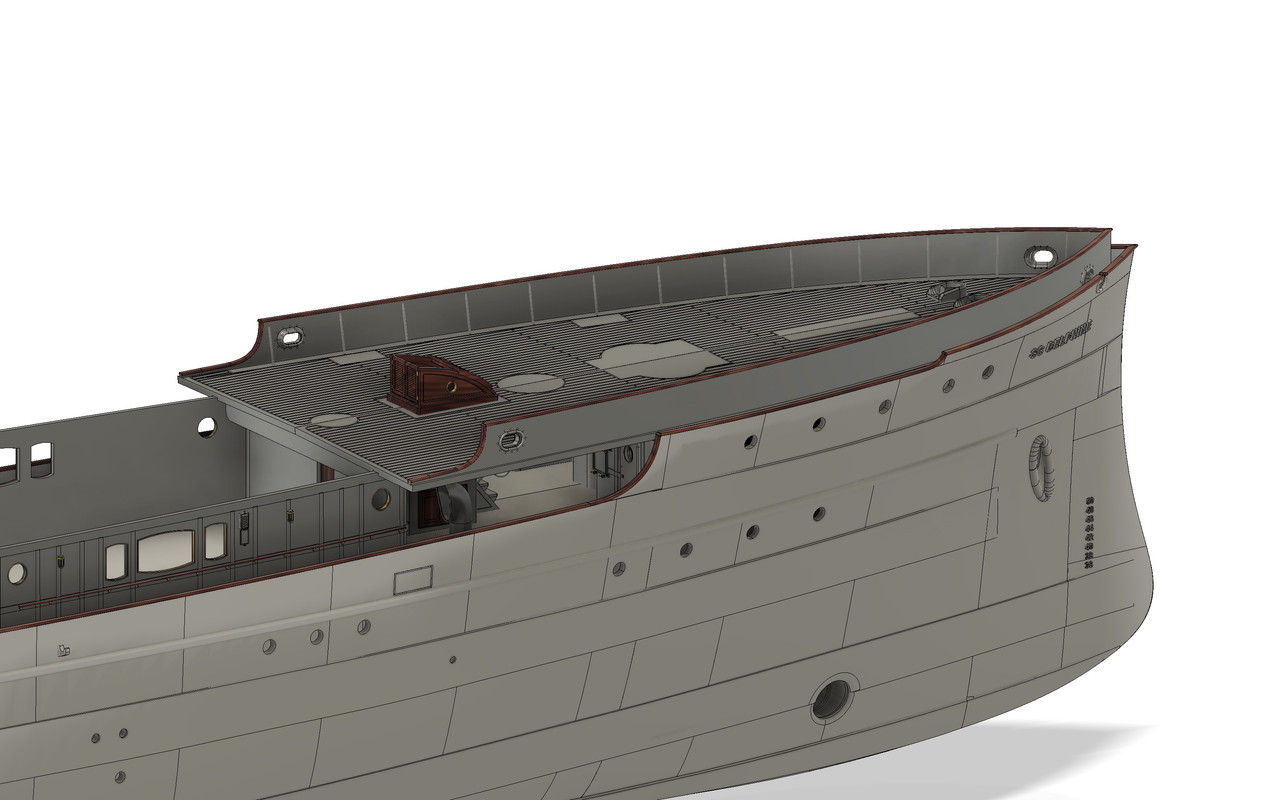
The painting of the teak on the main deck is finished.
I used a slightly different composition of colours from the Shell Welder, I cut the Sand grey 71.141 by 50% with Concrete 71.131 for some of the battens, so the mix is darker, which gives fairly close shades. It's different, more uniform, closer to the colour of teak, I need to test a less black final juice for the upper deck, I've got some grey that I need to test for compatibility with Vallejo.
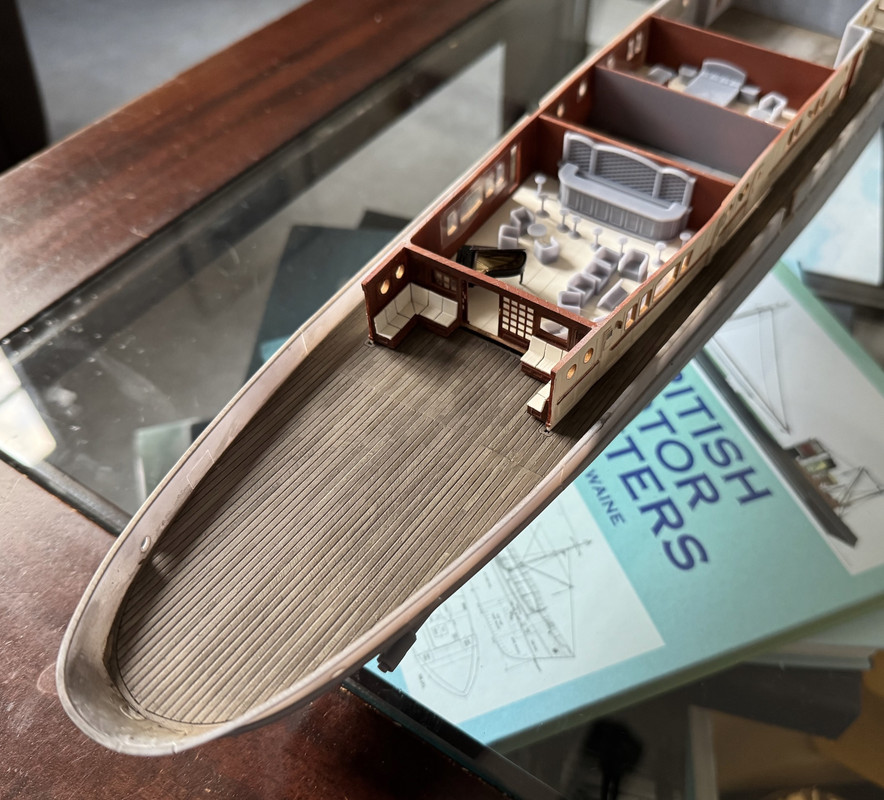
So here:
- Vallejo Surface Primer 70.614 aero base paint. 24 hours drying time.
- Brush-paint 30% of the battens with Concret 71.131.
- Brush-paint 30% of the battens with a 60/40% Sand Grey 71.141 mix with Concrete 71.131.
Vallejo kit : 71.187 Old & New wood effects

For the Shell Welder, the 3rd step was done with pure Sand Grey 71.141. I painted fewer laths as a result.
- Then spread some juice, you need to be fairly generous, with a very soft brush like Wash 74.517, you need to brush the surface as you apply it 1/2 hour after finishing step 3, so you don't wash away the paint you've already applied. Then dab
vertically with a paper towel to remove any excess juice. It will lighten as it dries.
It's quite different.