Crash course on making a 1/32 28' x 6' N0. 1 Whaleboat shell:
1. Size the drawings and cut half lift and profile patterns.
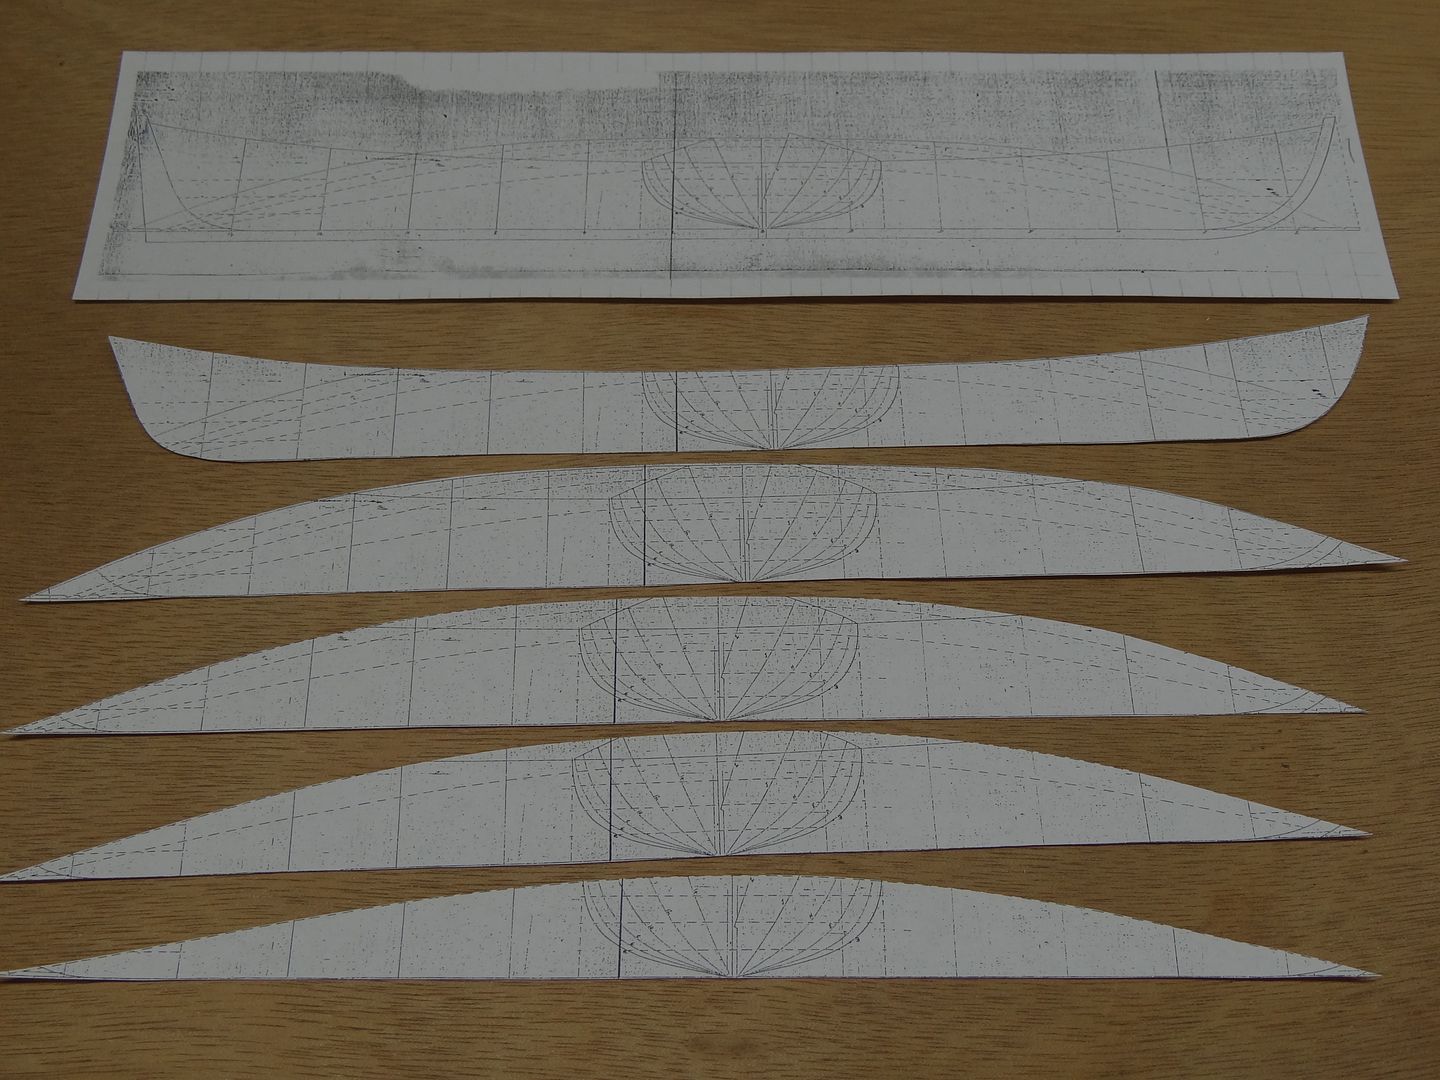
2. Glue the lift patterns to correct thickness basswood and bandsaw to shape. I tack glue two pieces together for each lift and cut both sides at the same time. Makes it easier to keep the hull symmetrical. Note the top lift is considerably thicker because of the fore and aft peaks.
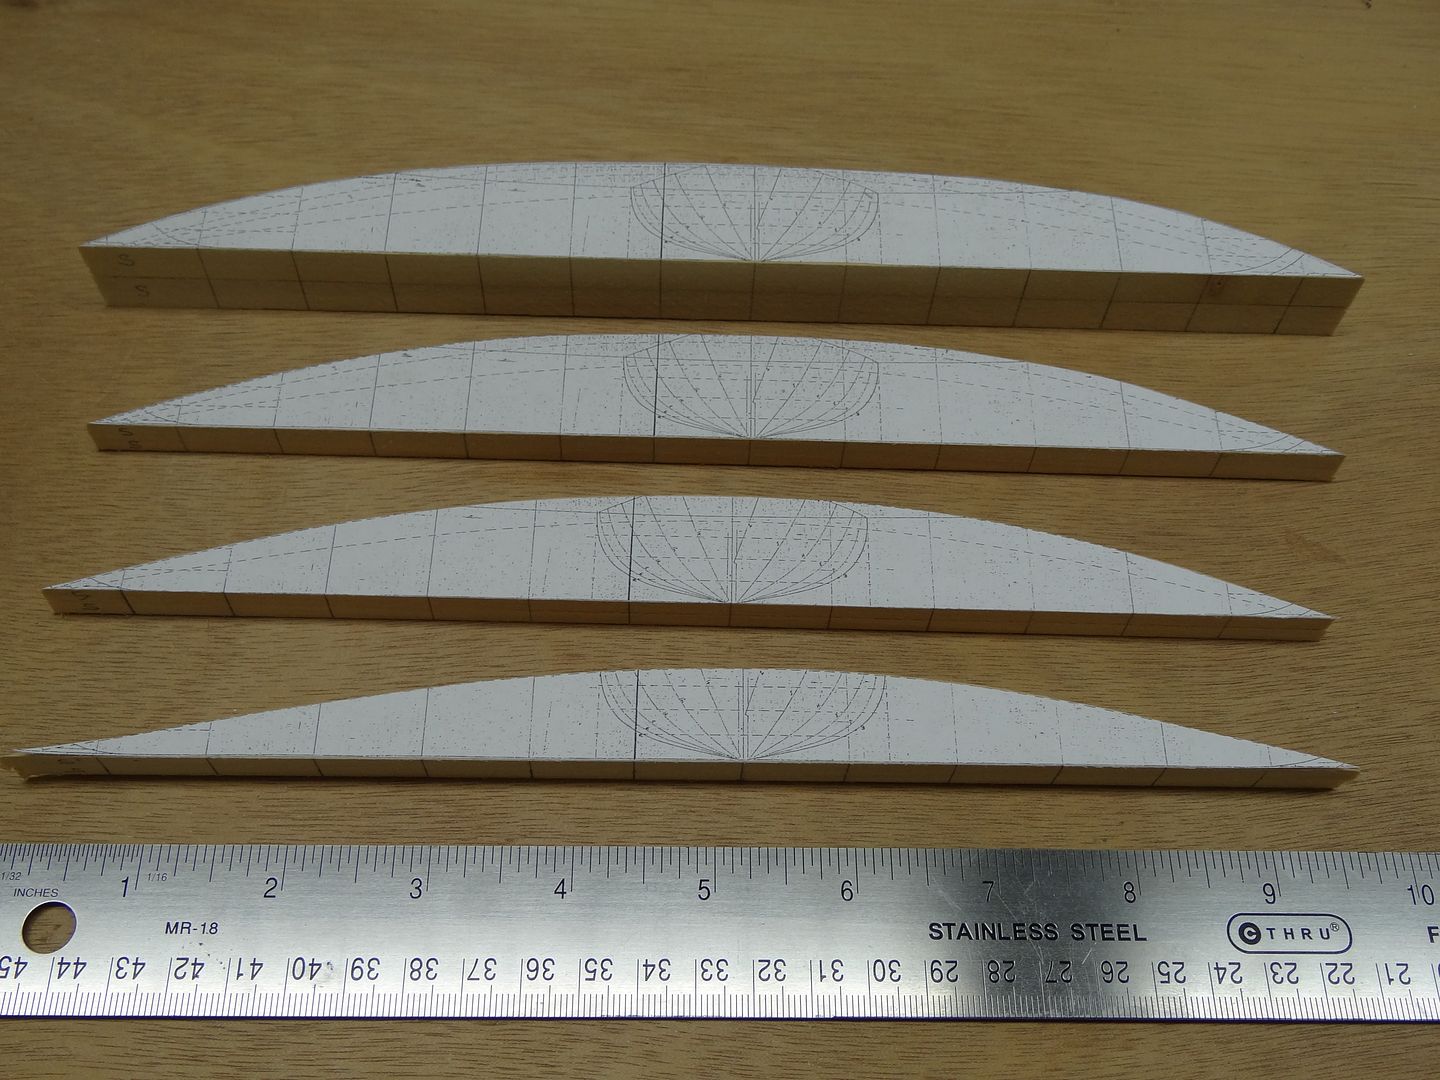
3. Mark the frame locations on each lift and glue the stacks up, matching up the frame markings. MAKE SURE YOU MAKE A RIGHT AND LEFT SET!
4. Glue the profile to the inside of each stack and bandsaw the sheer line into the stack. I repeat: MAKE SURE YOU MAKE A LEFT AND RIGHT SET! (Does it sound like I haven't in the past?

)
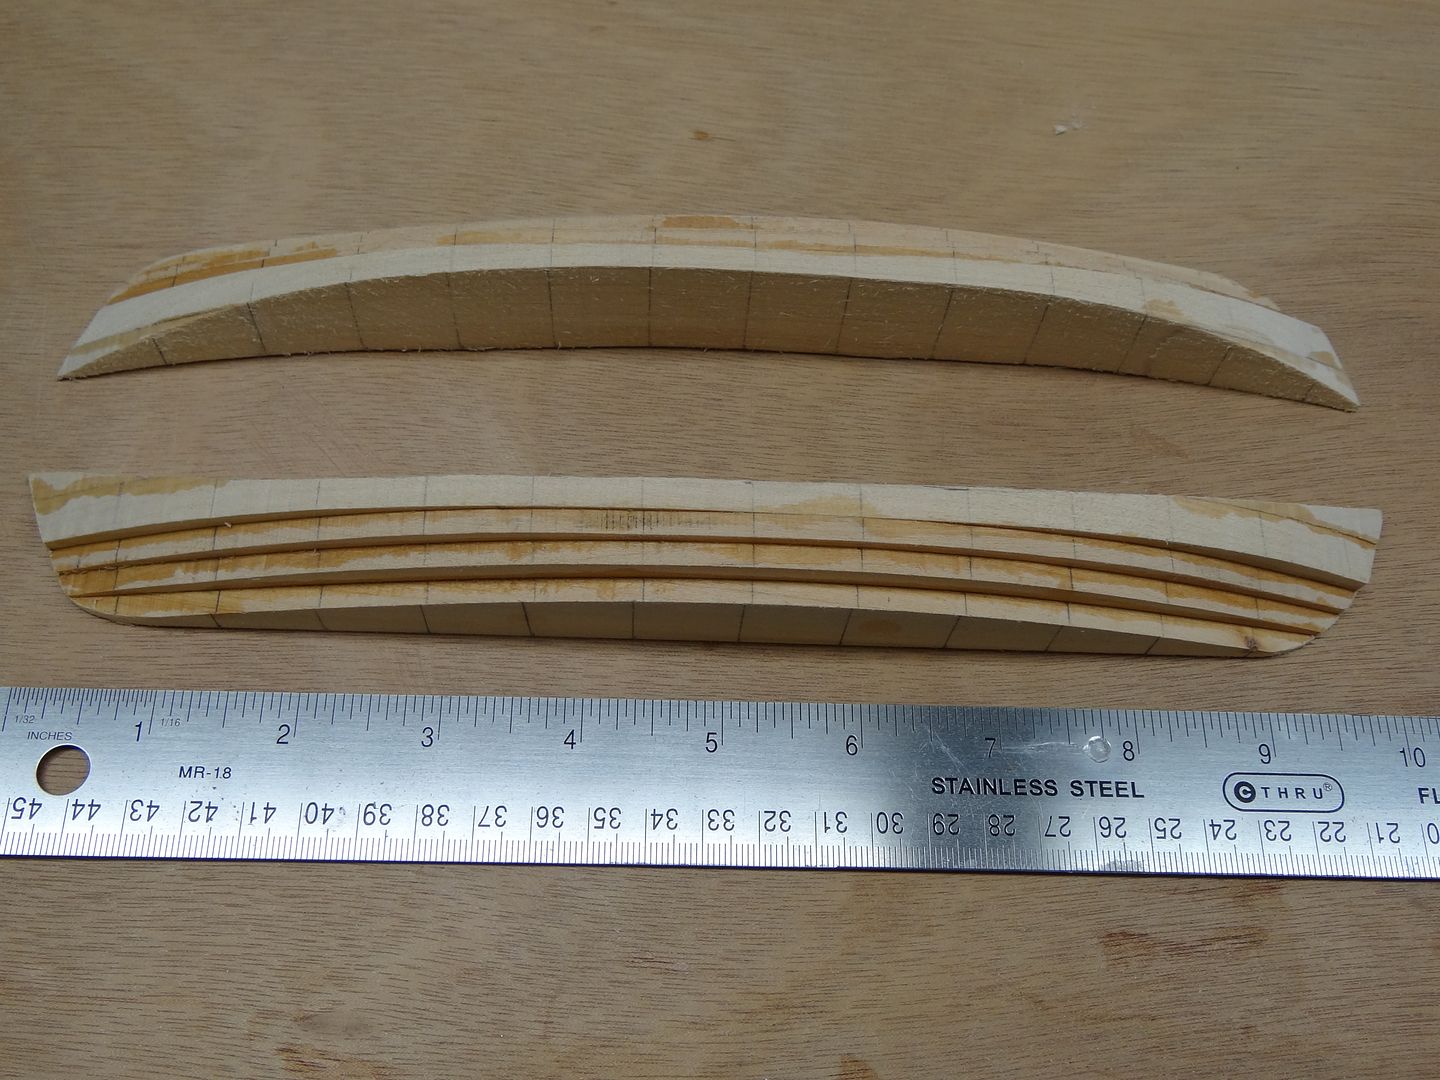
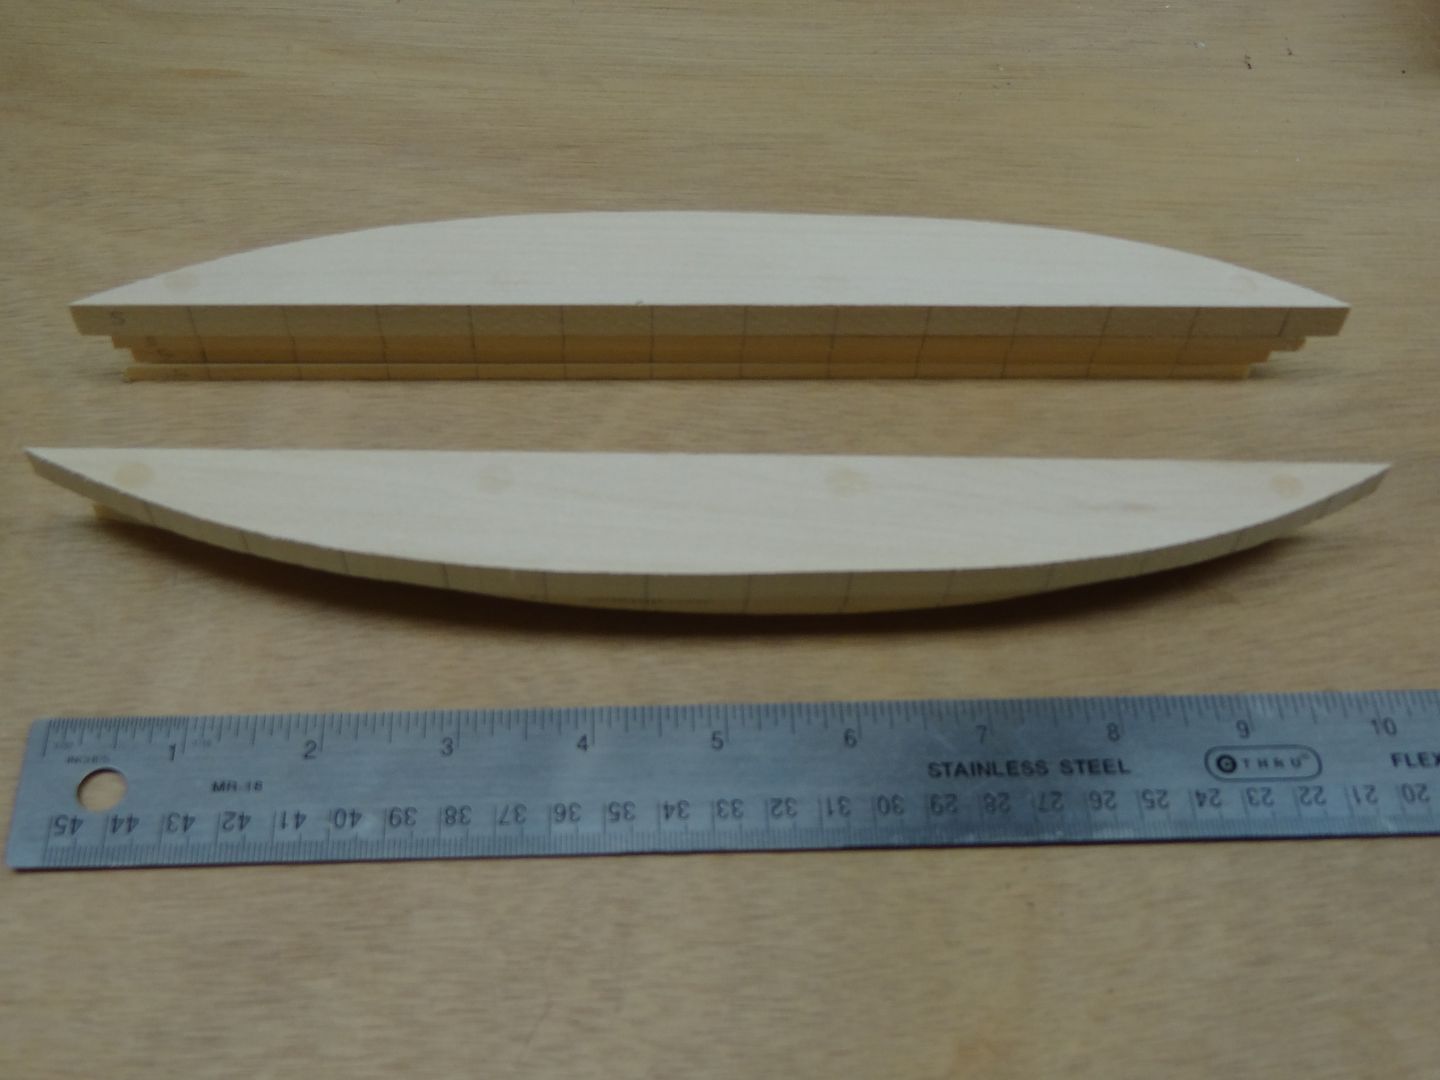
5. Carve the hull halves to shape, being sure to use frame patterns to make sure the halves are the correct shape and the hull is symmetrical. When the halves are complete, glue them together to make the master plug. I seal my plugs with epoxy finishing resin. I didn't need a perfect finish on this plug because I am using the resulting vacuum formed shells as bases to glue overlapping strakes on the insides and outsides.

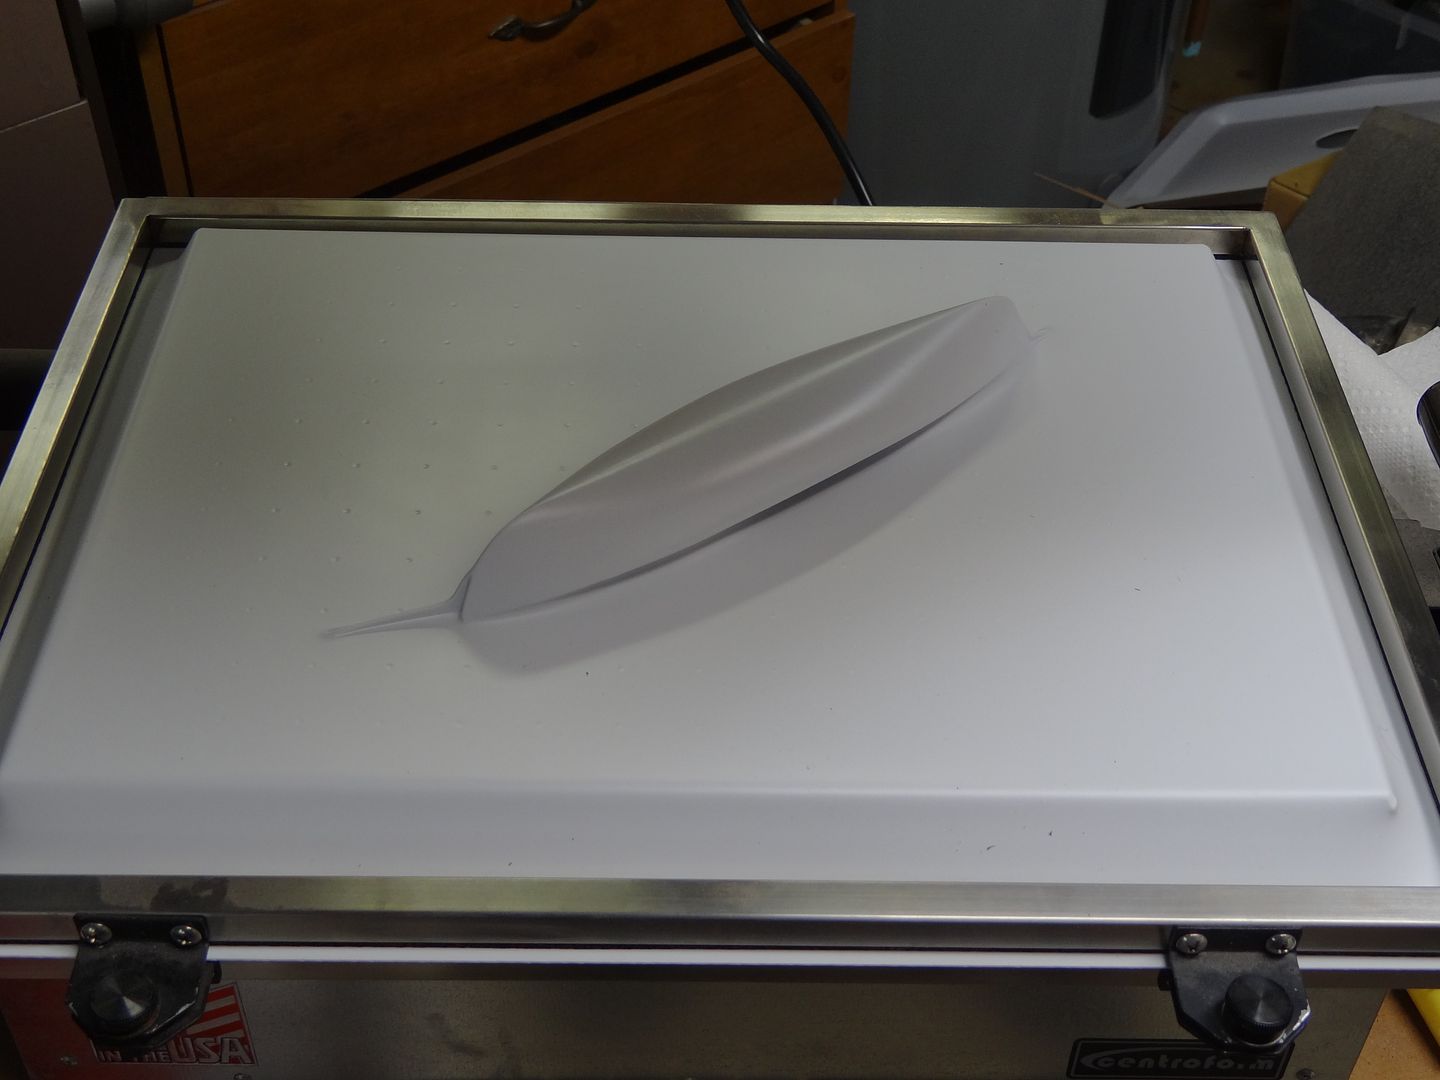
6. Vacuum form the shell. Again, I don't care about the webs on the vac because the shell is going to be covered inside and out. When that happens, I just fill inside the webs with CA and sand them off.
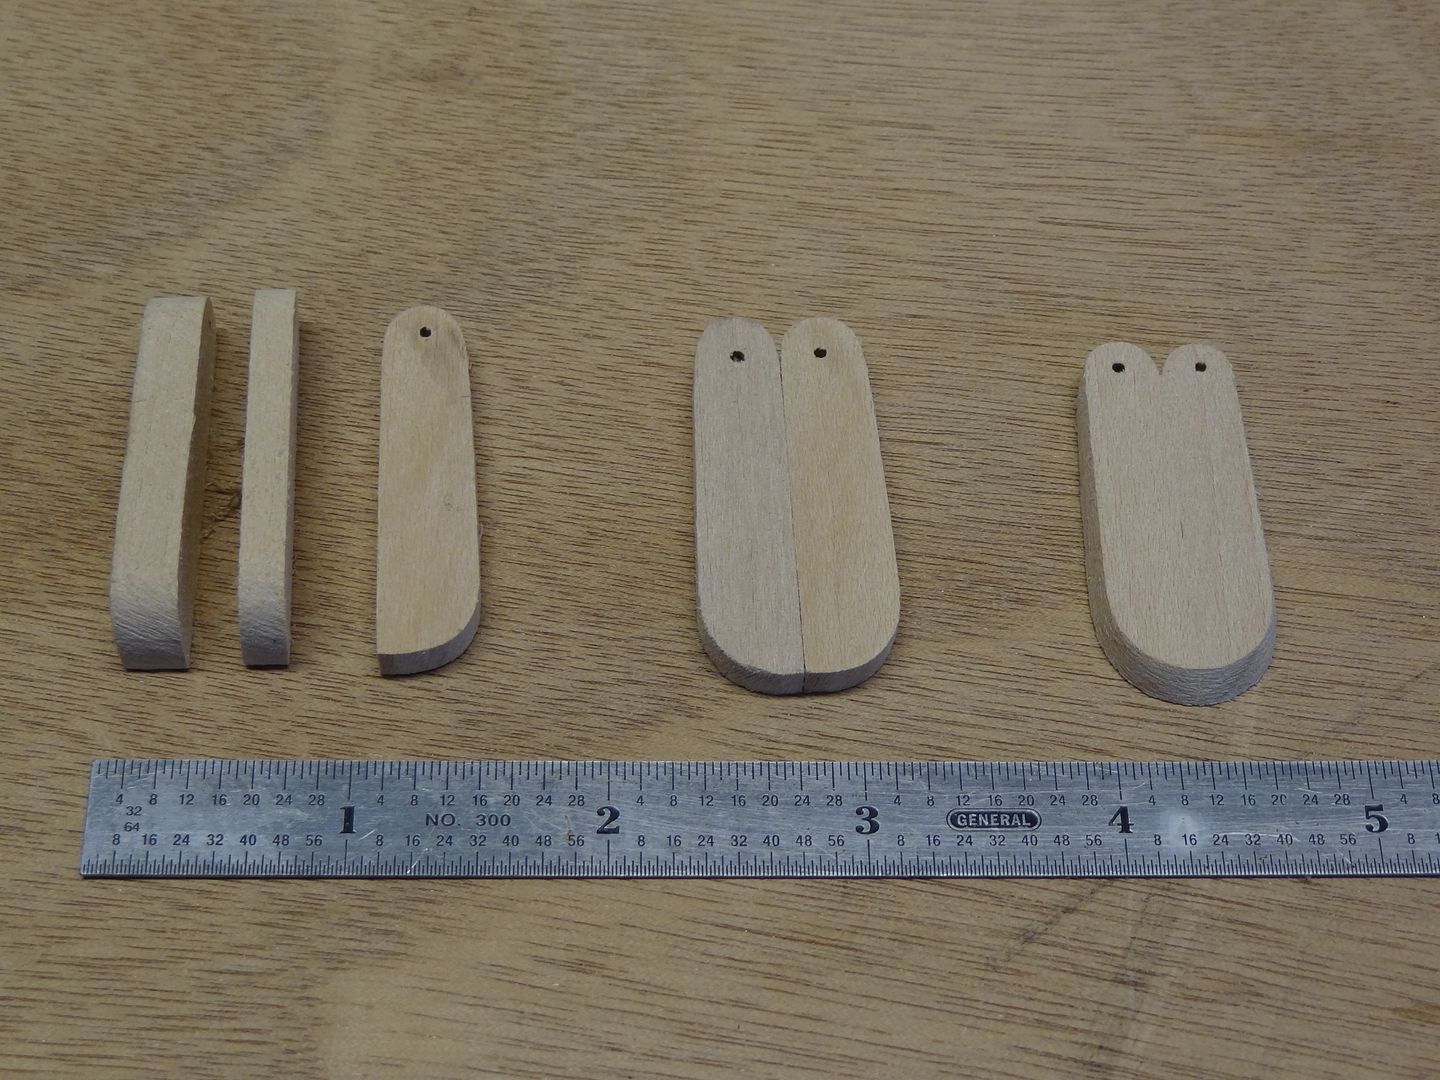
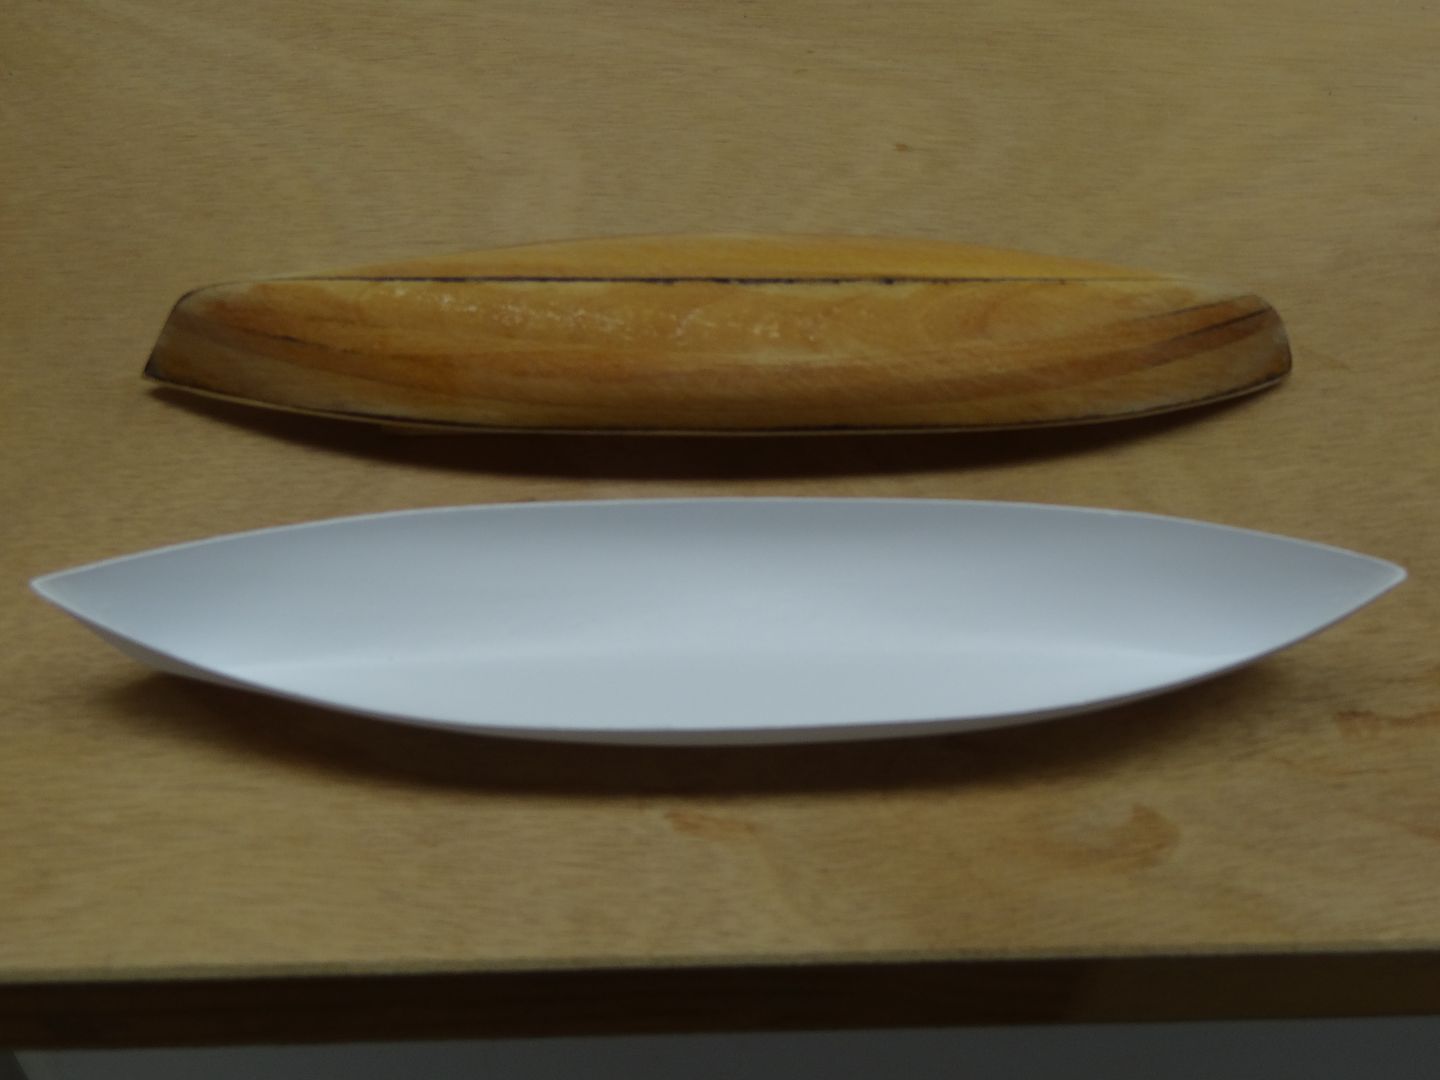
7. The plug and a trimmed shell in .040" styrene.
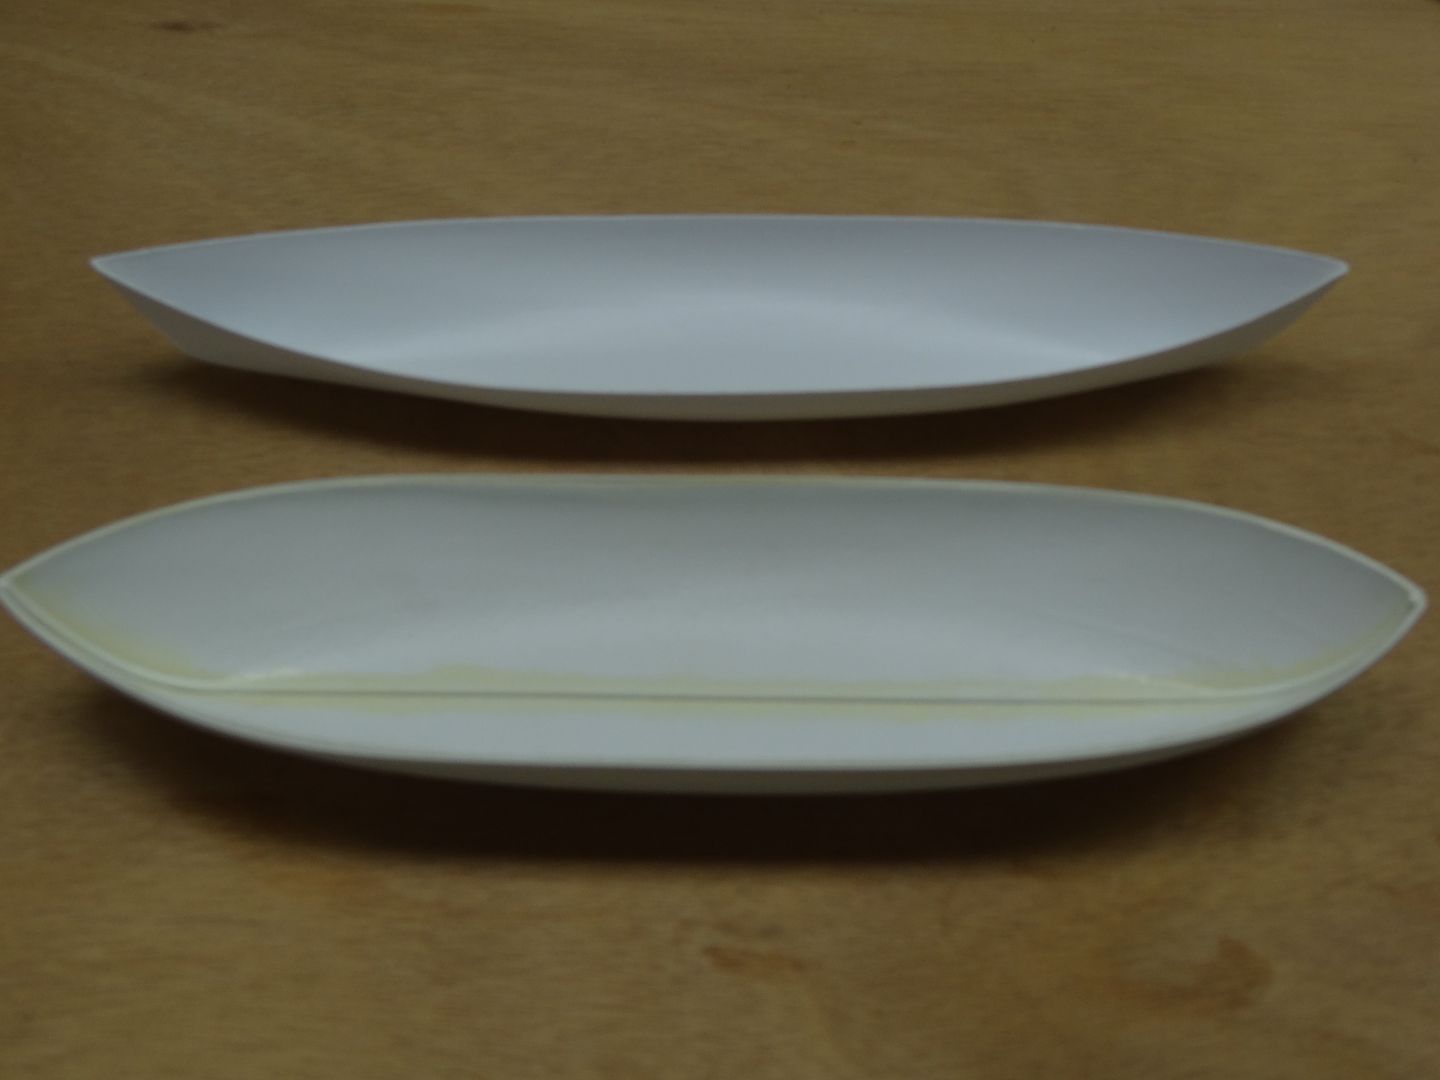
8. The No. 1 Whaleboat shell (rear) compared to a No. 2 Whaleboat. Both of these styles were carried on USS Roanoke in 1855. I wanted to use the No. 2 on Keokuk because it matches the hull shape, but had I measured a little more carefully to begin with, I would have known she carried No. 1 boats. But hey, now I have 1/32 plugs for both patterns of 28' Civil War whaleboats!
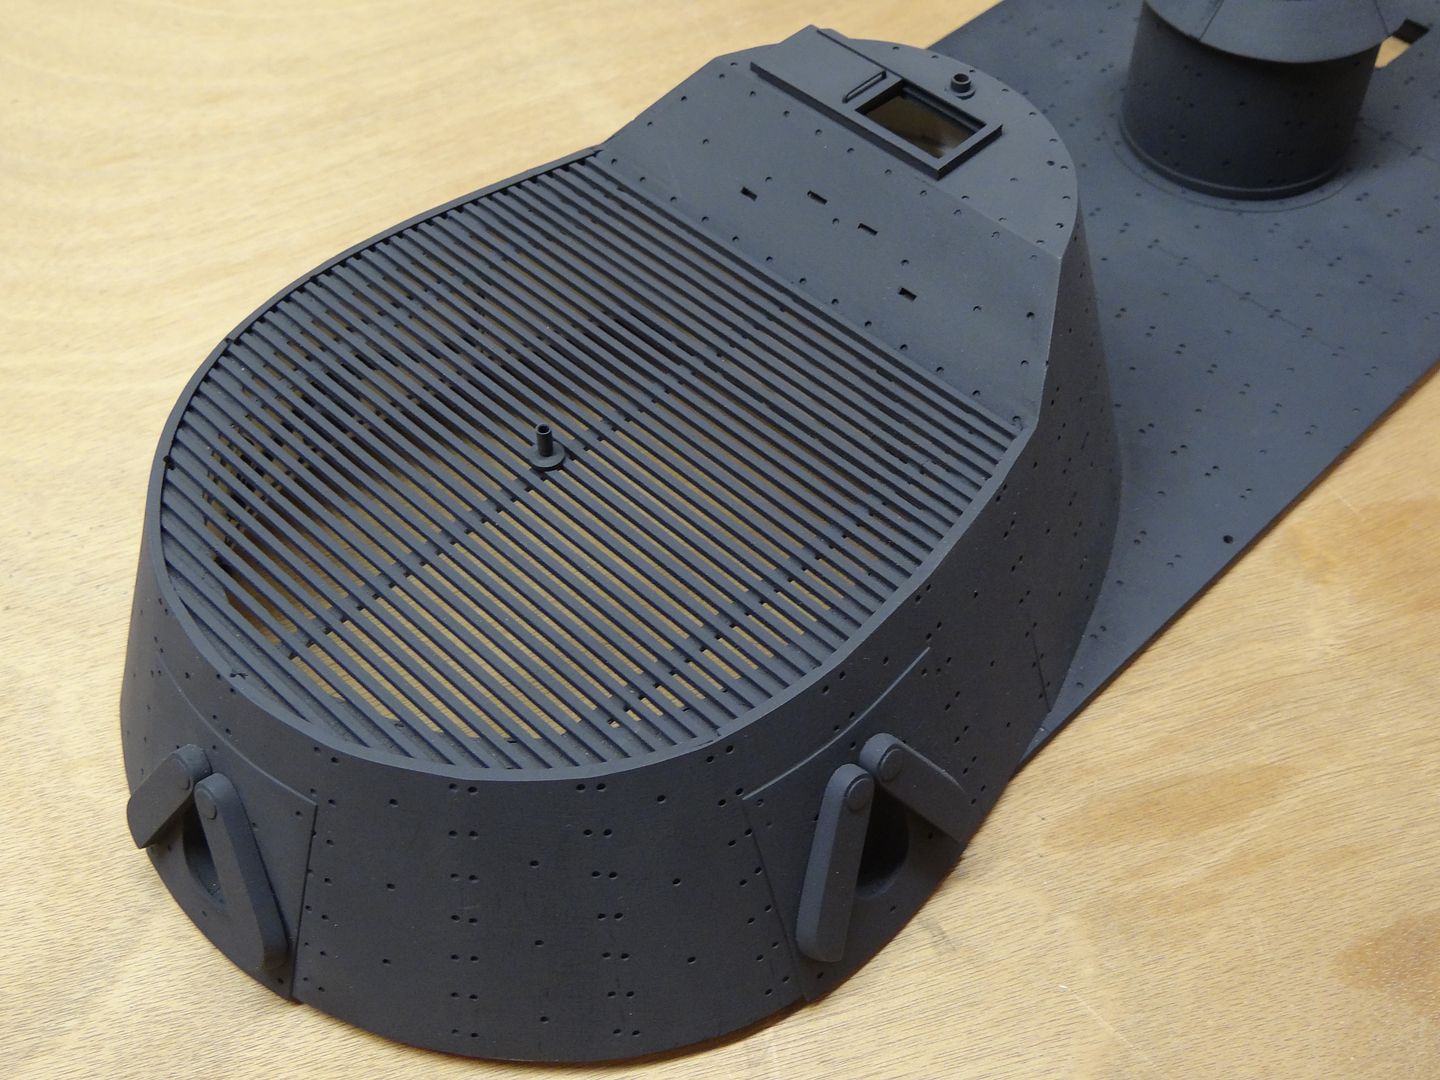
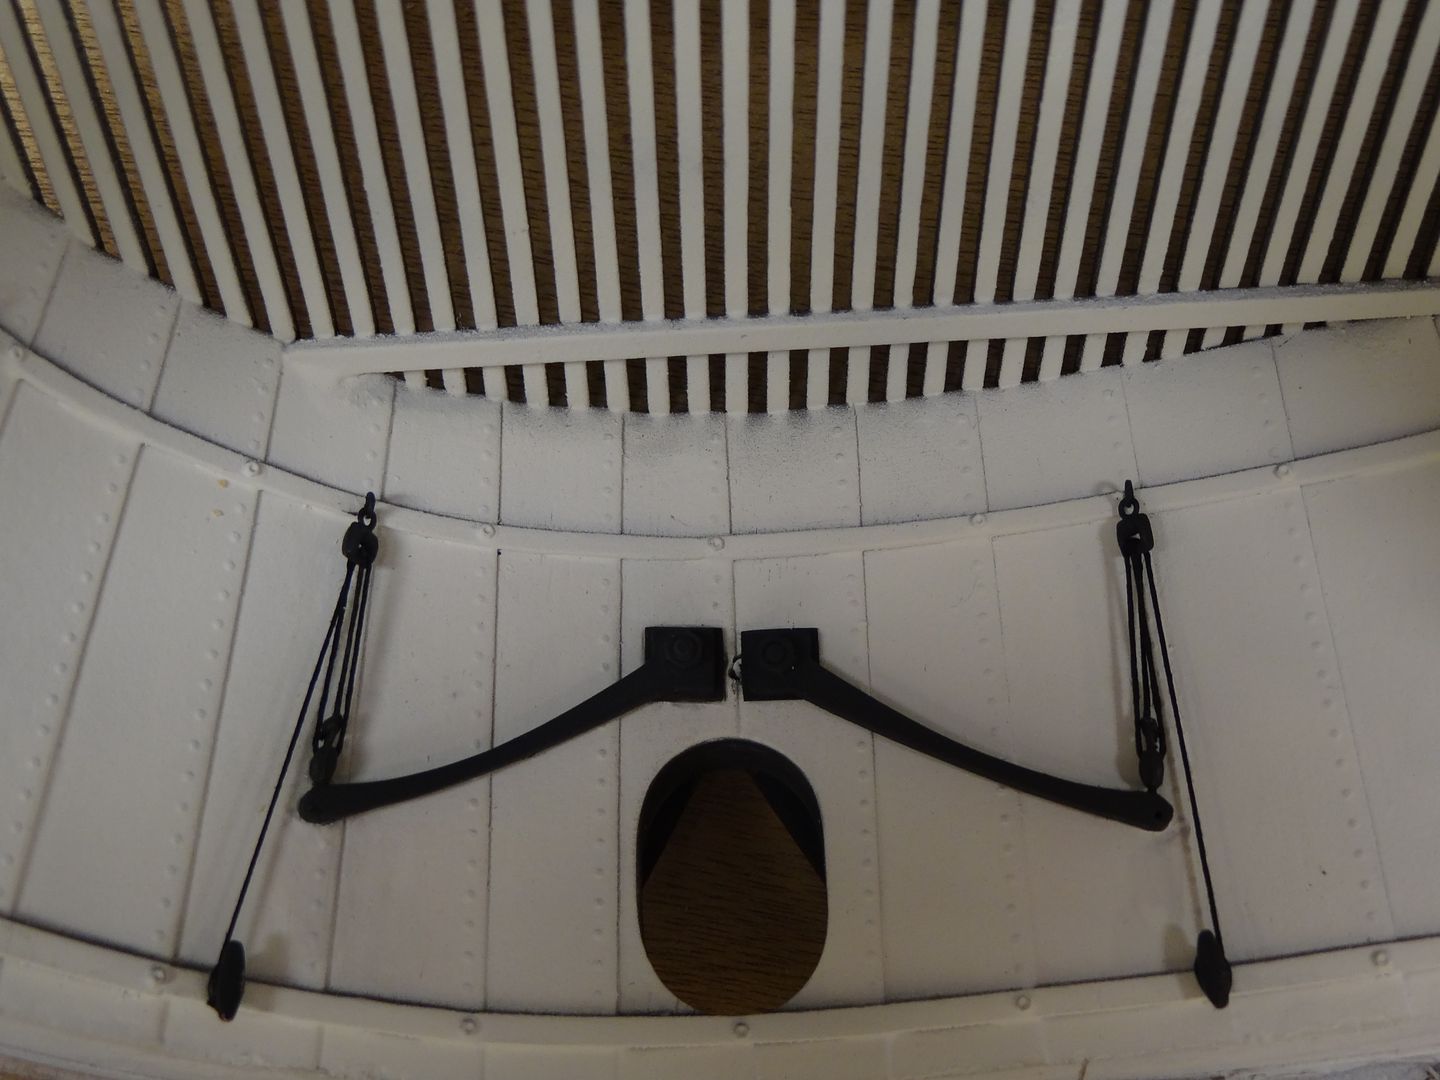
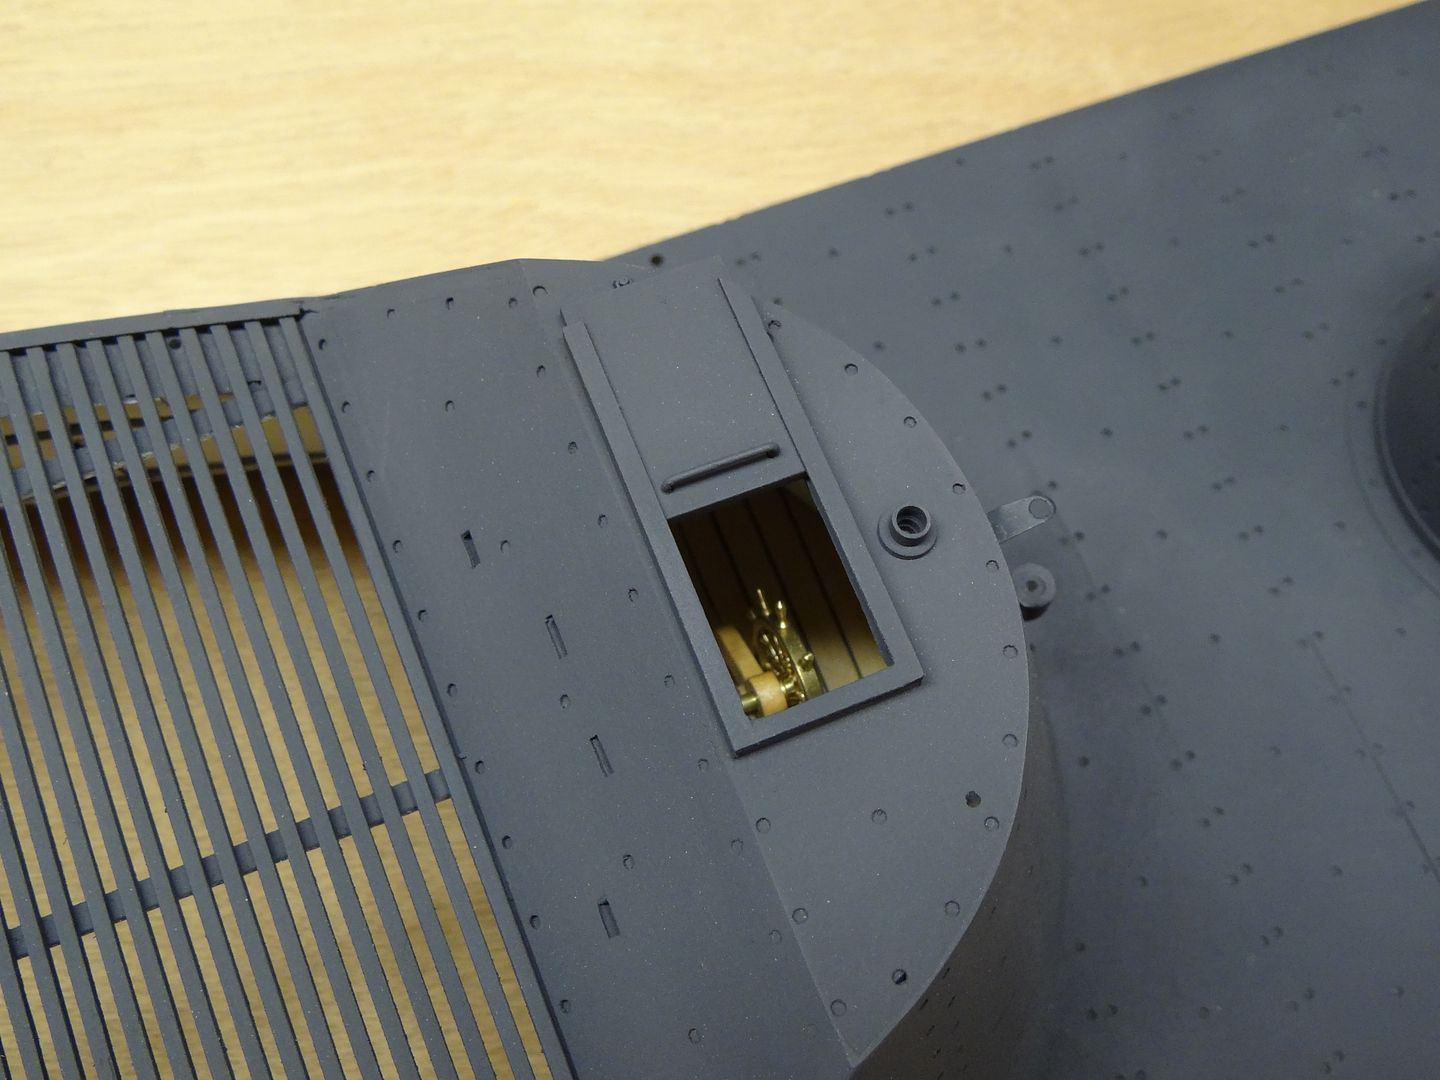
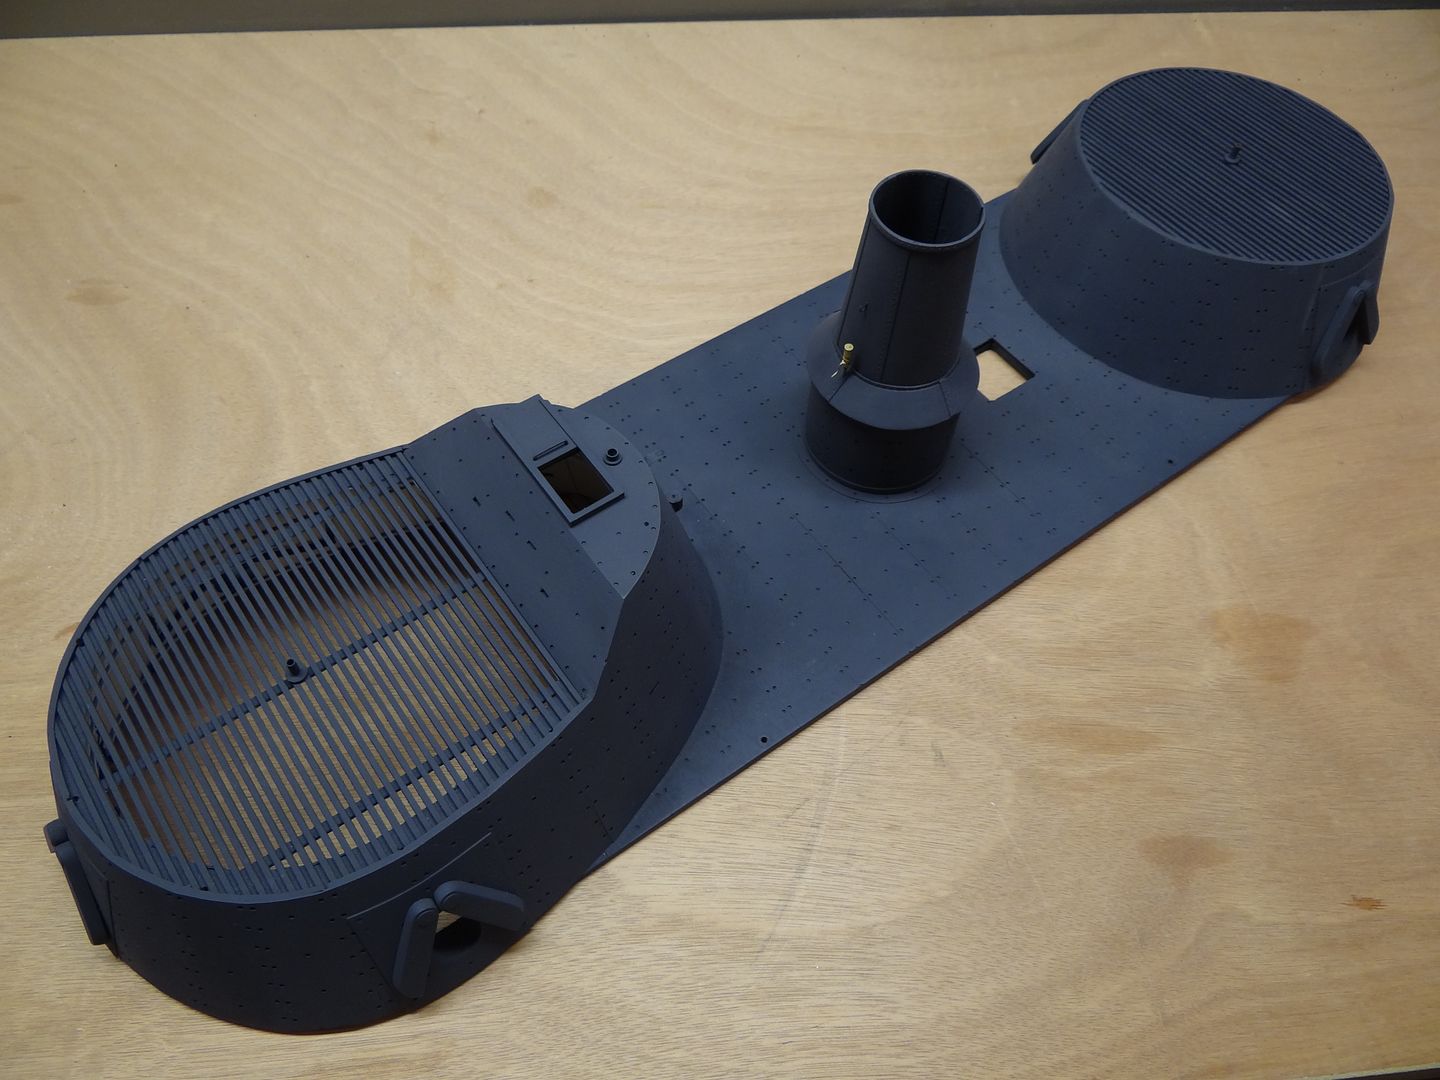
9. Whaleboat shell sitting on the deck.