And that's where things stood for a couple of years. Until, A couple of very good friends stopped by this fall and we dug her out of the rafters. (we had all been at a 1/96th event in Rocky Mount North Carolina. If your at all interested in the scale- or RC warships, its a must go)
so.. after they had been at my house about ten minutes (or so it seemed) we hit the lake to do flotation test to come up with a center of buoyancy, and to see how she react to the planned weights for batteries and such
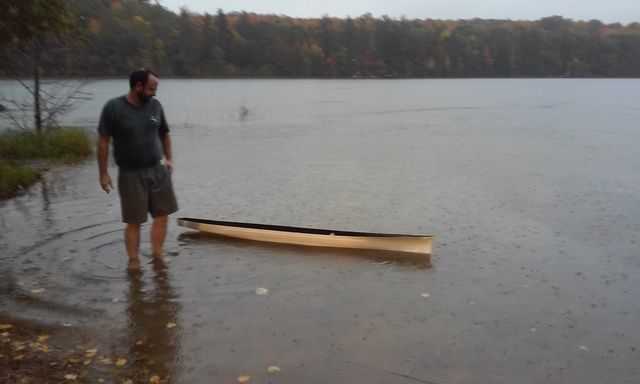
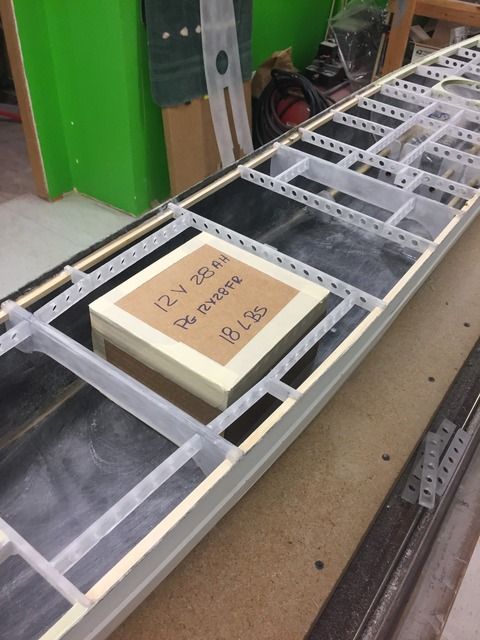
after poking around the internet for a bit, we came up with around 18 pounds for batteries (if we used one main battery and one receiver battery- may just be able to fit two- but that's TBD)
then it was back to the house, and time to start planning the layout-

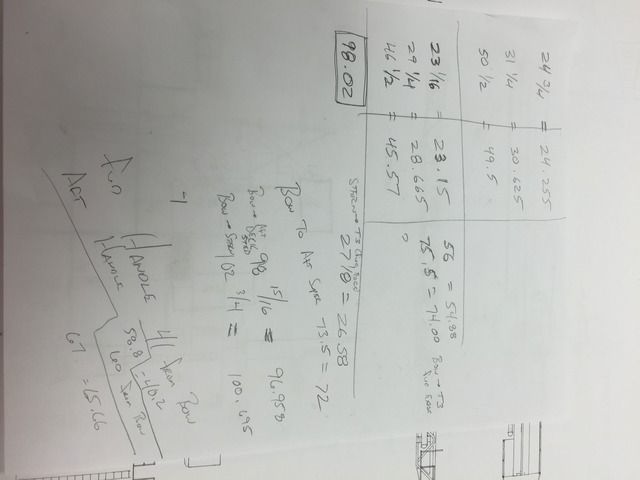
important lesson here folks- always check the dimensions of the plans. The TFW plans from floating drydock came 2% larger than they should have been. which led to way more math that James and I would have liked - and frankly, without Lees help we may never have gotten that one sorted out.
after that nightmare was over- it was on to the floor plate-
James talked me into screwing right through the floor plate- into what was to become our building board. Now- putting holes through a brand new hull doesn't exactly make me all warm and fuzzy... but seeing the results did. made the bottom all nice and straight- and more importantly kept the thing from moving all around, which was very nice.
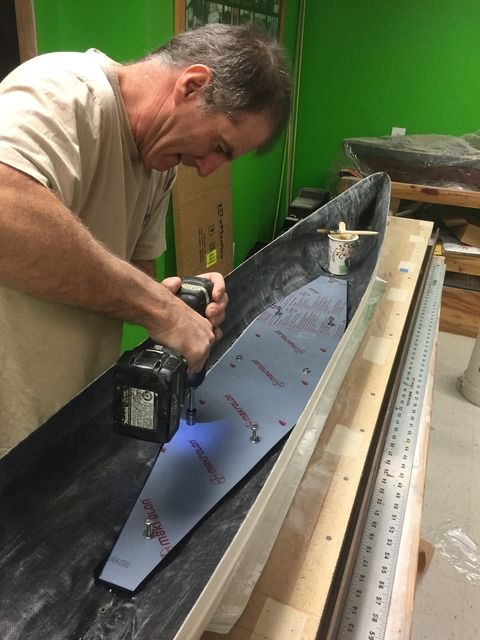
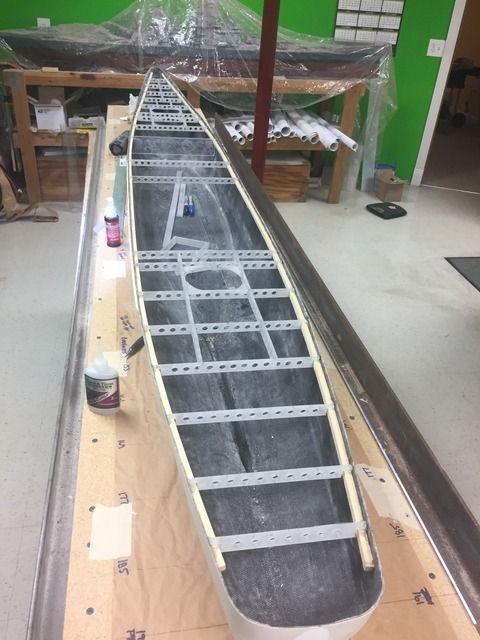
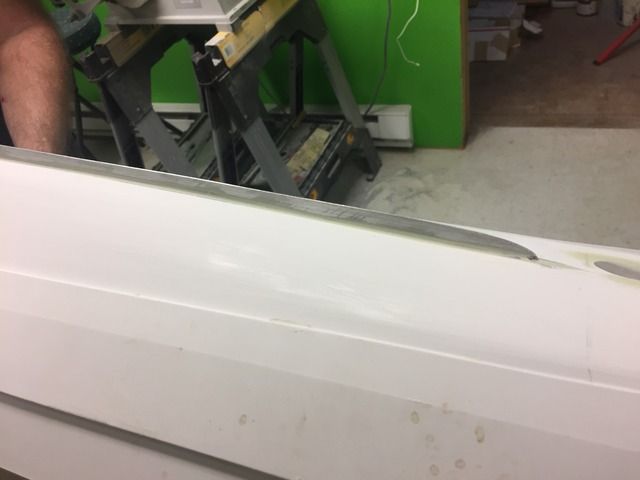
heres the finished plate after we poured the gaps on the sides full of resin and sanded it flush:
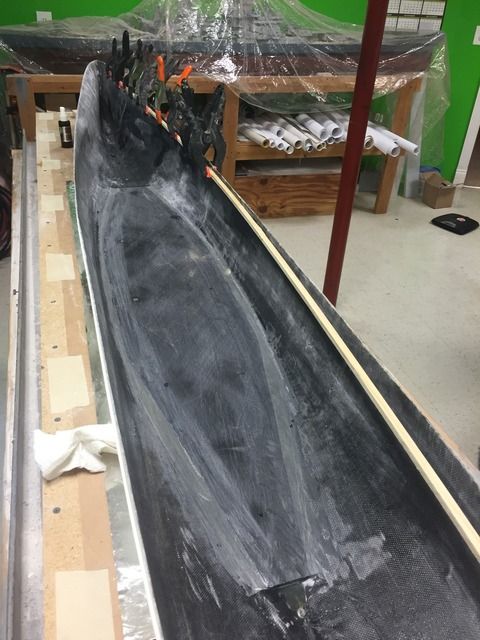
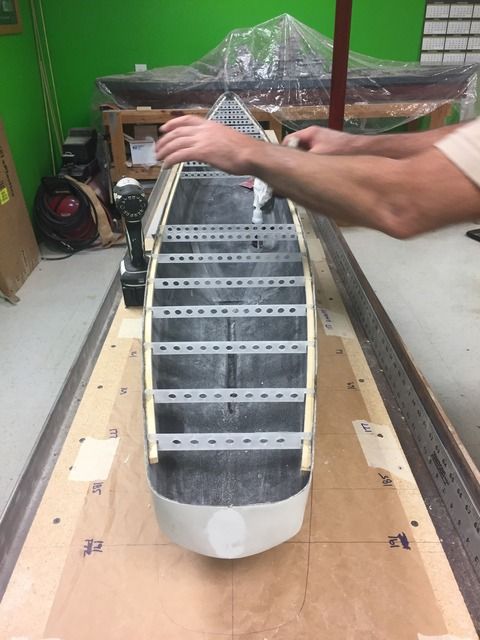
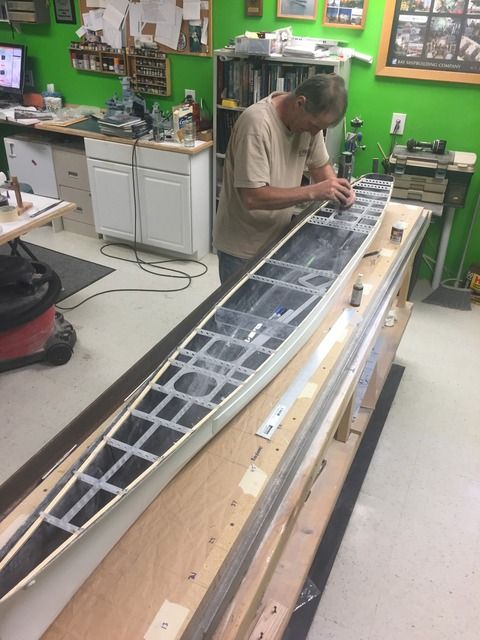
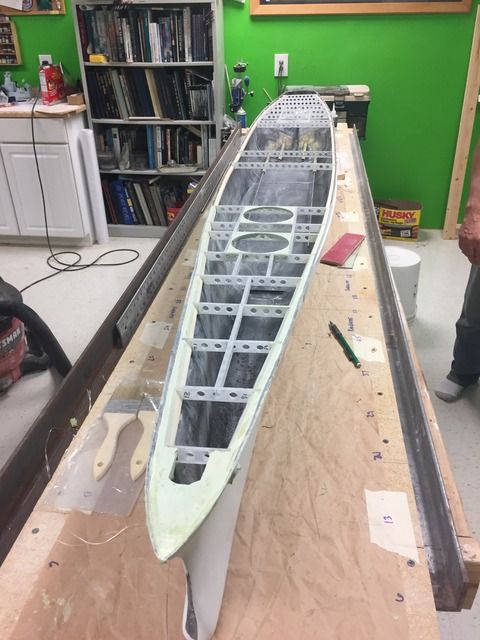
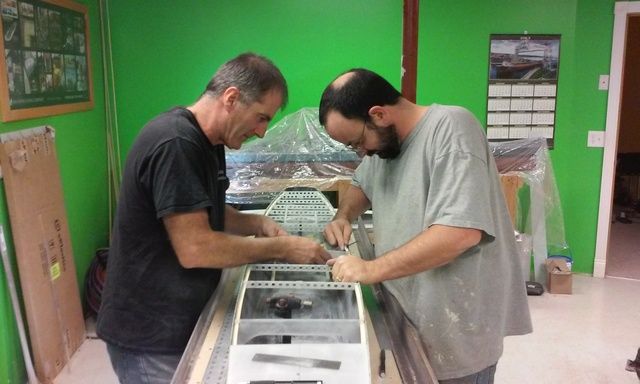
while I was on one of the many trips to town for supplies, James made a gantry crane for placing beams. when I got back, we where ready to starting putting the beams into the hull- using the plotting and math we had done earlier. here is the first beam going into place:
and more going in (maybe not quite in sequence, but you get the idea:

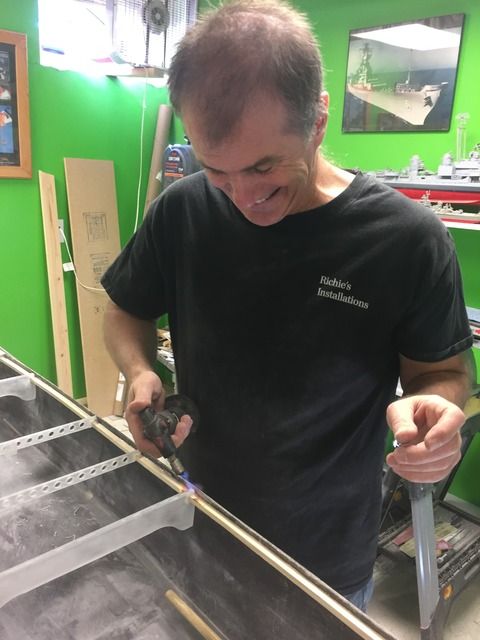
I have to put this picture in here just for James. He got to use a torch in the infamous green shop- and was all too happy about it. (more on that in another of my builds) but this beam wasn't in the right place, so we relocated it)
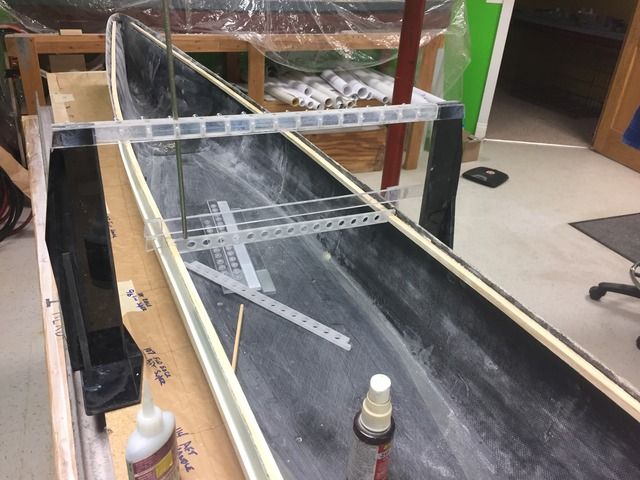
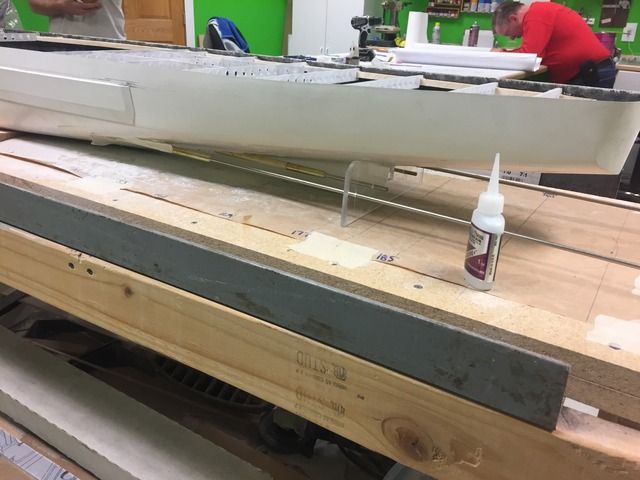
this picture, shows a jig that James made to hold the bilge keels in place during the shaping of them. I still had the template I used when I built the hull- so it was a fairly (well- not really... nothing is fun with those damn things) simple exercise to get the shape right.
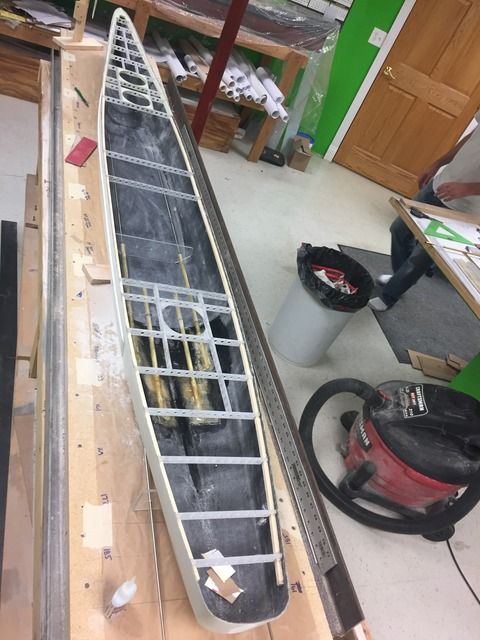
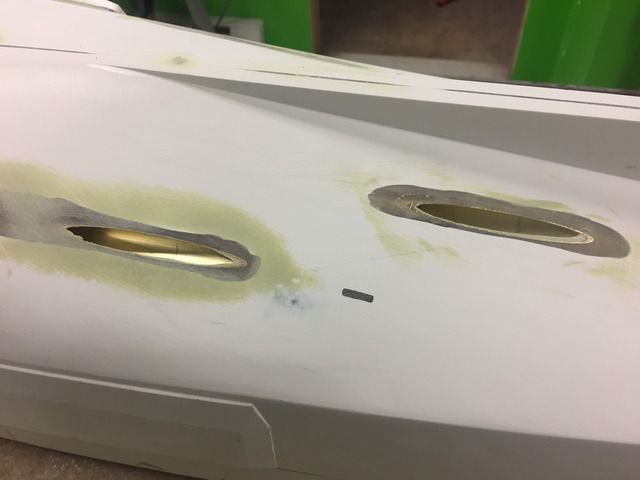
seen in this picture are the tubes to insert the stuffing tubes through. Never did this before- so far I really like this- I think its really sharp, especially given the recessed stuffing tubes this hull had (more on that later)
here are the Bilge keels after final profiling:
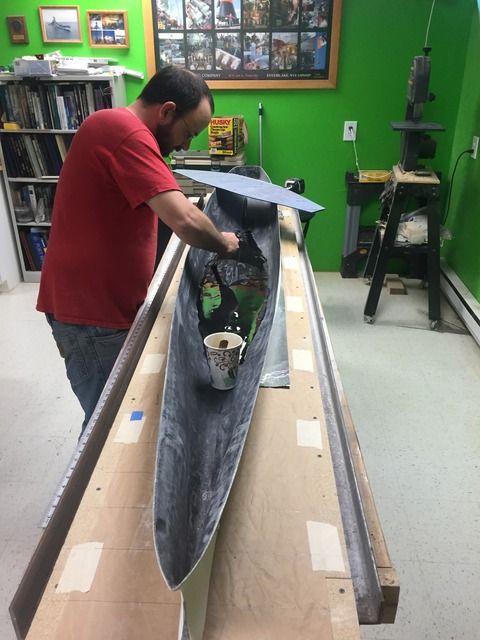
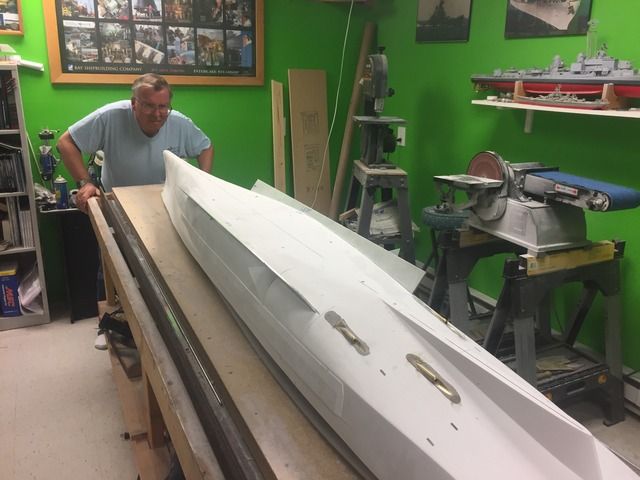
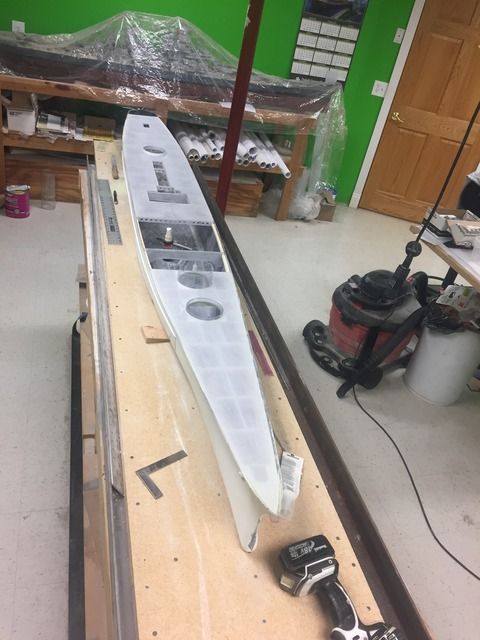
and- placing the deck so we can plot where the superstructure goes
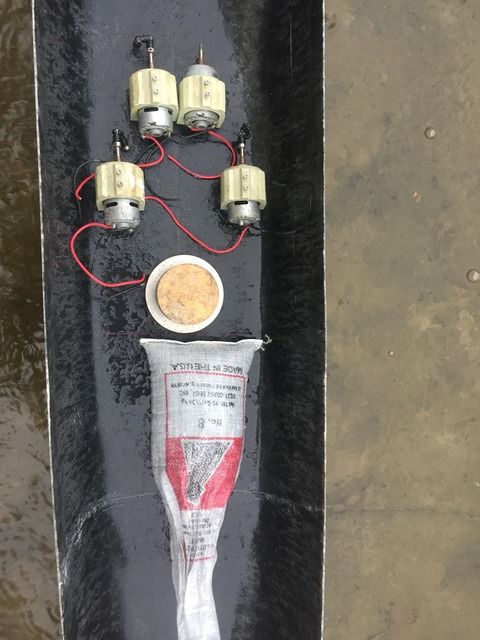
test fitting the "battery" which we made during arts and crafts hour
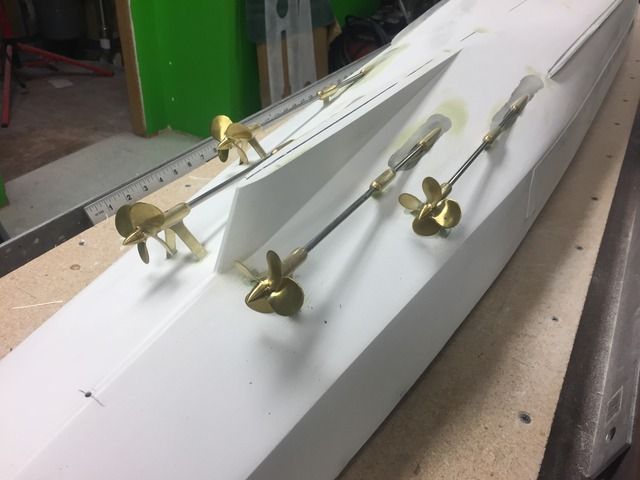
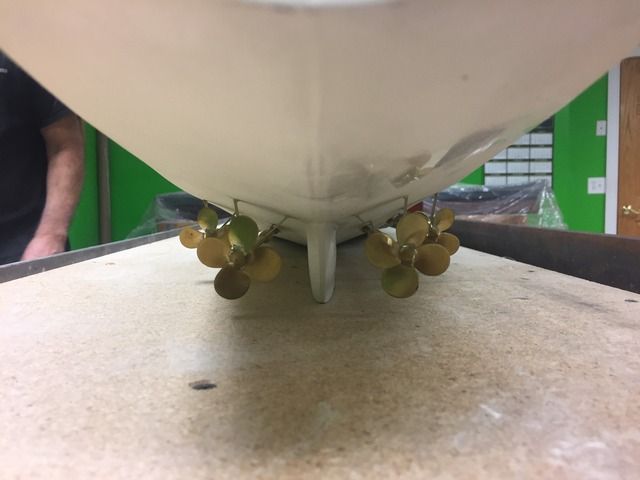
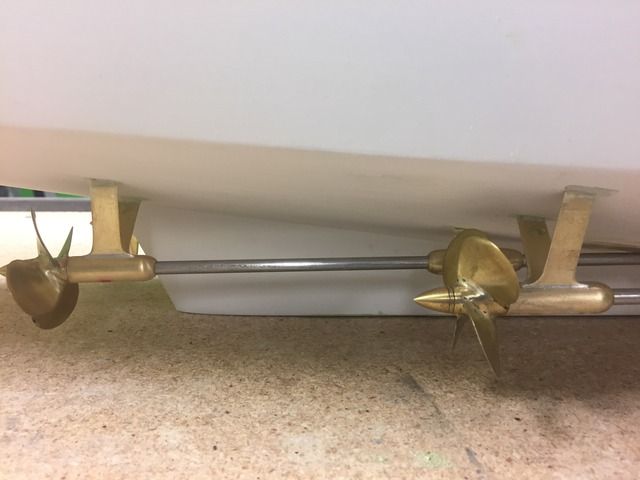
While James and I where playing with all this- Lee made an absolutely stunning set of shafts and struts. here they are seen with Keith Benders props. (if you don't get your props from him... you are seriously missing out)
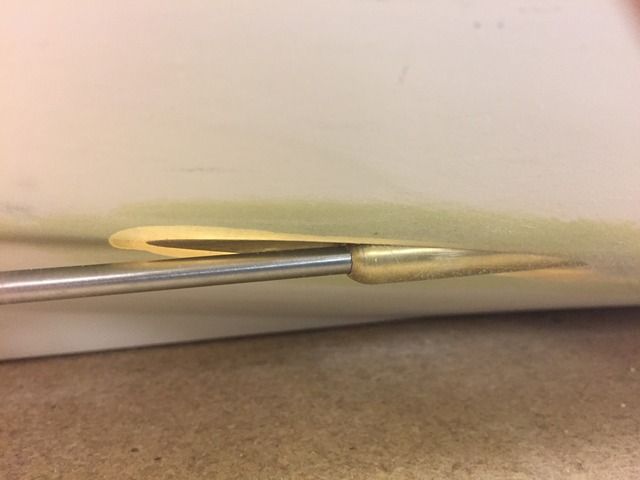
and- last one for the day. heres that recessed stuffing tube I mentioned earlier:
so- one more thing. I wanted more than anything, to learn something new. sometimes its not so easy to give up old habits- especially when you thought they worked... however- there wasn't many of my methods that went into this model, and its much much better for it. This was a lot of fun! for those of us old enough to remember Lee and Loren Perry building The builders model for the Burke, there was a lot of that happening here. The near non stop modeling- the panicked calls to find materials- Traci driving halfway across the country to get them- The headaches from the seemingly gallons of kicker and superglue we used. and it all came together in a week!


 what you're seeing is 1/16" lexan. I also was gifted a couple sheets of fiberglass sheet, and I fell in love with the stuff. that's what is making up the all the decks for the superstructure. very light and damn near unbreakable


