desron48 wrote:
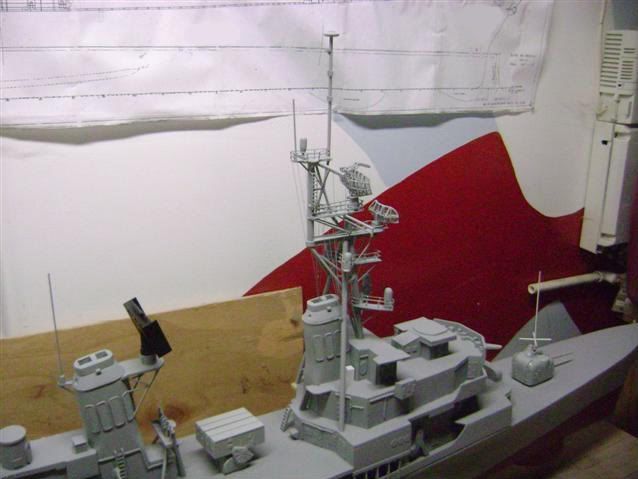
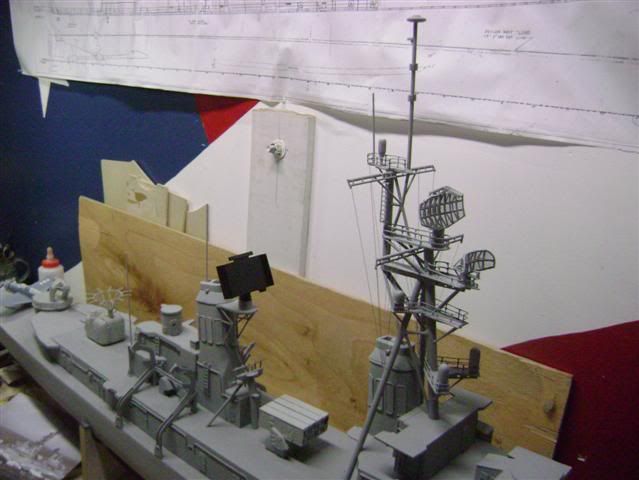
awsome chris.....how did you do the railings on the radar platform ??
Thanks Joe! It was kind of a trial by fire. My wife does stained glass and has worked a lot with solder and flux. I on the other hand have never soldered with flux. Heck, I've welded, brazed, riveted and did everything else with metal BUT soldering. When I would think solder, I would think electronics, plumbing, acid or rosin core. Soldering was ALWAYS a struggle which made me curse almost as much as my ex-wife

So, she sat me down and went over the basics with me. I'm not ashamed to say it... I learned something. And, on a side note, I have to thank my wife for the Mother Teresa-like patience she displayed while teaching me.

So after NOT having to struggle with the solder I was good to go.
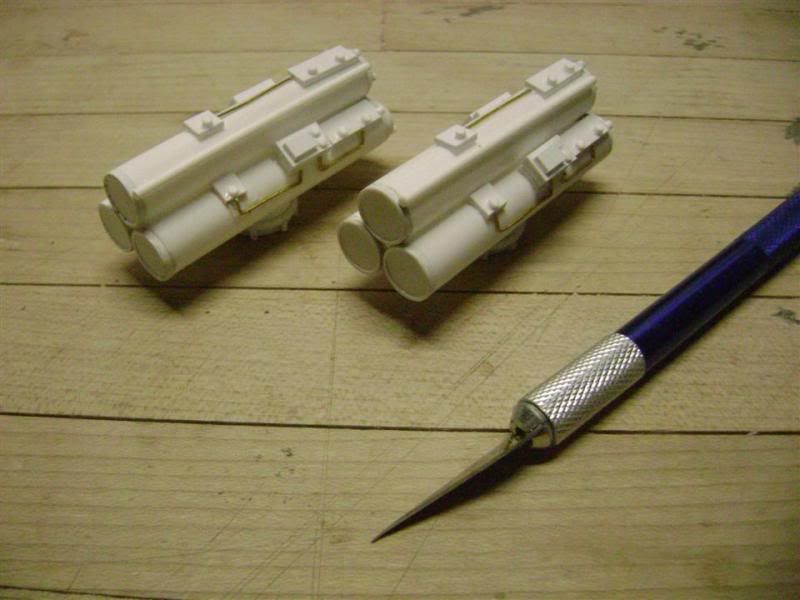
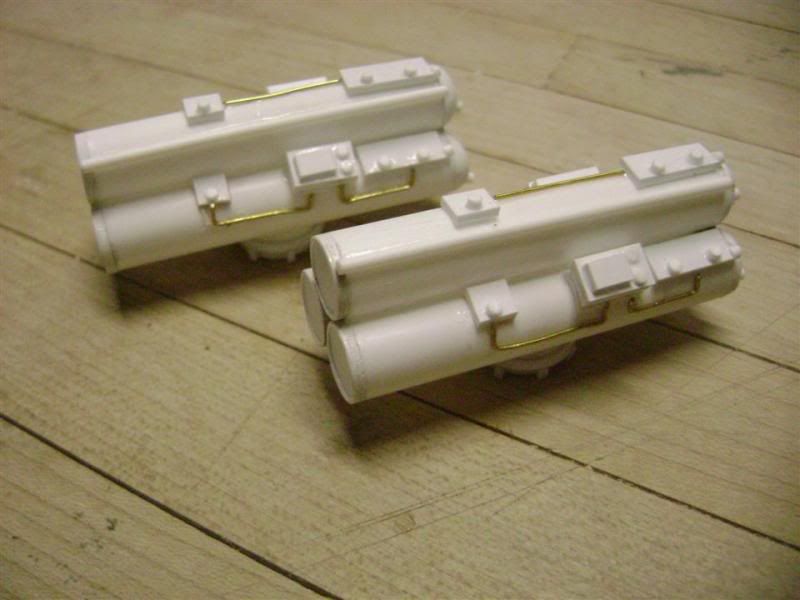
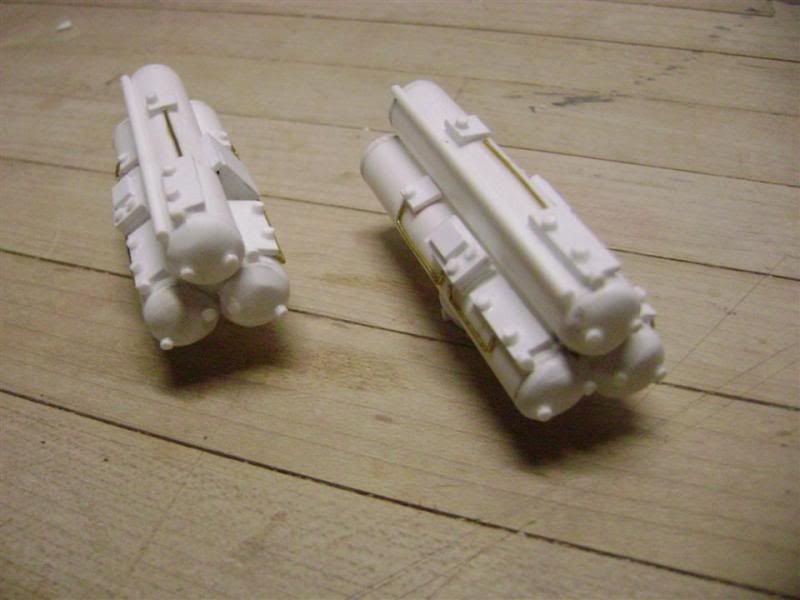
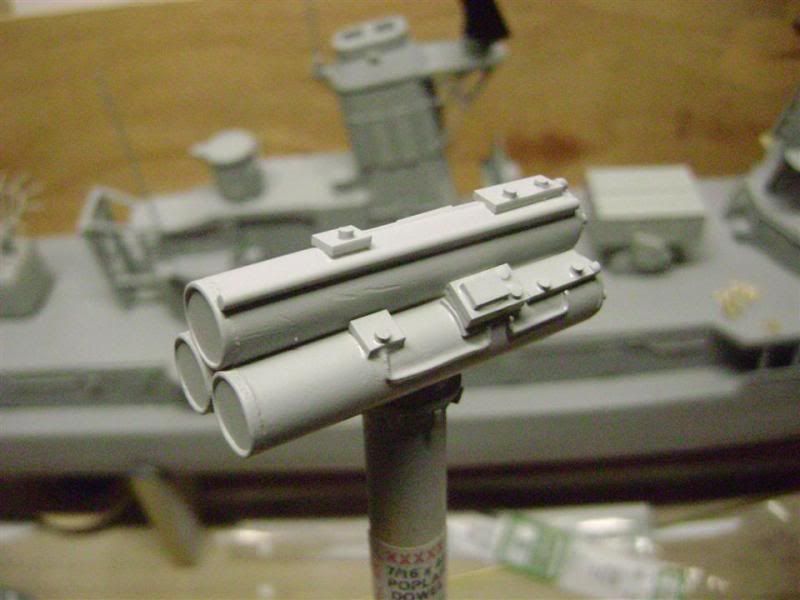
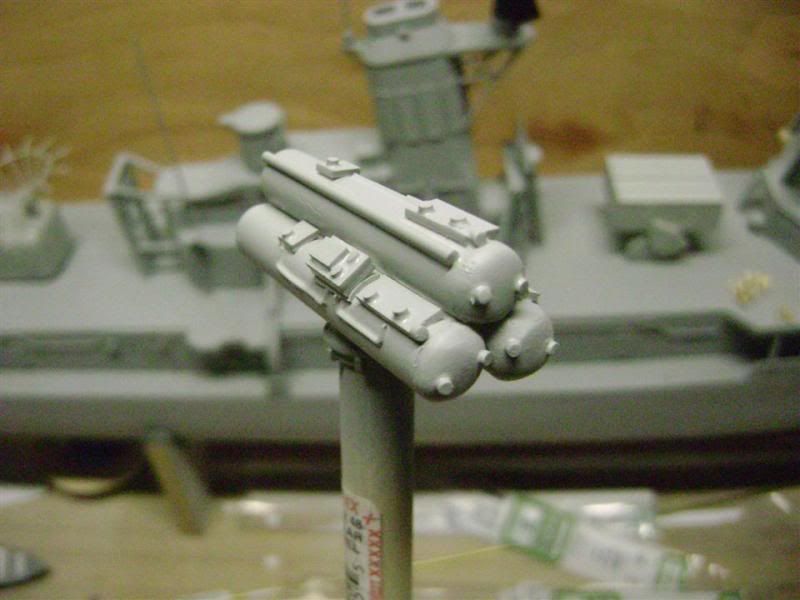
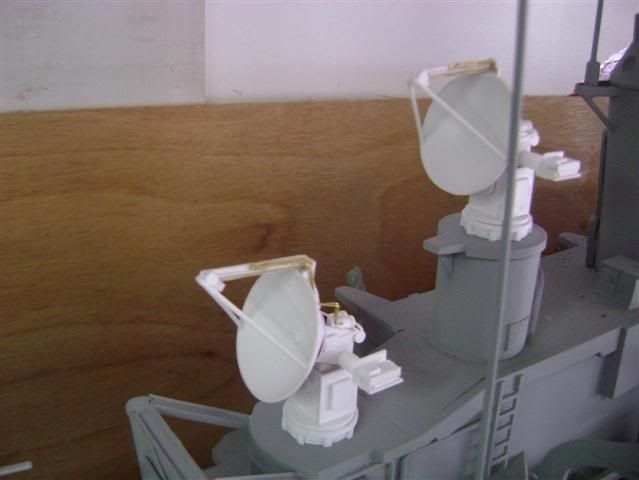
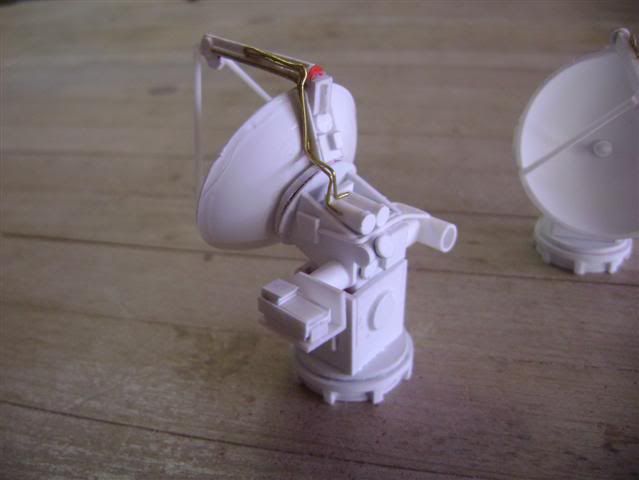
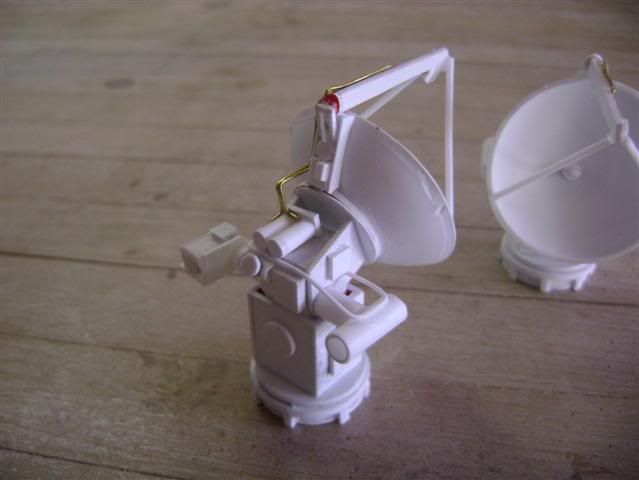
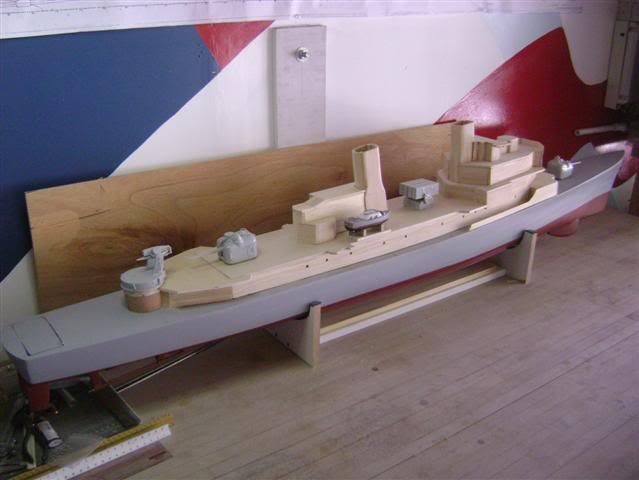
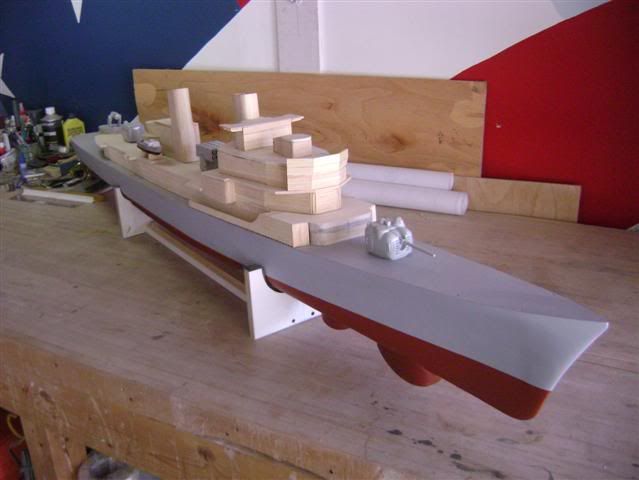
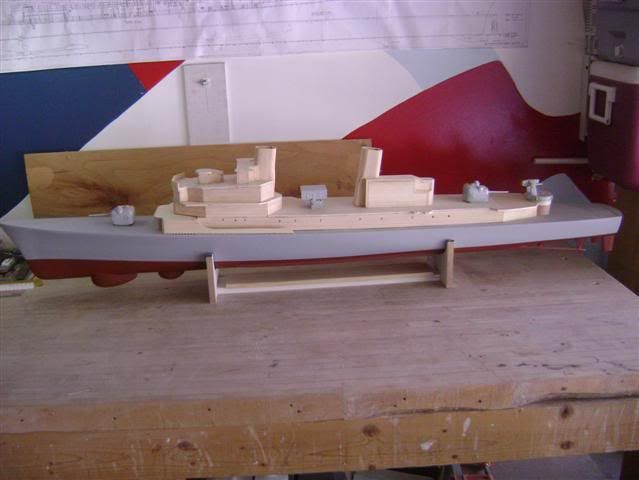
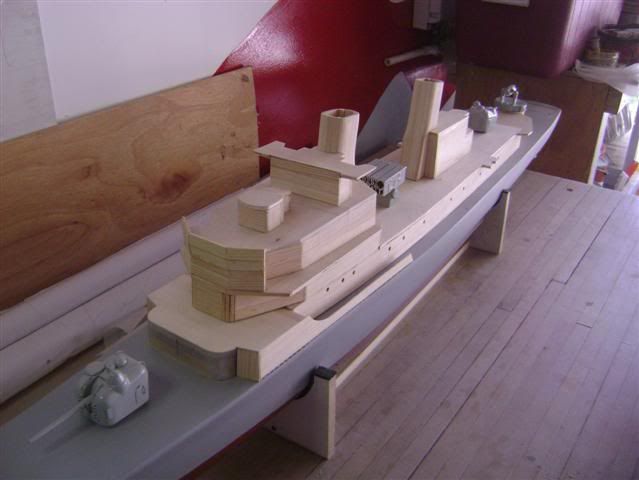
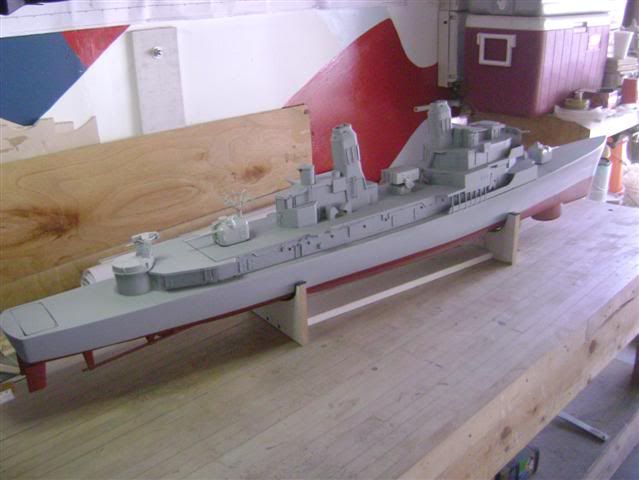
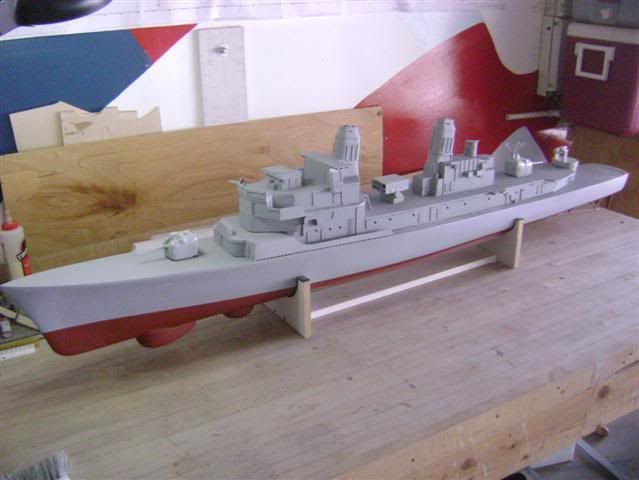
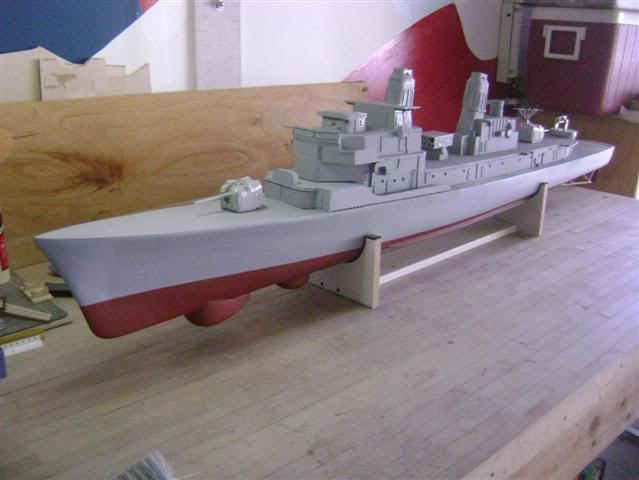
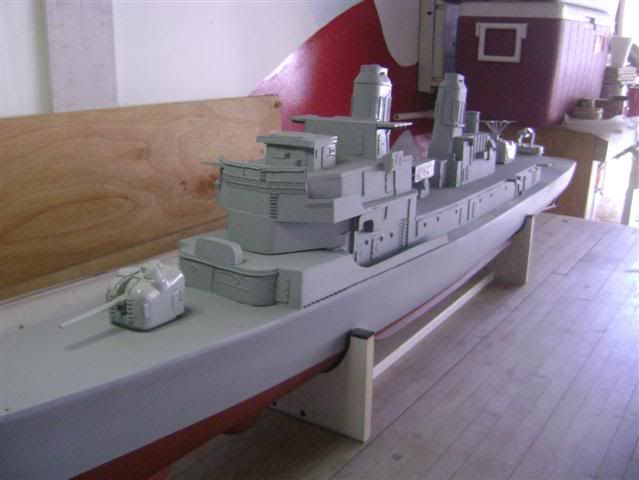
I took measurements from the drawing and made a jig on a board with small brass nails. I strung the wire cross the jig, fluxed and soldered it. Then I cut the wire from the jig, trimmed it and fit it to the mast. The first one isn't pretty under the microscope, but each successive one I built got a little better. By the time I made the ladder for the starboard top side of the mast, it was cake. (BTW Joe, I used the method you posted up in the how to to make the ladder and it came out great)
Now that my soldering skills are getting better... I'd like to make the wire/rope USN style stanchions which Joe also did a how-to on.

That would keep me occupied for a good long time and keep me out of trouble. At last count there are 224 or so that I would have to make.


 Well...