hello all,

after a long break , I decided to start a new build. I am going to build an USN Destroyer Escort in scale 1/35.
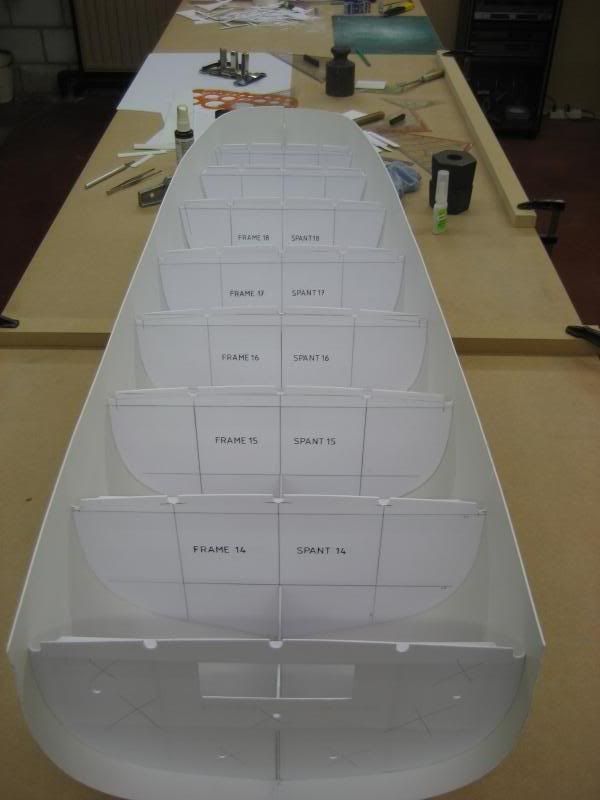
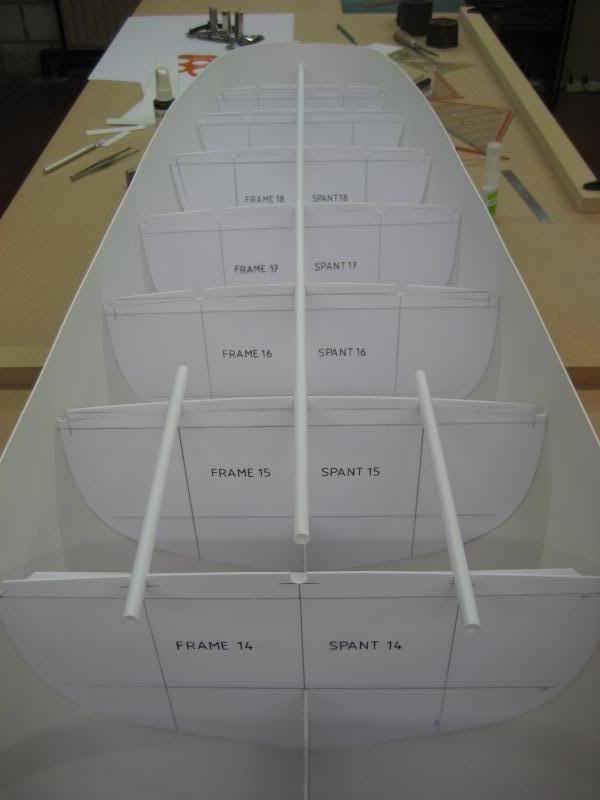
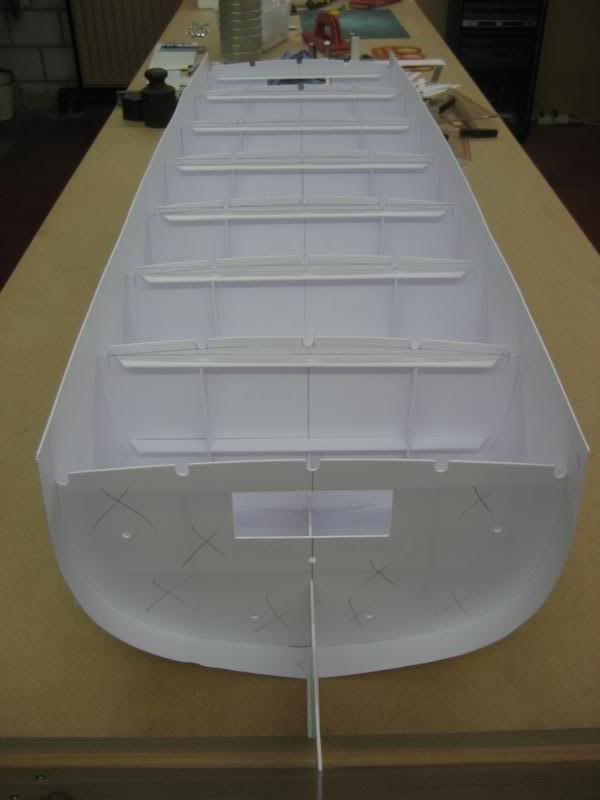
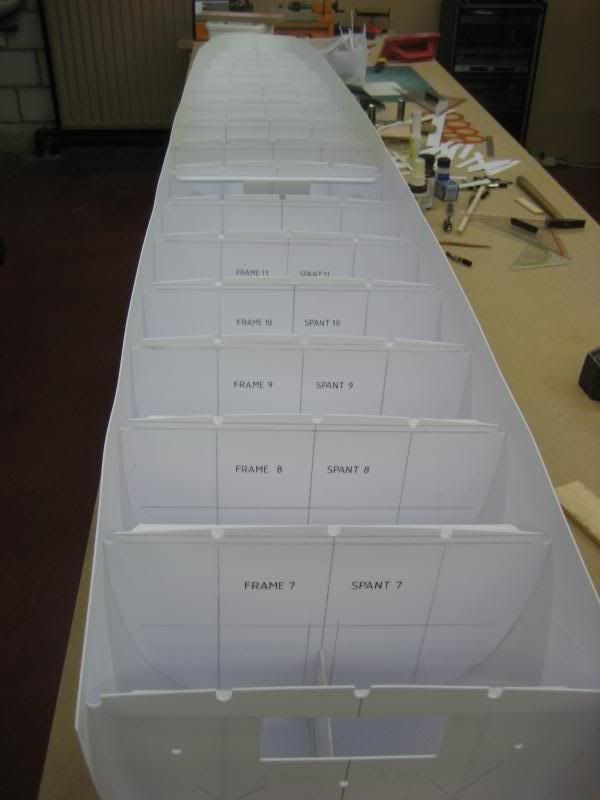
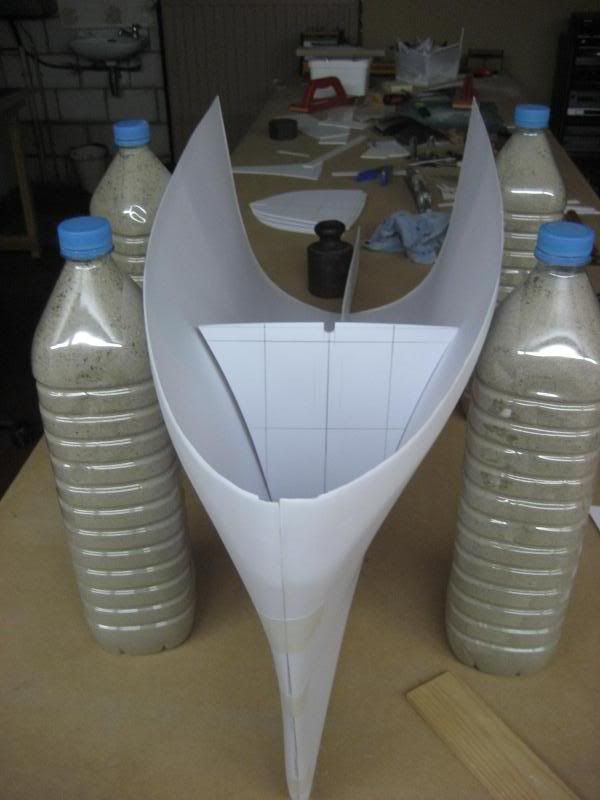
This model will be 2m 66 cm long and beam will be 30 cm.
First I am going to tell something about DE's.
In early 1941 UK ordered some DE's under the Lend-Lease plan. The original 50 was expanded to nearly 250 by early 1942 , but only 55 were transferred to the UK , all the others being retained by the USN which had not planned to build any.
Of the 1005 DE's finally ordered by 1943 , only 563 were complete , including 56 completed as high speed transports (APD)
At first there was the Evarts Class or short hulls, 289 feet 5 inches long with a beam of 35 feet and a draught of 10 feet. This shallow draught saved many DE's from U-boat attack. UK received some of these short hull ships and called them Kaptain Class Frigats.
Armament was 3 x 3inch/50cal guns , 1 x 1'1 inch AA gun , which was later replaced by a Bofors 40 mm Twin gun, when these guns became available , and up to 9 x 20mm Oerlikon guns , 2 x depth charge racks and 8 x depth charge throwers or K-guns and Hedgehog anti submarine spigot mortar system.
Then came the Buckley Class , Cannon Class and Edsal Class or long hulls , 306 feet long with a beam of 36 feet 10 inches and draught 14 feet. The difference between these classes was their power plant.
Armament was almost the same as on the Evarts Class , but they had a triple 21 inch torpedo tube installed mid ship. These torpedo tubes were on some ships removed and additional AA armament was installed , mainly single 40 mm Bofors guns Army type.
The last DE's build were Rudderow Class and John C. Butler Class , they also had the long hull , but the had a complete new bridge that closely resembled the style of the Allan M. Sumner Class Destroyer.
Armament was 2 x 5inch/38cal guns , 2 x 40mm twin Bofors , some ships had the aft twin removed in favor of a 40mm quad , up to 12 x 20mm Oerlikon guns , depth charge racks , K-guns , 21 inch torpedo tubes and hedghehog anti sub system.
Some of the DE's were converted to APD's , everything behind the bridge was removed , the sides of the ship were higher , 4 x boat davids to handle 4 LCVP's landing craft were installed. On board these ships were US Marines or Rangers.
Converted Buckley's , Cannon's and Edsal's became Charles Lawrence type of ships , converted Rudderow and John C.Butler's became Crossley type of ship.
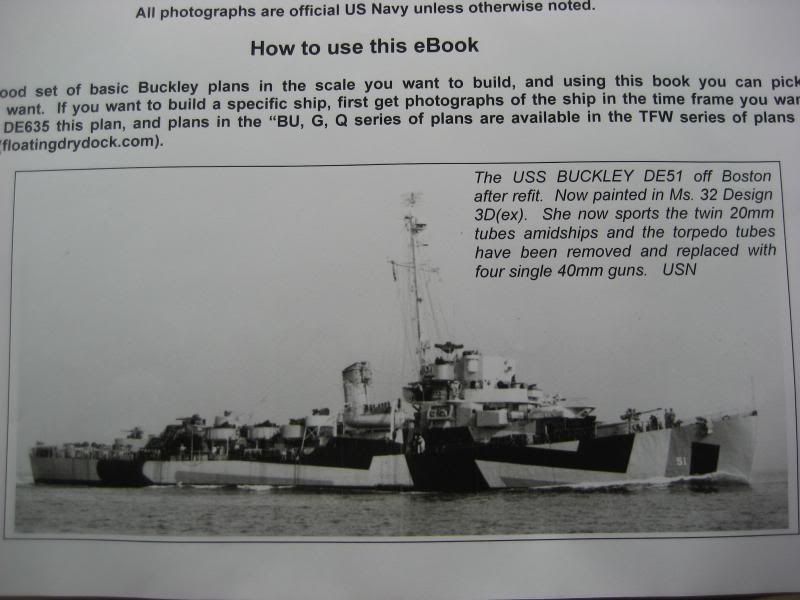
A wide variaty of camouflage was used on these ships , from a single colour Navy Blue , up to a multi colours of grays and blues. The APD4 were in 3 greens , brown and black.
here are some photo's to give you some idea how they look like.


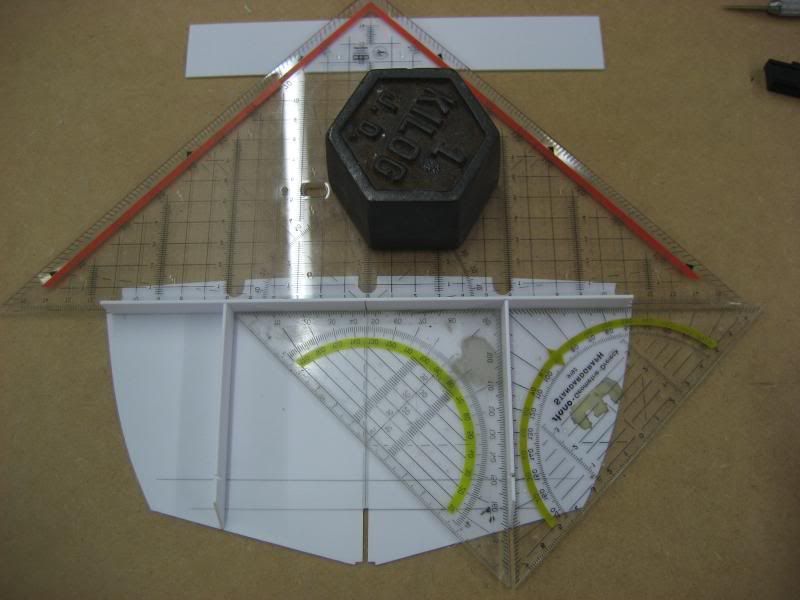
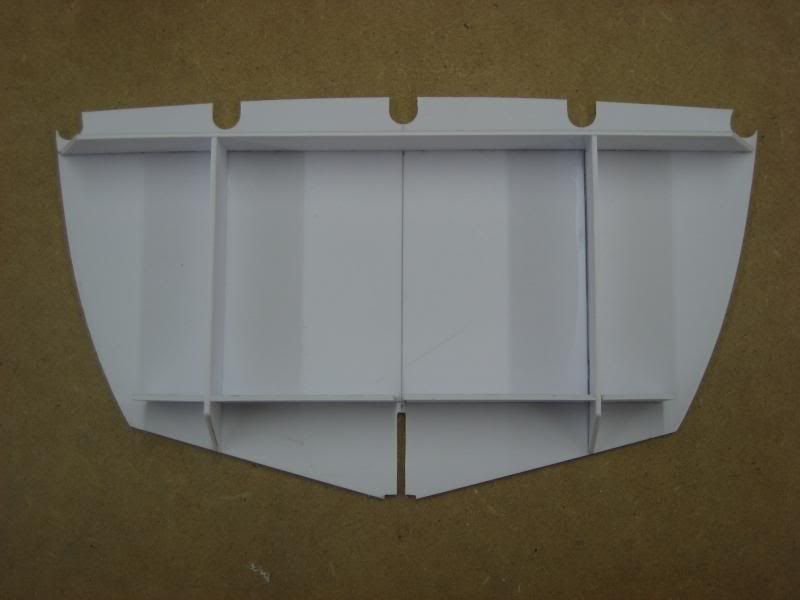
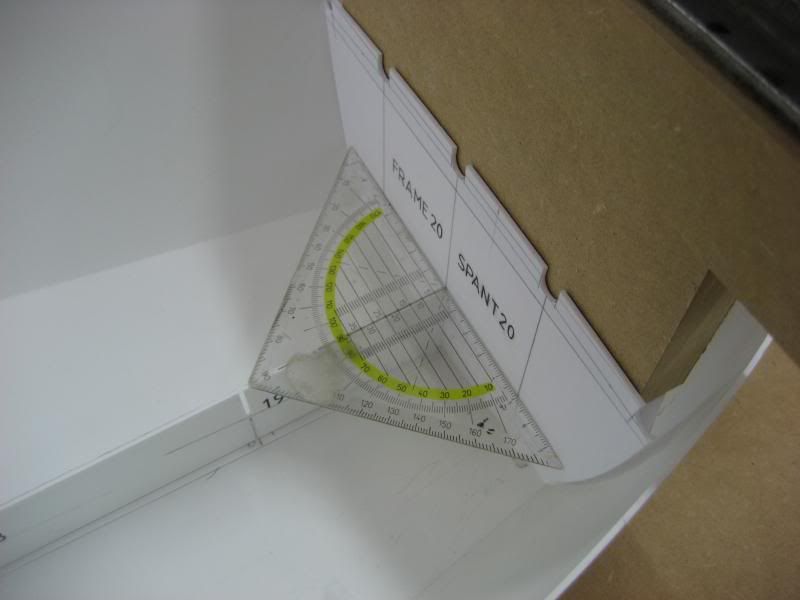
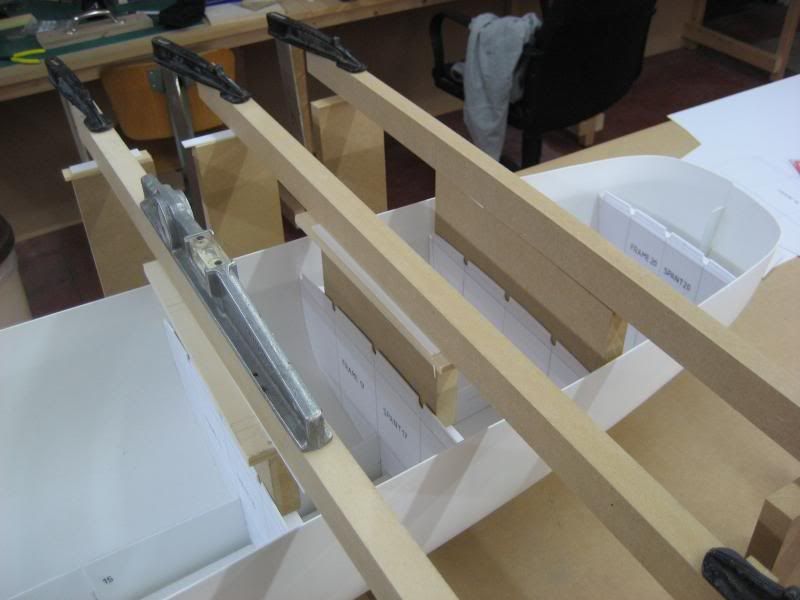
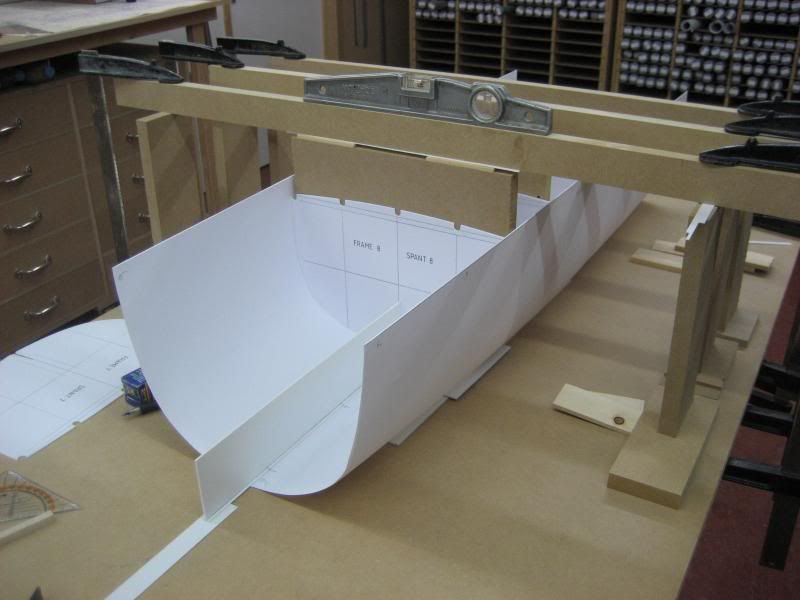
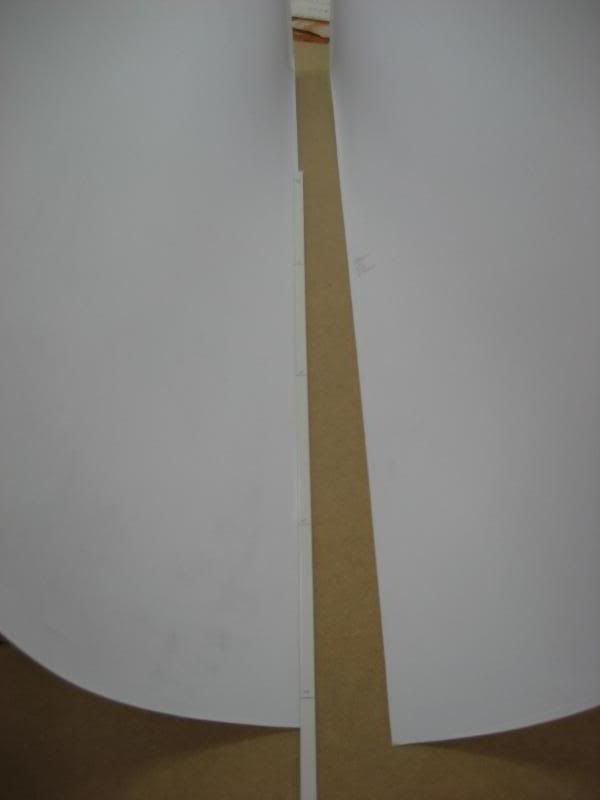
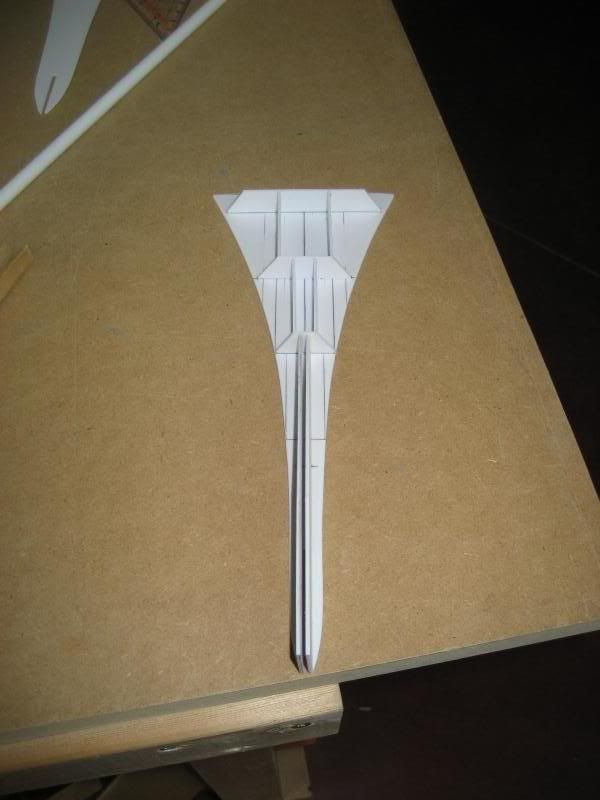
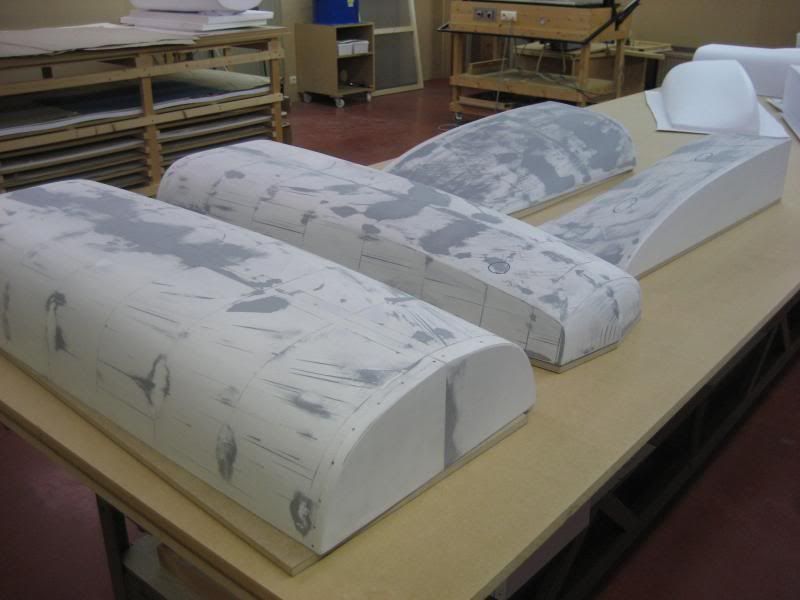
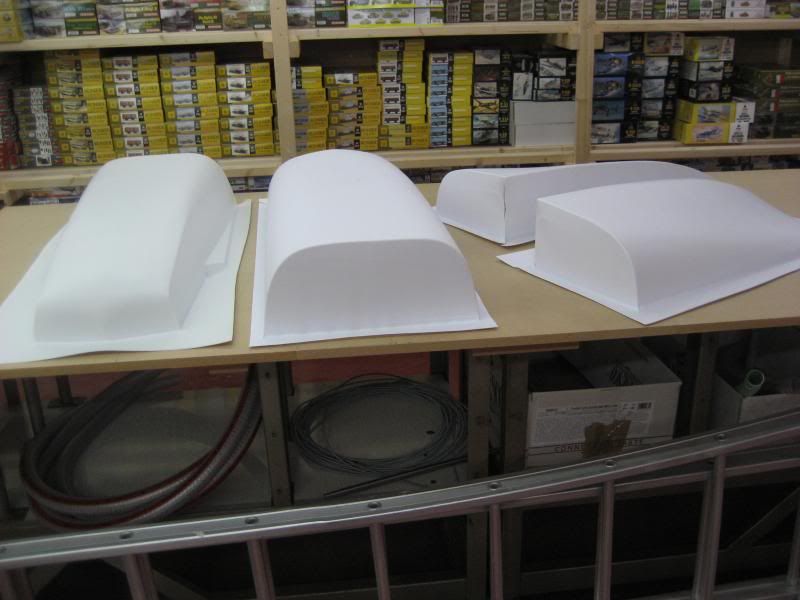
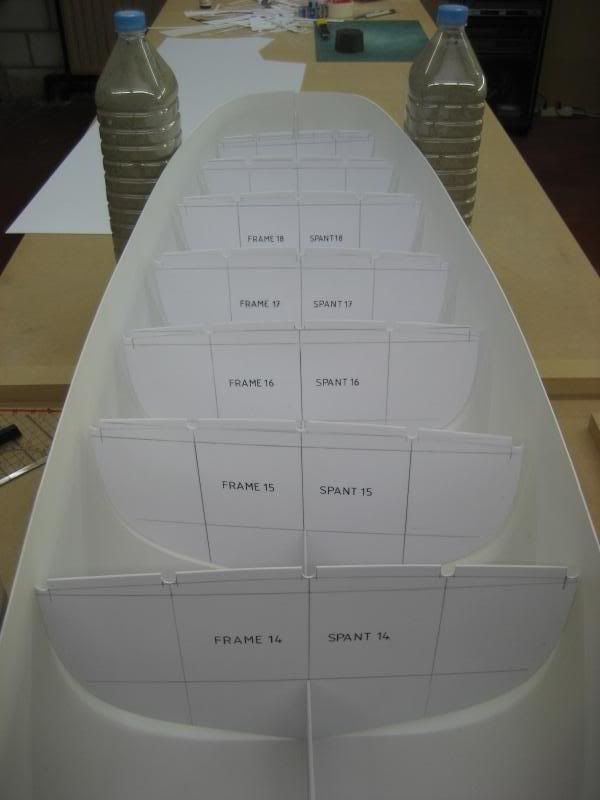
I will use the vacuum forming method , so I had to build the moulds , 4 moulds will form the complete hull. here are some photo's of the moulds.

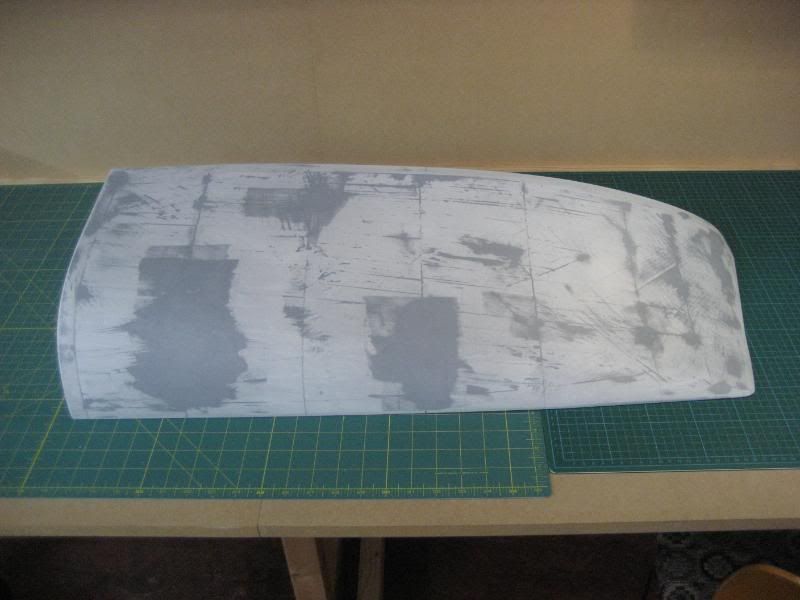
front part
center part
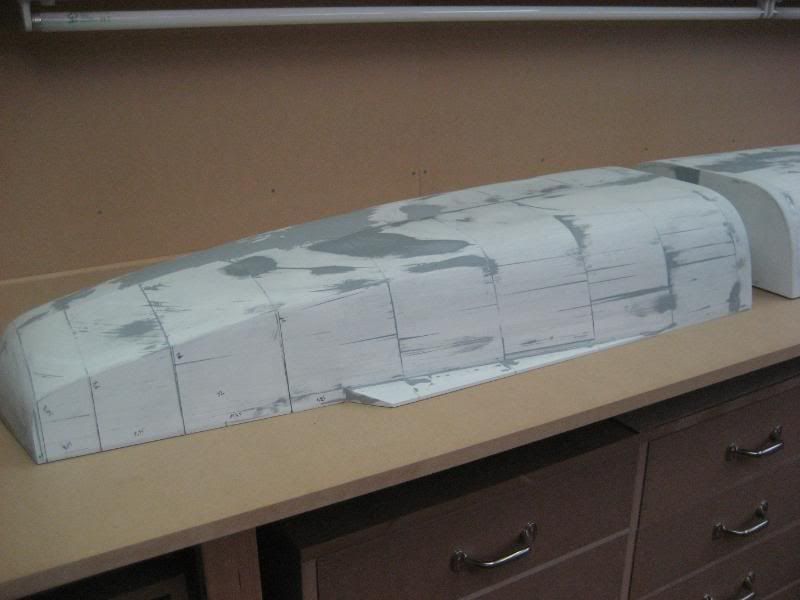
aft part
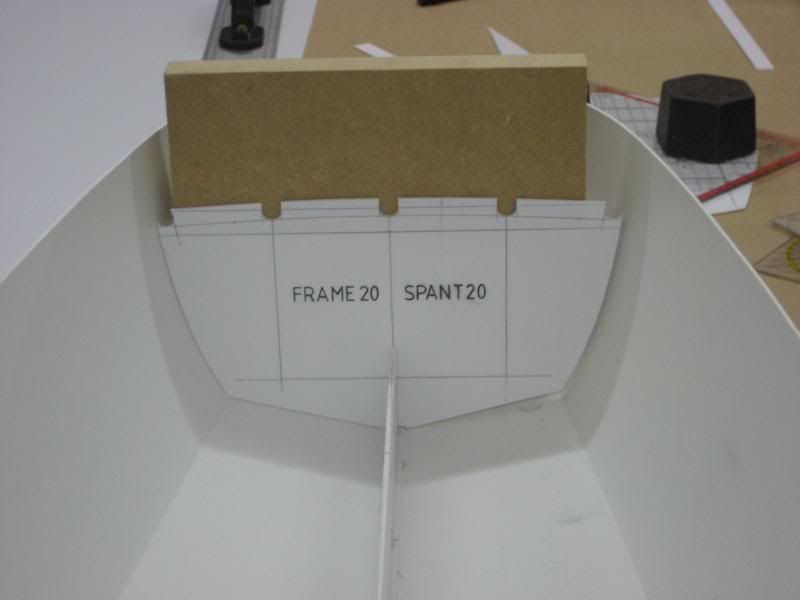
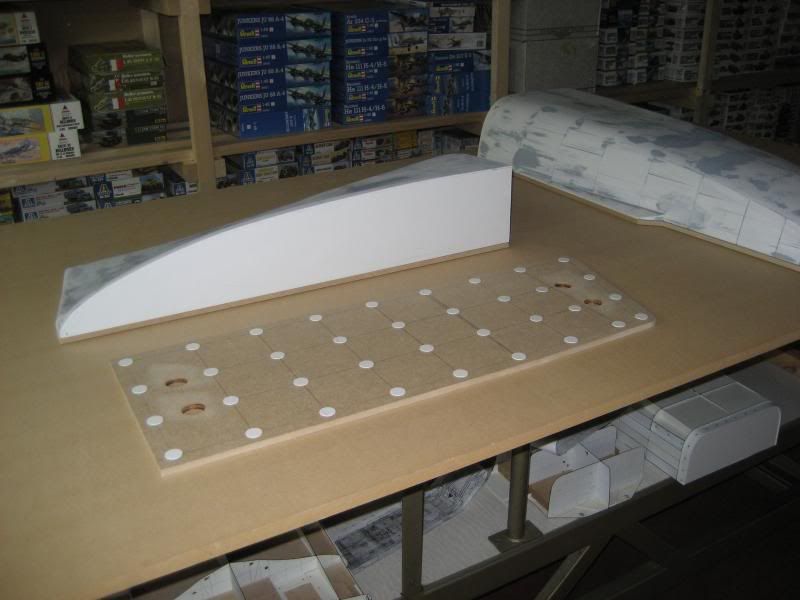
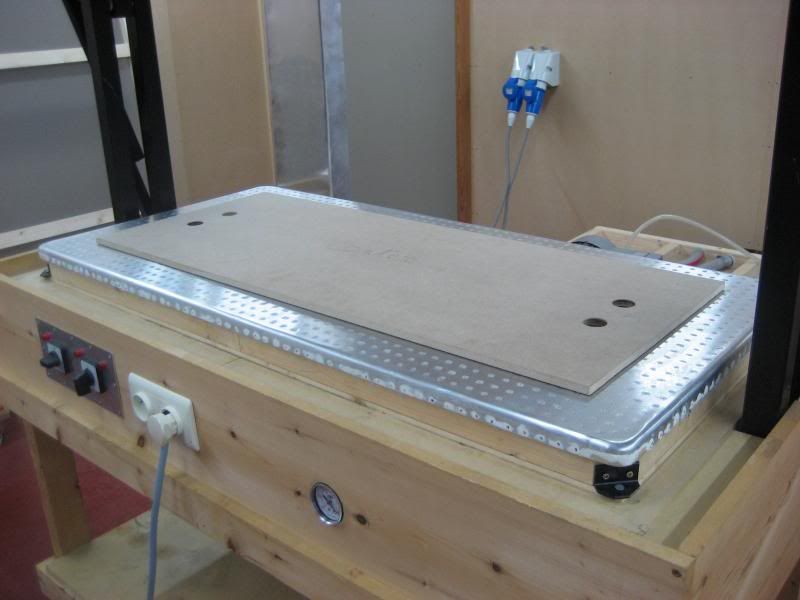
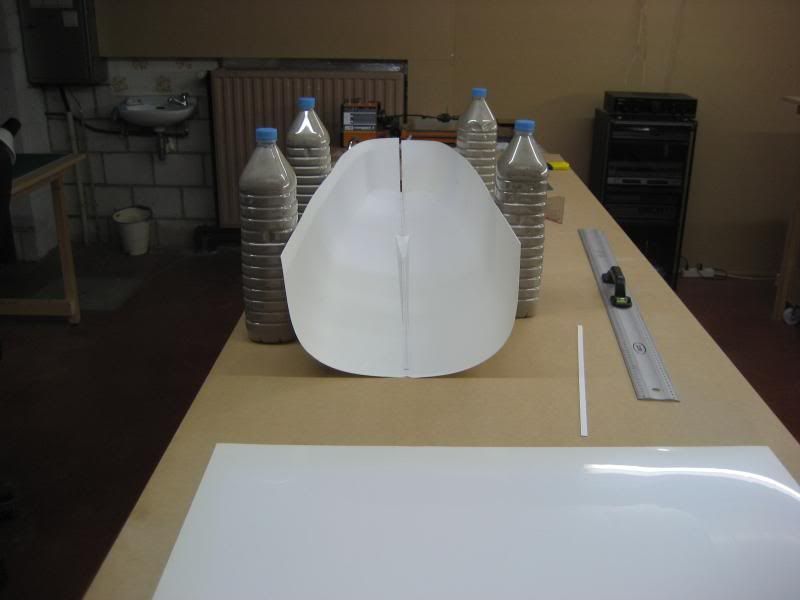
Then I cut out a piece MDF plate , the exact form as the lower part of the mould , on this plate I place the mould so NO air will be trapped.
I cut out a large piece of styrene plate and clamp it between the frame.
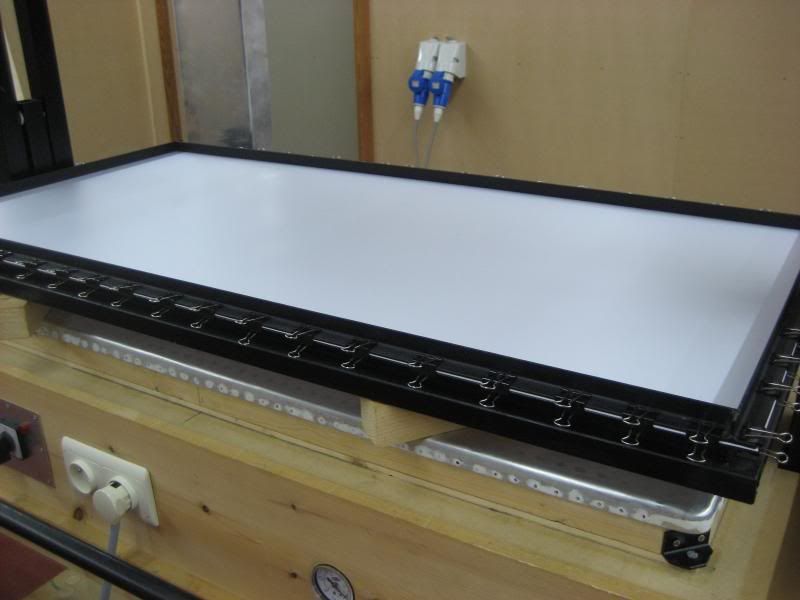
I place the MDF plate onto the forming table.
onto this plate I place the mould , then heat up the oven , after a while the soffend styrene plate starts to sag , I turn off the oven and start the vacuum pump.
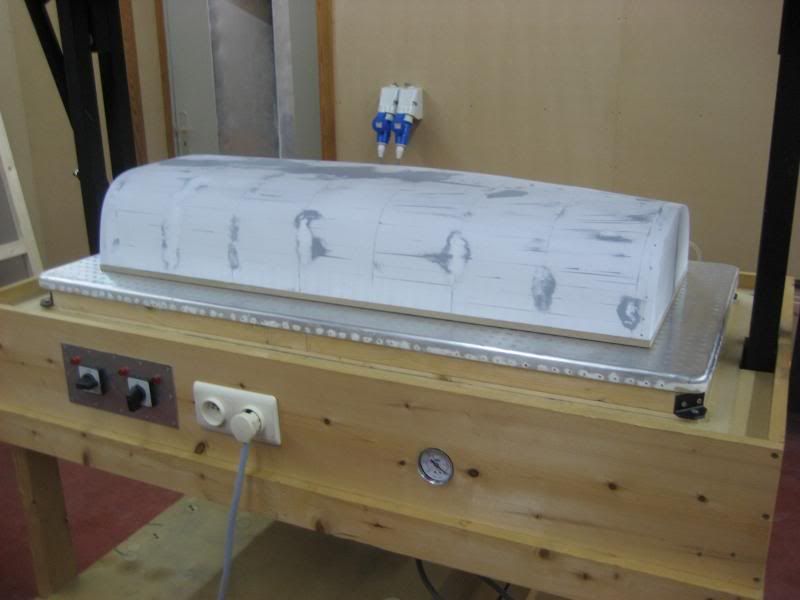
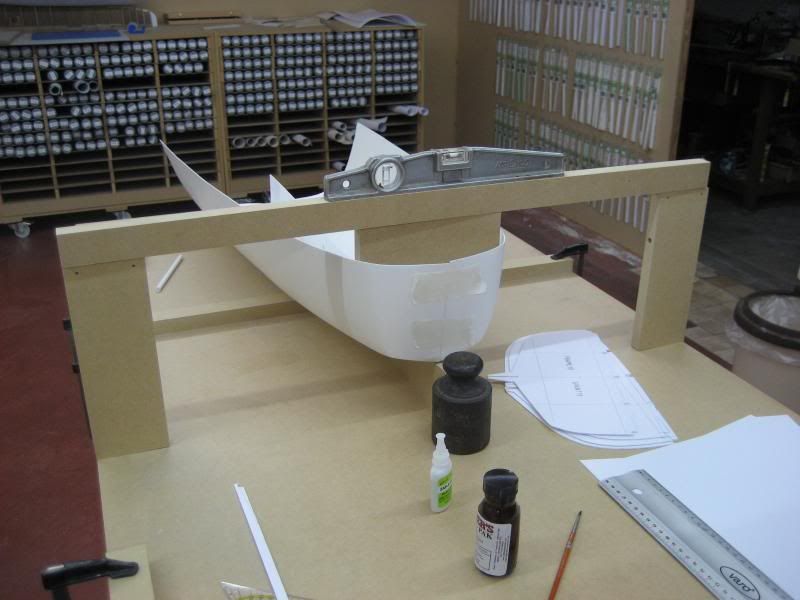
I lower the frame with soffend styrene and let the pump do the rest.
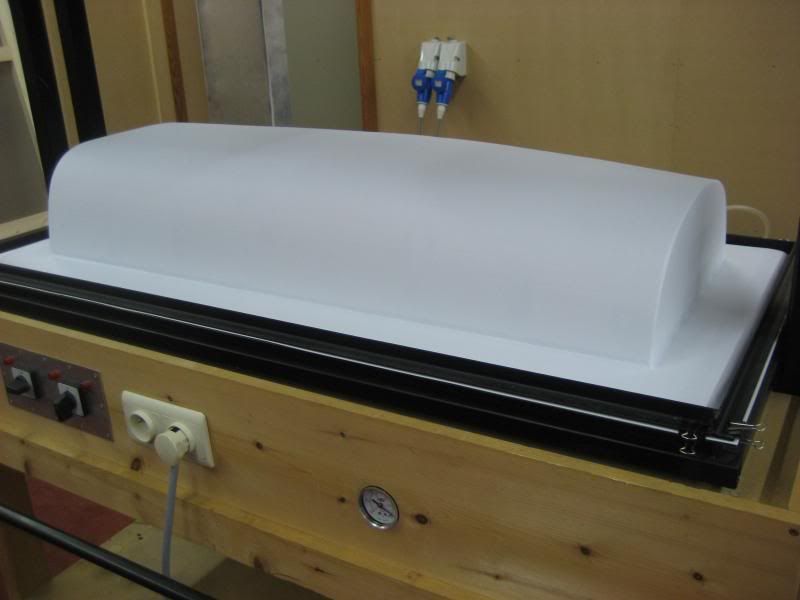
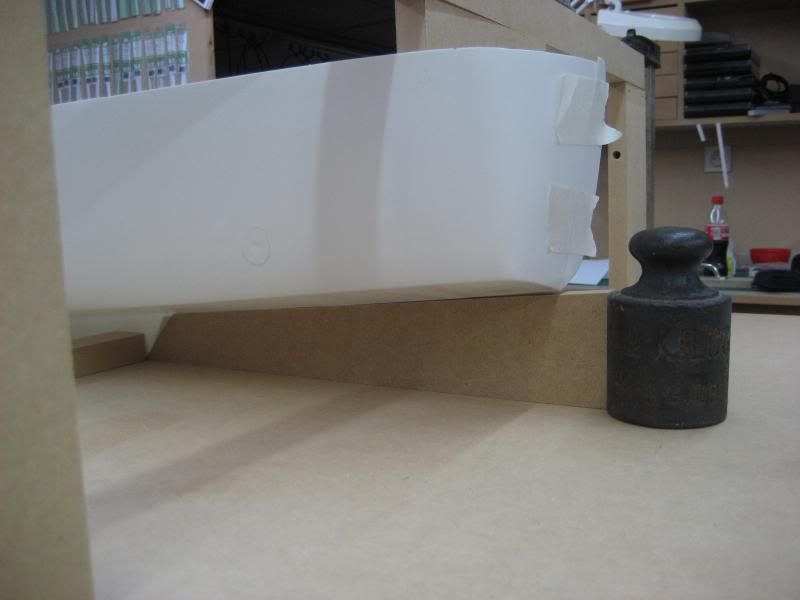
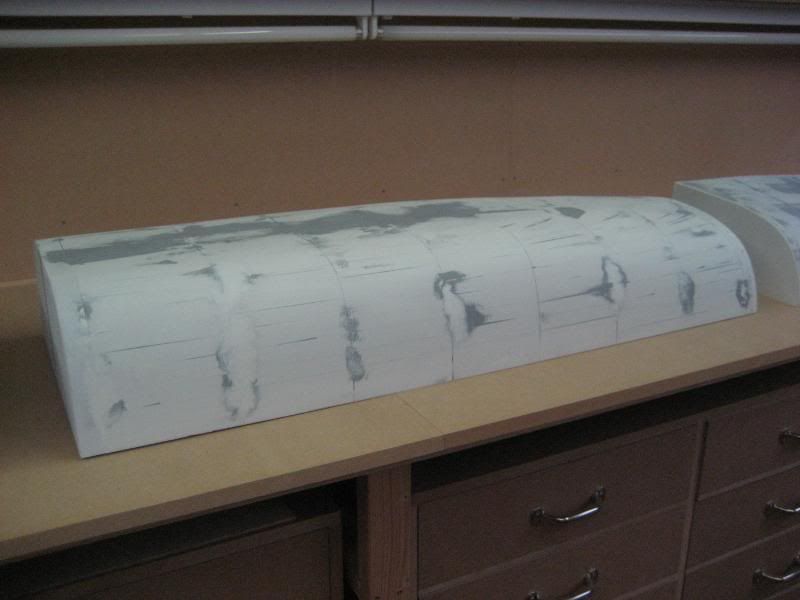
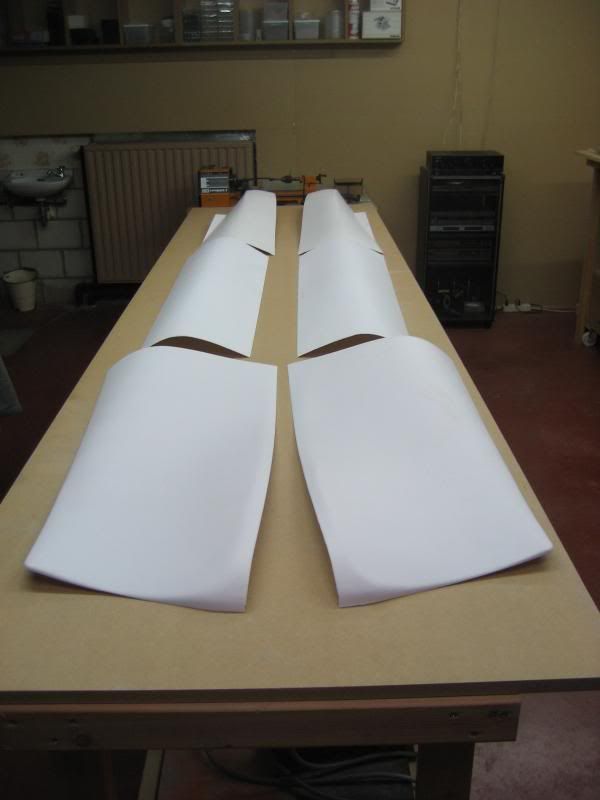
I roughly cut out the mould , flip over mould and form , remove the MDF plate and mark the bottom of the mould.
I flip over the mould and form again , and gently remove the mould from the form , this is how it look until now.
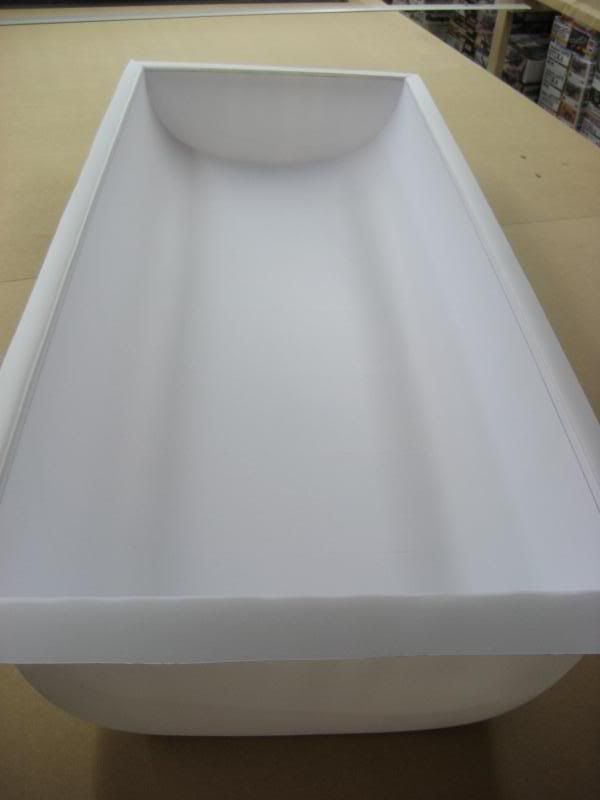
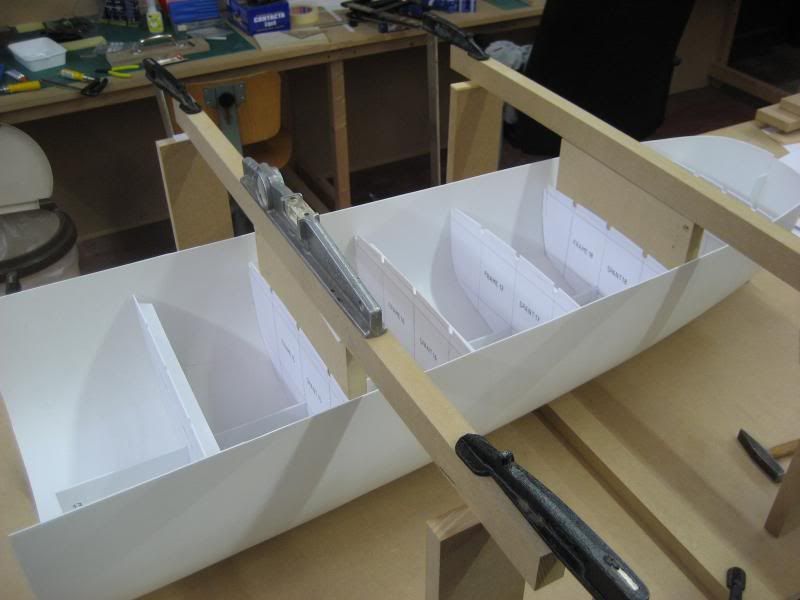
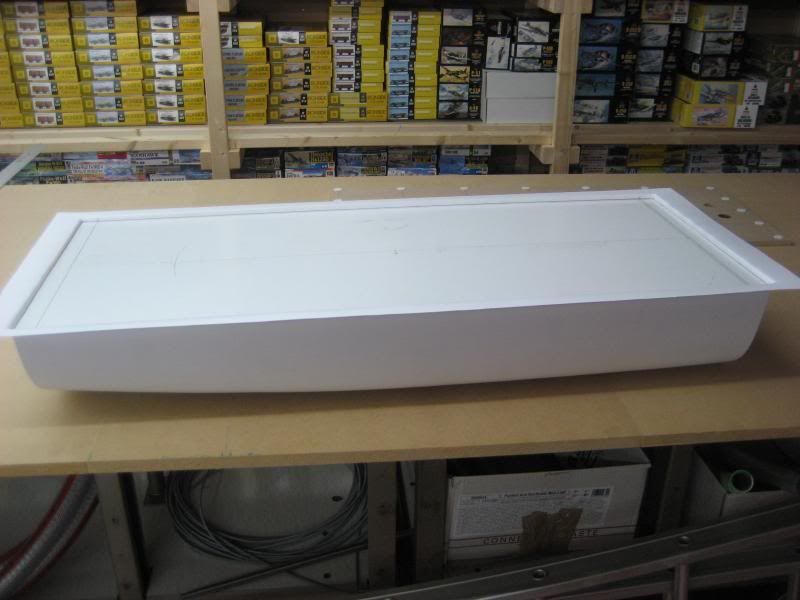
I have to repeat this process 3 more times ,then the complete hull will be formed.
The start has been made.
regards,
Ludwig


 back!!


 John
John