All,
Well, I've been a lurker here for more than a little while, and have been debating if I should post to this forum, but since I'm getting close to finishing the ship, I figured, why not? So, bearing in mind that this is my first scratch-build, my first ship and well, I'm a former member of a armoured regiment so my knowledge of all things Navy is limited--and perhaps a bit biased
Some background: I hail from Prince Edward Island, Canada's smallest province, but one with a proud military tradition. I'm defiantly a 1/72 modeler, choosing this scale over almost all others, and when 2010 rolled around I knew I wanted to build a 1/72 model of a Canadian warship, as my celebration of the Canadian Navy's centennial. Never having tackled anything that big before, I figured I'd cover my bases by getting several sets of plans for modern Canadian ships--and eventually I settled on the smaller Kingston-class MCDV; partly because it was do-able, and partly because one of the MCDVs is named after PEI's second largest city, Summerside. I've since fallen in love with ship modeling, and have plans on building all the ships that have served in the Canadian navy that were named after places on PEI (there are seven, and in 1/72 I may need a larger house...)
I have a debt of gratitude especially to Darren Scannell of the Resin Shipyard, as without his assistance and patience with my stupid questions about ships this project wouldn't have been started, let alone nearing completion. As well, I thank several other board members who have helped answer questions or offer advice--and not to mention the amazing reference materials that exist here as the completed builds of a variety of ship models large and small. This board is home to some master craftsmen, and I aspire to that level of quality myself one day.
One further note: This was a Navy Centennial build, and should have been completed last year, but a kink in the form of a broken ankle in December conspired to delay it. Nonetheless, when I started, I'd not considered posting the build, so some of the early photos are taken with my Blackberry, and are of dubious quality.
So here we go...way back in January of 2010...
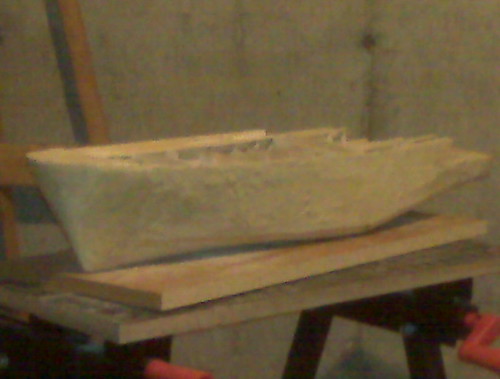
Here's where everything started, the keel laying (as it were):
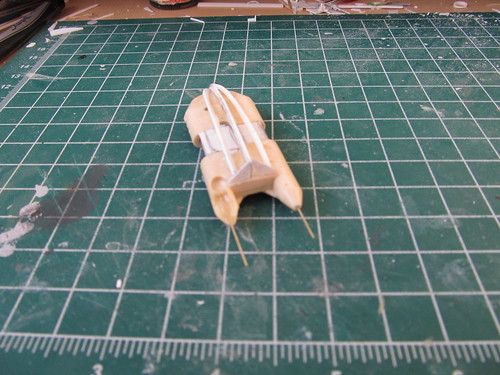
After cutting the bulkheads and gluing them to the keel, I set out to run stringers (none of them apparently straight) between. Some scrap balsa was fiddled with to produce a rough 1/700 Summerside mock-up--just for fun
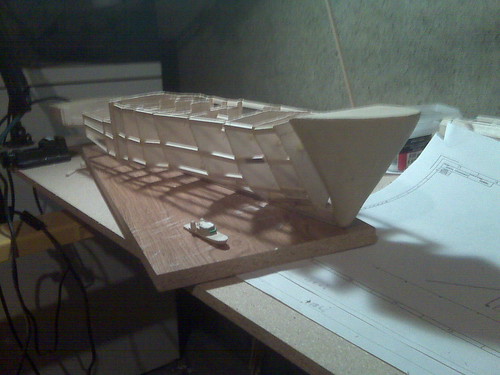
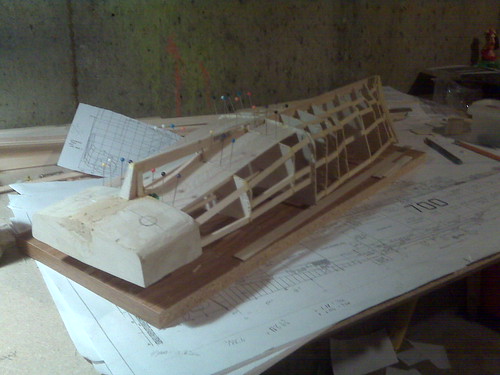
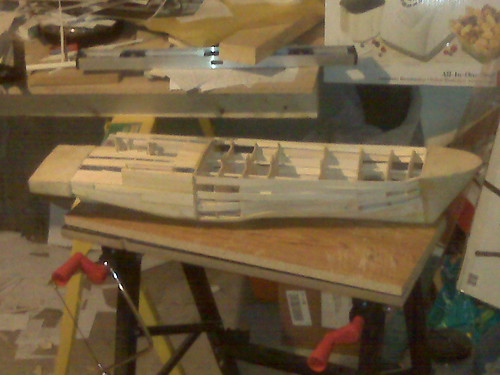
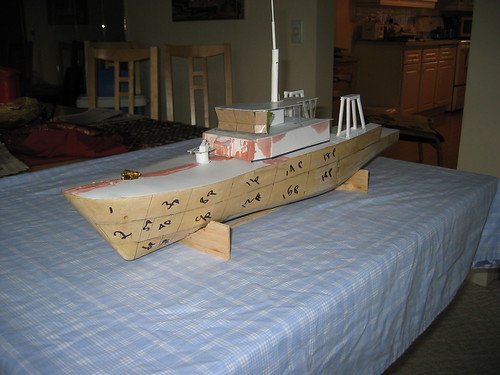
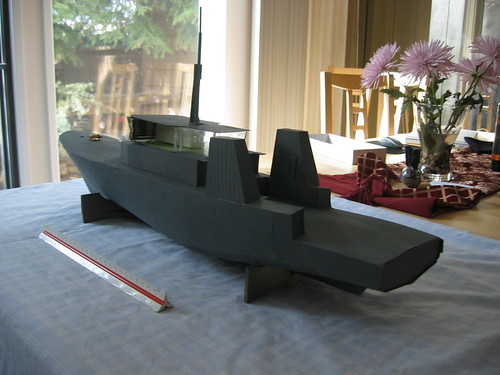
The bow, and stern were carved from balsa, and once I was reasonably happy with the stringers (which is to say, they were all glued in place) I started planking using 1/16 balsa strip--pinning it using straight pins to hold it while the carpenter's glue dried:
It was at this point that I was unsure of the shape of the bow--the whole ship seems short and squatter than is should be....unfortunately, I'd started building before I had a top view scaled to 1/72...this would cause problems later...
It looked nice by the stern though

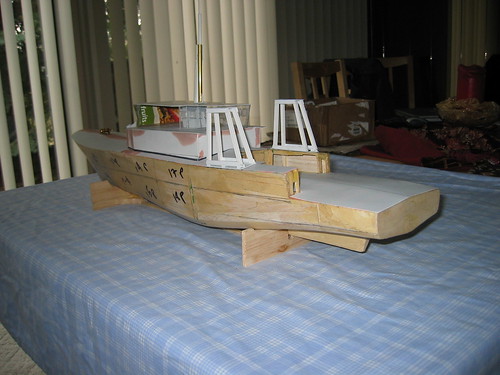
A fuzzy shot of the planked hull...
Compare that to the real Summerside:
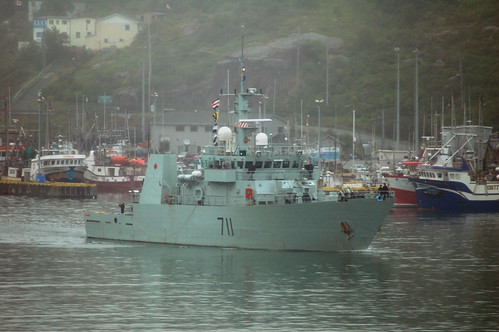
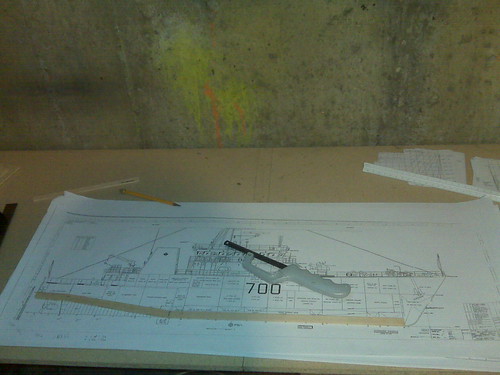
Yeah, shape issues. Once I got a decent main deck plan view scaled to 1/72 I realized what happened--when re-scaling the plans I had, I'd assumed they were all the same scale--but the starboard elevation (visible in the first photo under the keel) was slightly smaller. Without a gut check with the main deck plan, I'd ended up using the wrong measurements, and that screwed up the shape of the bow. At this point, I had to cut the bow off, add a 1" plug of balsa to bring it to the right length, and re-profile everything....
More on that my next post.
Thanks for listening to my rambling.
Cheers,
Sean


 Looking forward to your build.When you scratch build you encounter proublems that have to be solved .How you solve them is what makes you a Model BUILDER.
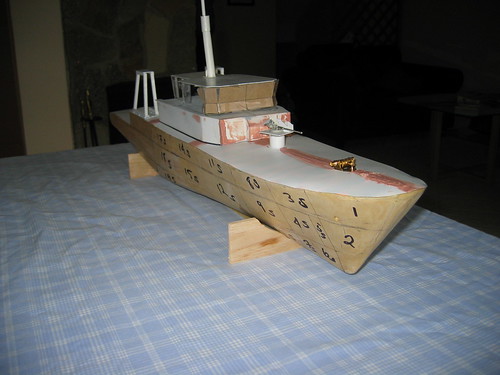


 ) but 1/48 should be all right if you can find a way of building the azipods (though I think you might need to make them bigger than scale to get them to work properly, but I don't think that would be noticeable) but I leave that to those more knowledgeable in the ways of working ship models than I