Hello everybody,
I had a little request to do a small step-by-step on how to model battle damage. But maybe this thread can become a collection of information on the subject?
So if anyone has any techniques to share, any links to step-by-steps elsewhere, or any inspirational photo's of models or the real thing, feel free to add!
Anyway, I'll go first...

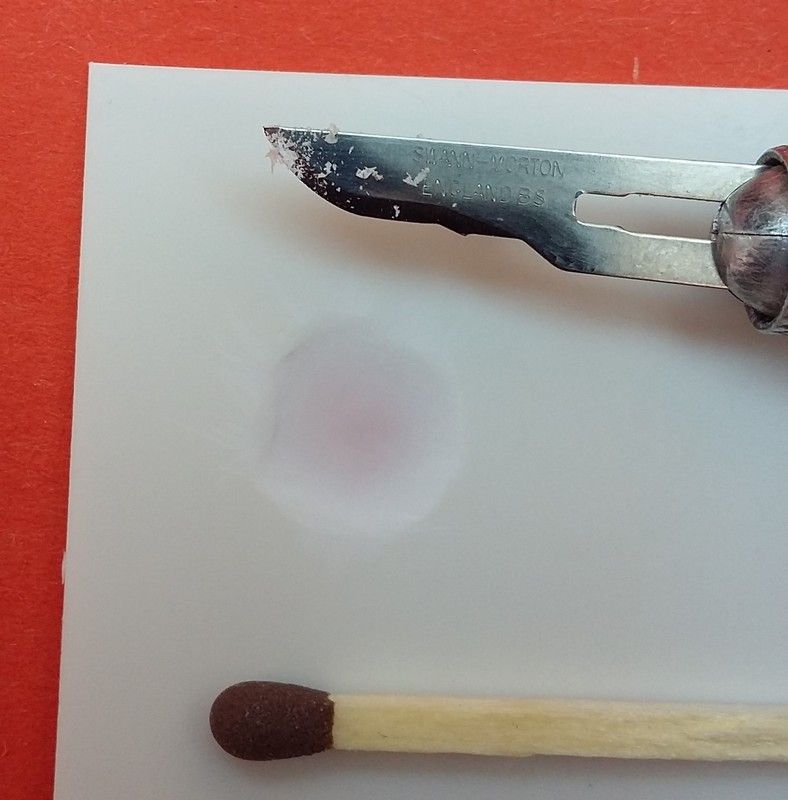
For shell holes in plastic kits, the standard techique is to reduce the tickness of the plastic kit item from the inside. For speed and control, I like to do this by scraping with a n.15 scalpel blade, but someone else might prefer sandpaper or something else for this.
How thin do you make it? That depends on the thickness of the plate on the actual ship and the scale of the model, which for small scale models usually means as thin as possible...
Where do you do it? Only locally, but make sure the entire area of the future shell hole is reduced to a more or less even 'thinness'. You can monitor how far you go by using the translucency of the thinned plastic. Since I used stock white plastic sheet (0,75mm) for this example, I used a contrasting orange background to show the translucency.
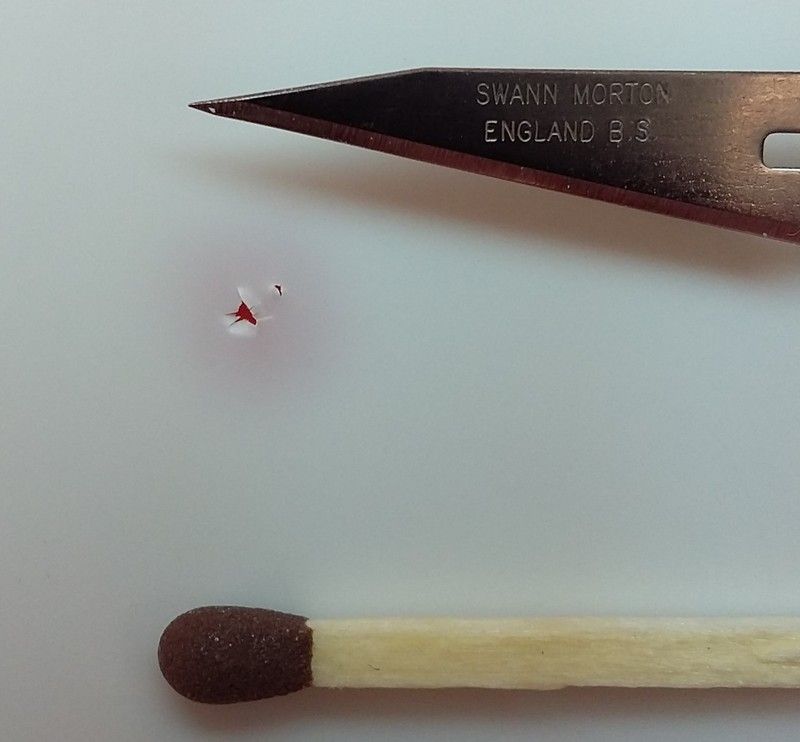
Next, the plastic can be pierced to create the hole. Many people do this by pushing a needle or such through the plastic, but I prefer to carefully cut a hole with a sharp n.11P scalpel blade. This gives much more control over the result, and enables one to create some jagged edges, also in a controlled way.
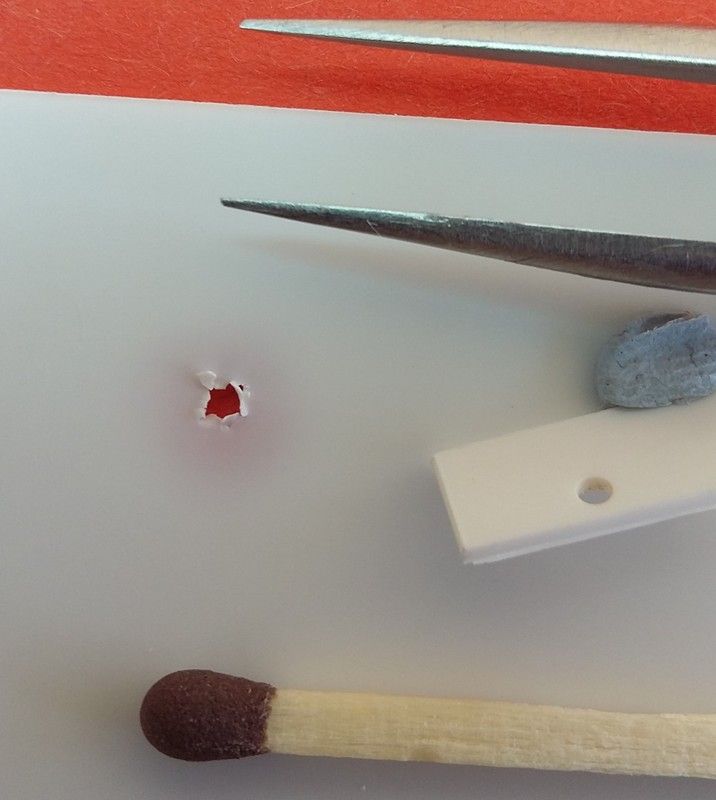
Finally, the jagged edges can be carefully bent with fine tweezers. The piece of plastic sheet in the photo illustrates the actual thickness of the plastic in which the hole was made.
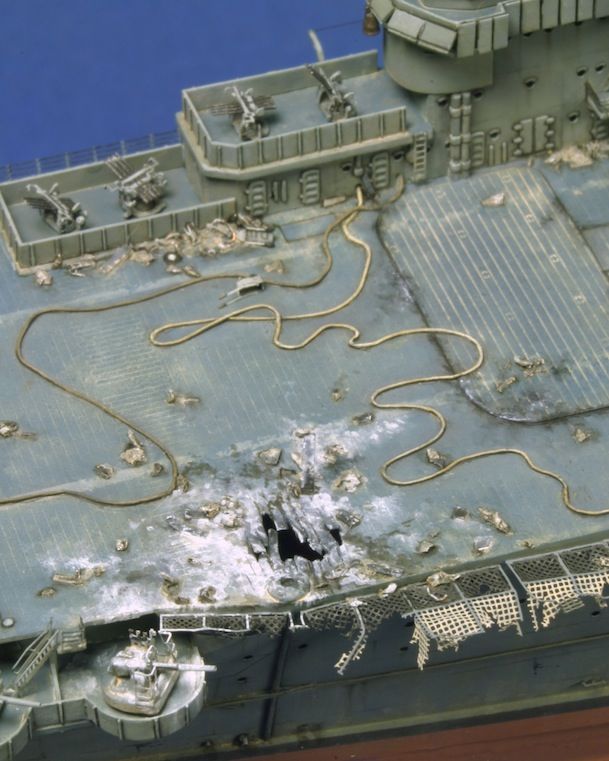
I didn't make any shell holes in metal plating on warship models yet myself, but this bomb hole was added to a plastic flightdeck in according to this technique. Only instead of creating jagged edges, I followed the planking pattern.
For heavy damage to light structures, I like the bendeability of brass over plastic. Some people prefer the even more bendeable lead sheet, but I prefer the more rigid brass since it stands up better to handling afterwards.
Brass sheet of suitable thickness is not always easy to find. I like this set, which is available in many art supply shops and modelling shops in Belgium. I use the 0.002 on 1/700 scale, but might consider 0.003 for large items or 1/350 scale.

Instead of first constructing an undamaged structure and then applying damage to it, I find it much more effective to construct a structure as damaged. This gives much more control over the final result, and enables much more finesse for the damage itself.
Therefore, I apply the battle damage to the individual pieces of the structure that I am building, BEFORE I glue them together.
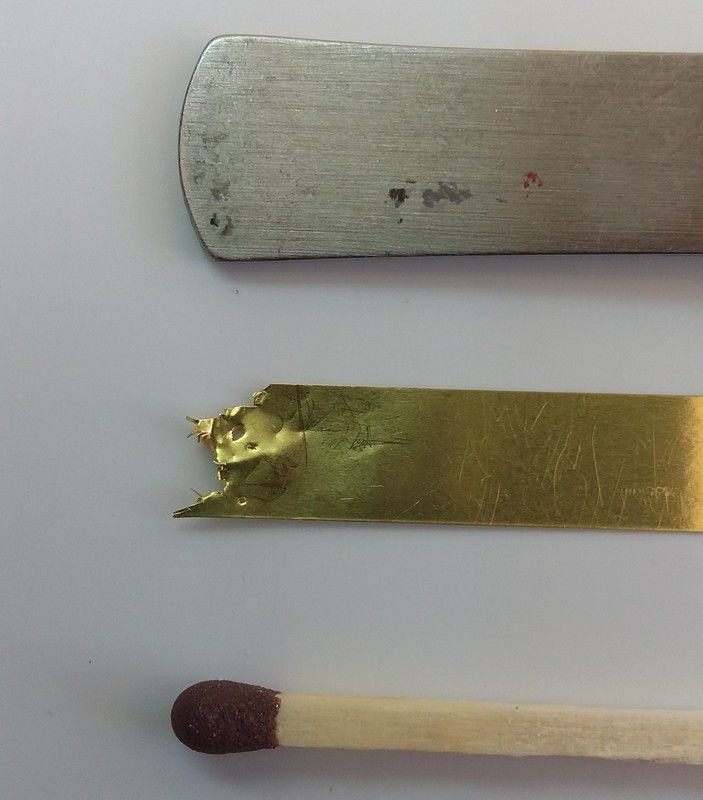
For example, for a torn apart bulkhead, I first make the basic 'undamaged' piece (here a simple strip of brass).
Next, I cut the torn side with jagged edges.
Since the cutting pushed down the edges of the brass, I flatten them again with flat pliers. This doesn't need to be perfect.
If you like, small (or big!
) holes can be cut with a sharp scalpel blade.

Next, the jagged edges are bent and twisted with tweezers.
That could be sufficient, but if needed the bulkhead can also be 'buckled' with a blunt tool (here I used the back of my tweezers, pushing on the brass resting on my thumb).
Now one piece is ready!
By combing several of these pieces with less damaged structural items to form a structure, then including some bent PE items, some bent copper or brass wires and maybe some piping details, this kind of effects can be achieved.

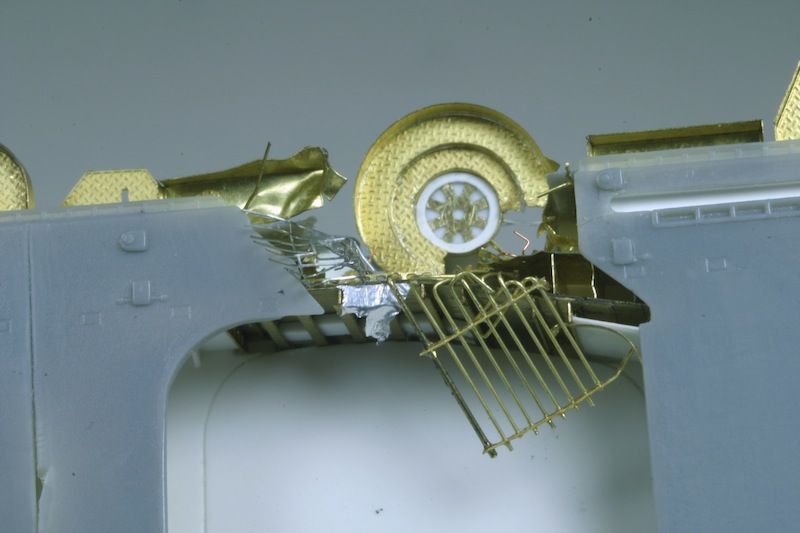
Of course, following photo's of the real thing will always help to get the most realistic results.
Happy modelling!
Marijn