Many of you will have bought a full hull resin larger scale kit from the likes of YS Masterpieces, Iron Shipwright , Rhino models etc and have built them as full hull models�even though you may have in some instances preferred a waterline format.
I have built a number of 1/350 kits from the above manufacturers�and always as a waterline model.
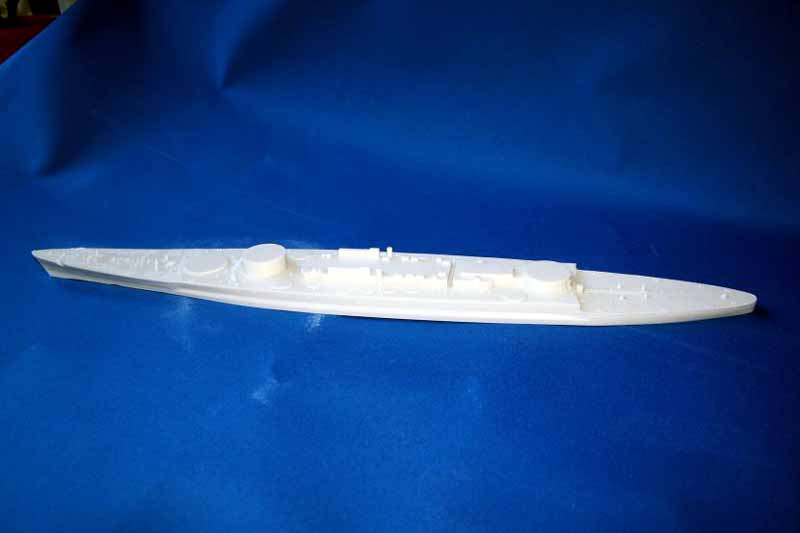
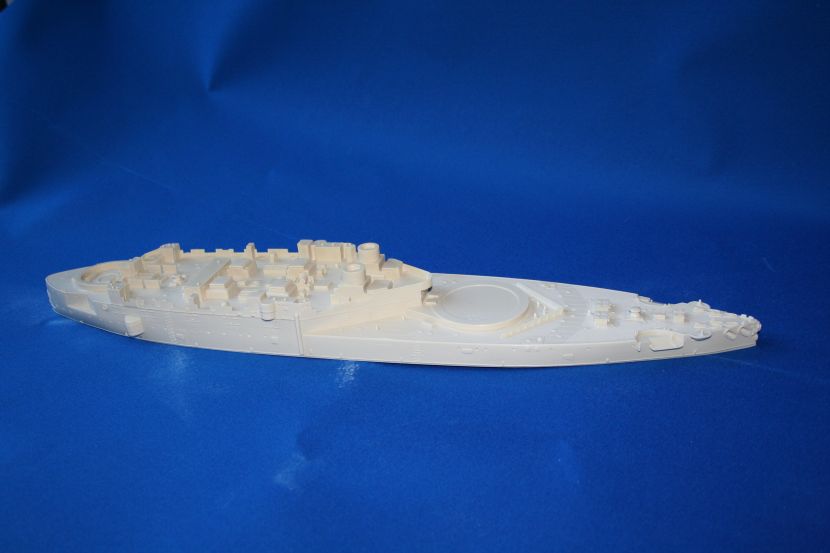
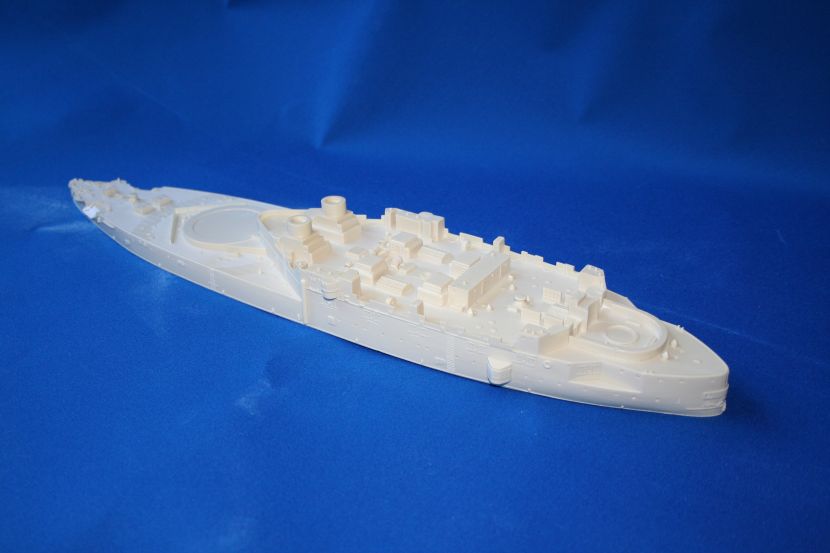
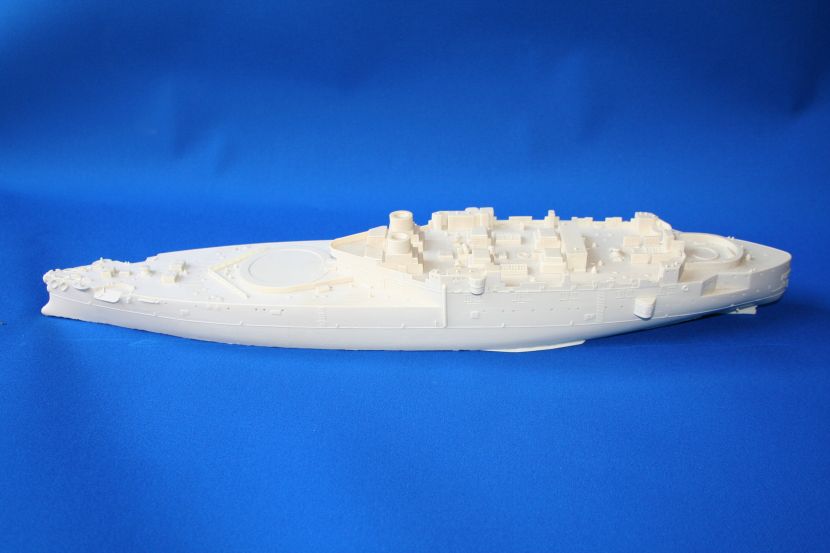
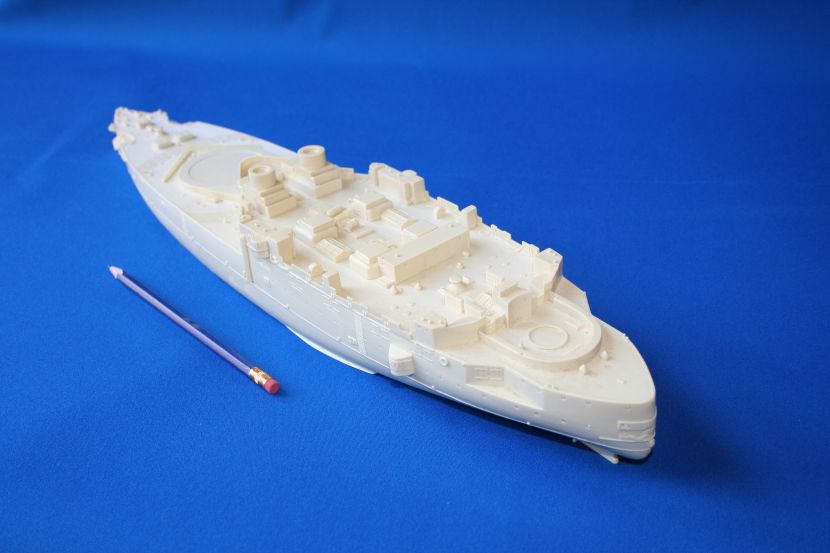
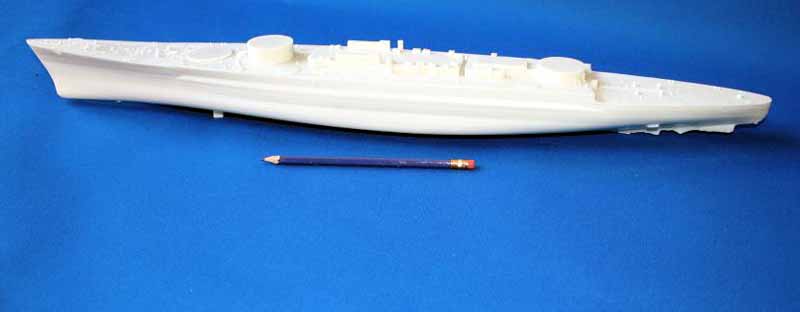
I hereby illustrate the removal of lower hulls of ISW 1/192 HMS Victoria and the very deep lower hull of the Axis Models 1/350 RM ROMA
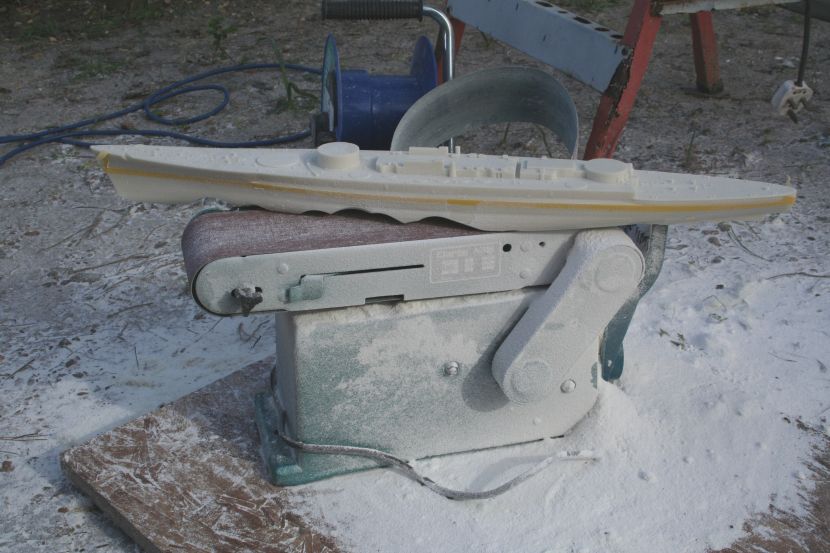
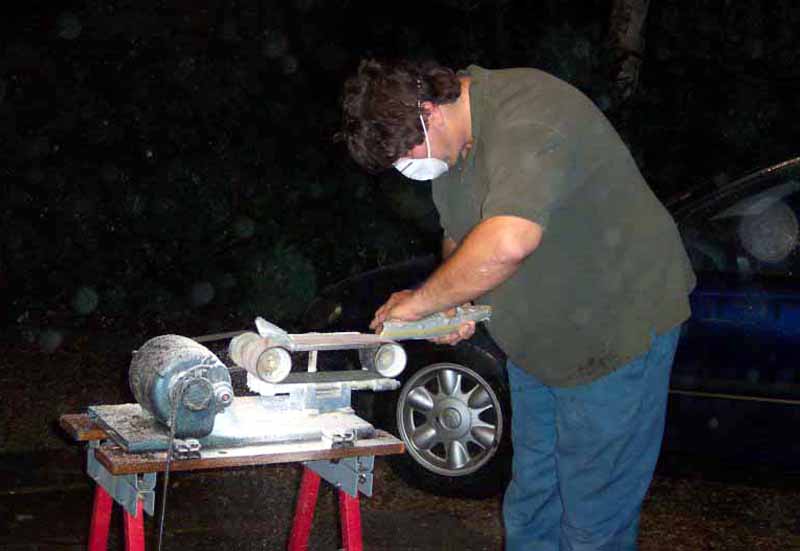
I have always removed pesky lower hull's by using an old-but-good bench-mounted beltsander-outdoors!
Recently I added to my beltsander quiver a new wider bed model from Clarkes tools(via Machinemart in the UK) for a remarkably cheap � 64.99.
OK�so it is a bit of a toy�it will not stand for continuous high pressure sanding and is therefore un-suitable for professional use�but for us amateur occasional waterliners it is perfect.

But first a little preparation.
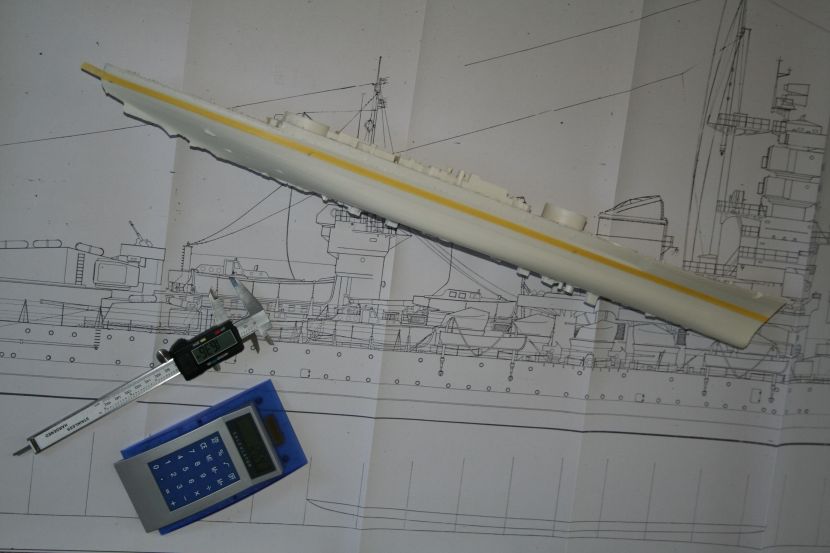
It is important to be absolutely sure of the desired waterline-unlike injection moulded kits the waterline is not marked�so whether one builds full hull or removes the underwater part the waterline need to be located correctly and in a straight line!
I used plans, a digital calliper gauge ( � 14.99 �Hobby expo ) and a calculator to convert the 1:100 plan of Roma ( nearly 8 ft long!) to 1/350 and marked these dimensions onto the hull using a sharp pencil. I used 6 x measurements�at the bow/stern, the barbettes and midships.
I then joined up the dots using Tamiya masking tape and that most accurate tool of all�the eyeball --to sight up for truly fair line.
I double-checked with photos of the real ship to ensure that the position relative to the armour belt was correct.
The HMS Victoria from ISW was cast as a �reduced� full hull�nevertheless a lot of material was set to go! The model is in 1/192-as were the drawings I had-after a quick check that they both were true it was an easy matter to mark the waterline with the callipers.

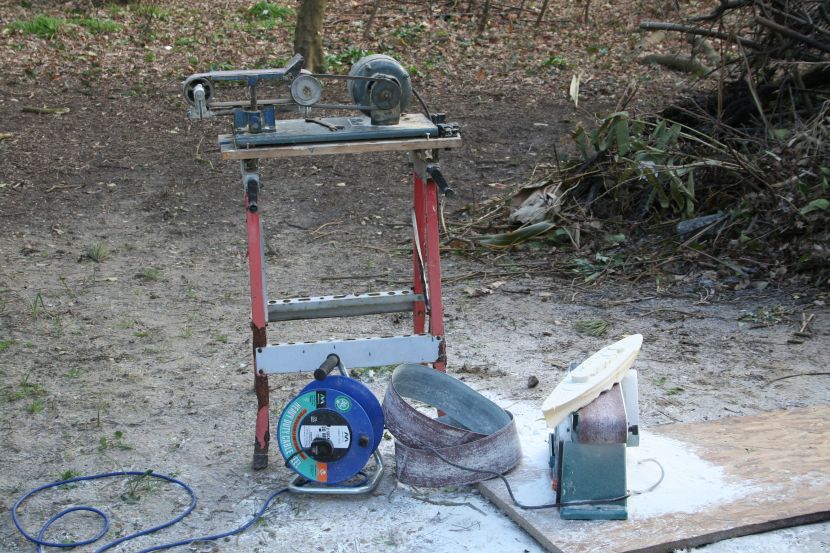
Thereafter it was outside in to the fresh air! Using my old trusty beltsander I cut a series of arches into the lower hulls using the curve of the turnwheel-the advantage of this is that there is less surface area of the hull in contact with the sandpaper�therefore less friction and thereby less likelihood of stalling the motor-not really an issue with the belt driven sander�but worth noting with a directdrive unit like the new �toy�sander. Having cut a series of arches to within � inch of the masking tape I then proceeded to remove these highpoints �for the same reasons as above.
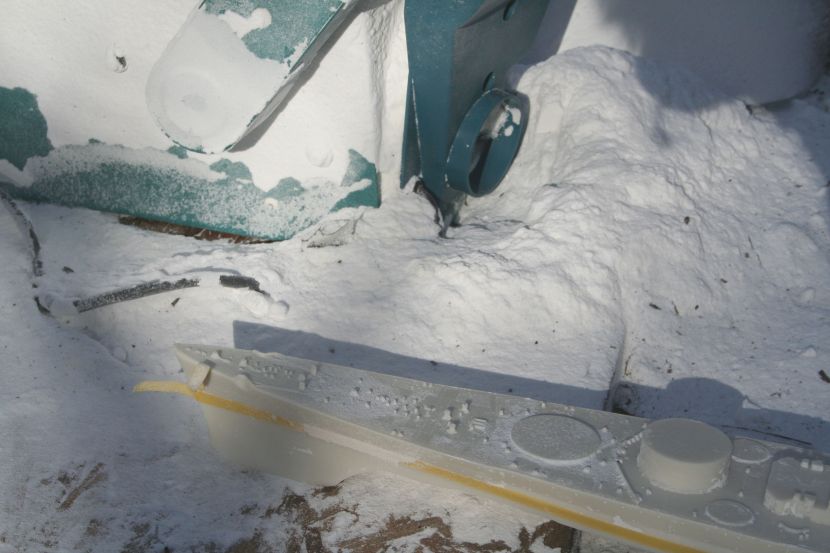
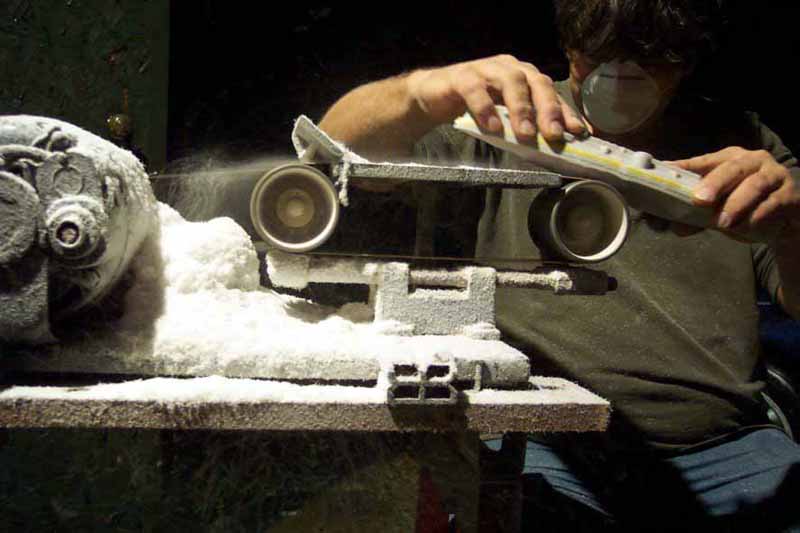
Once the worst is removed I them moved over to the new wider bed machine and holding the hull diagonally across the sandpaper levelled the lower hull to within 1/8 inch of the marks, frequently removing the hull to remove dust and allow the hull to cool - sanding resin produces heat!
Care is required at the bow and stern�the sander will remove these areas-due to lack of surface area�with astonishing speed�
After a final check, remove tape, remove all dust with a paintbrush and afterwards an airline/airbrush or good old Mk1 Lungpower�do not make wetthe dust is cloying and will be hard to remove once wetted.
Now the safety notice.
Resin dust in these quantities is at worst very harmful and at best an irritant to nose, eyes and lungs.
I wear a good quality dust mask and eye protection�and prefer a windy day so that the airborne dust goes to leeward�. I do vacuum up the huge piles of non-eco friendly dust intermittently during the process.
Avoid prolonged exposure and never carry out this operation without the aforementioned protection
Total time taken to sand 2 large hulls- 2 hours. A bath is essential afterwards�the dusty clothing is best removed outdoors�to keep domestic harmony intact!!!