Hello friends,
Here's a tutorial produced by our friend Bgire and co-written with him
https://www.laroyale-modelisme.net/t190 ... aerographeBgire wrote:
I'm trying to show here the advantages of Parafilm over 'Kabuki' type adhesive (Tamiya masking tape):
- Much thinner,
- Very easy to apply (just press down with your fingers or a porous tool)
- The film is stretchable and conforms to curved surfaces in 3 dimensions. Ideal for waterlines under the stern of ships.
- The film hugs details in relief or in hollows: you "force" it with your finger, fingernail or a porous tool, such as the end of a balsa stick (made of end grain wood)
- It's transparent, so you can see all the details underneath, which makes it easy to guide the cut of the areas to be uncovered
- The stretched film is so thin (just a few microns) that the simple weight of a new scalpel blade is enough to cut into it: the cut made in this way does not mark the plastic, and if you have to cut along a moulded line, the film naturally serves as a guide (remember that given the extreme thinness of the film, you don't need to press the blade: the gesture is smoother and you can almost work freehand, even for straight lines).
- The film can be left in place for a very long time (my record is 15 months) without tearing off the paint underneath when you remove it.
The contraindications to using this film are that the substrate must be non-porous and the tools must be porous (it adheres to non-porous surfaces).
It adheres very well to plastics, resins (see video), metal, glass and wood, provided the latter has been varnished.
The tools used must be porous so that it doesn't wash away on contact: wooden chopsticks, rulers cut from extruded foam and, of course, bare hands
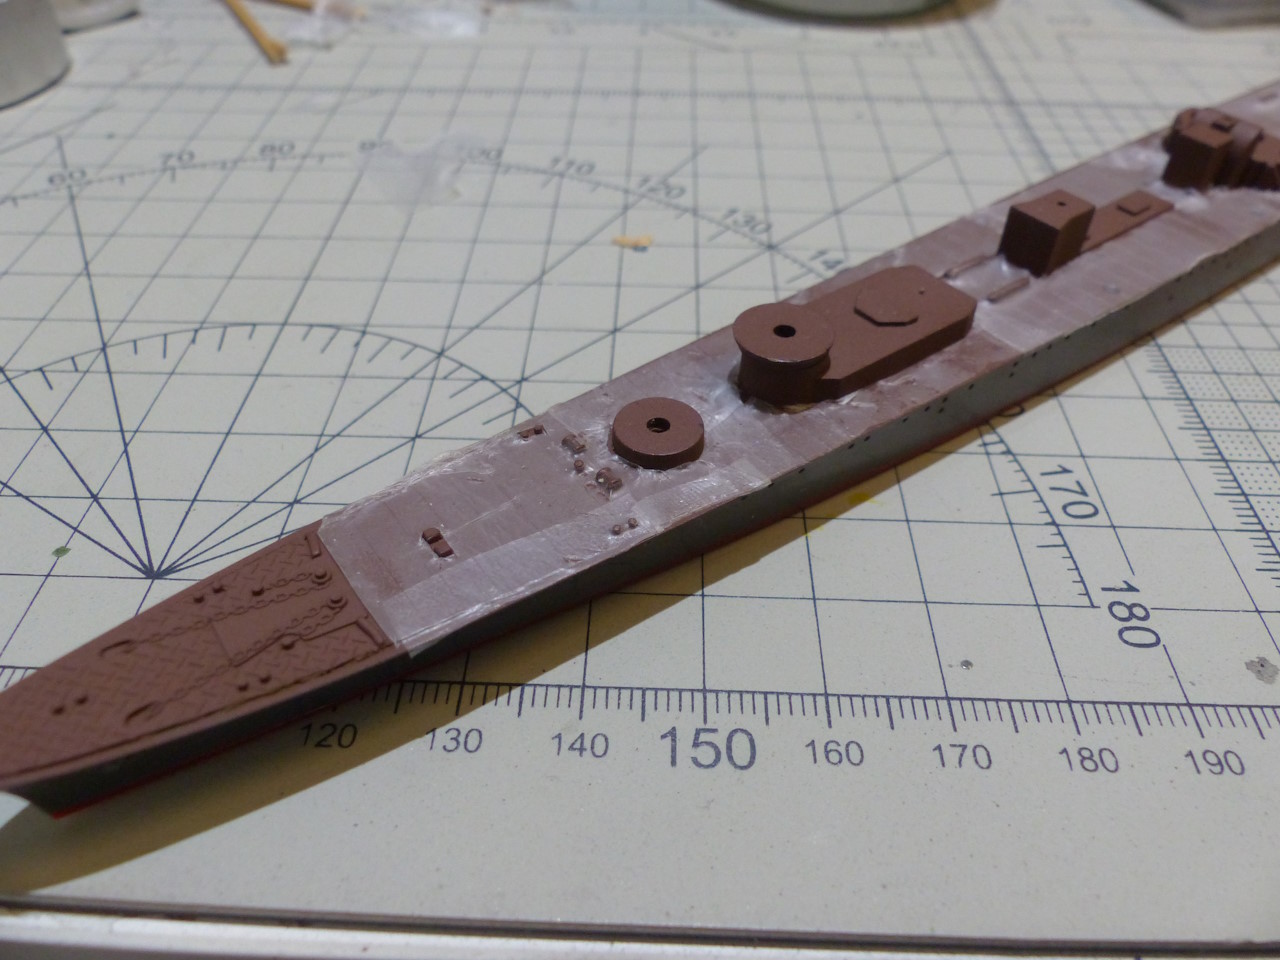
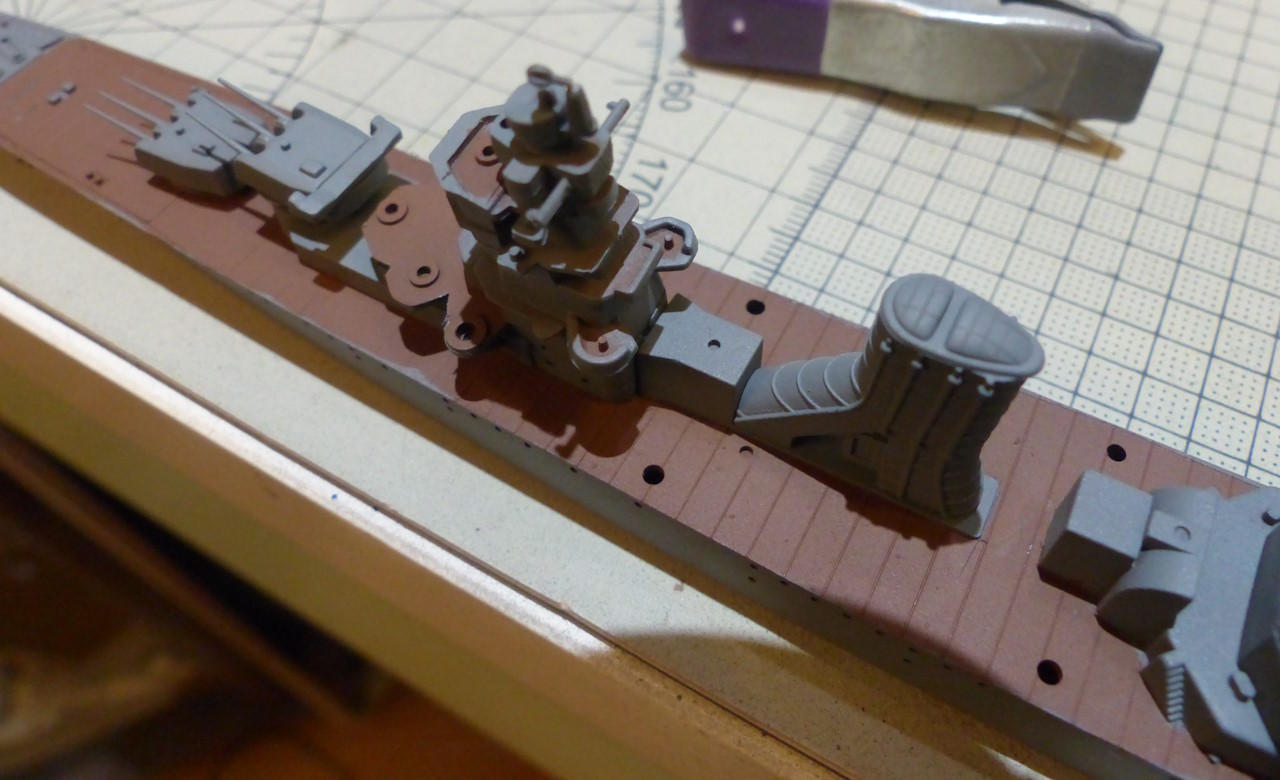
So I'm going to start work on the Parafilmyama, an Oyodo-class command ship commanded by Isoroku Parafilmoto

The tools I use at my humble level:
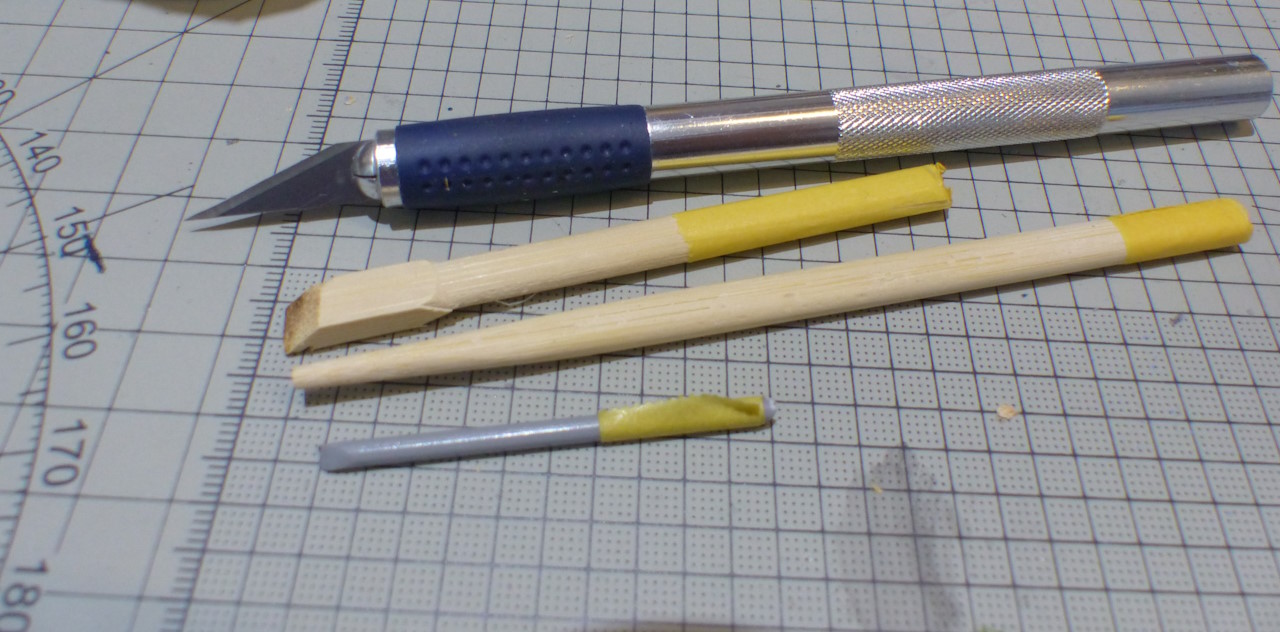
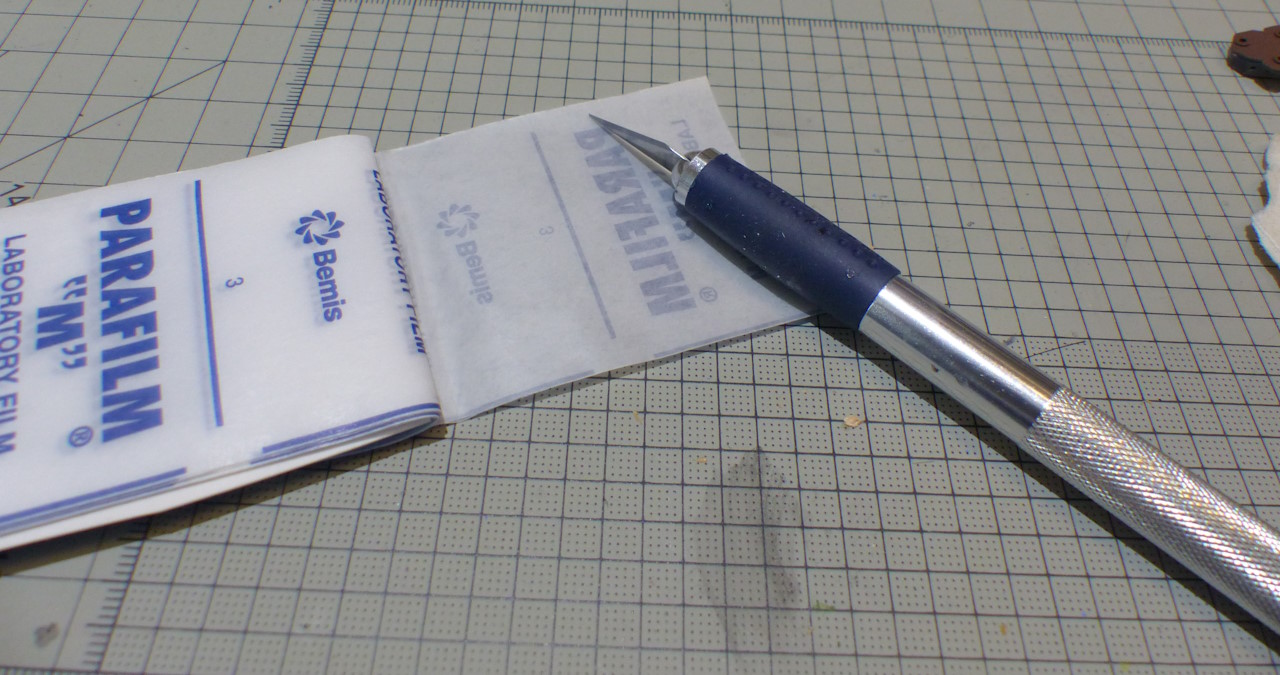
The parafilm used :

available here :
https://amzn.to/3tBYRq7With his friend the scalpel, which has a NEW blade (we can't stress this enough)
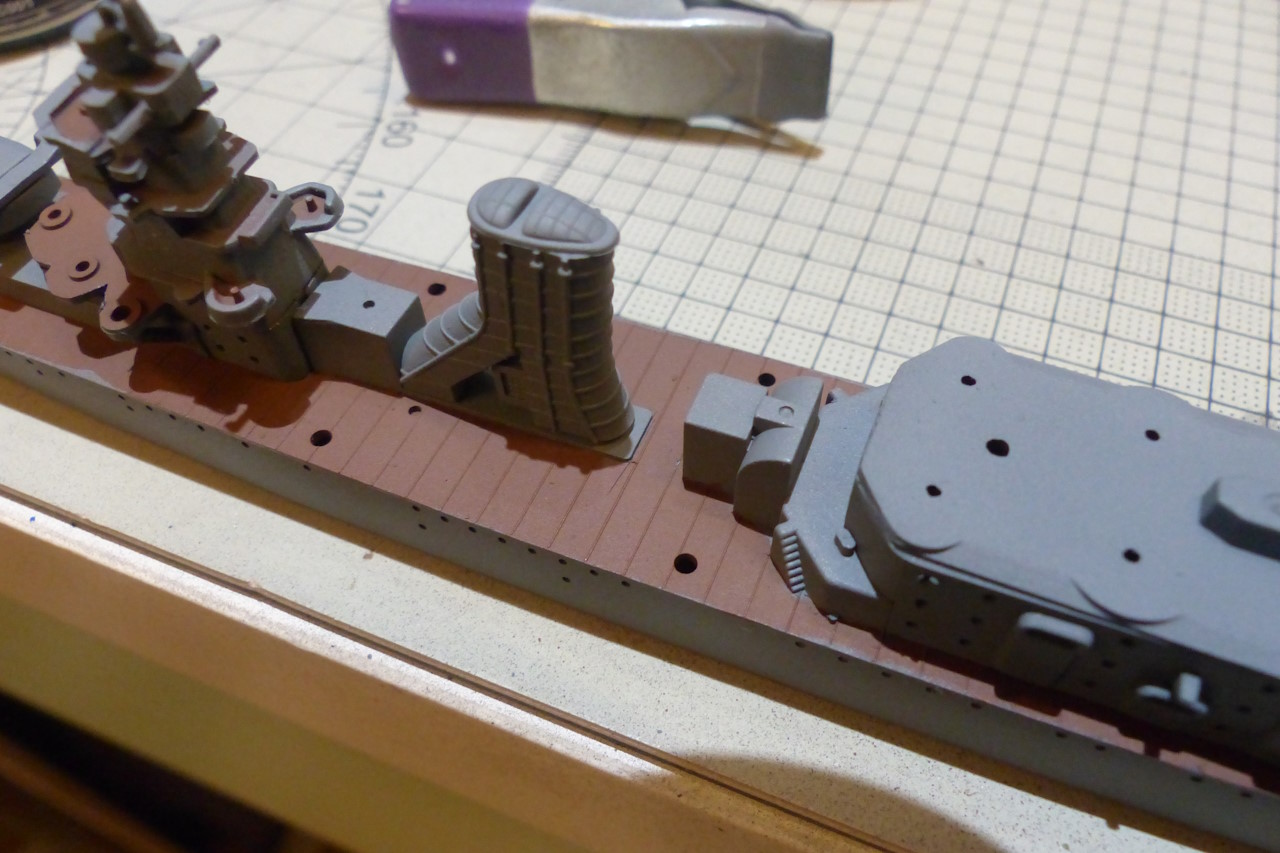
 1st step
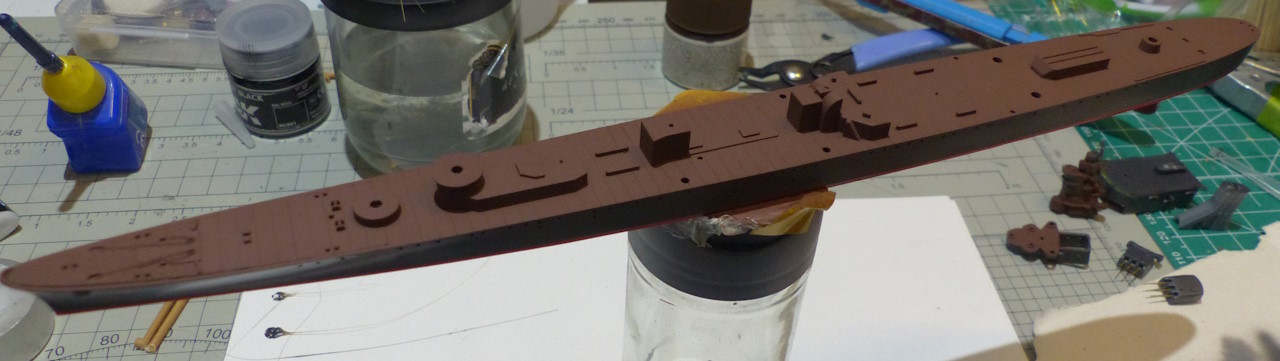
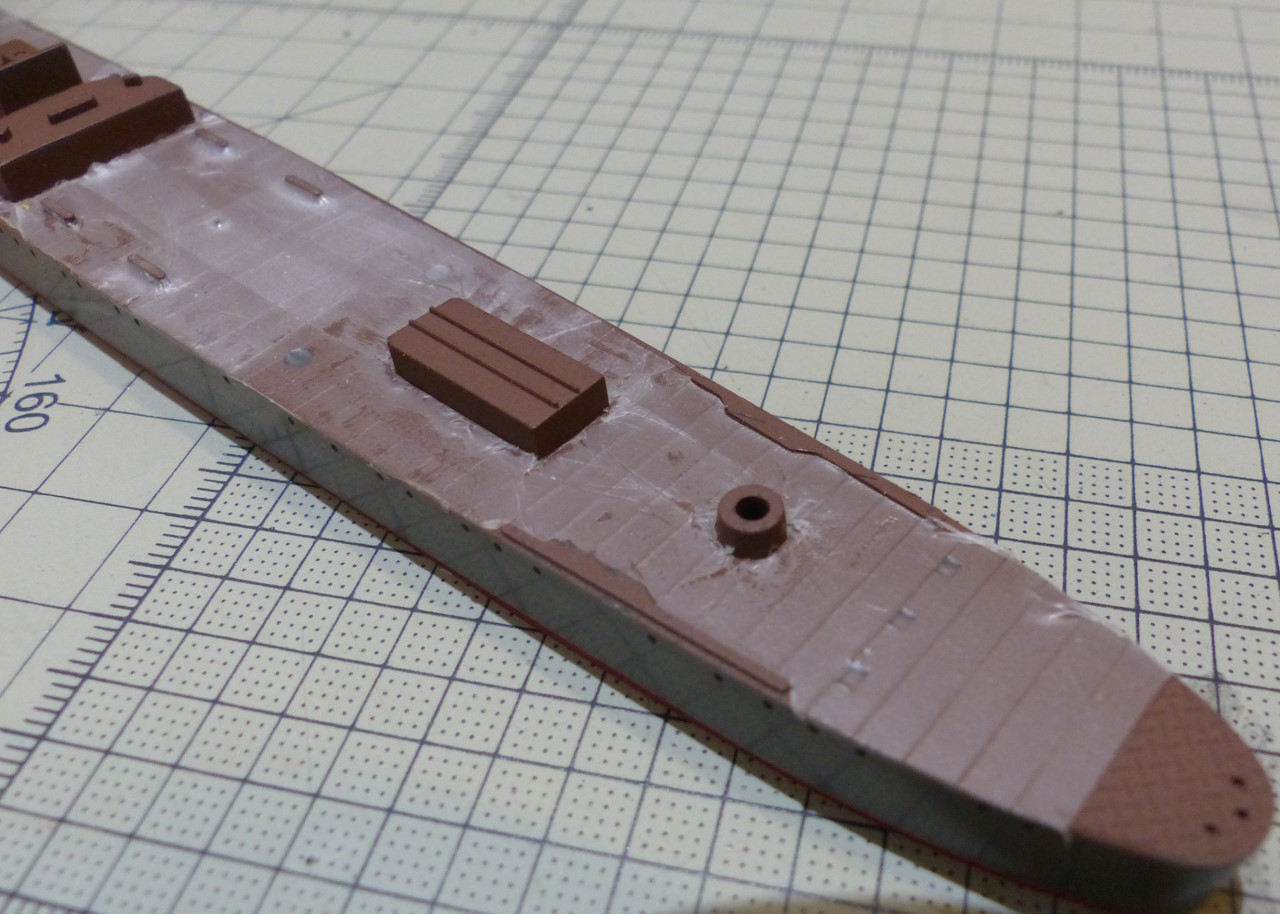
, you start painting. I usually use a primer, but in our example, I did without one. Similarly, I prefer to start with the horizontal parts, which are easier to mask.

 2nd step
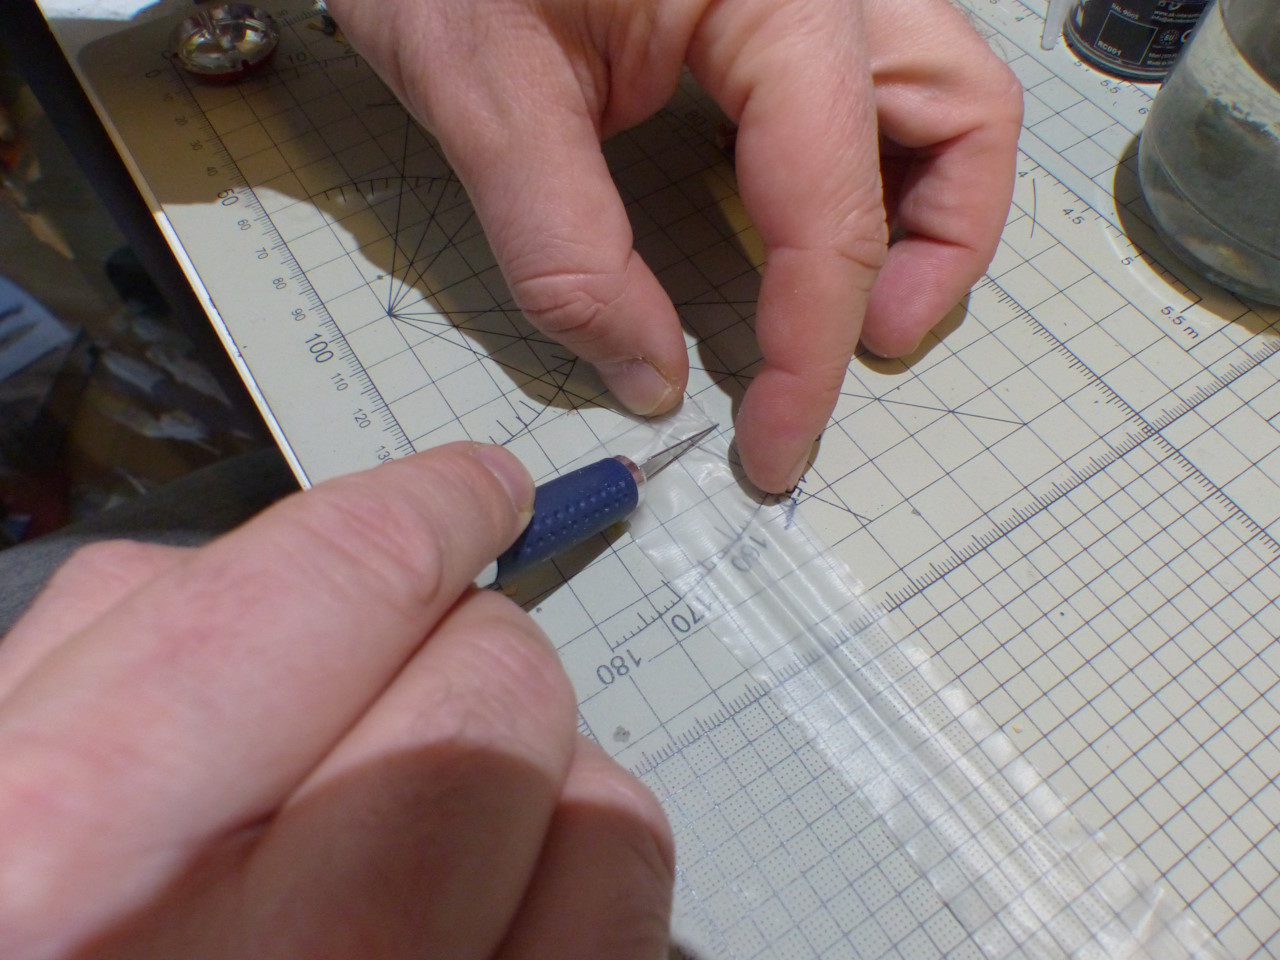
 : We cut a portion of the parafilm.
I usually cut along the perpendicular blue bars. The portion must not be too small, because it would be complicated to remove the film and complicated to activate it, or too large, because again activation would be complicated. As the thickness of the film is measured in microns, there is no need to worry about overlapping it.
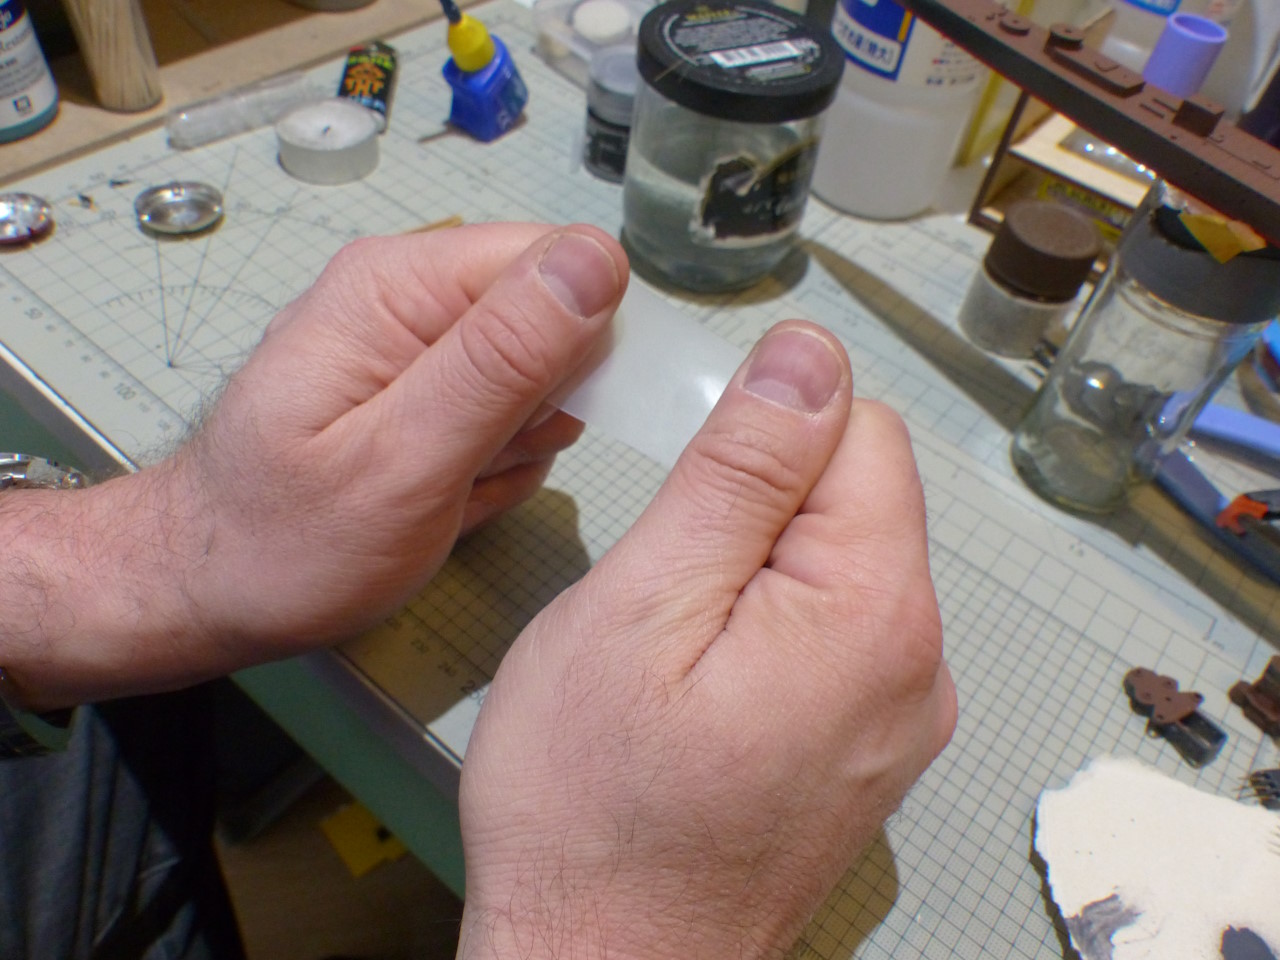
The parafilm is then
activated by stretching it. Without activation, there's absolutely no point.

We cut off the "inactive" ends, which can be activated to provide small pieces (for the bridges of the footbridge in our example).
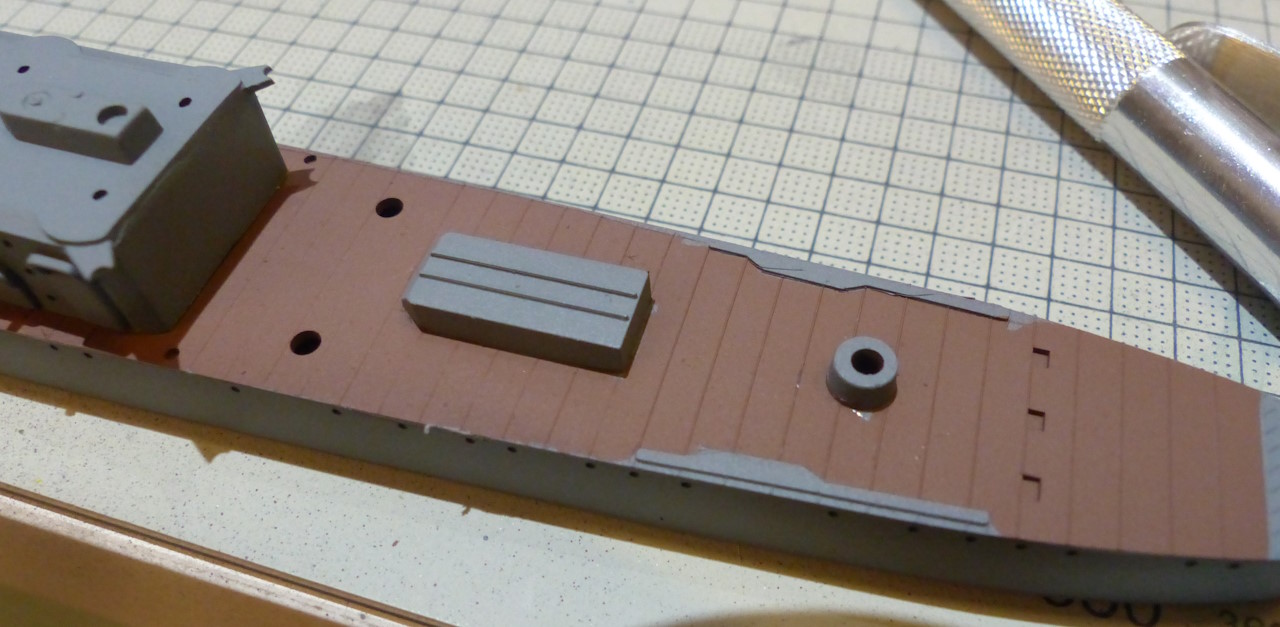
 3rd step
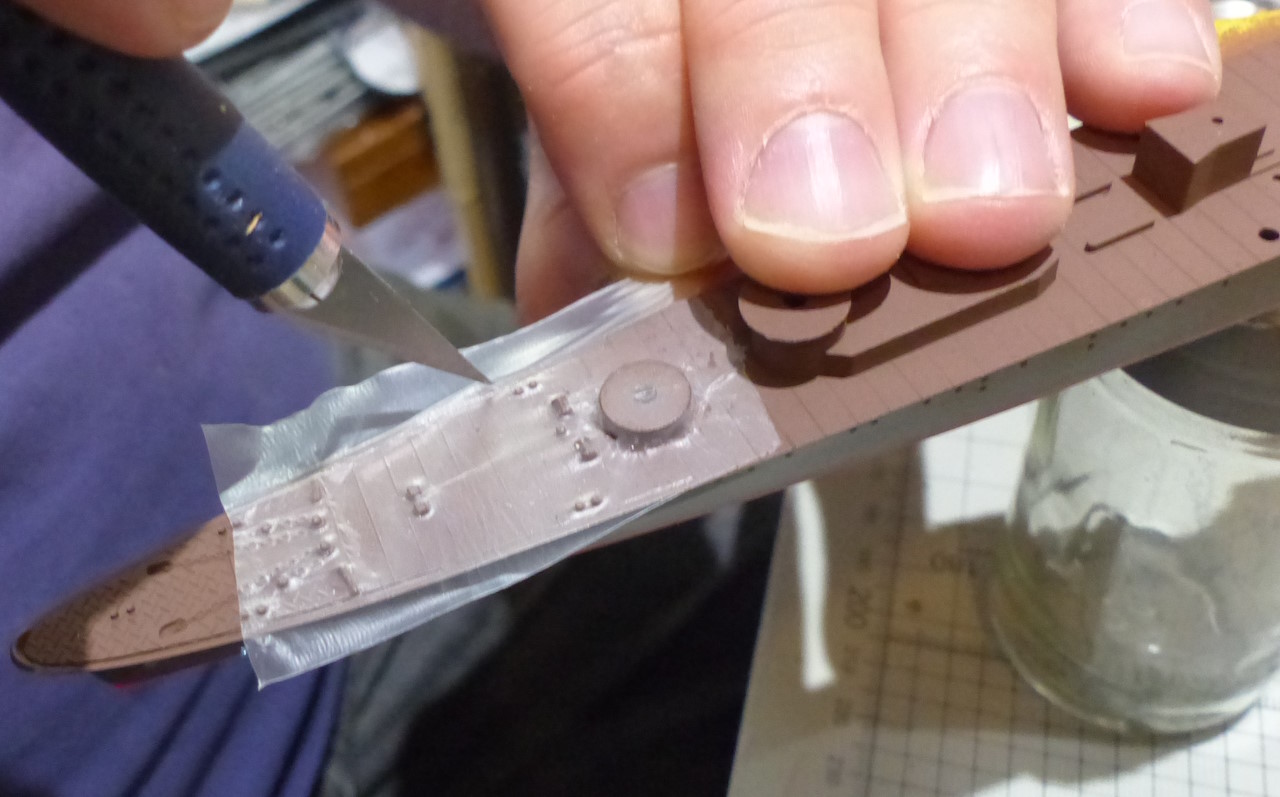
 : we begin to apply the parafilm, taking care to apply it with..... the pad of a finger or a porous tool.
Then, using a scalpel, cut at a sharp angle and very lightly.

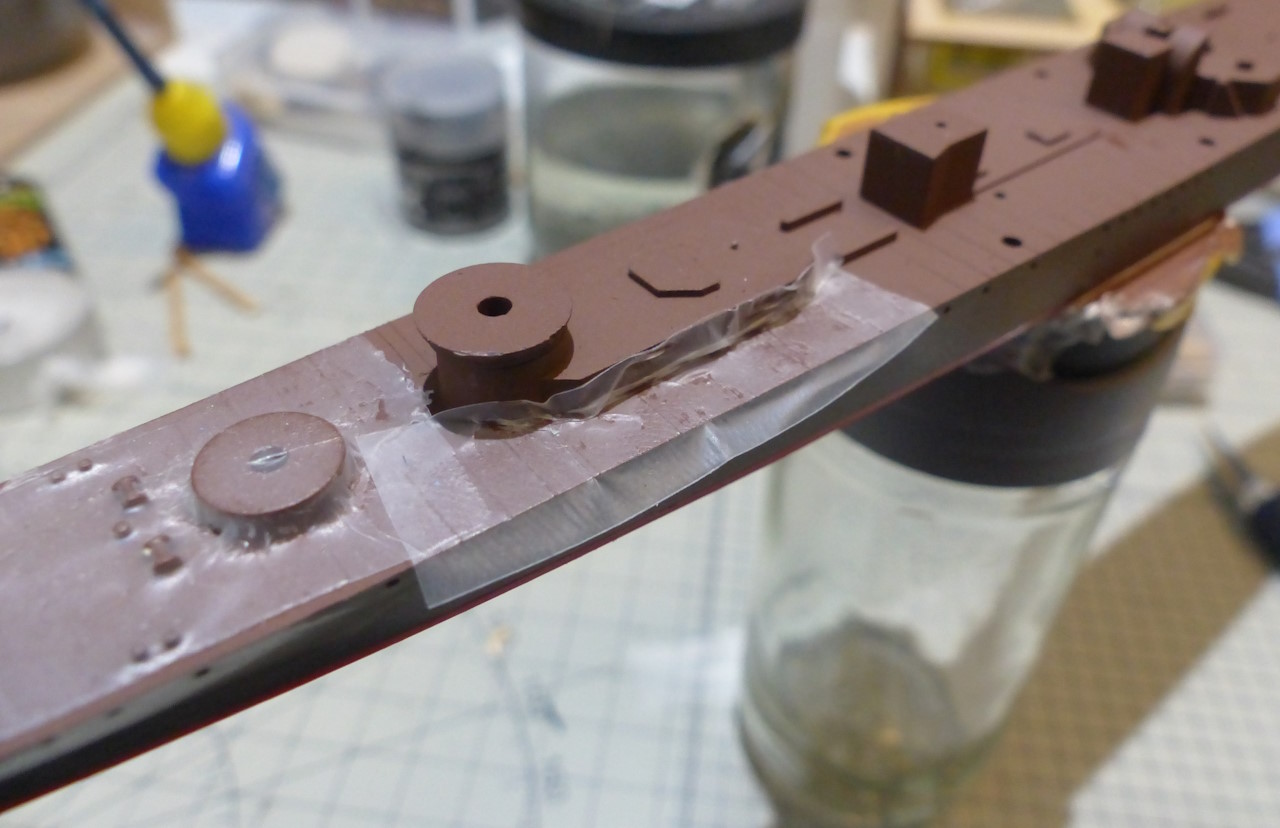
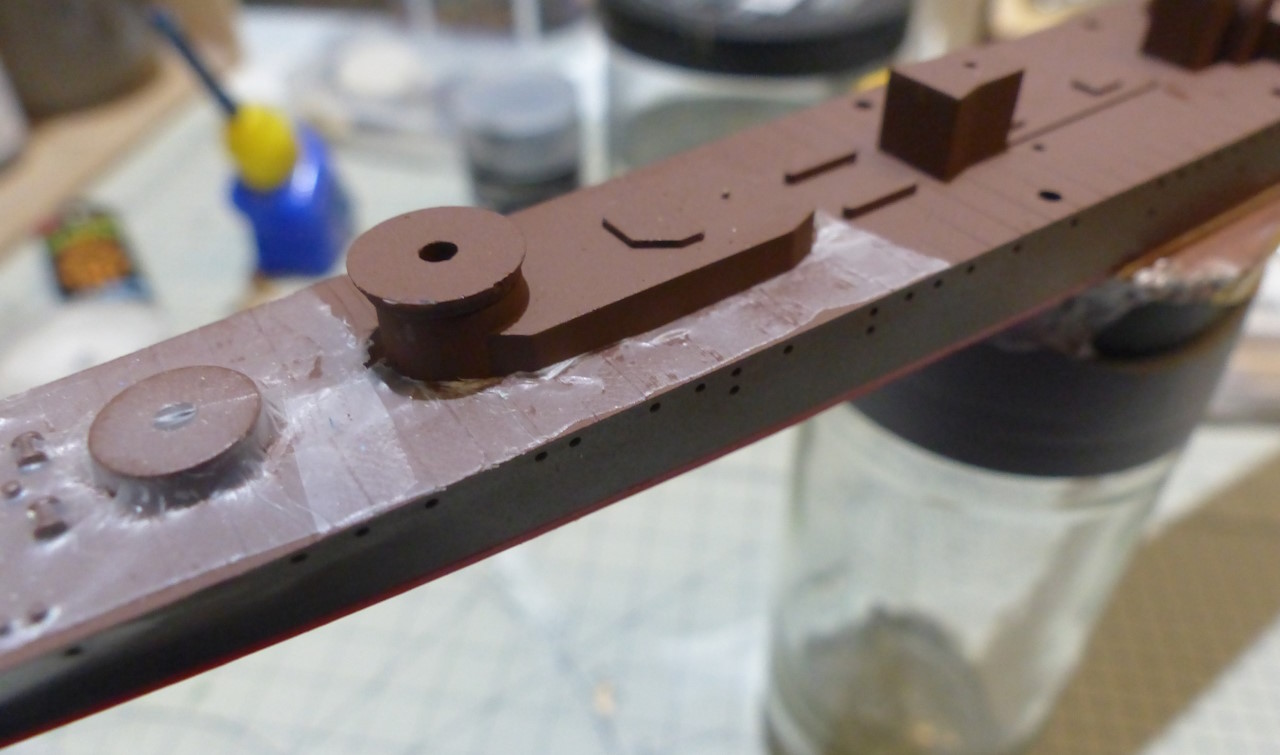
and we continue all the way across the bridge:


Then paint with Kure grey and unmask:

Total time for the operation: just 20 minutes for masking.
To try it is to adopt it


