John W. wrote:
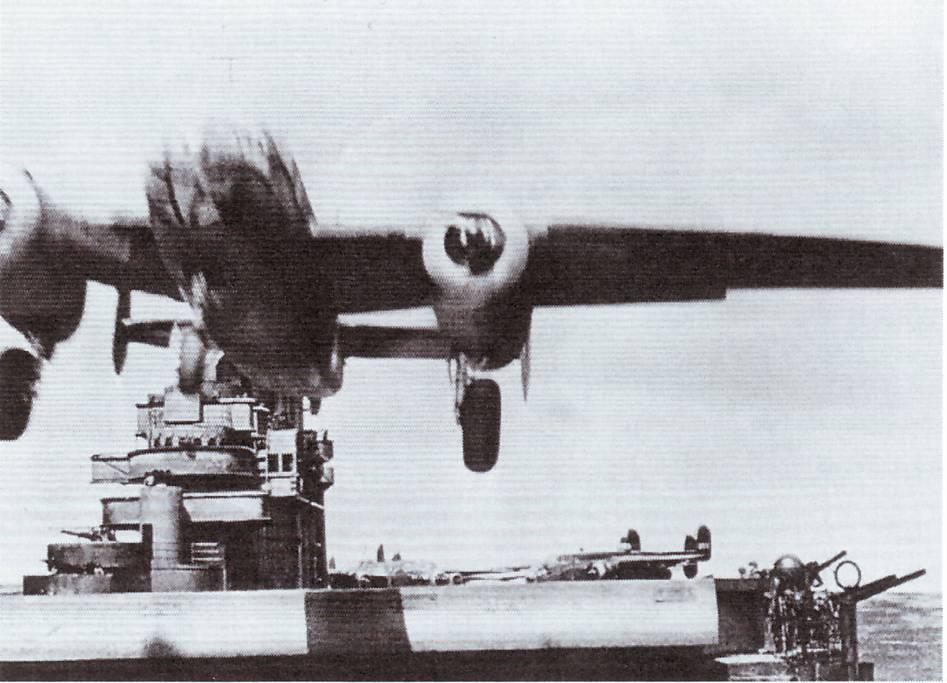
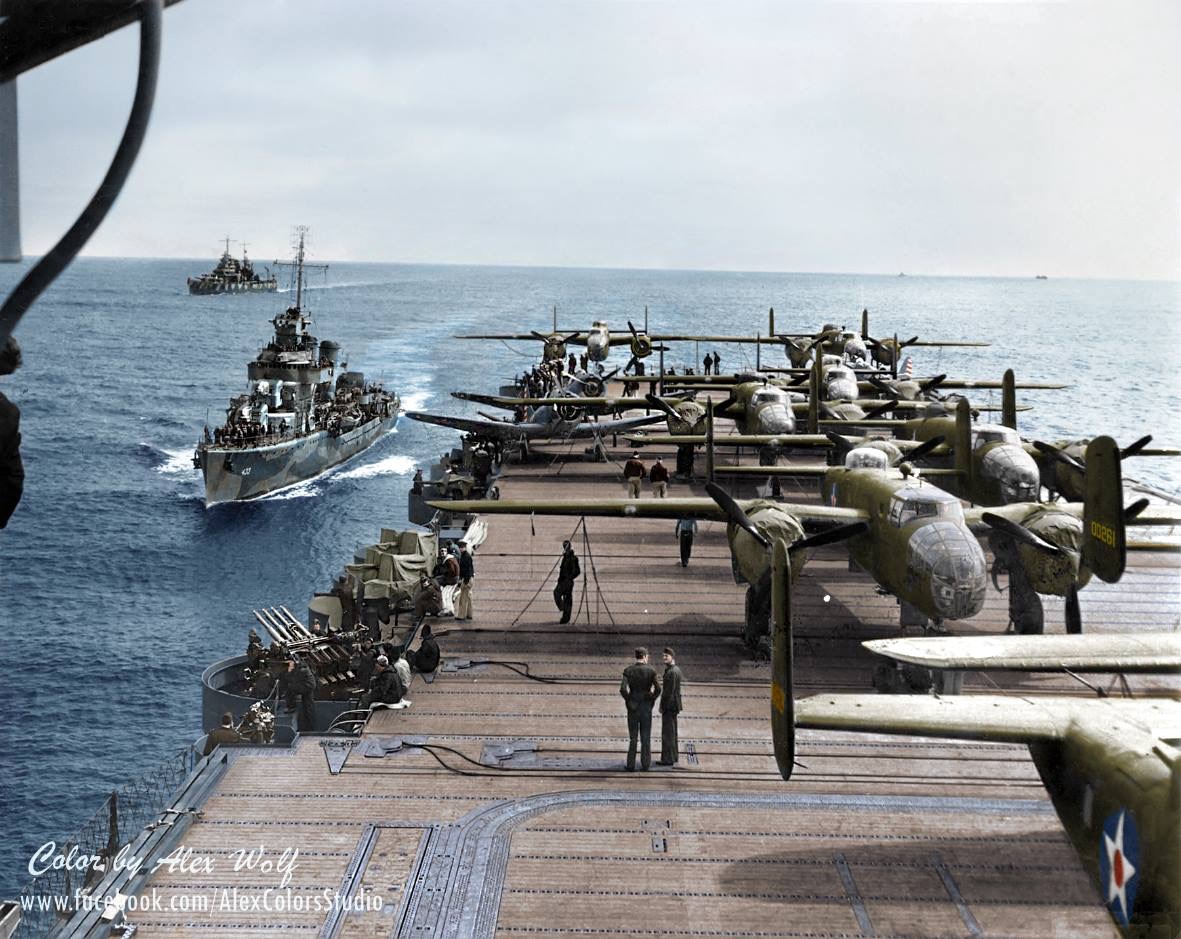
Looking at this picture, it seems to be the #3 1.1" mount - the structure on the right is the clipping room structure and the flight deck crane is just to the left of the clipping room. It looks as though the circular splinter shield is really only about half the diameter - the portion in the direction of the flight deck open space. I have seen pictures of ENTERPRISE with this configuration, so I am not suggesting it was blown away, but rather it is just not there intentionally. Looking at the tray for the ammo clips to the left in the picture, it looks as if the tray is just neatly terminated there with a rounded off end, not that it was ripped away. On the other hand I have the USN / Shipyard plans that show (apparently) the splinter ring completely encircles the mount.
So my question is: was the splinter shield / tub like this from the time she left Norfolk after all the post-commissioning mods were done there? Or was she modified to this configuration later, say when the hangar deck cats were removed and the fifth 1.1" mount put on the bow bandstand? I am modeling the Raid, so that's really what I am most interested in nailing down. I'm not sure how leaving off that section of shielding accomplished much that was positive. It would seem to make the gun crew more vulnerable to flight deck hazards from landing crashes. But what do I know?
The "open-backed" tub was configured that way at Midway. So it was probably that way from the first installation of the tubs.
John W. wrote:
Just as an observation, I am not sure how HORNET could have lost 50 meters of her stern based on the pictures. If the #7 5" mount is correctly identified by Fred (and I believe it is), there is not much ship aft of that 5" gallery - maybe 50', literally the stern to the back of the #3 elevator structure. The sidescan sonar image makes it appear the rear half or so of the flight deck was stripped off, but that may be an illusion from the angle of the scan which could put the flight deck in a "shadow" of the sonar beam.
Great pictures!
The "'big-picture" sonar scan shows both the main section and the stern. Both were explored and photographed. Considering how many torpedoes hit that area, the break point aft of the #2 elevator is understandable.