
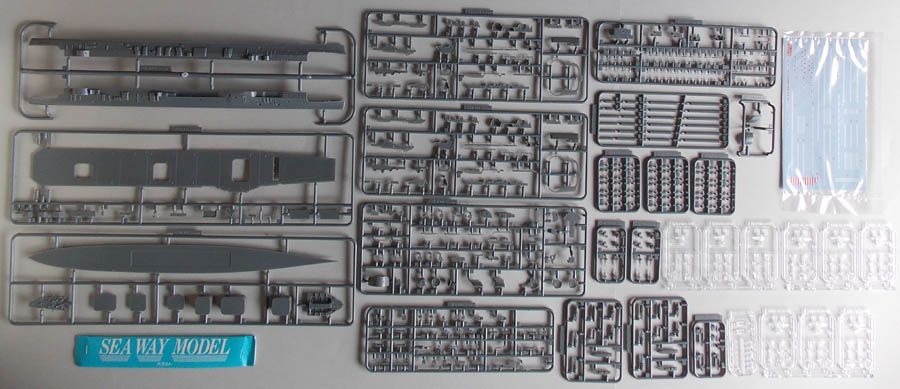
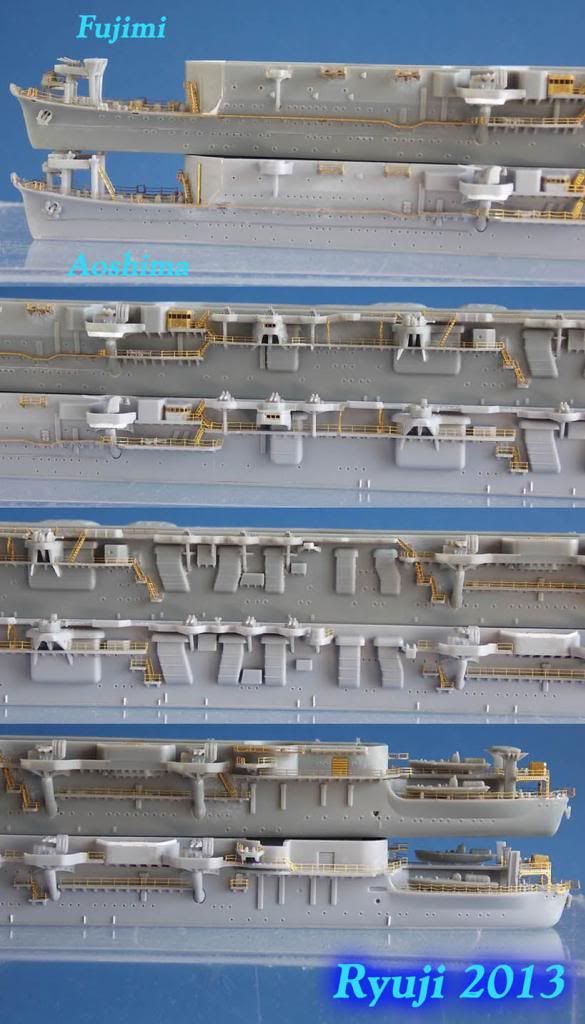
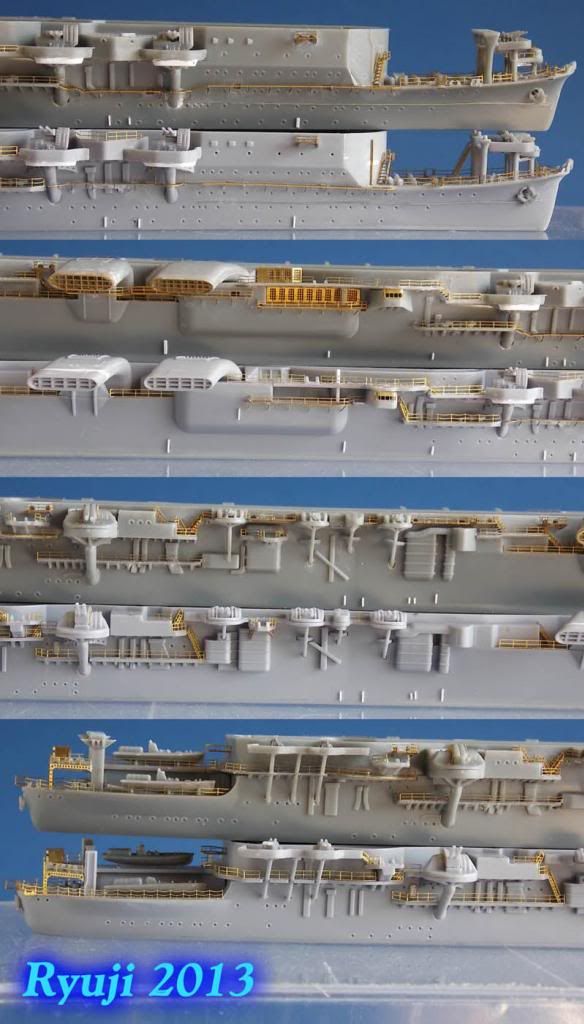
Aoshima kit parts

Fujimi kit parts
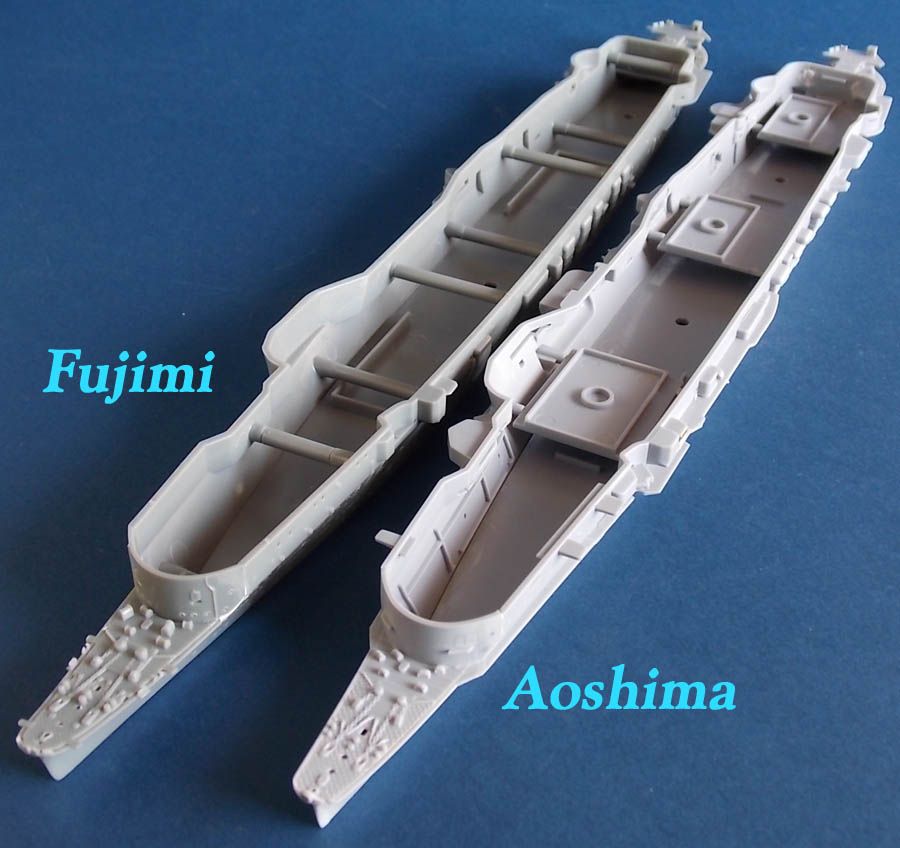
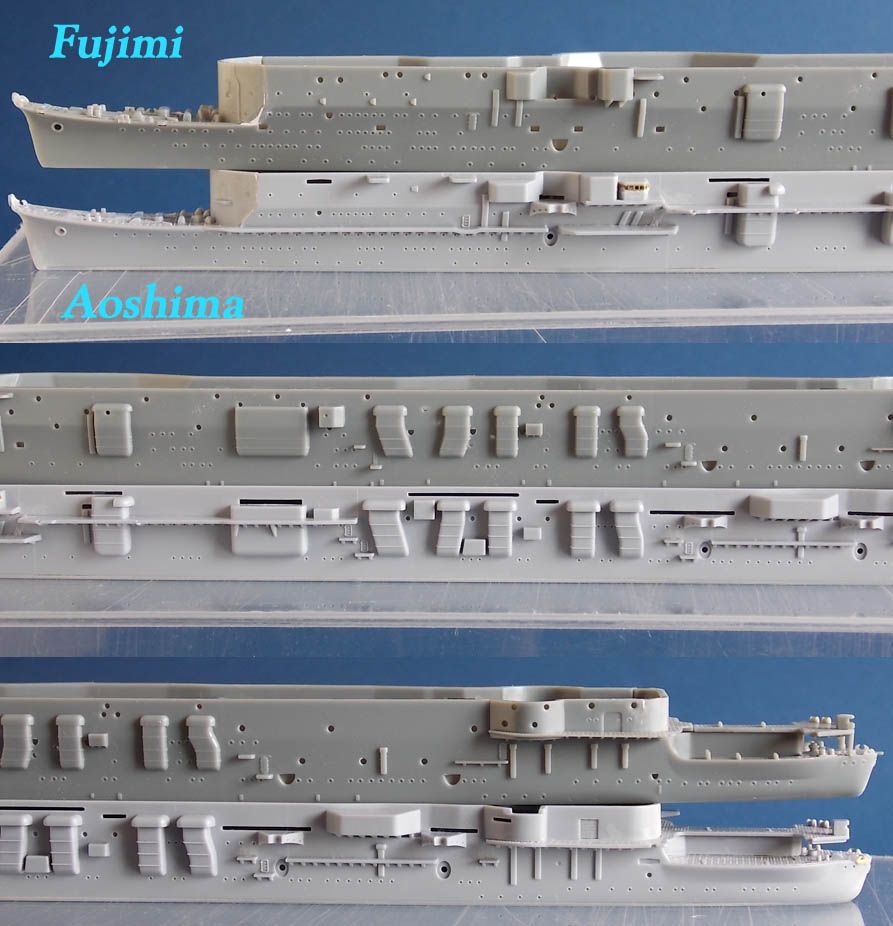
Basic hull build

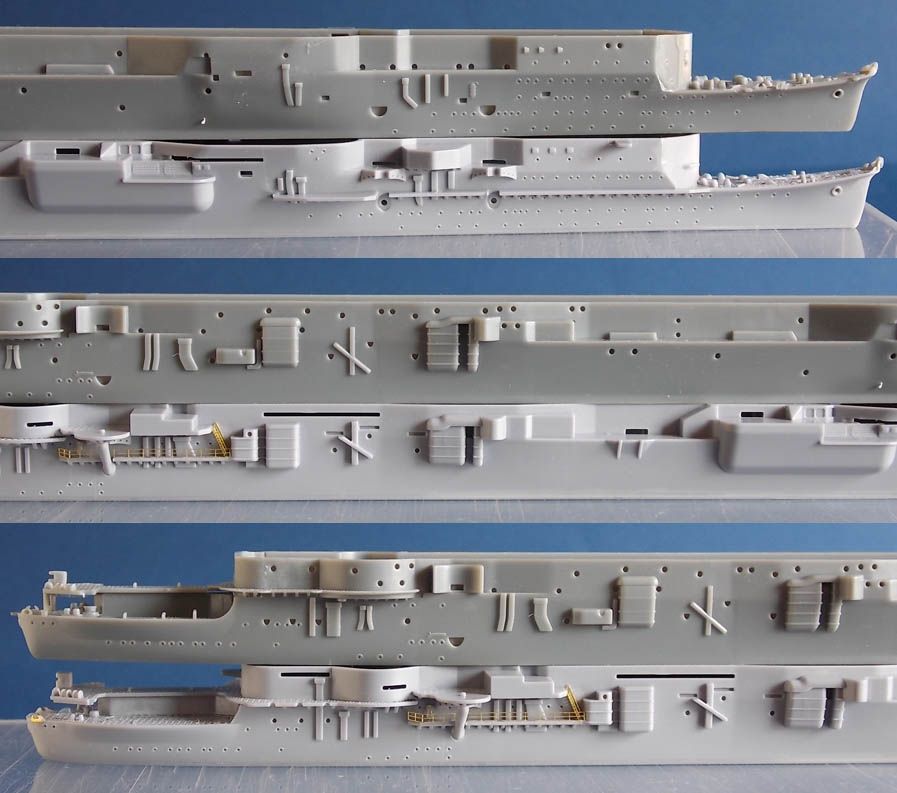

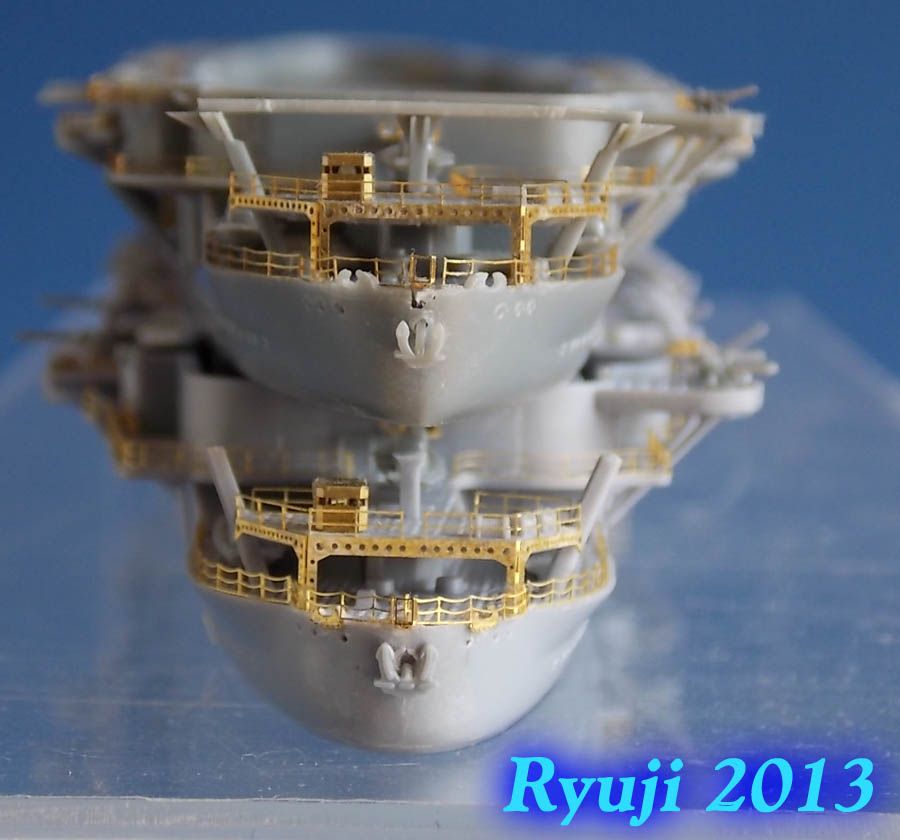
Detail up with Fujimi and Aoshima photo etching sets.


Moderators: BB62vet, MartinJQuinn, JIM BAUMANN, Jon, Dan K


Thanks for comments!Dan K wrote:What a great project & comparison! Does anyone notice how overscale the Fujimi portholes/eyebrows are compared to Aoshima? OTOH, the Fujimi PE looks pretty good.
Ryuji, any comments on fit/assembly between the two?


Thanks!Allan McBeath wrote:nice weathering. How did you do it? give us some tips