Paul
Moderators: BB62vet, MartinJQuinn, JIM BAUMANN, Jon, Dan K


Hmmmm....codythecatt wrote:
And I thought I was bored!nah ... "insane" doesn't even come close to being an appropriately descriptive word. (this is my first peek at this thread)
Let me guess:
1. Not married ... or soon to be under the grounds of spousal abandonment?
2. Retired ... or living off the dole and have relatives that buy you kits just to keep you out of their hair?
3. Insomniac ... or a major caffeine (?) addict?
4. Obsessive/Compulsive ... or just locked away for such behavior?
or
5. Just bored spitless ... or spitlessly bored?
My guess is part B of all of the above!
(JUST FUNNING WITH YOU! lol this post is just for fun ... but it is truely scary!)
 You'd have to be to afford all the X-acto blades I've gone through so far. I personally own 14 real surplus diesel submarines which I use to maintain my completely legal and moral Latin American trading empire. I even own a 5 million acre ranch on Mars. Shhh, though... I'm trying to stay incognito!
Ahhh! Don't give me any ideas! Before I know it, I'll find myself doing exactly that without ever even realizing it.Christian M. wrote:Some told here you are insane ... well, until now only thoroughly in detail. Insane will be, when you make next time a Gato with a cut open side and scratch build interior + figures and so on inside.
But I must not call these friendly guys in white suit and upper arms what others have has thigh? You know, they are these one who convince you to wear this nice jacket with long, but closed arms and which will be closed by them thoroughly behind in your back.Channell wrote:Ahhh! Don't give me any ideas! Before I know it, I'll find myself doing exactly that without ever even realizing it.Christian M. wrote:Some told here you are insane ... well, until now only thoroughly in detail. Insane will be, when you make next time a Gato with a cut open side and scratch build interior + figures and so on inside.
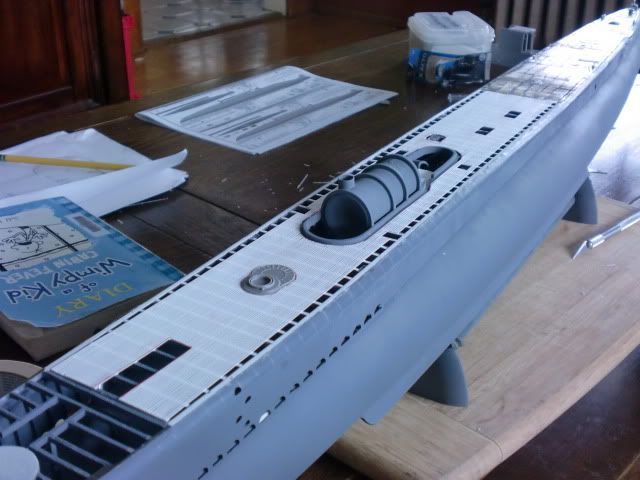
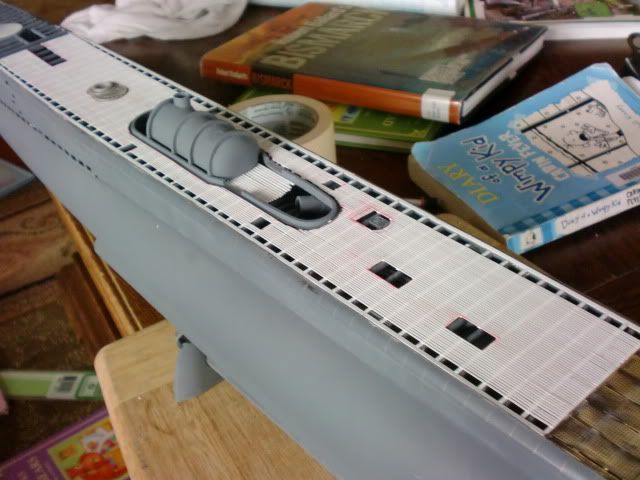


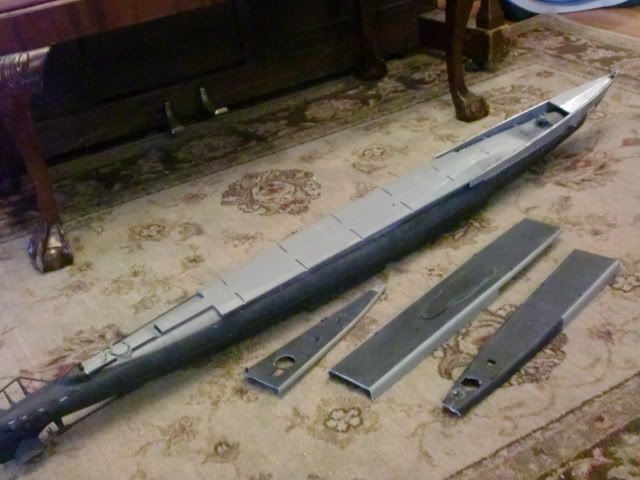
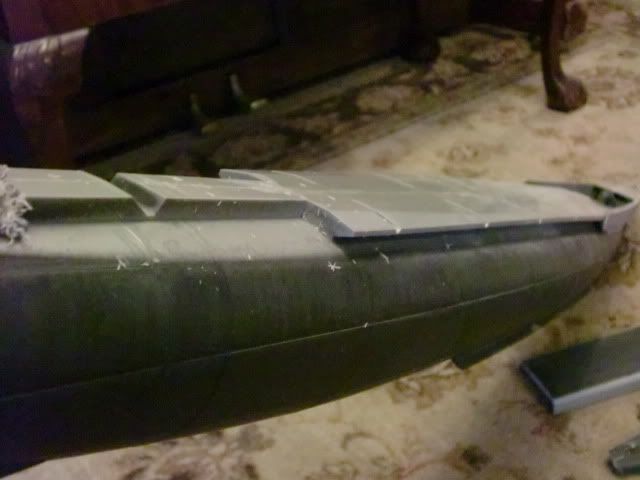
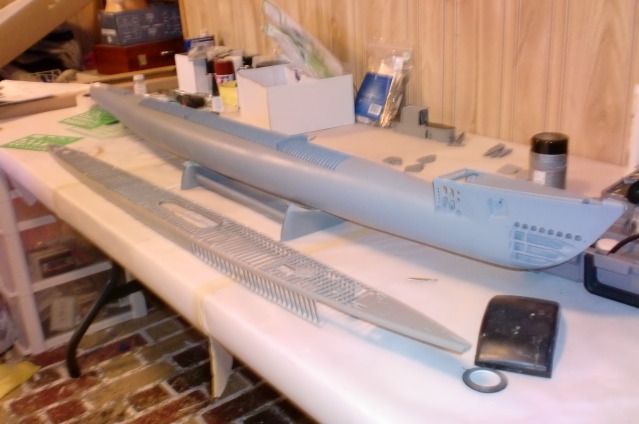
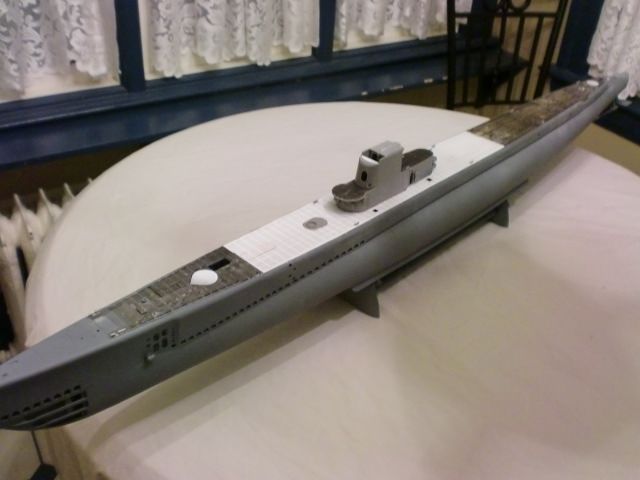
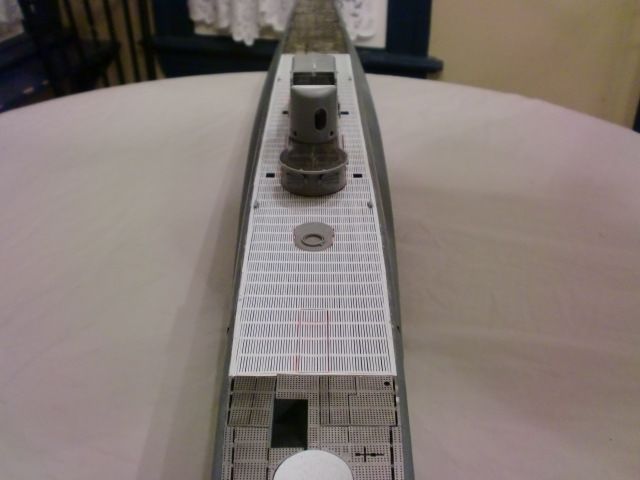
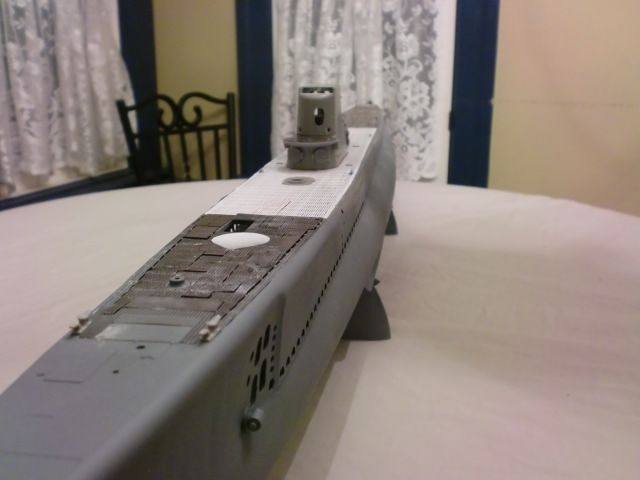
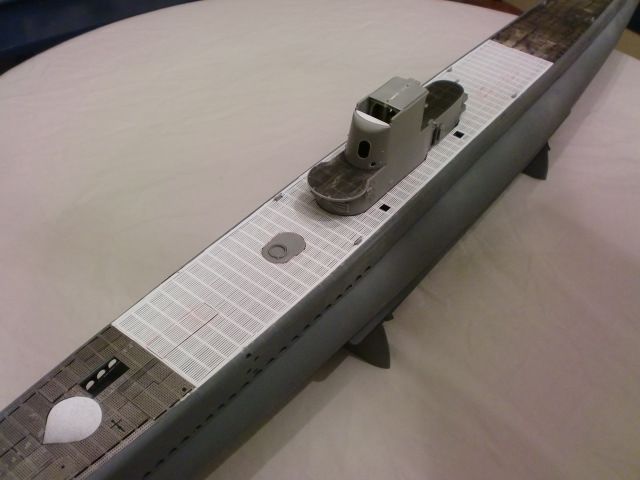
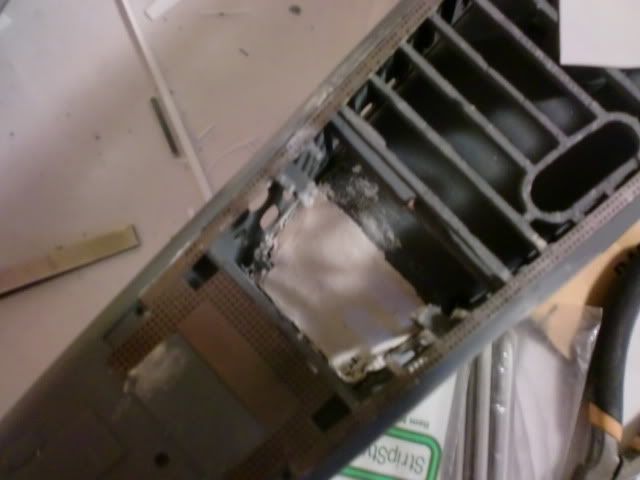
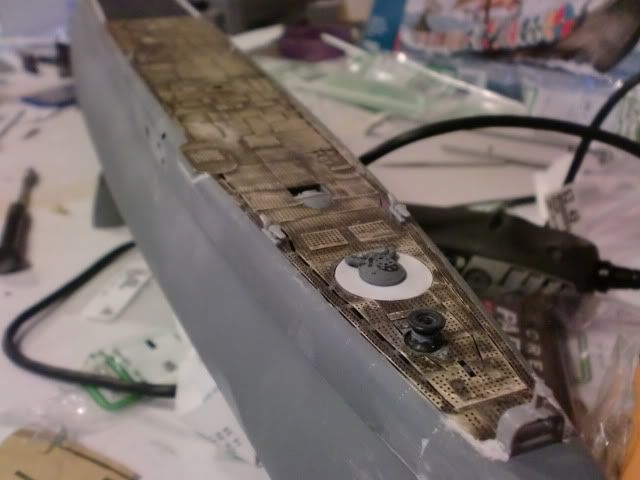
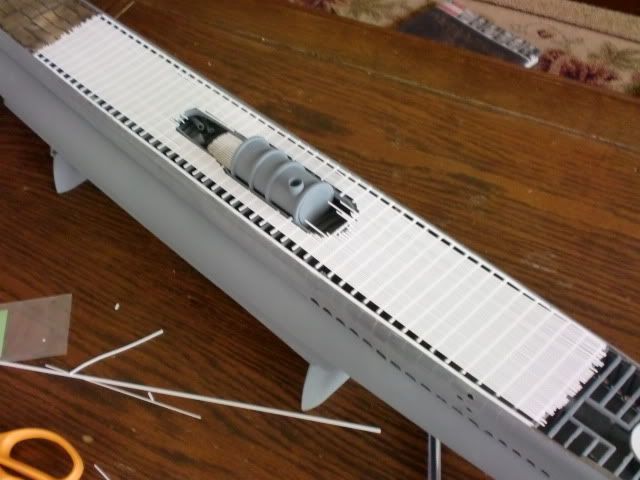
Truth be told, my conning tower cylinder isn't exactly "right". I built it more for the needs of the model than to be strictly accurate; it's main purpose is provide a sturdy support for the deck both vertically and transversely, as there was a lot of play in it with so much of the kit engineering cut out. It is basically invisible under the fairwater anyway so it hardly matters!aurora-7 wrote:Just found this build thread and it leaves my knees wobbly! It's great work your're doing.
I've just picked up the research again to do my Revell boat as the USS Tautog as she was at the time of the Pearl Harbor attack.
What would you recommend for reference on the interior of the fairwater? I have a Nautilus Models resin sail for a Tambor class but I need to hollow it out and do some interior 'decorating' for it.
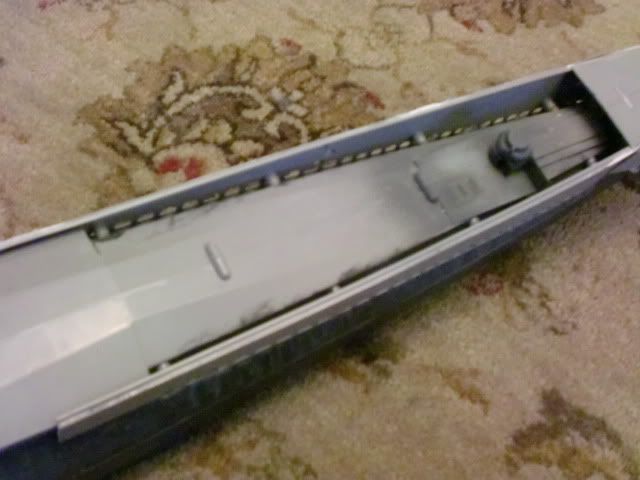
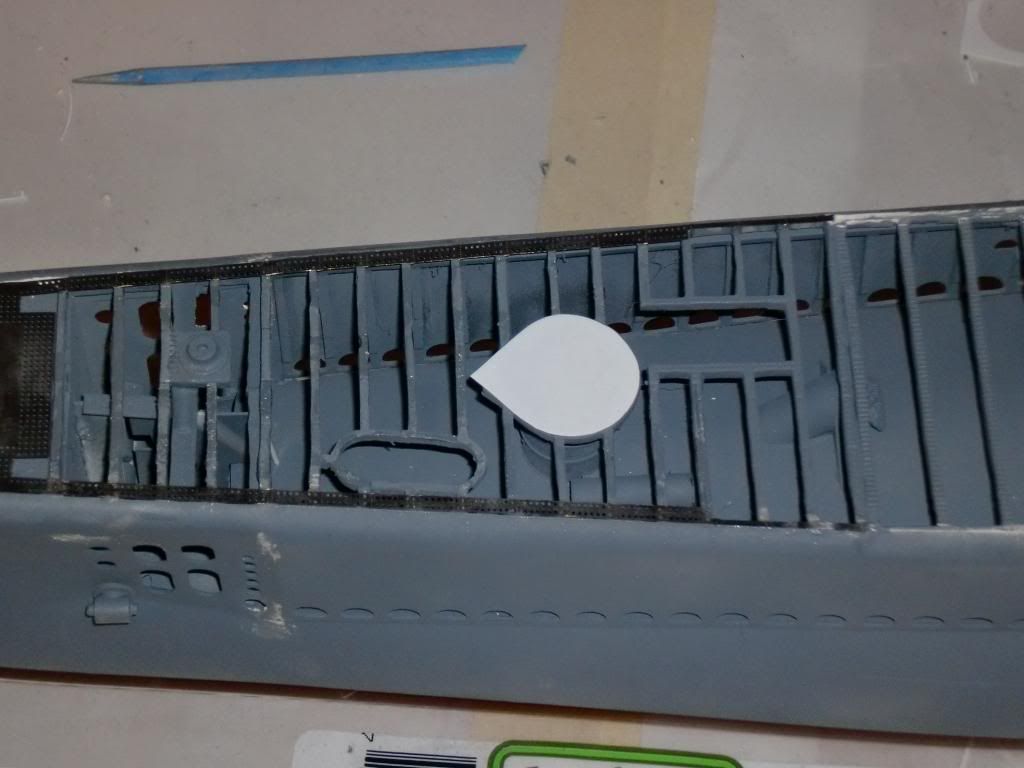
What did you use for reference for you conning tower pressure hull layout?