The Ship Model Forum

The Ship Modelers Source
It is currently Fri Apr 19, 2024 9:15 am

All times are UTC - 6 hours [ DST ]


Post new topic Reply to topic  [ 15 posts ] 
Author Message
PostPosted: Wed Aug 10, 2016 2:23 am 
Offline
SovereignHobbies
SovereignHobbies

Joined: Sat Feb 28, 2015 9:09 am
Posts: 1176
Location: Aberdeenshire, Scotland, UK
To be fair, the absolute last thing I needed was another ship project on the go, but I got talked in to it through a Facebook group I co-admin which initiated a group build themed on the Battle of the Atlantic. Being an admin, I thought it bad form not to join in, but realised that finishing a ship would be good for me so decided a fresh start with lowered aspirational standards might actually help.

I therefore took a bit of a detour on the way home from Duxford in July and dropped in at Hannants in Lowestoft. In retrospect, there are postal companies available which would have saved an enourmous amount of time droning down mile after mile of the dullest roads in Britain, but never mind.

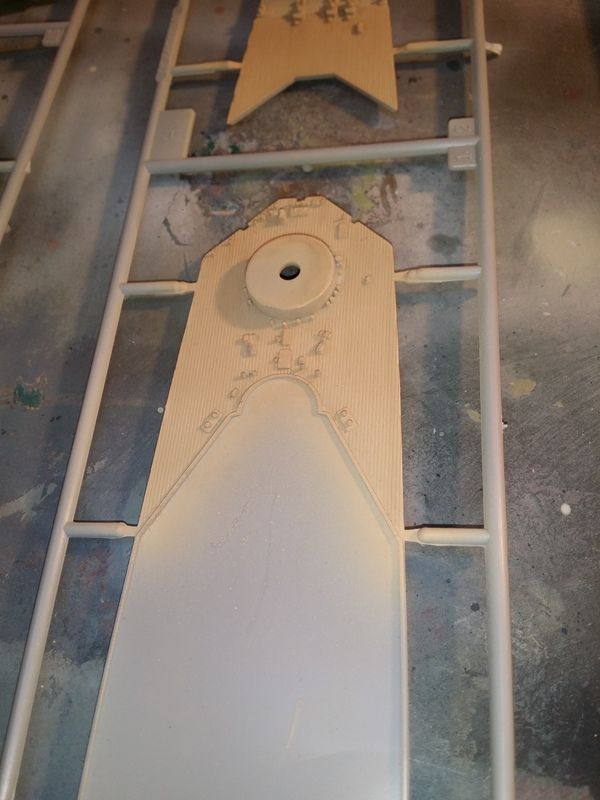
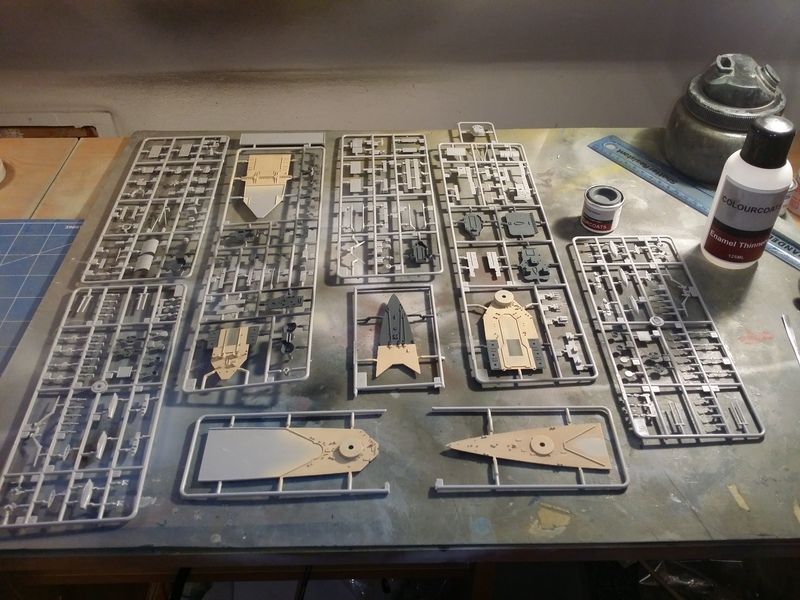
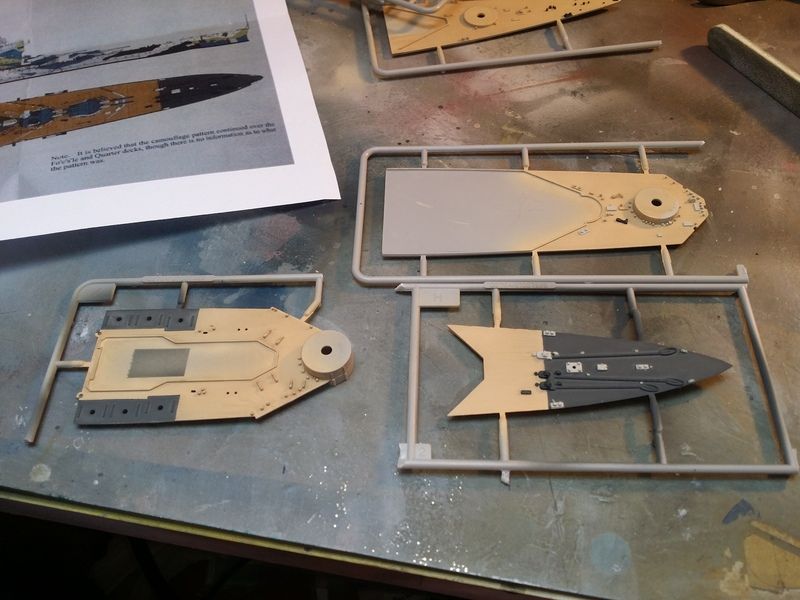
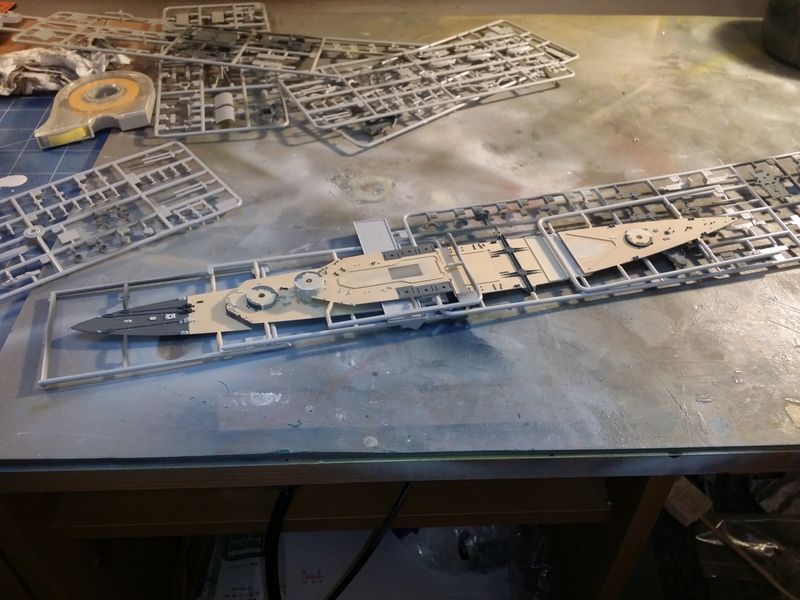
Monday 1st August - sprayed decks C01 Teak, washed with Tamiya IJN Deck Tan then Tamiya Earth Brown by brush, then a final wash of sprayed thinned Colourcoats ACRN10 Dark Earth. Steel decks masked and sprayed RN01 507A Dark Grey

Tuesday 2nd - Steel decks masked and sprayed RN01 507A Dark Grey. Brush painted bits, ventilators, turret barbettes etc on the decks. That was boring enough. Sawed the lower hull in half. Fixed the B turret barbette.

Wednesday 3rd - Glued the hull back together and filled with Squadron green putty. Spent the modelling time that evening with my youngest daughter who wanted to do some of her Airfix Hurricane.

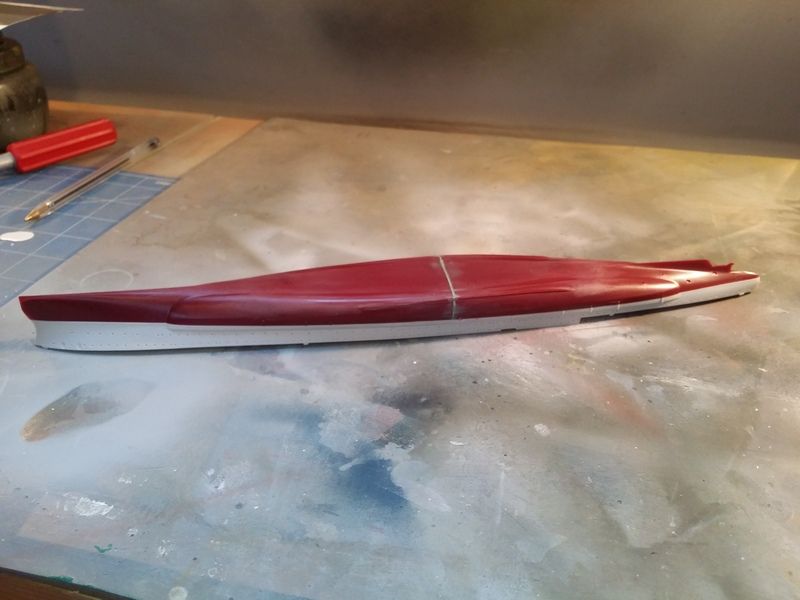
Thursday 4th - Sanded the hull join, sprayed hull RN03 507C then masked for RN10 WA White, finally masking over the WA White and spraying the B5. Demasked, and left it to harden.

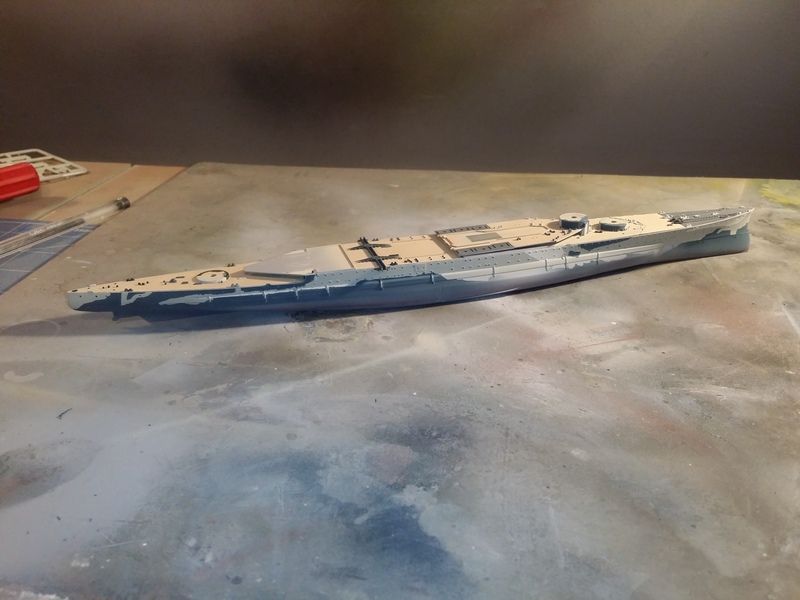
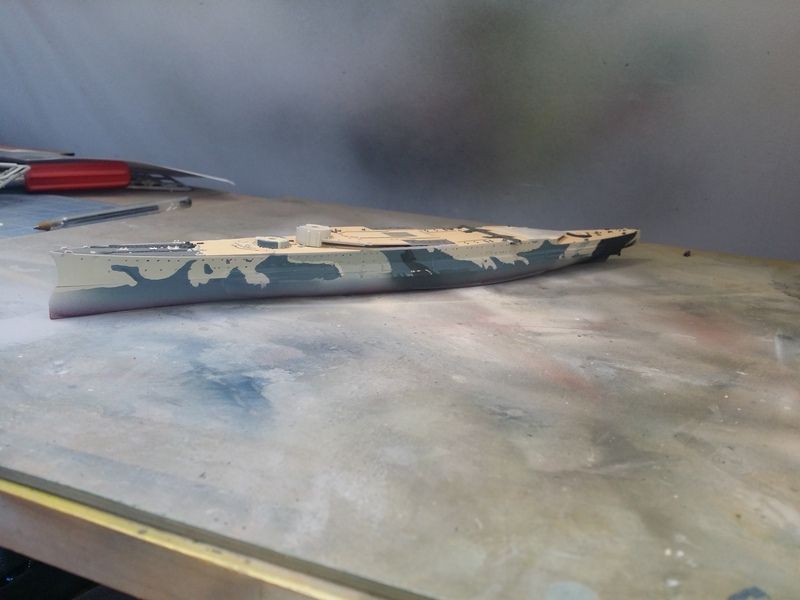
Friday 5th - Masked and sprayed RN06 MS3, then masked and sprayed RN04 MS1. Demasked, went and got a beer.

Saturday 6th - had to go to B&Q to buy materials for Sovereign's new paint shop (we're taking lid spraying and tinning in house) - had to build an extractor, loads of shelving and do some wiring etc. Masked and sprayed RN19 Anti-fouling red and then C02 Black for the boot topping. Added some superstructure at the stern and painted MS3 and MS1 camouflage.

Sunday 7th - Added B5 to rear superstructure, sprayed the aviation hangar interiors C03 White and assembled other superstructure above. Made a mess with some Styrofoam and PVA glue!


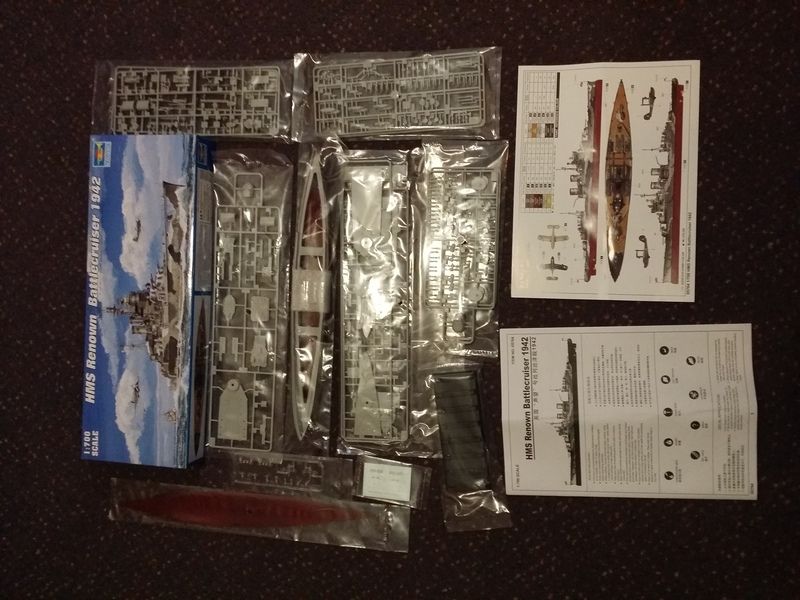
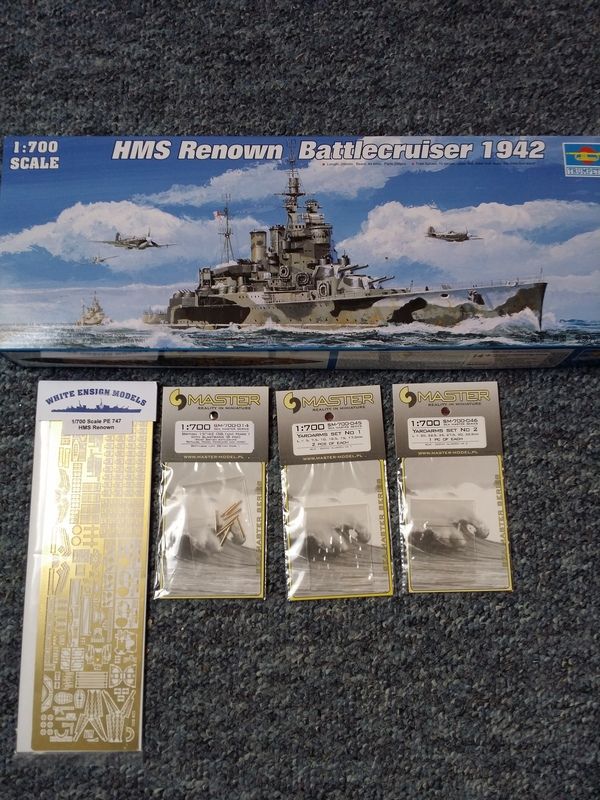
It's the Trumpeter 1942 boxing. The mouldings are quite nice on the face of it:
Image

I raided the stock room for White Ensign Models PE747 to go with, and also got some brass barrels, masts and yardarms from Master to go with.
Image


The Group Build kicked off on 1st August.

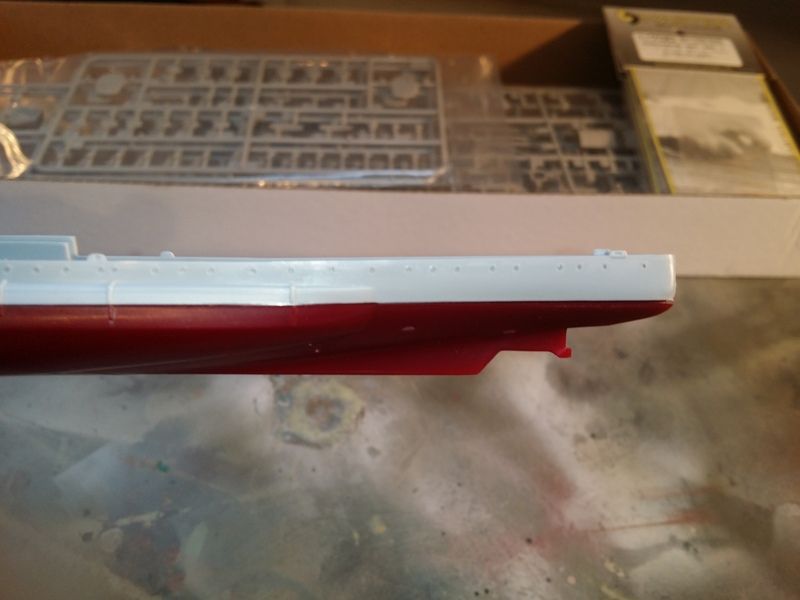
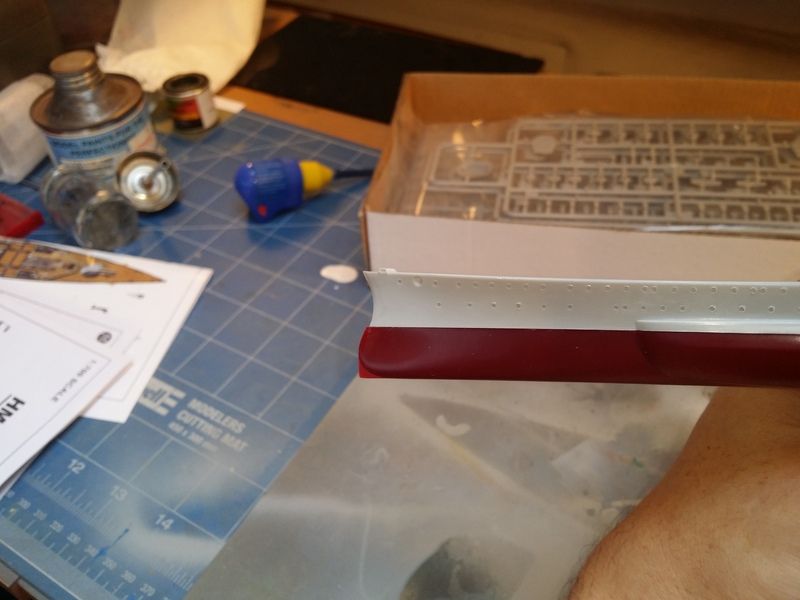
Being Trumpeter, it doesn't take too long to find an issue. The upper and lower hull halves are different lengths. Just blending in the prow or stern didn't seem clever as the torpedo bulges don't line up either.
Image

Image


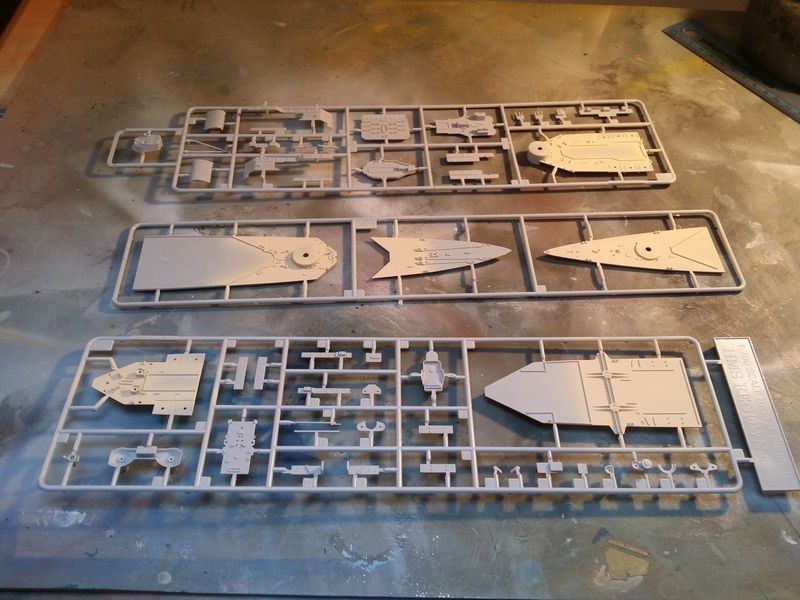
Anyway, I set about spraying the deck. All paints are my own, perhaps/hopefully obviously.
Image

Image

Image

Image

Image

Image


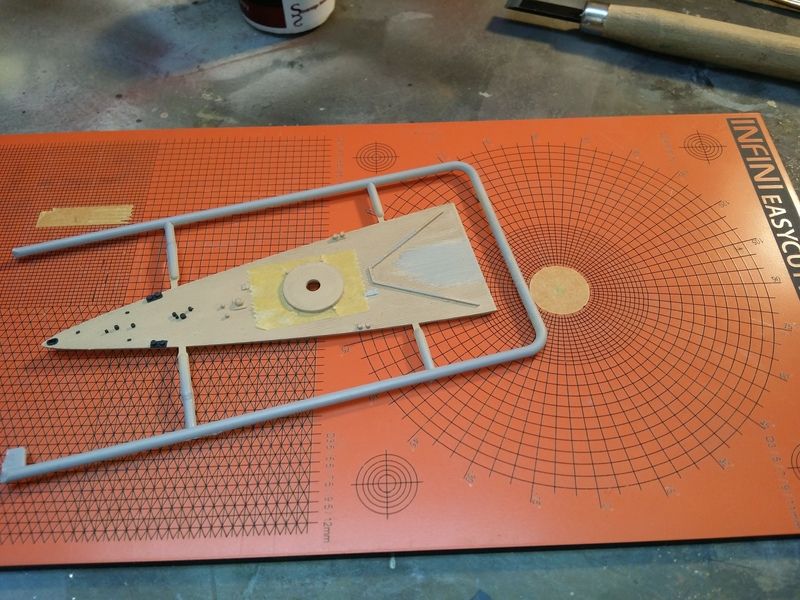
I started removing moulded ladders which will be replaced by photo etched parts later.
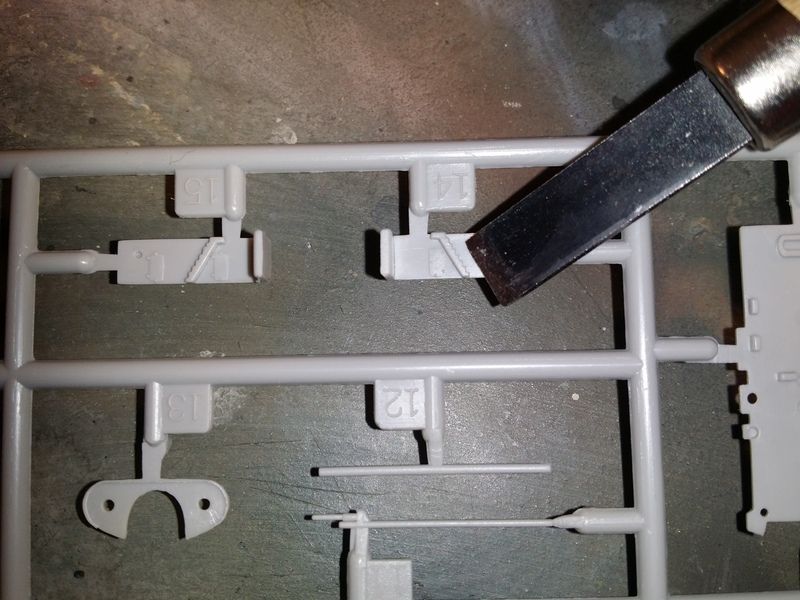
Image


The moulding on B turret barbette shows poorly aligned tooling.
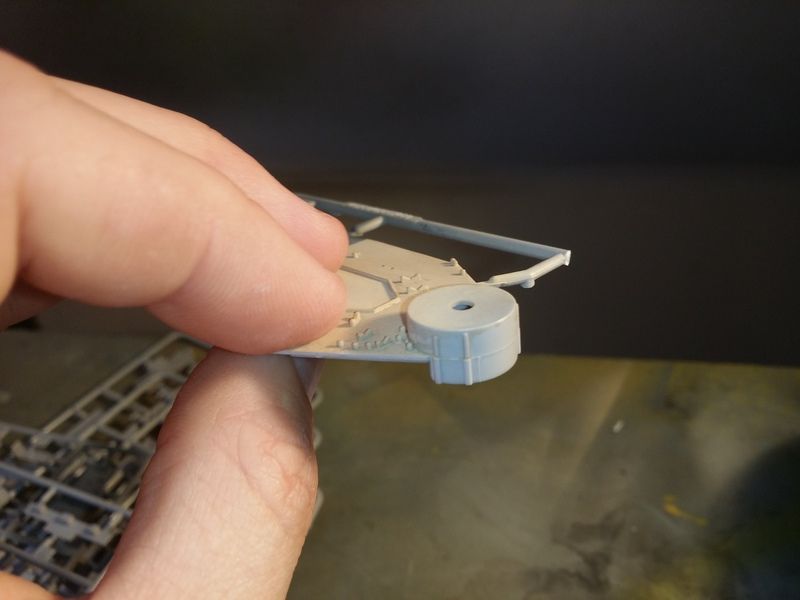
Image

I decided it would be easier to just sacrifice the ventilators to get the barbette cleaned up properly
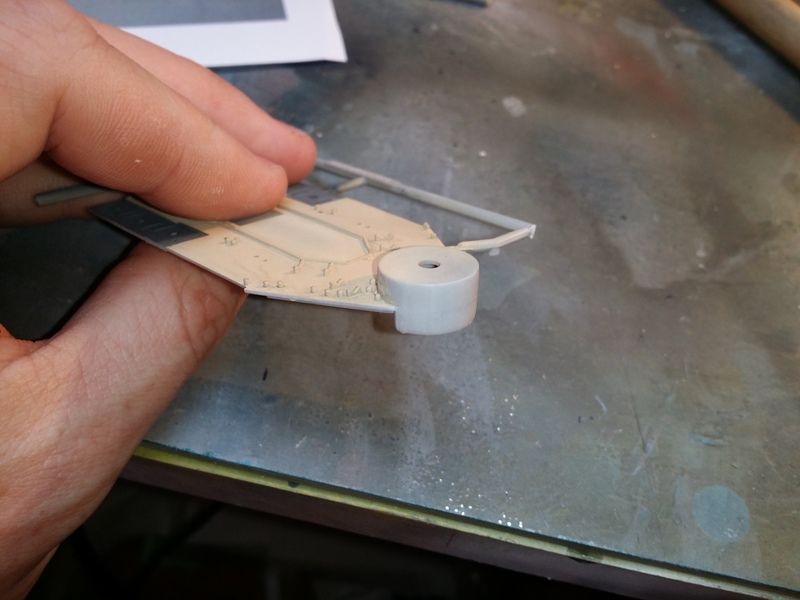
Image

Then I replaced them with Evergreen strip.
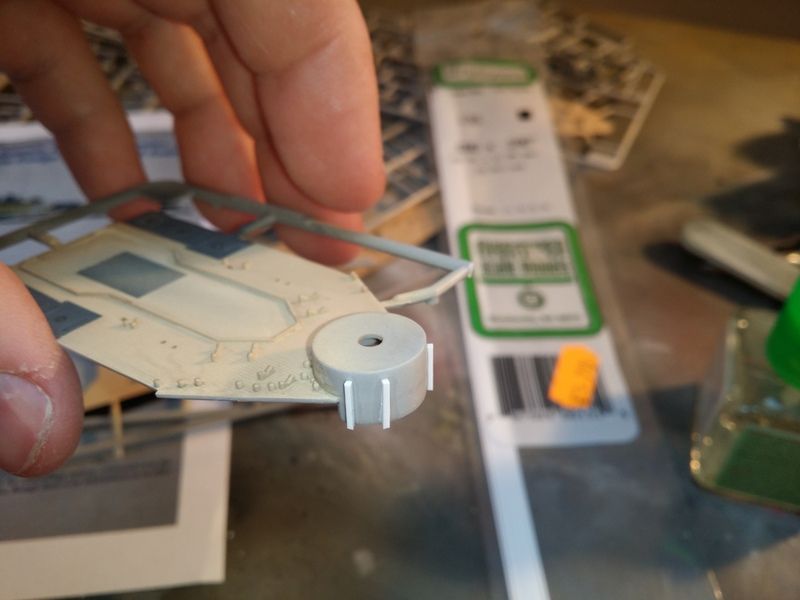
Image


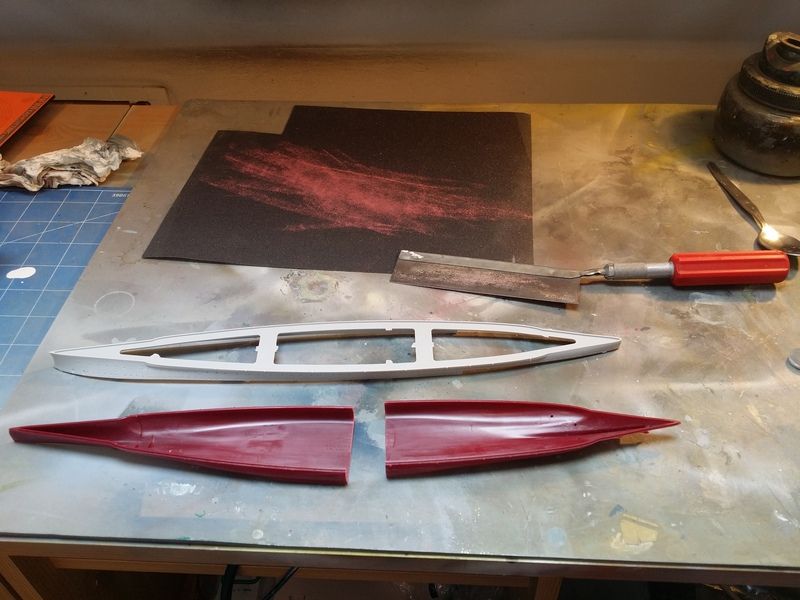
I intended to display this model in a seabase, but I just don't feel right about using waterline plates, so I decided to address the hull, by sawing it in half.
Image

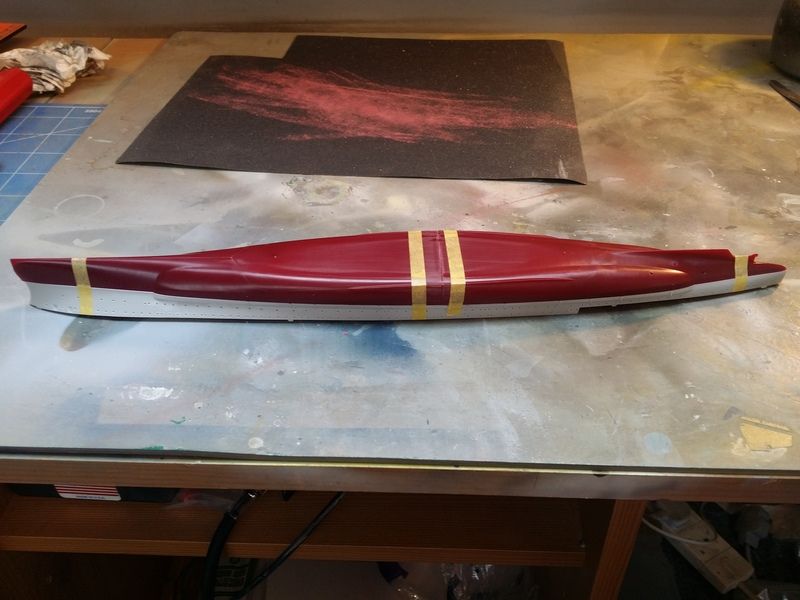
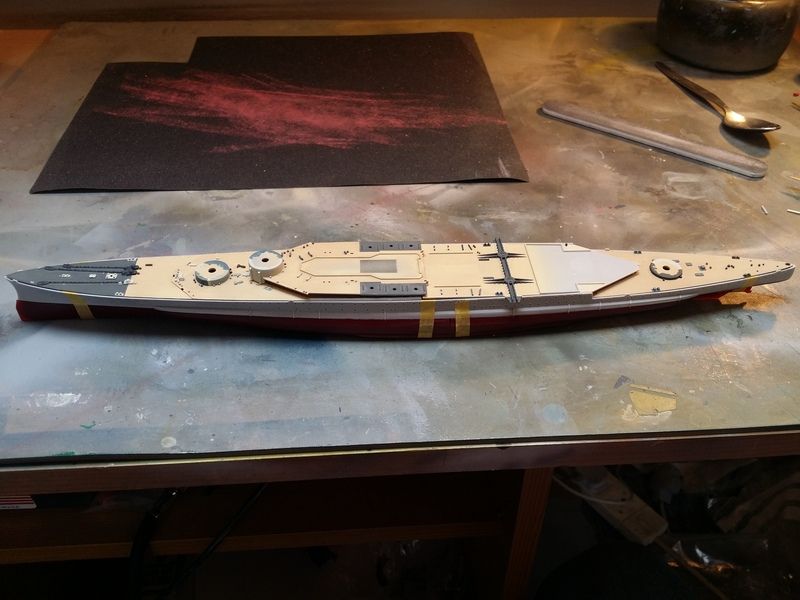
The width of the razor saw blade almost cured the alignment issue, and some wet and dry on a flat, hard surface did the rest. The halves were rejoined and glued to the upper half.
Image

Image

The seam was filled and sanded

Image


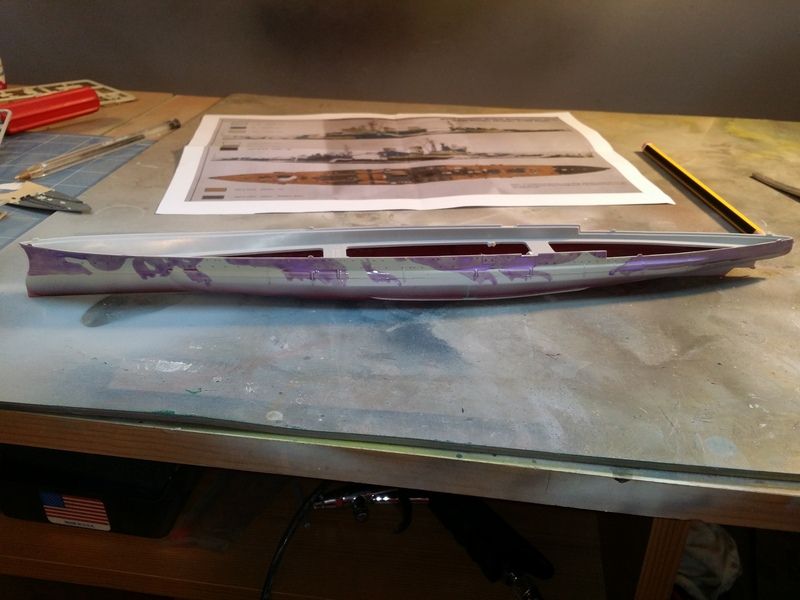
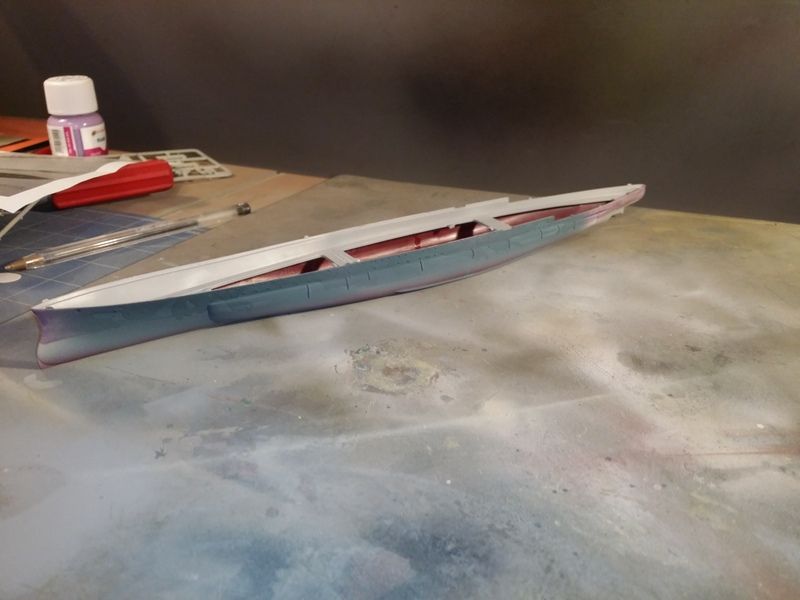
The hull was then sprayed 507C thinned with cellulose thinner for maximum drying speed, then masked with Maskol before painting on Western Approaches White and B5.
Image

Image

Image


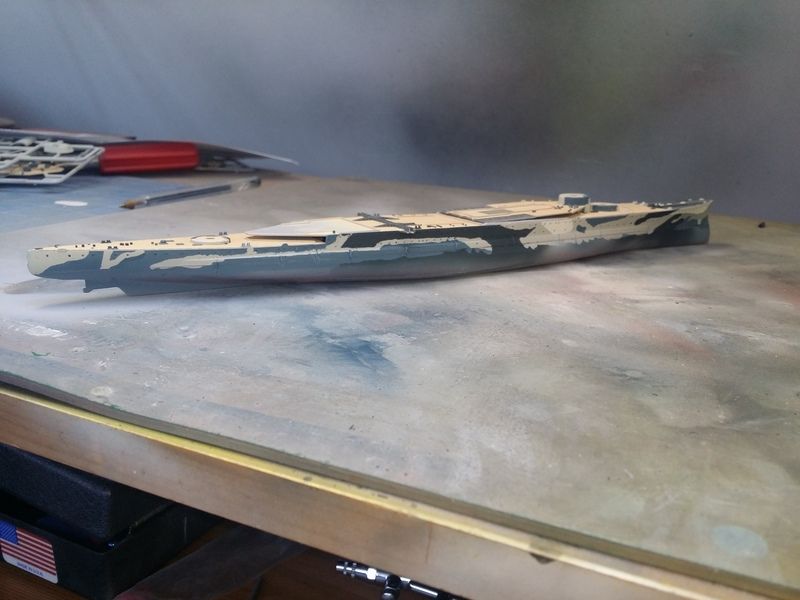
After a day out at proper work I remasked and got the MS1 and MS3 colours on.

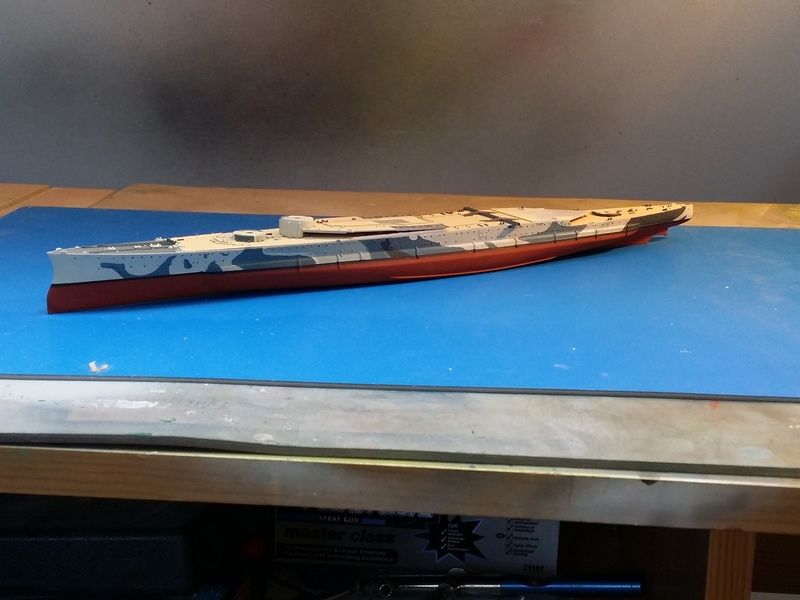
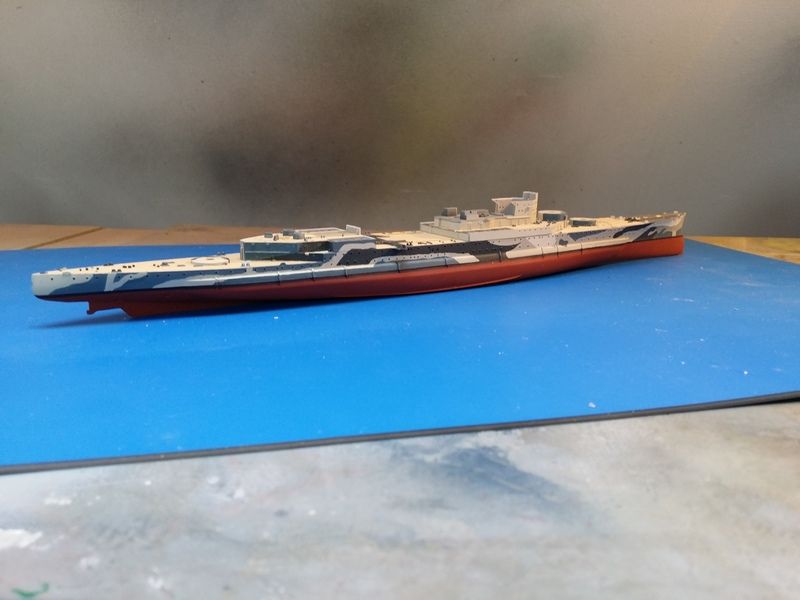
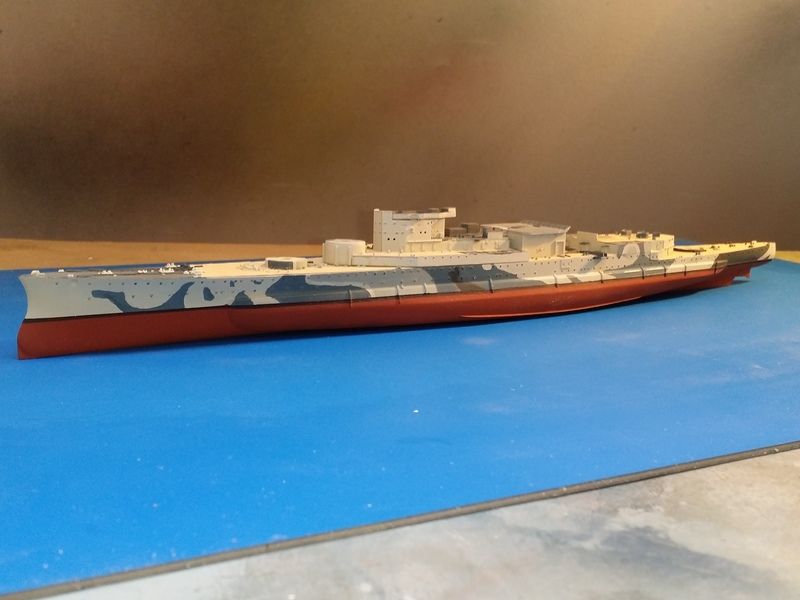
The hull camouflage was completed:
Image

Image


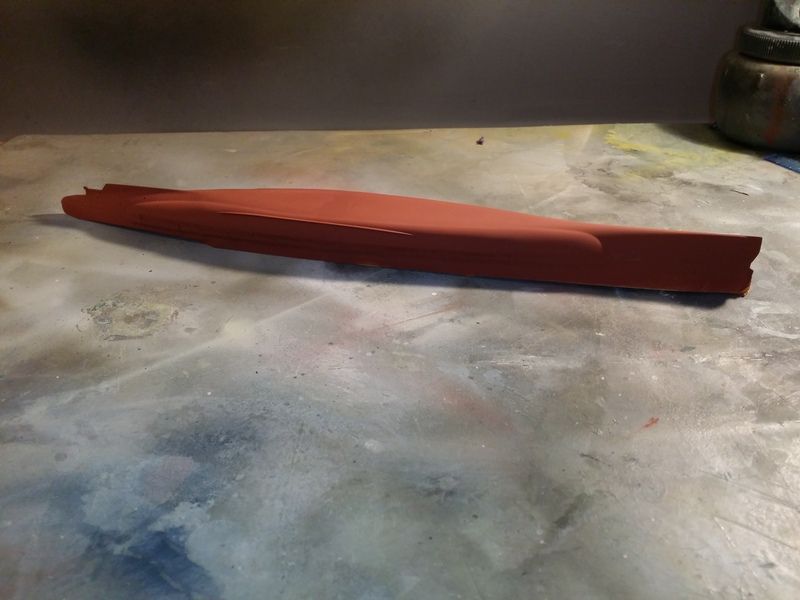
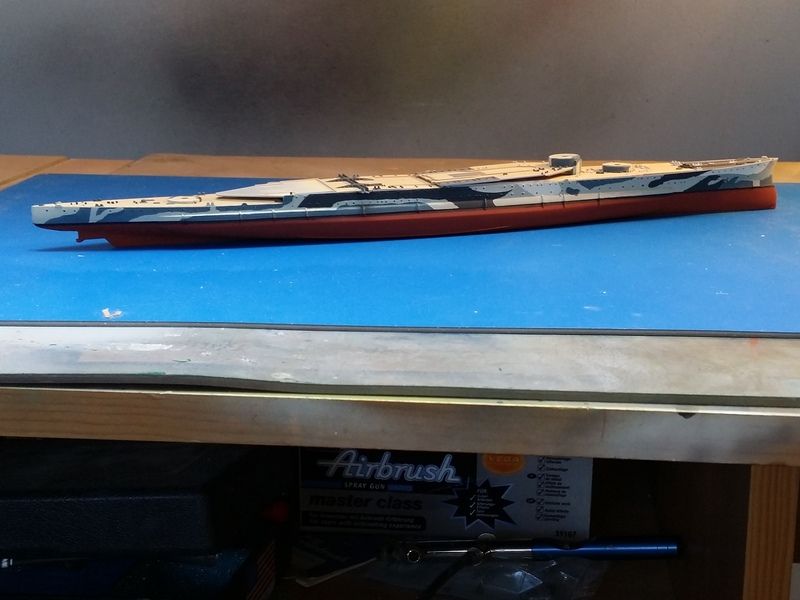
Then the underwater hull was painted in the Royal Navy's anti-fouling red colour and the boot topping painted on.
Image

Image

Image


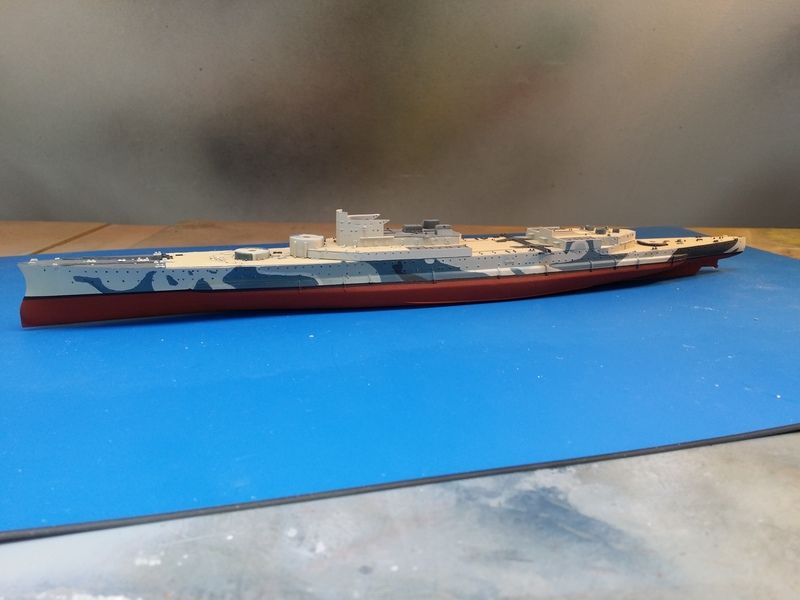
Building up superstructure prior to camouflaging it:
Image

Image


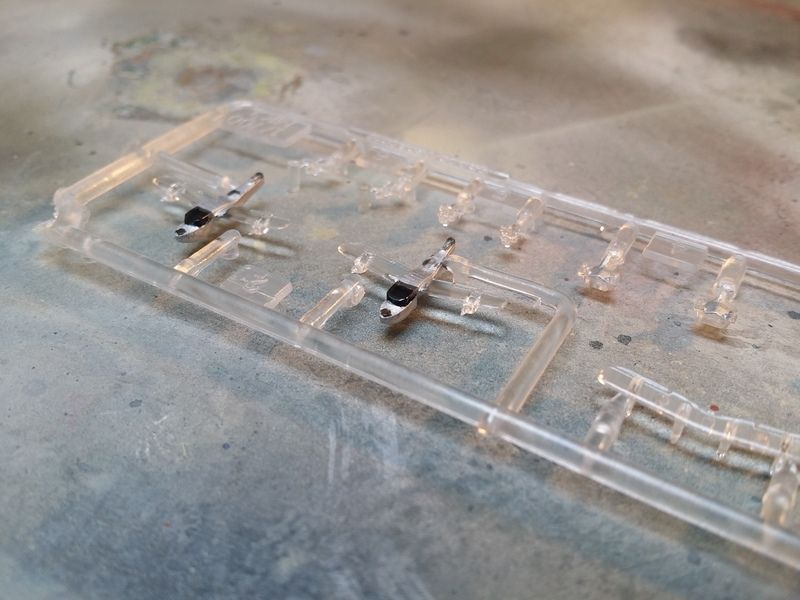
I took a break and painted the Walrus cockpit areas (not the glazing!!) black and the rest of the fuselage silver. When the Dark Slate Grey/Extra Dark Sea Grey goes on later, this gives a sort of illusion of not being a solid blob of plastic.
Image


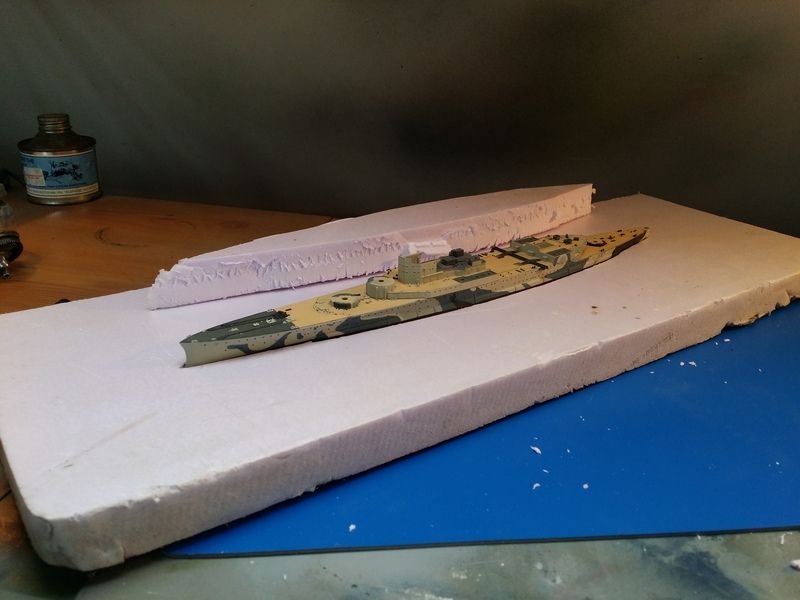
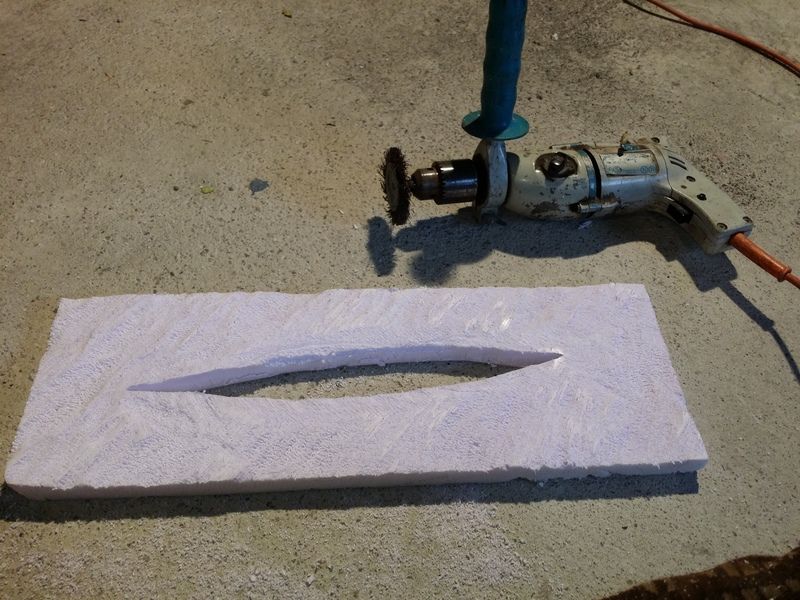
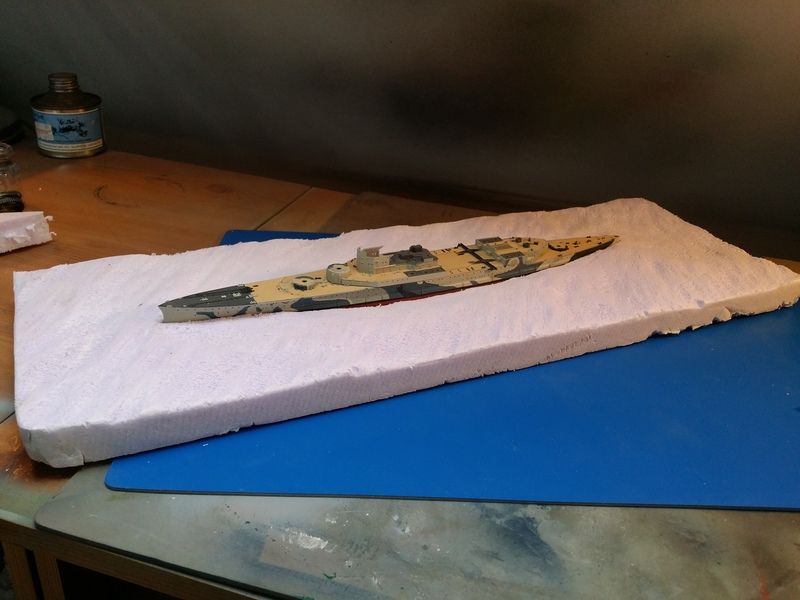
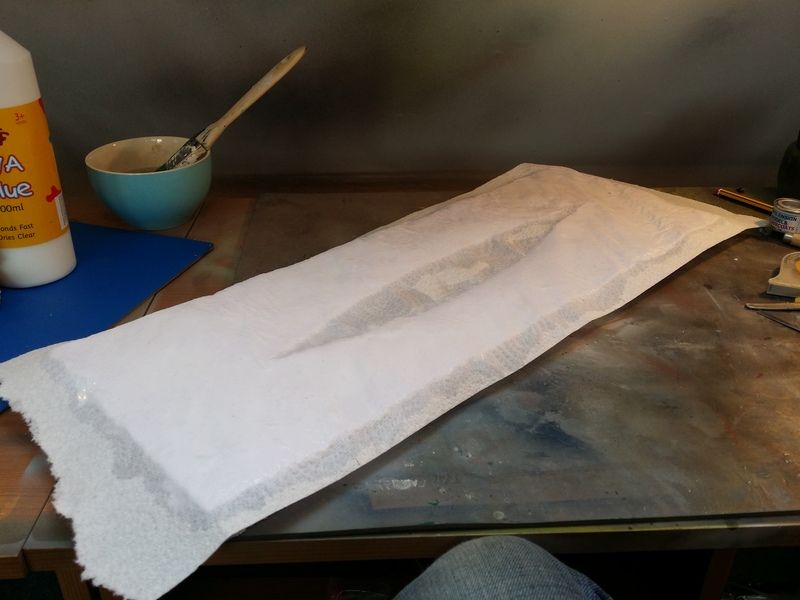
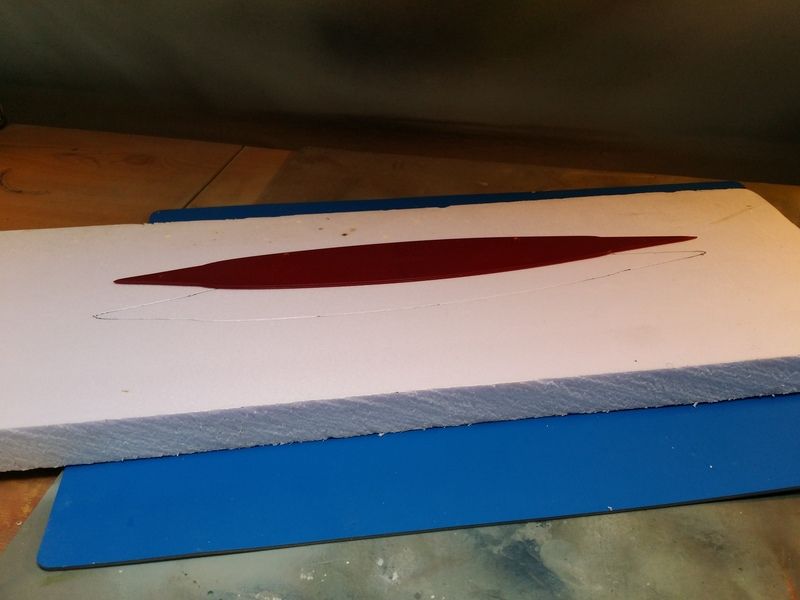
I made a start on a sea base. This is my first attempt at this particular technique.
Image

Image

Image

Image

Image


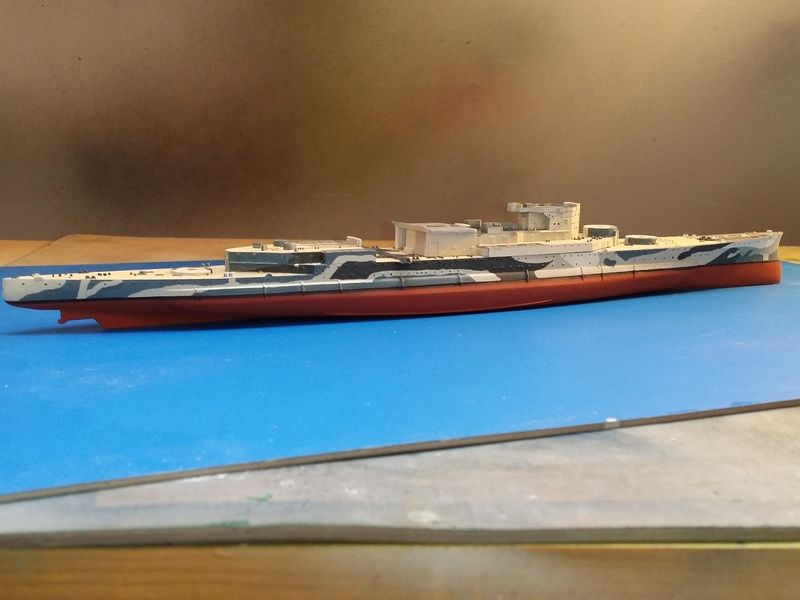
And a wee bit more superstructure assembly and I called it a night.
Image

Image

Monday night was a bit of a disappointment. I started off by giving the sea base another lick of PVA. I think it might work, but it's going to take a few coats.
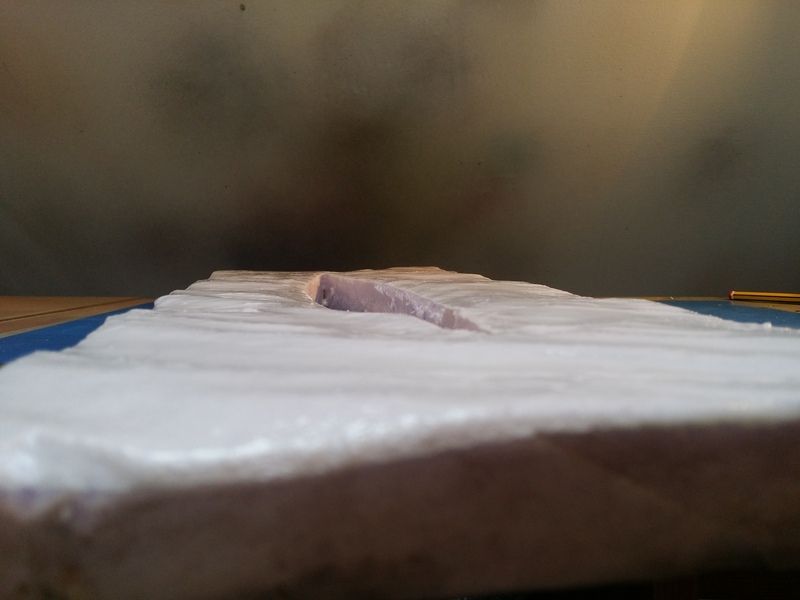

Image


I then set about the rear superstructure, looking to build that up and get on with some PE. I then promptly broke the mainmast parts when trying to pick them up!
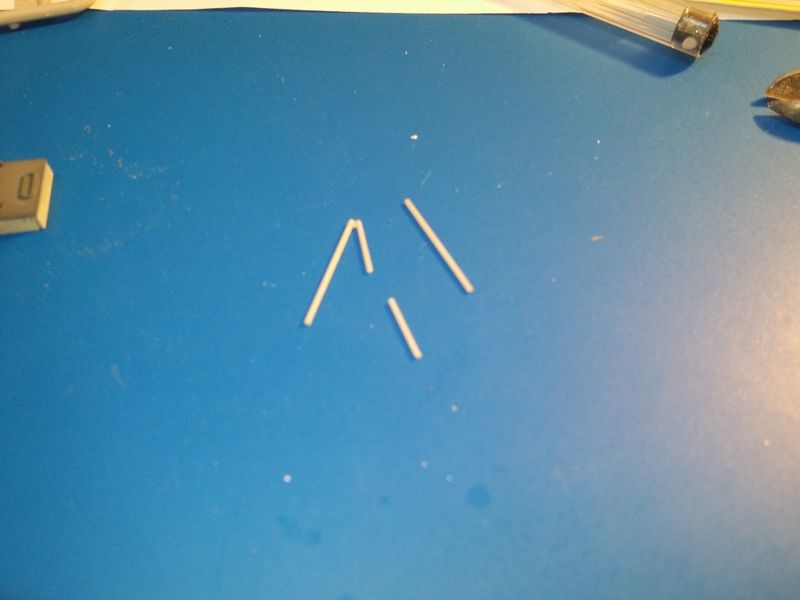

Image


I did try gluing it back together, but that was a disaster. It broke again. The plastic seems really brittle, or maybe I'm having a bad night. Who knows ... ?


Philosophically, I believe it's better to not try and fail, than to try hard and still fail only now you're knackered and everyone can see that despite your best efforts you've still stuffed it up. So I gave up and got the brass tube out of the drawer.


I measured the hole spacing on the kit part the tripod mast sits on and copied it by drilling plasticard and using blutac to generally frown upon movement.
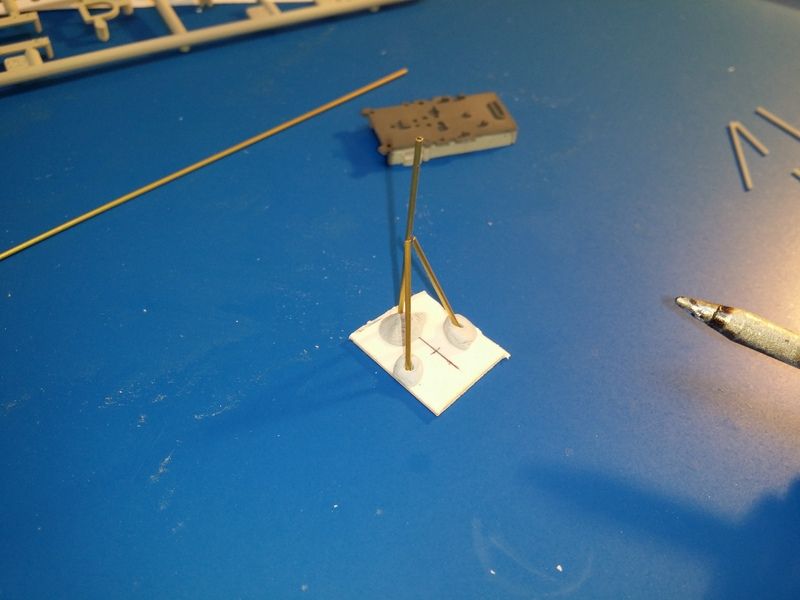

Image


A replacement mainmast was fabricated thus, only when I soldered the brass starfish platform on I managed to get it about 15deg askew in planform so had to desolder it melting all the solder and re-kitting the whole mast etc etc etc. Long story short, I've wasted the whole night making a mast. And it doesn't even have the Yagi aerial on it yet. :hanging:
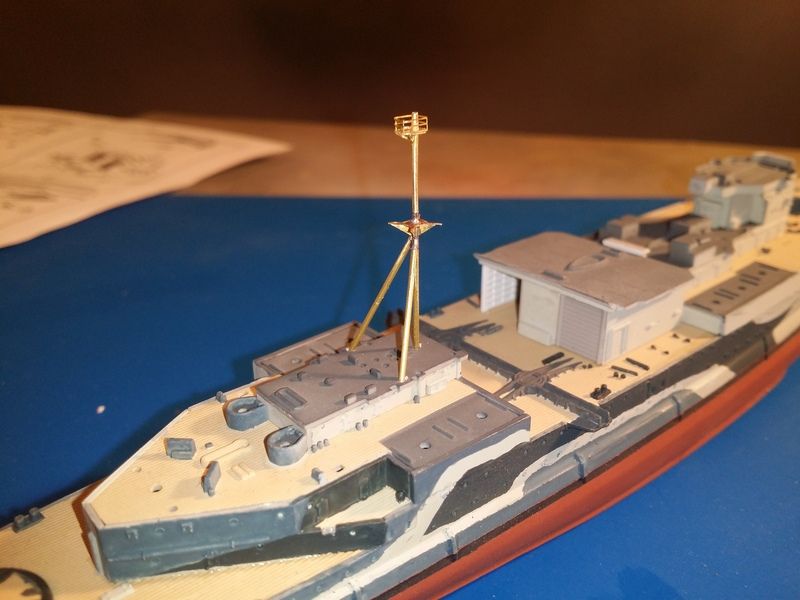
Image

_________________
James Duff
Sovereign Hobbies Ltd
http://www.sovereignhobbies.co.uk

Current build:
HMS Imperial D09 1/350
http://www.shipmodels.info/mws_forum/viewtopic.php?f=59&t=167151


Report this post
Top
 Profile  
Reply with quote  
PostPosted: Wed Aug 10, 2016 3:19 am 
Offline
User avatar

Joined: Thu Mar 31, 2016 1:52 pm
Posts: 502
Location: Inverness
Looking good (both of them!)

Cheers, Jabb

_________________
HMS Hood, the big one!

I used to be indecisive, now I'm not so sure.


Report this post
Top
 Profile  
Reply with quote  
PostPosted: Wed Aug 10, 2016 11:32 am 
Offline
User avatar

Joined: Thu Jul 02, 2015 1:06 am
Posts: 972
Location: Bangkok, Thailand
Great job on the camouflage! :thumbs_up_1:
Never know the Trumpy's Renown is not so good. I think they should open up and get something from the experts on this site and also many other forums. All the inaccuracies/issues could be gone forever! Millions of modelers could die in peace if that comes true!

Aop

_________________
On the way:
--1/350 Tamiya DKM Tirpitz Nov 1944

--1/350 scratch-build HMS Lion never built battleship (1938)

And our artworks!


Report this post
Top
 Profile  
Reply with quote  
PostPosted: Wed Aug 10, 2016 12:09 pm 
Offline
User avatar

Joined: Tue Jan 11, 2005 1:40 pm
Posts: 8175
Location: New Jersey
Yes, I concur - GREAT job on the camouflage. She is looking mighty fine.

BTW - you had two of the same post, I deleted the extraneous post.

_________________
Martin

"Tomorrow is the most important thing in life. Comes into us at midnight very clean. It's perfect when it arrives and it puts itself in our hands. It hopes we've learned something from yesterday." John Wayne

Ship Model Gallery


Report this post
Top
 Profile  
Reply with quote  
PostPosted: Fri Aug 12, 2016 4:55 am 
Offline
SovereignHobbies
SovereignHobbies

Joined: Sat Feb 28, 2015 9:09 am
Posts: 1176
Location: Aberdeenshire, Scotland, UK
Thanks folks. To be honest I find that photographing models shows them up for what they really are - i.e. a bit rougher than one tends to think when staring at them. This one is rough round the edges, but as above - it's important that I finish something! Then I can go back to my 1/350 projects and deliberate / pontificate over whether seams are good enough and how patchy the paint looks.

I went to my model club's monthly meet on Tuesday night, so no progress. I had to do some admin at Sovereign on Wednesday night (new aircraft colours that weren't on dealer pricelists - that sort of stuff that needs doing but is always a second priority.

Last night however I got a tiny bit more done. I actually spent a few hours doing it but it doesn't look much. Radars made up and painted (these are fiddly in 1/700 - I doff my hat to the people who make stunning models in this scale!). Railings measured and painted to match the camo (but not yet fitted), ladders painted (but not yet fitted) and some bits and bobs added - all focusing on the quarter deck area. The secondary guns and AA weapons were also painted.

The sea base got a blow over with some paint too.

Image

Image

Image

Image

Image

Image

_________________
James Duff
Sovereign Hobbies Ltd
http://www.sovereignhobbies.co.uk

Current build:
HMS Imperial D09 1/350
http://www.shipmodels.info/mws_forum/viewtopic.php?f=59&t=167151


Report this post
Top
 Profile  
Reply with quote  
PostPosted: Fri Aug 12, 2016 2:44 pm 
Offline
SovereignHobbies
SovereignHobbies

Joined: Sat Feb 28, 2015 9:09 am
Posts: 1176
Location: Aberdeenshire, Scotland, UK
Another hickup - my youngest daughter managed to trip and headbutt the wheel of our pickup truck. One trip to the doctor and some superglue later...

Image

So tonight I only had time to do some work on the water, using artist's acrylic gloss gel and some cotton wool.

Image

Image

The hull will get packed in with more eventually, but I'm not ready to commit yet.

_________________
James Duff
Sovereign Hobbies Ltd
http://www.sovereignhobbies.co.uk

Current build:
HMS Imperial D09 1/350
http://www.shipmodels.info/mws_forum/viewtopic.php?f=59&t=167151


Report this post
Top
 Profile  
Reply with quote  
PostPosted: Fri Aug 12, 2016 5:58 pm 
Offline
User avatar

Joined: Mon Jul 16, 2007 3:50 am
Posts: 480
Location: North Pole, Alaska
That looks awesome? Are you doing any railing or anything? I personally think it looks great without.


Report this post
Top
 Profile  
Reply with quote  
PostPosted: Mon Aug 15, 2016 1:40 am 
Offline
SovereignHobbies
SovereignHobbies

Joined: Sat Feb 28, 2015 9:09 am
Posts: 1176
Location: Aberdeenshire, Scotland, UK
Hi, I will be adding railings soon on the superstructure decks. I'll be leaving most of the railings until (almost) last as I keep knocking them otherwise!

I seem to get less done at the weekends!

I built up X turret before breakfast using Master barrels. Note the difference in length compared to Trumpeter (as well as the crisper and more accurate shape)
Image

Image


Mid morning I discovered that the research upon which the paint guide I was using was based had been superceded. Reviewing black and white photographs, the new wisdom made a lot of sense. I was therefore faced with a choice of living with it, or backtracking to fix it. I chose the latter. The pattern is the same, but 2 colours had to be changed with 1 colour which only appeared on the starboard side being eliminated.

Image

Image

_________________
James Duff
Sovereign Hobbies Ltd
http://www.sovereignhobbies.co.uk

Current build:
HMS Imperial D09 1/350
http://www.shipmodels.info/mws_forum/viewtopic.php?f=59&t=167151


Report this post
Top
 Profile  
Reply with quote  
PostPosted: Fri Aug 19, 2016 10:19 am 
Offline

Joined: Tue Jan 11, 2005 10:56 am
Posts: 8572
Location: New York City
The build is coming along very nicely. Hopefully, the same can be said for your daughter. Ouch.


Report this post
Top
 Profile  
Reply with quote  
PostPosted: Fri Aug 19, 2016 2:37 pm 
Offline
User avatar

Joined: Tue Sep 25, 2012 8:11 am
Posts: 647
Location: Elyria, Ohio USA
Sharp looking build so far. Eagerly looking forward to more :thumbs_up_1:

_________________
Just finished:
1/350 USS Santee 1944

Current projects:
1/700 USS Catamount 1960
1/350 USS Columbia 1945
1/350 USS San Francisco 1944


Report this post
Top
 Profile  
Reply with quote  
PostPosted: Mon Aug 22, 2016 3:43 am 
Offline
SovereignHobbies
SovereignHobbies

Joined: Sat Feb 28, 2015 9:09 am
Posts: 1176
Location: Aberdeenshire, Scotland, UK
Thanks all :) Thanks to the mods for moving the thread too - I realised soon after starting it that it was in the wrong place. Ahem ...

I haven't done much this past week as things have been quite busy. I got a little done yesterday though.

I made a start on handrailing and ladders on the quarterdeck.
Image

I then assembled A & B turrets and assembled the funnels. I picked up a tip many years ago in a magazine prior to my first PE experience (an Eduard set for the 1/72 Hasegawa SBD Dauntless) that parts could be curved and stretched using curved handles on a paper towel cushion. That's worked well enough for my standard since and as a result, I've never got around to buying any PE folding or bending tools. I use this for all curving and use a pair of knife blades for folding.

Image

Image

Image

Image

Image

Image

I'm going to have to break out the masking materials next I think. I'm not looking forward to the remaining camouflage.

_________________
James Duff
Sovereign Hobbies Ltd
http://www.sovereignhobbies.co.uk

Current build:
HMS Imperial D09 1/350
http://www.shipmodels.info/mws_forum/viewtopic.php?f=59&t=167151


Report this post
Top
 Profile  
Reply with quote  
PostPosted: Mon Aug 22, 2016 2:14 pm 
Offline
User avatar

Joined: Mon Jan 10, 2005 12:25 pm
Posts: 1534
Location: England
Amazing build and presentation of a fine subject, certainly one of my favorite ships! I'll be watching this with interest!

_________________
Vlad


Report this post
Top
 Profile  
Reply with quote  
PostPosted: Fri Aug 26, 2016 3:07 am 
Offline
SovereignHobbies
SovereignHobbies

Joined: Sat Feb 28, 2015 9:09 am
Posts: 1176
Location: Aberdeenshire, Scotland, UK
I think I'm past the worst of the camouflage painting now. There are some bits (which I'm not going to point out!) that I'm not happy with and will correct, but I think in general, I can commit to gluing some bits together now and proceed with some of the more fragile bits of photo etched brass that would certainly be mangled otherwise!


Image


Image

_________________
James Duff
Sovereign Hobbies Ltd
http://www.sovereignhobbies.co.uk

Current build:
HMS Imperial D09 1/350
http://www.shipmodels.info/mws_forum/viewtopic.php?f=59&t=167151


Report this post
Top
 Profile  
Reply with quote  
PostPosted: Sat Sep 17, 2016 10:47 pm 
Offline
User avatar

Joined: Tue Jun 09, 2009 9:10 pm
Posts: 69
Sustained attention


Report this post
Top
 Profile  
Reply with quote  
PostPosted: Sat Sep 17, 2016 11:04 pm 
Offline

Joined: Wed Jun 22, 2016 9:23 pm
Posts: 122
Superb my friend from an ex friend we used to chat about modern RN Destroyers you were building.

1944 :smallsmile:


Report this post
Top
 Profile  
Reply with quote  
Display posts from previous:  Sort by  
Post new topic Reply to topic  [ 15 posts ] 

All times are UTC - 6 hours [ DST ]


Who is online

Users browsing this forum: No registered users and 86 guests


You can post new topics in this forum
You can reply to topics in this forum
You cannot edit your posts in this forum
You cannot delete your posts in this forum
You cannot post attachments in this forum

Jump to:  
Powered by phpBB® Forum Software © phpBB Group