Hello everybody,
this'll be one of my first ship models (to date I have started some destroyers but never finished a ship yet...), so for me this'll be a pioneering expedition as I'm normally used to 1/48 and 1/32 aircraft!
If you see something that's not accurate, please let me know. If I cannot correct it anymore, it's at least recorded for posterity if in the future someone might stumble over this thread after searching for info on Casablanca class CVE's, for example!
If you think that there are better or more effective ways to tackle things during the build, please don't hesitate to post it! The more I can learn, the better!
As for the kit of Gambier Bay, I chose to tackle this one first, since the photo-etch on
Akagi seemed a bit of a handful for a first carrier!

As carriers go, this one seemed to be relatively straightforward. I'll incorporate the two Hasegawa PE-sets too.
The ship in real life in port, April 1944:
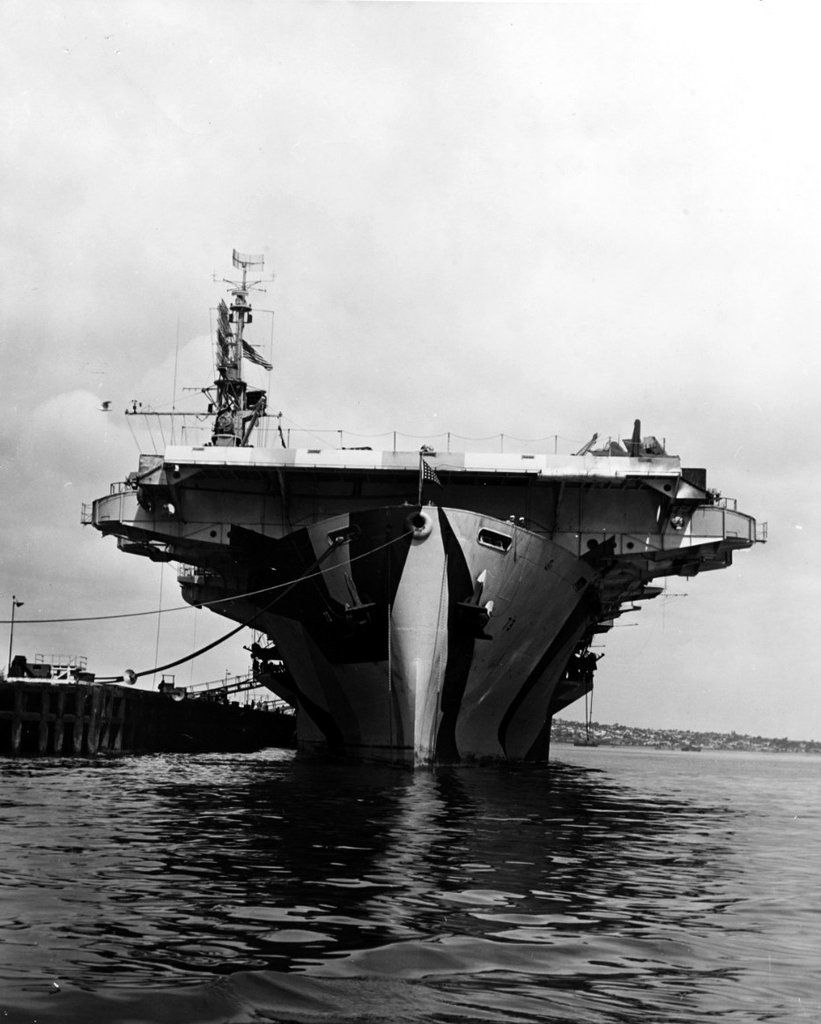 Source: Navsource.org
Also April 1944. Camouflage is Measure 32, Design 15A:
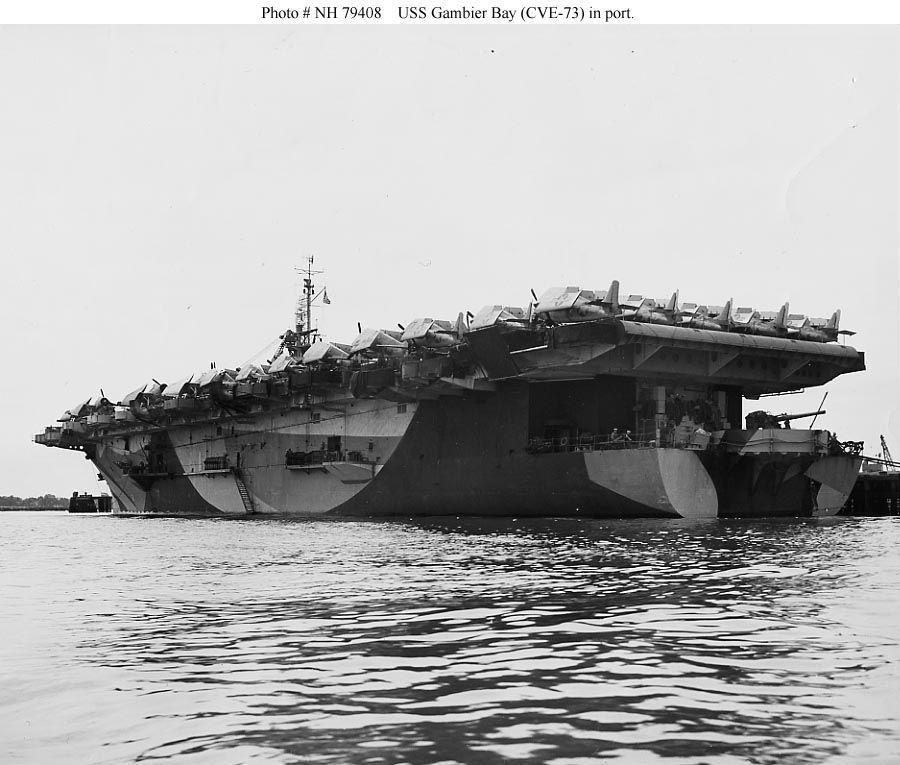 Source: Navsource.org
The island as it appeared in July 1944:
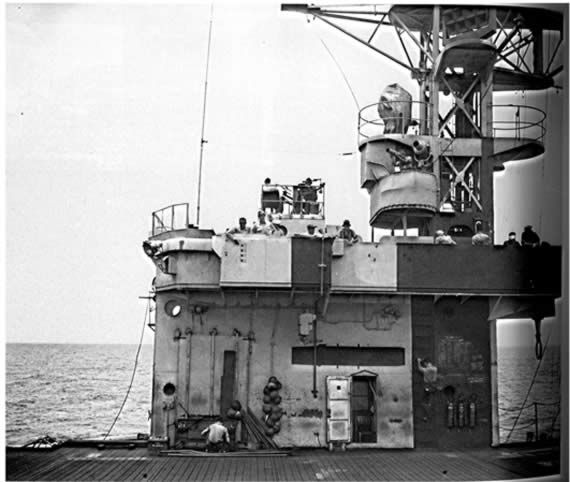 Source: Navsource.org
Next to the PE, that Measure 32, Design 15A frightens me most!

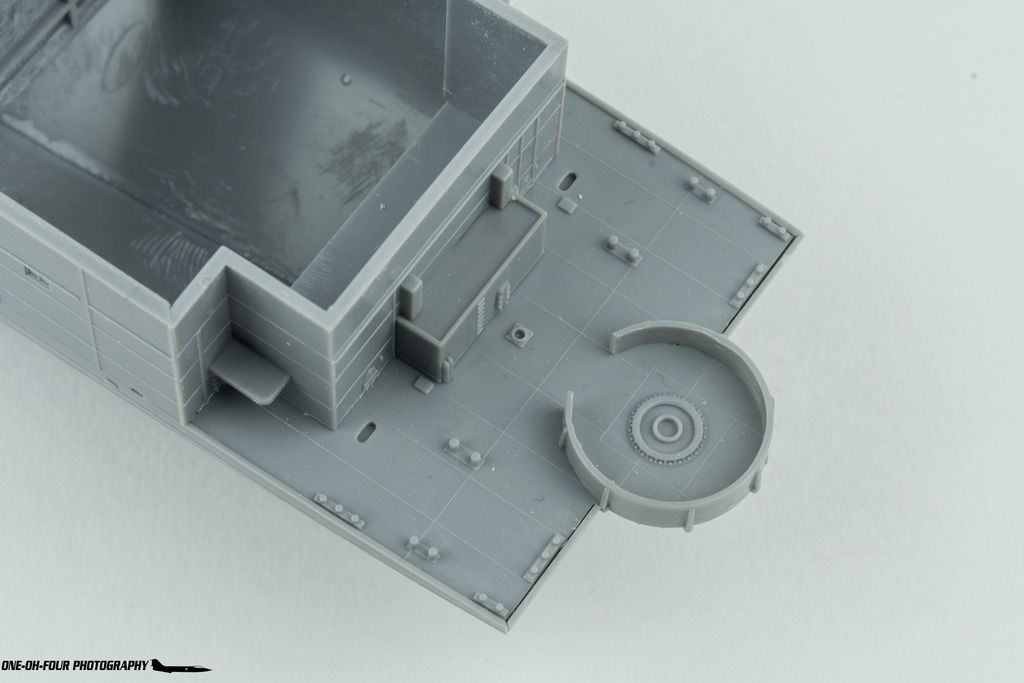
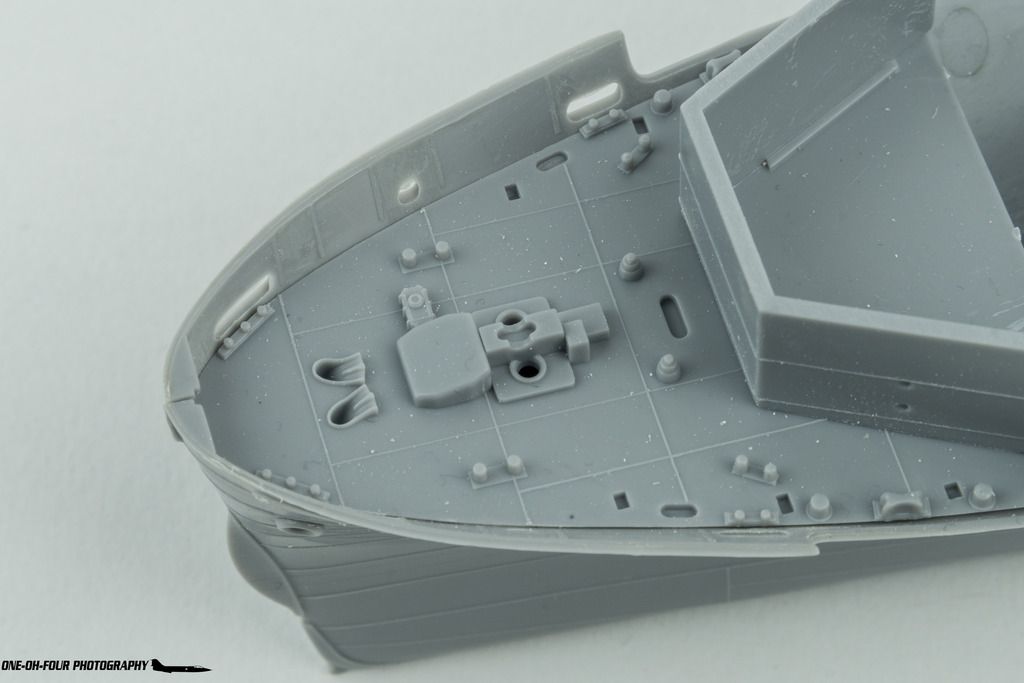
Anyway, I found out that I can build the ship as basically 3 sub-assemblies: 1. hull, 2. deck with catwalks and 3. island superstructure. A lot of fine details/extras will be kept off until after painting.
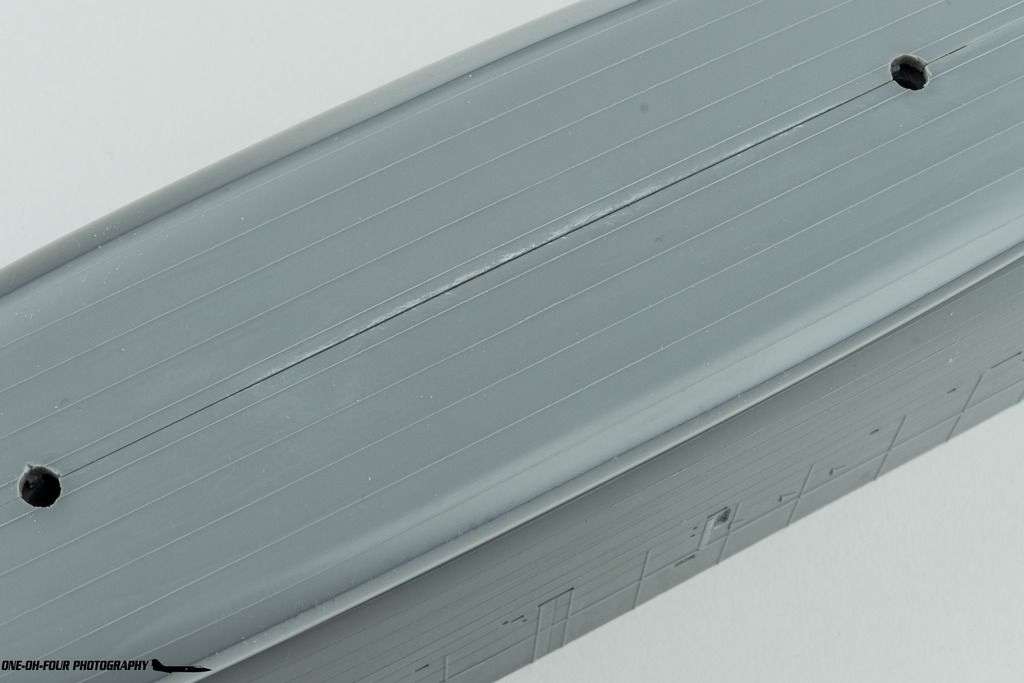
So starting with the hull it was just a case of putting the two halves together with the bulkheads in between. That gave no problems but somehow a gap remained on the keel. I decided to fill that with thick superglue. As you can see the technique used in the CSI TV-series to retrieve fingerprints with cyano-acrylate actually works!

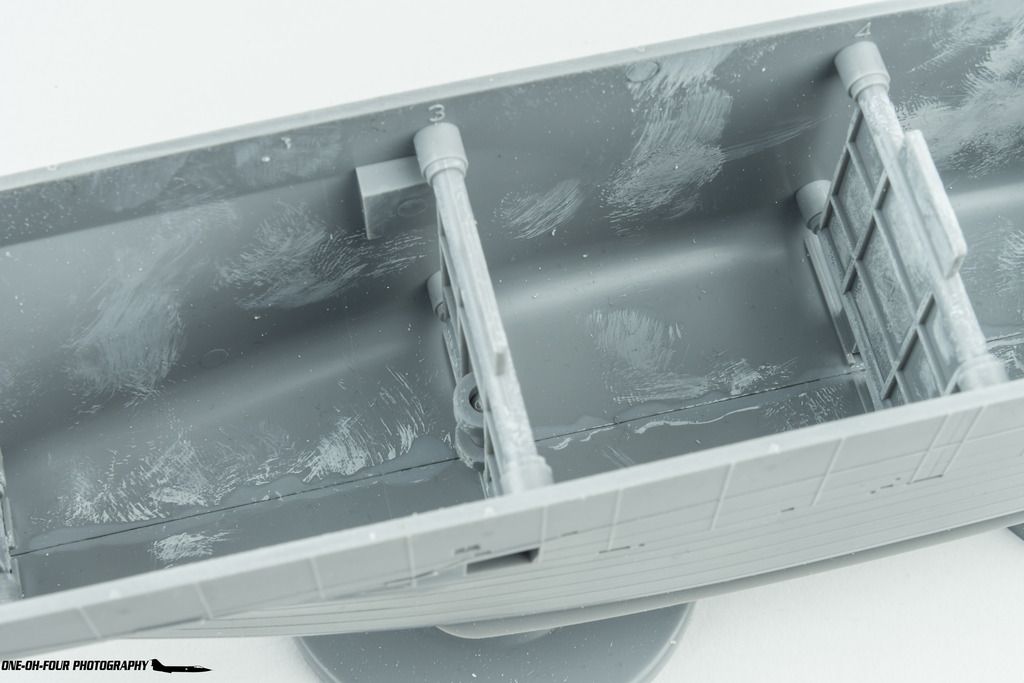
I found it impossible to put in the afterdeck without some gaps at the stern. The bulwarks at the foredeck showed some circular punchmarks from the molds, something that can also be found in abundance in Hasegawa's aircraft models. These just have to be dealt with as they're unavoidable in the plastic molding industry. I chose to scrape them away with a scalpel between the stiffeners. In hindsight I think it would've been better to just sand those bulwarks thinner towards the top and make new stiffeners from plastic card. Oh, well, the front overhang of the flight deck sits quite low, so it shouldn't be too obvious that the bulwarks are as thick as the walls of a medieval castle!