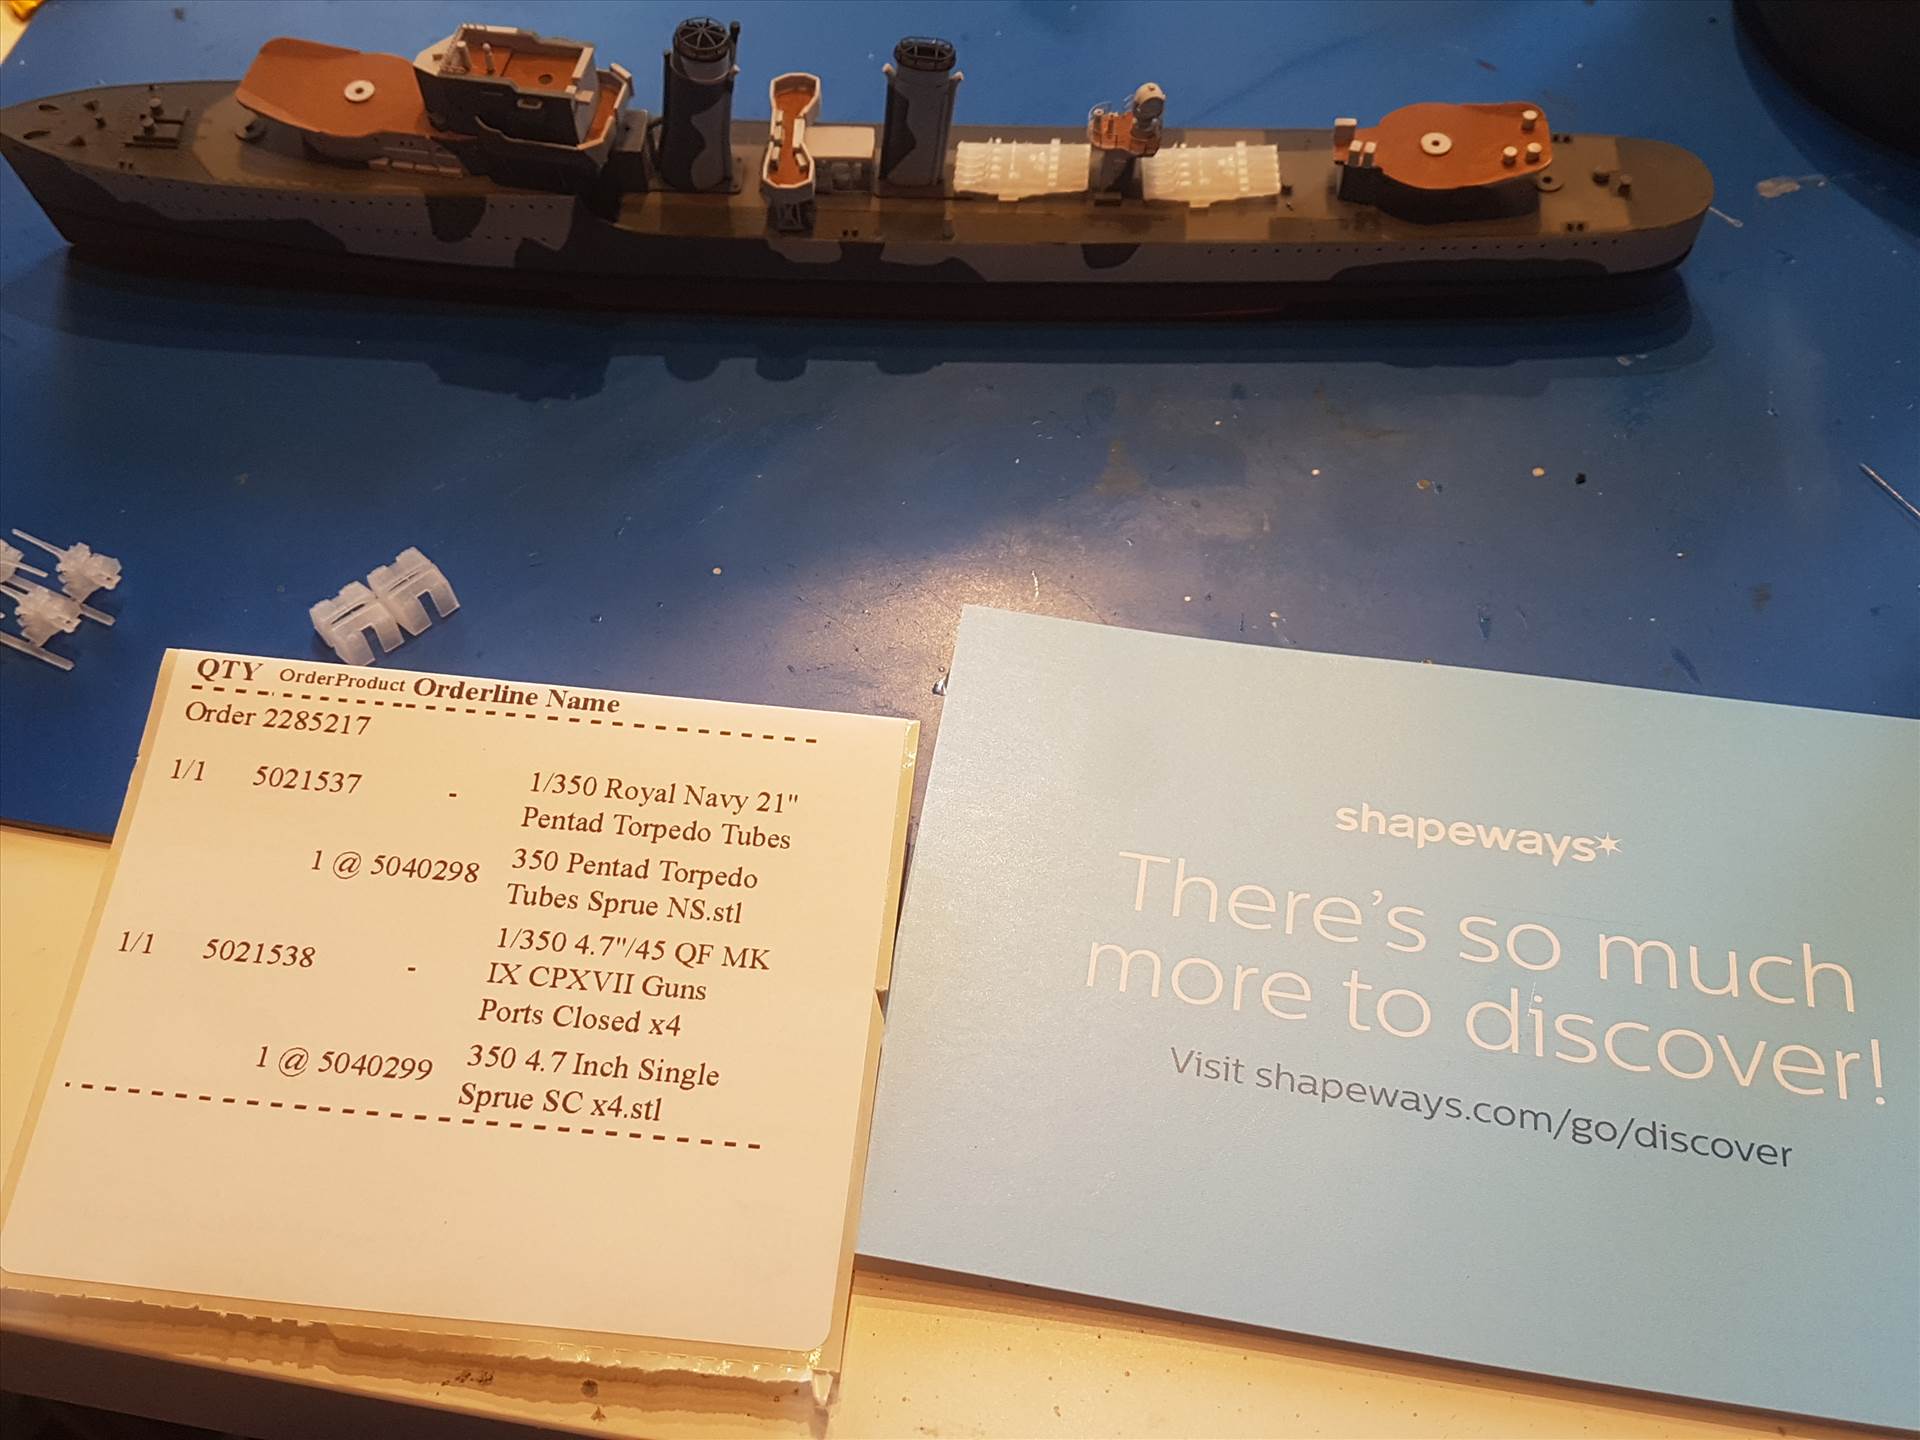
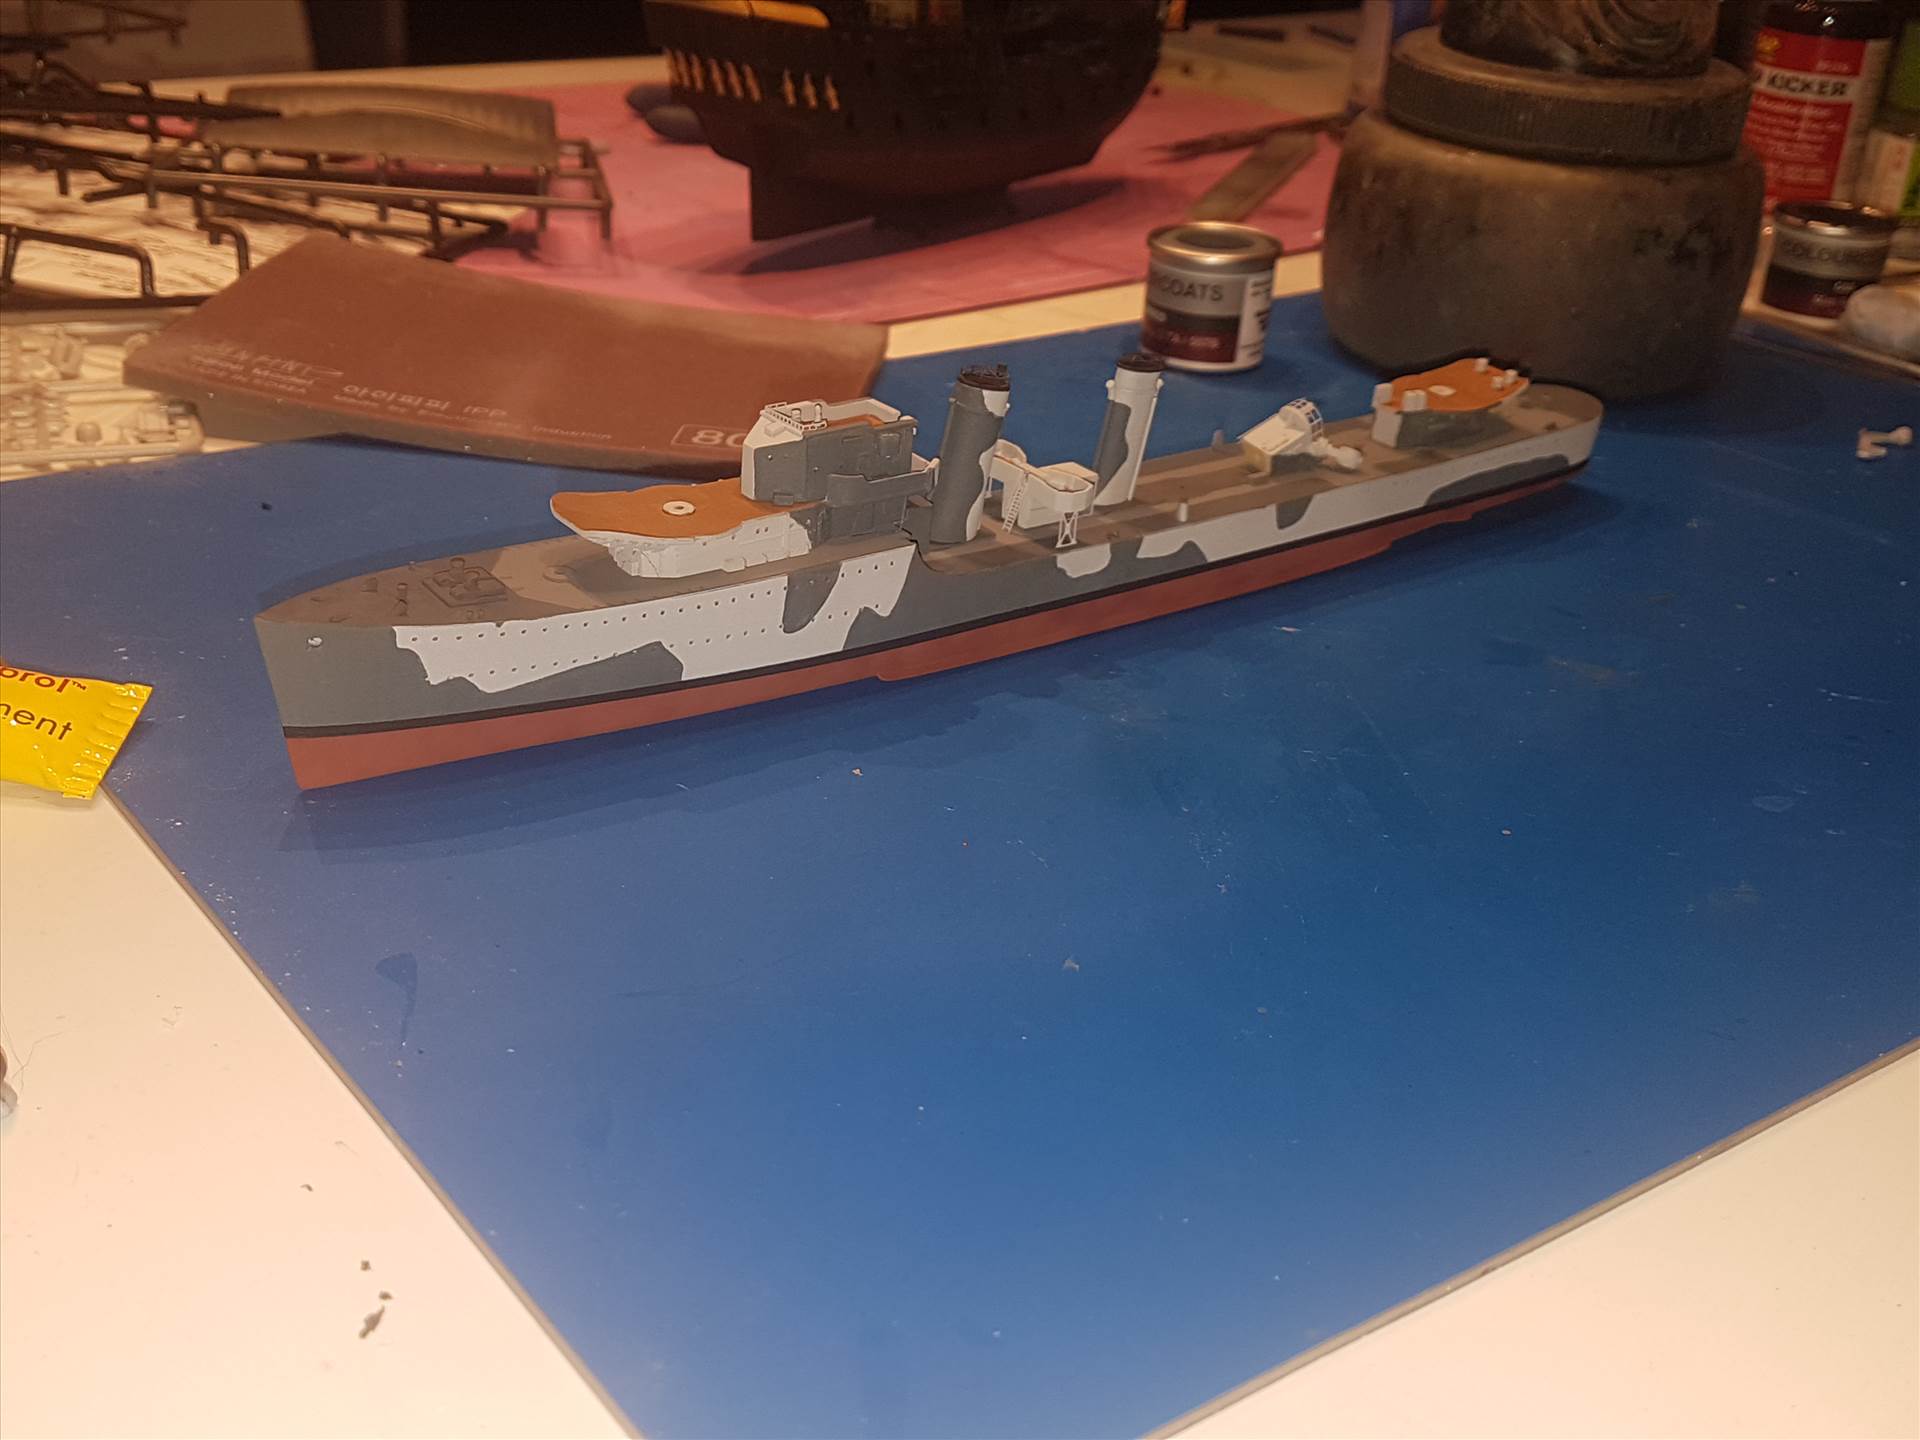
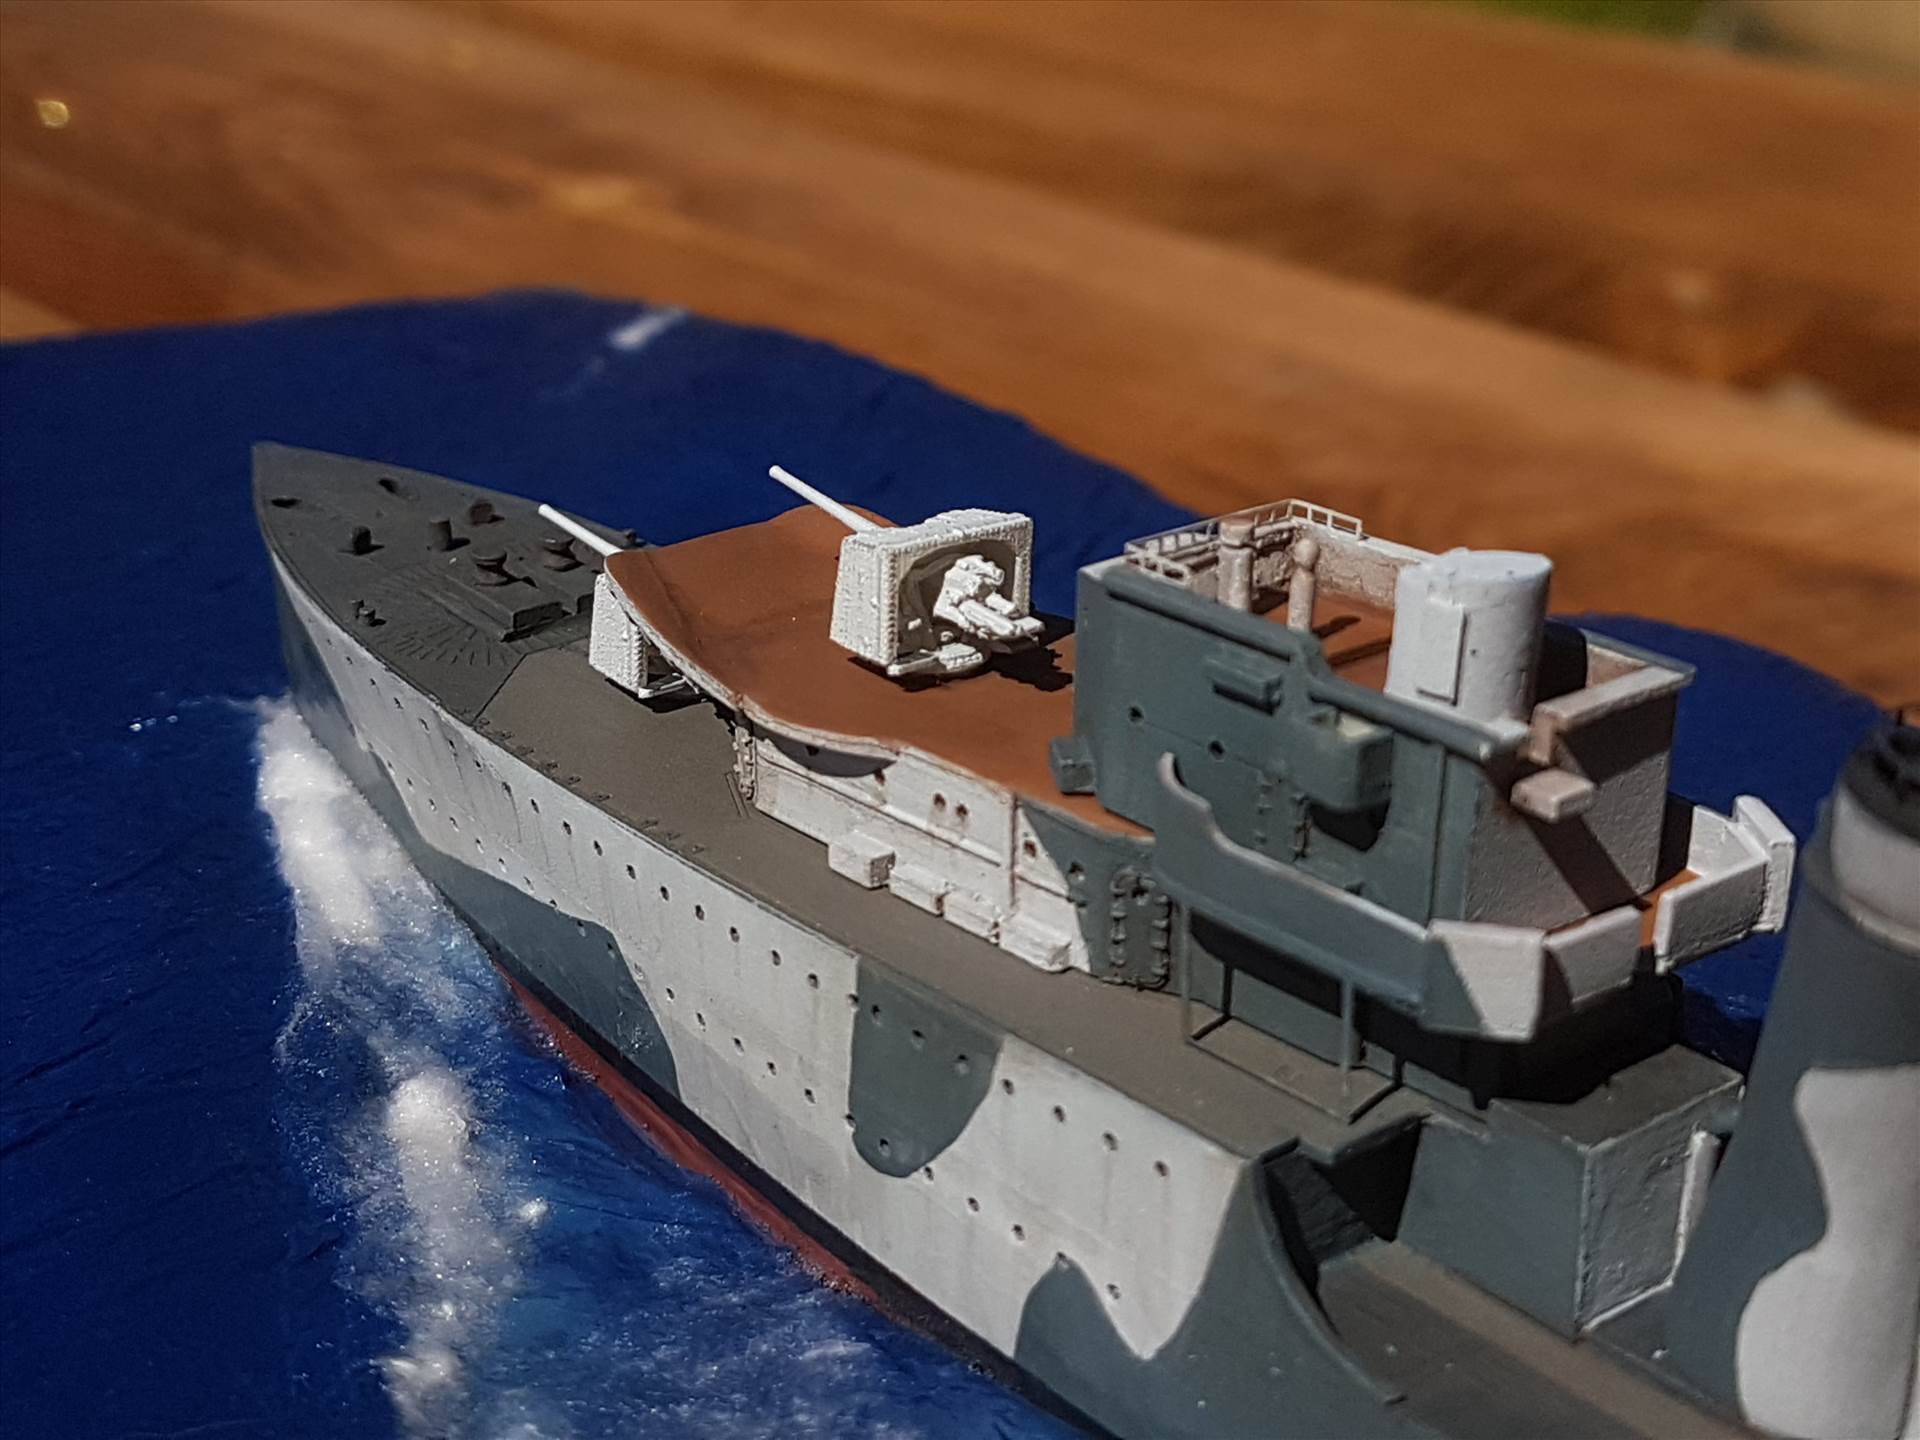
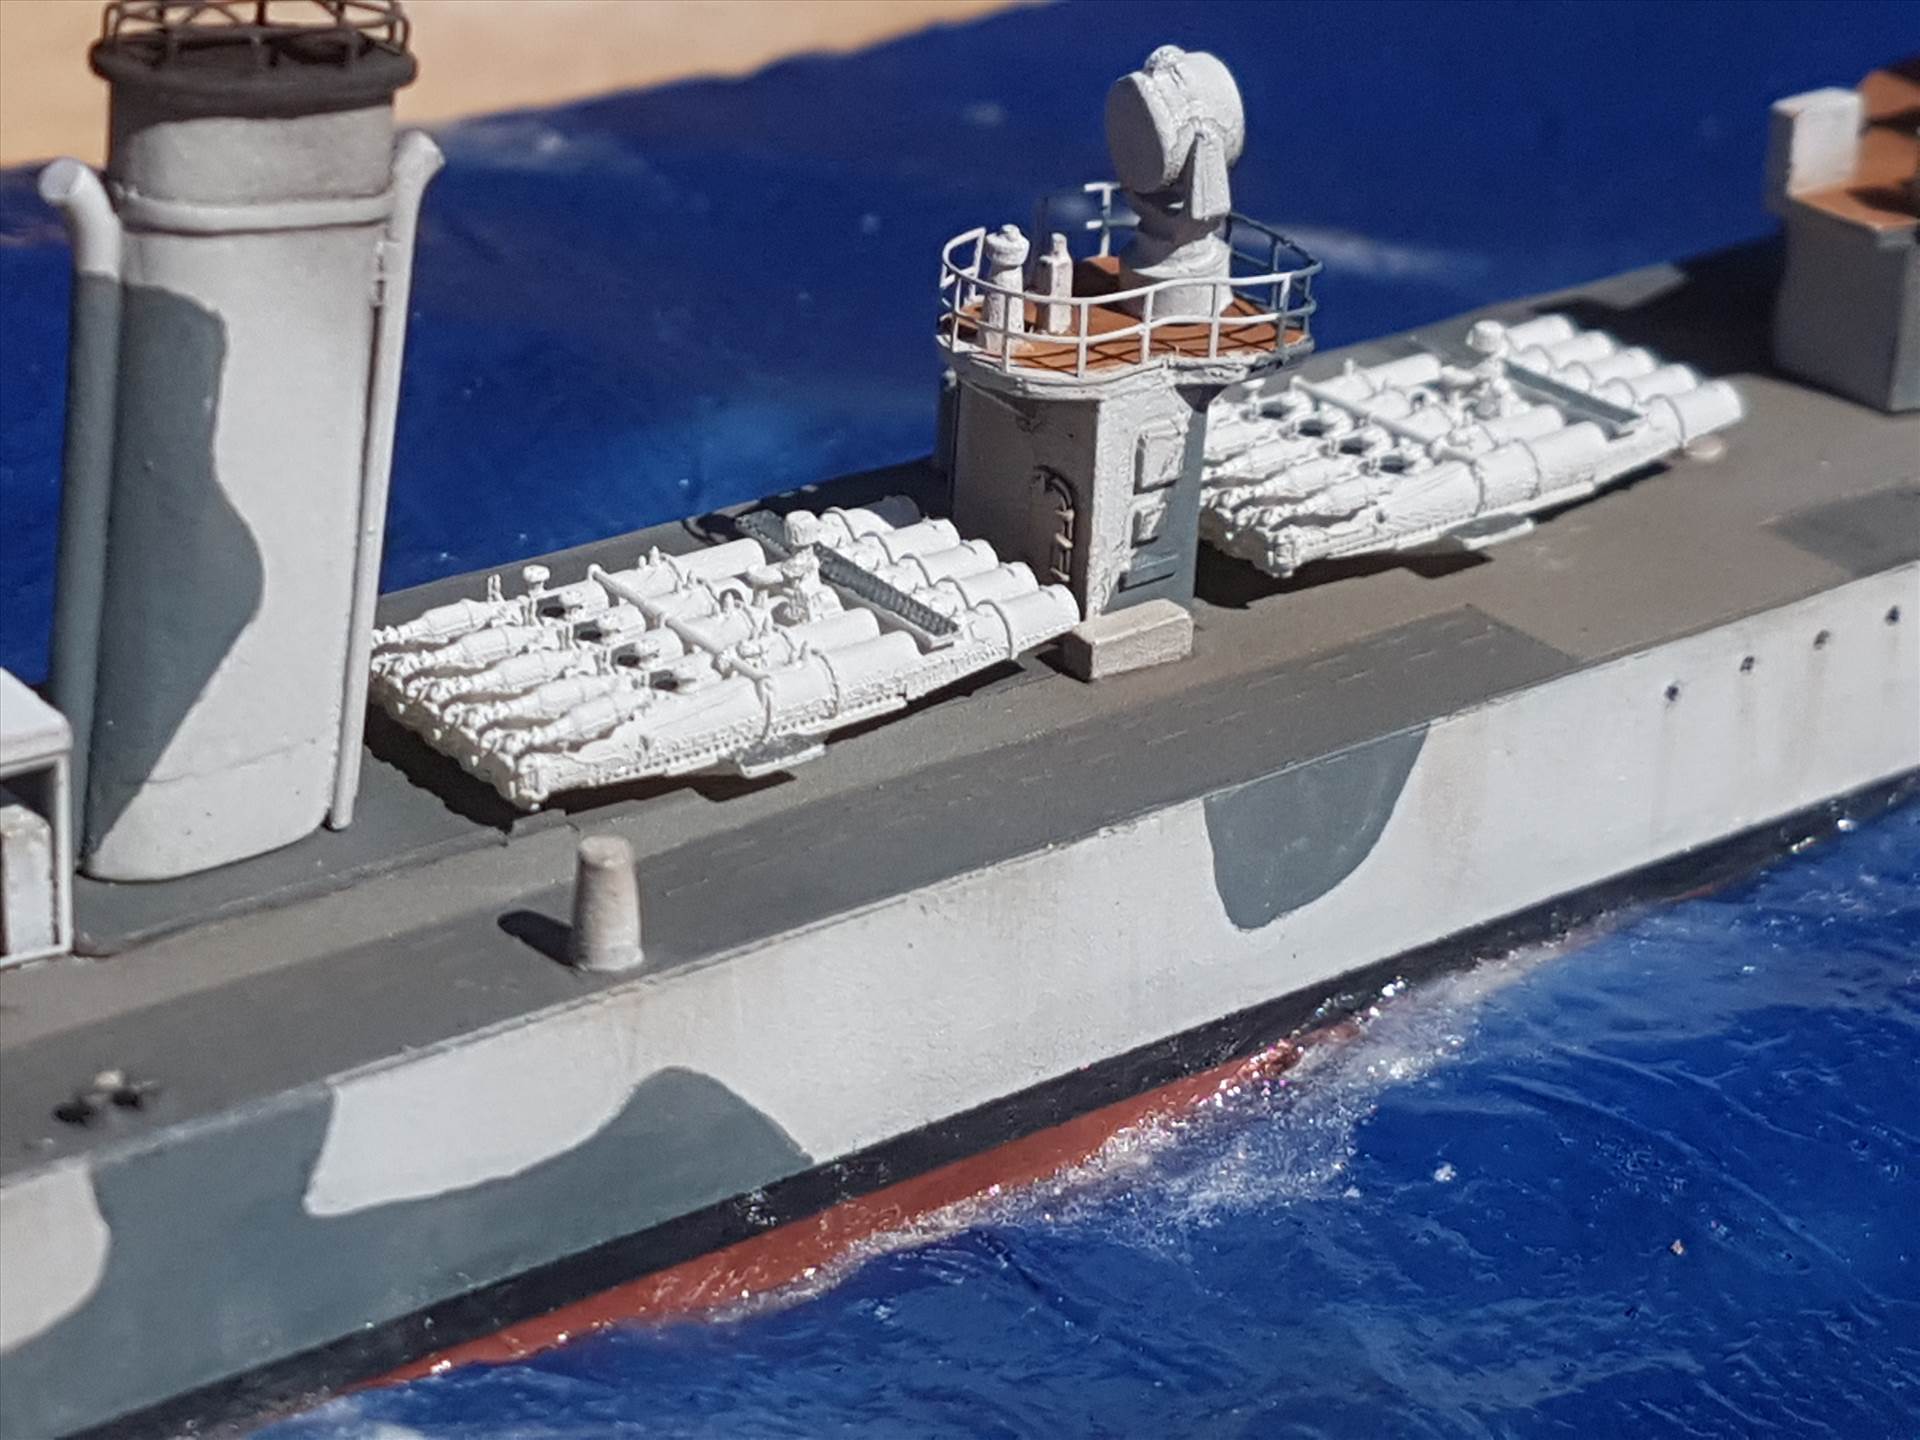
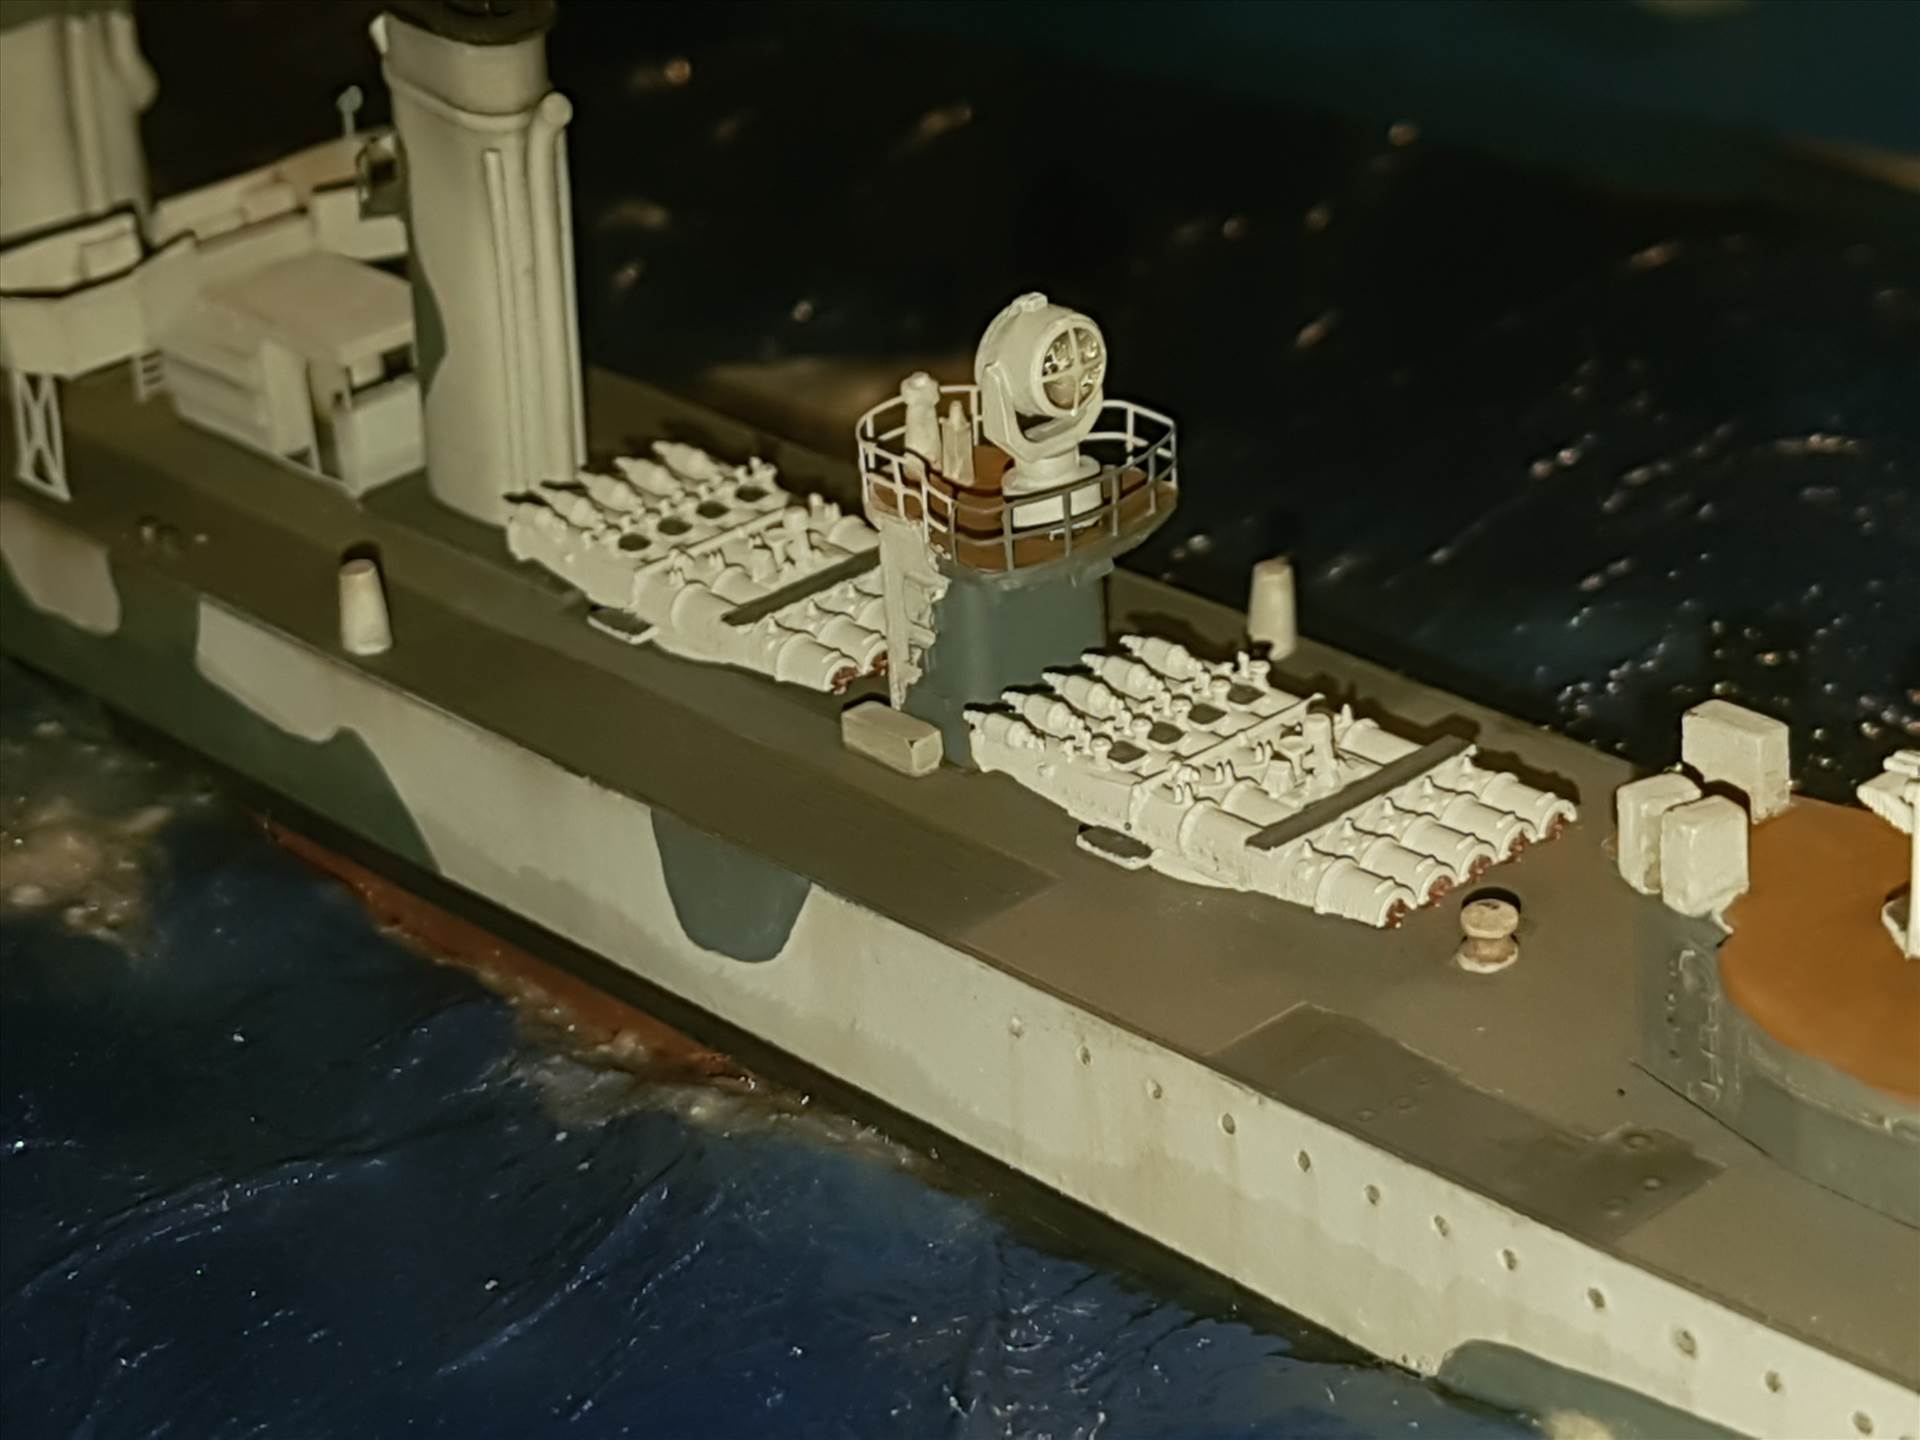
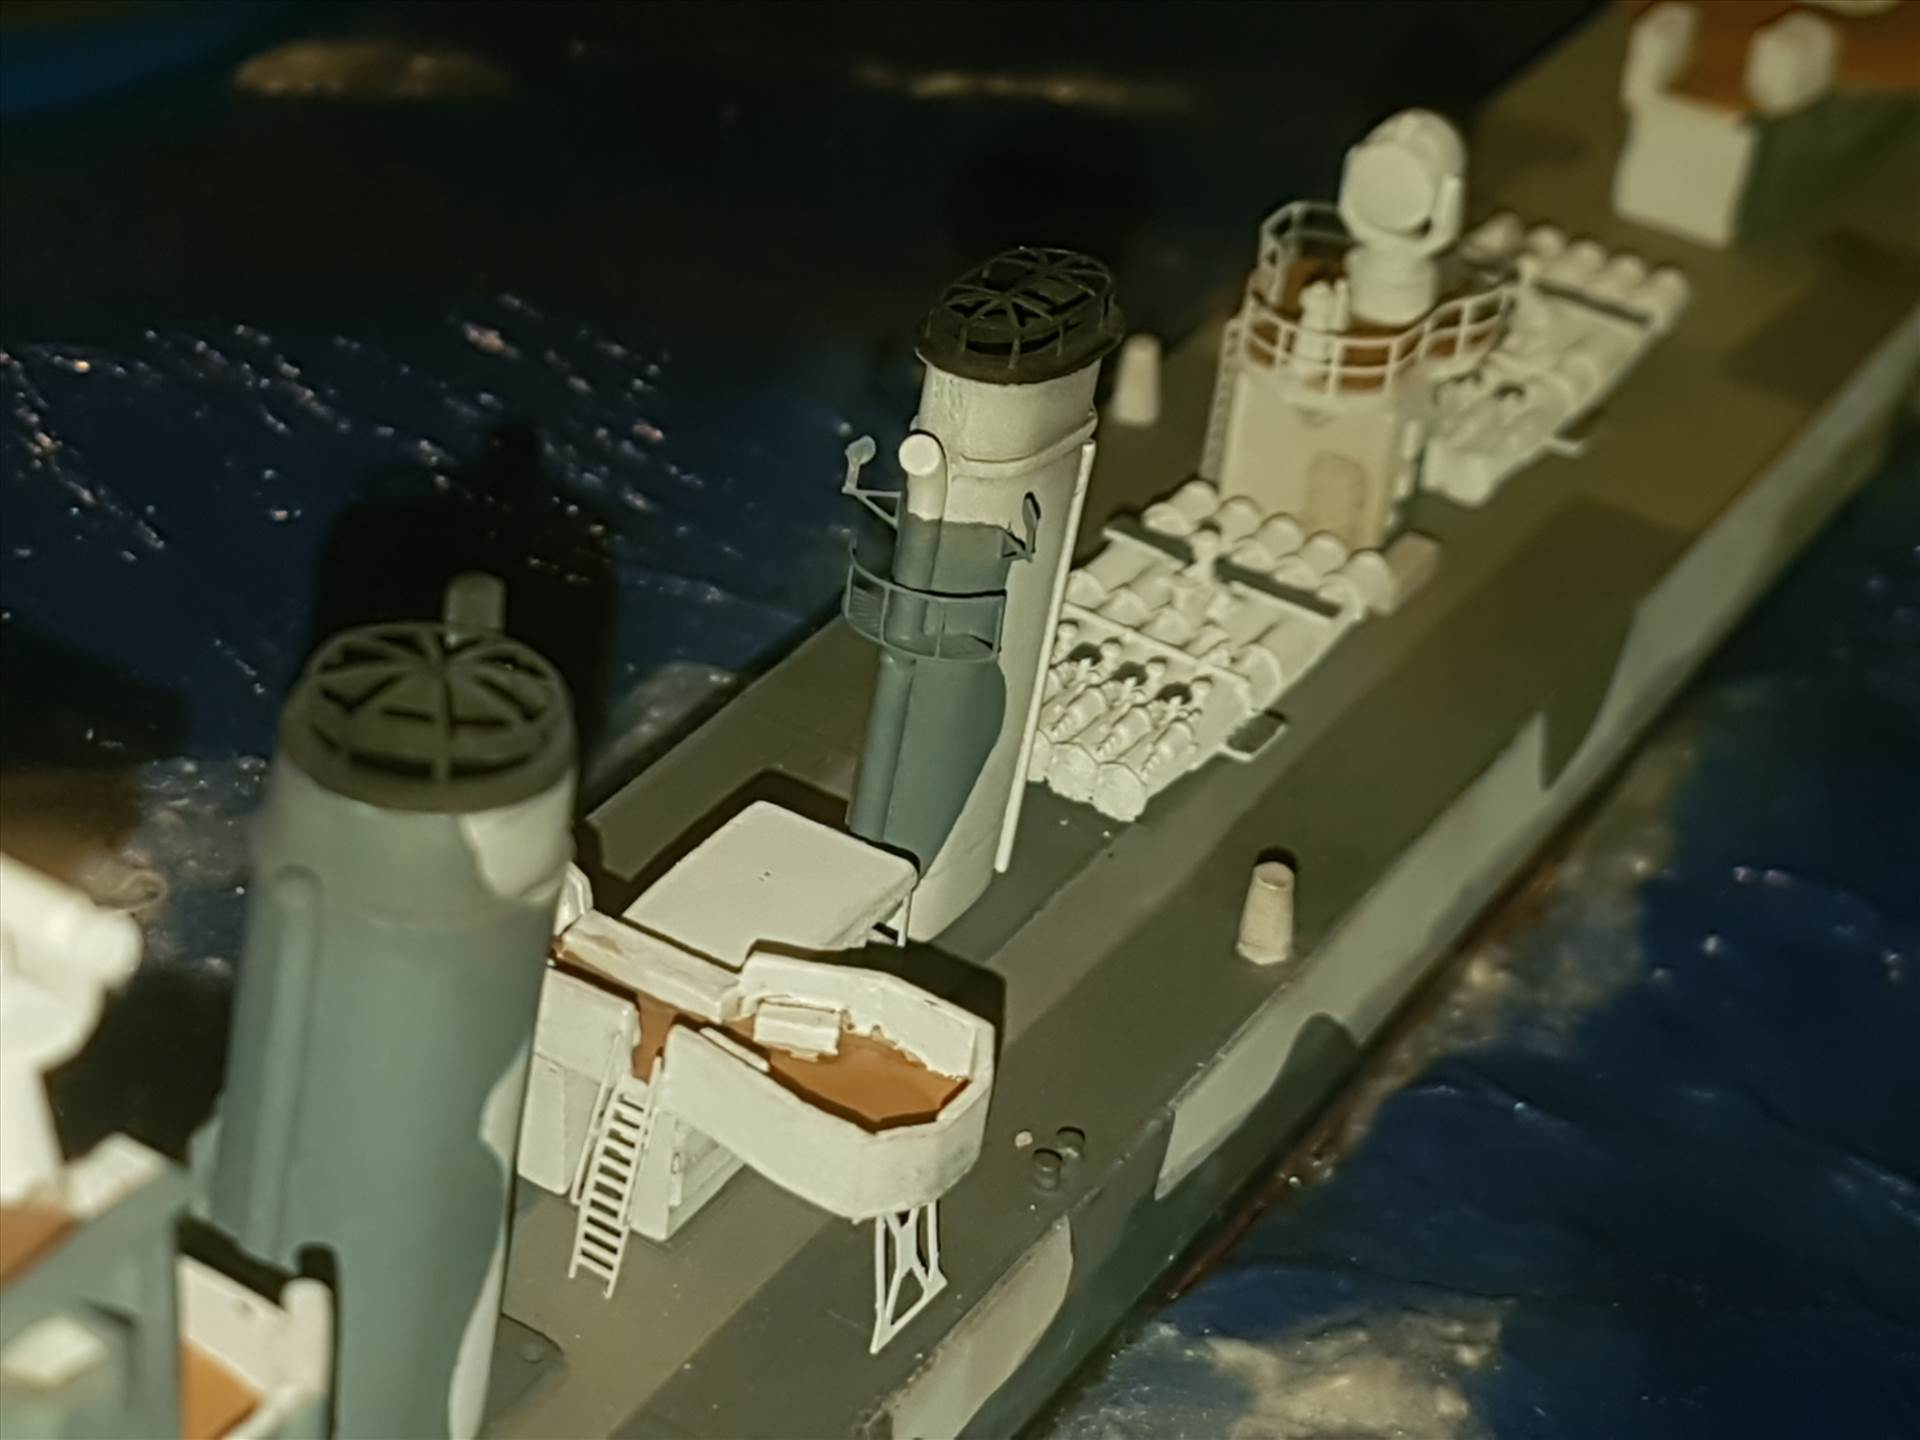
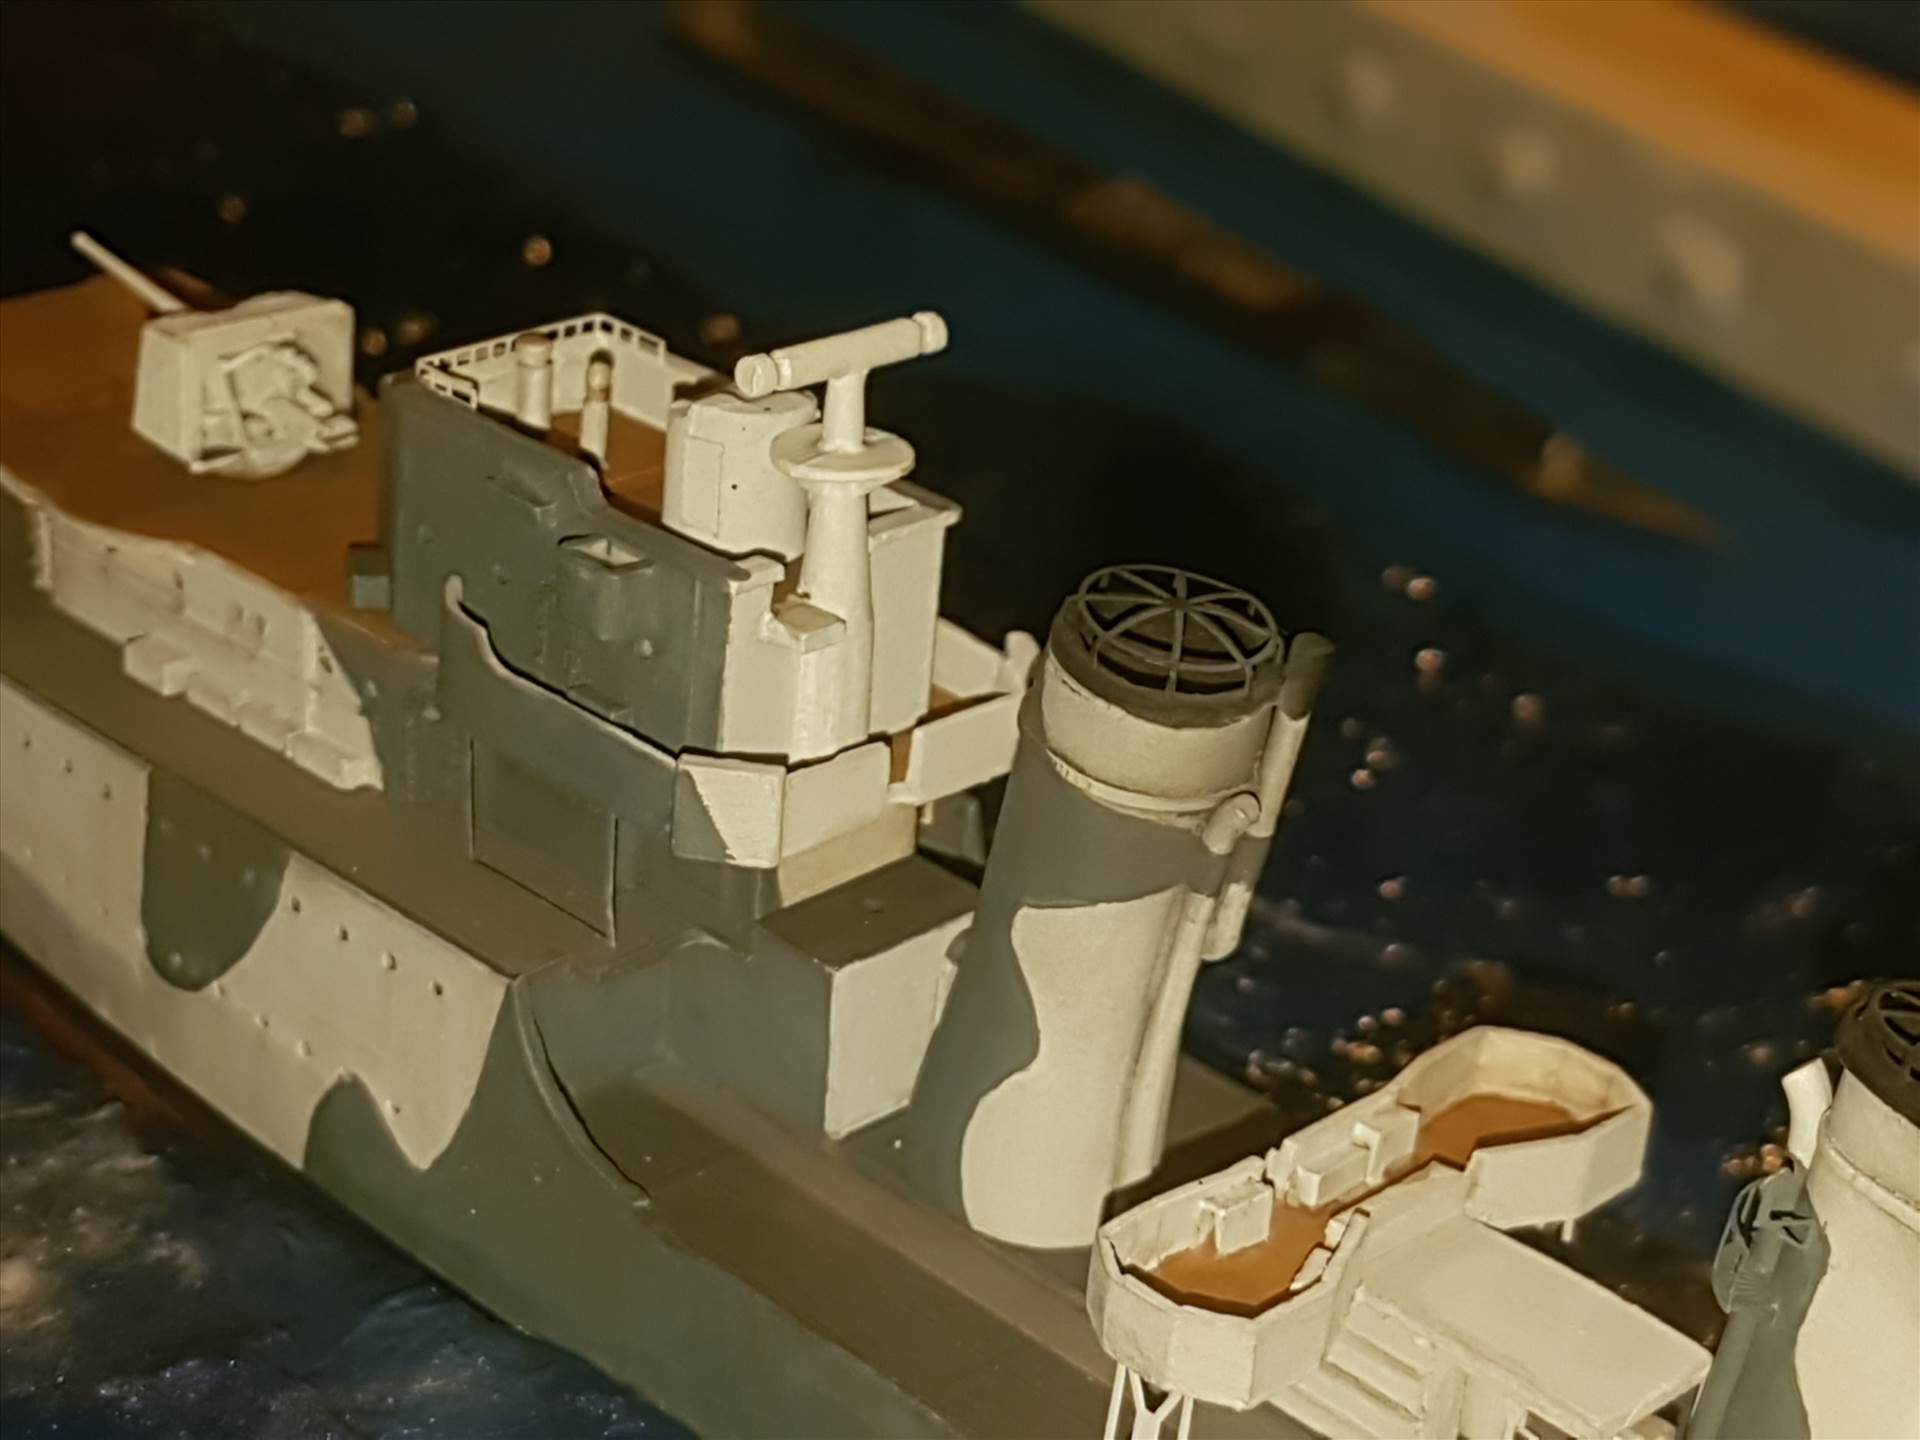
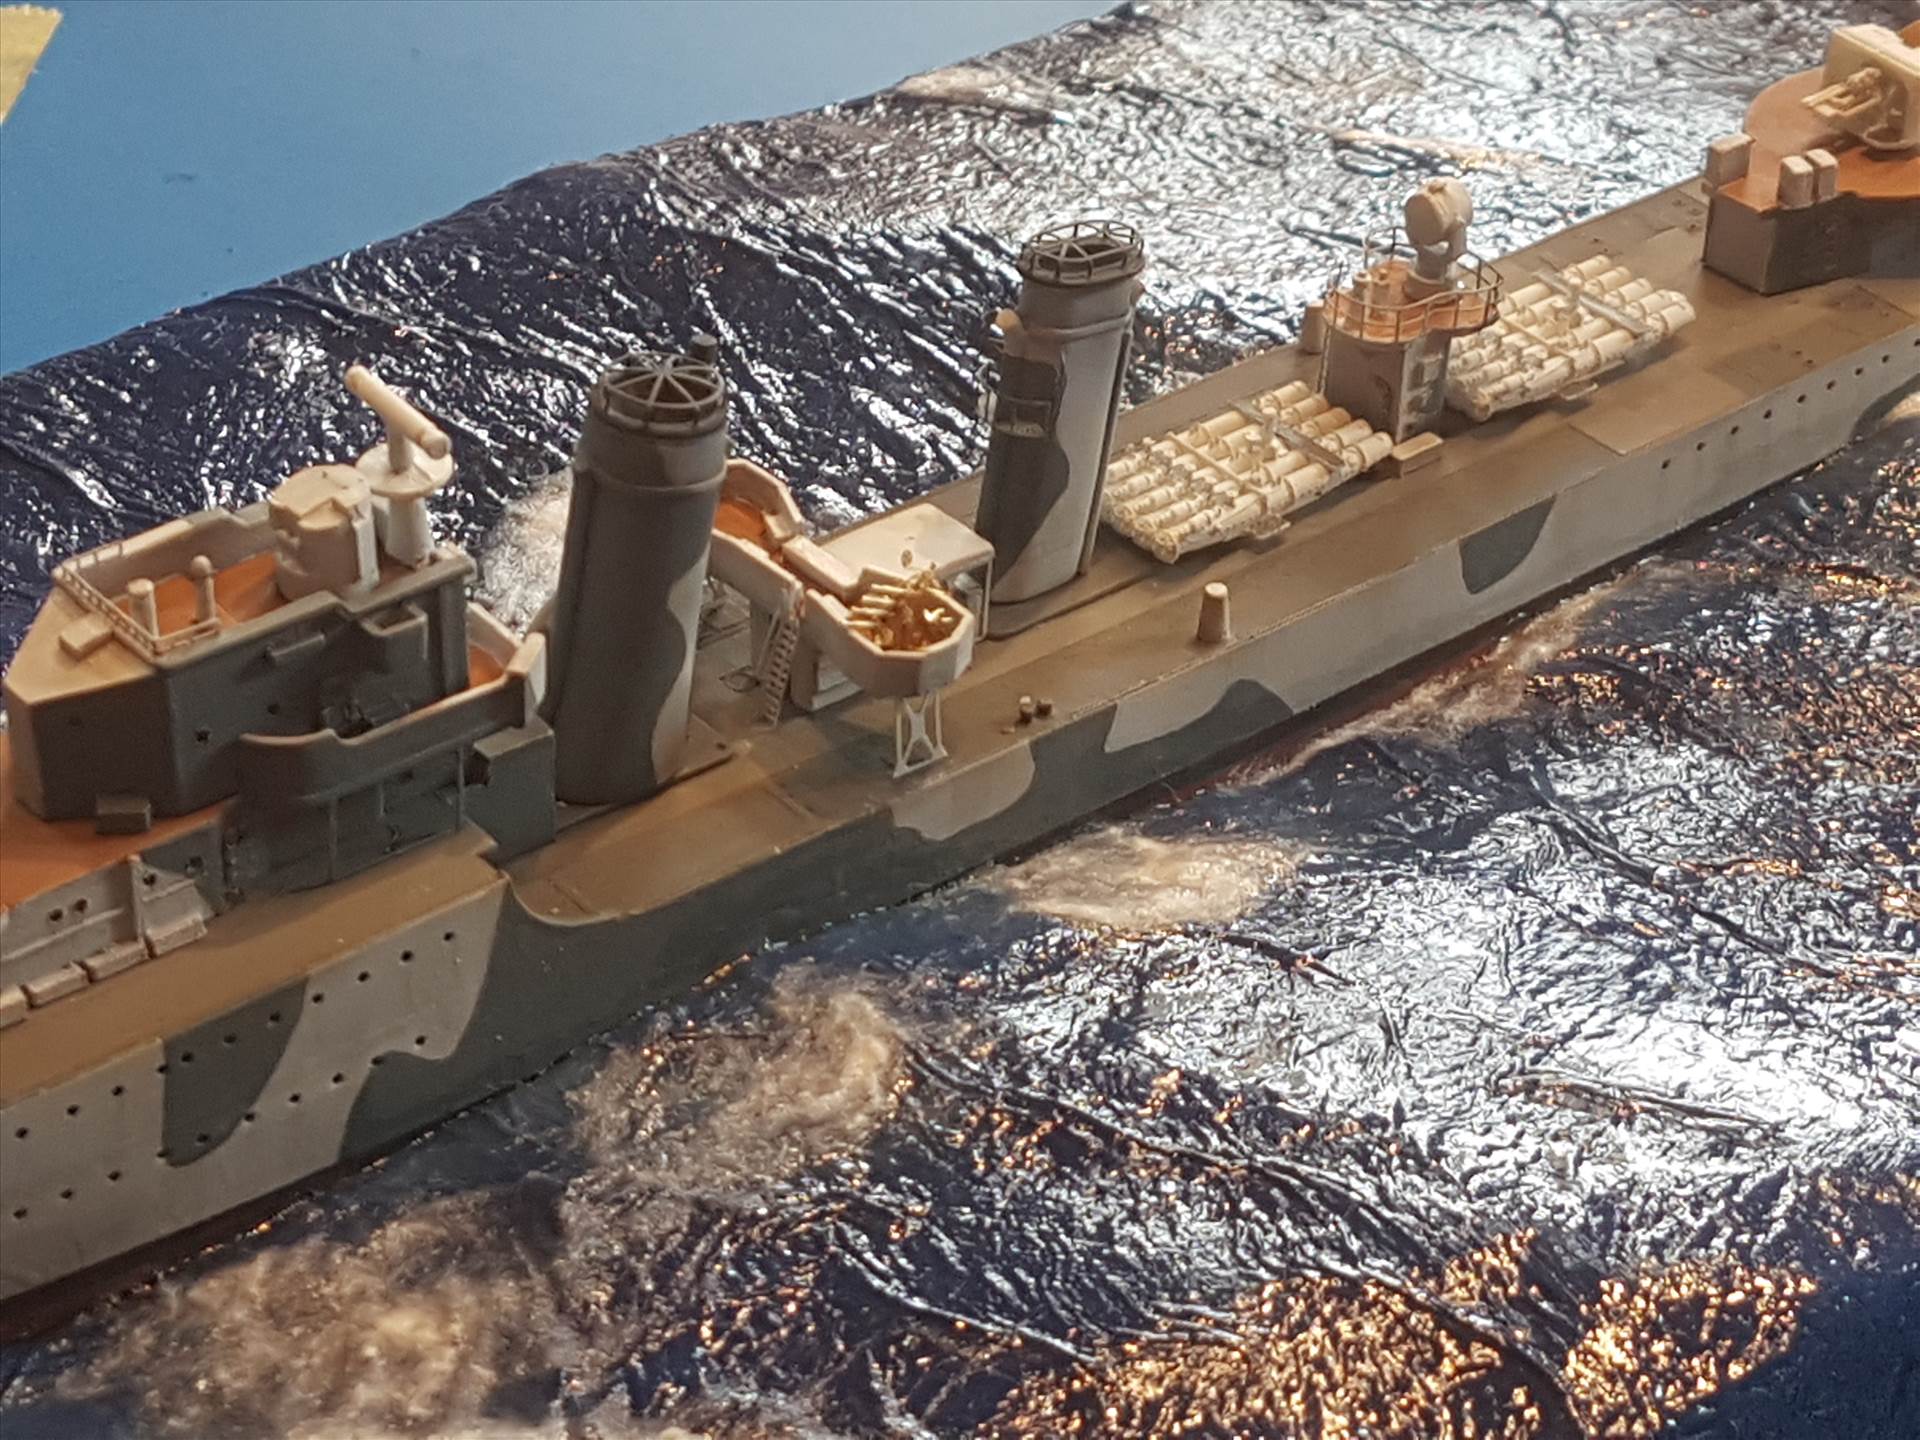
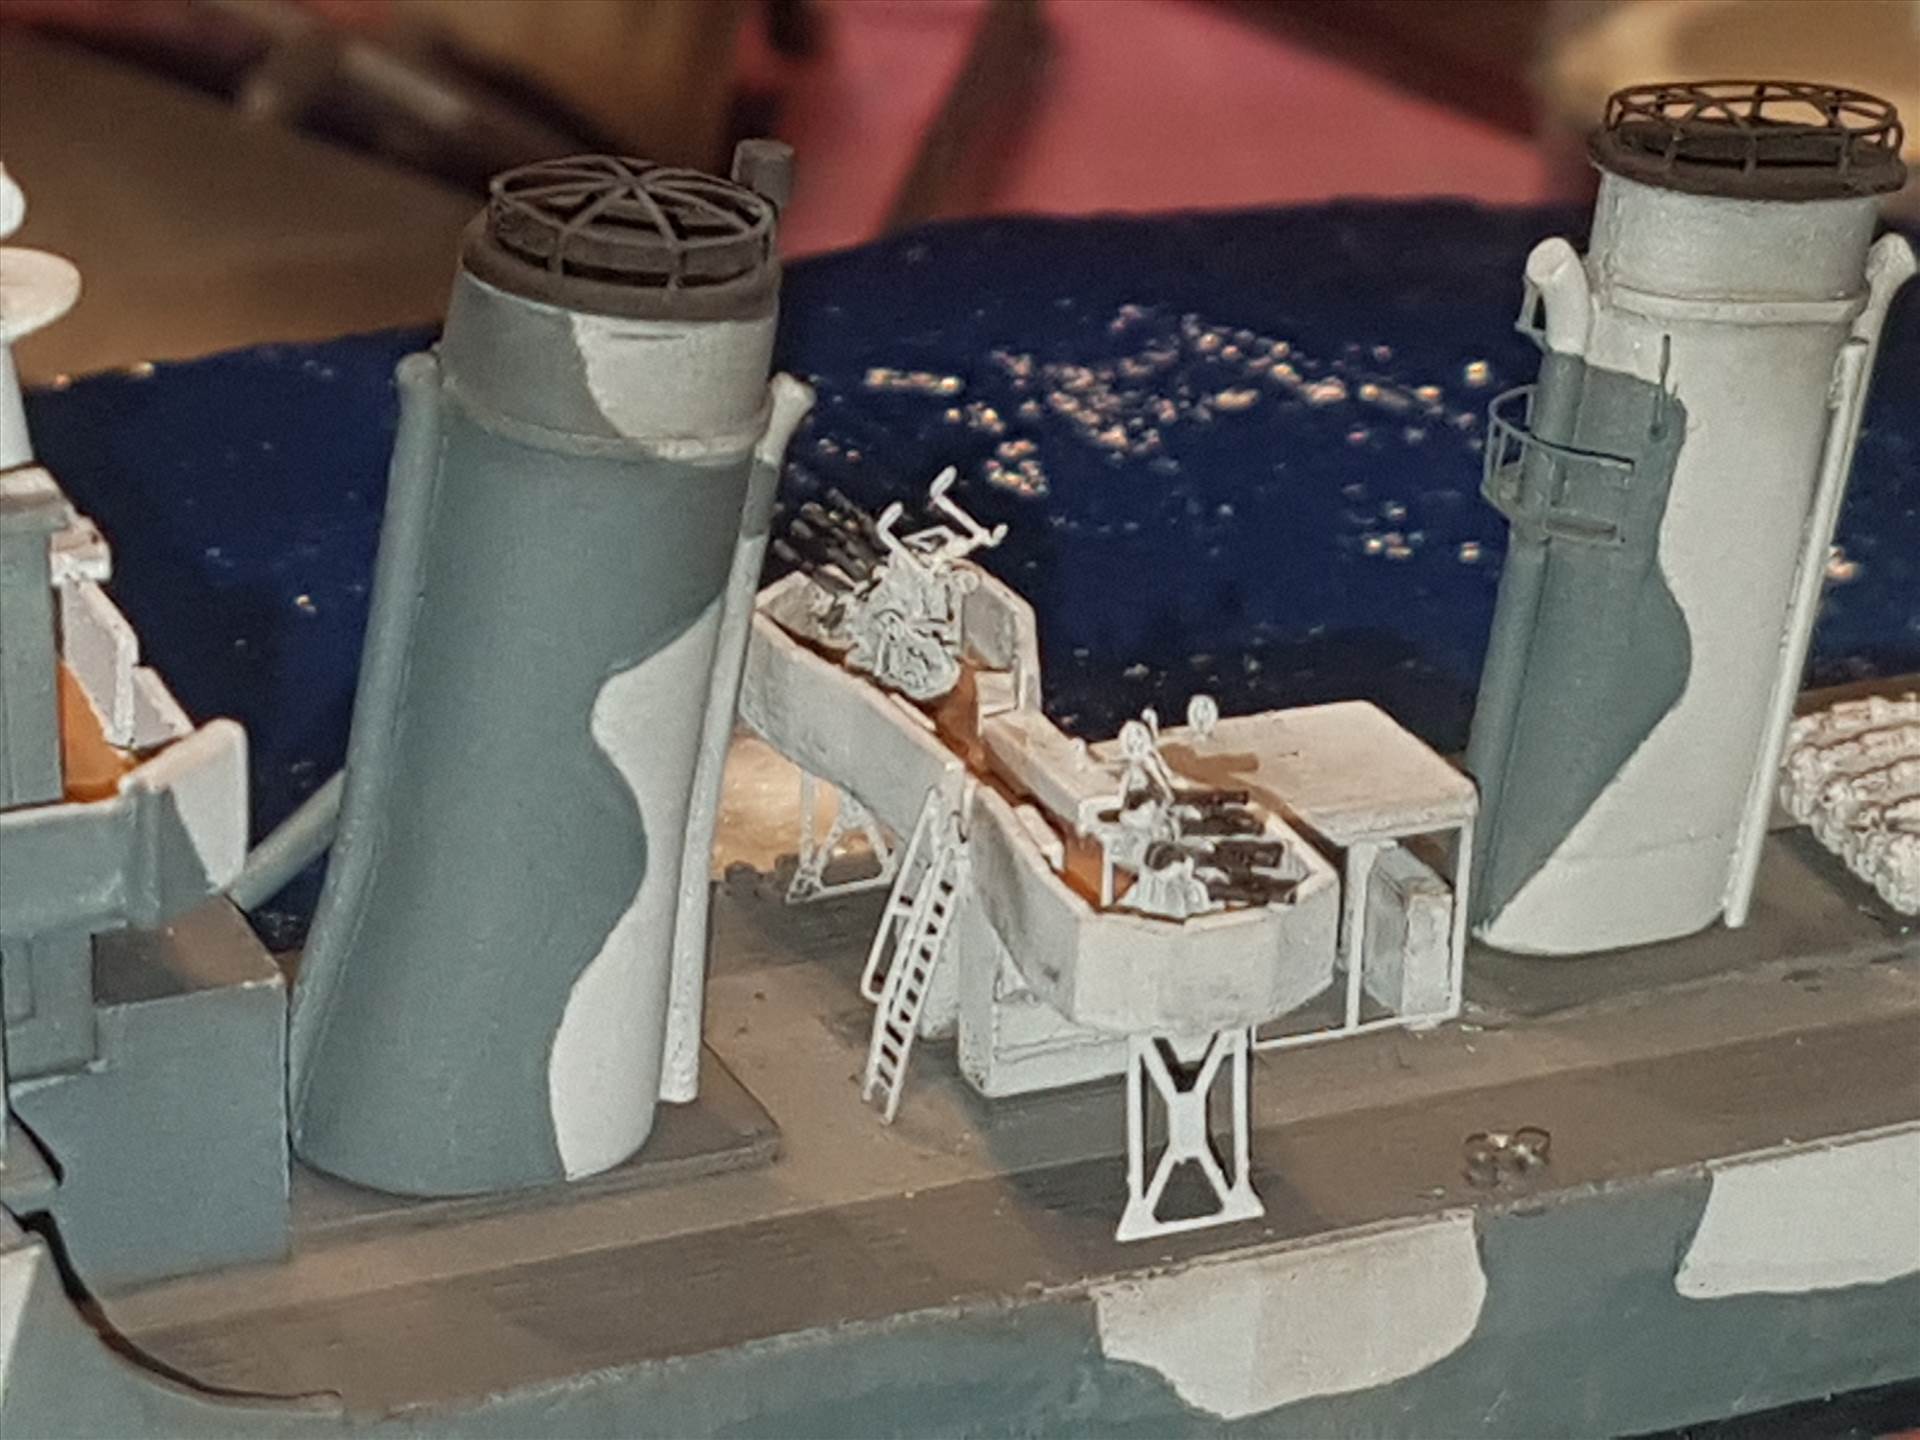
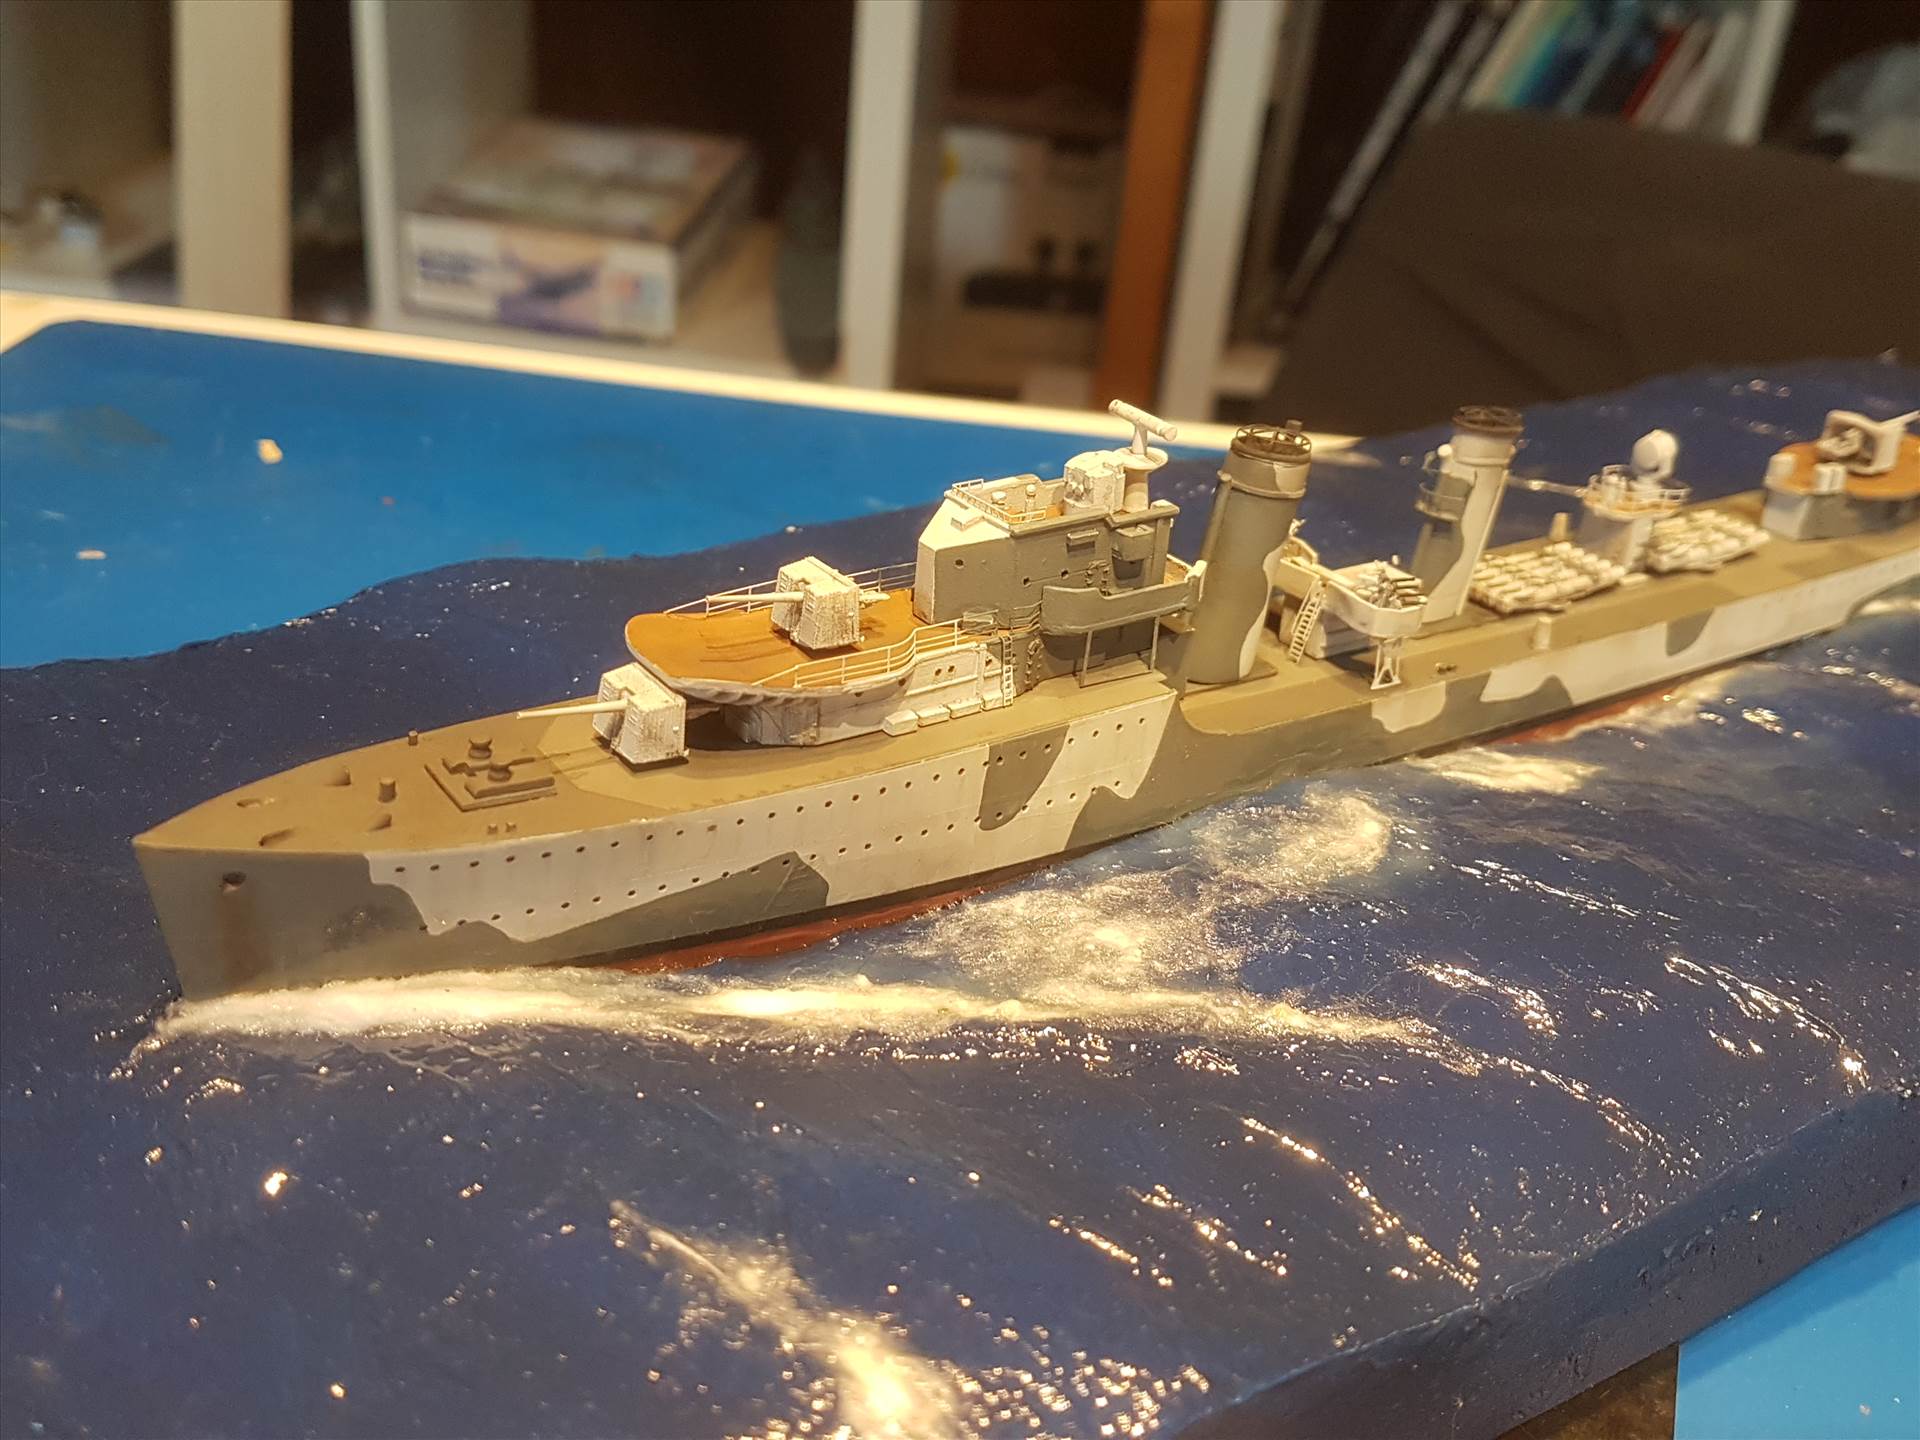
Today I started a little weathering, not that it's especially apparent now that I have reviewed the photographs. Still, it's easier to add more than to take away excess!
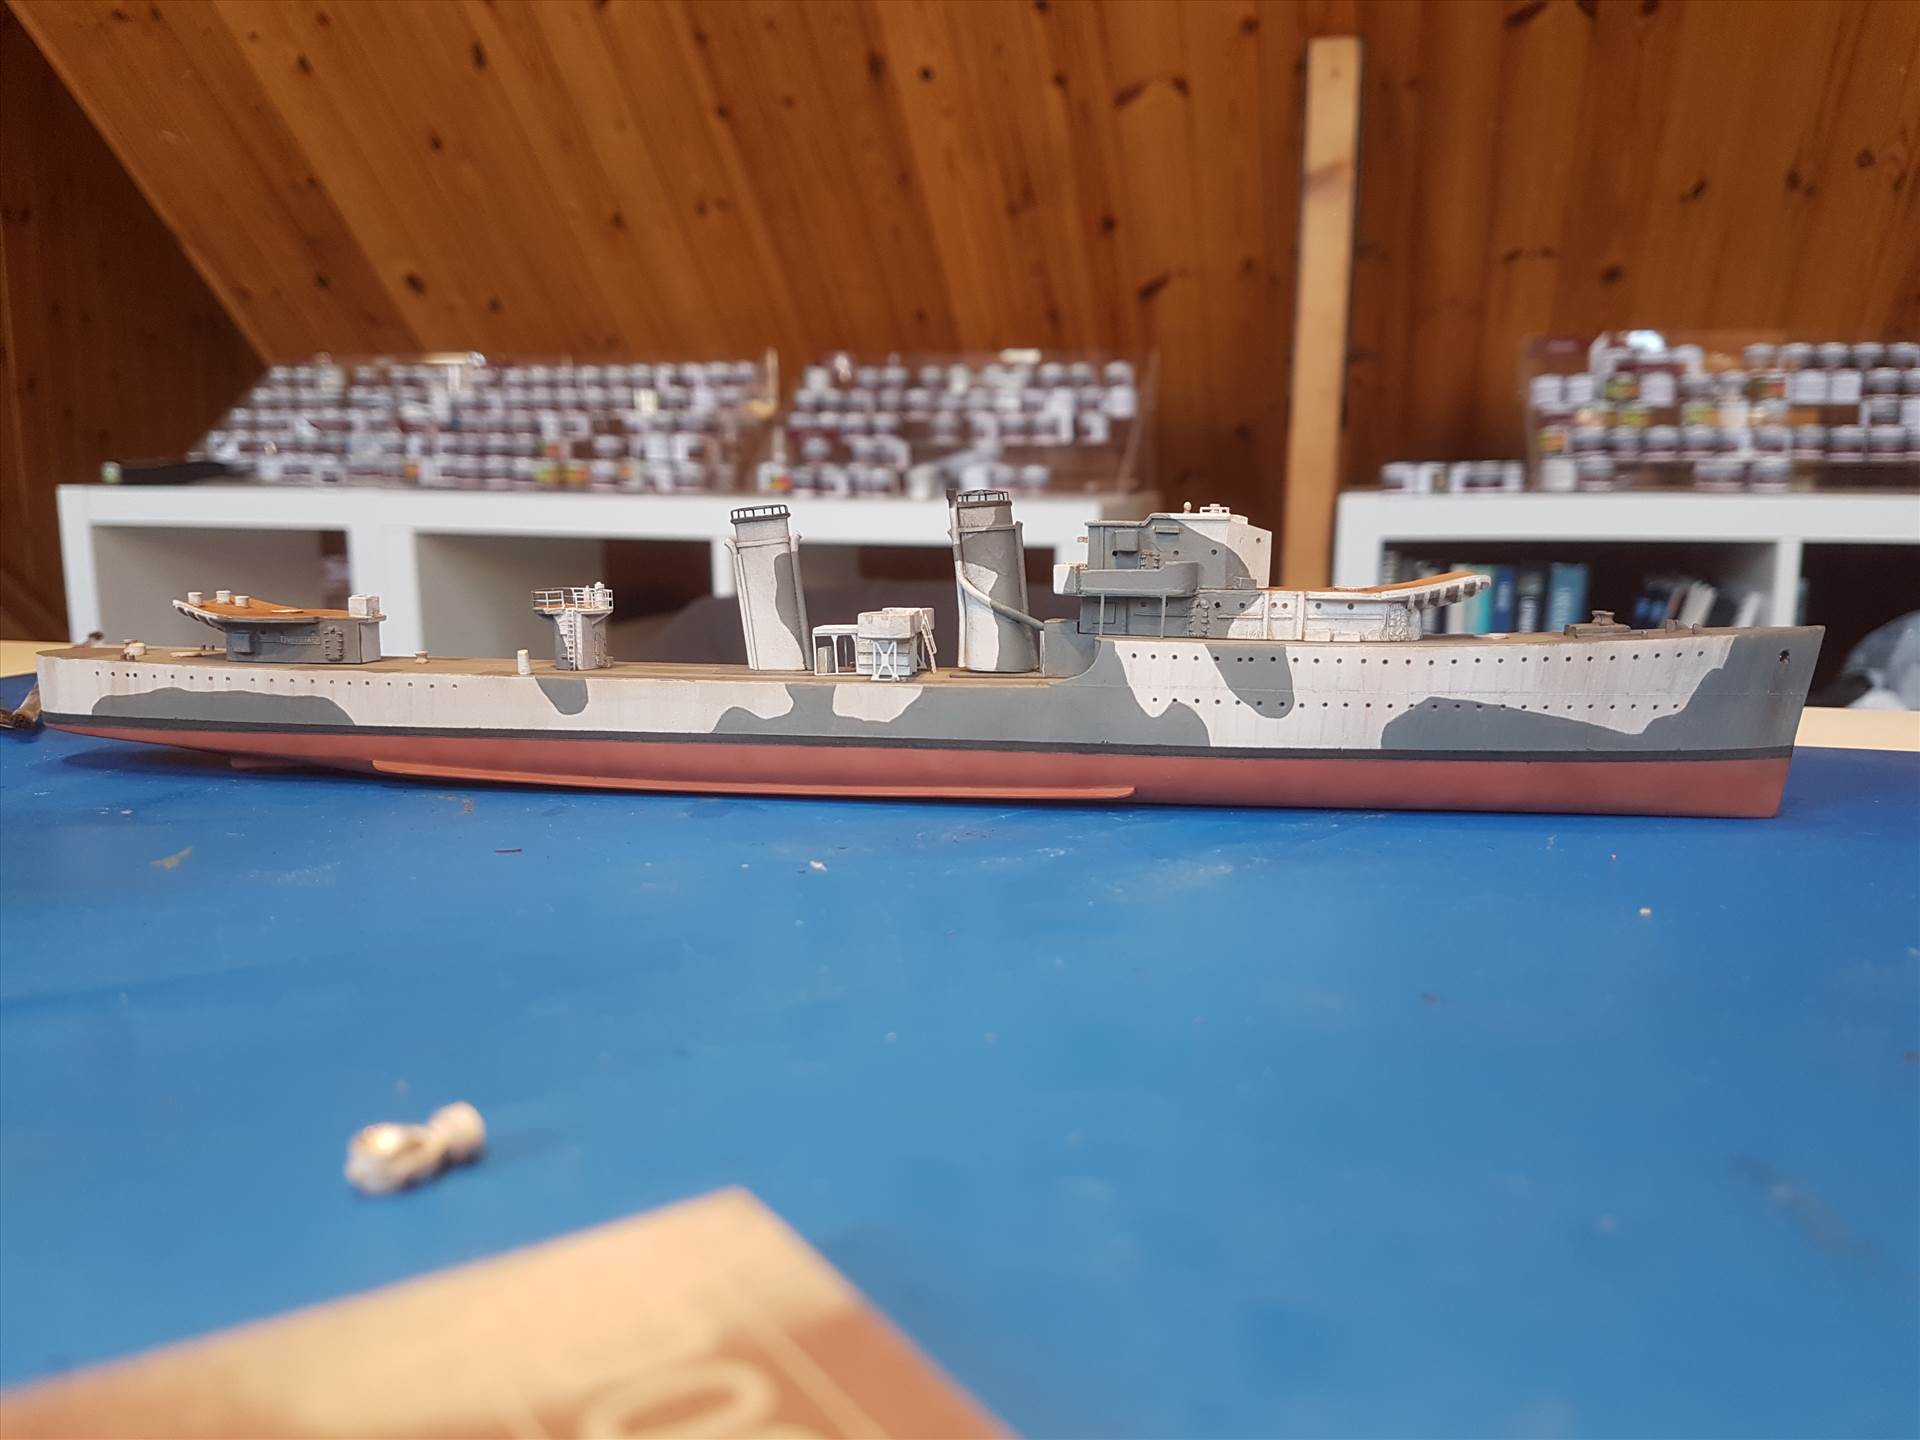
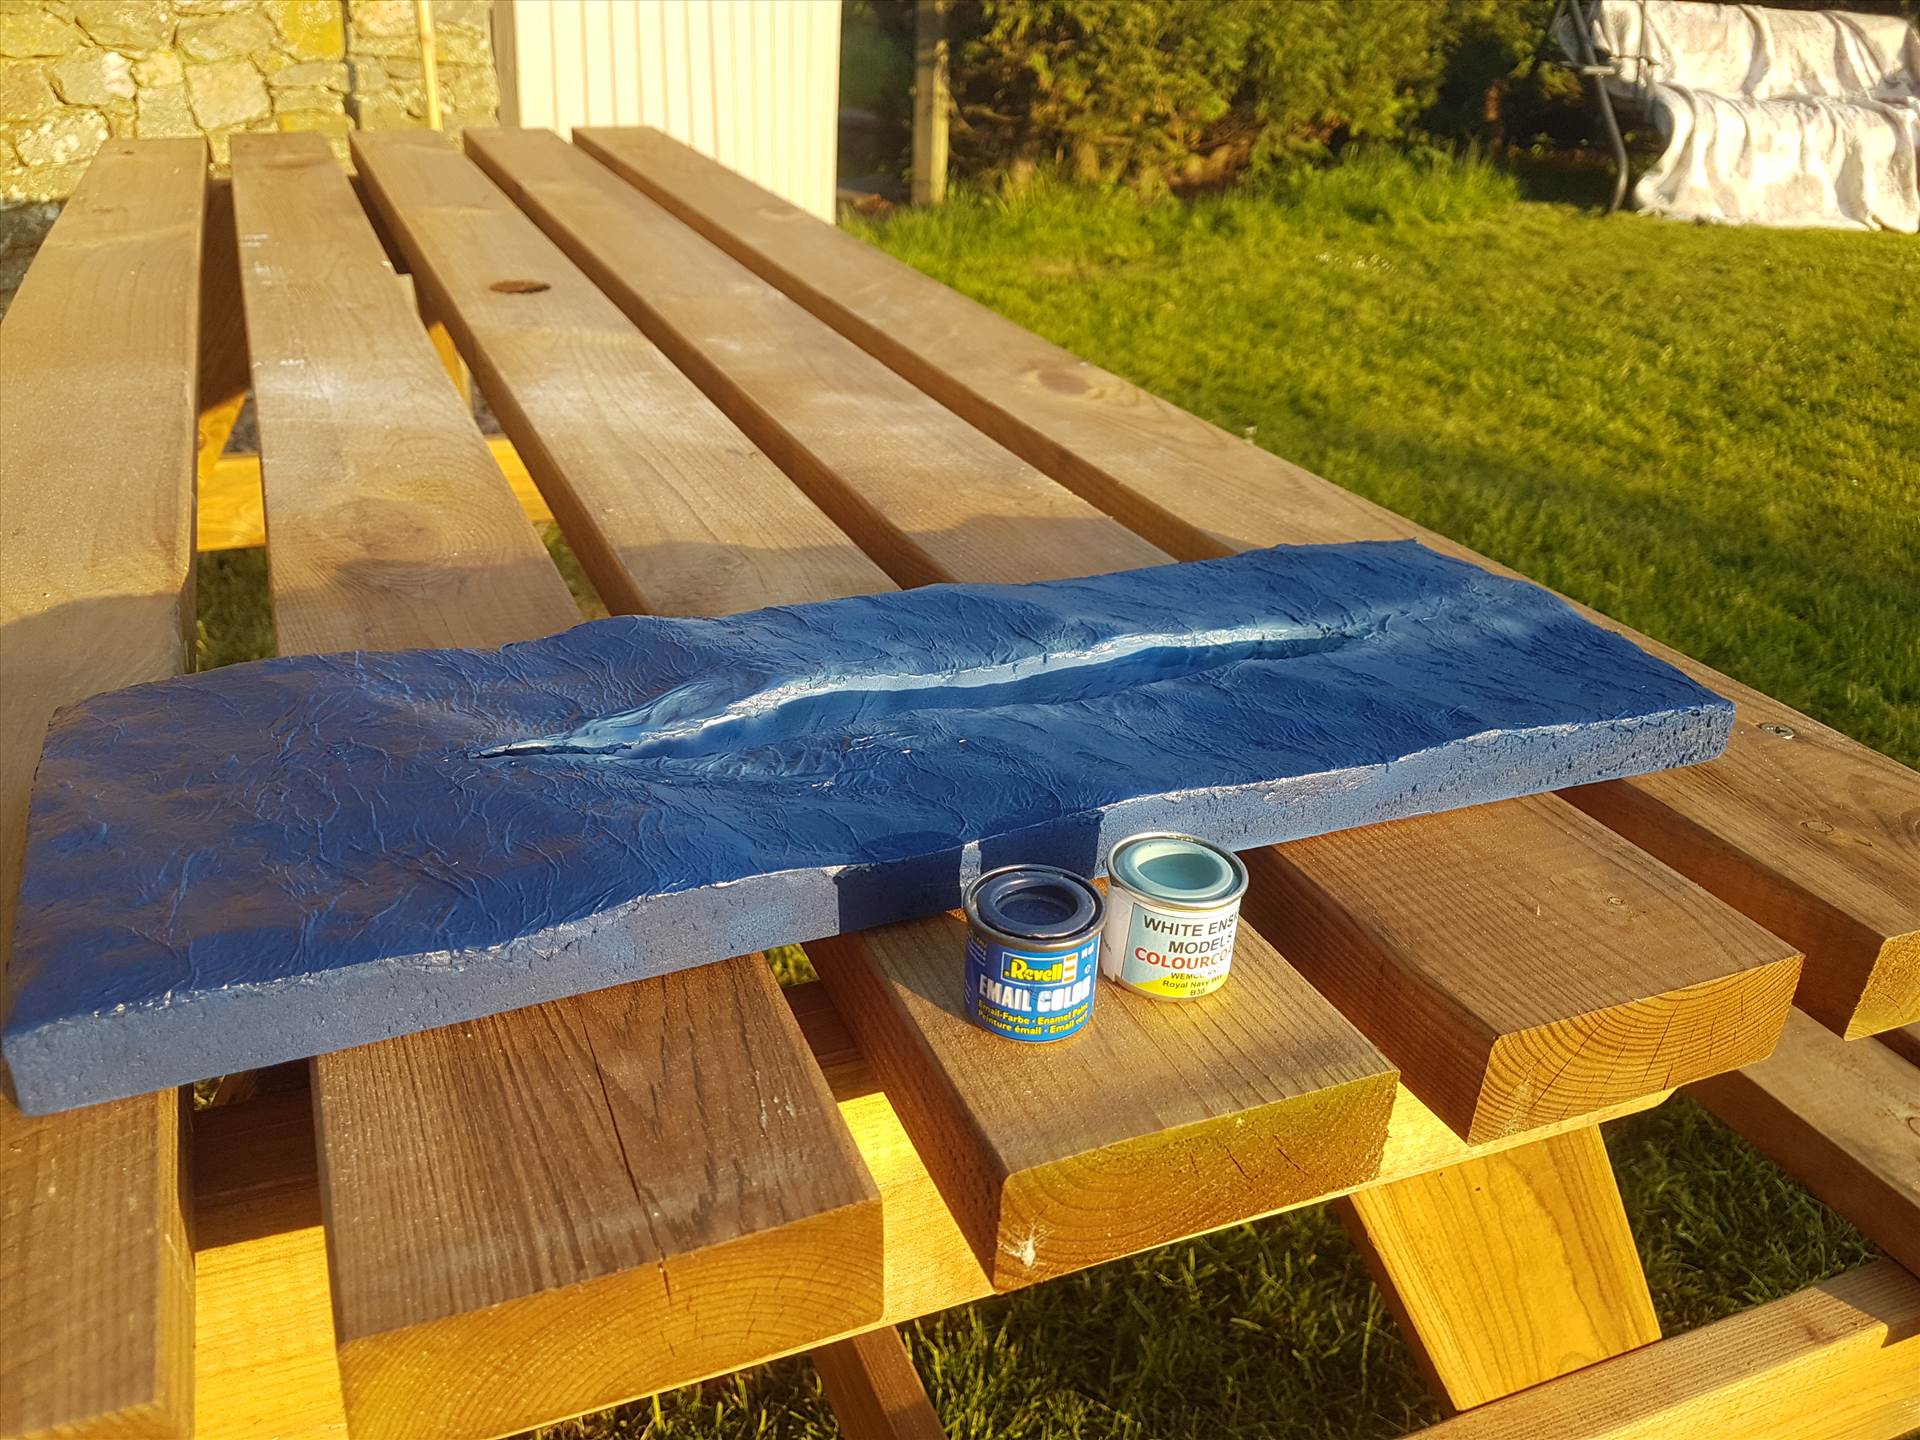
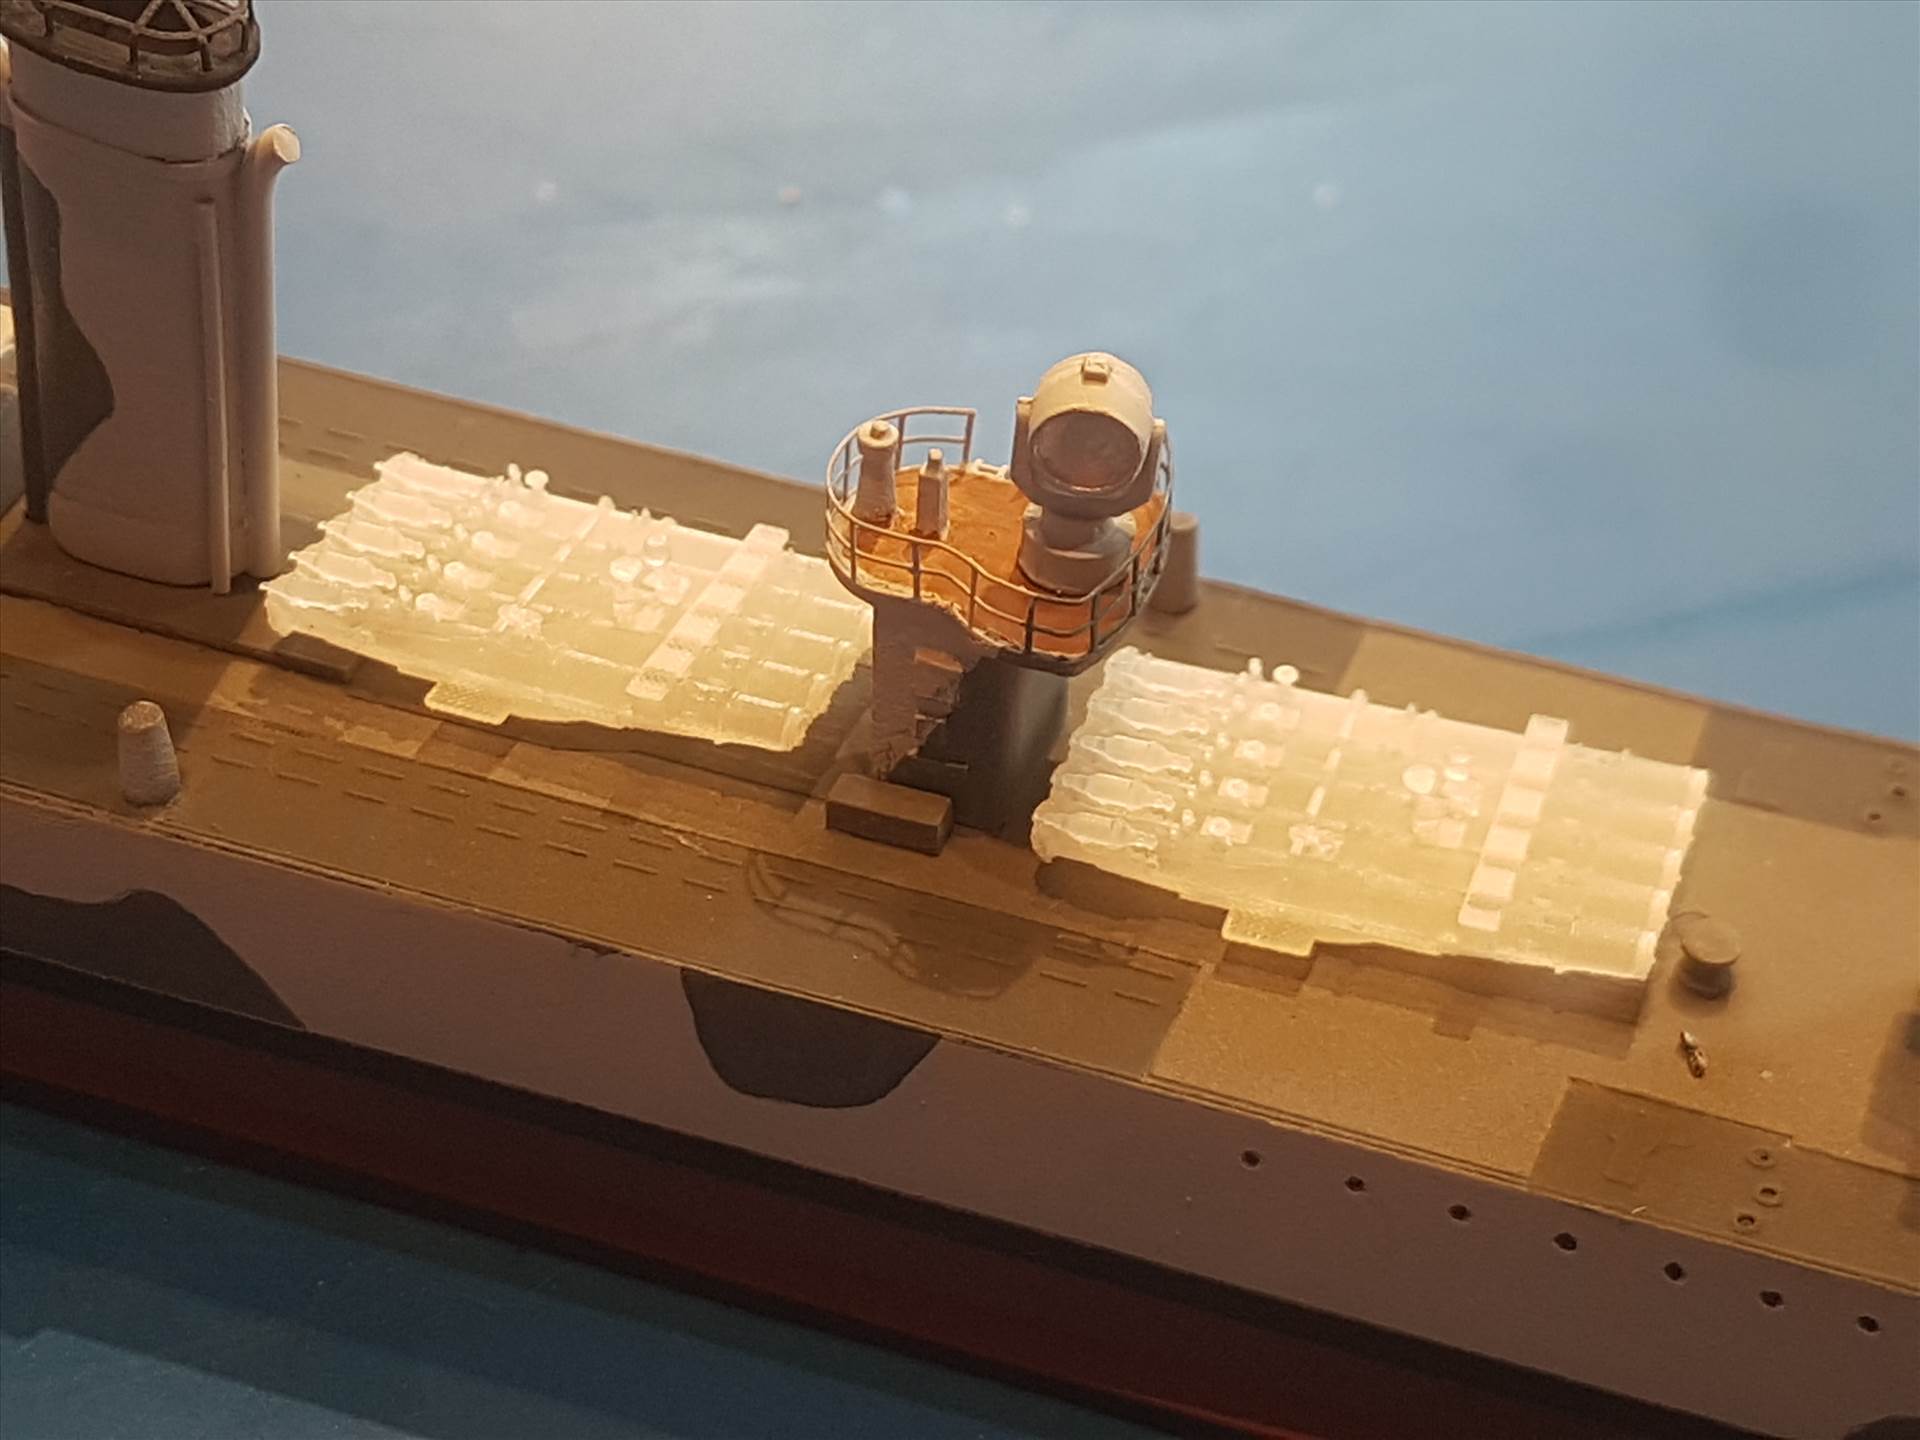
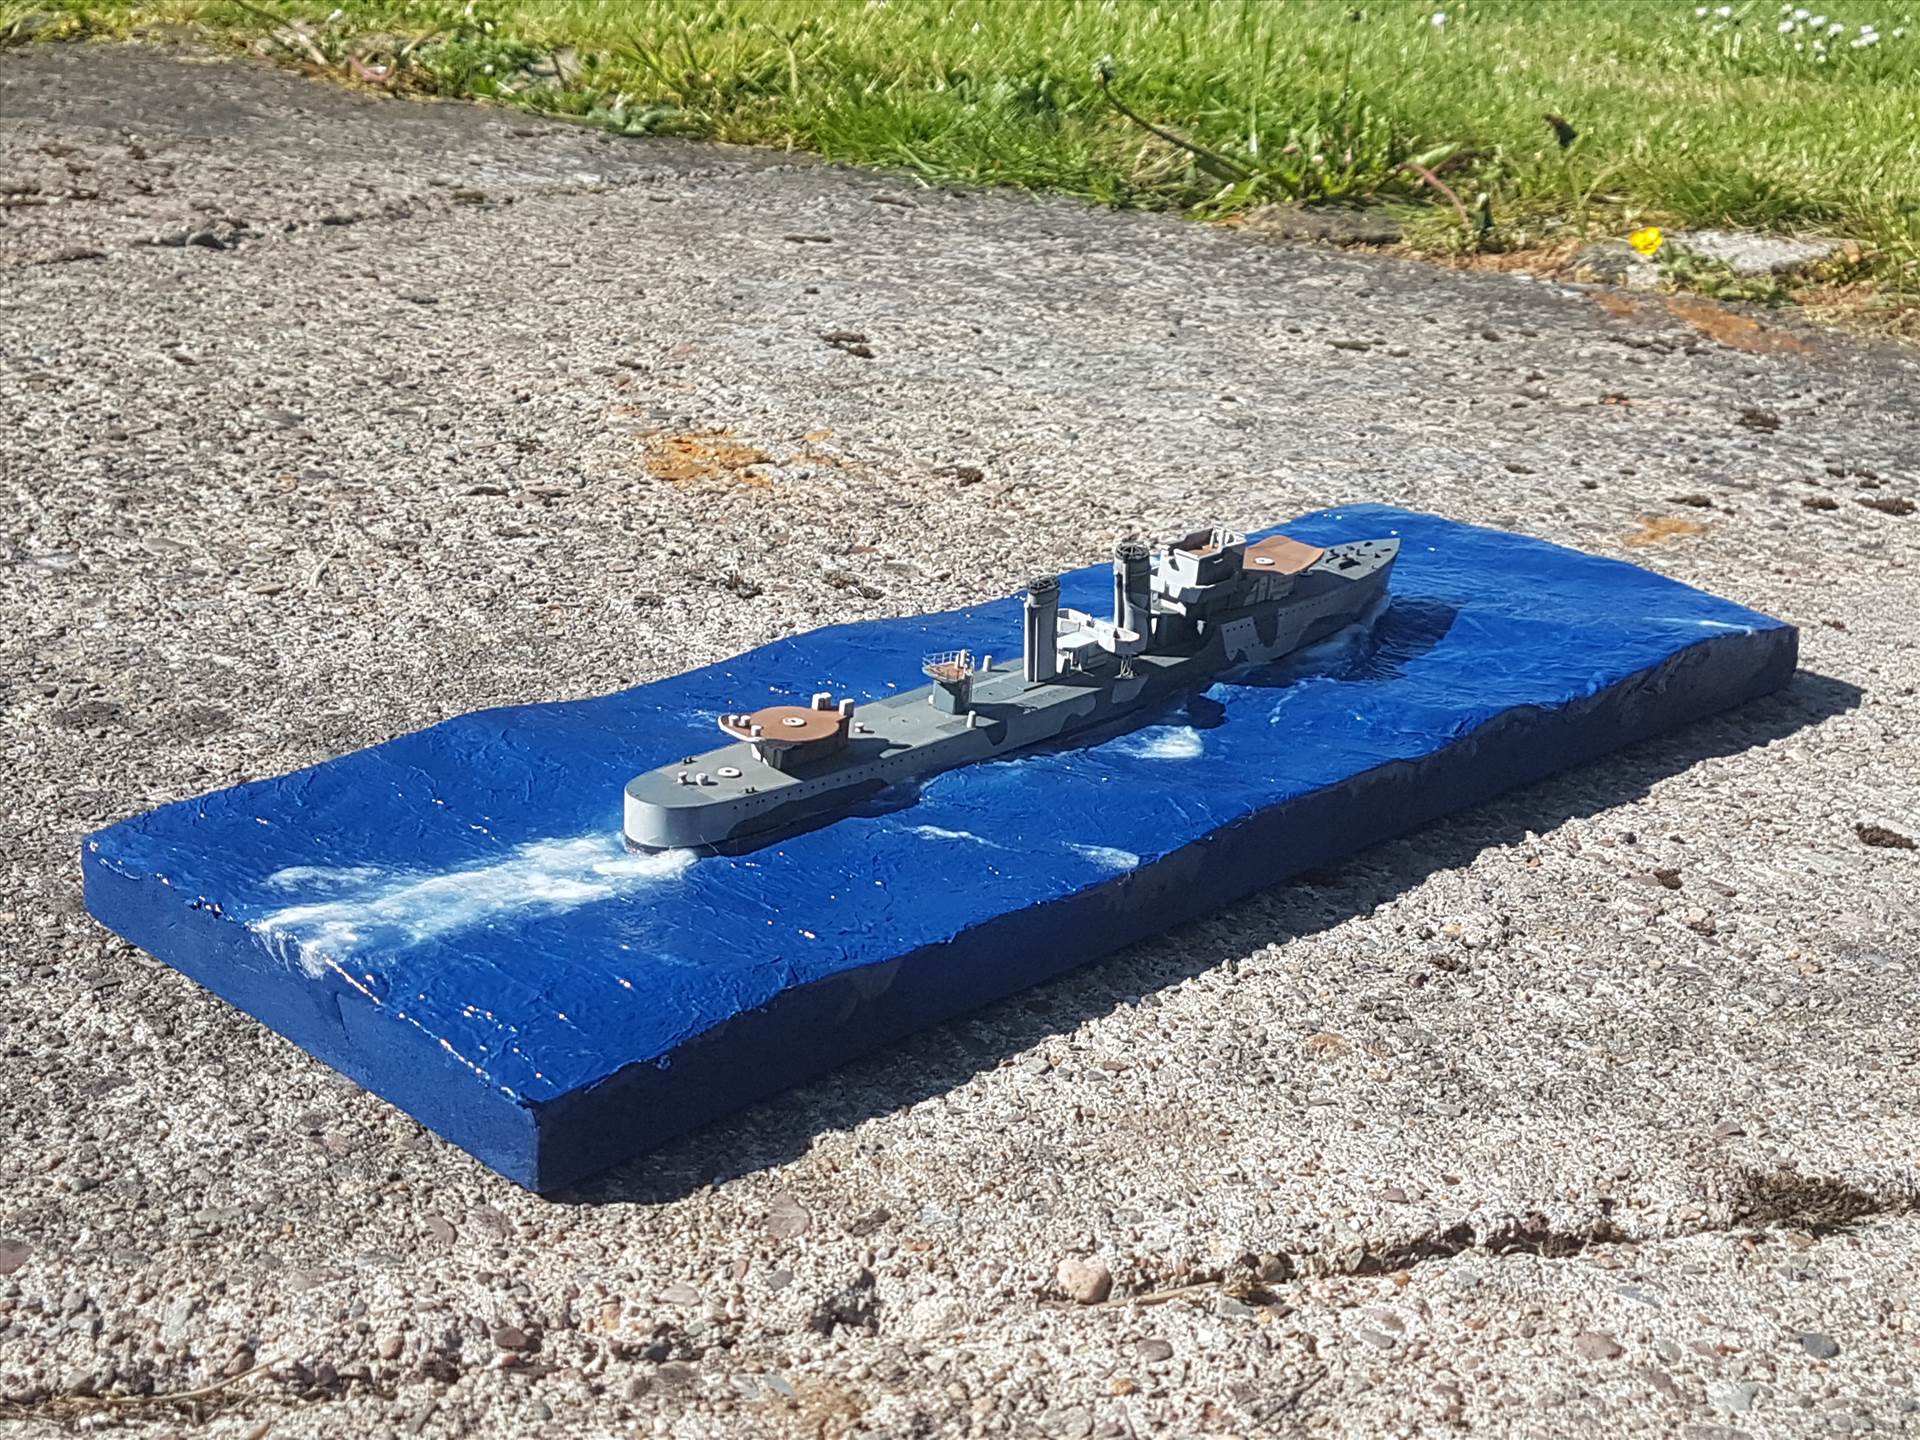
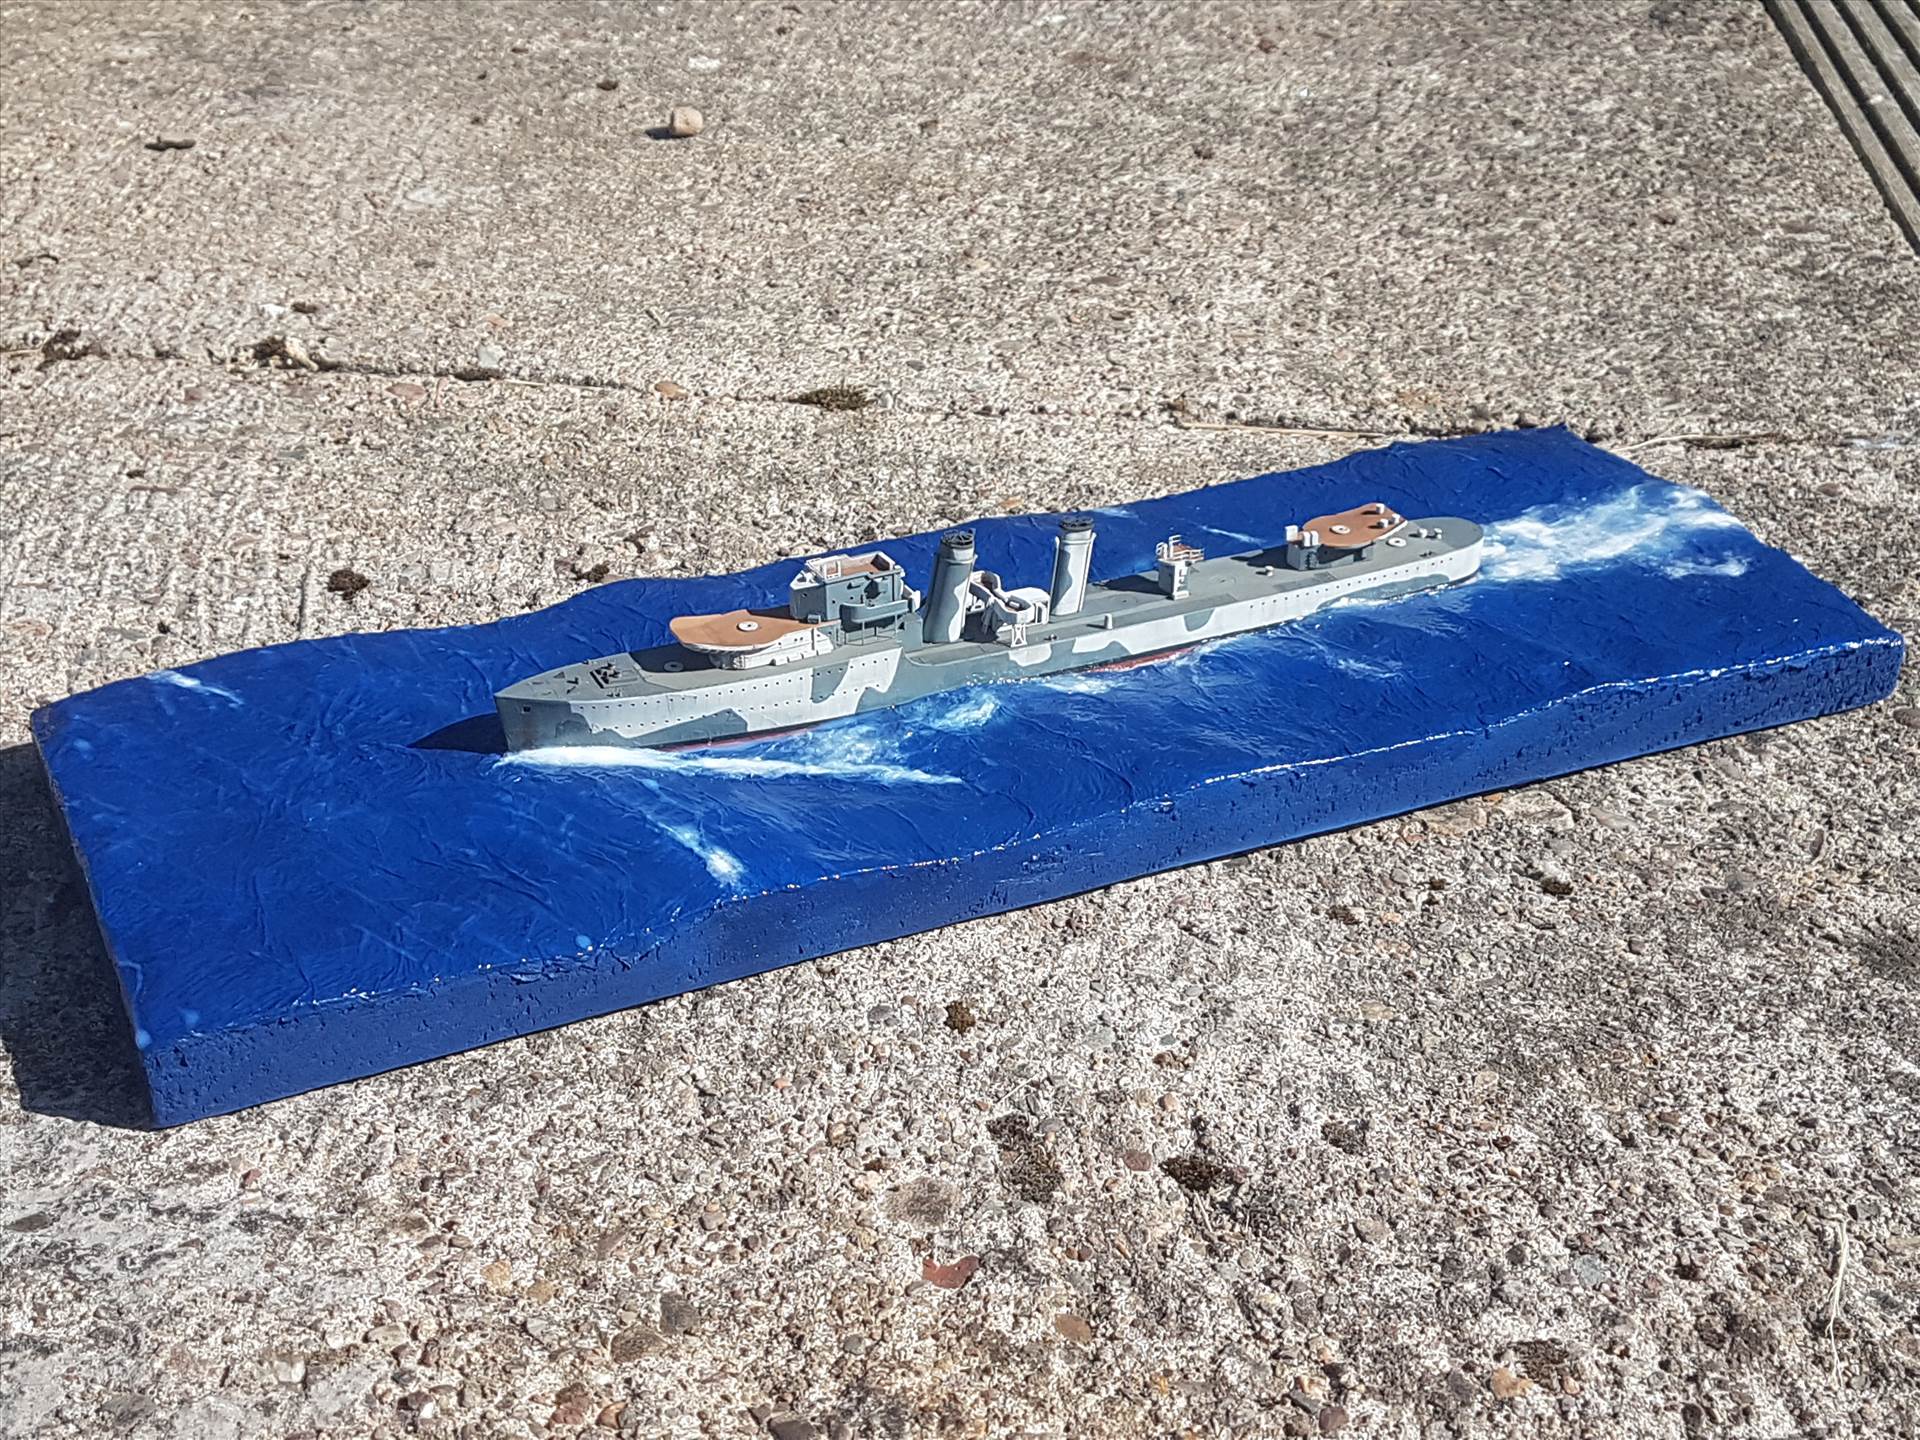
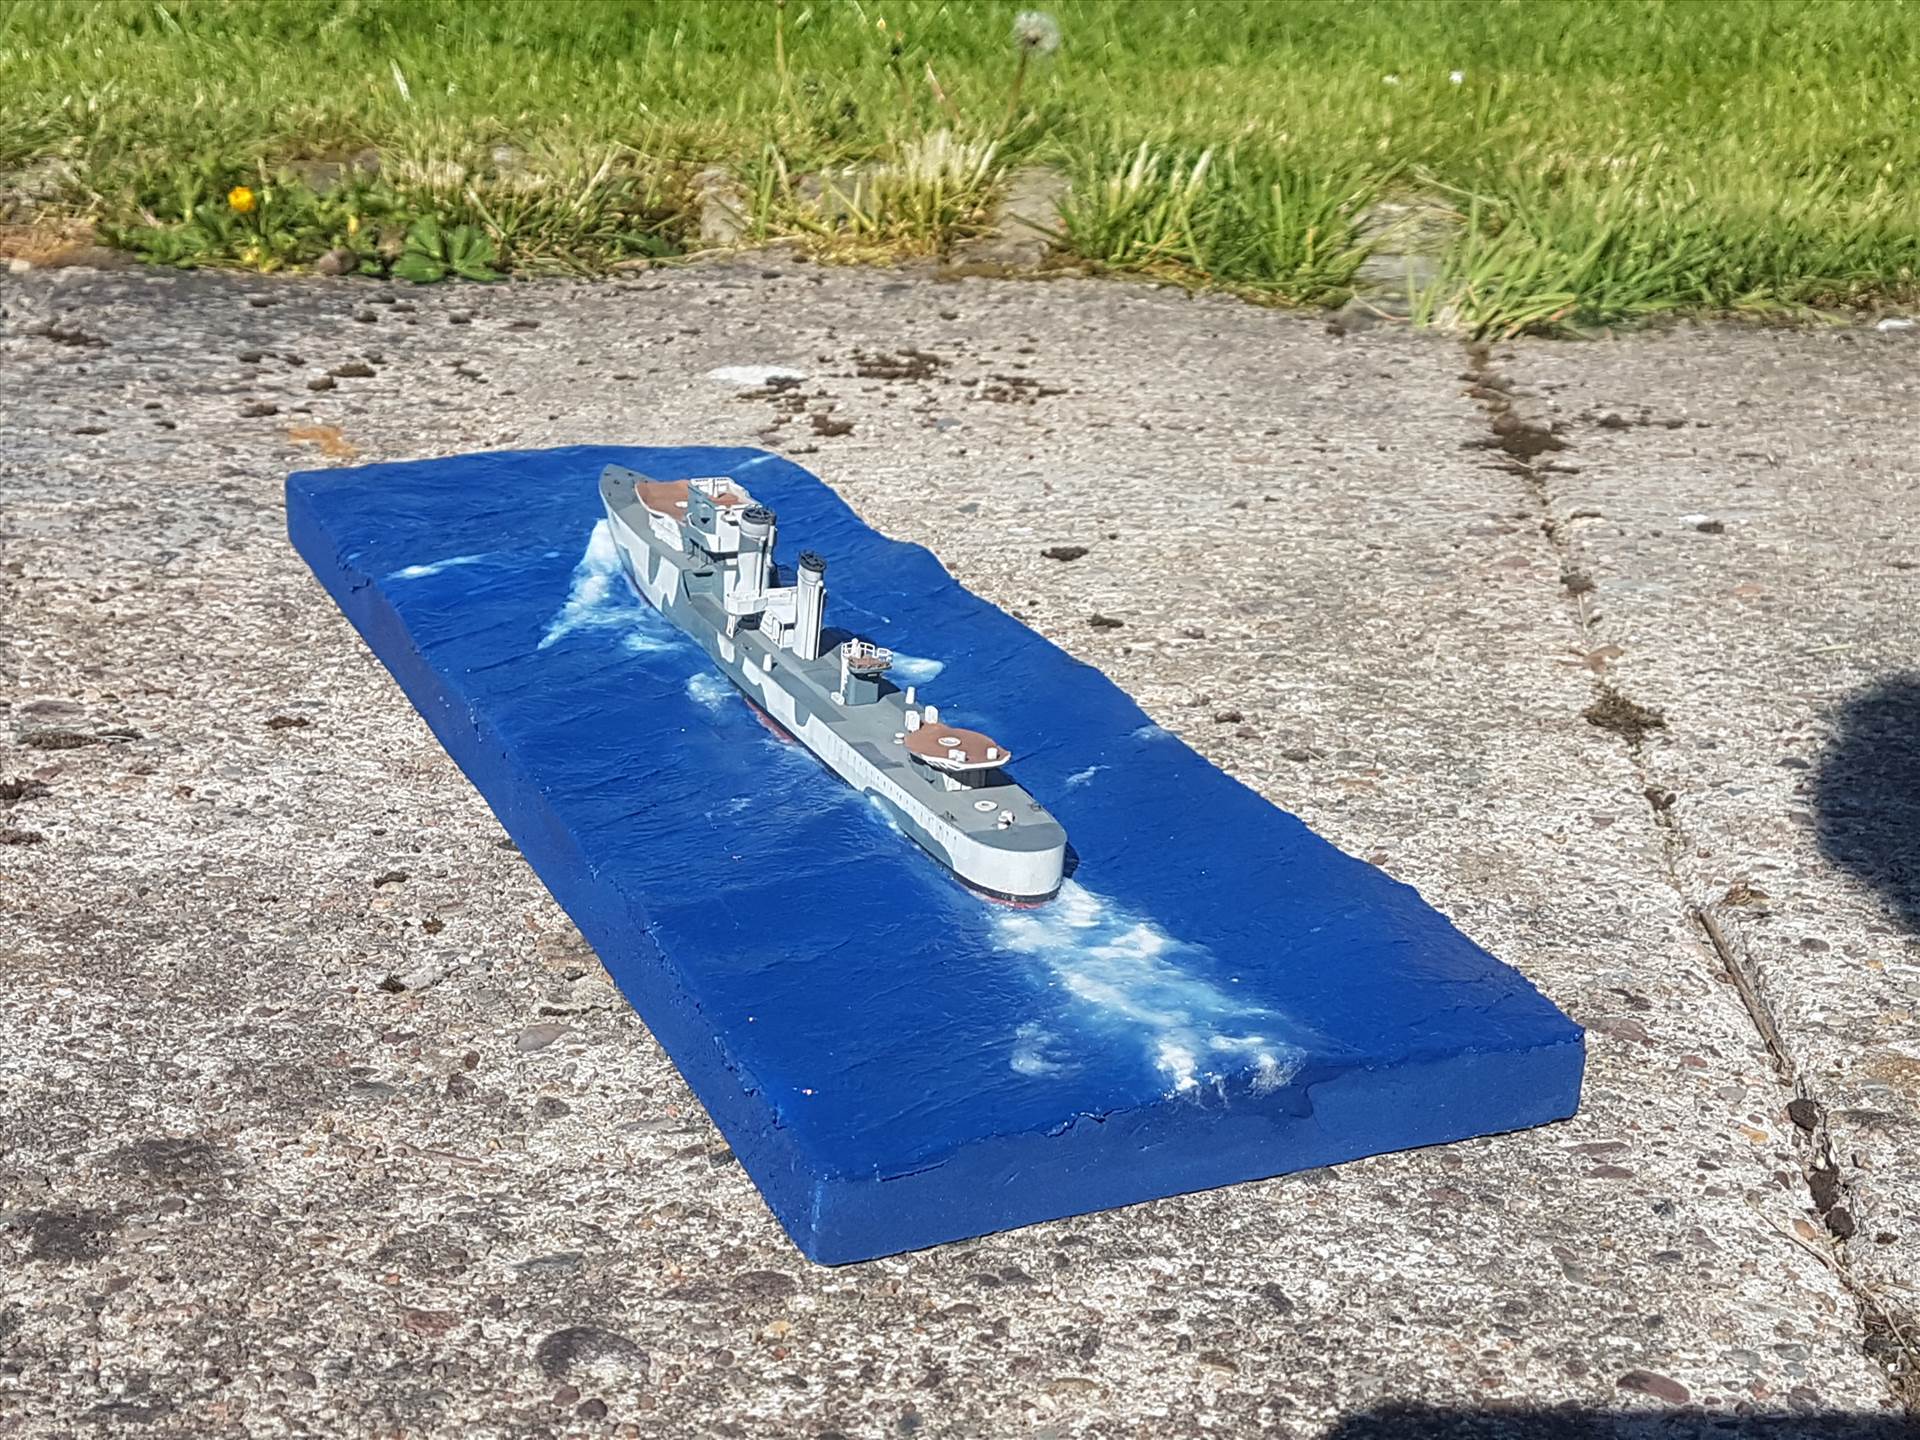
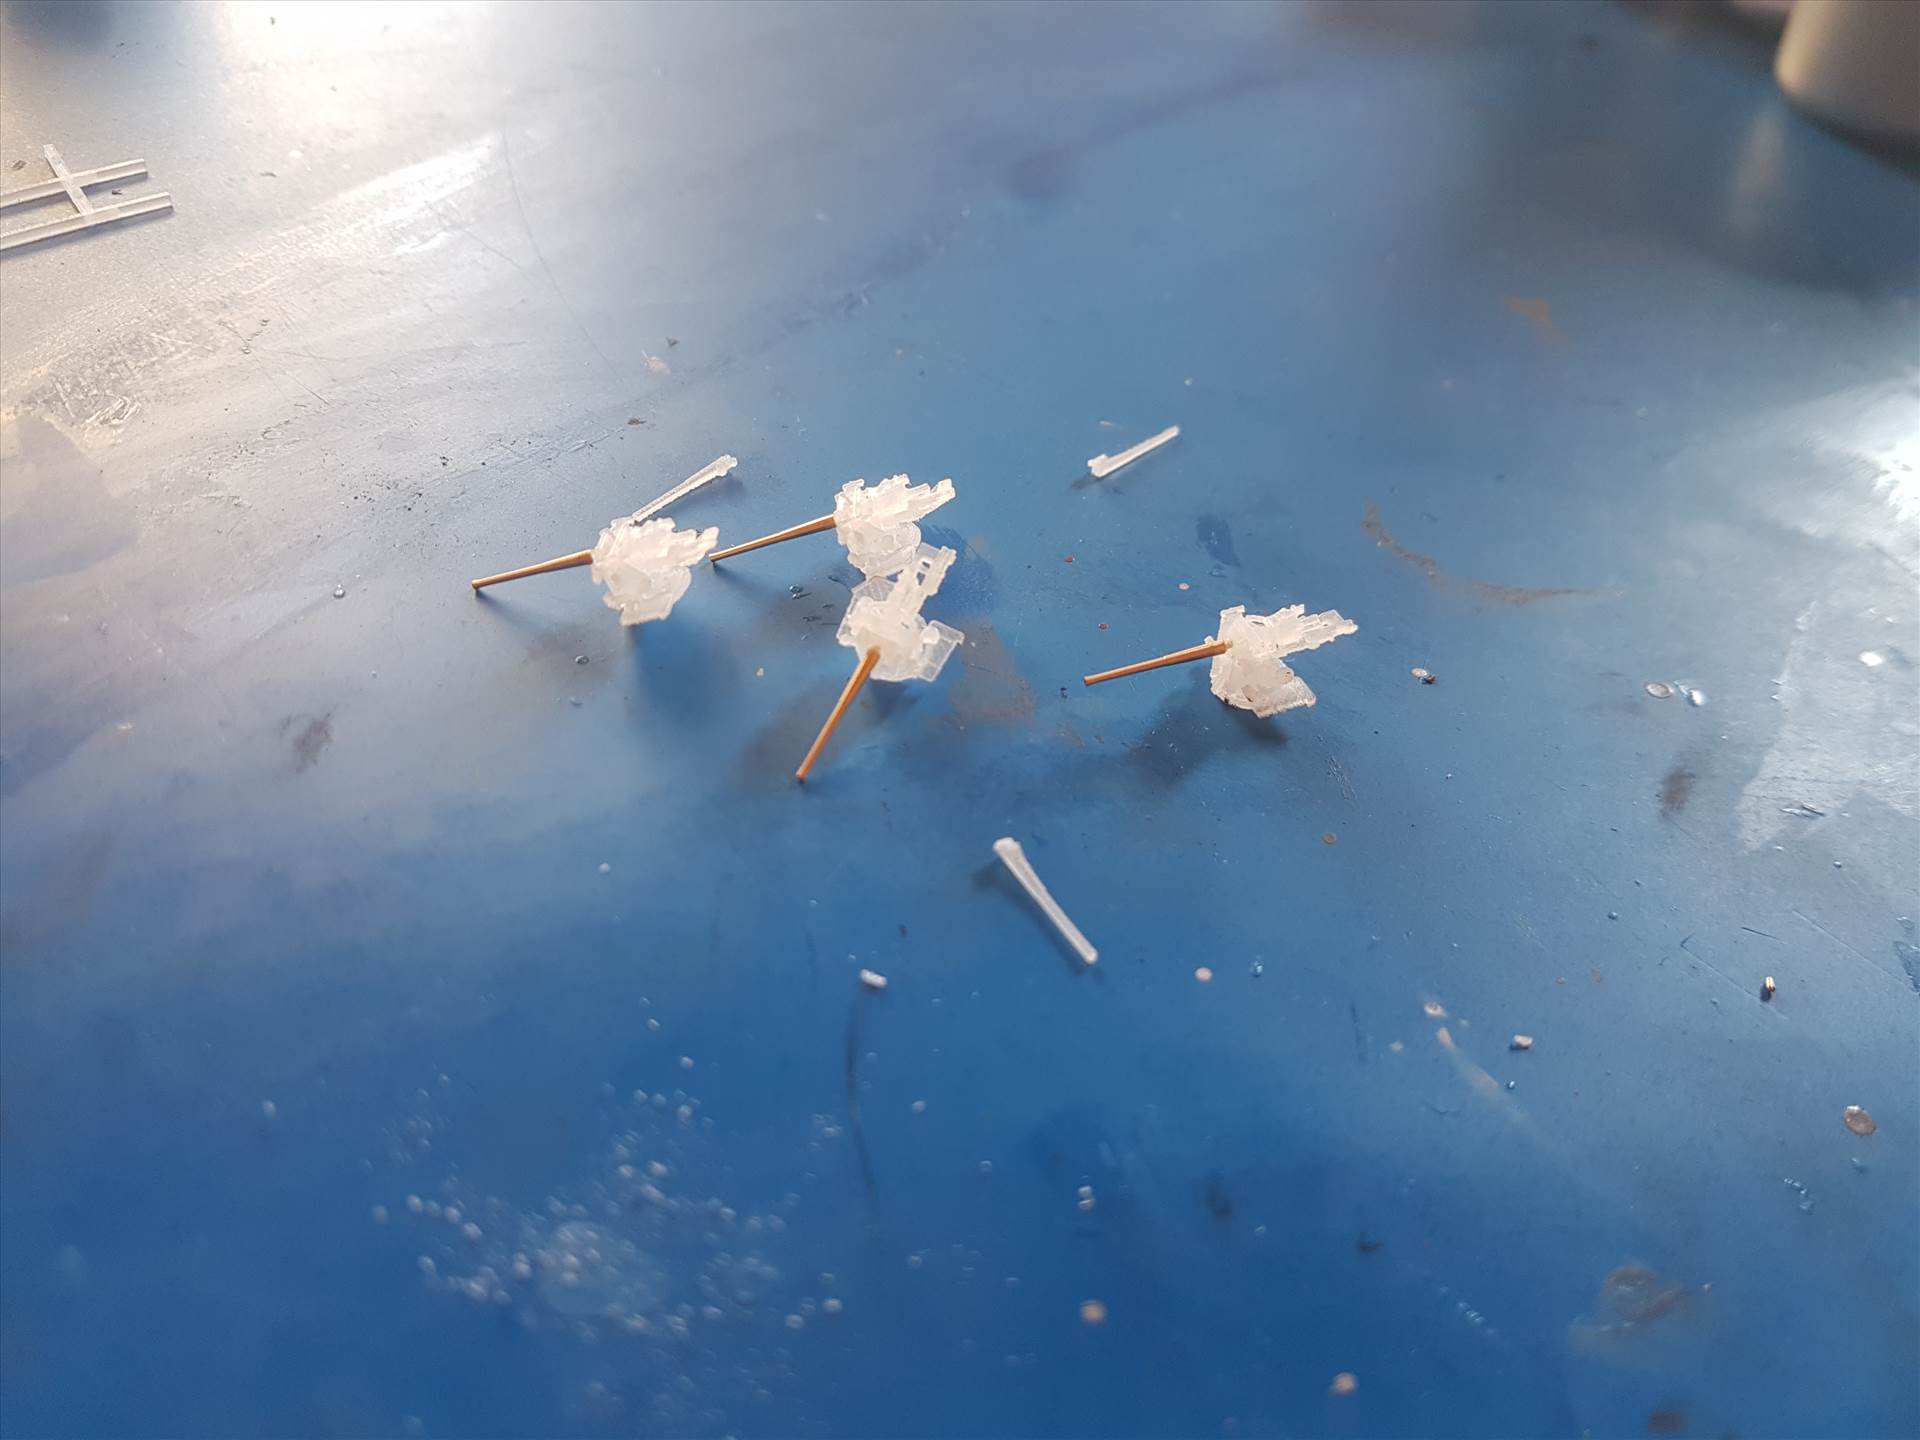
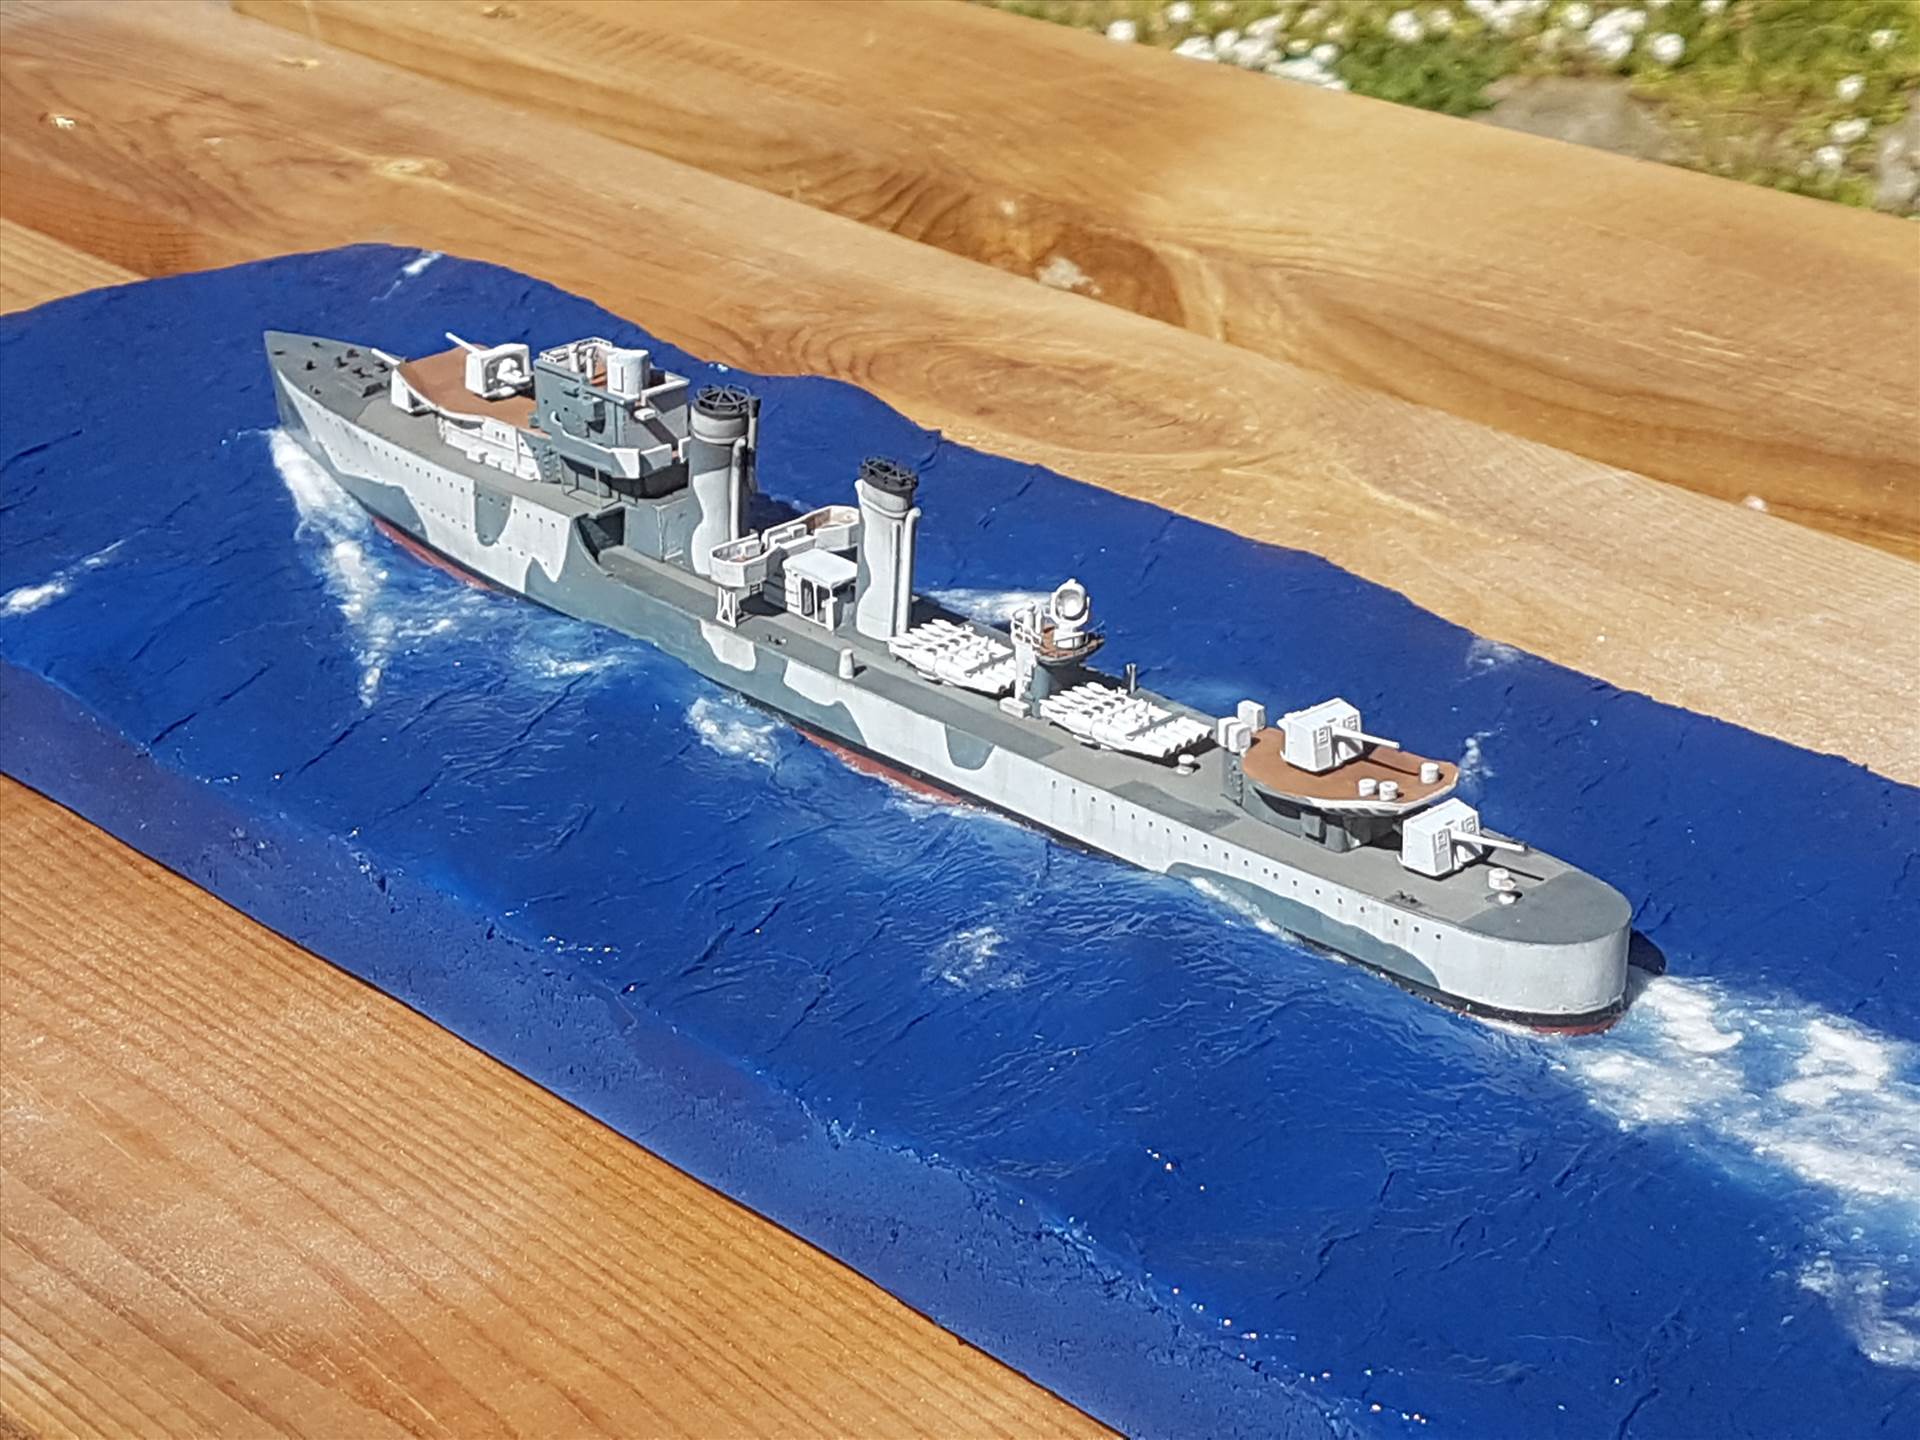
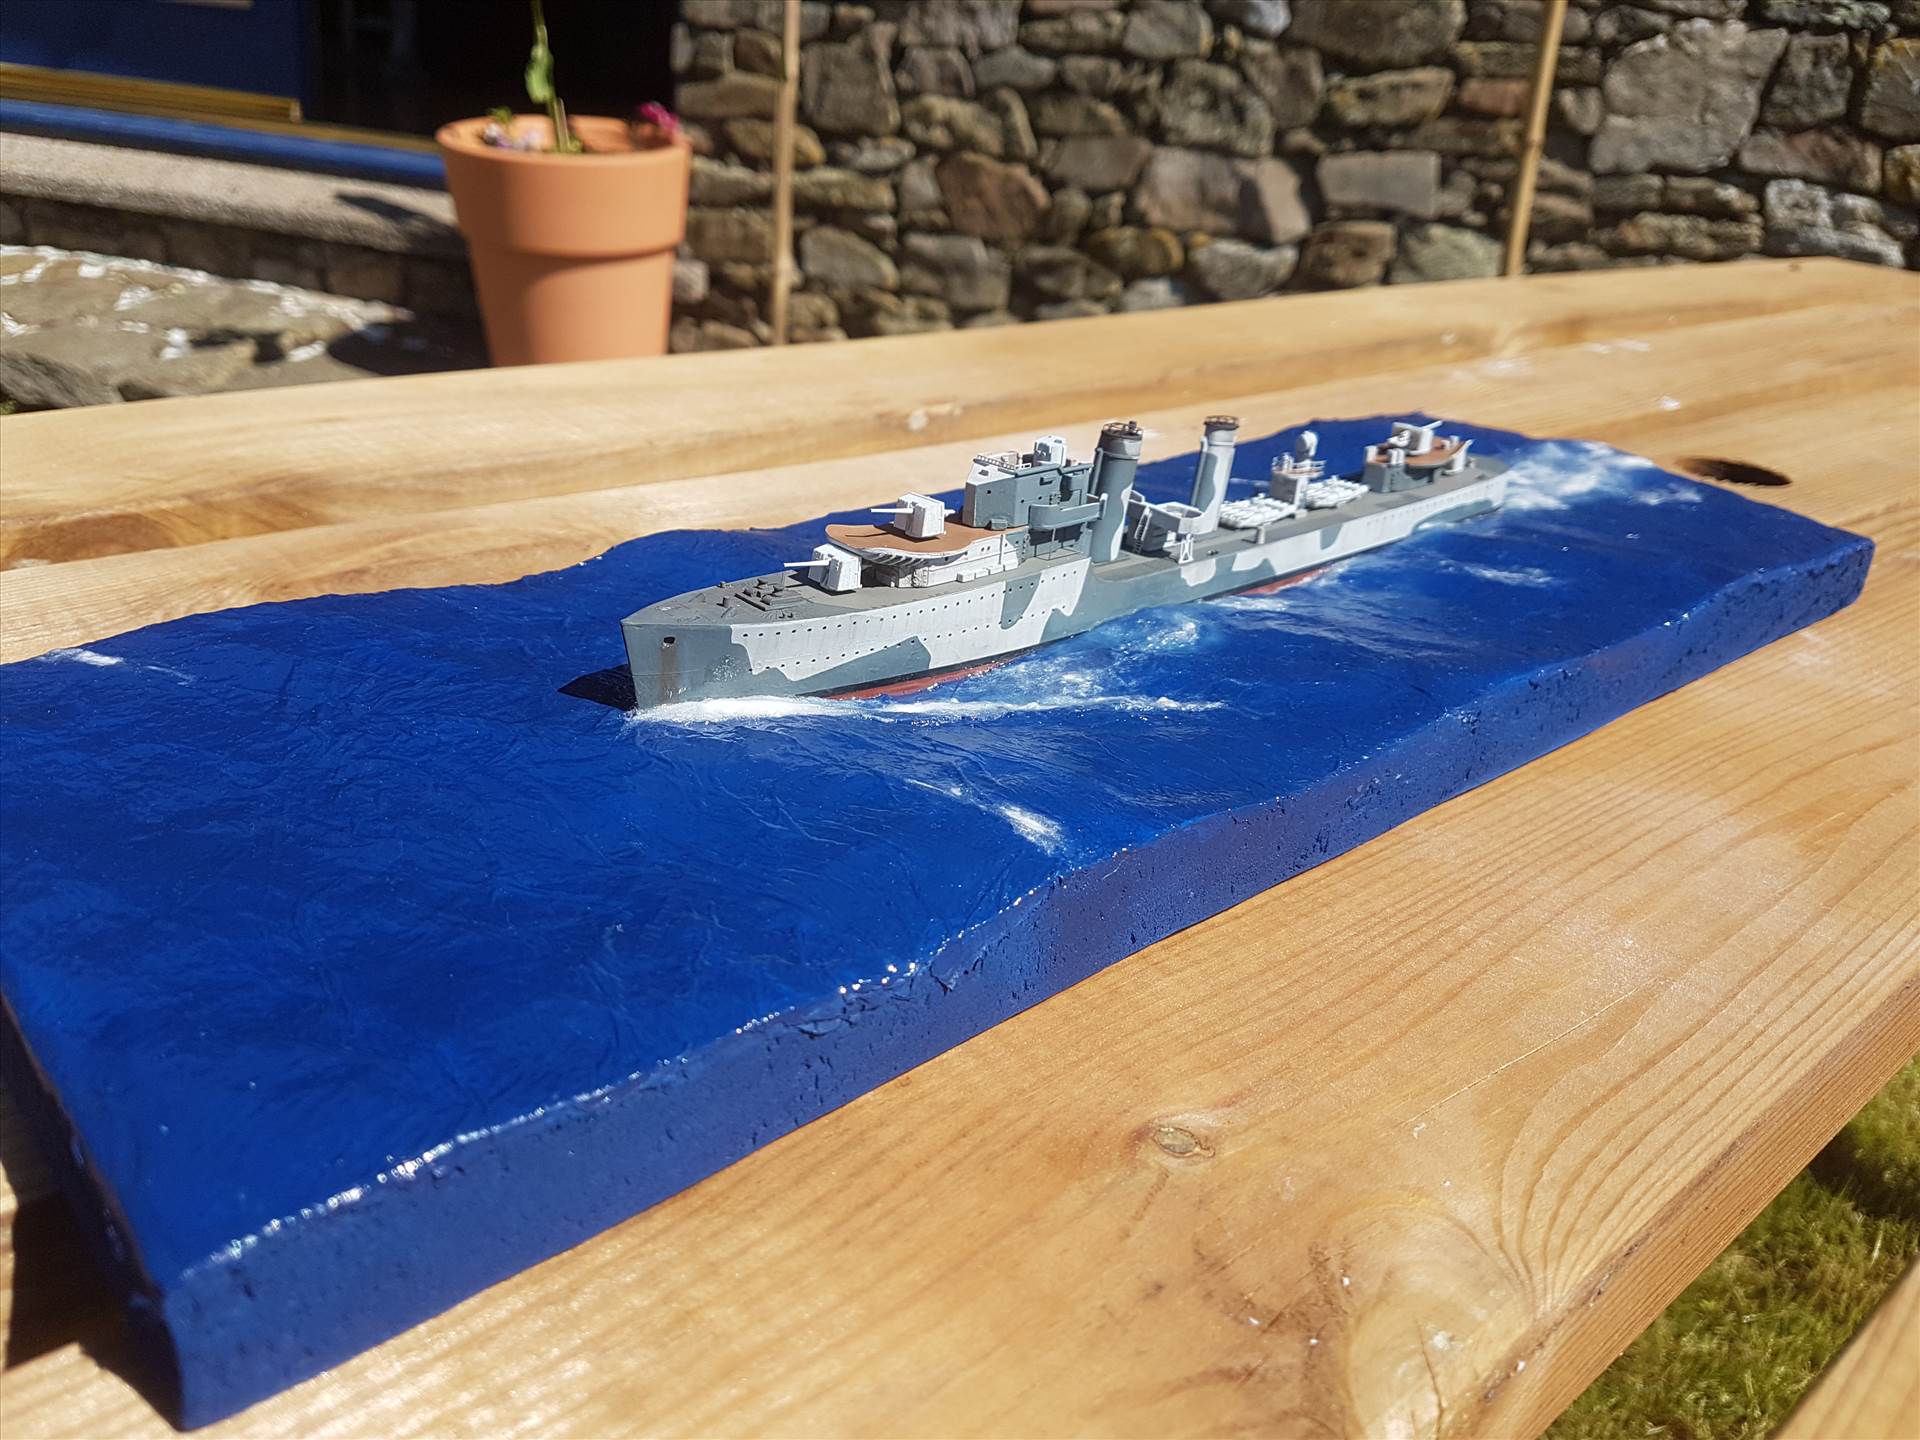
To ensure the 3D printed bits got a good long soak in the sun's UV light, I have avoided them today and instead had (yet) another attempt at something I have never succeeded in before; a sea base. I've seen several people who can do them really well, and hundreds if not thousands who, well, don't. I am in the latter camp!
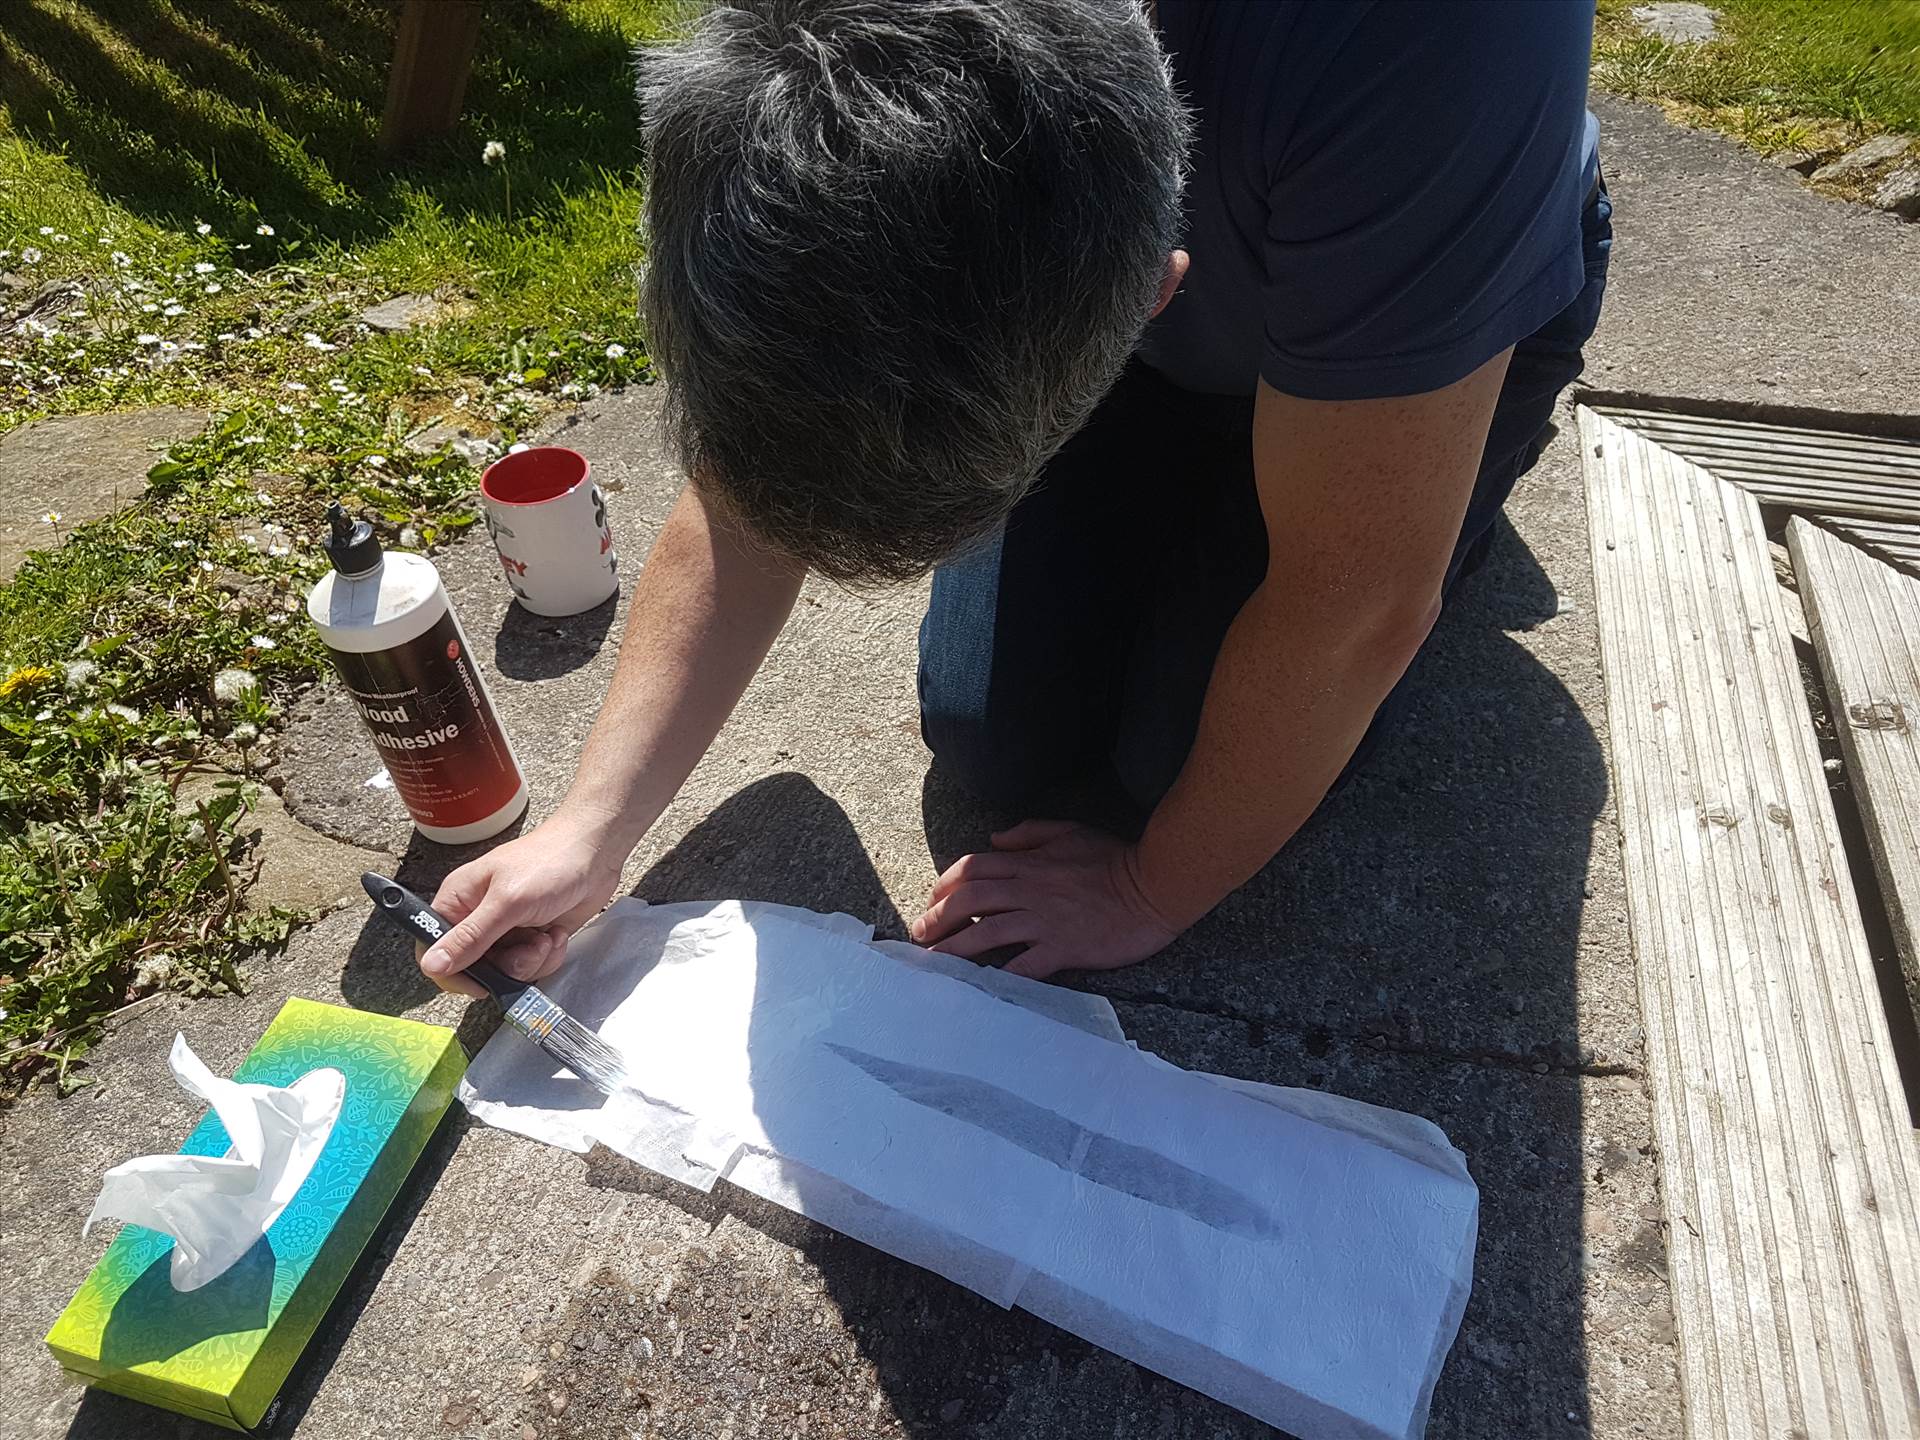
I have started this time with an 18" by 6" slab of pink styrofoam from the garage, which has been tortured into an approximate sea swell shape with a flap wheel in an electric drill. This was then sanded with one of Infini Model's nifty new sanding sponges and a ship-shaped hole cut out of the middle with an Xacto blade (I normally use Swann Morton scalpels but the Xacto blade was longer and could thus cut deeper).
I painted it with PVA glue, then laid on tissue paper separated into single leafs, which was brushed on with a little water
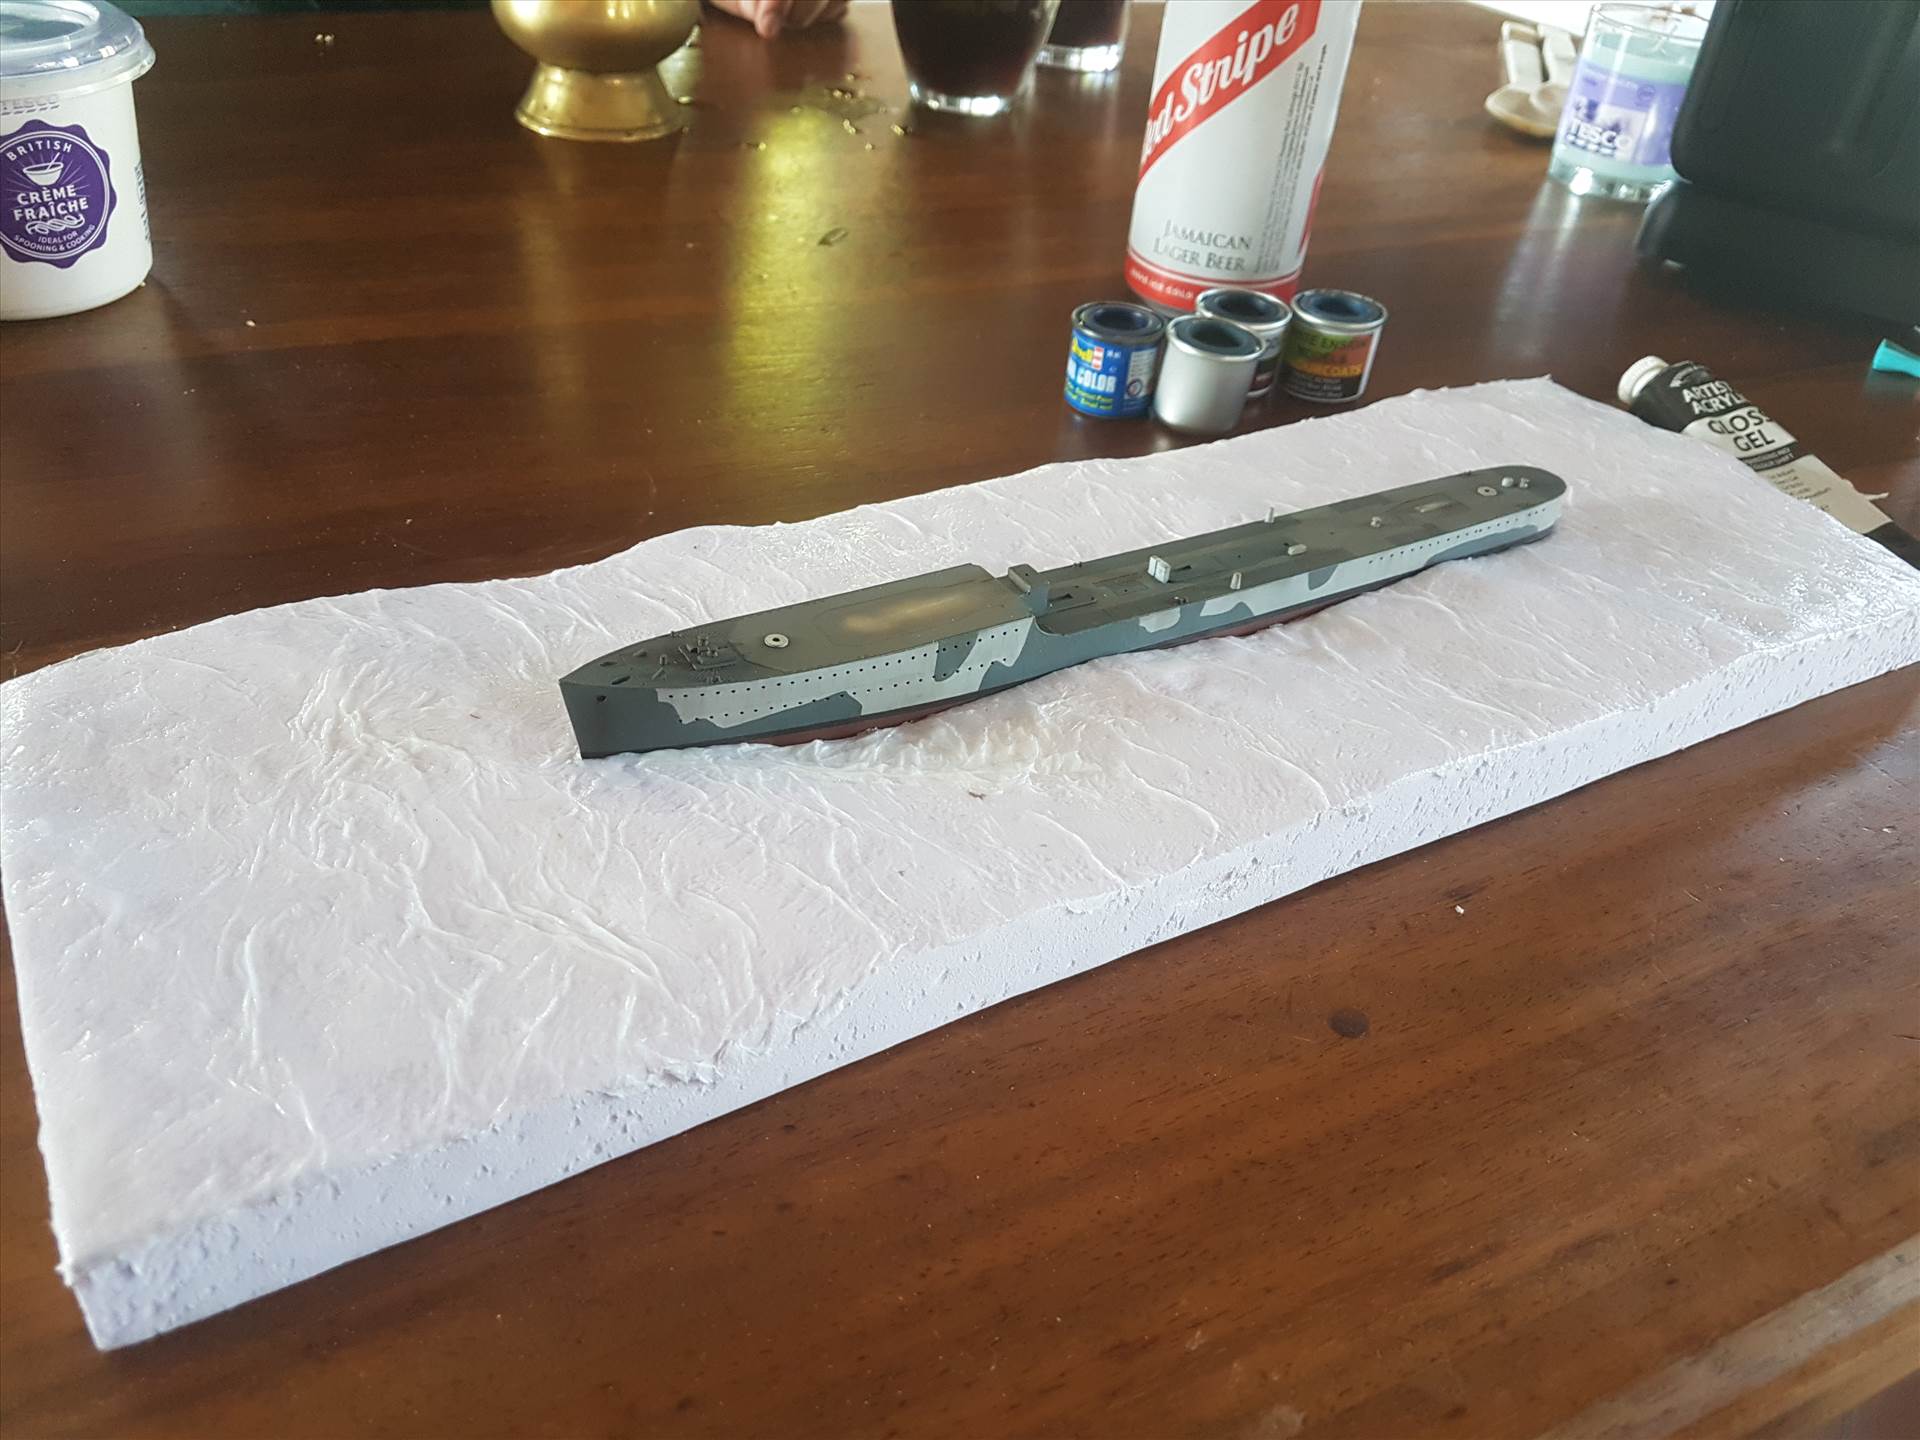
Once that dried, I checked the ship still fitted in the hole before adding any colour, and brushed on a generous coat of Windsor and Newton acrylic gloss gel medium
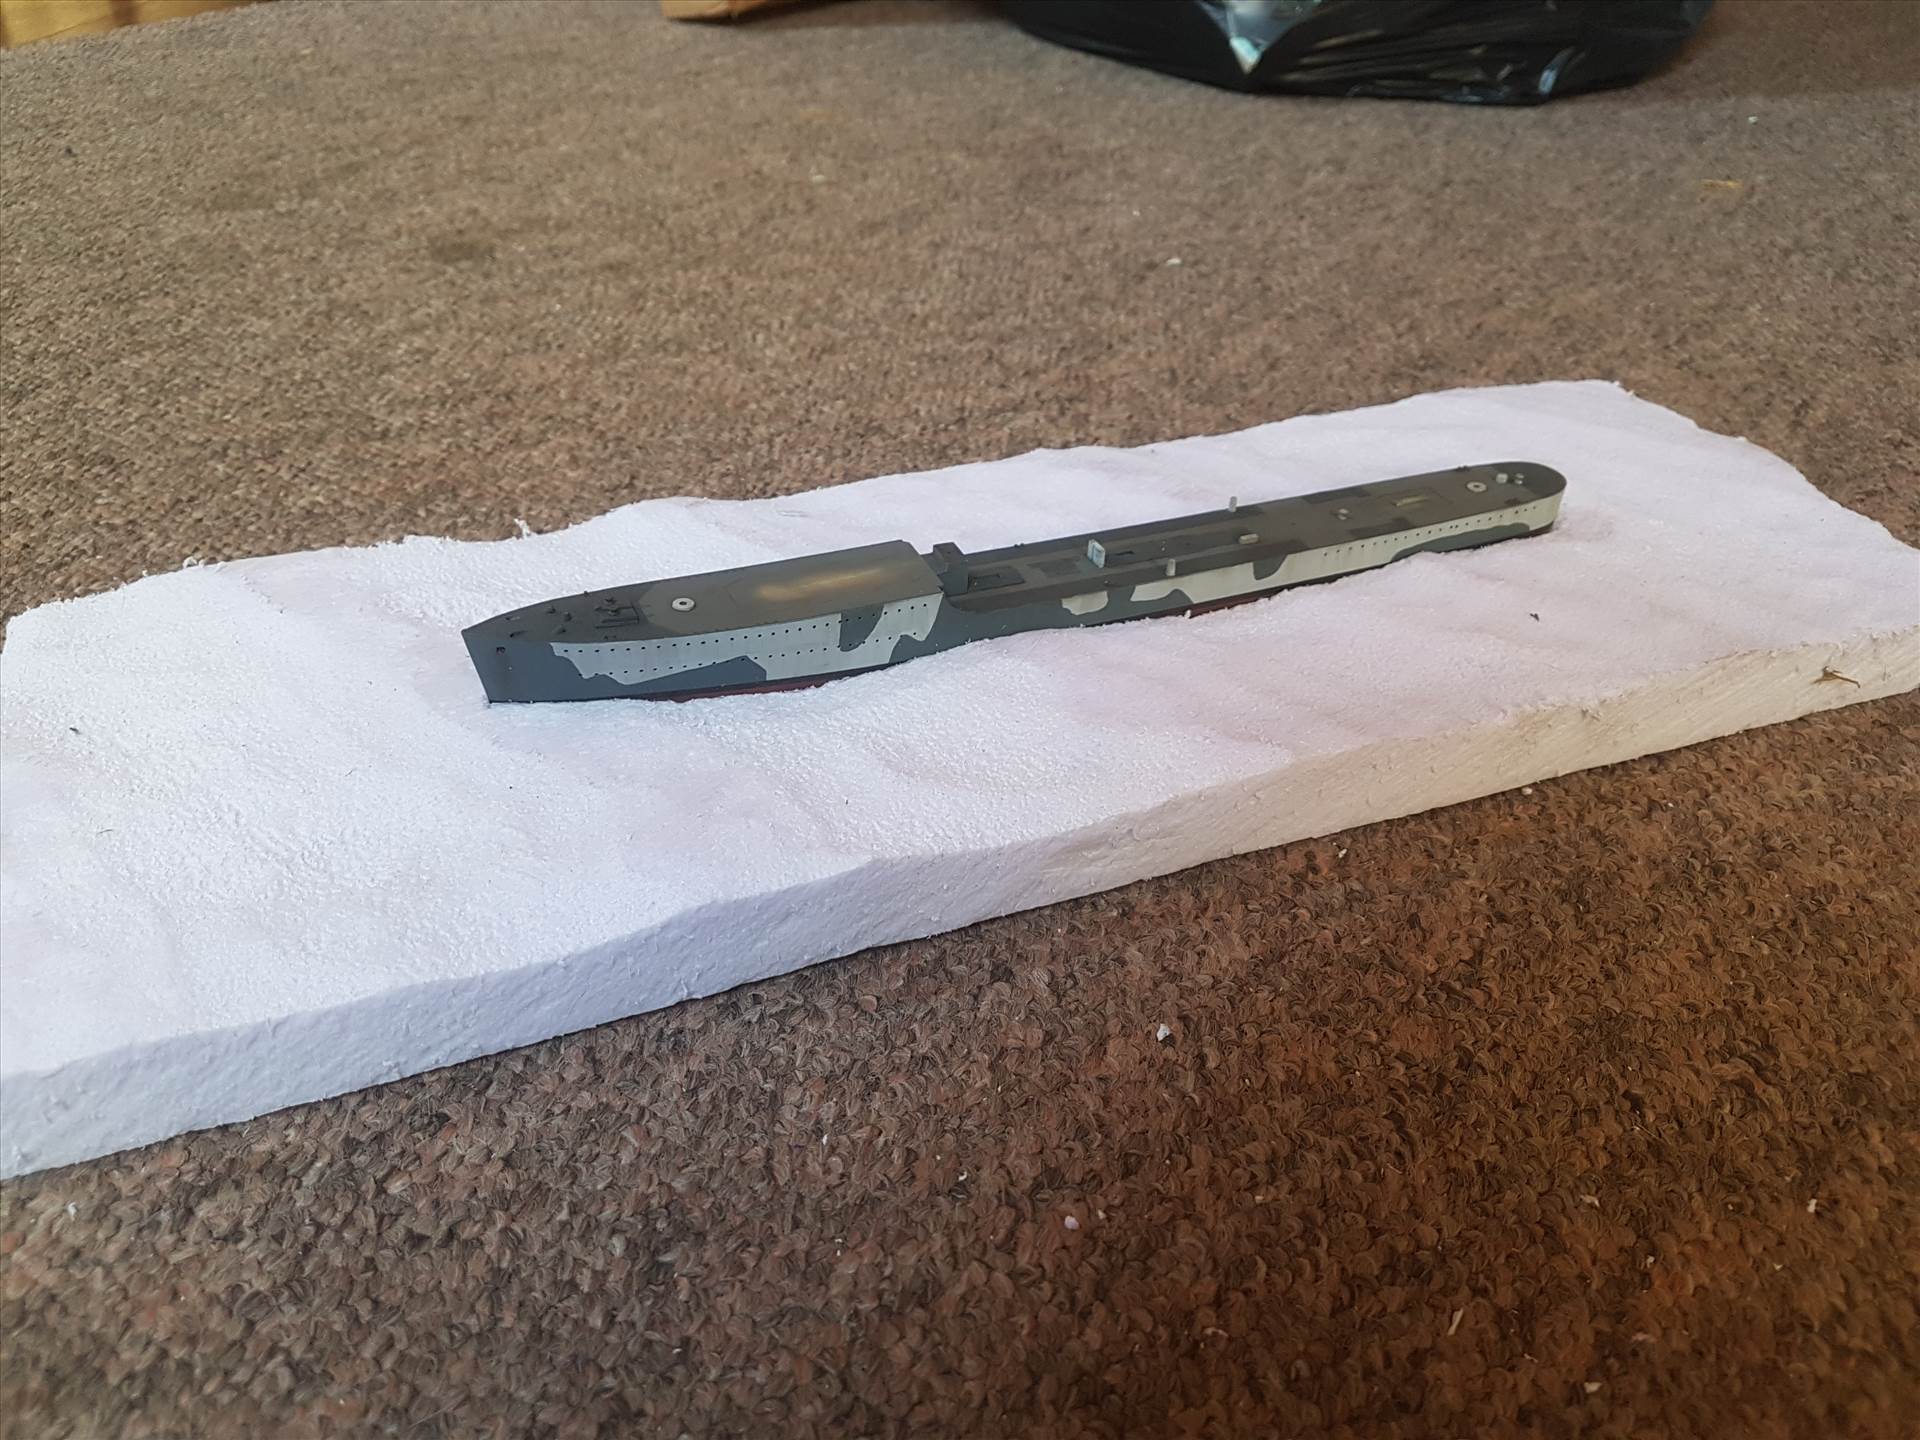
HMS Imperial was in the Mediterranean for the time period I'm interested in and indeed sunk at Crete, and the Med is quite a warm and sunny place for the most part.

Looking through paints I had here, I happened across an old tin of Revell enamel that was quite deep and very blue. Not knowing what it was nor having any plans for it, I used it for the base colour of the water. Some WEM-era Colourcoats RN21 B30 with its torquoise appearance has served for toning around the hull. Once dried, I'll do some of that cotton stuff with more acrylic gloss gel for white water.