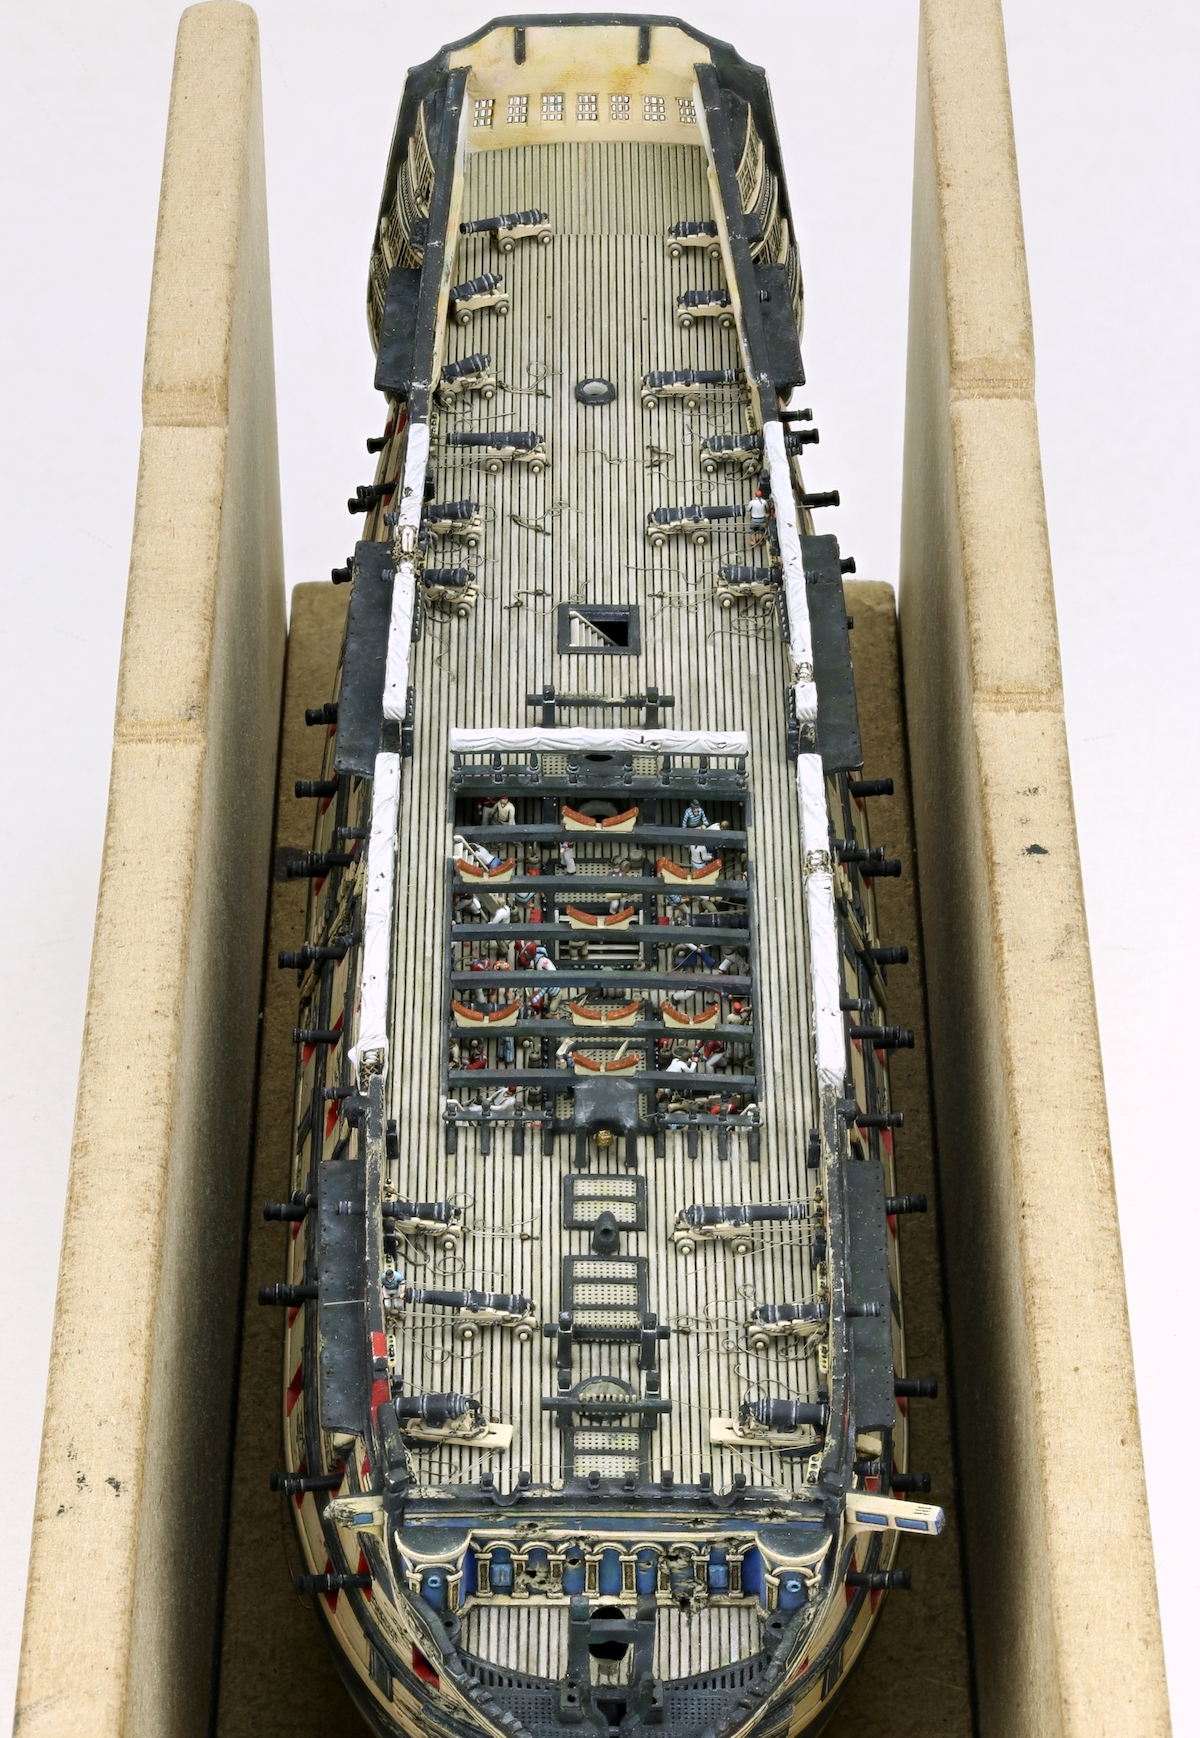
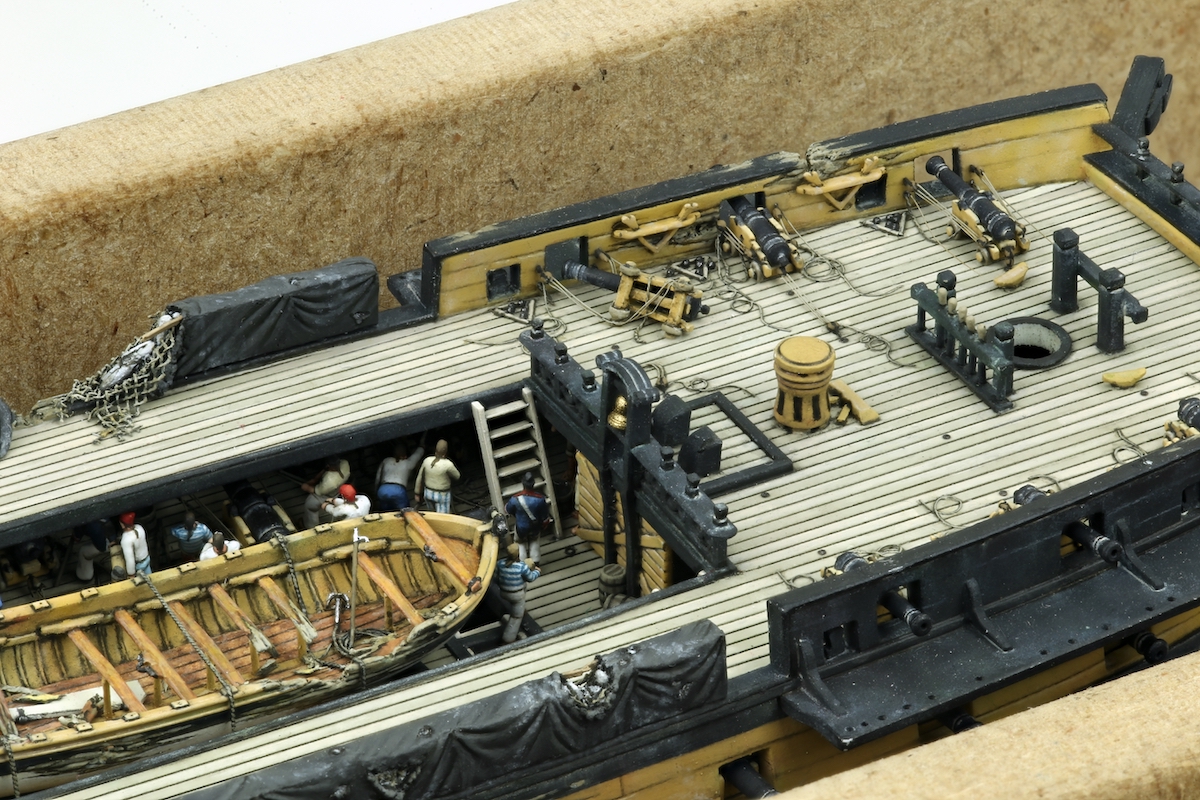
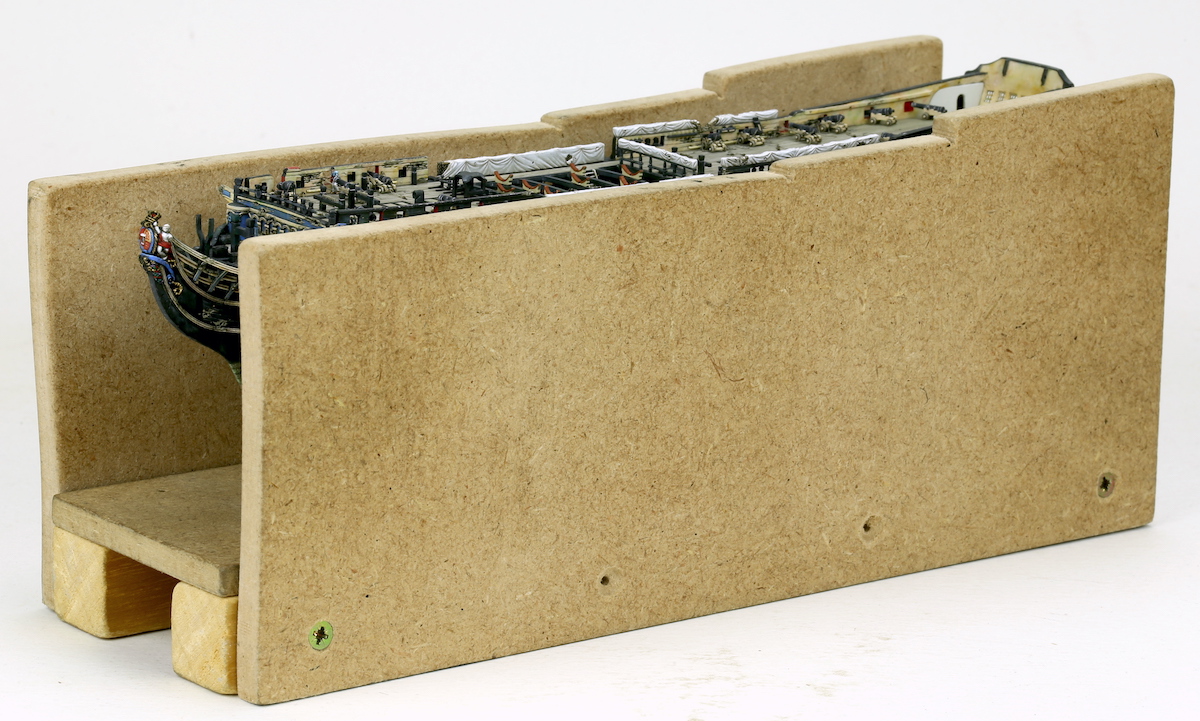
Now, I could finally install the forecastle decks, gangways and quarterdecks (which I made in one piece for each ship).
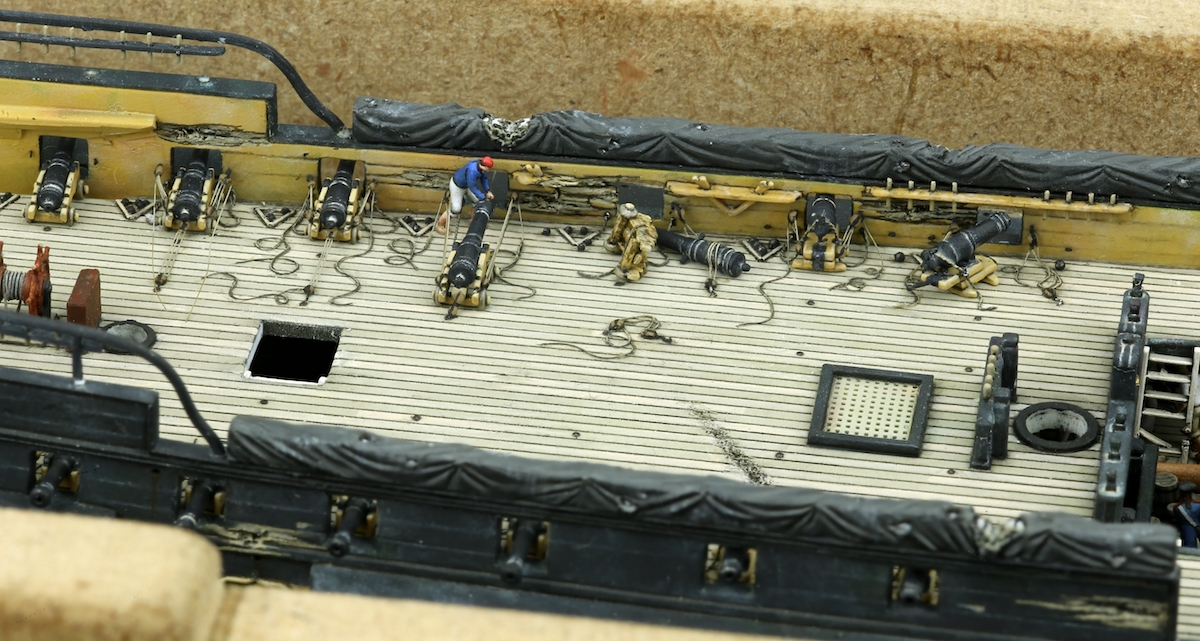
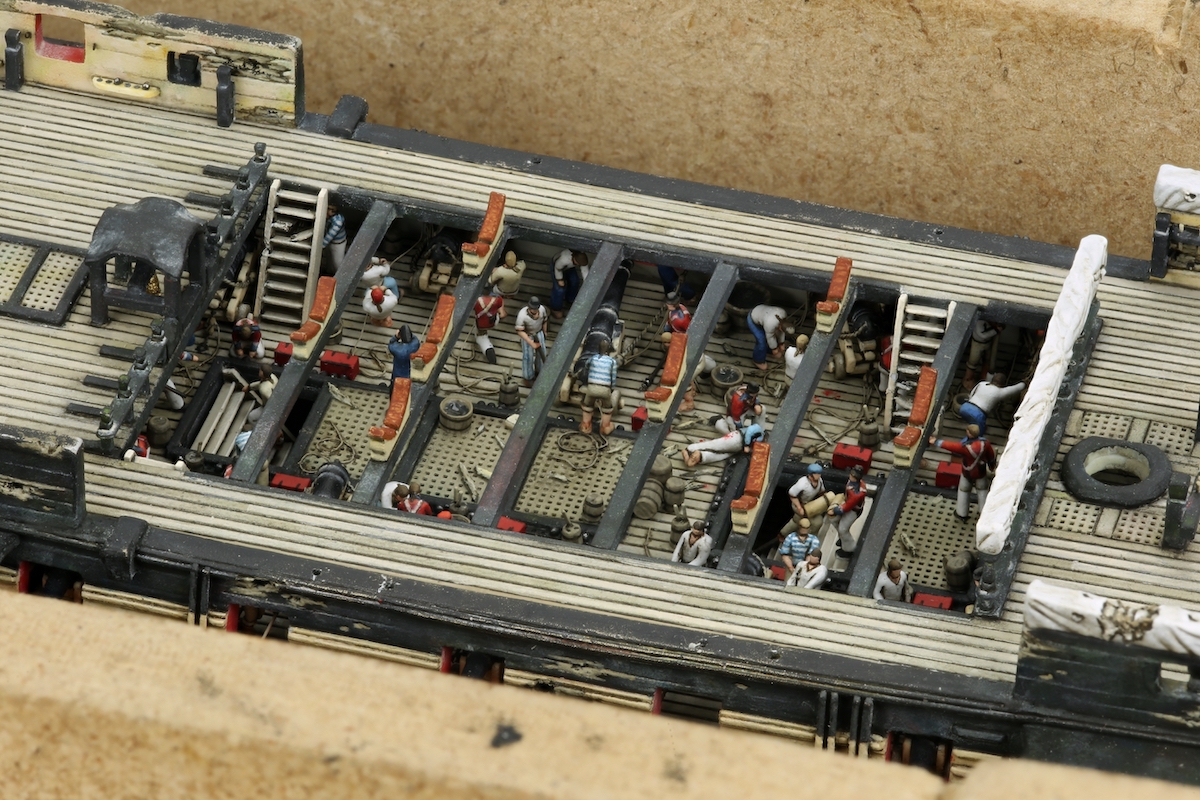
This of course drastically reduces the visibility of all the action in the waist of both ships:
It will still get worse with Victory, because I will still add a couple of boats and spare spars on top of the beams over the waist.
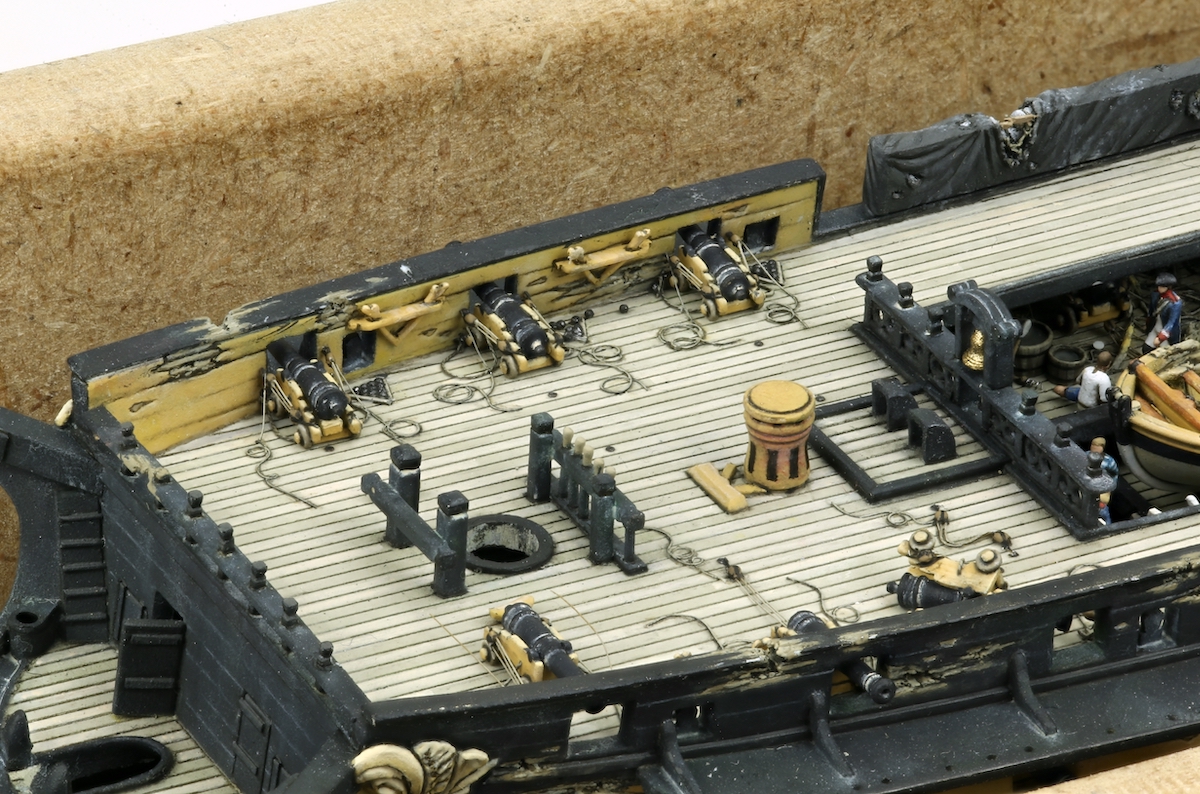
On Redoutable on the other hand, the gangways are a bit wider and hide the guns more, but the centre will remain open and in full view:

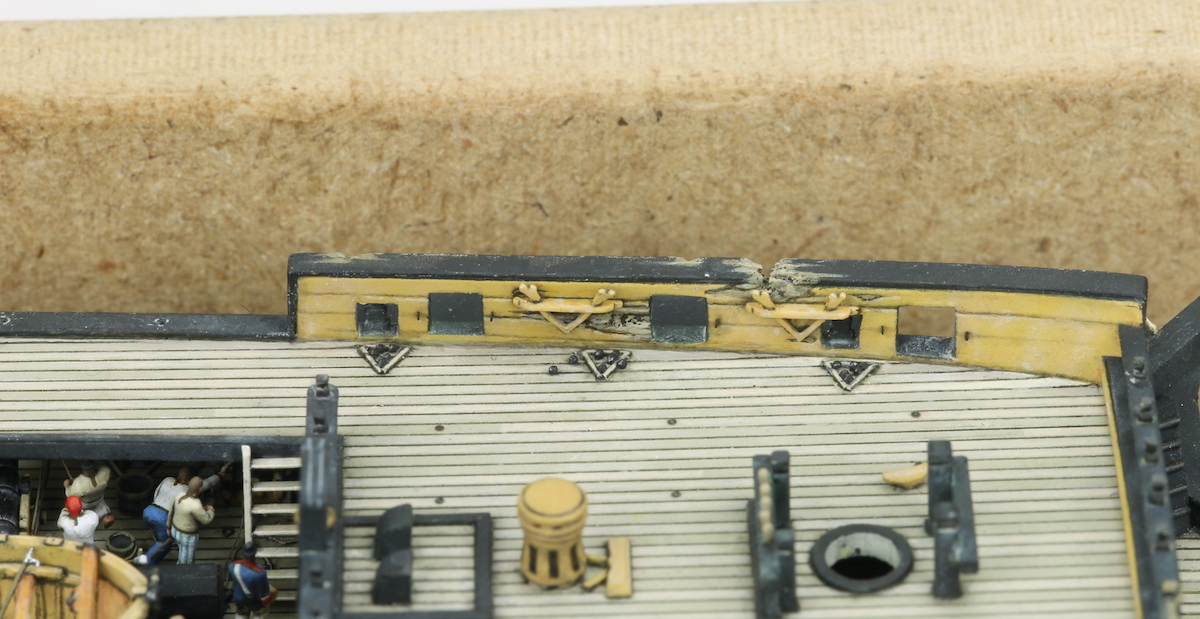
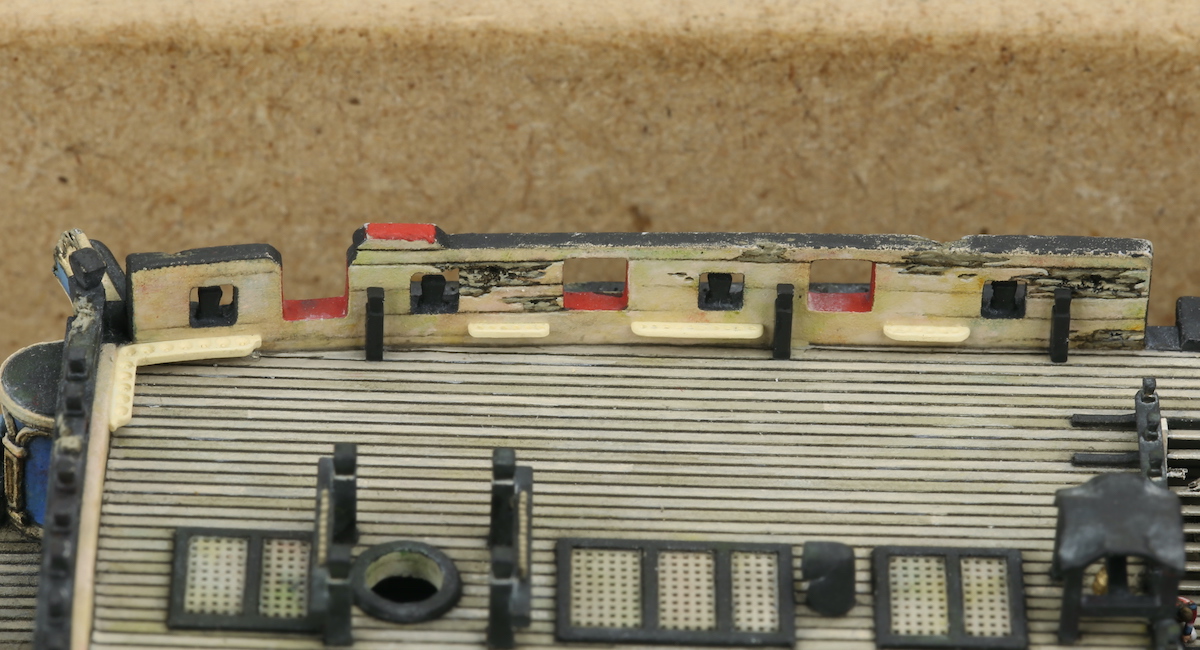
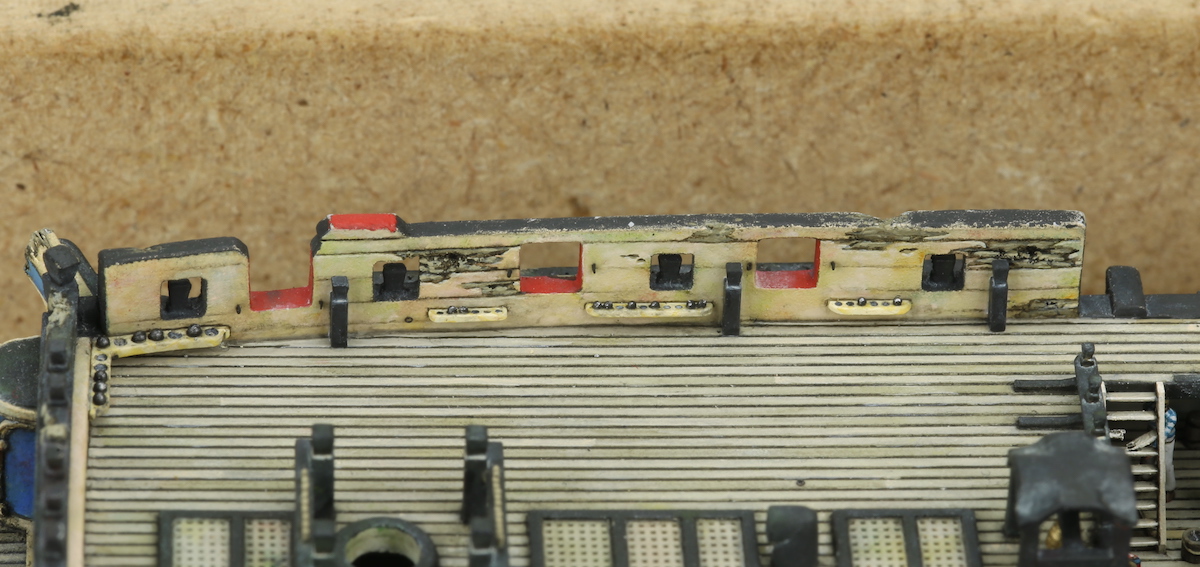
The edges of these decks are in full view and thus needed to be finished properly. Because of the tumblehome I couldn’t make the decks to a tight fit everywhere. You can see a gap to the right of the right arrow on the photo below.

So, some filling was required (indicated by the arrows). I used Magic Sculp, which allows for a neat and tidy job. I didn’t continue all the way to the stern, because the poop deck will hide the rearmost part (right of the right arrow).
After hardening, some paintwork (including drawing the continuation of the planking pattern with almost black paint) blended the edges with the rest of the decks:
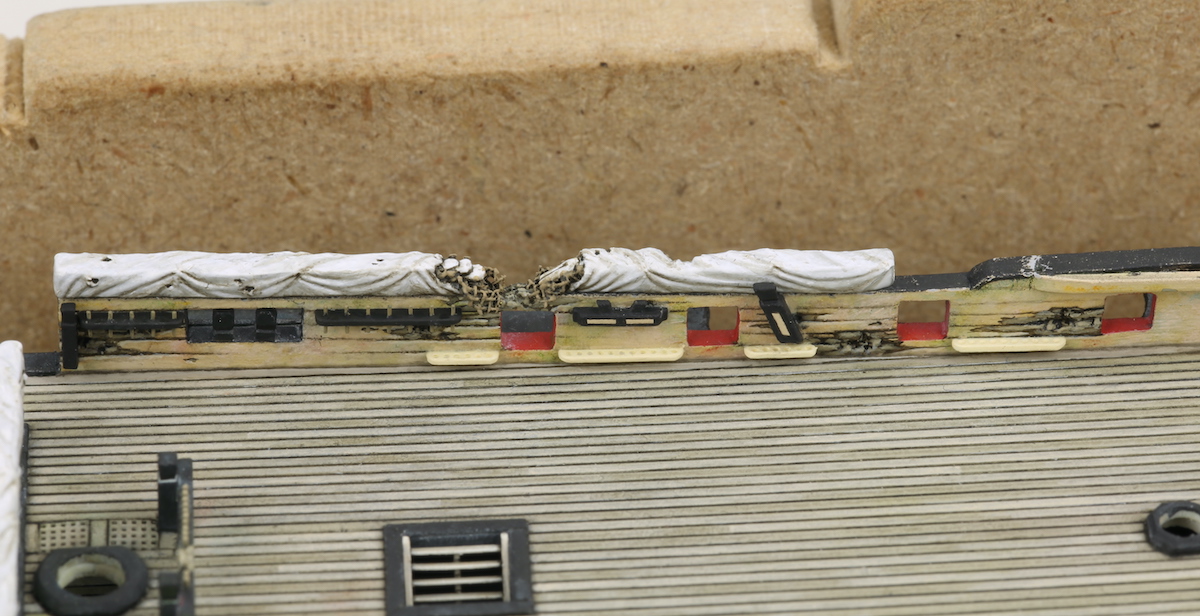
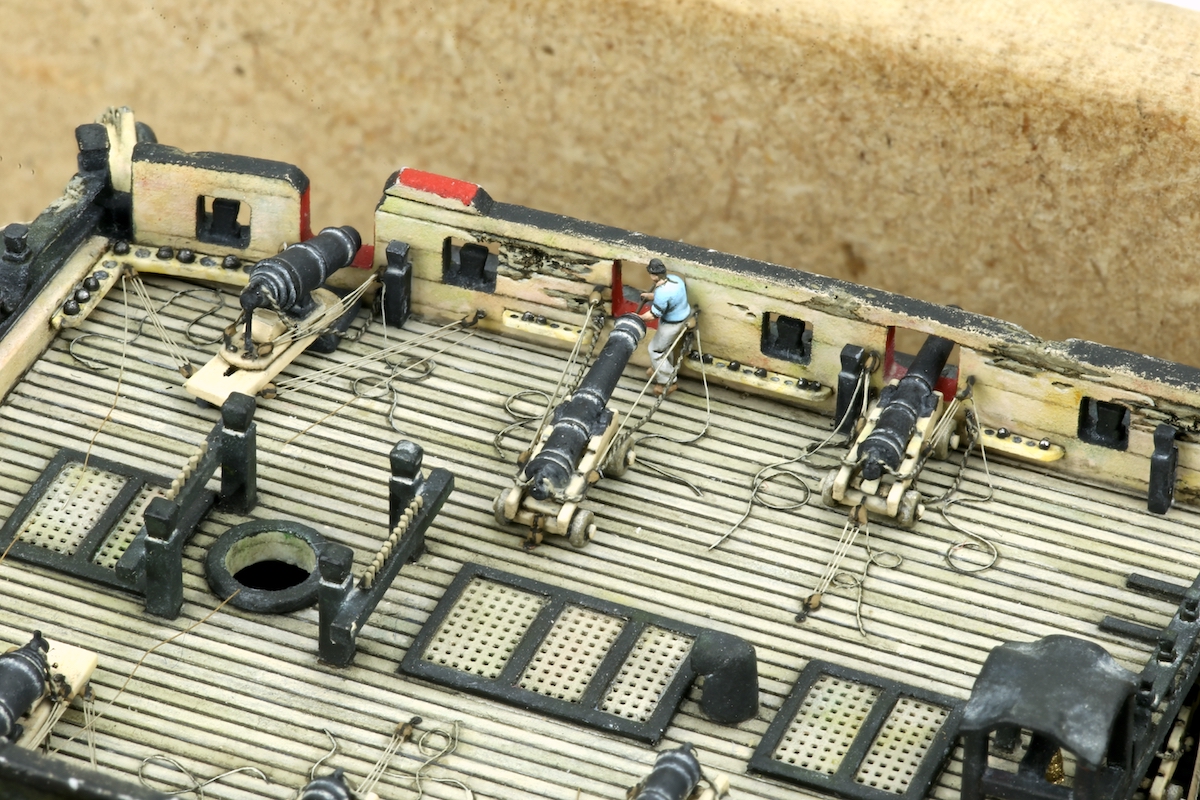
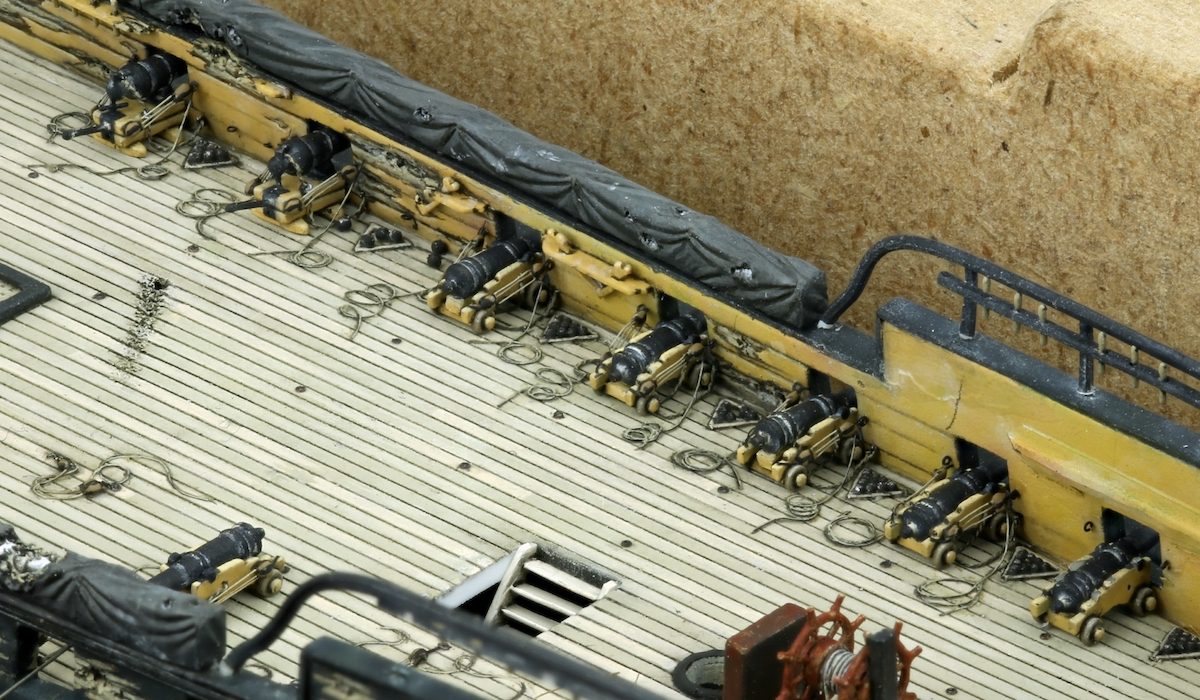
I also installed shot racks, pin rails, kevels and staghorns to the bulwarks.
I had scratchbuilt those earlier (here:
viewtopic.php?f=59&t=167367&start=700#p971154 and here:
viewtopic.php?f=59&t=167367&start=720#p972771 ). But I couldn’t glue them in place at that time because they would block the installation of the decks.
Now I gave them a basecoat of paint, and then glued them in place with Tamiya extra thin cement and/or thinned white glue:
Some weathering blended them with their surroundings:
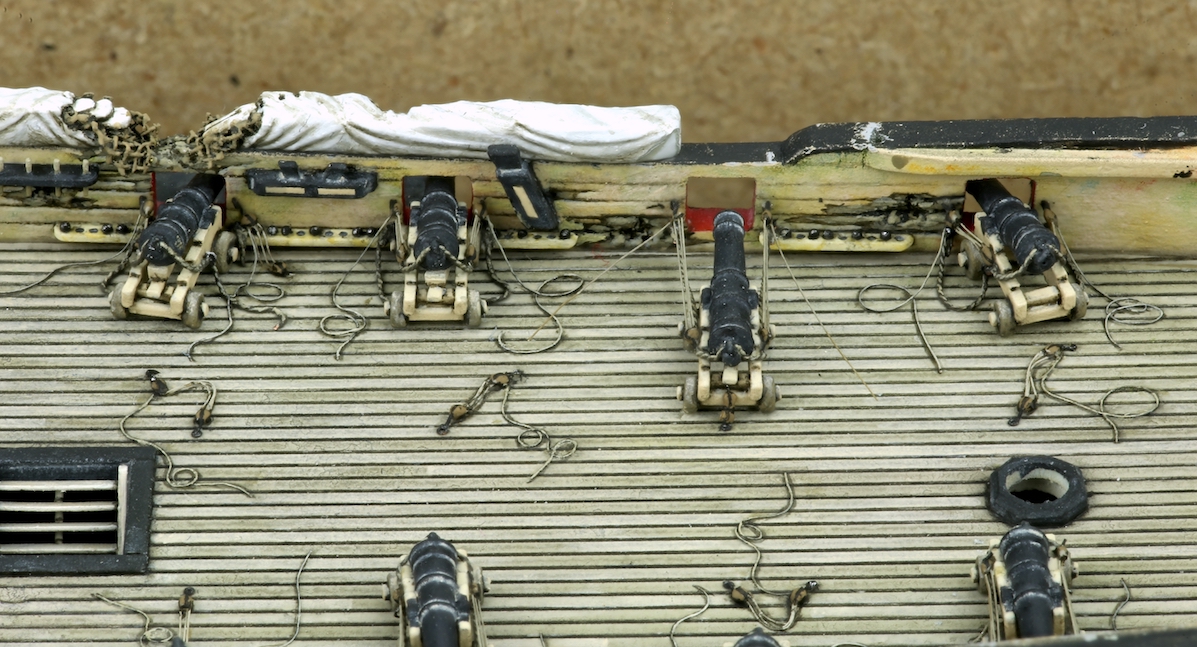
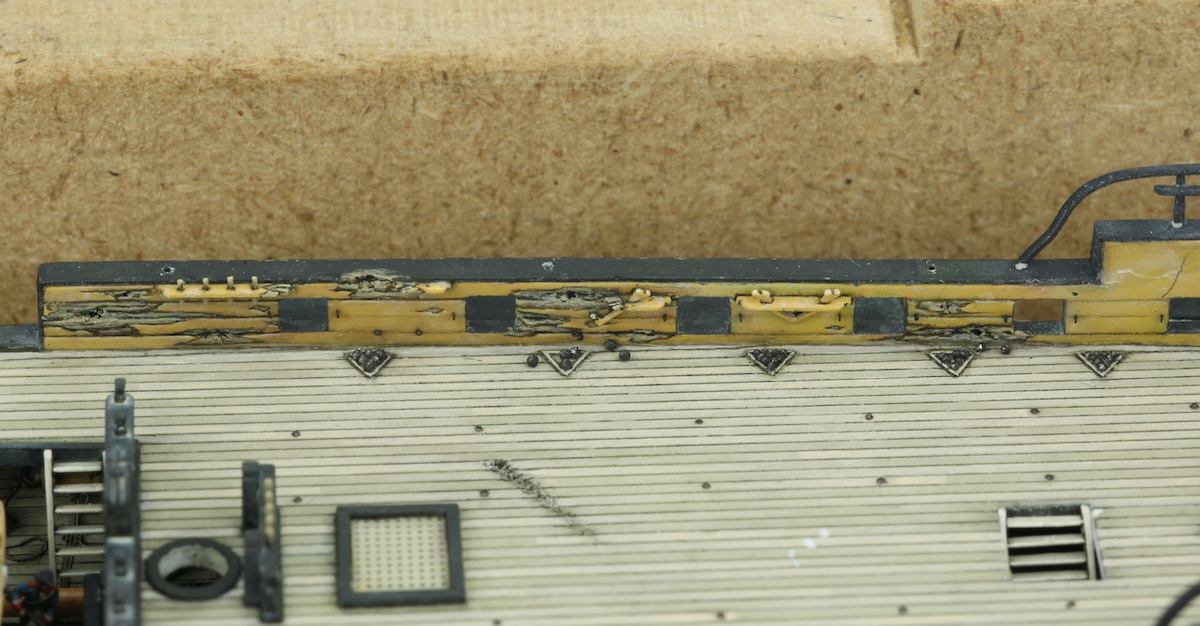
I also added roundshot in the shot racks (solder balls) and iron rings to the decks and bulwarks (copper wire), and painted them:
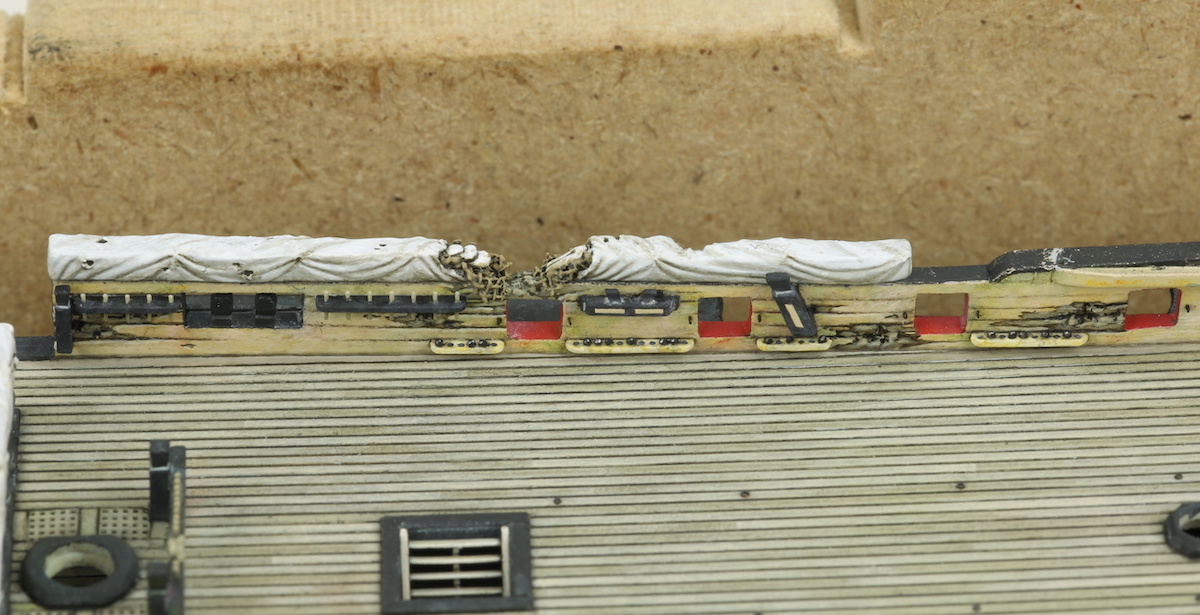
On Redoutable, some pinrails and staghorns were damaged too:
I also added some roundshot outside of their storage place, as if thrown around by impact shocks. I used 0,35 mm for the 8pdr shot and 0,55mm for the 32pdr carronades.

I managed to make the rings a little smaller than before. I made them by wrapping 0,1mm copper wire around 0,2mm brass wire. I can also make them with 0,05 or 0,07mm wire, which would be more in-scale, but they become so thin that painting them on the decks becomes very very difficult. Anyway, to my eye they look sufficiently in scale with 0,1mm wire…