The Ship Model Forum

The Ship Modelers Source
It is currently Thu Apr 18, 2024 4:51 am

All times are UTC - 6 hours [ DST ]


Post new topic Reply to topic  [ 17 posts ] 
Author Message
PostPosted: Mon Apr 03, 2017 8:37 am 
Offline

Joined: Mon Feb 08, 2016 12:36 am
Posts: 53
Hi there everyone

This is my first build thread here and for it I have chosen the Revell 1/400 Queen Mary 2. I have never really taken much notice of Cruise ships or Liners until very recently when I happened upon a build of the QM2 that left me very much inspired to do one of my own. After much searching, I finally found one on the French eBay site and had it shipped here to Australia. After that I got a hold of the GMM PE Set and the Artwox Wooden decking. I inadvertently bought 2 sets of PE, so I have a spare set for sale if anyone wants one?
I am also going to light this beautiful boat up using a combination of LED strip lights for the inside and SMD's for the external parts. I am of course not the first person in the world to ever do this but it will still be a challenge on both patience and skill.
This will be my second ship I have built as an adult modeller (I don't really consider the Enterprise or New Jersey I built as a teenager many years ago to be worthy of mentioning in much detail)

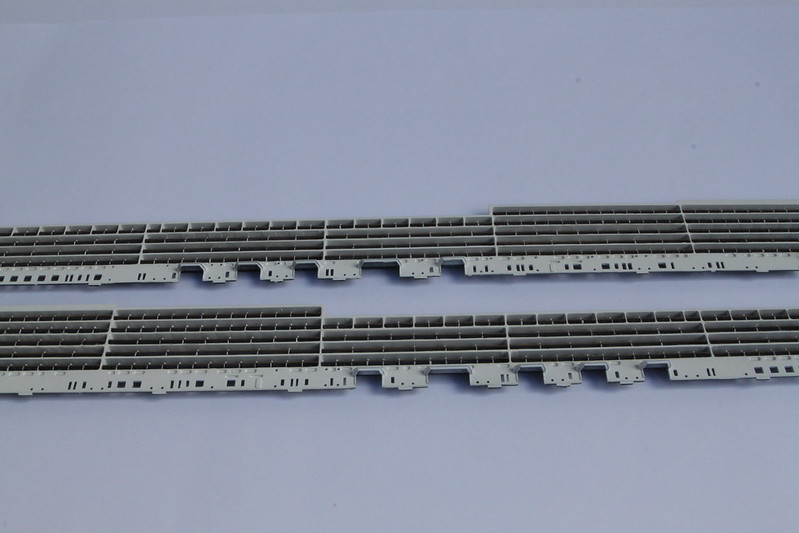
So, I've had this kit for a week now and have only managed to drill out the side windows on the hull halves (I only get to do any modelling 3 nights a week) I've had to replace the center part of each window because I couldn't get them looking straight of flat enough. It was something I didn't expect to have to do, but am happy with the overall results so far although it's still a good thing they will be painted black (well, off black)

Image

Image

Image

I had no idea how big this ship really is. This is a size comparison between a 1/35 K5 Railroad gun and an unfinished 1/350 Admiral Lazarev:

Image

Image

Image

Image

that's where I am up to presently - which isn't very far at all. I still have to add the strips to the other side yet - something I will attend to tomorrow night. Thank for looking and if you have some constructive critique or suggestions I am all ears
Regards
Simon


Report this post
Top
 Profile  
Reply with quote  
PostPosted: Mon Apr 03, 2017 10:32 am 
Offline

Joined: Thu Jan 10, 2013 9:25 pm
Posts: 235
Looking forward to following this build. :wave_1:

_________________
- Greg


Report this post
Top
 Profile  
Reply with quote  
PostPosted: Mon Apr 03, 2017 3:11 pm 
Offline
User avatar

Joined: Mon Jan 10, 2005 5:30 pm
Posts: 5386
Location: Nr Southampton England
Welcome to modelwarships .com :welcome:

You are making a good start there it seems!

I look forward to seeing further updates/ progress
best wishes

Jim Baumann

here are some models of the QM 2 right here at MW.com

various interpretations ...


http://www.modelshipgallery.com/gallery ... index.html

http://www.modelshipgallery.com/gallery ... index.html

http://www.modelshipgallery.com/gallery ... M2-400-bg/

http://www.modelshipgallery.com/gallery ... index.html

these also have lighting

http://www.modelshipgallery.com/gallery ... index.html

http://www.modelshipgallery.com/gallery ... index.html

This one is in a diorama of a port...

http://www.modelshipgallery.com/gallery ... rt-400-lr/

_________________
....I buy them at three times the speed I build 'em.... will I live long enough to empty my stash...?
http://www.modelshipgallery.com/gallery ... index.html

IPMS UK SIG (special interest group) www.finewaterline.com


Report this post
Top
 Profile  
Reply with quote  
PostPosted: Tue Apr 04, 2017 7:15 am 
Offline

Joined: Mon Feb 08, 2016 12:36 am
Posts: 53
That port diorama is incredible! Thank you for posting that - it was the first time I have seen it. I won't be doing anything quite like it though, but it is good inspiration


Report this post
Top
 Profile  
Reply with quote  
PostPosted: Tue Apr 04, 2017 9:15 am 
Offline
User avatar

Joined: Thu Dec 23, 2010 5:00 pm
Posts: 297
Location: Salt Lake City, Utah
Oh, that's gonna be a fun one. I've not even considered a commerical ship.....now, ideas!

_________________
Brett Matthews


Report this post
Top
 Profile  
Reply with quote  
PostPosted: Fri Apr 21, 2017 6:15 pm 
Offline

Joined: Mon Feb 08, 2016 12:36 am
Posts: 53
To be honest Brett, neither had I but when I saw that one built up I had to have one of my own
So, work continues at my usual glacial pace and I finally have some progress worth showing
First up are the swimming pools - they are base painted and ready for the PE hand rails and then the clear resin. I have drilled some holes in the corners ready for some fiber optic cable to go in for pool lights. I'm thinking I may use an aqua coloured LED as a source to give it a better impression of not only depth but a better looking colour
I'm quite surprised to see a lack of some hand rails from the PE set for the pool surrounds. There are the surrounds for the spa pools but not the main ones. A rather odd omission from GGM here but not something that isn't able to be sorted out

Image

Next up, I have finally got the paint on the hull and I am ready to start decalling it. Once the decals and flat coat etc are on, I will install the lighting and move on from there. This ship is so big it's hard to photograph!

Image

Image

Image

I've used Gunze Midnight Blue for the dark strip and matches nicely to the photos I have of her. Just a couple of touch ups to do though up front, but I am hoping to have the decals on this weekend.
More soon
Thanks for looking
Si


Report this post
Top
 Profile  
Reply with quote  
PostPosted: Sat Apr 22, 2017 3:33 am 
Offline
User avatar

Joined: Mon Jan 10, 2005 5:30 pm
Posts: 5386
Location: Nr Southampton England
that s looking very promising and pretty sharp!
JB :thumbs_up_1:

_________________
....I buy them at three times the speed I build 'em.... will I live long enough to empty my stash...?
http://www.modelshipgallery.com/gallery ... index.html

IPMS UK SIG (special interest group) www.finewaterline.com


Report this post
Top
 Profile  
Reply with quote  
PostPosted: Sat Apr 22, 2017 7:54 am 
Offline
Model Monkey
Model Monkey

Joined: Sat Aug 20, 2005 9:27 pm
Posts: 3954
Location: USA
Beautiful! :big_grin:

_________________
Have fun, Monkey around.™

-Steve L.

Complete catalog: - https://www.model-monkey.com/
Follow Model Monkey® on Facebook: - https://www.facebook.com/modelmonkeybookandhobby


Report this post
Top
 Profile  
Reply with quote  
PostPosted: Sat May 06, 2017 2:10 am 
Offline

Joined: Mon Feb 08, 2016 12:36 am
Posts: 53
Thanks guys, I'm pretty happy with how it's coming along.
Time for a small update. Things are progressing - all be it very slowly as I try to juggle study, work, life and trying to finish off another project so I can concentrate more on this build.
The decals are one and they look fine. I still need to tidy up a bit on the front as they didn't sit right but it's nothing really.

Image

Image

Image

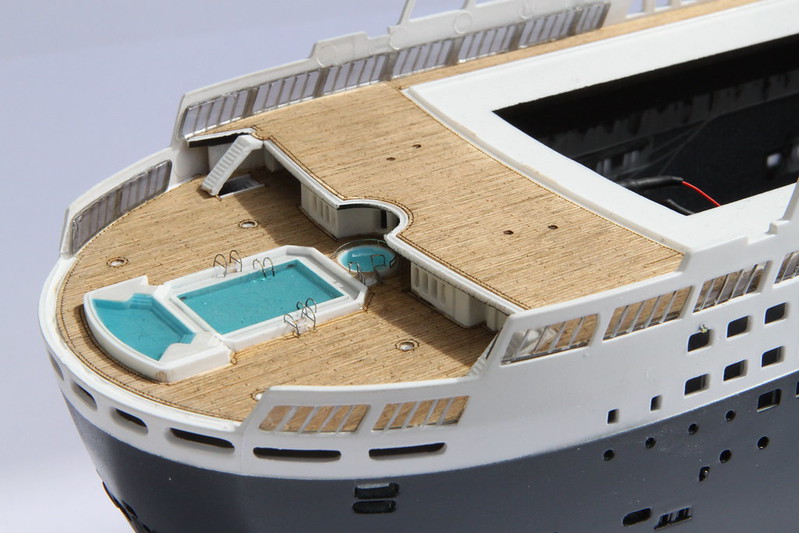
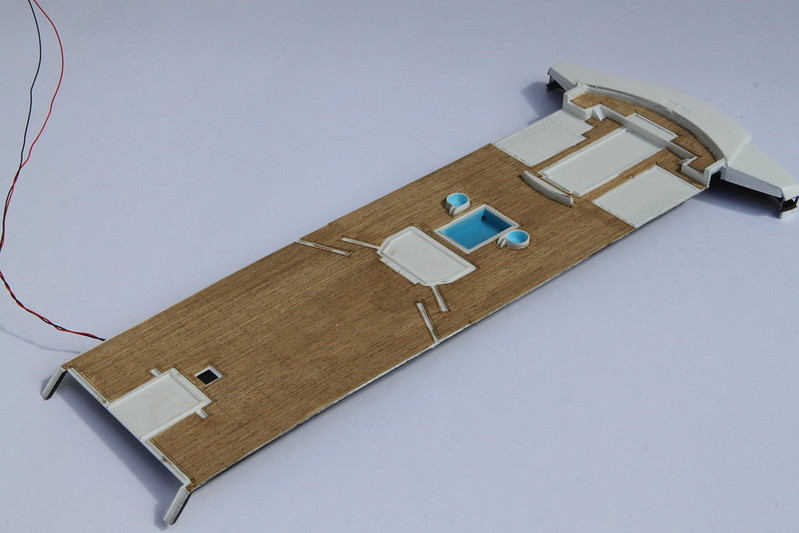
I have the wooden decking on some of it now and I must say, it does look rather spiffing

Image

Image

The pool lights are in and a test shows them to be looking very effective. They'll look even better once the clear resin goes in and the PE is attached

Image

Image

Image

Well, that's all I have for now, but I shall be back again soon
Thanks for looking
Si


Report this post
Top
 Profile  
Reply with quote  
PostPosted: Sat May 06, 2017 6:05 am 
Offline

Joined: Sat Sep 17, 2005 9:19 am
Posts: 1483
As we say in dutch: Strak gebouwd! Nice, clean built so far.


Report this post
Top
 Profile  
Reply with quote  
PostPosted: Mon May 15, 2017 2:04 am 
Offline

Joined: Mon Feb 08, 2016 12:36 am
Posts: 53
Things are progressing slowly. I finally have the lighting bar set up ready for the strip lights to go on..Its at such an angle to try and get as much light outwards as possible.We'll see soon enough if it works

Image

Image

some of the smaller structures have been assembled ready for clean up:

Image

Image

Image

I have also painted the fibers - however, I am finding that in some cases they are breaking. They aren't under any strain, but I think the lacquer paint (Tamiya Spray cans) is eating away at the fibers. Its the only thing I can think of as to why they have started breaking. It's not a big deal - I'll just replace the broken fibers but its just a PITA to have to do that again

Image

Image

Well, that's all I have for now but I shall be back soon with the results of the lighting test :)

Si


Report this post
Top
 Profile  
Reply with quote  
PostPosted: Wed May 17, 2017 10:26 pm 
Offline

Joined: Mon Feb 08, 2016 12:36 am
Posts: 53
test lighting images:

Image

Image

I need to add some foil to the bottom of the top plate to help reflect the light around more. More later when I have done more work on it.


Report this post
Top
 Profile  
Reply with quote  
PostPosted: Mon Mar 12, 2018 12:19 am 
Offline

Joined: Mon Feb 08, 2016 12:36 am
Posts: 53
It's been almost a year since I last updated this. I have been working on it on and off again in the time since but I have had to wait a month or so for the replacement clear frames from Revell in Germany. It was quite a process to get it done, but worth it. I royally screwed up the first frames using the wrong tint and paint but not so this one.

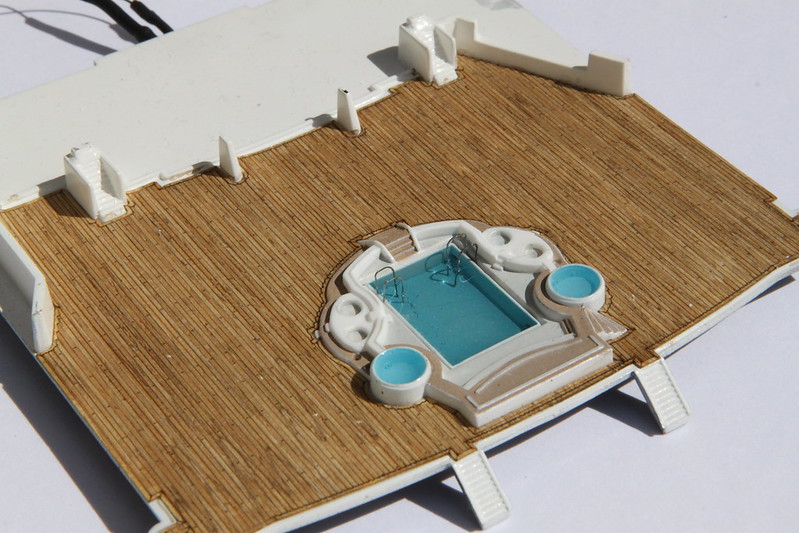
I've run a dark euro Vallejo wash over the wooden decking to give it a richer colour than pine. It has soaked in nicely and I am very happy with how its come out

A couple of the pools have the railings and water added as well
Image

Image

Image

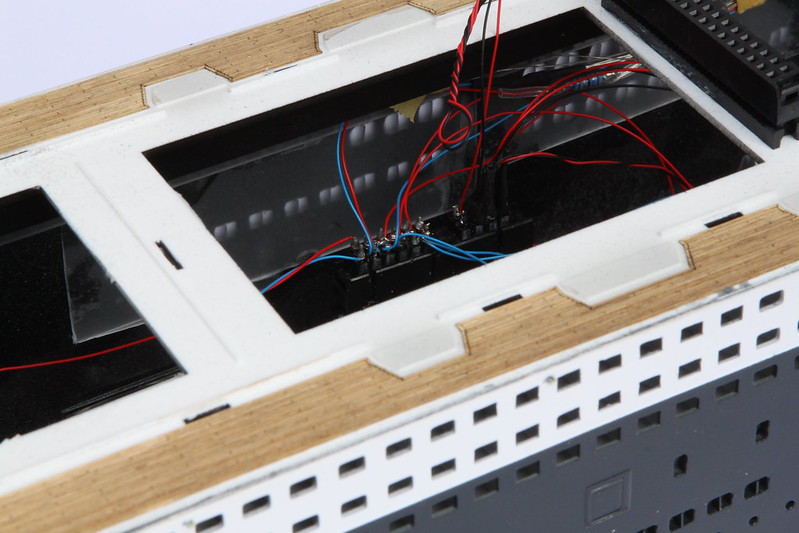
The power socket for the top half of the ship lighting has been installed and ready to go:

Image

Image

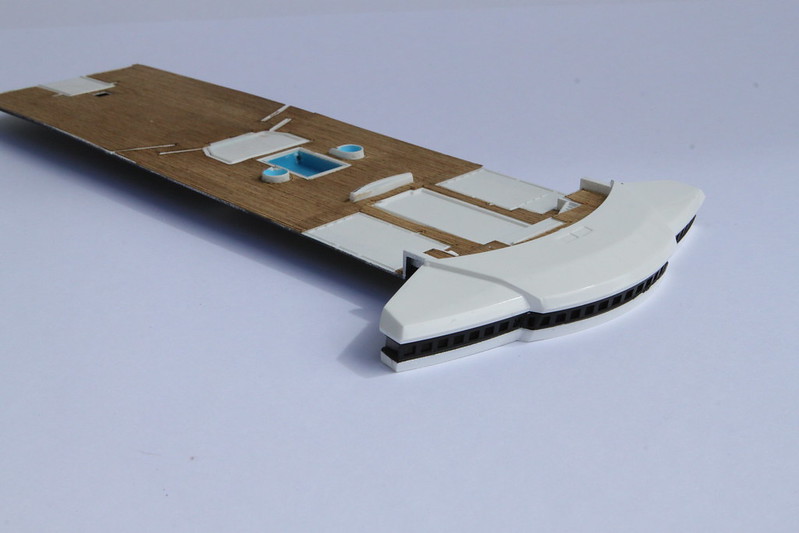
The bridge is almost ready for lighting:
Image

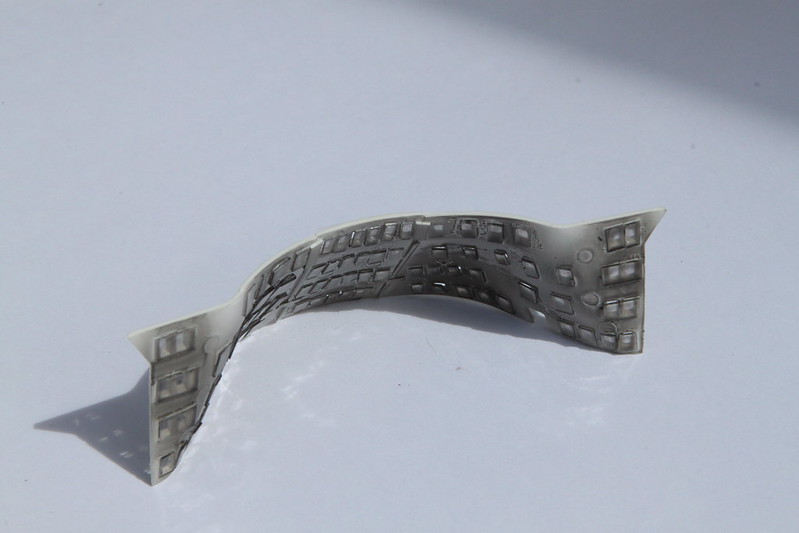
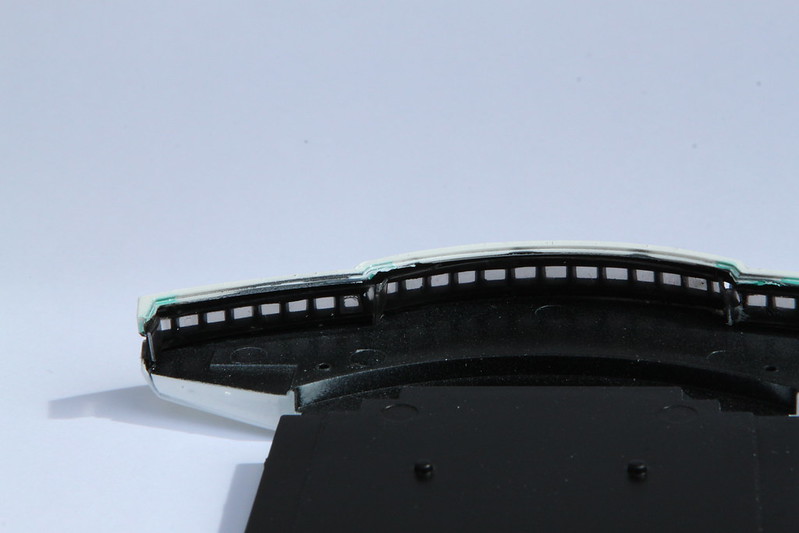
I have also added clear plastic strips and pieces as windows for the bridge and the forward facing part of the super structure:
Image

Image

Image

The back lighting for the Ship name is done:
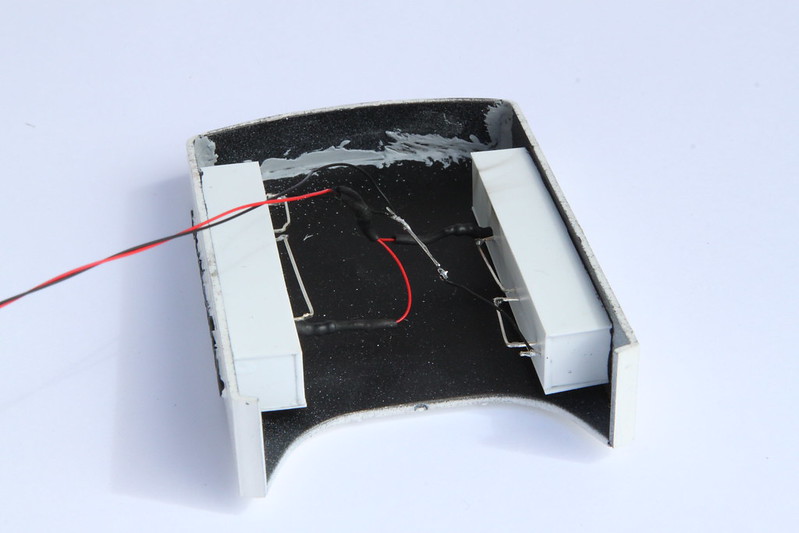
Image

The (dry) fit is less than stellar here:
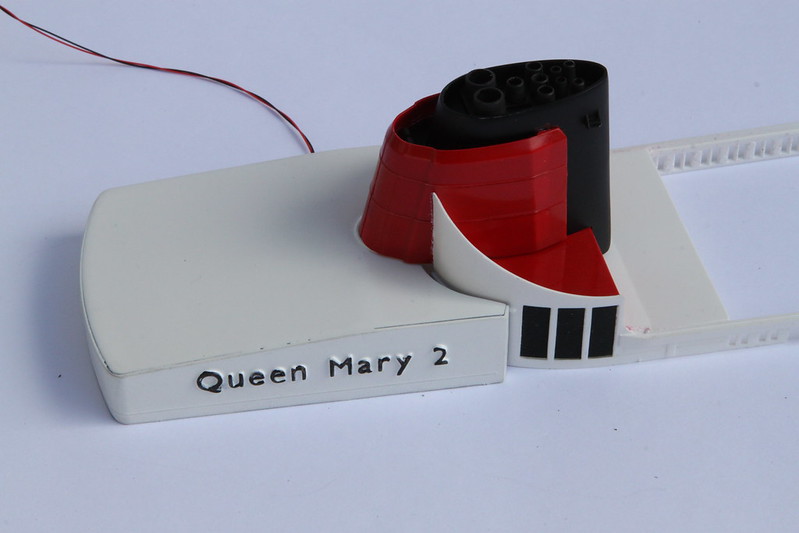
Image

And the sides are done as well:

Image

There are other smaller sub structures done as well but not worth photographing yet.

I'm trying to move on with it now in time for Expo, but it may not get there this year.

That's all for now, but thanks for looking

Si


Report this post
Top
 Profile  
Reply with quote  
PostPosted: Fri Feb 19, 2021 9:19 am 
Any more updates? Been enjoying your post.


Report this post
Top
  
Reply with quote  
PostPosted: Wed Mar 10, 2021 12:05 am 
Offline

Joined: Mon Feb 08, 2016 12:36 am
Posts: 53
hey thanks for the interest- honestly, I thought no one was really interested in this as it's not military. God to see I'm wrong on that front. First and foremost, I am sorry for the delay in replying to you - I haven't been here much.

In answer to your question, no, sorry - no progress since the last set of pics as I had a big set back with the lighting which, at the time, was too much trouble to repair. I have also been heavily involved in another larger project which consumed all my time and is still going 3 years later. If you are a sci-fi fan, then this may appeal to you: https://forum.largescaleplanes.com/inde ... g-project/

However, I was literally looking at the QM2 4 days ago and thought it was about time I finished this off, so once the SD is finished, I will be returning to this to get it completed. The lighting issue is fixable - I just don't want to have to do it (being lazy here)

Thanks again for the interest - its motivation to get on with it :thumbs_up_1:
Cheers
Simon


Report this post
Top
 Profile  
Reply with quote  
PostPosted: Wed Mar 10, 2021 4:30 am 
Offline
User avatar

Joined: Mon Jan 10, 2005 5:30 pm
Posts: 5386
Location: Nr Southampton England
Hello Madhatter...

it does not matter whether it is military/ naval or not.... :cool_2:

I have two non-military/ naval subjects in build here in MW.com

my 1/350 scratch TUG-BOAT

viewtopic.php?f=59&t=314432

and the Liner NORMANDIE in 1/700

viewtopic.php?f=59&t=168156

the more varied the shipping--the better :thumbs_up_1: :thumbs_up_1: :wave_1:

You are making fine progress--I look forward to her imminent completion!

Regards
Jim B

_________________
....I buy them at three times the speed I build 'em.... will I live long enough to empty my stash...?
http://www.modelshipgallery.com/gallery ... index.html

IPMS UK SIG (special interest group) www.finewaterline.com


Report this post
Top
 Profile  
Reply with quote  
PostPosted: Thu Mar 11, 2021 11:05 am 
Offline
User avatar

Joined: Tue Aug 25, 2015 1:33 pm
Posts: 489
Location: Grand Rapids, Michigan
Yes, please finish this! I enjoyed the progress so far and am looking forward to seeing this completed.

_________________
Larry Steiner


Completed: 1:200 USS Missouri (Monster Mo)
Next project: Definitely NOT another big ship!!


Report this post
Top
 Profile  
Reply with quote  
Display posts from previous:  Sort by  
Post new topic Reply to topic  [ 17 posts ] 

All times are UTC - 6 hours [ DST ]


Who is online

Users browsing this forum: No registered users and 89 guests


You can post new topics in this forum
You can reply to topics in this forum
You cannot edit your posts in this forum
You cannot delete your posts in this forum
You cannot post attachments in this forum

Jump to:  
Powered by phpBB® Forum Software © phpBB Group