With Zuikaku exiting the wharf, a new project can be conceived. Still in my favourite scale 1/350, but now the ships will be a lot smaller. I say ships because there will be 3 vessels in one beaching diorama, a few days after D-Day. From these will proceed a queue of about 40 vehicles and soldiers, covered from the ships by gunnery crews and assisted by sailors manipulating crates and other goods. Some relics of the fighting earlier on will be visible.
It all started when I won the AFV LST-1 kit in 2019, now seemingly ages ago. I had seen it built on this forum by Tracy White (viewtopic.php?f=59&t=168113) so I announced there that I would try it out myself.
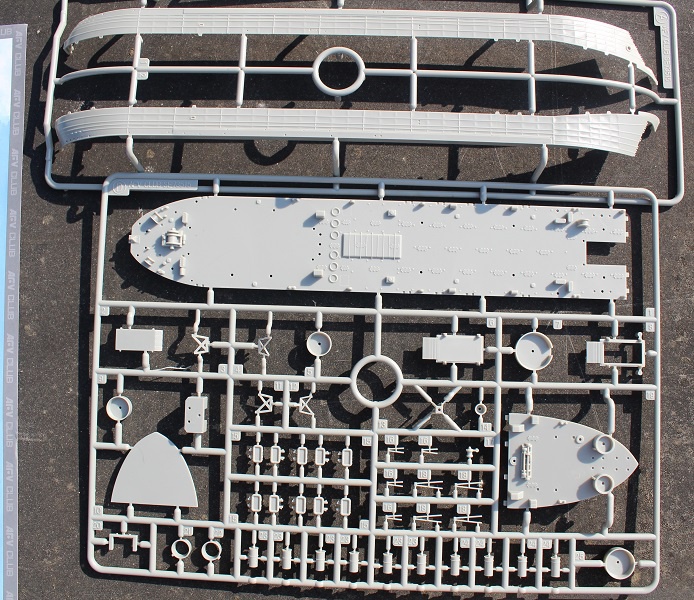
That's a lot of sprues for such a modest subject.
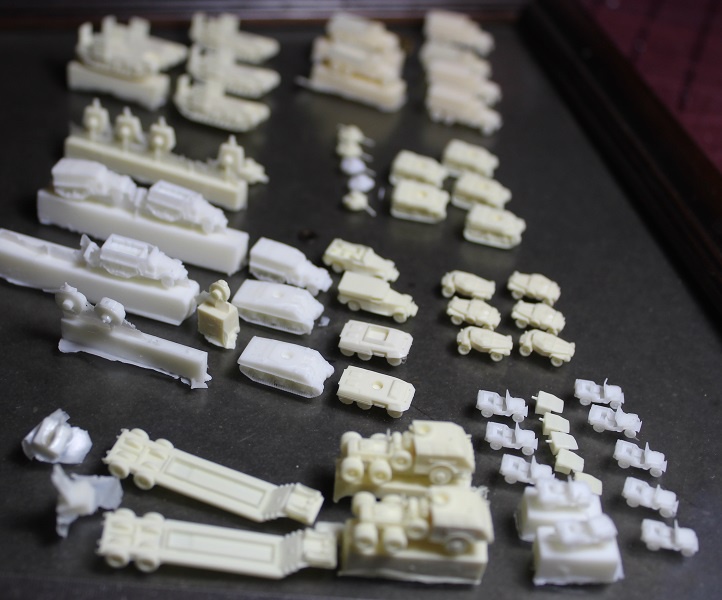
I had also been provided with the separate vehicle set, all courtesy of Lifecolor at the Netherlands IPMS festival, so everything but the Amtanks could be used.
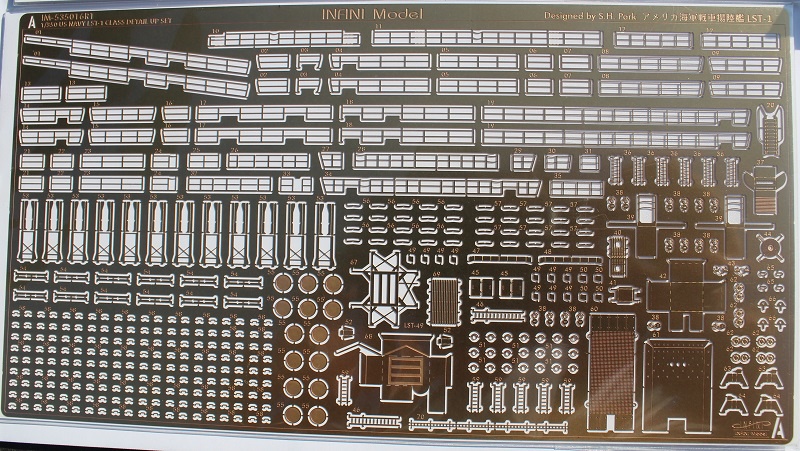
I did not buy the upgrade PE of AFV or their seabase, so I decided to go with the Infini set which is a lot more complicated.
At least I can practise for the even larger Essex set I will be building later on. I suppose that will be a ship I can still touch when it's finished.
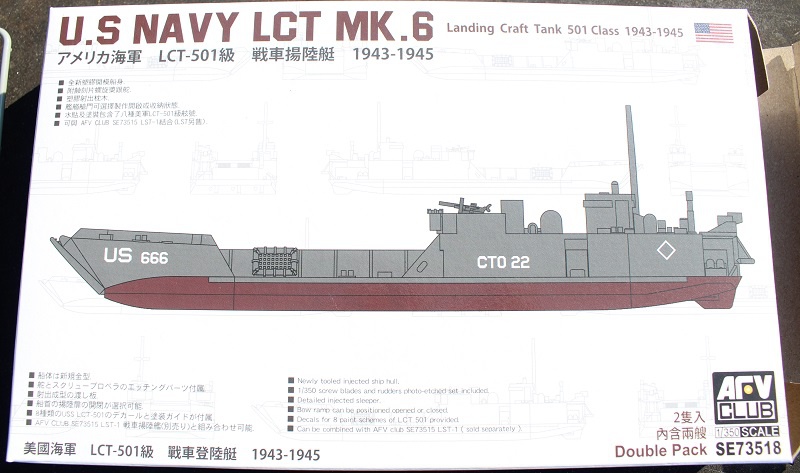
AFV had also produced a duo-pack of LCT's, so I had to add these to the diorama to avoid having a lot of empty sea and a very busy strip of beach. This time I went for the AFV upgrade, but that means I have to go looking if I left over some barrels in the Princeton build.
Lots of choices.
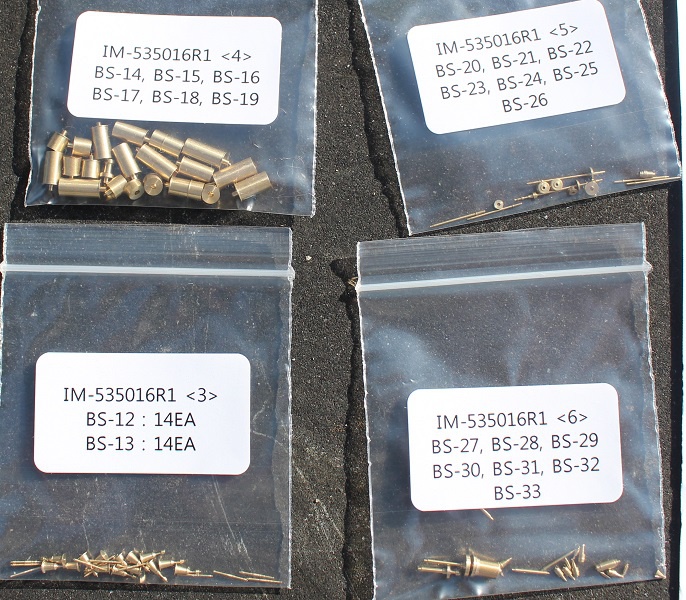
The upgrade is a lot of packaging for a pair of little PE frames. I also went shopping at L'Arsenal.
At first, all of this was ment to go on the LST, but now the tanks will be planted on the LCT's. I didn't find any Dragon Wagon landing pictures but I suppose that will go on the LST deck or the beach. I suppose the LST elevator is too short to cover a combined M26 and trailer, maybe they had to reverse the truck on the ramp. Now, on to the figures, here are the Black Cat soldiers.
And ditto Bofors gunners. Some of these I might pass on to the Essex kit.
My North Star working crew, they had some altercations while traveling from Ukraine.
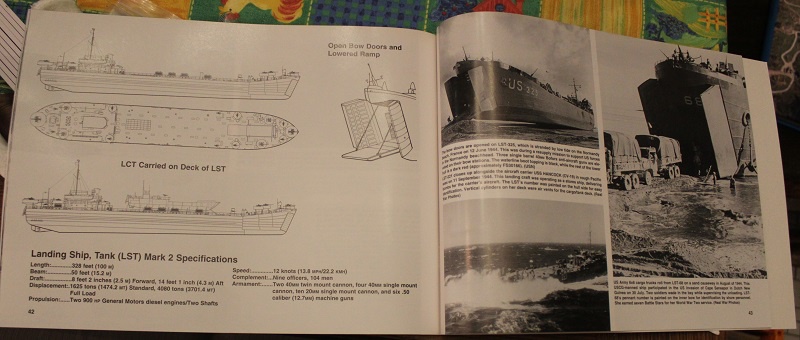
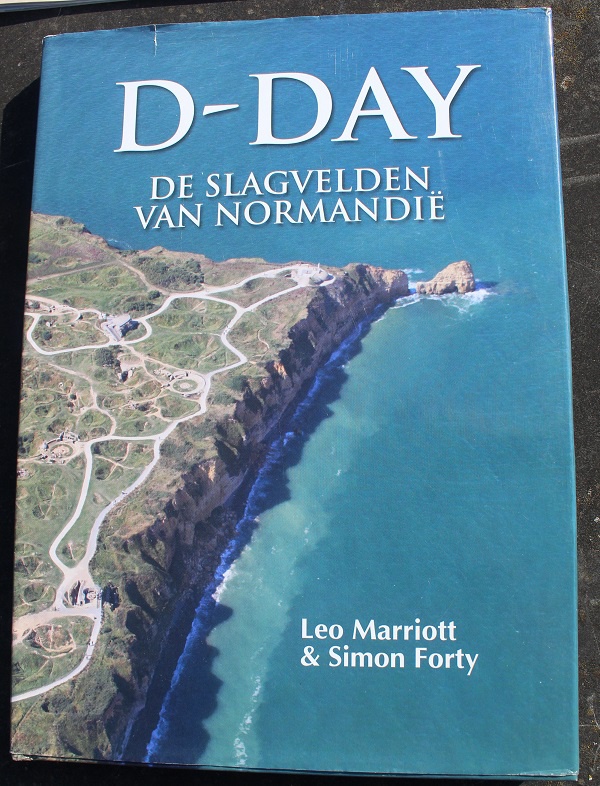
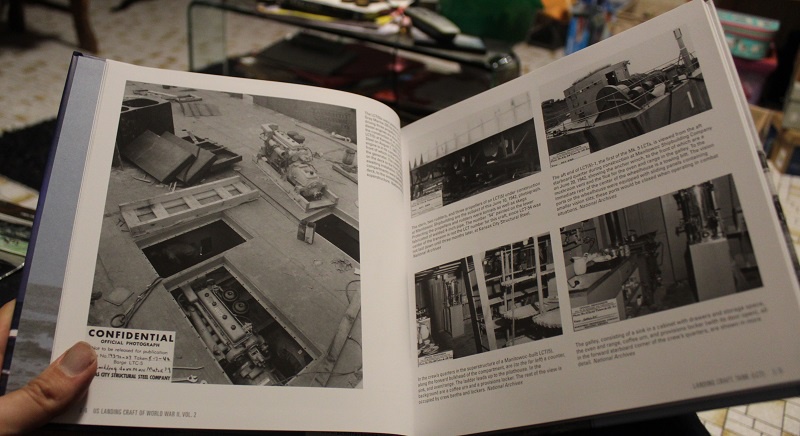
OK Marijn, let's get started with this crazy project, now I've read an other important reference, David Doyle's second monography on landing ships.
This is really a fundamental book for a project such as this, for the LST as well as the LCT reference. Lots of detail pictures, stories of different hull numbers and even a walkaround of the only LST still operating.
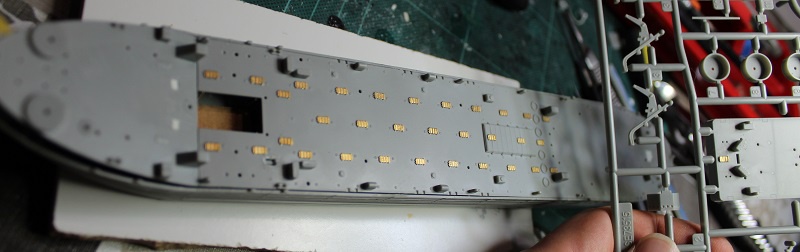
I will now start to prepare the LST parts that need removal of structures to be upgraded.
In the loading bay there will only be this elevator but it already contains some turned bass.
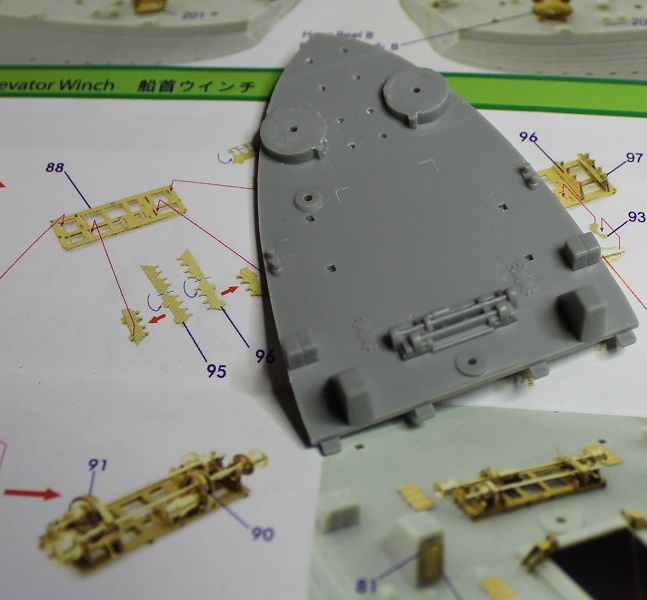
All winches must be replaced with Infini artwork.
The large stern anchor winch is more difficult, but it can be done with a thin saw.
Luckily, this plastic is hollow.
Some perseverance is expected.
Only some polishing is needed afterward.
These barbettes can be replaced.
Also some turned parts can be added to a winch here.
All these structures leave holes if removed, so this is closed up.
The Infini hatch doors have the correct shape with four locking bars. They go on top of the plastic hatches.
The Infini manual is really very clear about what needs to be replaced.
Thanks, Marijn. But I got a new phobia from this type of kit: stuff rolling away from the cutting tile. Somebody asked to try to frame this dio, so here you get a setup. Still a bit wider than planned and off course it will need its showcase.
Again I get the impression of a crazy watchmaker that glues his watches with all pinions stuck.
Yesterday I added the venting pipes. This time I'm sure some turned parts were missing, because that bag was unopened before I started and I missed 2 identical sections. These could be replaced with Evergreen pipe. I'm still debating if I go for the maniacal grab handle option, meaning you add 12 1mm handles to the turned parts without locator holes.
At the moment I've been able to decide which LST it's gonna be in this dio. I skipped past 490 pages of LST pictures on Navsource showing all LST-1 class reference and curricula. Some did not enter the Atlantic theatre, or only partly, not getting past the German tele-operated bombs at Italy or entering France on the south coast. Others had no pictures at all or some of little use like exclusive front views. Looking at all other ones I came to the conclusion that only a handful of this class LST's show pictures of a configuration approaching the one I had built until now. I wanted one with the gun emplacements I had from Infini and I also liked to have one maxing out on davits, as I had just installed all PE on the six pairs coming with the kit; lots of ships had the front pair omitted to probably have more space for cargo. So out all of this came LST-52 as the perfect answer to my bucket list.
The Navsource pictures show aspects from the side and the front, both in bird perspective so all details shine through nicely. And boy that camo looks encouraging to paint. Also there is a super pilothouse as provided by Infini, I'll just have to add it.
A late war picture with an LCT on board and a different camo pattern:
All six davits would be necessary, but the racetrack barbette in the mid of the foc'sle is moved back and as a result the two gunnery towers behind it have been removed. In stead of these the barbettes of the main deck are promoted on a small pedestal to remain level, to make way for the front pair of davits. This could still be changed on the model, or else it would not look like any LST-1 present in Normandy.
- I saw on the lower pictures in Navsource that this LST-52 had participated to the Crossroads nuclear testing series. But these are preparatory scenes from Pearl Harbour and not zooming in on any ship, so there is little to get from this. Other sites provided plans that made it possible to locate the position during the Able test, where the ship was outside the impact zone. One picture shows two LST's on the foreground, though these are nowhere identified like their capital testbuddies.
I even recognised the davit structure of an LST on the iconic Baker test picture showing the Nagato in front. As the LST-52 seems further outward on the location plan, this is probably one of the other three ships.
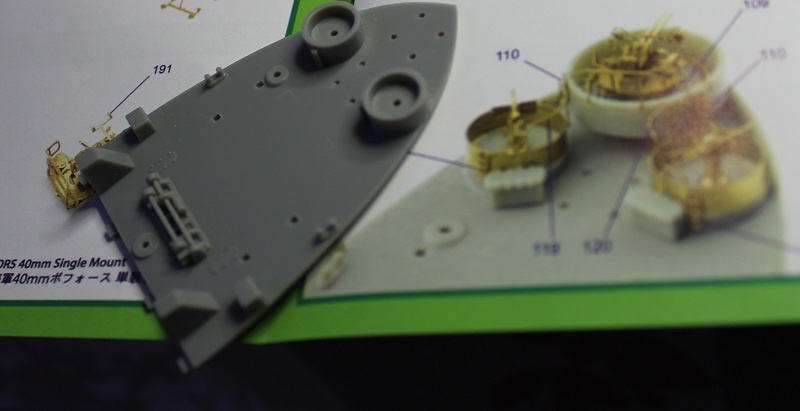
So this meant that I had to remove the two Infini elevated gun tubs. These can still be useful for later projects, but the PE is impossible to remove from the tubs.
Traces of the smaller tubs are removed from the deck, easy while all is still dry-fit. I think here was no gunnery infrastructure, because it was impeded by the davits and two Carley floats between them.
To keep the two tubs level on the staggered front deck, two pieces of L profile are glued flat to the deck. The racetrack tub is moved back.
This now matches picture 1 perfectly.
All davit structures are unique because of the location on the ship and the direction of the pulleys. Most of them are held up with a fiddly PE frame, Infini offering two types.
The six LCVP's receive a PE keel with rudder and prop.
My method of leaving the deck off to spray makes things more complicated now. The fifth pair of davits can not yet be fixed because they rest on the upper deck with the pilothouse, also a dry-fit. The other ones are not yet fixed to the hull. And now I should connect the davit pairs with pulleys.
The plastic frame needs to be removed. When you do this, you will notice that even on the back side with the frame, the raft is detailed like the front. But the frame is still improved upon by Infini.
The Bug made little effort of these, while I discovered later that I need at least 8 to build LST-52. So I made an extra pair.
These are best added with the railing, so this comes back after painting the deck:
With the prop guards and the drag anchor connection, the last parts before painting are added.
So this will be temporarily stored:
Now, the LCT kits are assembled to check if I have surplus gunnery parts in the Infini kit to provide to the three vessels.
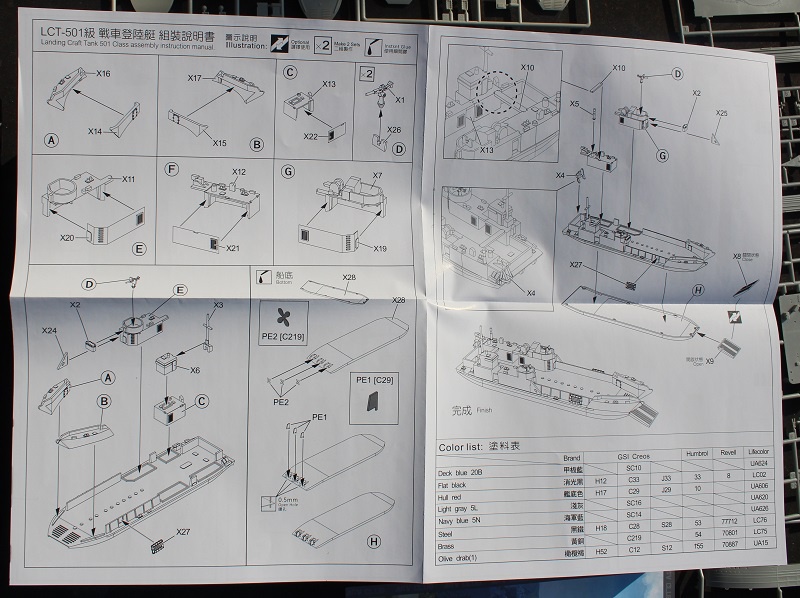
This is how you make a manual.
The hull parts are sandwiched together and the seam is filled with CA and sanded.
The surfaces are easy to do the sanding.
The bow ramparts also fit together well but the seam is best removed before mounting them. Also a door will be replaced with PE.
Like this, all styrene parts are already glued, after removing the detail that is to be replaced.
I did not like yet the way how the gun tubs are represented on the AFV LCT's. The width should be reduced if you want it to look to scale. Also the winch should be improved, but this update will not cover that yet.
A metal replacement is wrapped around the plastic tub and shaped to diameter with some cylindric tools.
The tubs are easy to remove and the deck is polished flat.
Like this it is twice the LCT is was before.
Now we're to perform up a little flea circus act, also twice.
Why can this not be performed with a series of two of these little triangles connected to a rectangle that can be inserted in a hole? Memories of the Zuikaku catwalks pop up.
Still one complete part to go.
If you decide to have your LCT still immersed, this part is mostly down the waterline. I will have one of both like that, I guess.
The trick for lining out the steps on the walls is neatly solved by AFV with 3 templates to locate the drilling holes. Trying this out after already having fixed the superstructure, it did not work out well due to the angle I now needed to work at and the slight movement this causes on the template. But I found a solution that is even better than the drilling plan. These templates are provided twice (because everything on these double fret is) and can be used as a wall applique if you file the edges. There remains one set of templates that is meant for the conning tower, it's not covering the entire wall so filing is not an option. For inserting this I may have to remove at least a part of the tower.
The catwalks are placed but the small ones each have a locator hole to be filled.
Another omission is on the inside of the foc'sle of the LST, where you are supposed to have a recess for a door. I had to add this while all was fixed already. Luckily I had some useful Proxxon milling parts. Because this naturally cuts quite deep in the plastic, I made an insert of sheet metal before I placed the door.
Also, don't follow the AFV instructions for the PE doors. Remove the middle section of the doors if you don't want it to look like Scrooge McDuck's vault entrance, and let the doors sway to aft.
The gun tub locker platforms have resisted for one hour to be properly assembled. The PE ladder on the bridge could only be added by installing the template after removing the bridge again. The template is sunk in the bridge front by dremeling a fitting recess.
The steps could easily be placed detached from the vessel.
Without all this, I couldn't have placed this ladder.
The railing on the gun tubs, the metal triangles and the open bridge door are 3 PE additions.
The platform for the anchor was very basic and by consequence it was completely opaque. I went for my PE stash and returned with the WEM 1/700 Yorktown leftovers. This contained still some very fine netting, that I was able to convert in two new platforms after removing the anchor yoke from the plastic part and placing this on the netting, with a safety edge.
Here the anchor installation is added, together with the mast with new yardarms. But I lost some of the PE parts in the reinforcement on the stern.
The chains for the trapdoor are added too. This is to be cut and fit to the deck as on the pics.
I replaced the bottom of these floats, that obviously differ from those on the LST. These too seem referenced from some pictures.
The AFV vehicle kit is simple to build and I only left the Amtrac and the firing version of the AT gun in the sprues. The rest was assembled and sanded along the middle seam.
Detail is nice but some parts could have been better. The Sherman tracks were easy to improve upon with a drill.
The microsaw does the rest.
Comparison to an untreated track part.
Like this, you will be able to see the sand through the tracks. They wouldn't even have needed the slide molding to feature this.
Now it can compete with my L'Arsenal M5 tanks. The DUKW's can also be used in the water, if I run short of beaching space.
The Infini double Bofors is now on the table. Some reference is necessary.
This manual shows the different steps to connect the PE and brass parts, but it is getting harder to understand in the end.
As with each 1/350 AA gun, the handwheels keep falling off.
That's it for the double guns, I expect some single guns and Oerlikons still to come.
You get two more guns out of the Infini kit than needed for the LST, but I needed 4 more for the LCT's. I did not find any leftovers from Princeton, so I started with building 12. Some PE is on the AFV LCT fret but no barrels are in that upgrade.
The ammo clips are integrated in the turned feet and only one sped away tweezering it.
The feet can best be gripped with something firm. Some small parts get on it.
Now I have to use magic to make the next 4 out of nothing, or leave one LCT unarmed.
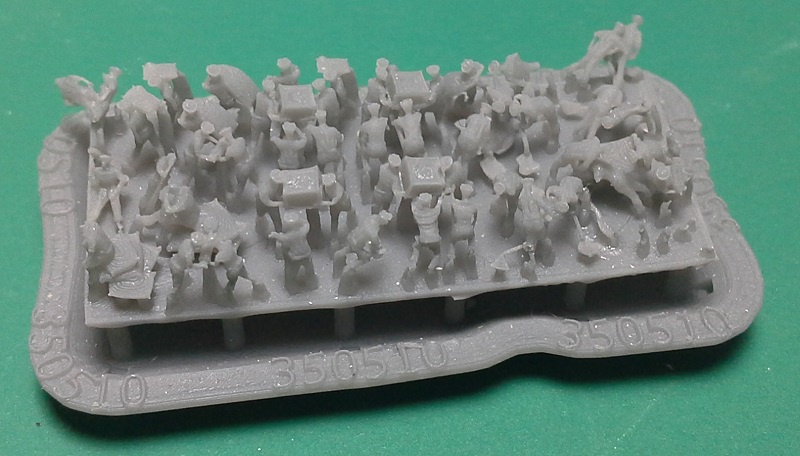
My North Star figure set is prepared to paint. It had arrived with some damage and I had to repair quite some legs. In this case the resin was a bit squishy, making the legs so soft they were bendable and did not keep their shape. But it will work anyway.
The Black Cat figures will be painted on the block if possible. They are not so crowded as on the North Star block.
I'll be using Lifecolor paint again. At starboard is a patch of non-camo soot adhering, coming from the Diesel exhaust of one of the engines located there. I'd use Pale Grey for the hull and Navy Blue for the bow insignia, this seems quite dark. It is bordered by a Haze Grey line. The LCVP's are darkened by detritus but have some grey. All deck surfaces will be Deck Blue.
Users browsing this forum: Bing [Bot], marijn van gils and 72 guests
You can post new topics in this forum You can reply to topics in this forum You cannot edit your posts in this forum You cannot delete your posts in this forum You cannot post attachments in this forum