Thank you very much Sirs

Thank you too for the links, always very welcome, impressive build!
The copper is a large field of discussion: pattern, color, nails ...
In the old closed Arsenal forum of Gerard there are some pictures of a historic coppering, as access is restricted here is the straight link to the pictures. As far as I know they were taken nearby a spanish Navy school
http://img168.imageshack.us/f/1002477.jpg/http://img502.imageshack.us/i/1002474.jpg/http://img222.imageshack.us/i/1002473.jpg/http://img705.imageshack.us/i/1002482.jpg/http://img685.imageshack.us/i/1002483.jpg/Here ia a link from the actual forum with other pictures of a ship in use
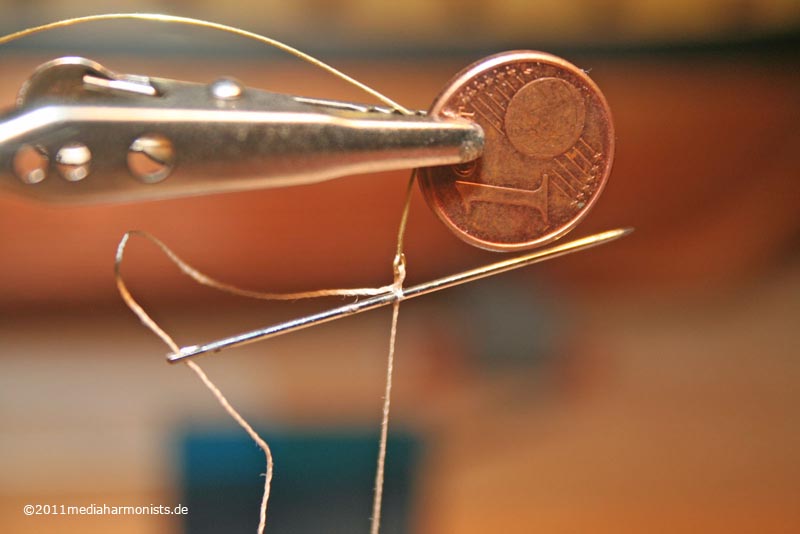
http://5500.forumactif.org/t285p880-ima ... ines#33275Nice to see, that the nails are barely visible, so I took the chance and omitted them on my 1:100 scale model

Another thing to be seen on the last pictures is the color. The verdigris just occures when copper is exposed to air! Underneath the water it stays brownish, or pinkish due to the chemical reactions. It changes color on the waterline to pink or green, apparently the green just with ships that just lay in harbour.
Here is a small film about the surprise being taken out for repair ...
http://www.youtube.com/watch?v=j5DuRSVJaOsNicely brown, even after all the growth taken out. Just as a sidekick: Can you imagine all the sailing-ship-builders
arrrghs seeing the props ??
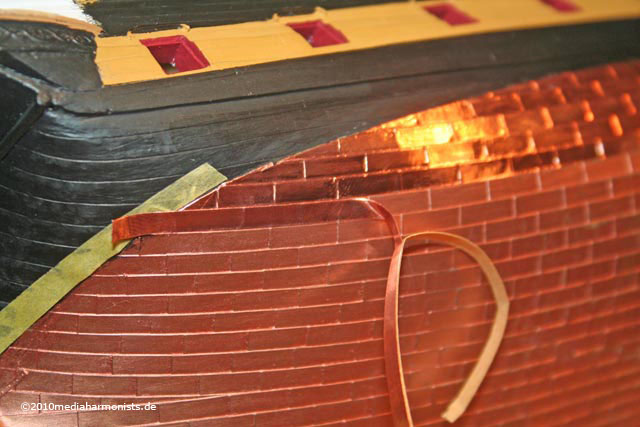
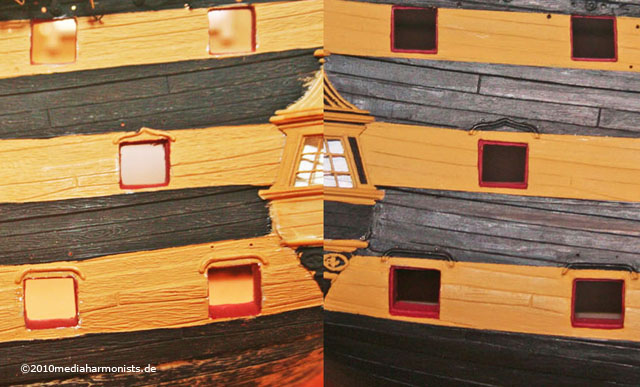
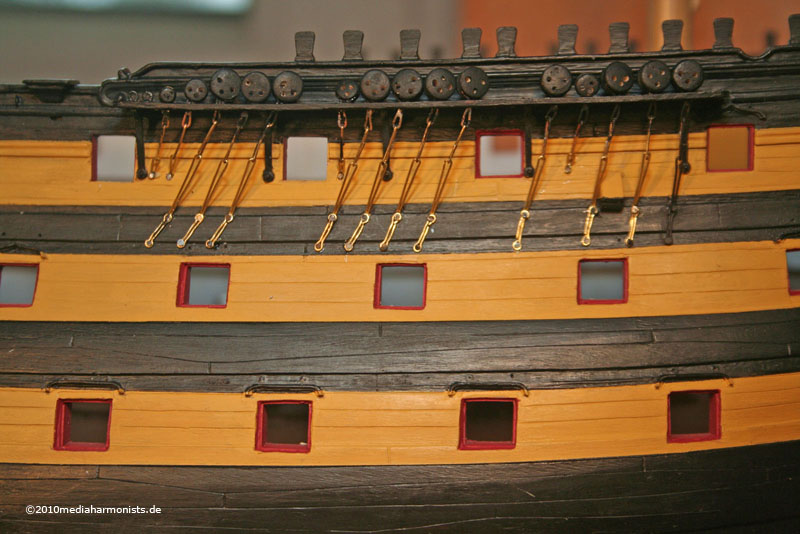
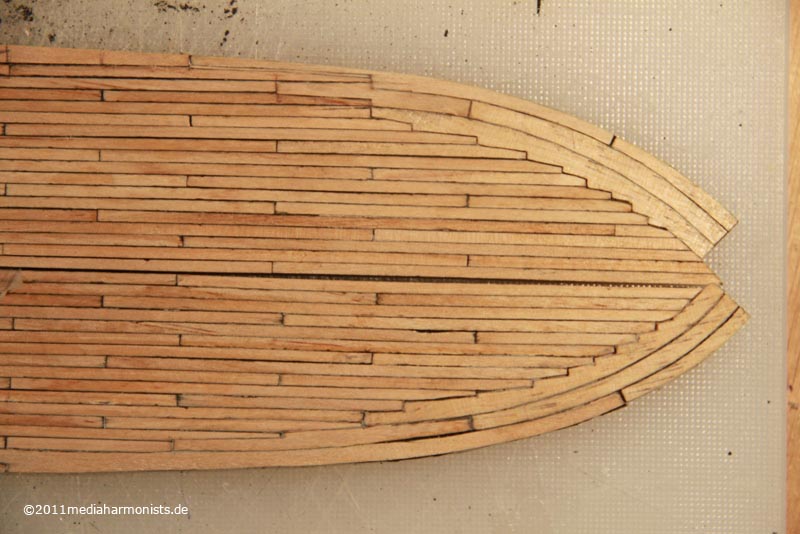
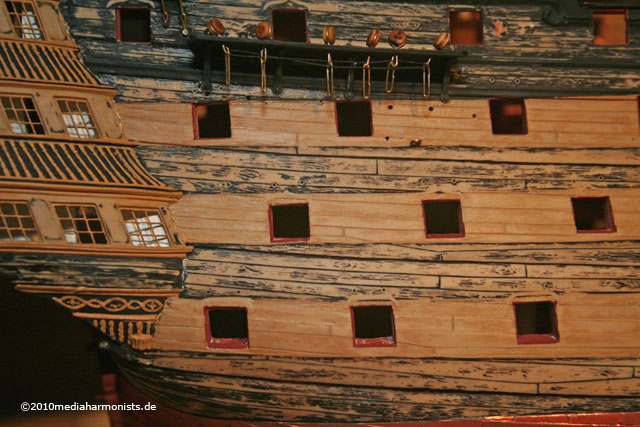
The layout pattern of the tiles is surprisingly accurate on the Heller kit, showing the lines running up and being cut at sometimes sharp angle and not taking the continental way with two lines on the top running parallel to the waterline.
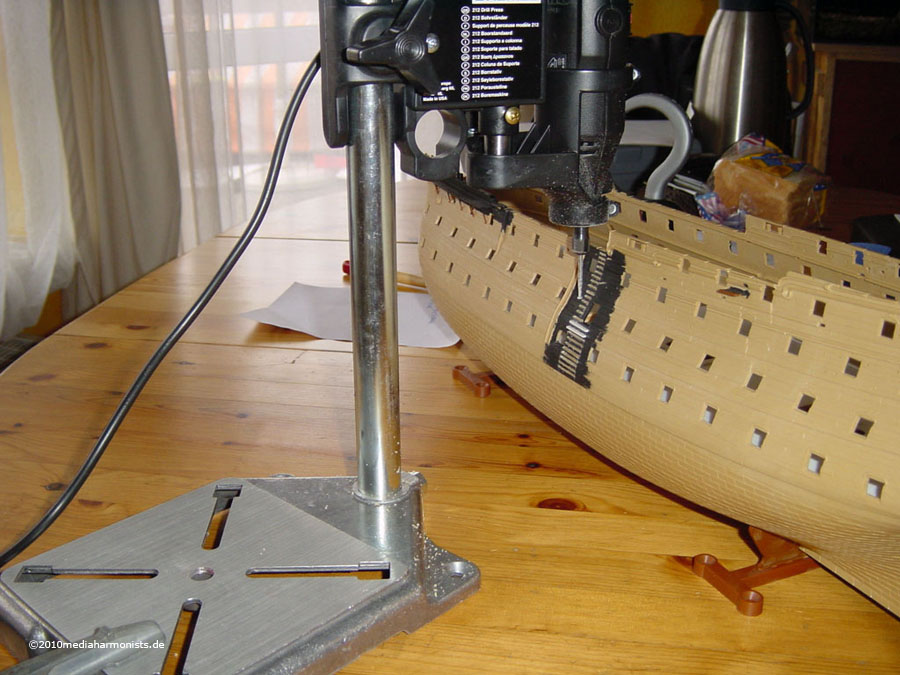
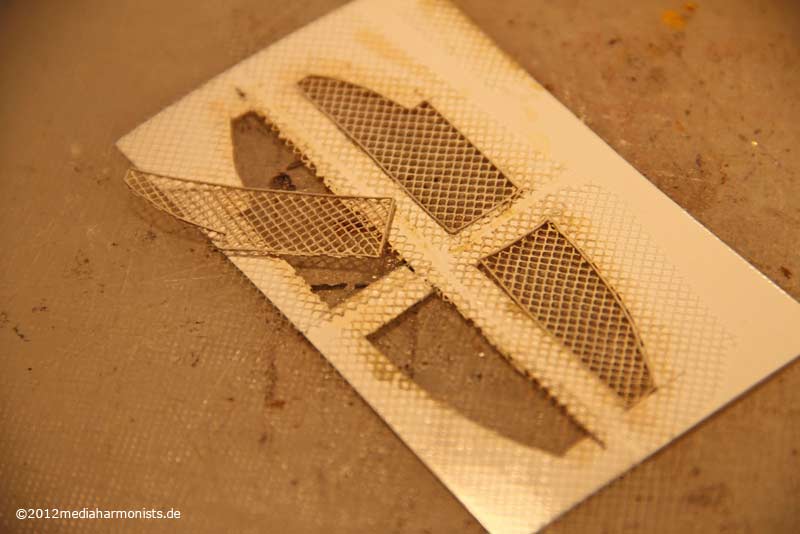
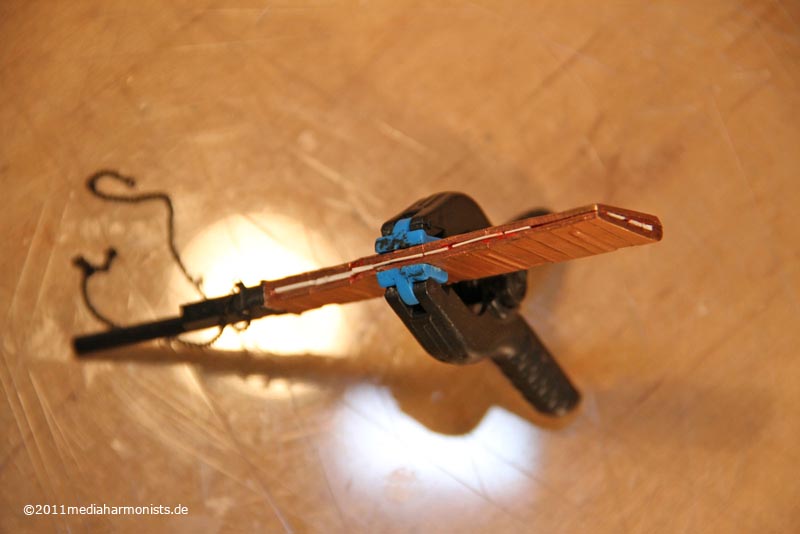
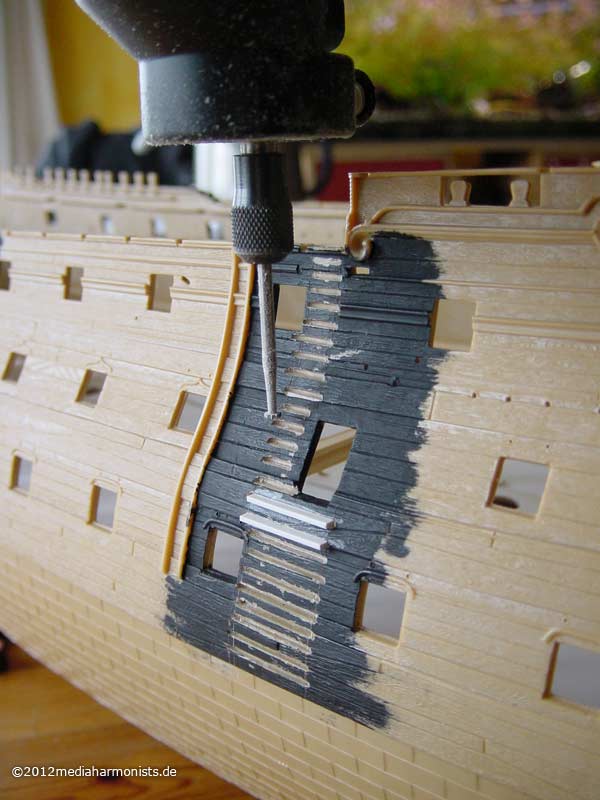
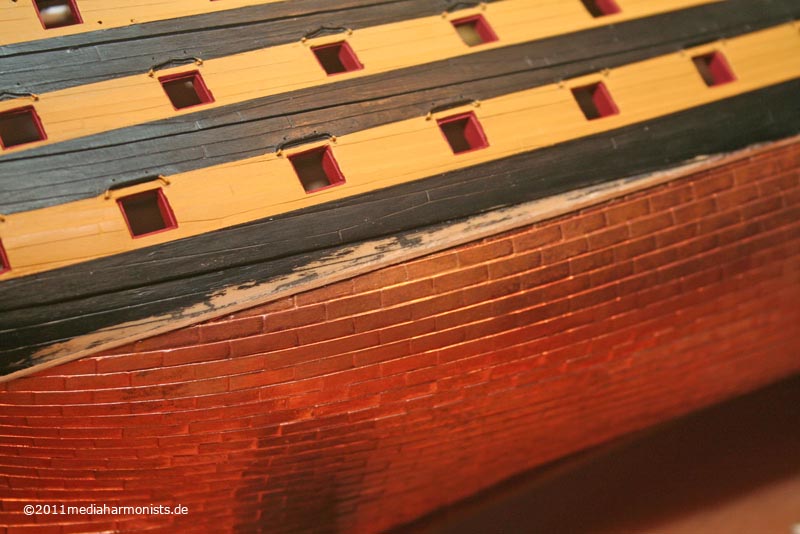
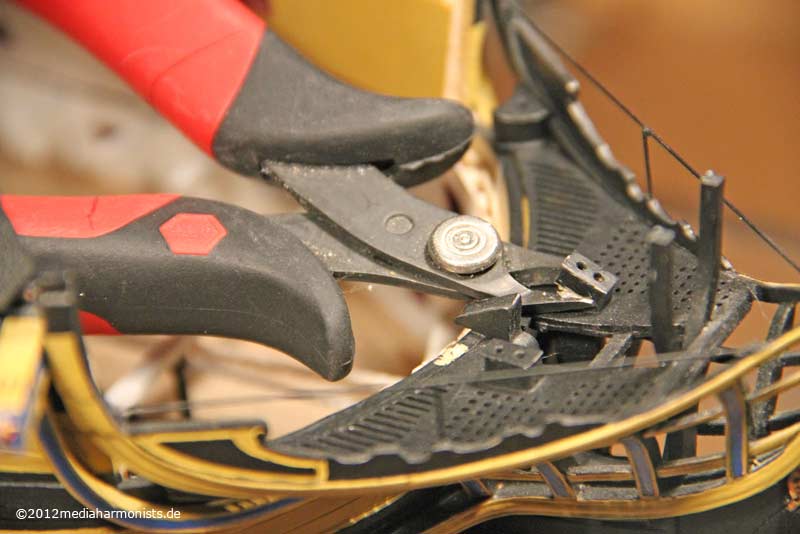
For my model I used Tiffany self adhesive foil, which was available at the right measures and which I was able to apply as long stripes. Just a priming with copper paint underneath in case of small gaps and afterwords pressing the foil onto the tiles with a toothpick to mark the structure better. Even though the stucture of the tiles is far to strong, I just left it as it was. The decision in which way the copper will be aged I am still making up my mind also still checking out the way of presentation, so I have another two or three years before I start with the rigging.
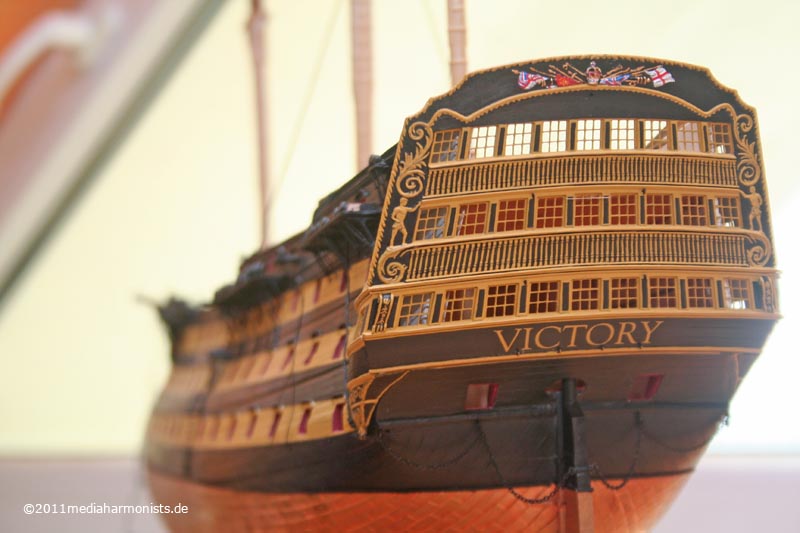
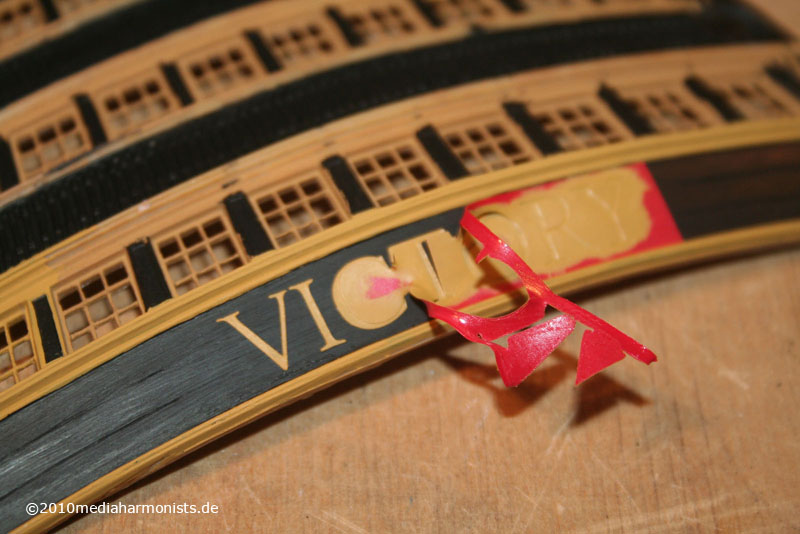
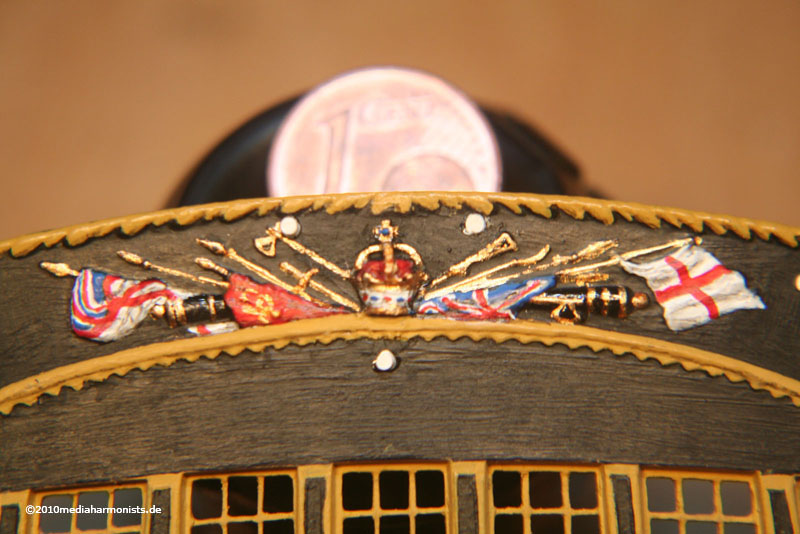
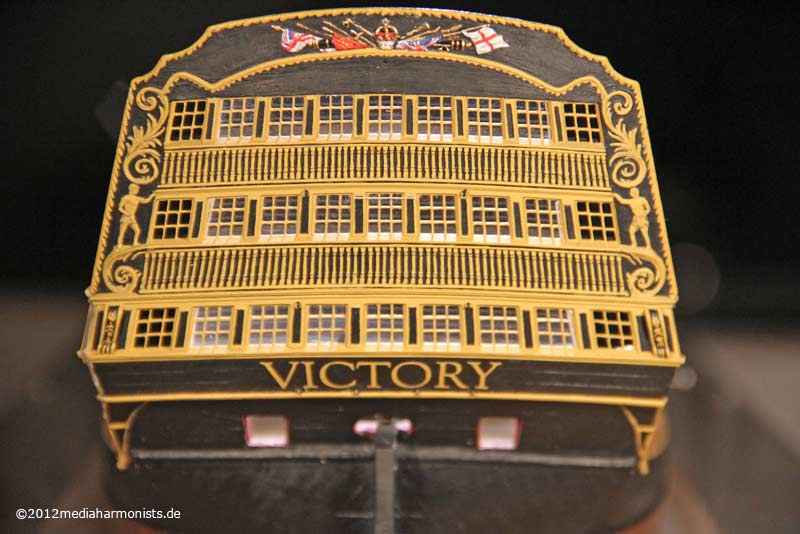
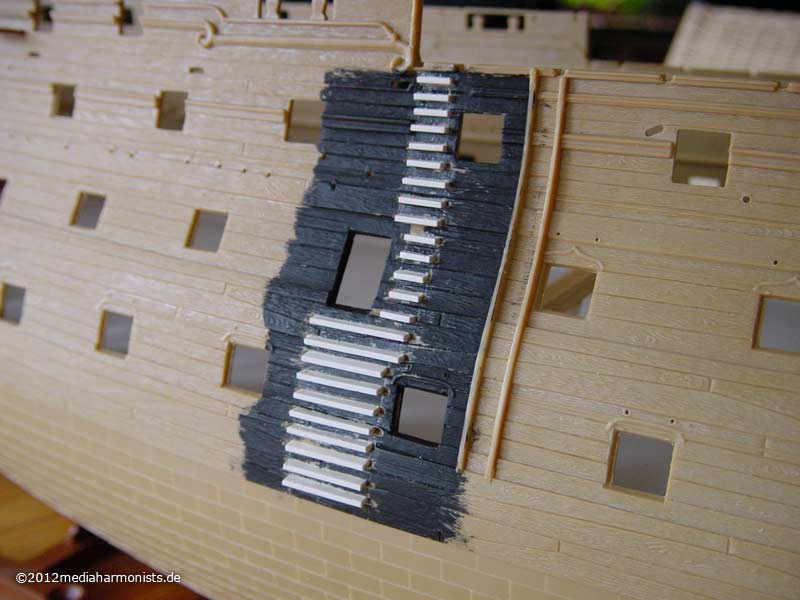
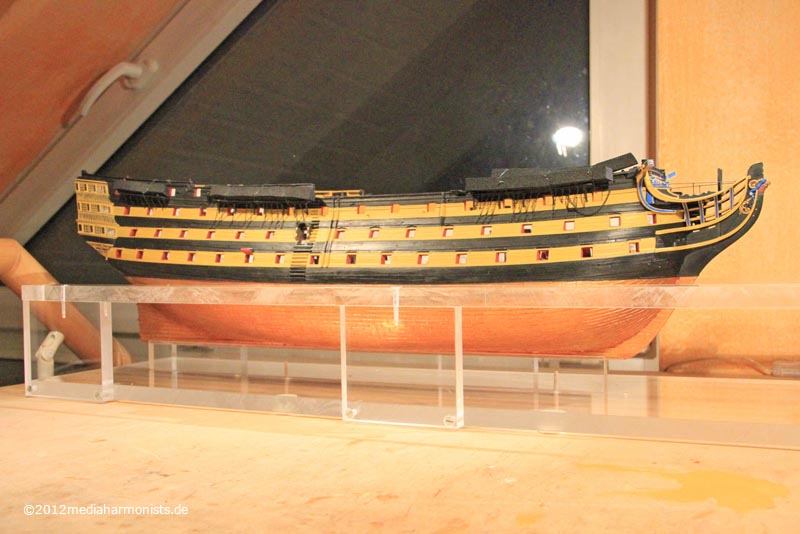
Here are the results of my humble efforts on the coppering on my model so far:
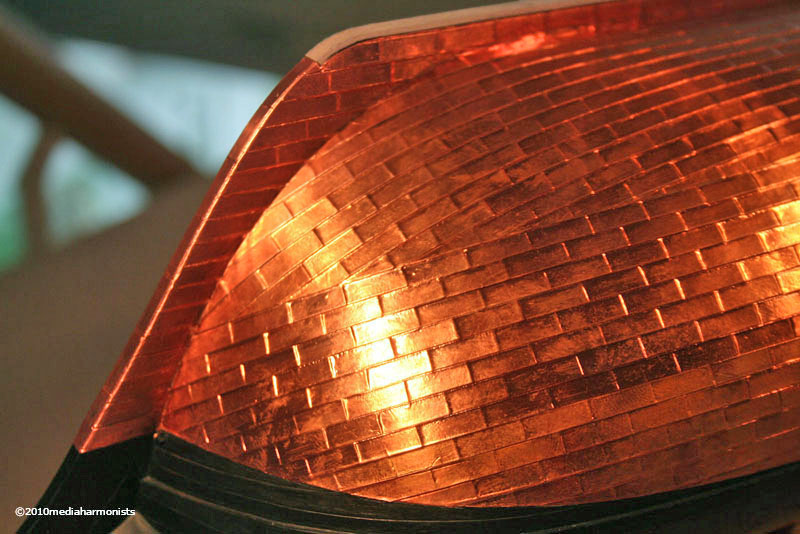
with false keel added
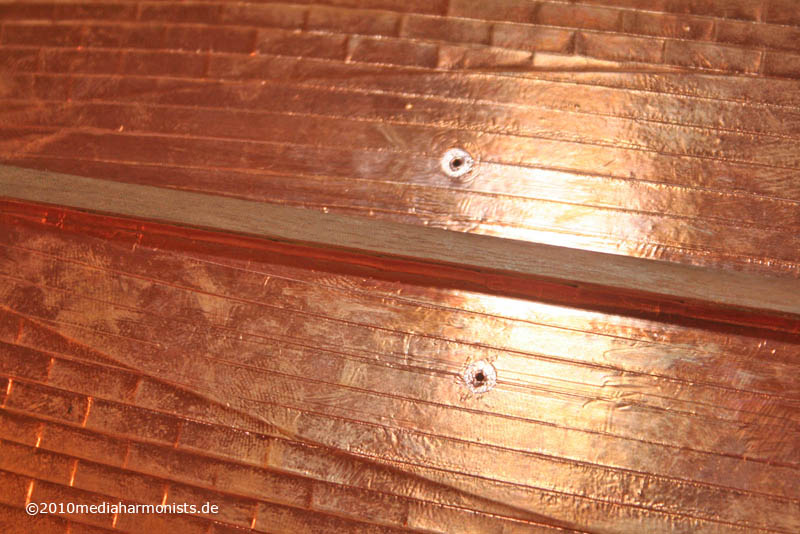
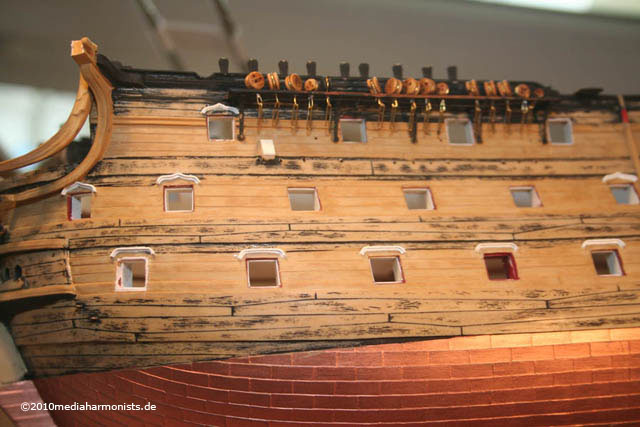
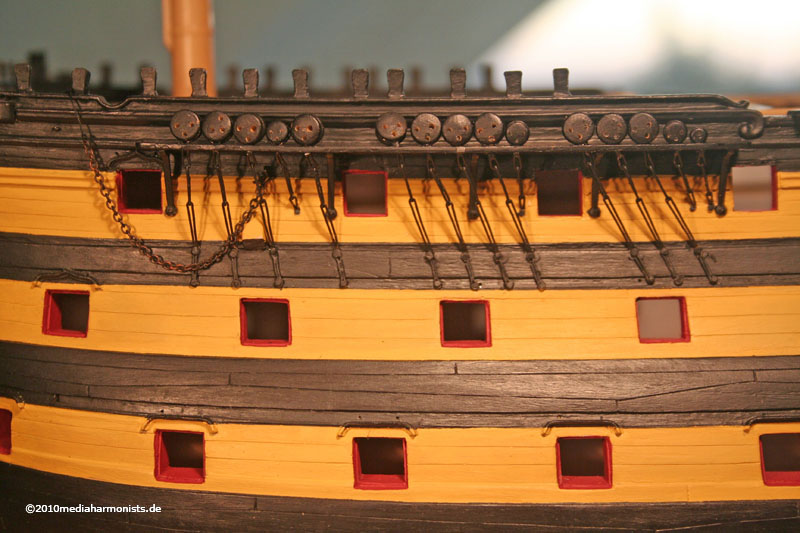
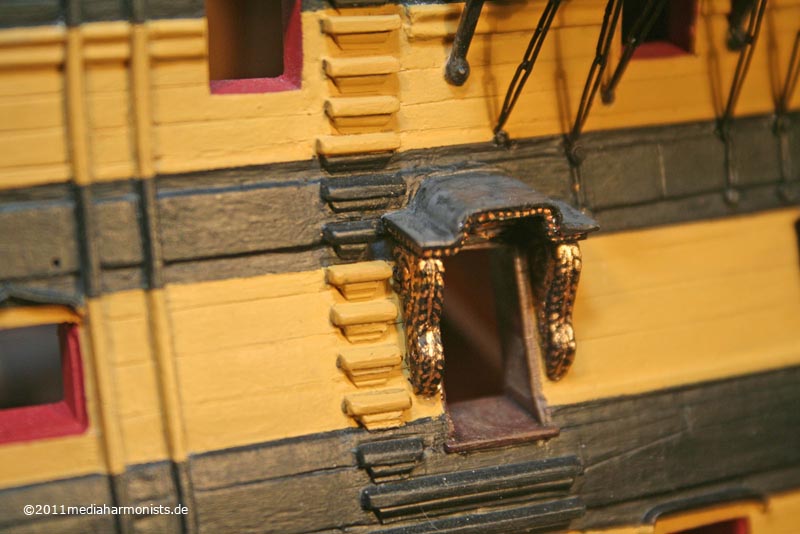
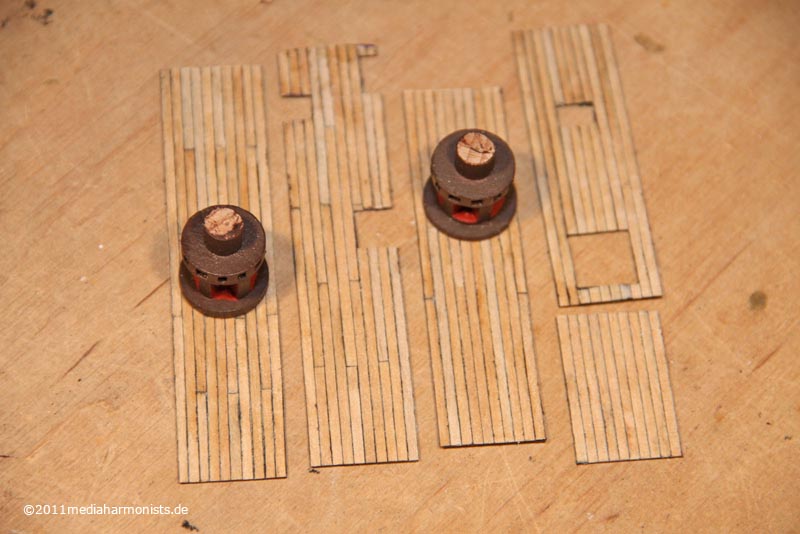
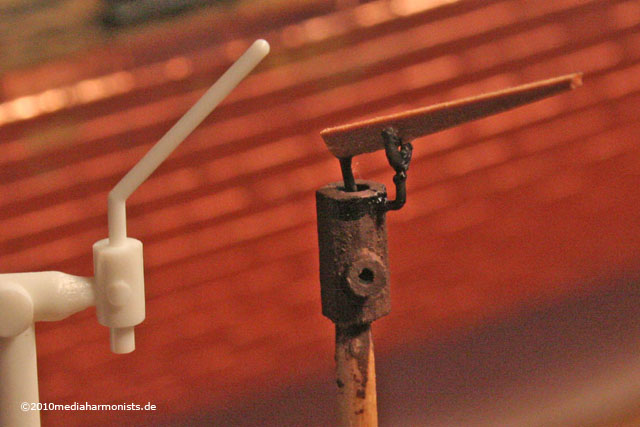
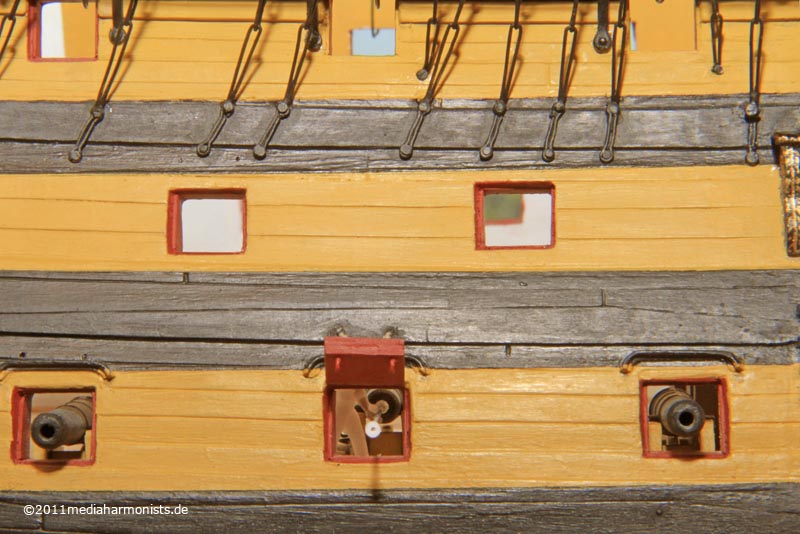
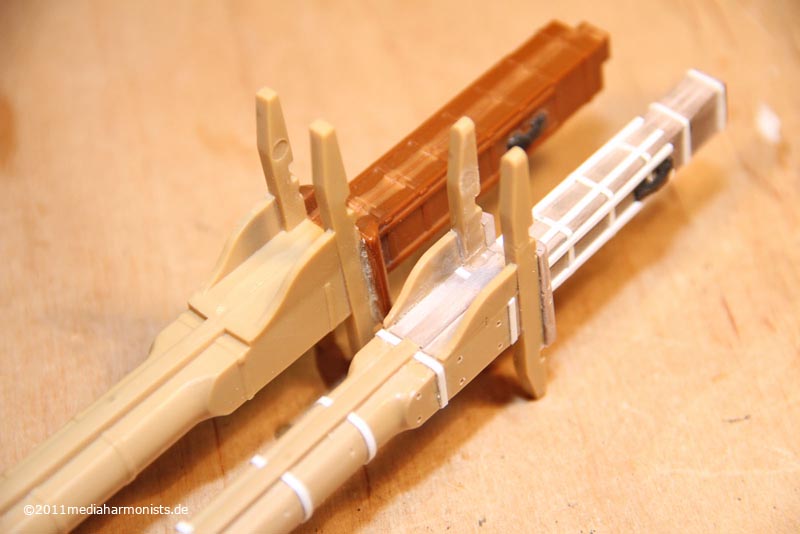
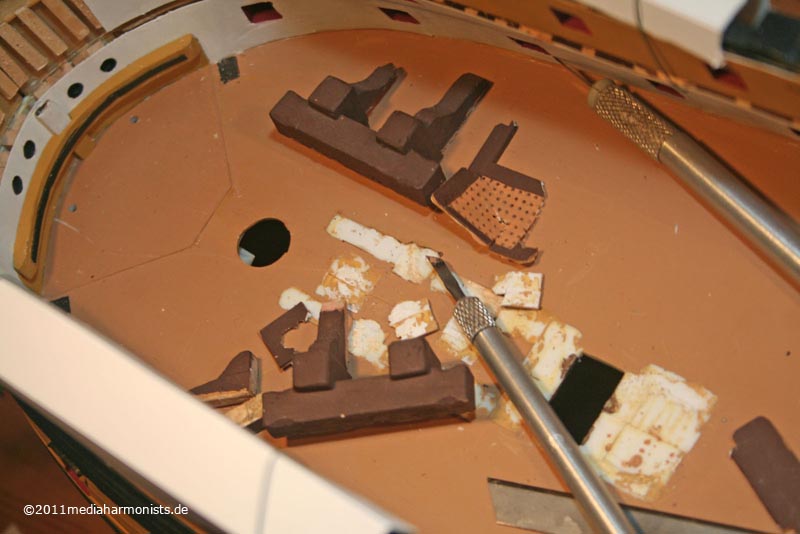
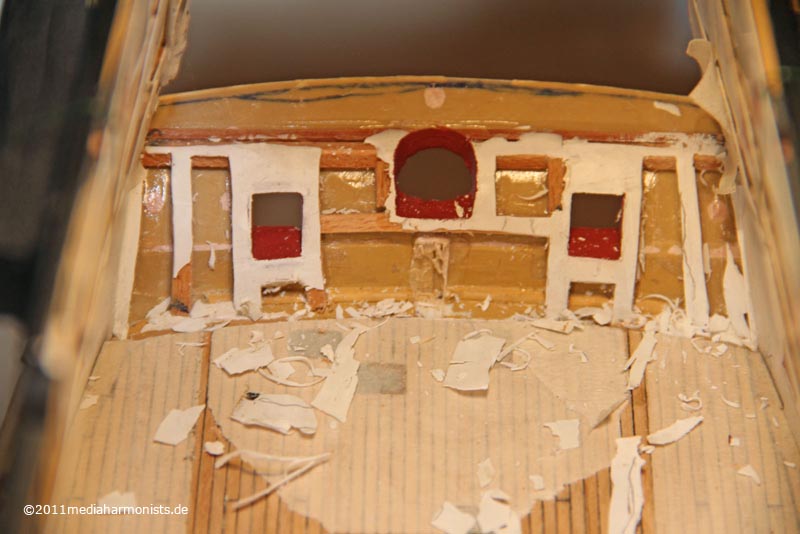
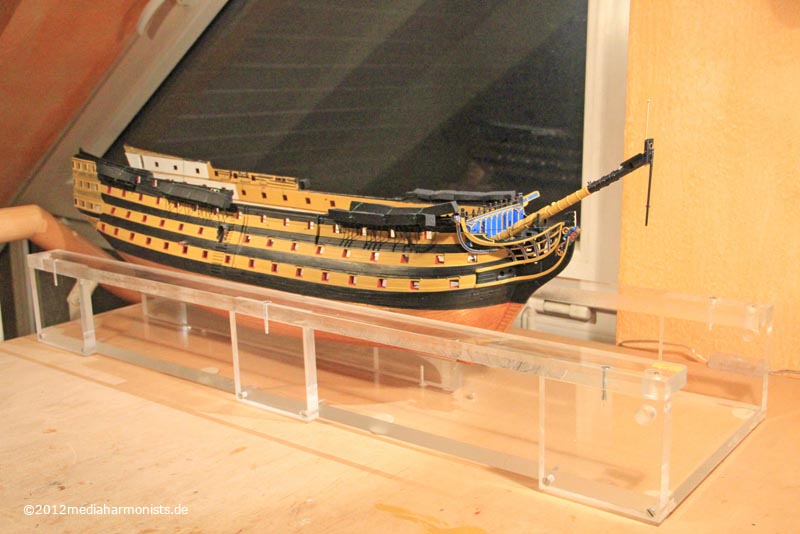
The inlets for the elm tree pump, aka Nelsons bathtub plugs
Those holes stirred a lot of conversation but got confirmed in the end.
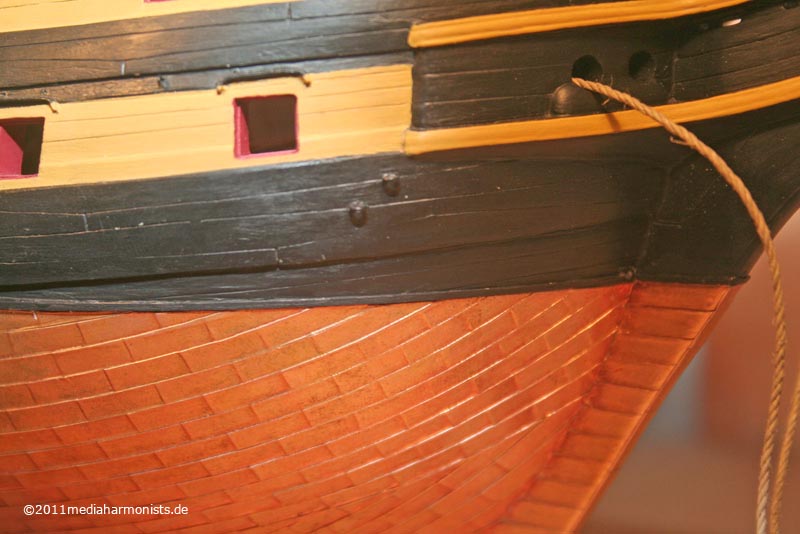
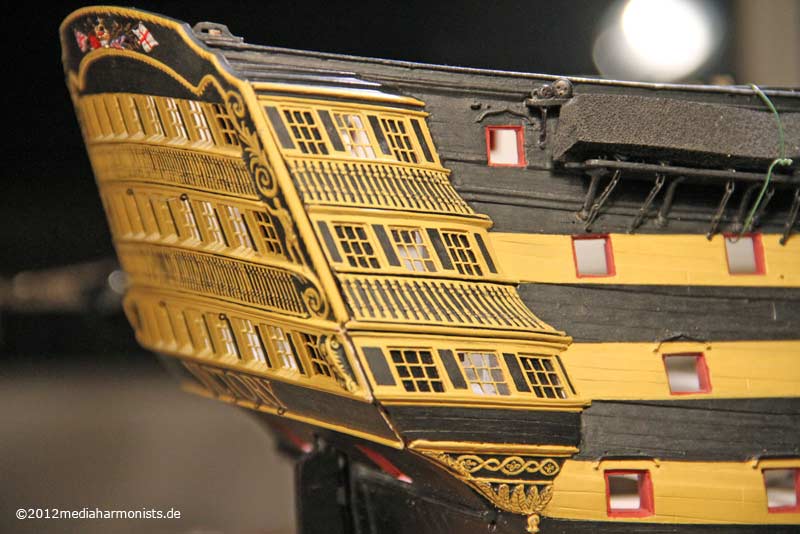
Still added the batten to the top of the coppering, an english speciality due to the cut copper plates.
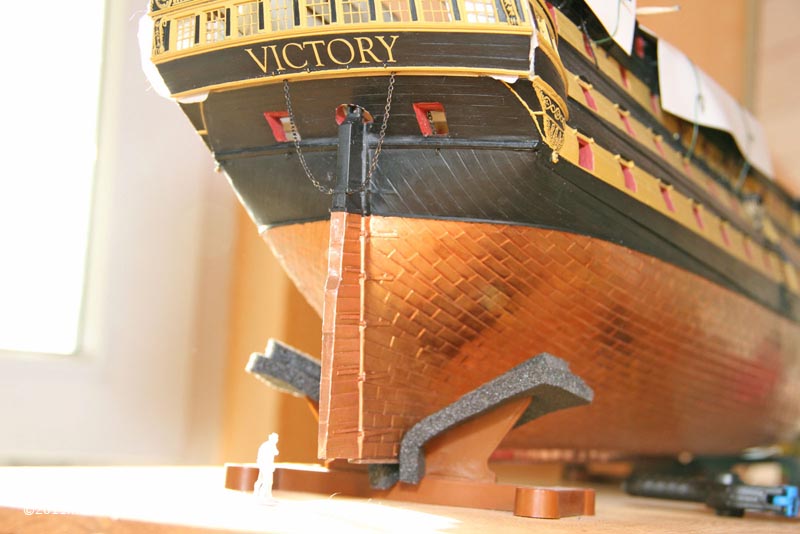
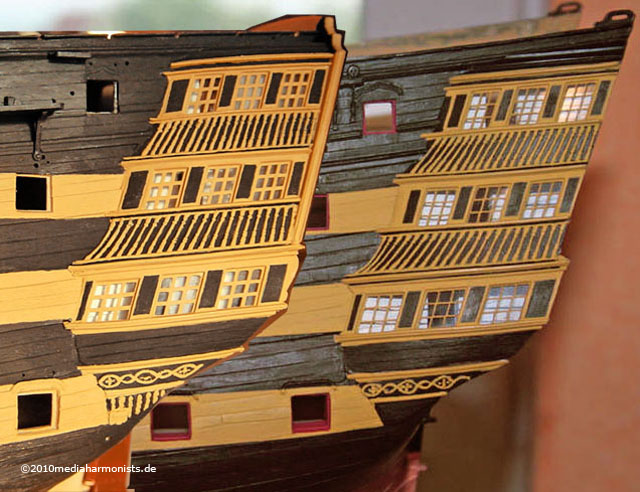
And I love those gracious lines of the ship, ending in the thinned down rudder.
For those who like the verdigris version, Rolans/LTGarp of Wettringer shows a nice way of aging with saturated saltwater and vinegar applied to the copper
http://www.wettringer-modellbauforum.de ... post234114and painted nails
http://www.wettringer-modellbauforum.de ... post267776Liebe Grüße, Daniel
_________________
To Victory and beyond ...
viewtopic.php?f=59&t=99050&start=60See also our german forum for the age of Sail and History:
http://www.segelschiffsmodellbau.com


