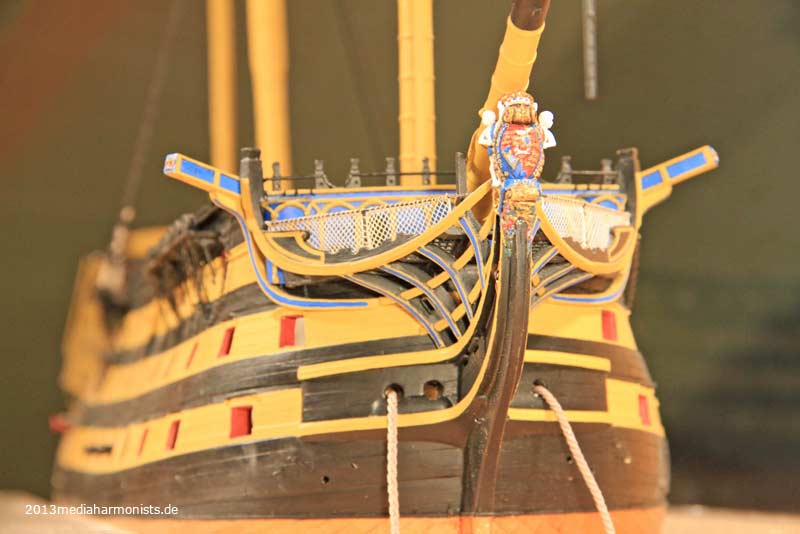
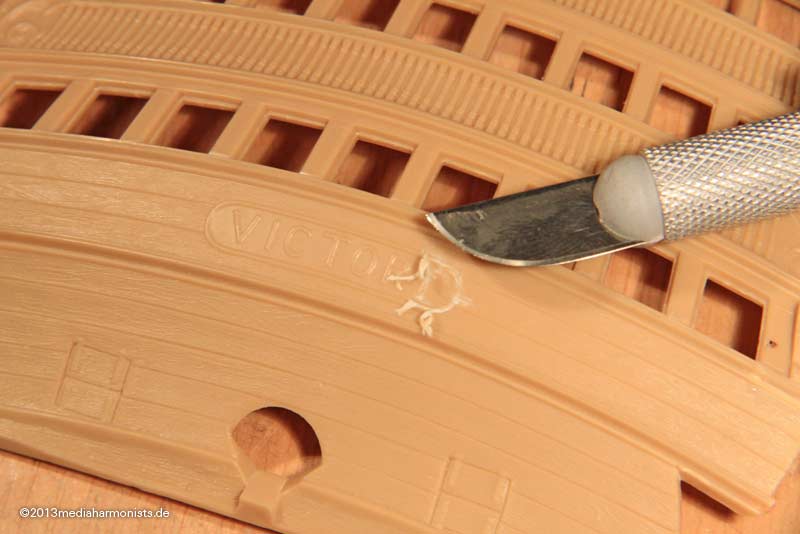
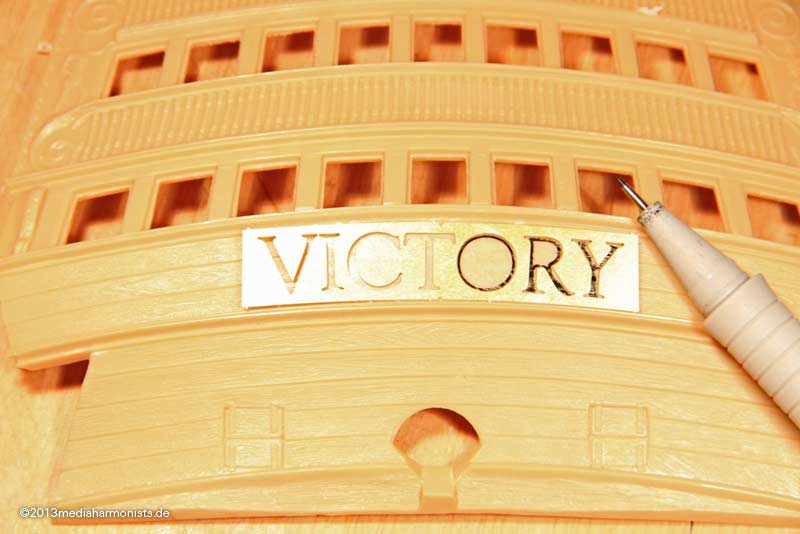
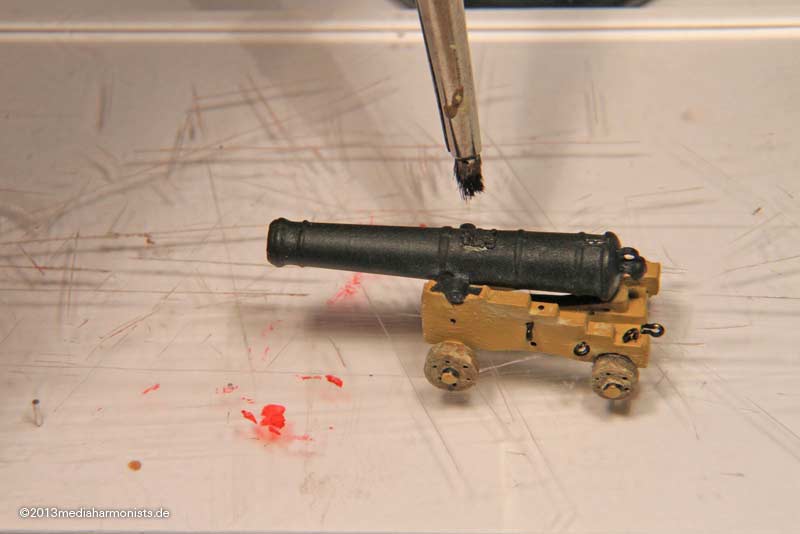
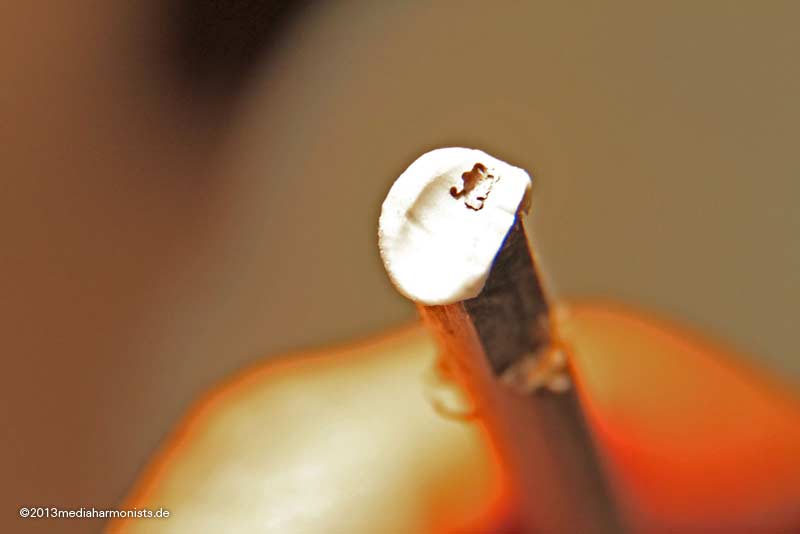
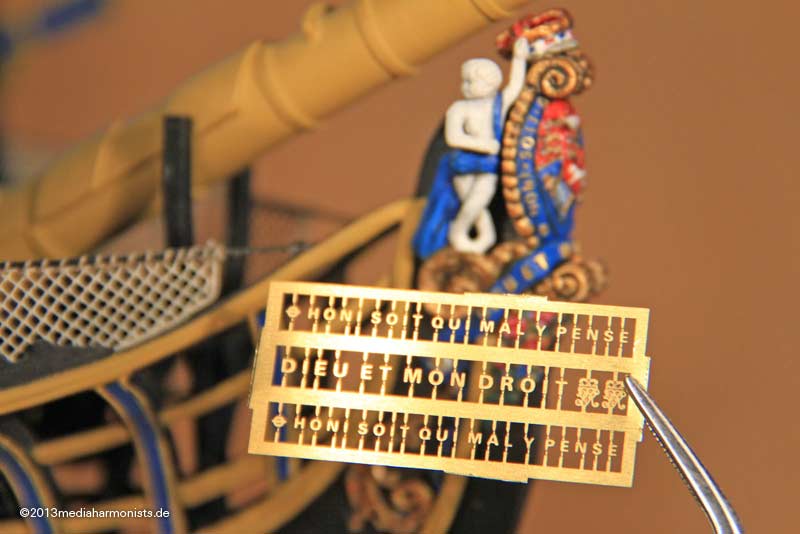
Thank you Jim, the varnish I used for the tiny letters on the figure head, and this is the right tip for occasions like this.
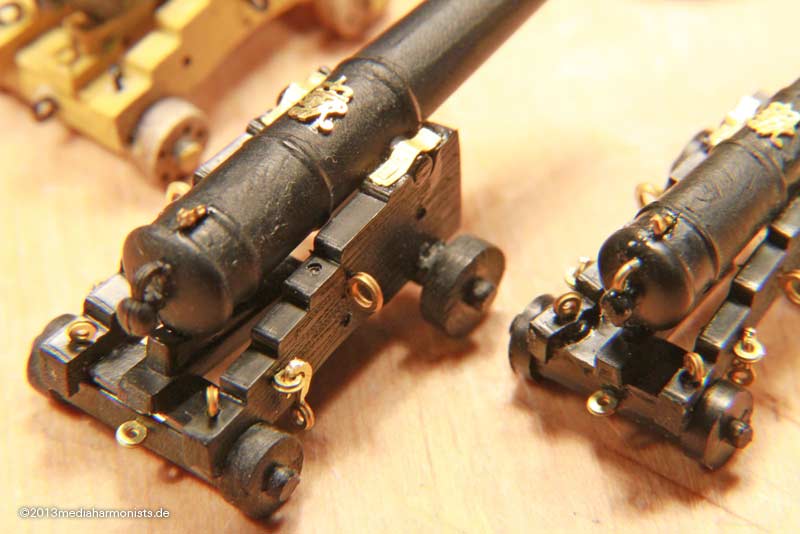
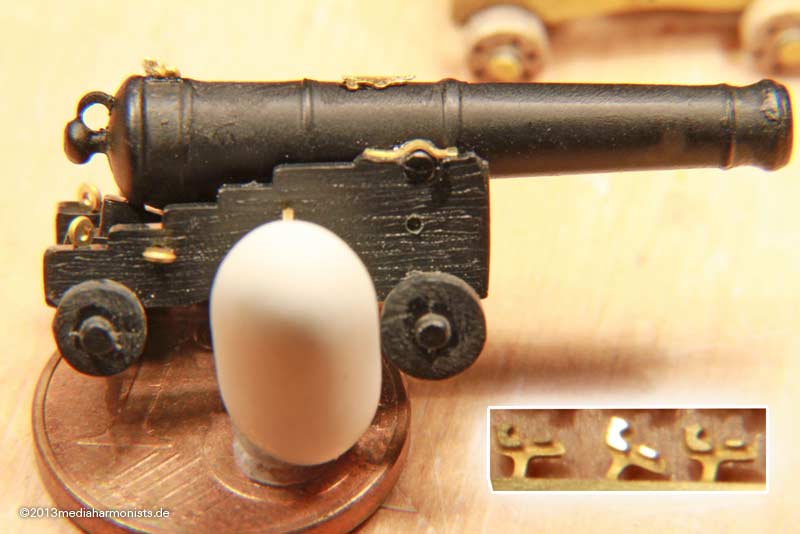
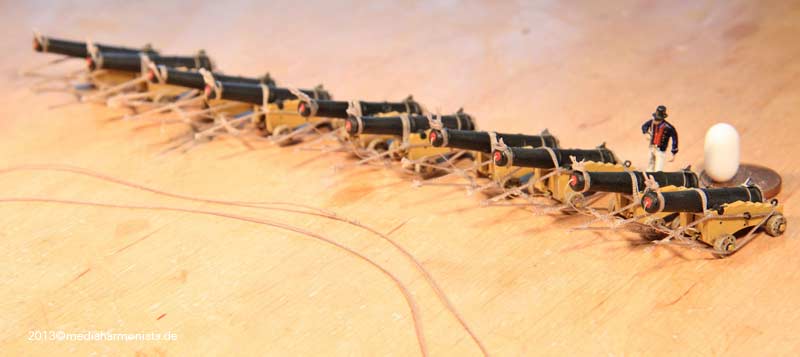
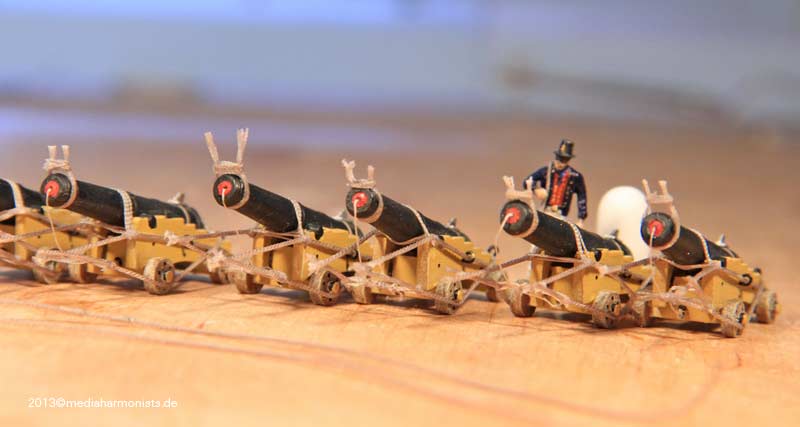
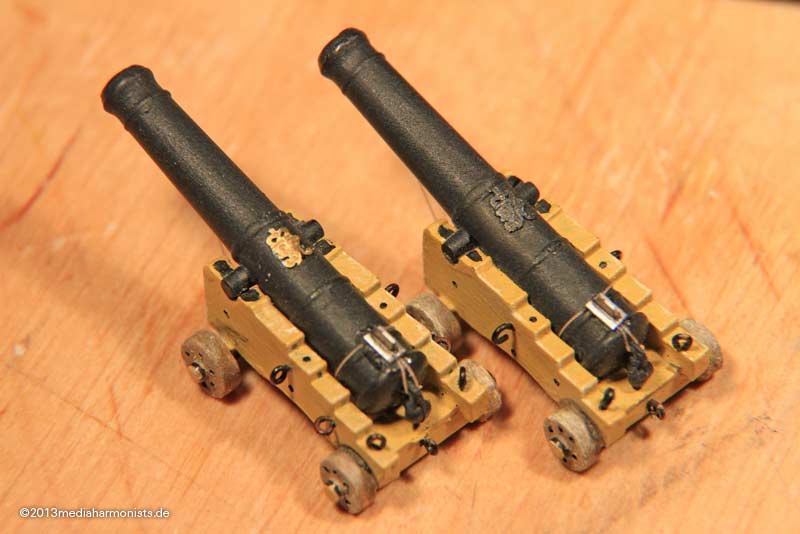
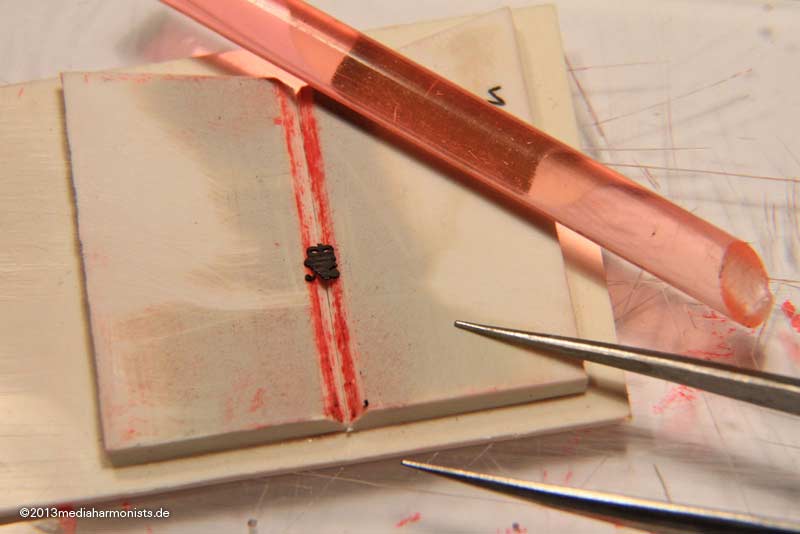
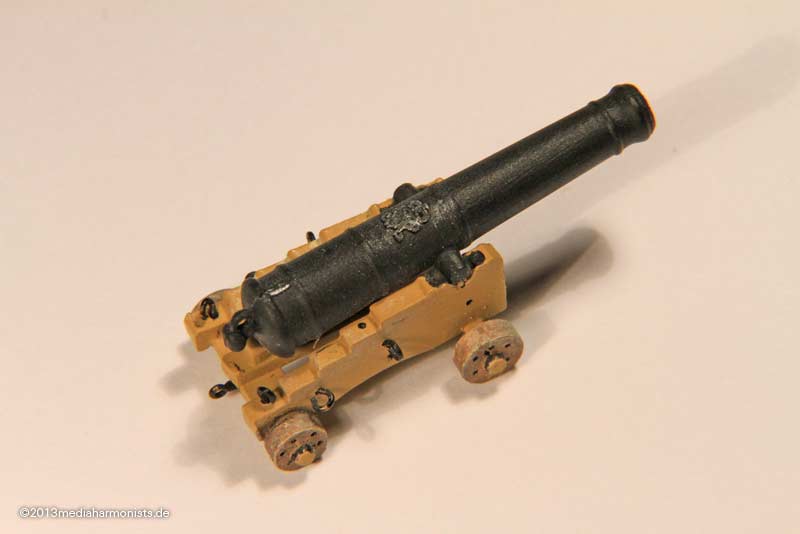
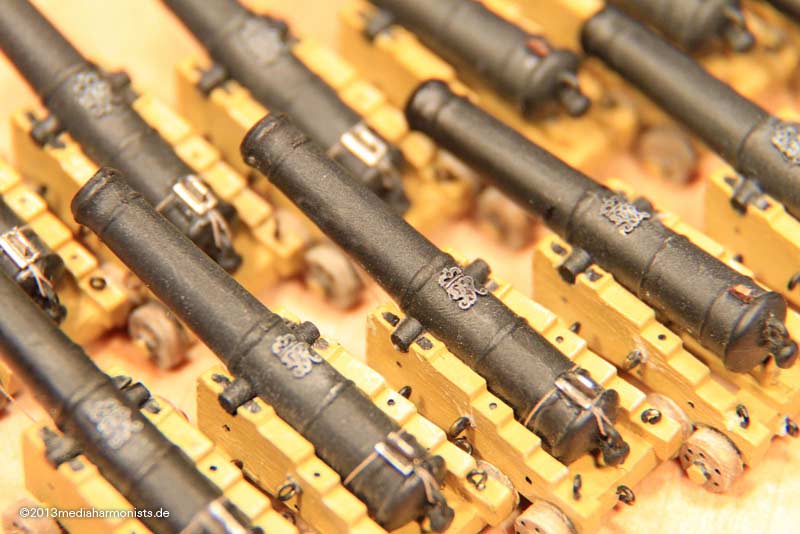
Luckily, by the form of the barrel, its reinforcement ring and the gunlock, the silicon form was self centering

Lieber Dank, Daniel
PS:
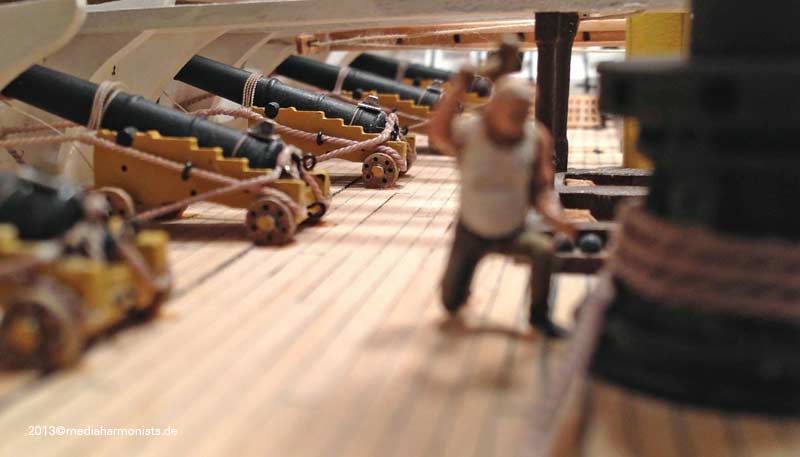
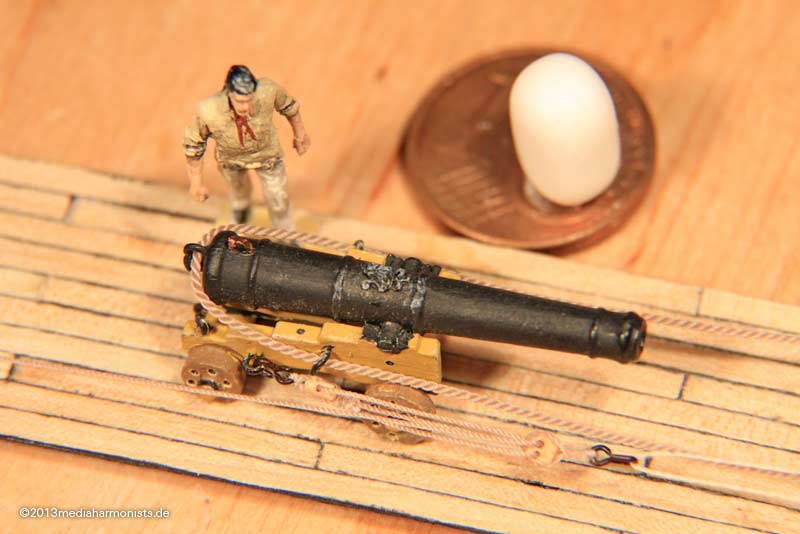
And here comes yesterdays workout program:

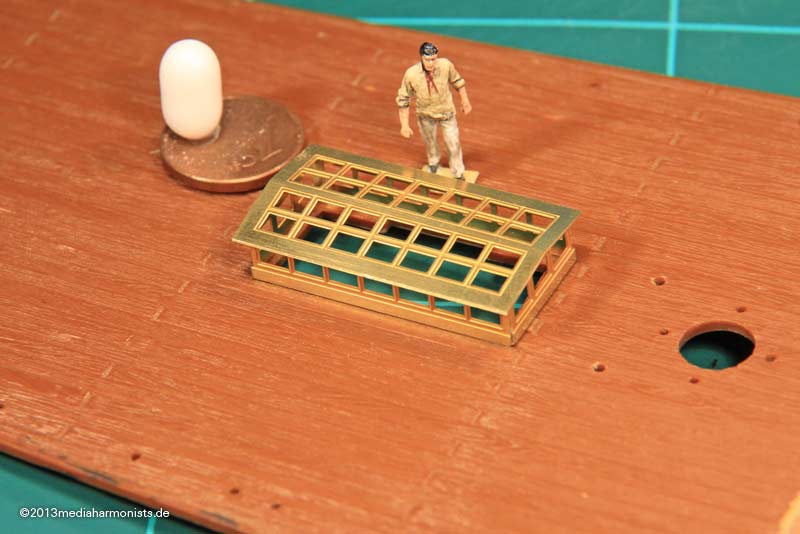
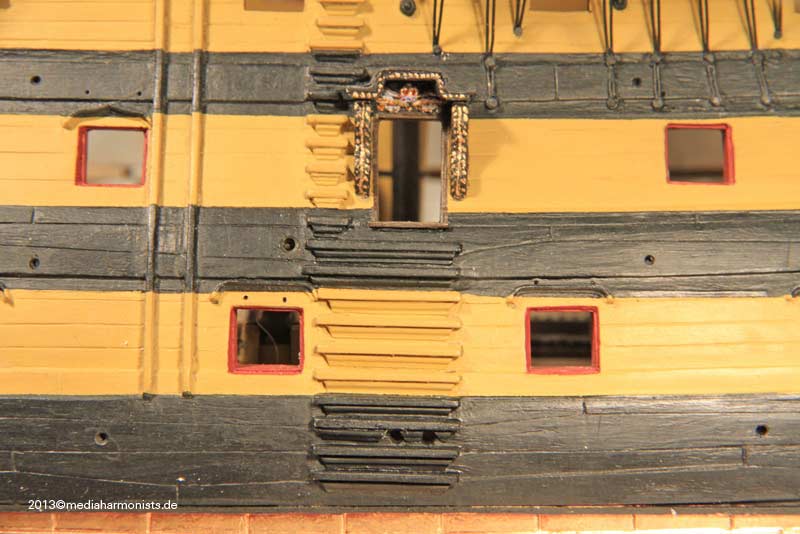
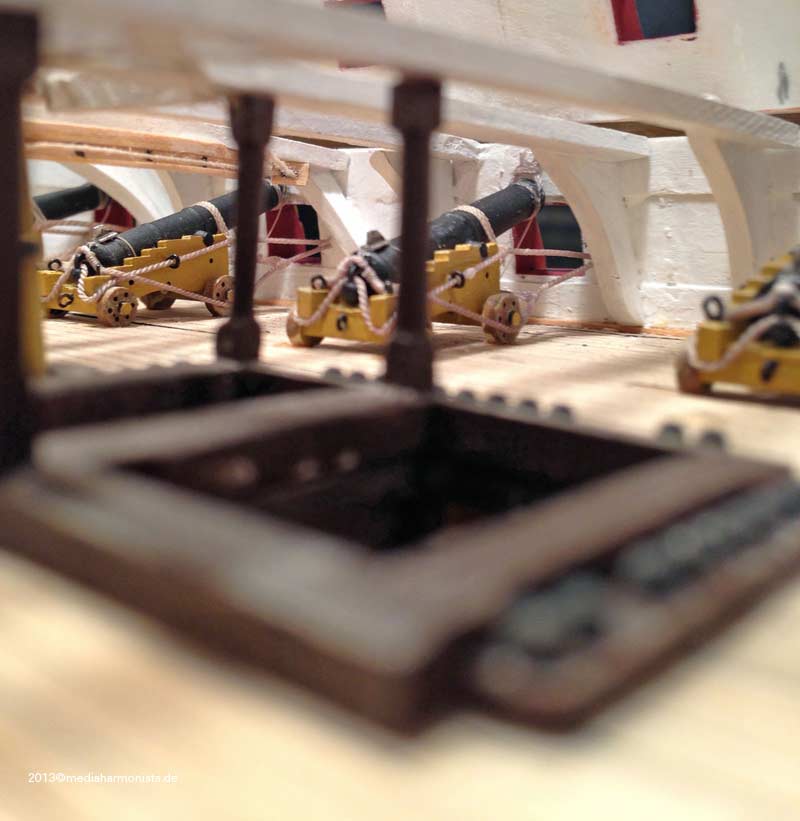
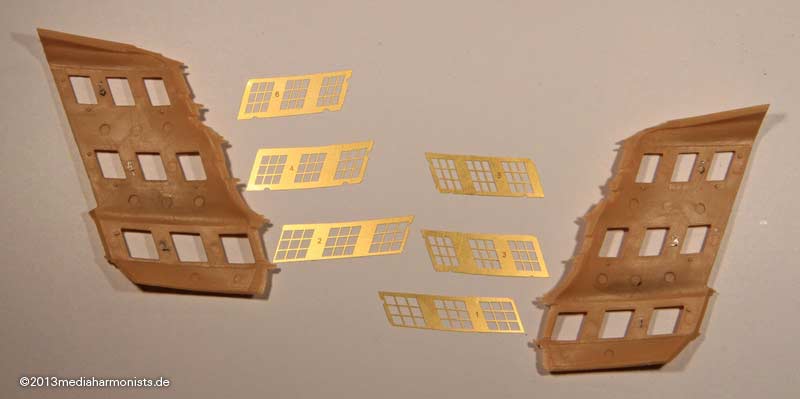
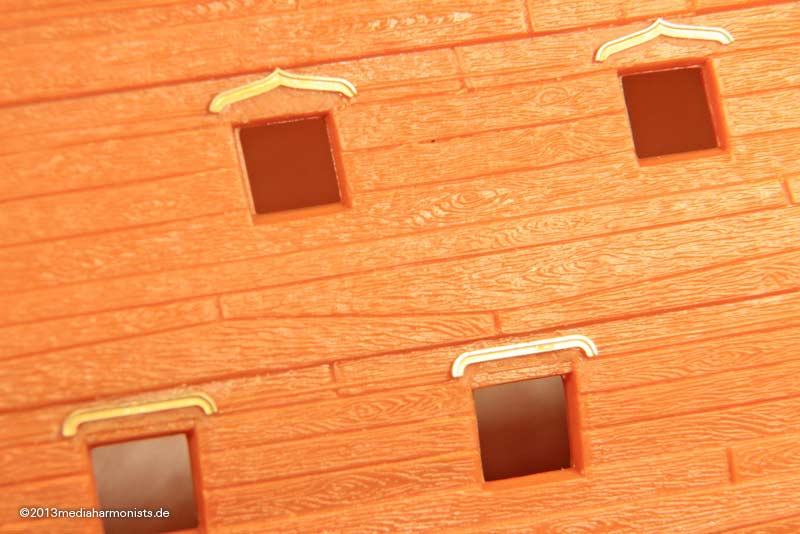
First the easiest part the poop skylight - Still the glazing and some reinforcements on the inside have to be added.
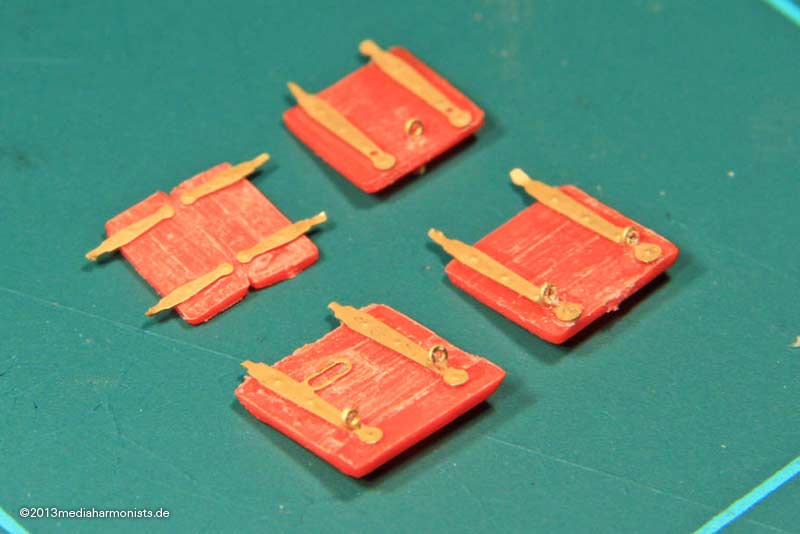
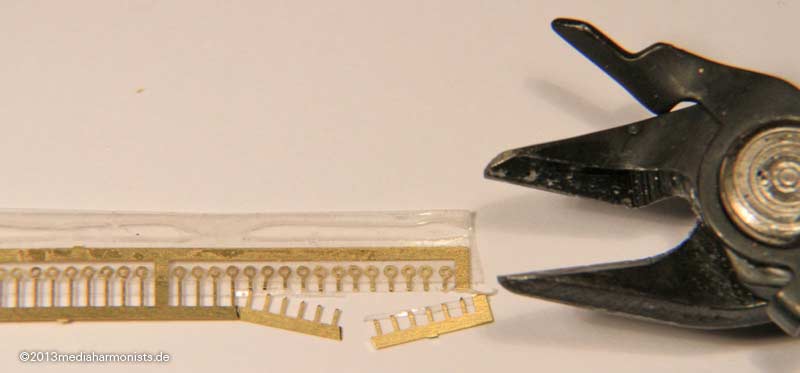
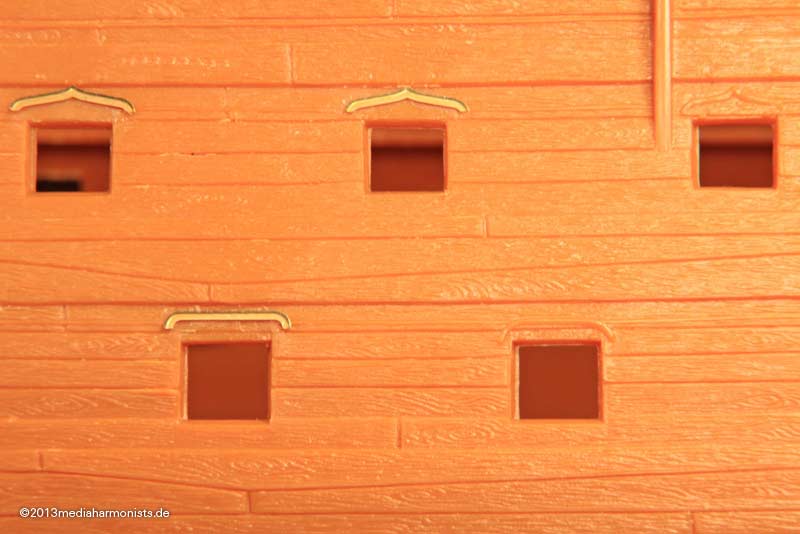
Then the different gunport lid hinges ...
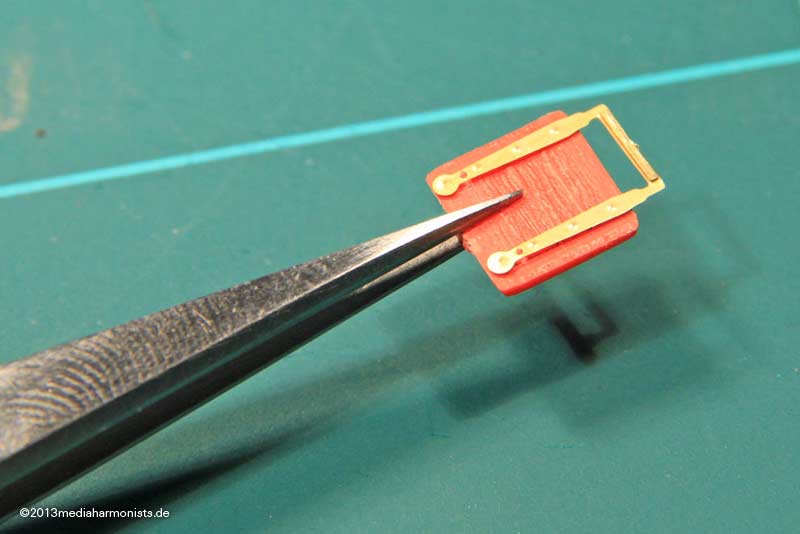
... in place and beringed, both sides.
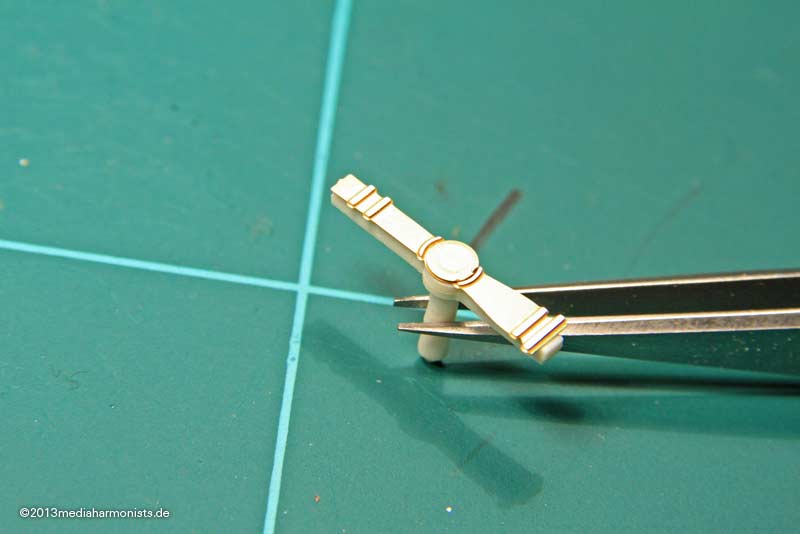
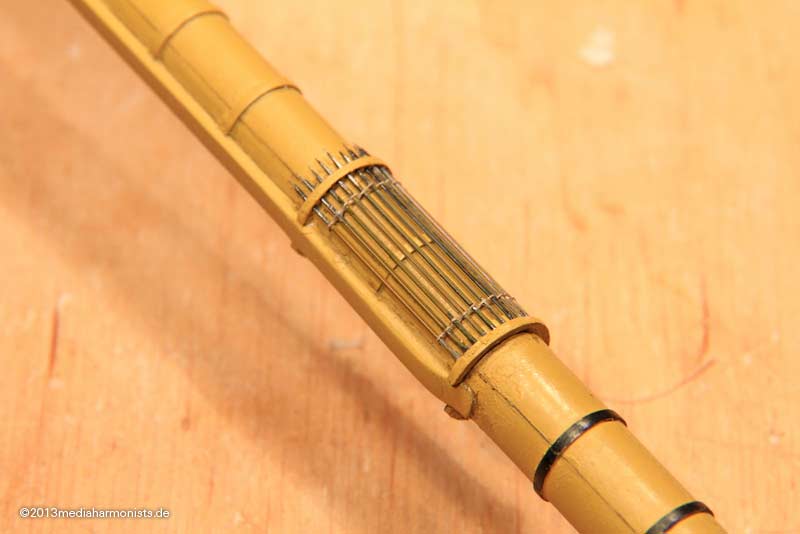
The fake steering wheel columne:
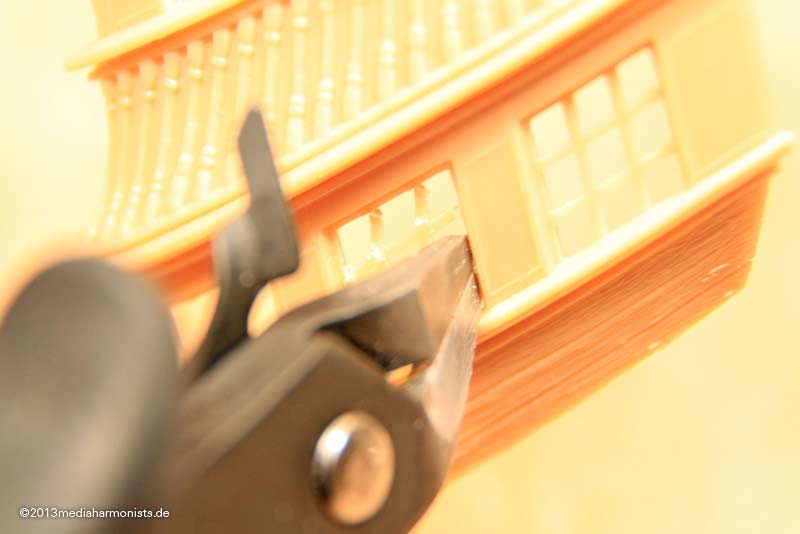
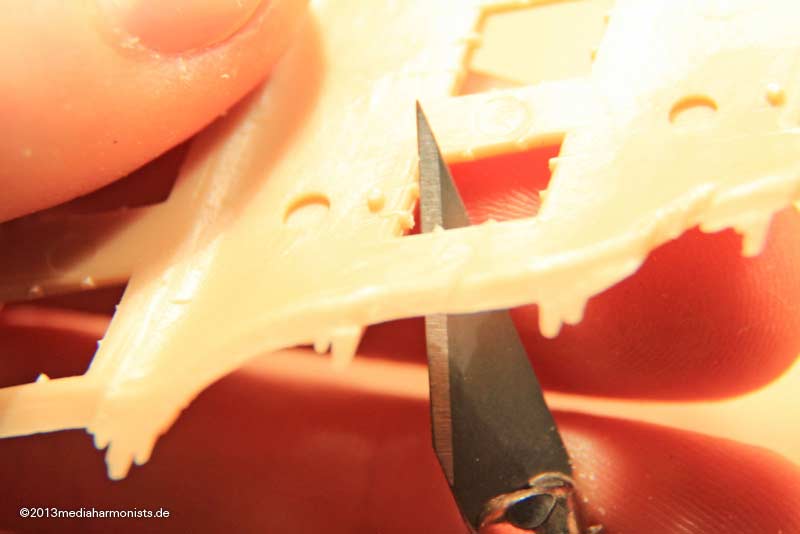
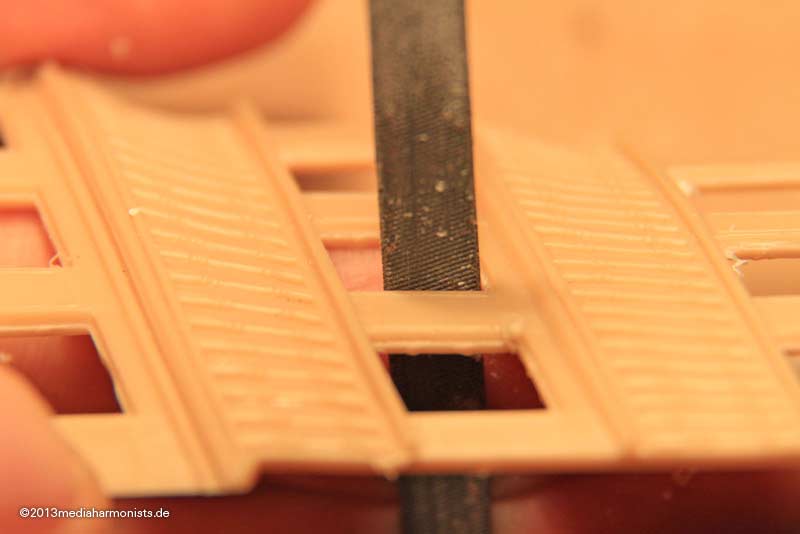
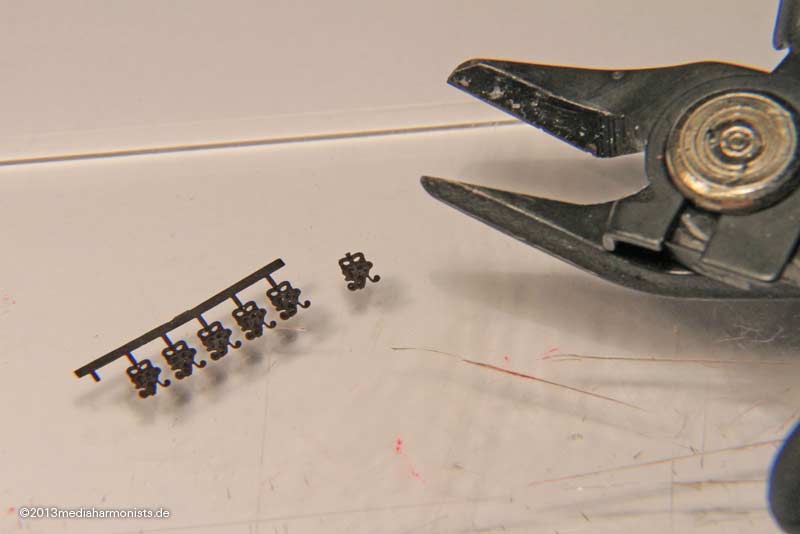
The rail of the poop got more exiting again. Closed the slots and cut off the nipples from the buckets ...
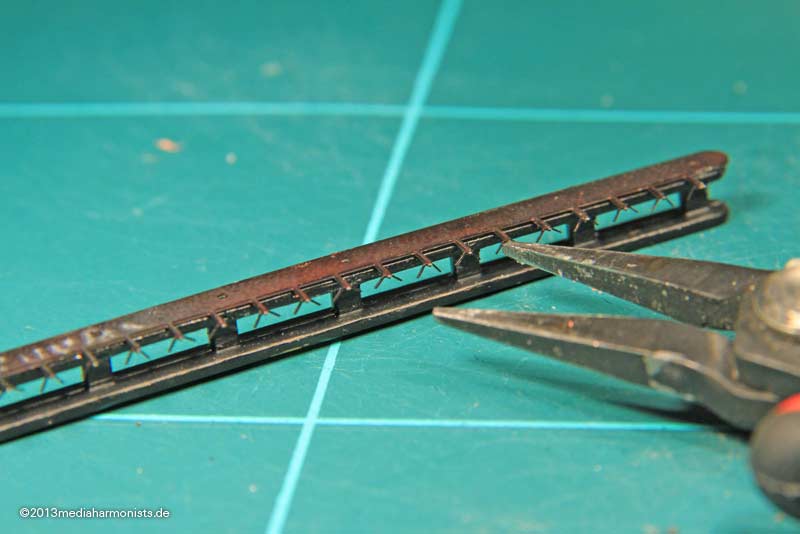
... flexed the new hangers of the buckets ...
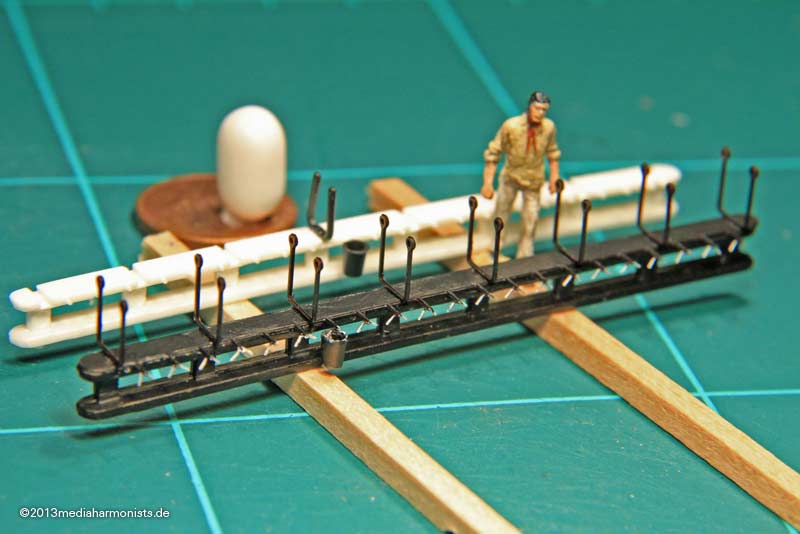
... drilled the holes for the hammock cranes into the styrene ...
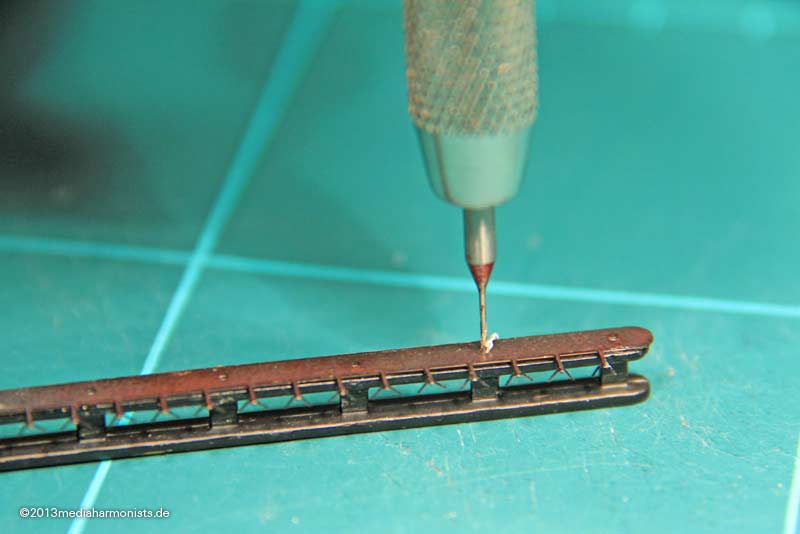
... and fixed the cranes and a bucket - fits
Even more fun was the binnical ...
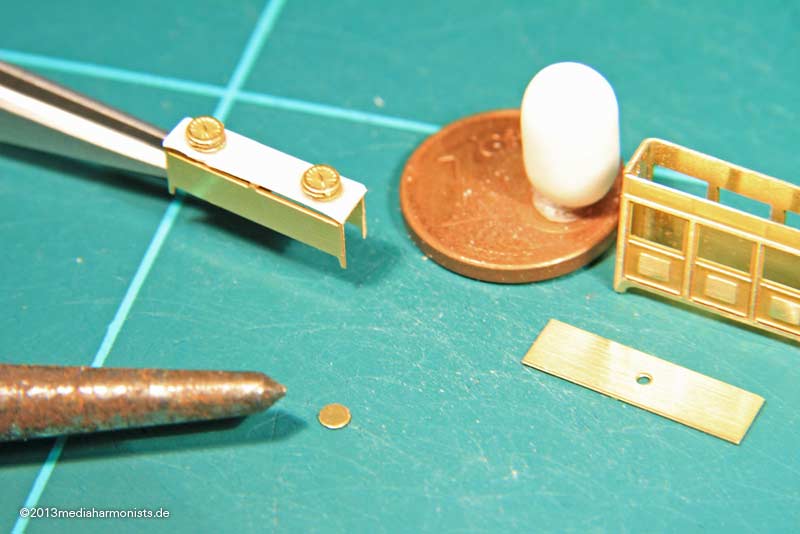
... the outside was tight part to be bent, bent the inside part, paper "flooded with thin CA" (Reed) as base for the compass layer cake, ...
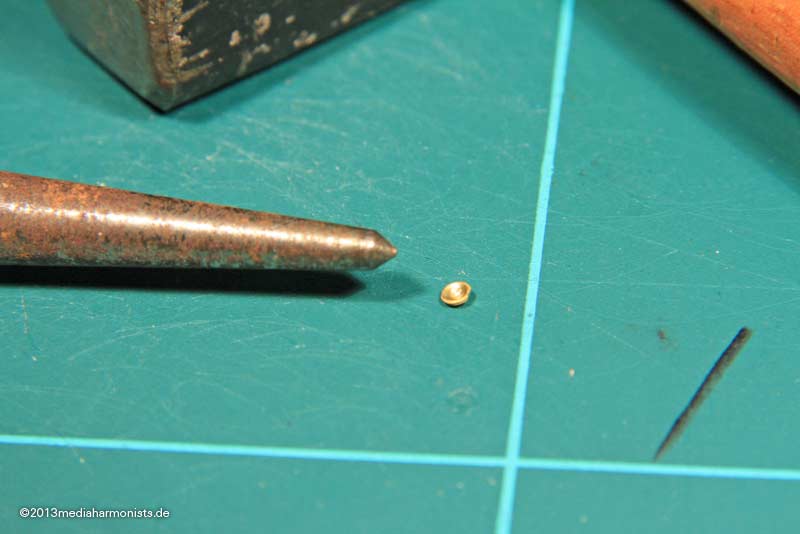
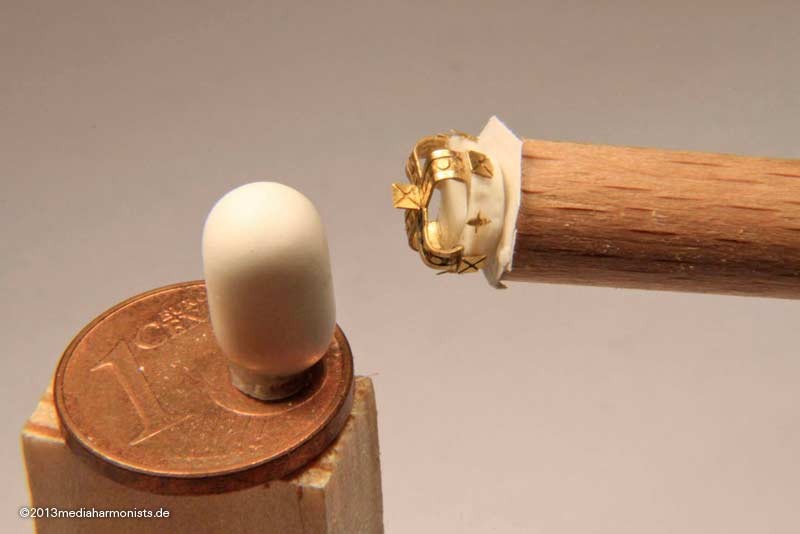
... small top for the funnel formed with the center punch ...

... and with the styrine rod and the micro rings on the side it is at least an improvement towards the one of the box
Still mising the glazing and the lantern in the middle, this one out of a toothpick as done before.
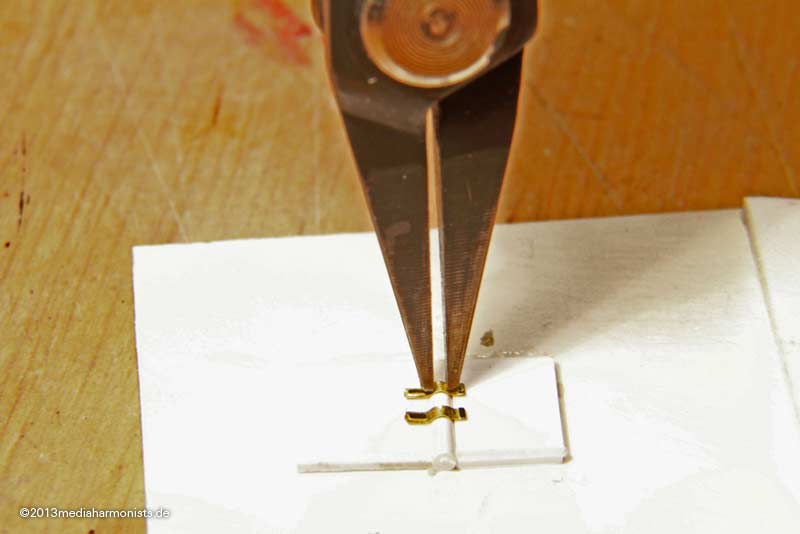
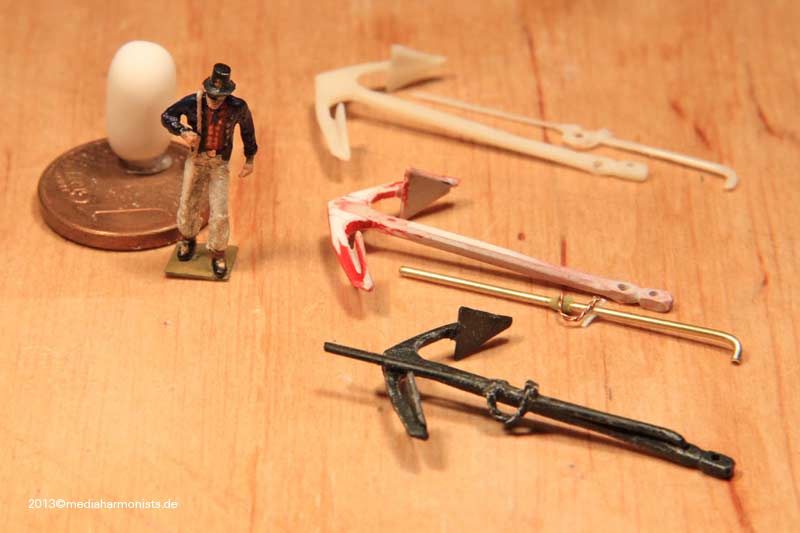
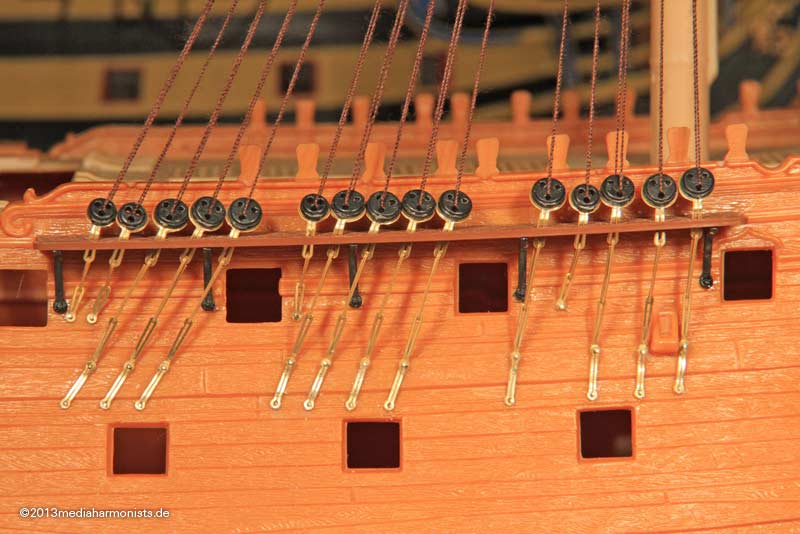
And then the heading for mishaps, missteps, and misfortune: the boarding pikes.
The brass parts were ok, but first I took the wrong measures - first tear-off - then forgot that I elongated the rubbing pouch downwards - second tear-off - and then still misplaced the rings and lost the nice detail of the spearhead underneath the ring - no tear off as I did not manage - so have to live with this small mishap ...
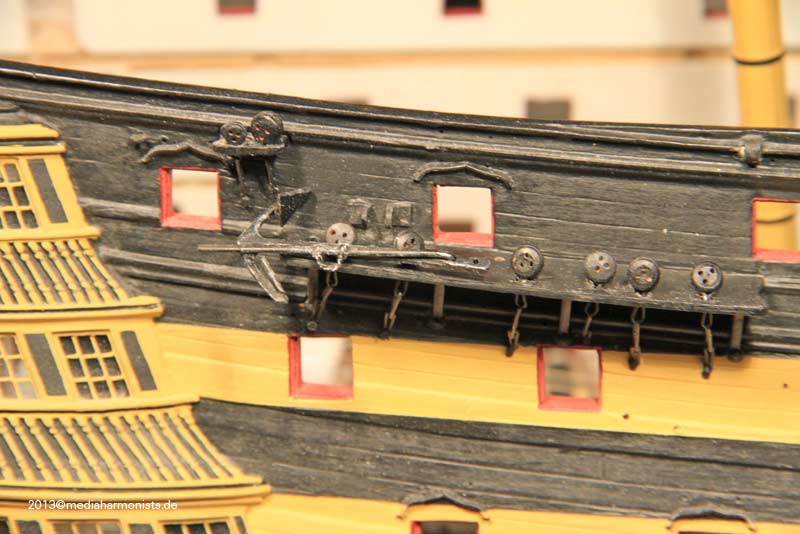
One can imagine, how the brass parts and the masts looked like ...
In the meantime I managed to clean it up a tad, and the rest will disappear underneath the collar that protects the hole in the deck and the underneath the main and preventer stay.
Now still have to try the chains and some other unimportant stuff
Lieber Gruß, Daniel


 )
)

 great build