Ok, time to do some stupid things ...
... I! WANT! ... I! WANT! ... I! WANT! ...
... sails 
For some time already - actually years - I was cogitating about how to do the sails. For scale reason I do not like the cloth ones as for their too coarse structure, paper ones almost always end up with small crisps and waves from painting. Silk is too transparent. Paper easily gets crisps and tears and rips if formed in a wet state. Cloth is too rigid for ma scale to give a realistic fall of the folds, paper is ...
Also I wanted to find something more realistic for the usual way of imitating the seams with pencil - or even worse black stitches. In reality the stitches themselves are mostely invisible as they have a similar color to the sail, what one can see is a difference i transparencies as the area of the stitches consists of 4-time folded cloth, being almost invisible with light from the front and to be seen as a "shadow" of blocked light if it comes from behind.
Could go on for ages lamenting. So I decided to laminate ...
(Got the pun?)
That is why I wanted to try a unusual test, combining the to materials. Silk of pongé 5 (Thinnest I could get) with paper glued to both sides, thus giving the better paper structure but using the strength of the cloth within. By using wall paper glue, I aimed in being able to soften up the sail where needed by wetness or steam to be able to form the sail afterwards.
One still is young and has dreams ...
So on we went, trying out a series of small squares of 5 cm of different cloths and paper and surprisingly this crackpot idea really seemed to be not completely out of this world.
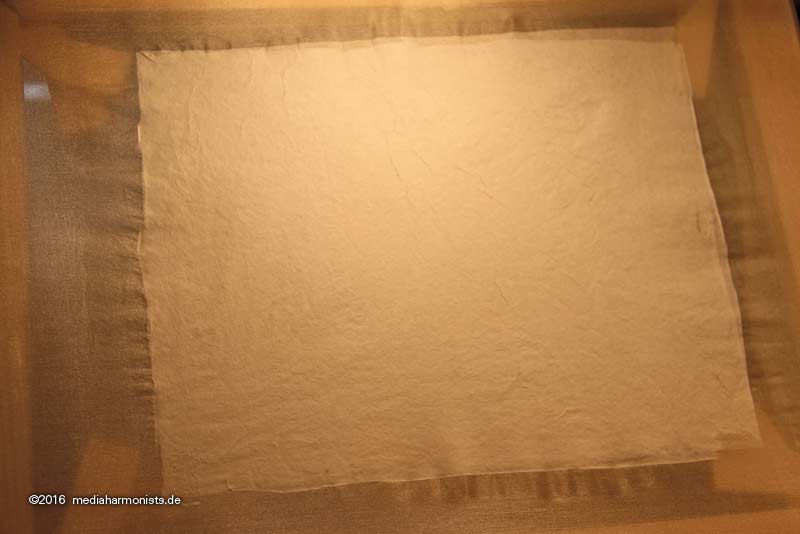
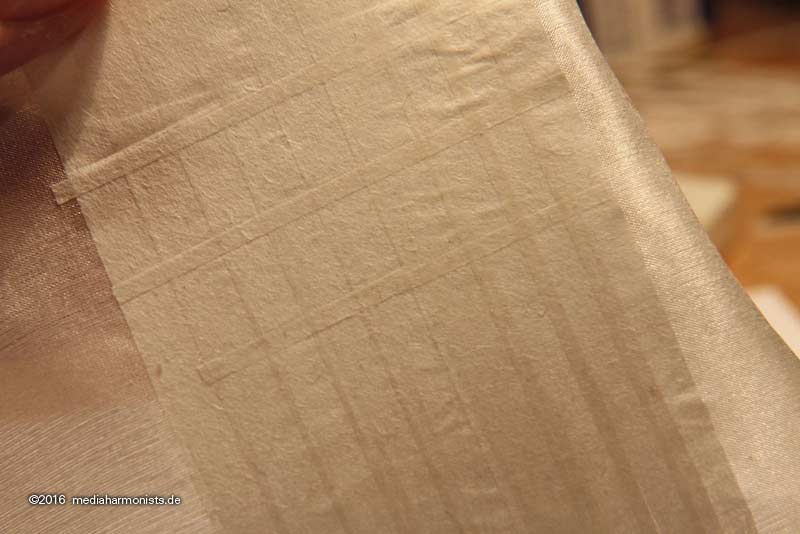
So and even further we went, investing in a wedge frame, putting the Silk p5 onto it ...
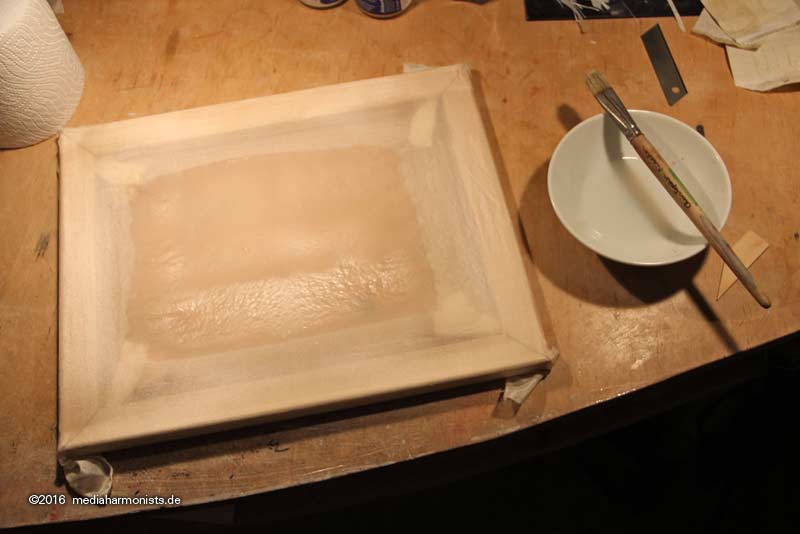
... and evenly spreading the glue. Then ading the thinnest paper I had on both sides. And one sees immediately the problem, the paper gives: the waves and crisps.
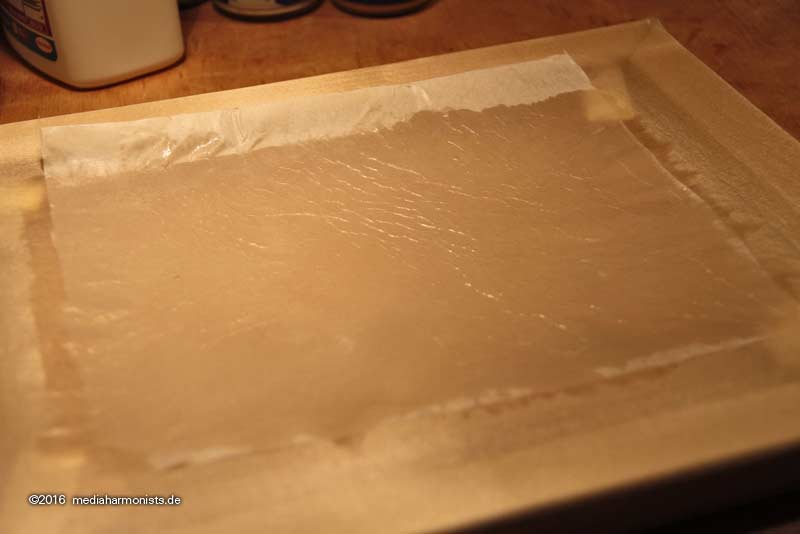
Got better after drying ...
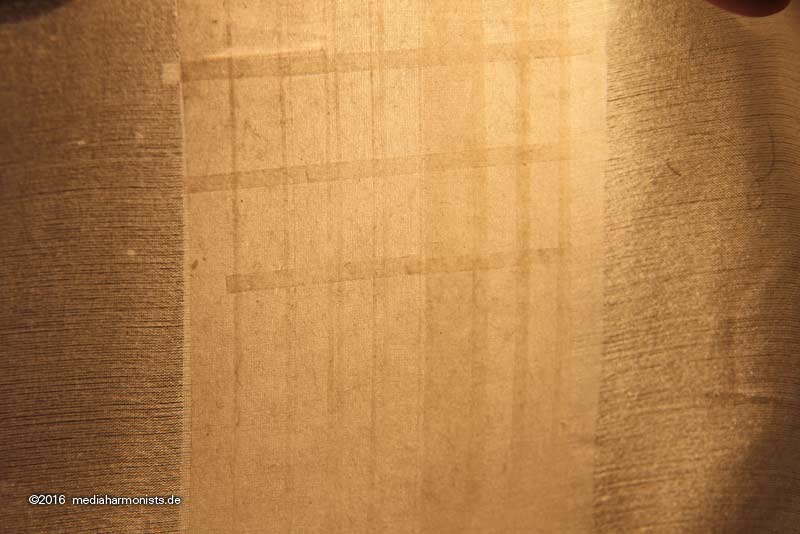
... the transparency was perfect ...
... but the sidelight revealed the small crisps still being there.
Next I tried to glue the seams onto this base which did not work at all, as the paper got soft with the glue ...
... ripping to shreds and proving its unwillingness not to perform straight lines  . .
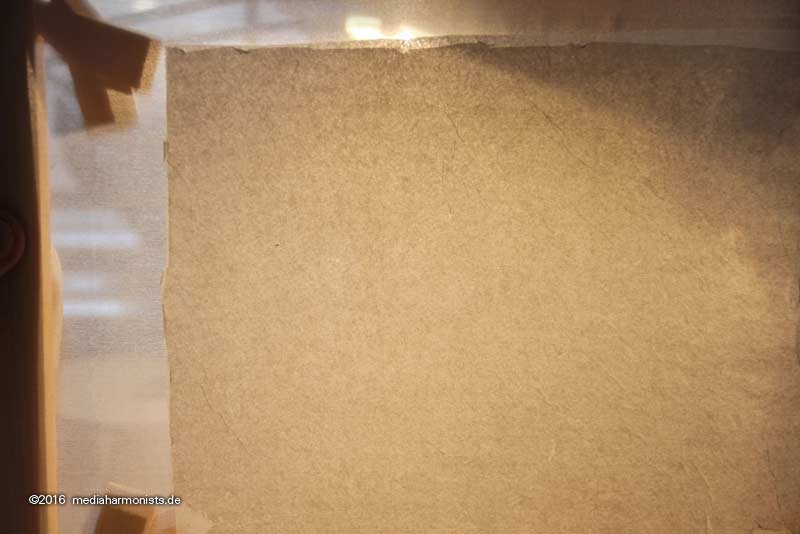
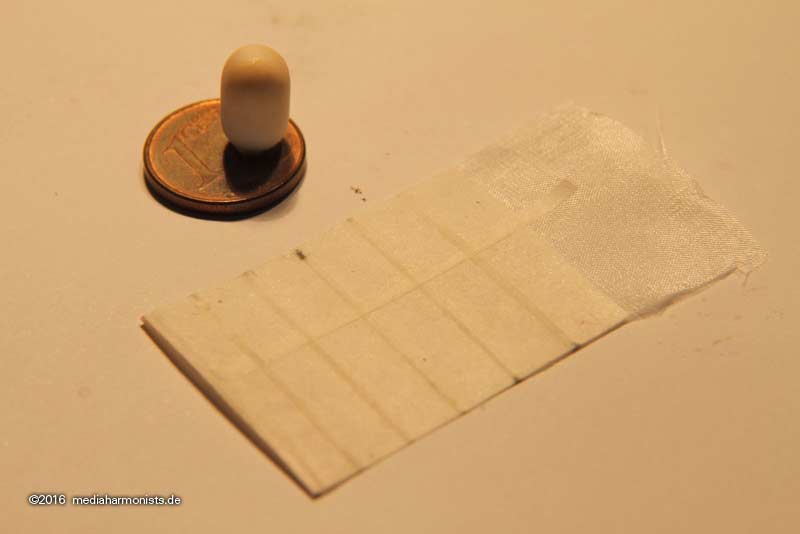
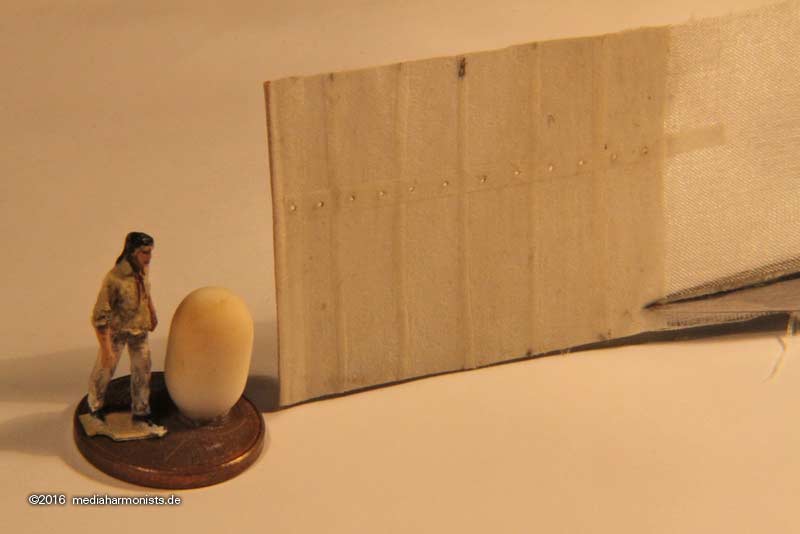
So I went on to search for different kind of papers and found something from the restoration department
Immediately had to try this out - and I never had been that near to what was being encapsulated in my strange brainsalads ...
... the back side was without any crisps ...

... and the transparency was perfect too ...
... and if I still manage to fit the doubling on the front and back sides to to match ...
... and I further on renounce to put two strips of "canvas" atop each other ...
... yep, then ...
...
...hihihihihihihihi...
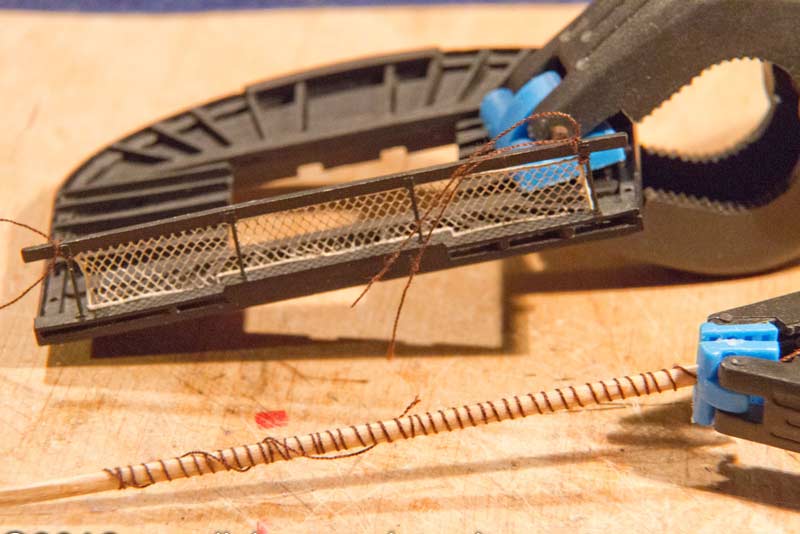
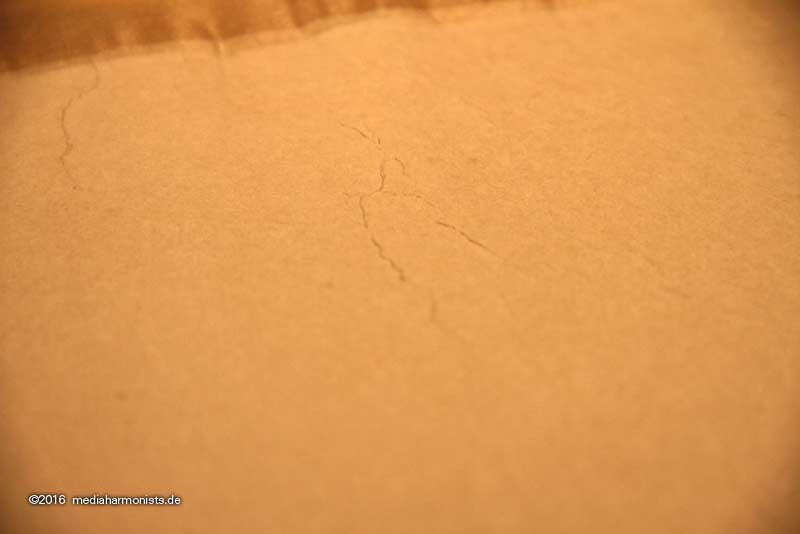
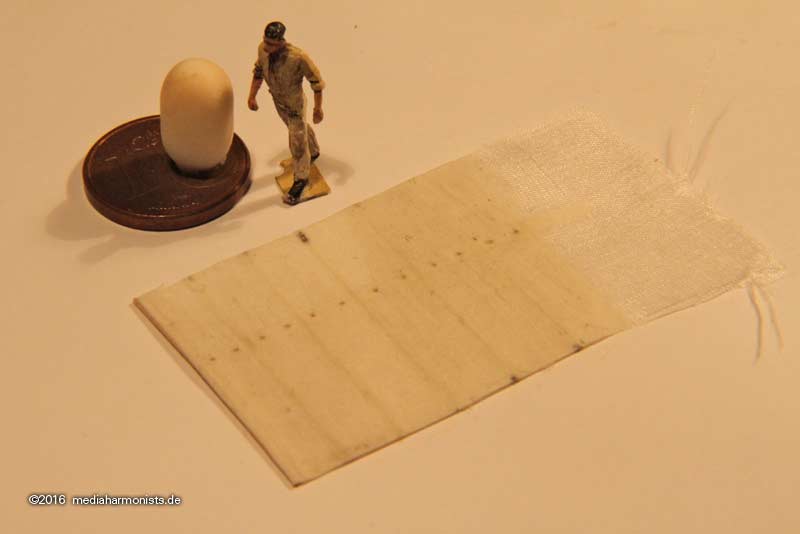
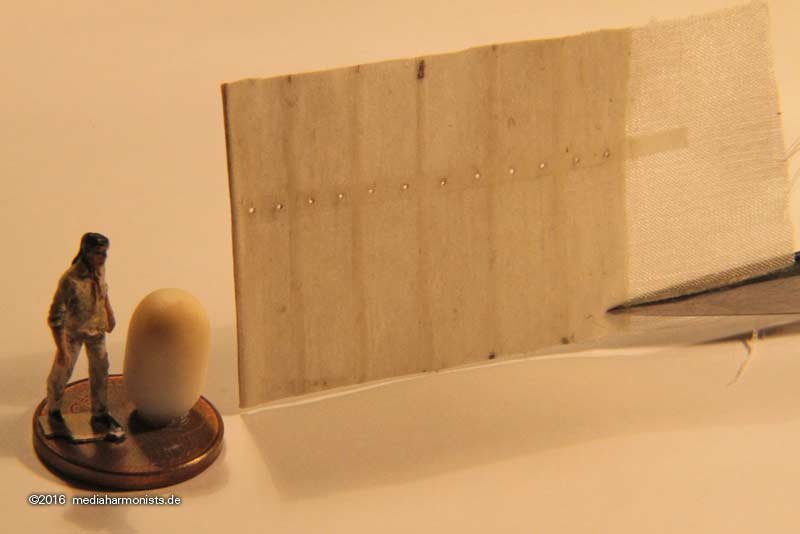
That is why I immediately did the next test piece. And got the appearence even closer to my aim. The doubling is made a layer thicker as it consists in reality of 4 layers of cloth, not just two.
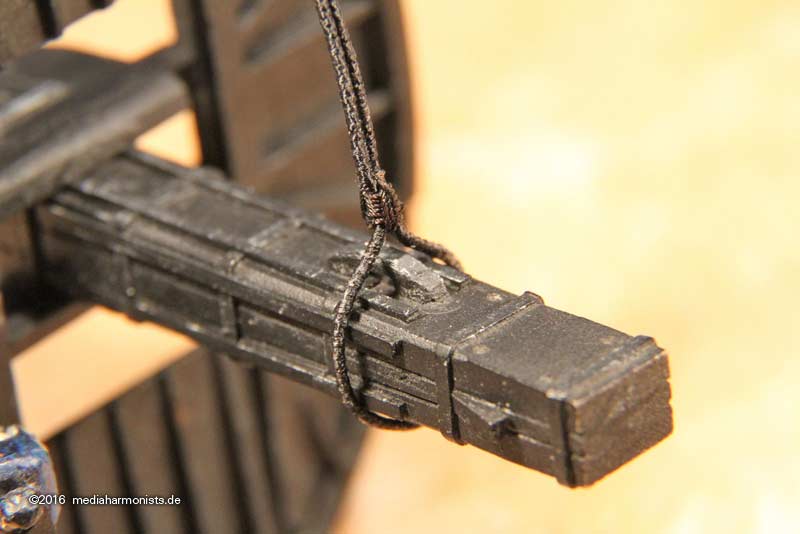
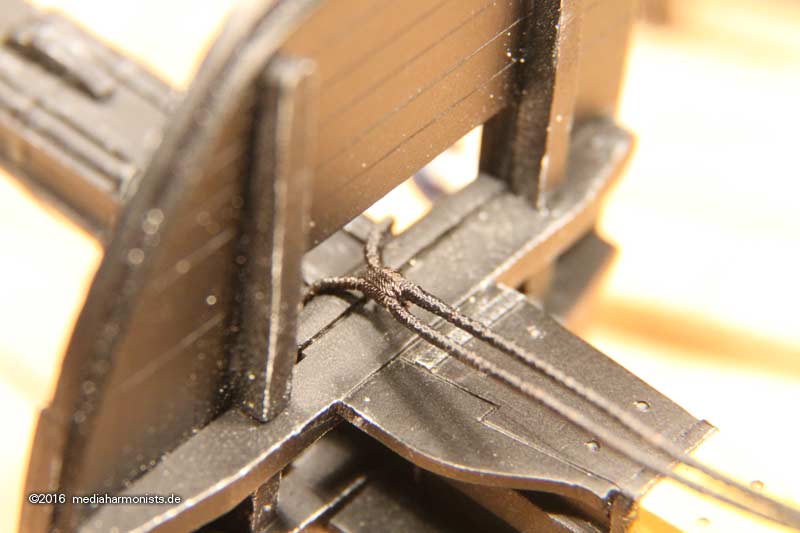
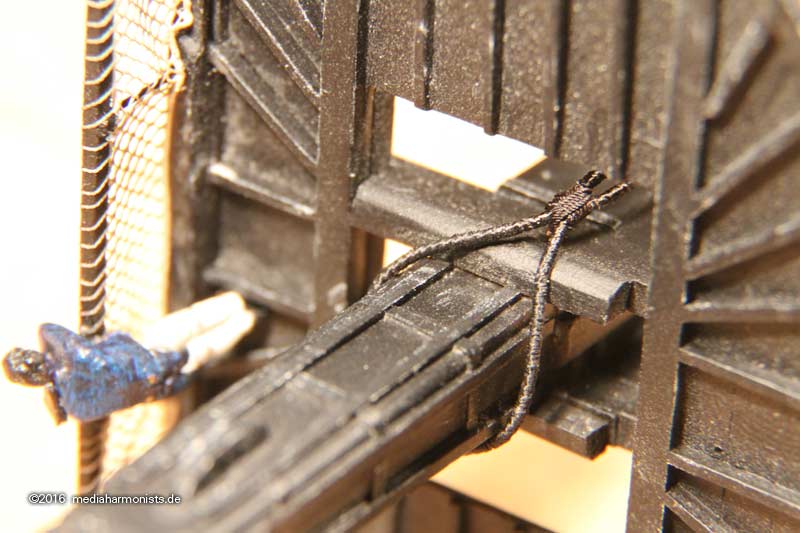
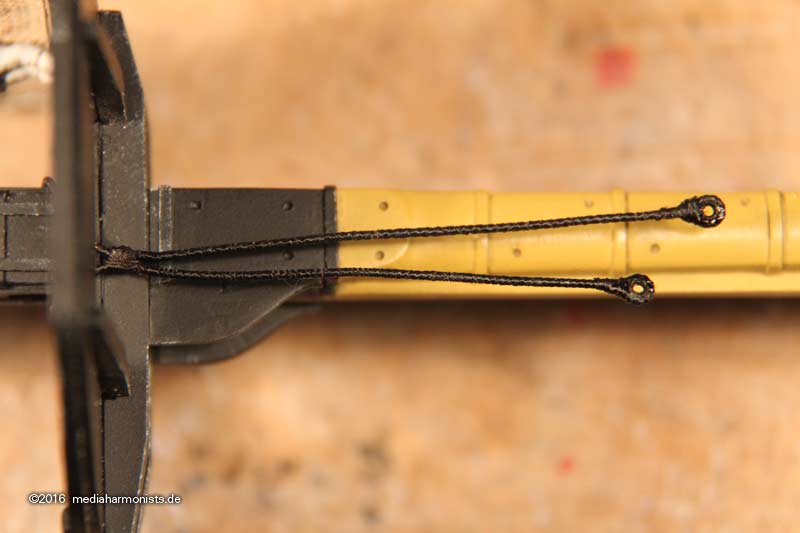
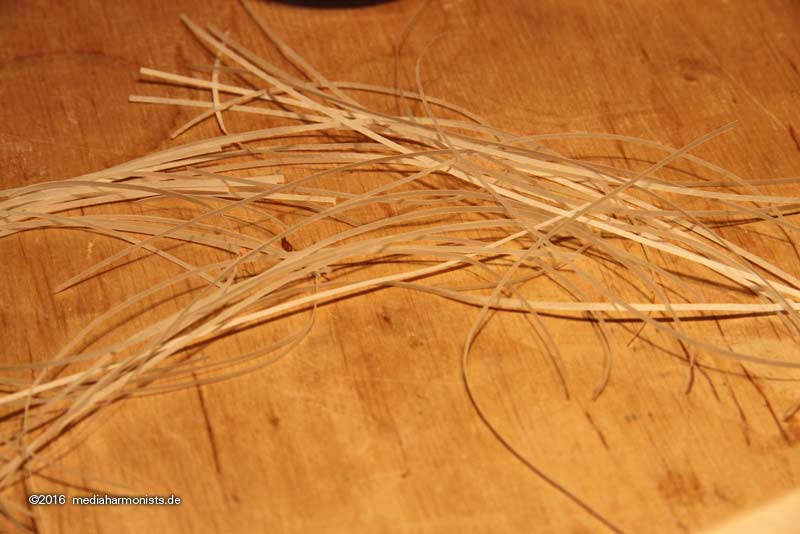
Also I added some copper thread in the seam, even though it will possibly be a bit difficult in a larger sail.
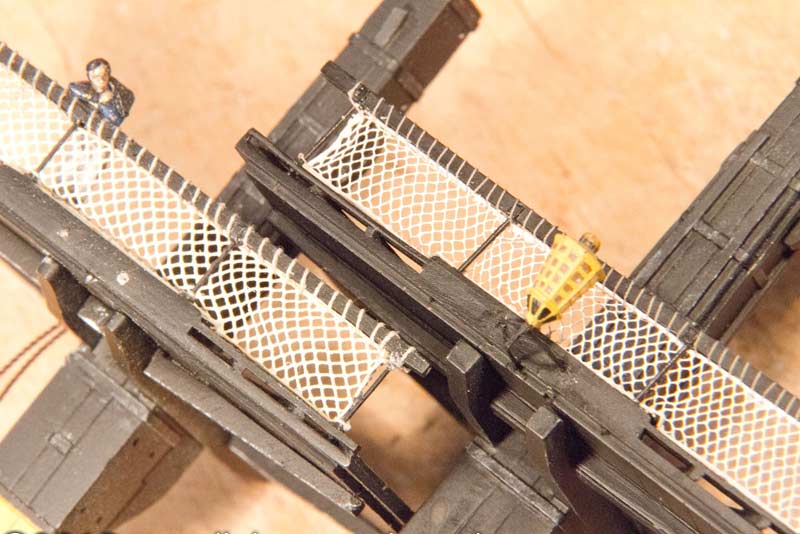
Then painted with some diluted wall paper glue dyed very carefully with a mixture of 3 parts light grey and one part yellow ochre
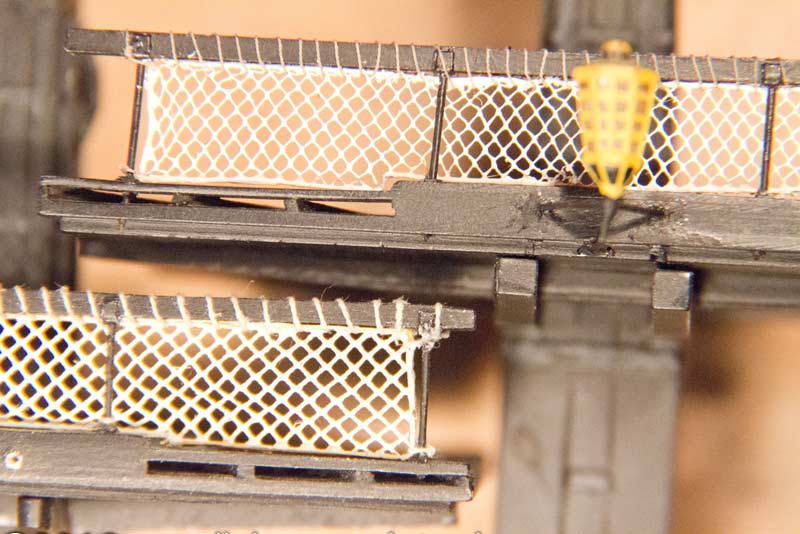
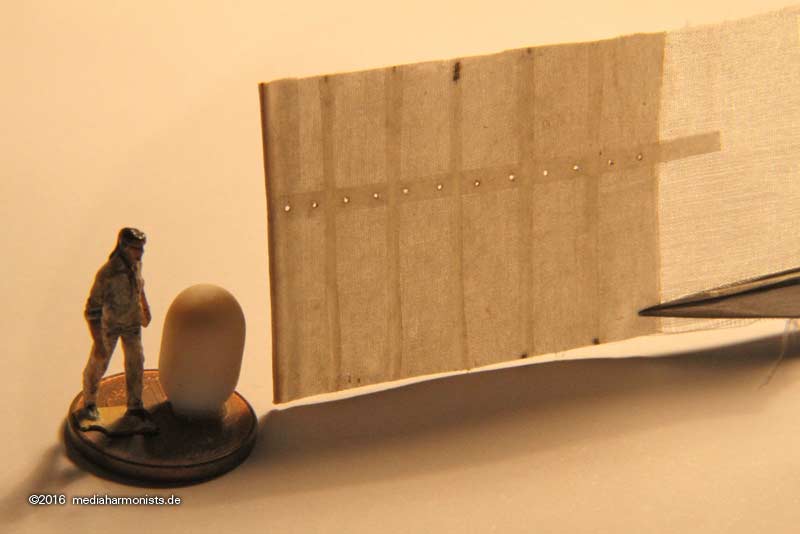
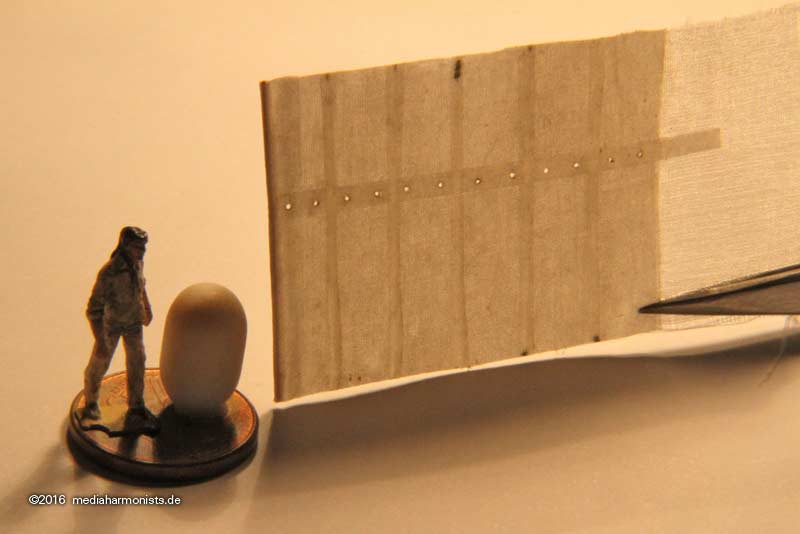
Here some shots of the nice play with light, changing appearance from frontal, side and back light
Slowly we go
... slowly ...
XXXDAn
|