
JB


| The Ship Model Forum http://www.shipmodels.info/mws_forum/ |
|
| To HMS Victory and beyond http://www.shipmodels.info/mws_forum/viewtopic.php?f=59&t=99050 |
Page 44 of 51 |
| Author: | JIM BAUMANN [ Tue Nov 09, 2021 5:51 am ] |
| Post subject: | Re: To HMS Victory and beyond |
| JB
|
|
| Author: | Martocticvs [ Tue Nov 09, 2021 1:27 pm ] |
| Post subject: | Re: To HMS Victory and beyond |
Fantastic! Was the entry port definitely there at Trafalgar? Some little voice in the back of my head is asking this question... |
|
| Author: | dafi [ Tue Nov 09, 2021 2:16 pm ] |
| Post subject: | Re: To HMS Victory and beyond |
I am quite confident that the port was not there at Trafalgar. But one needs it for the "Portsmouth-condition". Anyway I am getting more and more aware that for the Trafalgar-condition extensive modifications on the bows and the sidepockets are possibly needed, beyond the level of many modelers that tackle the Heller build. So most attempts to build the Victory will become a hybrid, as is my own actual model. XXXDAn |
|
| Author: | Martocticvs [ Tue Nov 09, 2021 6:45 pm ] |
| Post subject: | Re: To HMS Victory and beyond |
Sidepockets? |
|
| Author: | Dan K [ Tue Nov 09, 2021 7:57 pm ] |
| Post subject: | Re: To HMS Victory and beyond |
Gorgeous work, dafi. |
|
| Author: | dafi [ Mon Jan 10, 2022 7:59 am ] |
| Post subject: | Re: To HMS Victory and beyond |
Happy new year to you all, happy modelling and stay safe! Empty the vaults still: I did the fitting cat blocks fore the cat heads 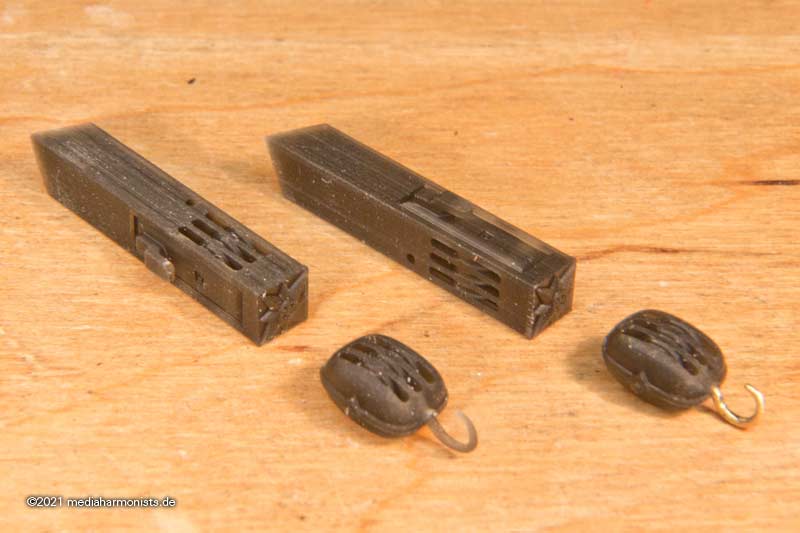  XXXDAn |
|
| Author: | dafi [ Mon Jan 10, 2022 8:11 am ] |
| Post subject: | Re: To HMS Victory and beyond |
But also bigger things happened, but never had the time to report. The force was with me!  But before it was back to the model again Repairing battle damage. I had simply installed the first beams without pre-bending but under tension, the correct curve was so automatically achieved, and it had worked quite well. At that time. What was not considered: 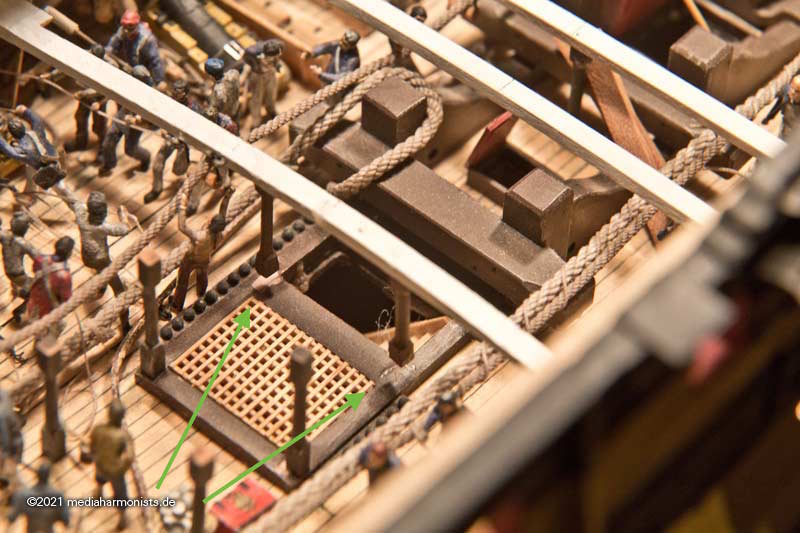 Wood works, and in the meantime the beams had simply become longer and they were suddenly 2 mm higher and had even taken the supports with them :-≠ Removal of the whole beam was not possible without too much collateral damage, so a cut was made in the middle with the resin saw ... 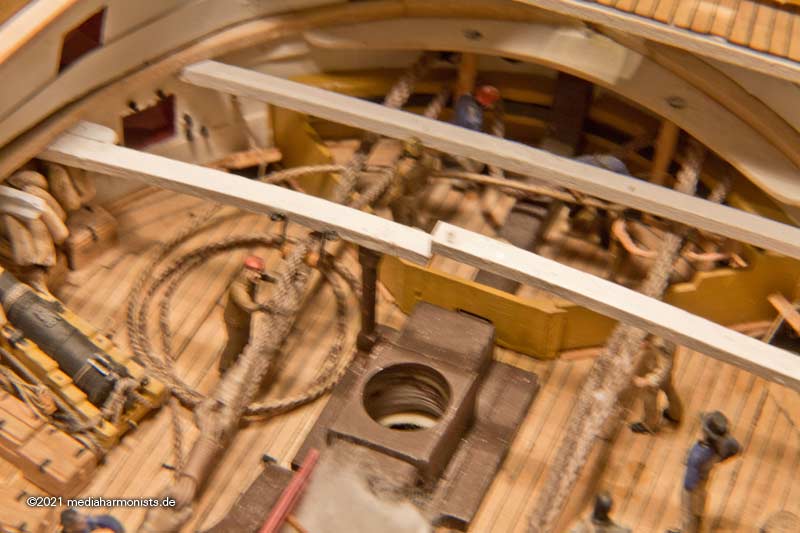 ... and sawed out the overhang and ... 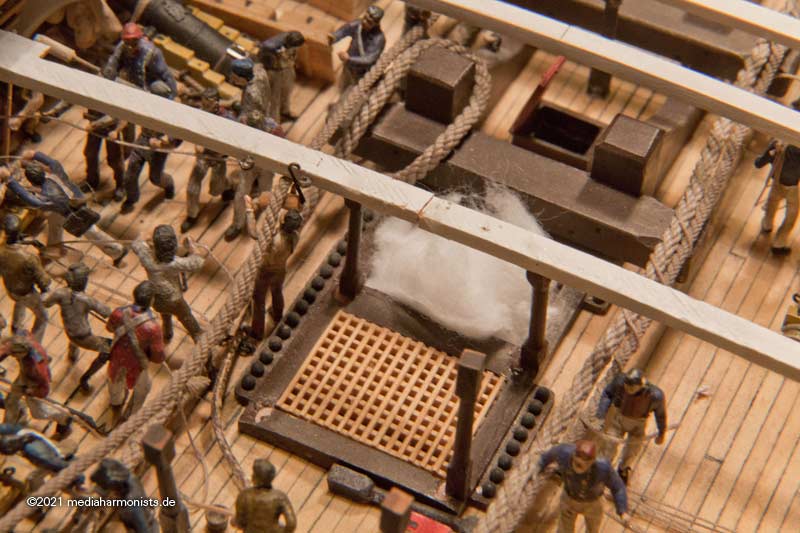 ... it fits again Accordingly, the coamings of the middle deck could finally be continued. 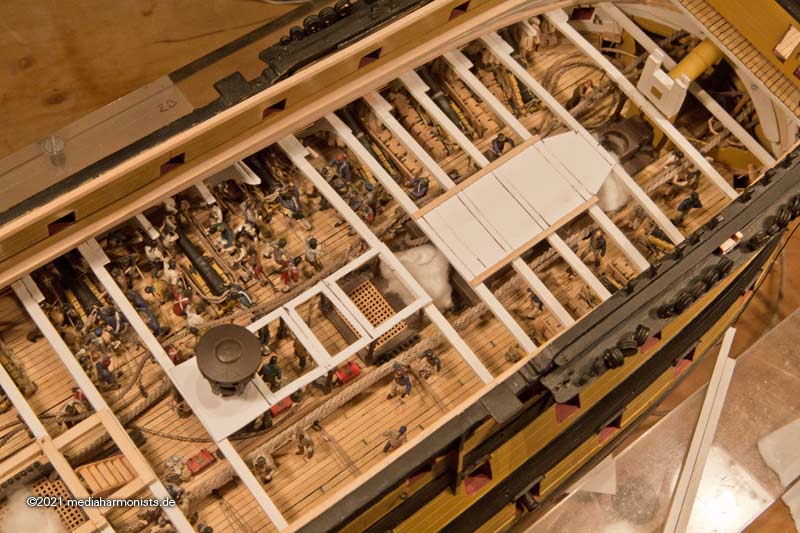 Also the small kitchen could finally get its foundation. And the tiler was also there. 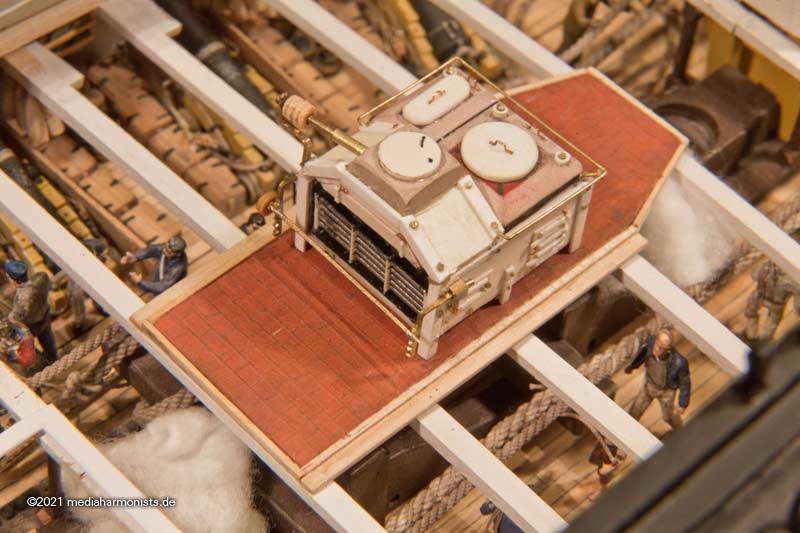 So things are happening again in the state of Victory 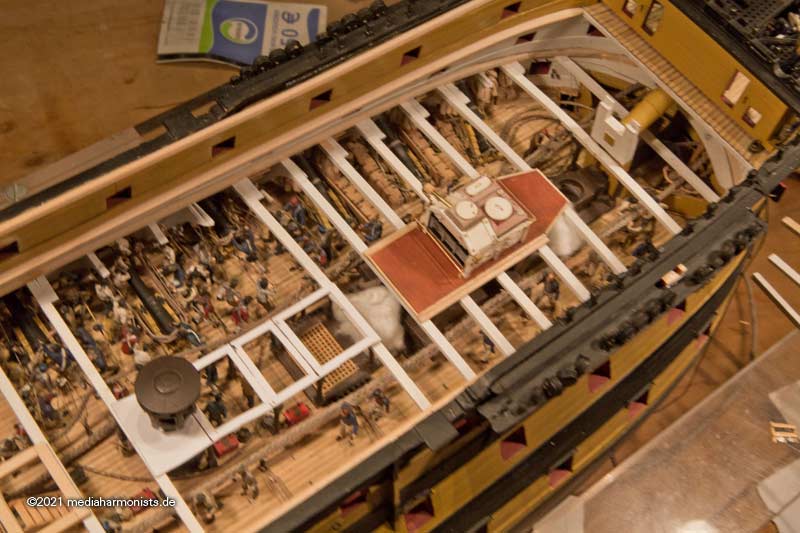 Greetings, DAniel |
|
| Author: | marijn van gils [ Tue Jan 11, 2022 3:19 am ] |
| Post subject: | Re: To HMS Victory and beyond |
Beautiful work on that kitchen Daniel! What material did you make the tiles from? |
|
| Author: | dafi [ Tue Jan 11, 2022 3:21 am ] |
| Post subject: | Re: To HMS Victory and beyond |
Thank you Marijn, that was 1 mm sheet, painted a rosty color, scribed, and polished with cotton and brown pastell chalk. Dad gave that matt gloss I wanted XXXDAn |
|
| Author: | dafi [ Tue Jan 11, 2022 3:29 am ] |
| Post subject: | Re: To HMS Victory and beyond |
Due to the stress of the end of the year, I never found the time to record what has happened in the meantime ... The last work with the deck beams was only the prelude, the overture, even the prelude to greater things! So read and be amazed, truly unexpected things were going to happen! For the power was with me! But first things first. In mid-November the stupid virus got me, but thanks to vaccination only a mild course. Thus "boosted", it was an easier decision for me to help the colleagues from the club at the booth during the games fair in Stuttgart. As those were public handicraft lessons, my small one with the yellow and black lines that make her look slim was supposed to look pretty. With all the battle damage removed, into the car with all my other children - "Are we there soon?" "I feel sick" "I'm hungry!" "I have to pee!" and so on - and otherwise uneventful drive to the fair to set up 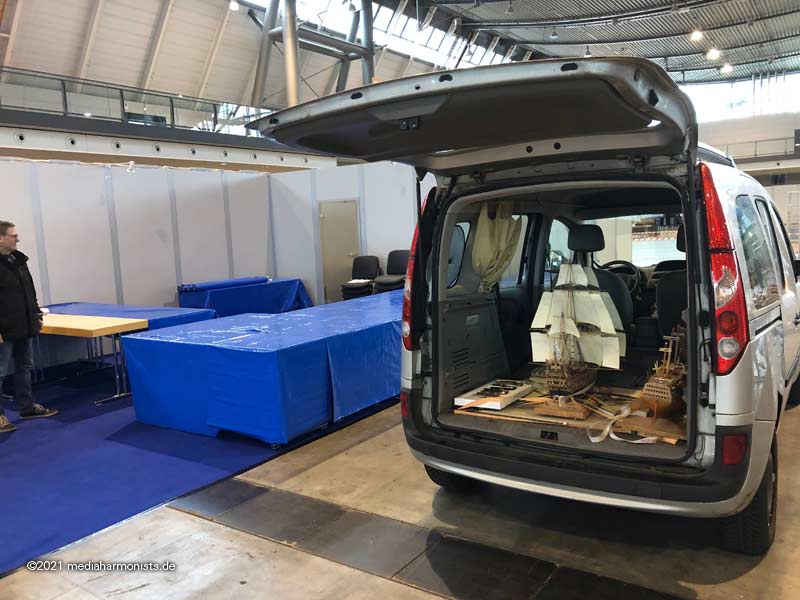 The booth of the Arbeitskereis historischer Schiffsbau ... 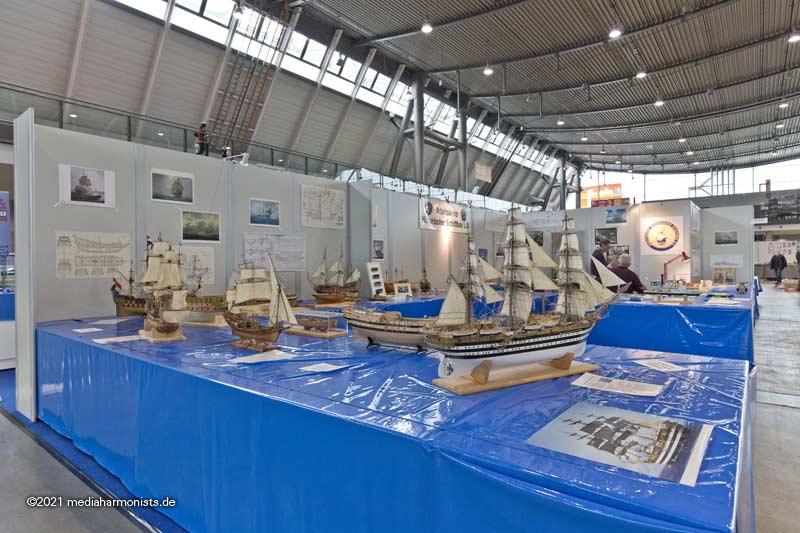 ... and the corner with all my bits and pieces. 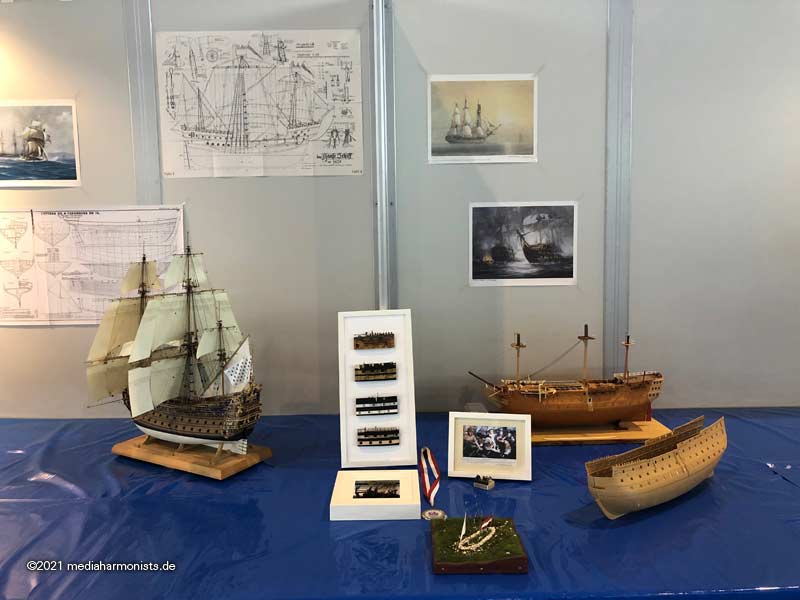 Because remember, fun is the fair life if: - you can send your offspring to the "Reeperbahn" ... 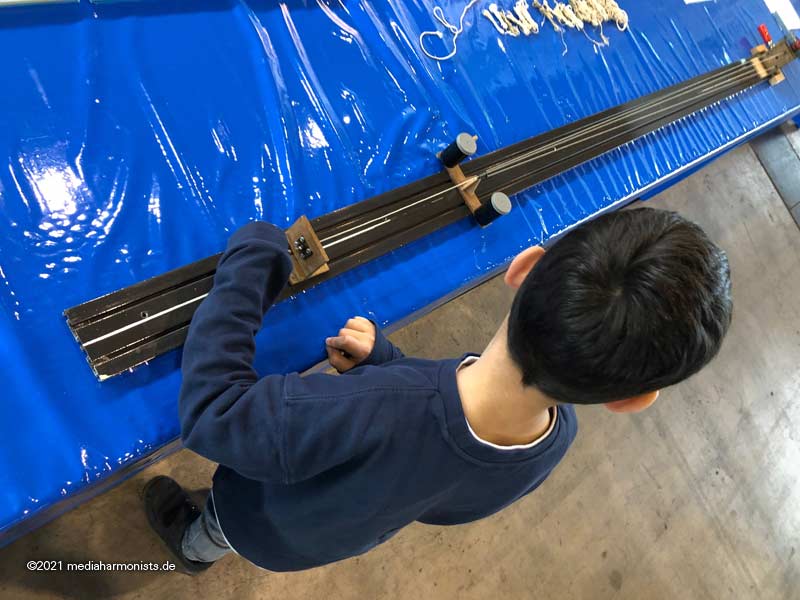 - and there is enough food for the fight 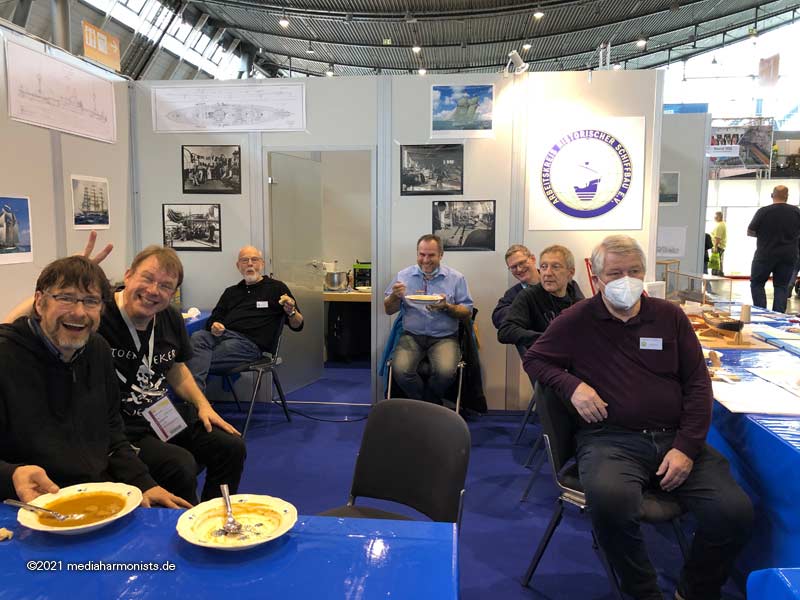
|
|
| Author: | dafi [ Tue Jan 11, 2022 3:38 am ] |
| Post subject: | Re: To HMS Victory and beyond |
In the meantime, all the deck beams were in place and the stove could be provisionally adjusted. 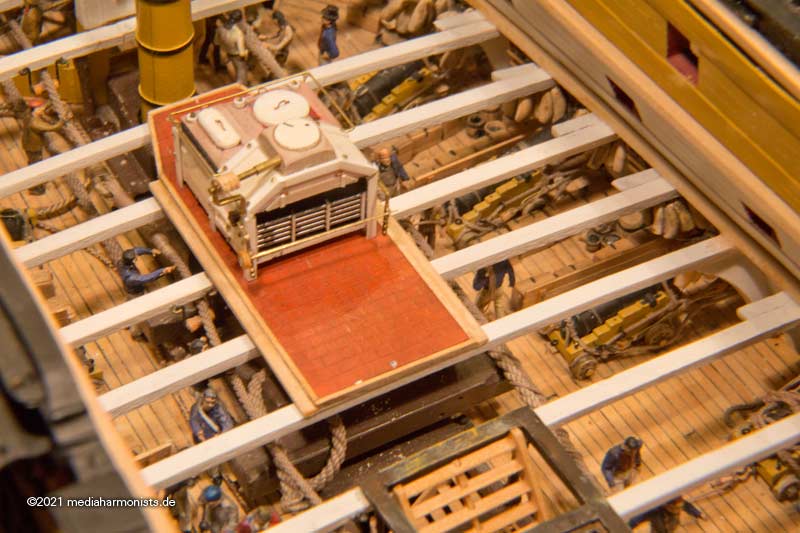 The next stage was the area between the stove and the fore capstan. First, the capstan was removed and the bottom plate from the 1788 plans was added. No one has yet been able to tell me its purpose ... 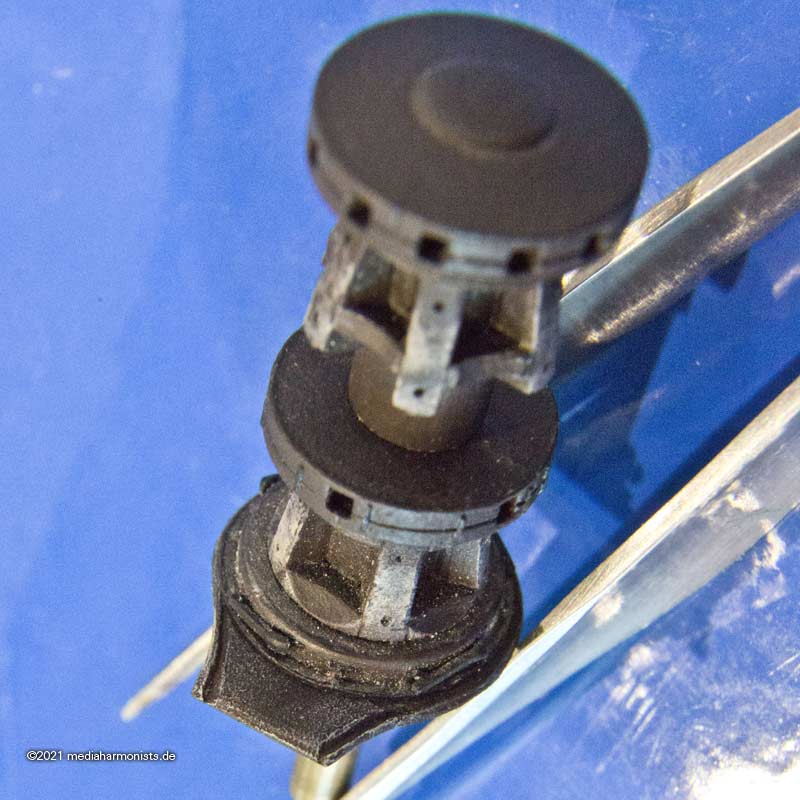 And then glue it in and press it ... 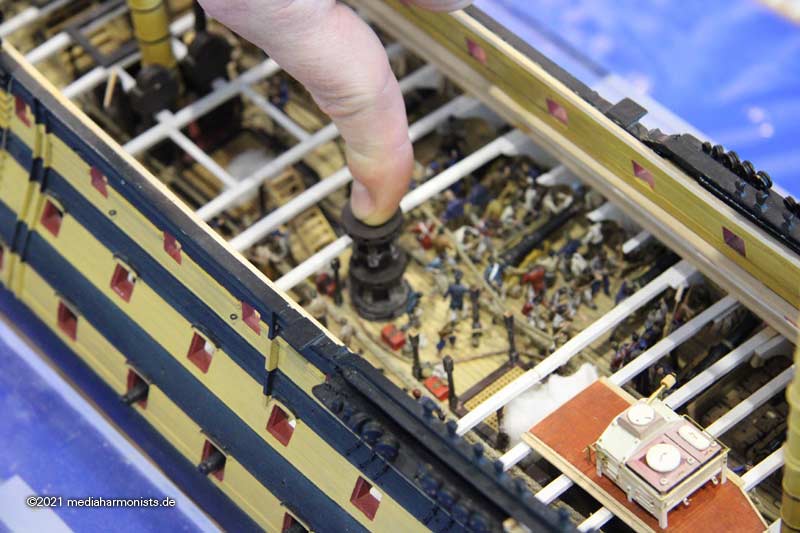 ... and public waiting, oups, the life of a model maker can be sooooo exciting ... 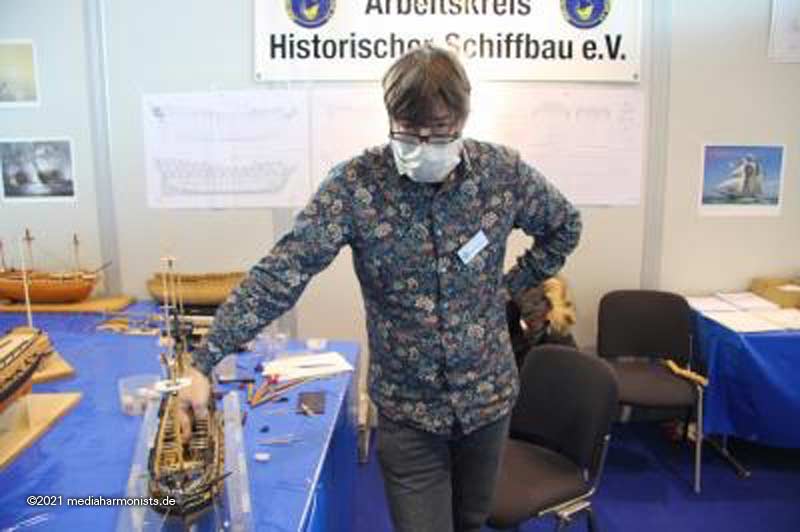 And with that, something had happened that no one had ever dared to dream of, that no one had thought was humanly possible, something earth-shattering: This was the last piece to be fixed on the lower gundeck. Herewith I call this adventure finished It was only 12 years since October 2009 for the lower gun deck Respectfully, with kind regards, Daniel Fischer (out of town after dictation) |
|
| Author: | dafi [ Wed Jan 12, 2022 3:06 am ] |
| Post subject: | Re: To HMS Victory and beyond |
After finishing the lower deck project, there was a short breather - the exhibition stood still for about 0.035 minutes - I immediately took advantage of the nice momentum and continued: [gruen]New adventure: middle deck and beyond, projected construction time (experience value) approx. 12 years[/gruen]. The coamings of this area off site ... 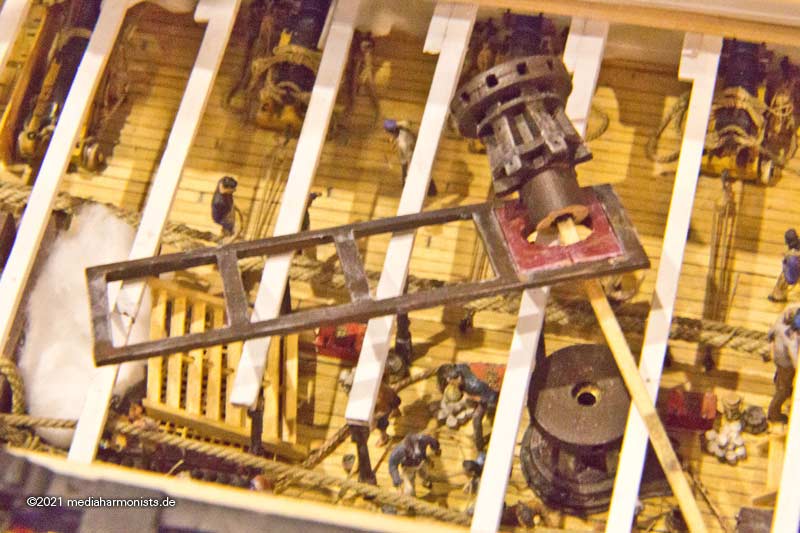 ... and on site, first fitting samples ... 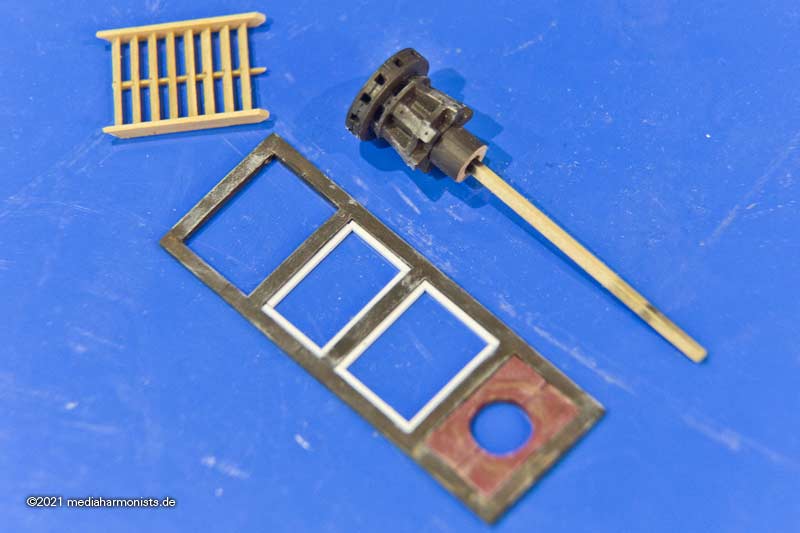 ... and for retrofitting for the folds so that the gratings don't fall onto the lower deck.... 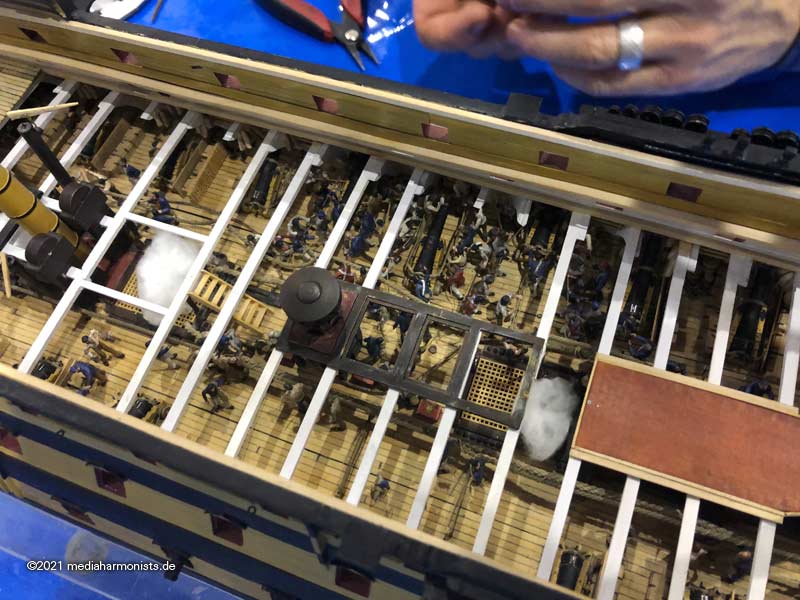 And then glue was put underneath the coaming and another public wait for the glue to set. Model making is soooooo exciting 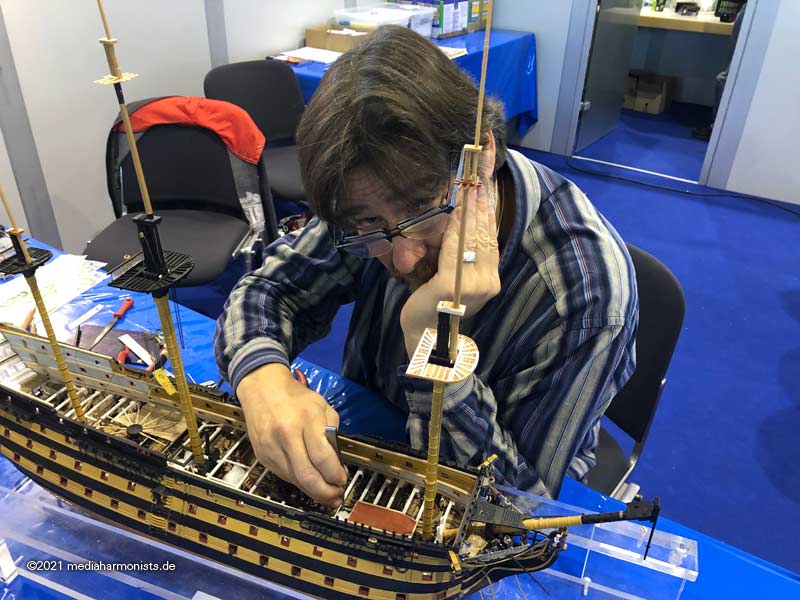 ... and waiting ... 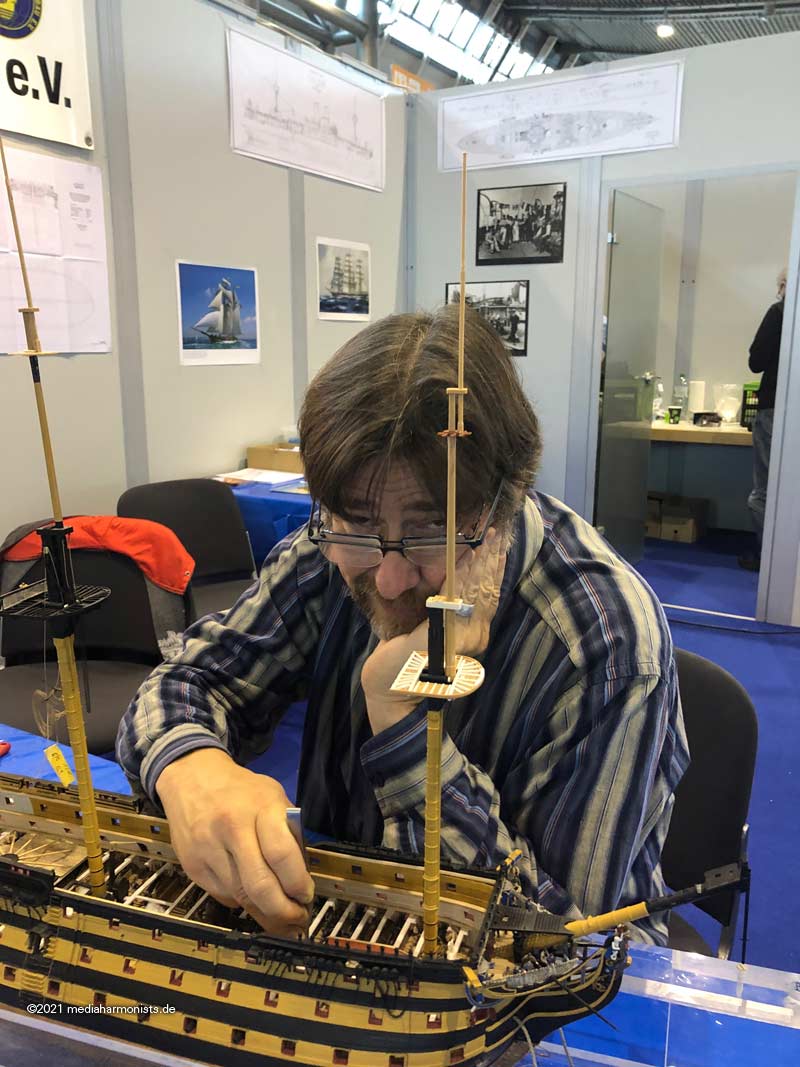 And then it came, as it had to come, the public open heart surgery ... 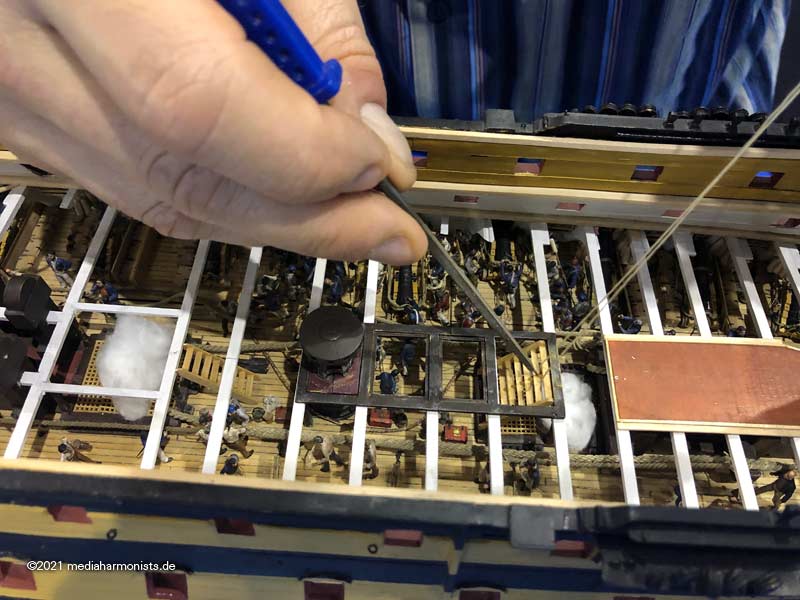 The stairs had to be lifted from below as for the fold of the coaming, the thread was to lift it up ... 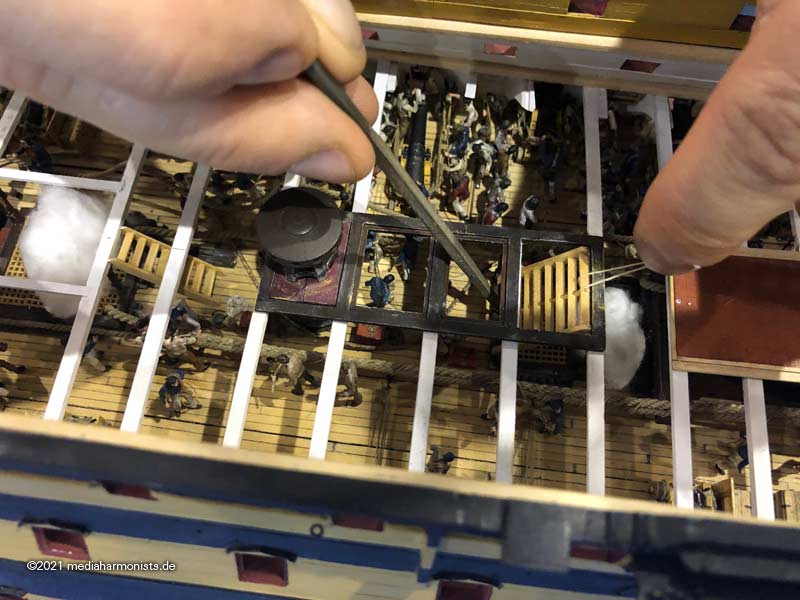 ... and the whole thing quickly-quickly ... 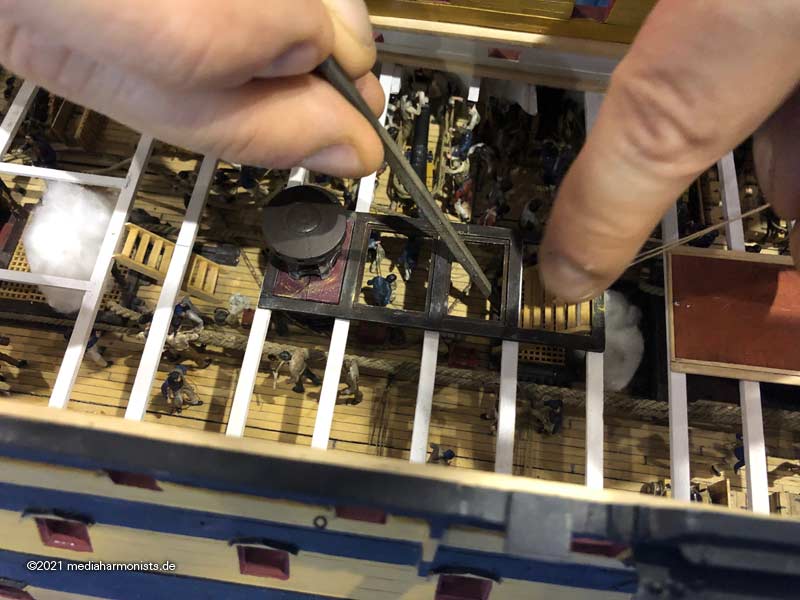 ... without bumping into anything, because ... 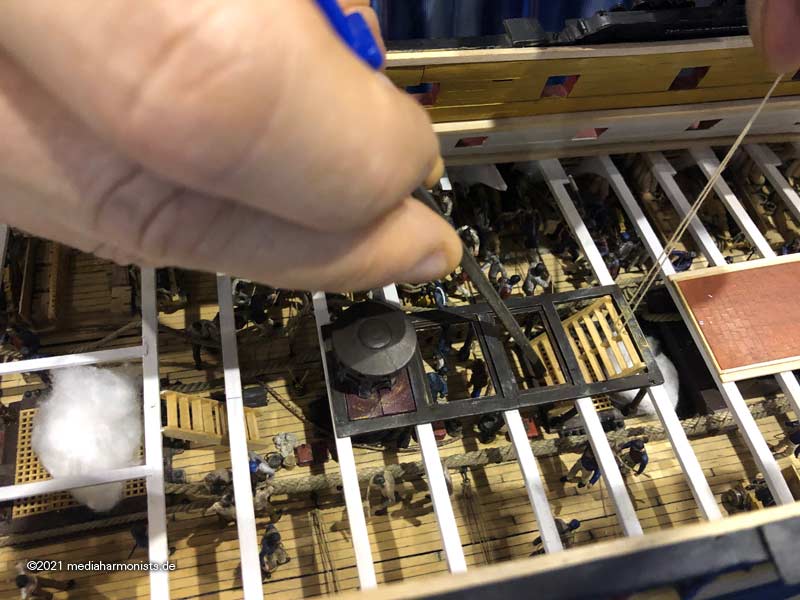 ... there was superglue at the bottom of the ladder.  And then just let go of the line and done we are Finally the coamings around the main hatch ... 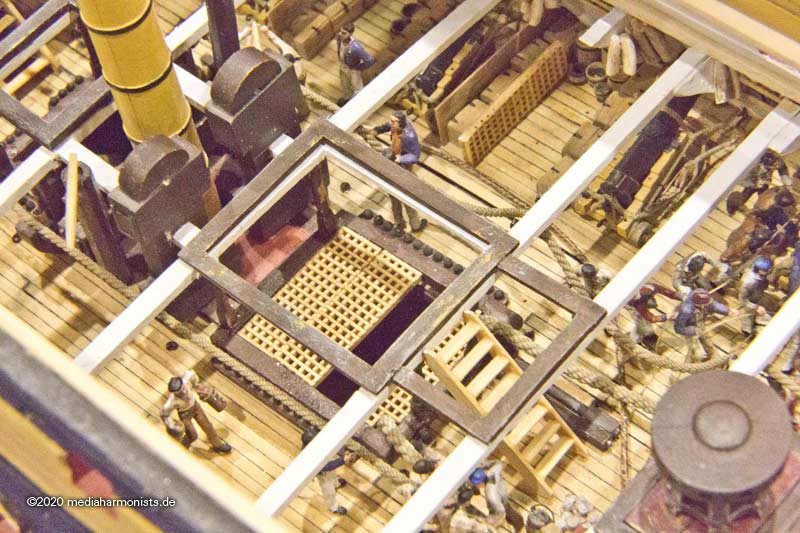 ... and some impressions of the finished area. 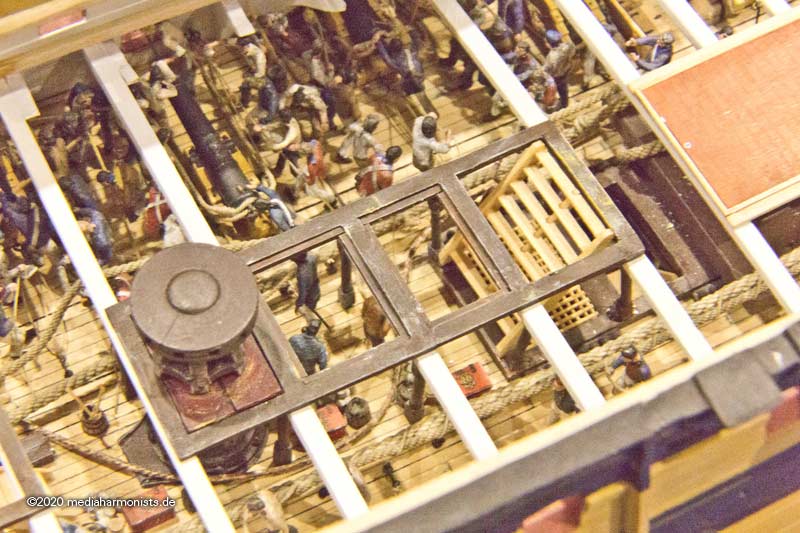 [img]https:h//www.mediaharmonists.de/bilder/Sammler35/Victory-lower-deck-211122_0650.jpg[/img] 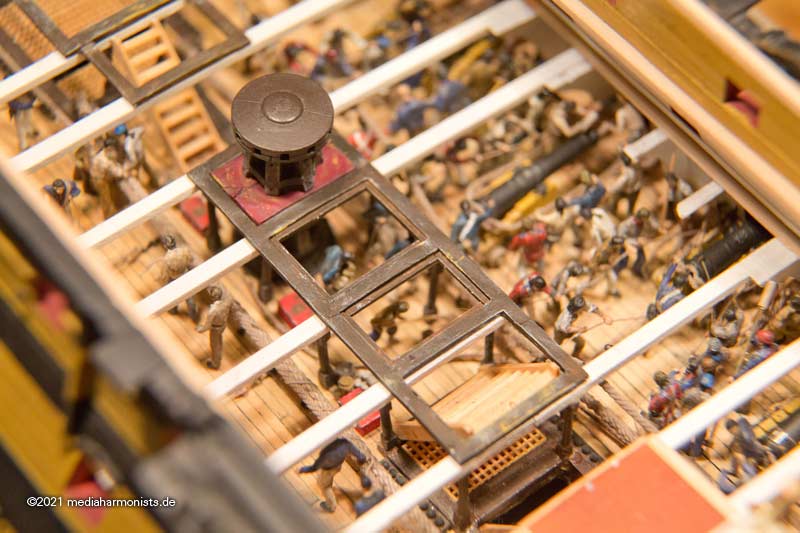 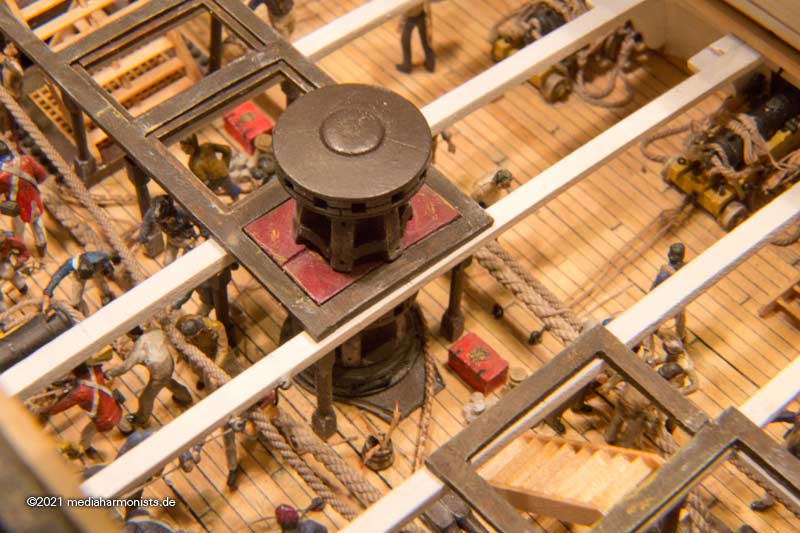 Well, now I have to cut some more deck planks ... XXXDAn |
|
| Author: | marijn van gils [ Wed Jan 12, 2022 5:41 am ] |
| Post subject: | Re: To HMS Victory and beyond |
Are you really going to cover up that lower deck with planking? Or only some selected small areas? You know, you could also make another Victory to show the middle deck. And another for the upper, and... But let me congratulate you first on the completion of the lower deck. It was an amazing journey!
|
|
| Author: | dhenning [ Wed Jan 12, 2022 10:30 pm ] |
| Post subject: | Re: To HMS Victory and beyond |
So did you pay the stormtroopers to keep the public away while completing the installation? You are a brave man-I would have been hauled away by the authorities for foul language while attempting that precise work! Have enjoyed the posts and amazing work! |
|
| Author: | dafi [ Fri Jan 14, 2022 3:14 am ] |
| Post subject: | Re: To HMS Victory and beyond |
Thank you Marijn and dhenning! Small intermezzo aka news from the shipyard: "Ouops, I did it again" ... 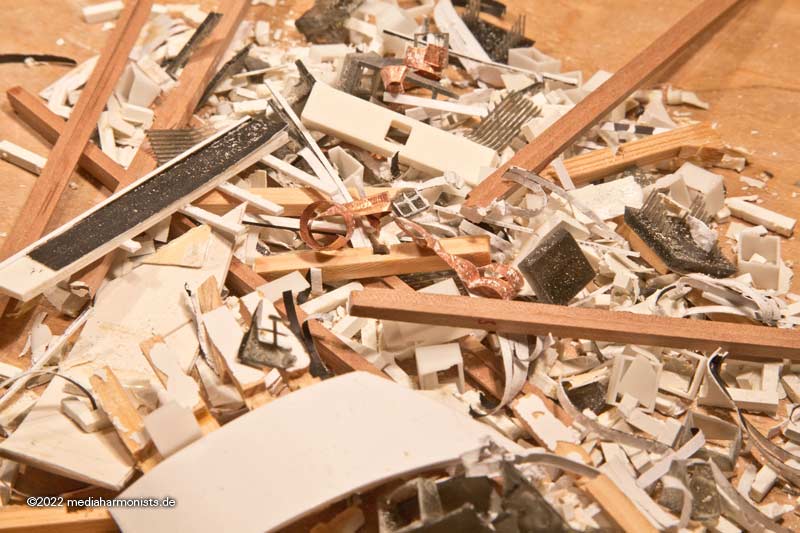 https://www.youtube.com/watch?v=CduA0TULnow XXXDAn |
|
| Author: | marijn van gils [ Fri Jan 14, 2022 7:35 am ] |
| Post subject: | Re: To HMS Victory and beyond |
 Is that from your 'black and white' Victory? I hope it is... |
|
| Author: | dafi [ Fri Jan 14, 2022 2:33 pm ] |
| Post subject: | Re: To HMS Victory and beyond |
There always needs to be hammer on cliché pictures of model ship builders. Even when they're rigging. They're not that far off. Or to paraphrase Schiller, "What wilt thou with a hammer, speak!" 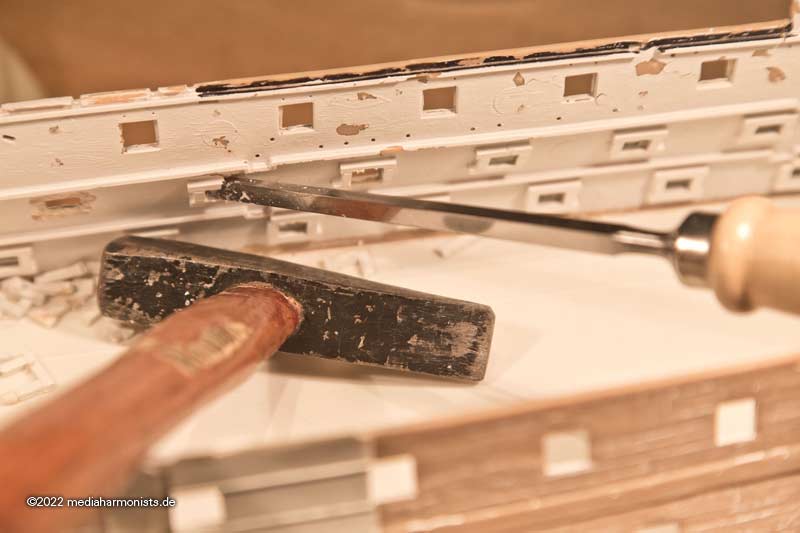 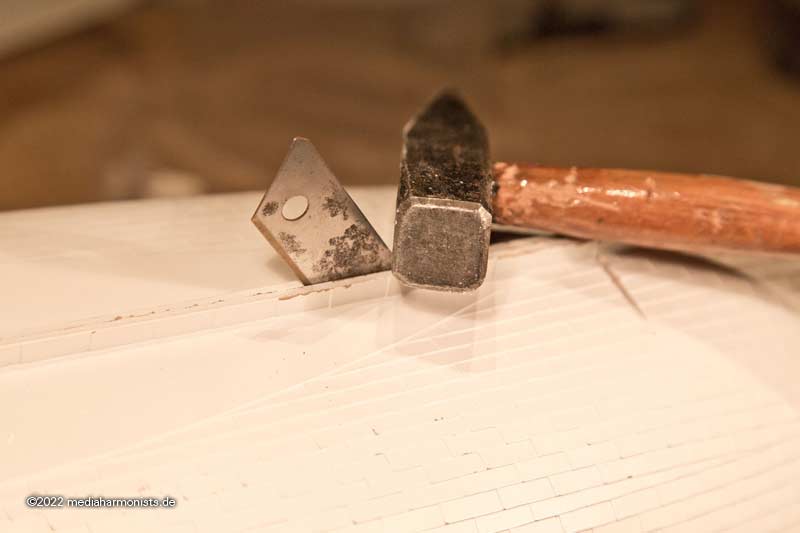 https://www.youtube.com/watch?v=Kp1z8EzZ5Hs XXXDAn |
|
| Author: | dafi [ Mon Jan 17, 2022 3:21 am ] |
| Post subject: | Re: To HMS Victory and beyond |
A short look back: More than 5 years ago I started a 1910 Victory. 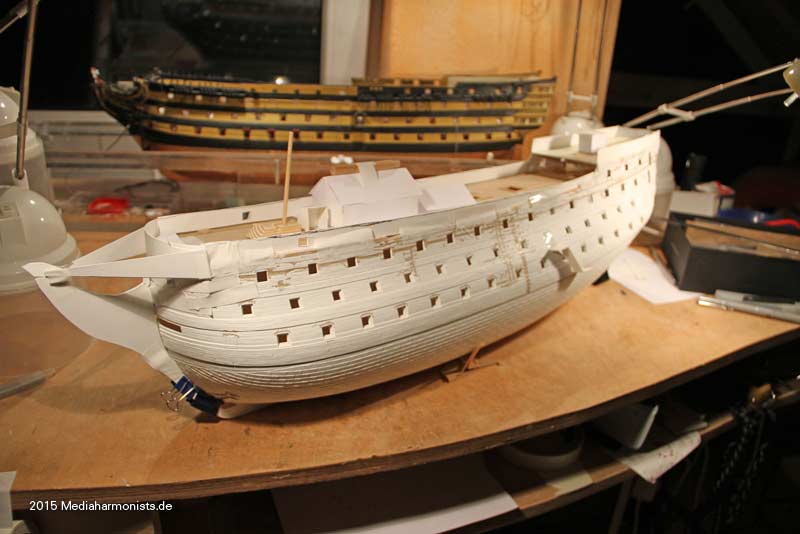 The starboard side was already prepared, the test piece was already made, but then a slow full stop: it didn't work the way I wanted ... 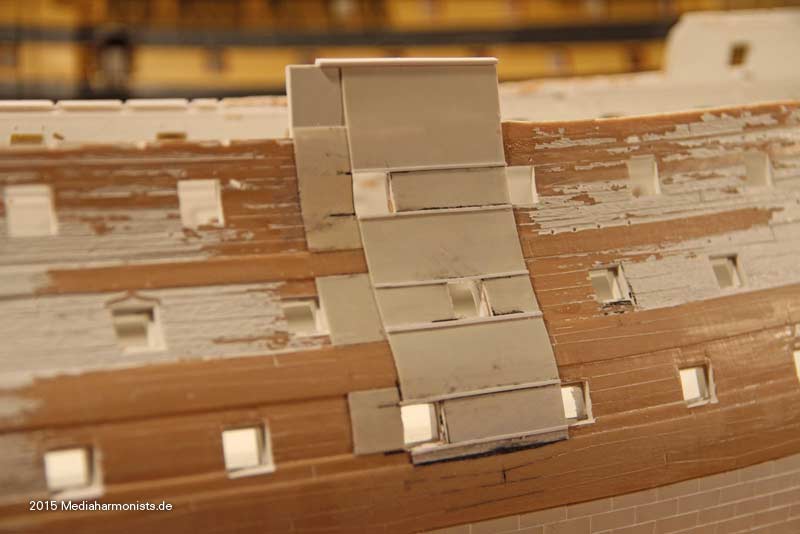 I wanted to glue the whole hull with 0.3 mm sheet plastic and engrave the plank edges. 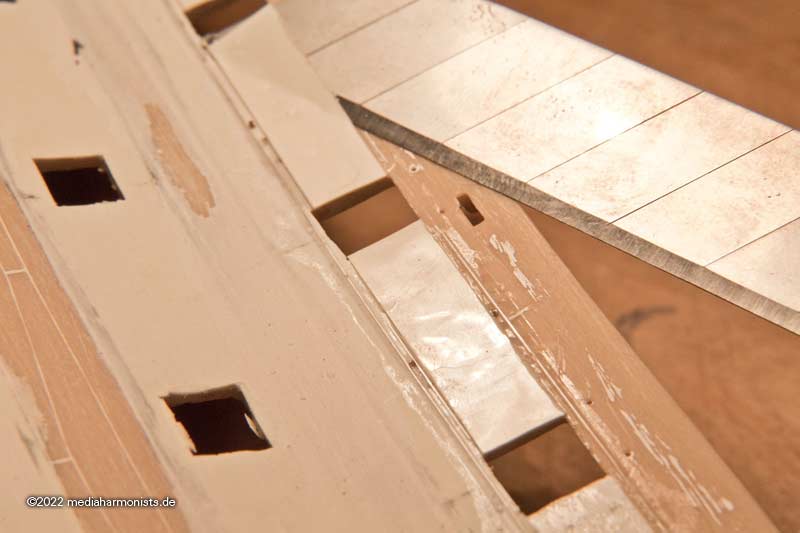 But the thin sheet becomes so wavy because of the glue that it had to be taken off again. I also wanted to make the decorative strip out of brass, but that didn't work either ... When I was building the cutaway sections, I also noticed that it is elementary for the whole appearance that the windows are properly aligned and the crosses are neatly mounted, both of which could only be done with extreme effort at that time. 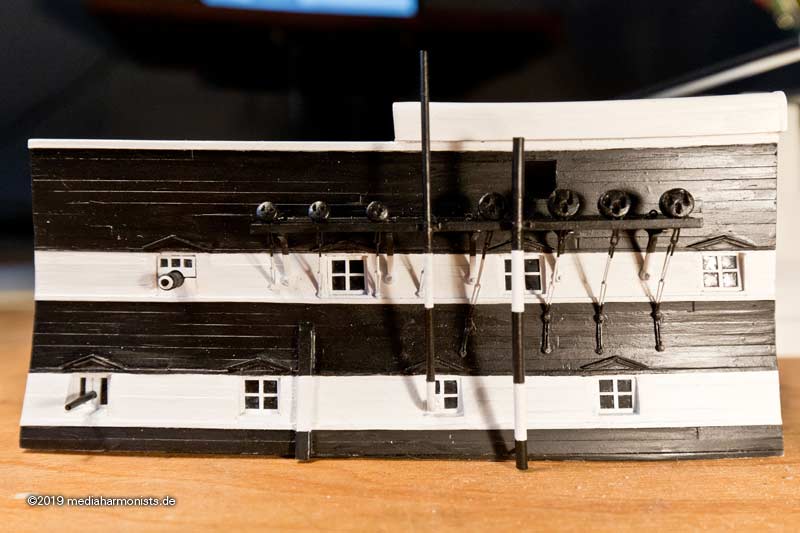 Aim was for that the rest should look as neat as this. So go back to start ... In good german tradition: Take a hammer, chisel and a rough file and start over again! XXXDAn |
|
| Author: | greenglade [ Mon Jan 17, 2022 7:39 am ] |
| Post subject: | Re: To HMS Victory and beyond |
Love your work Dafi, your attention to detail and perseverance for a given task are superb... Pete |
|
| Author: | dafi [ Tue Jan 18, 2022 3:21 am ] |
| Post subject: | Re: To HMS Victory and beyond |
Thank you Pete! With the possibility of printed parts I finally saw the chance to mass-produce the window crosses in a neat ship shape fashion. To get the vertical alignment of the window panes, I had the idea to link opposite windows over a wooden rod. Therefore I constructed a window frame with an adapter behind it, so that you can pull out the stick trough one side and cover the hole with the square window pane in front. 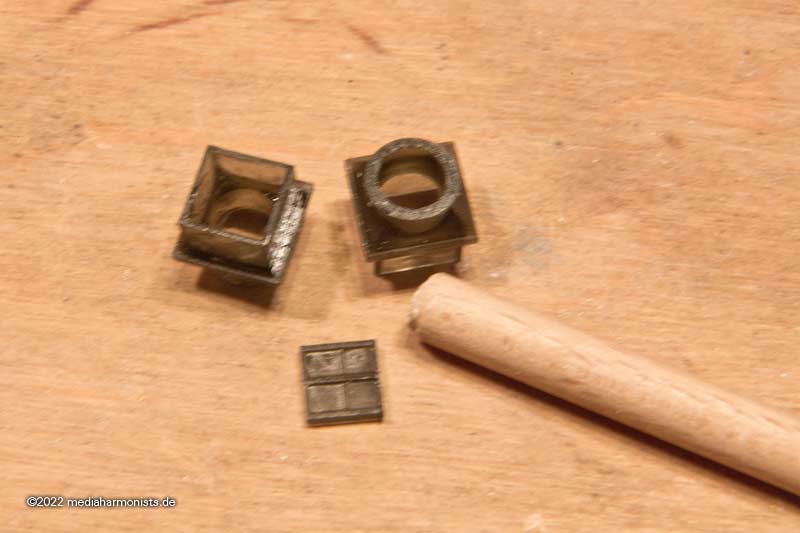 Inside it looks like this ... 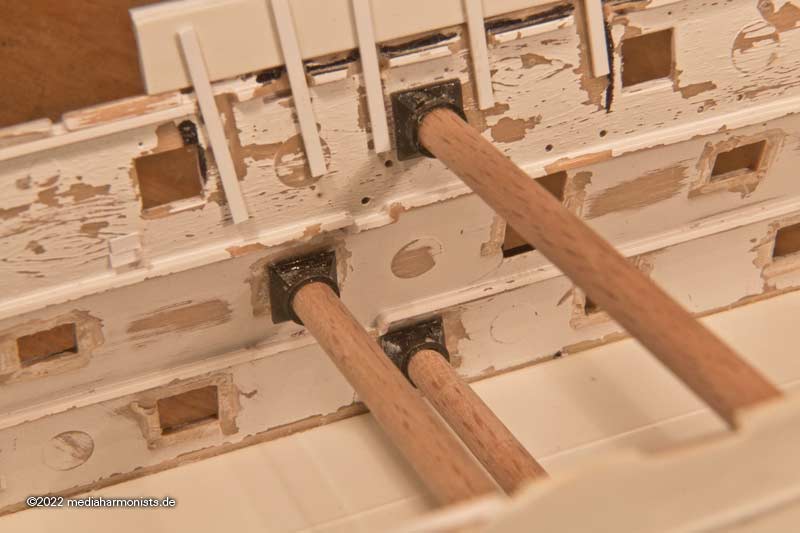 ... and outside like that  Rods pulled out, gaps of the frame filled and trimmed, it looks good for now. 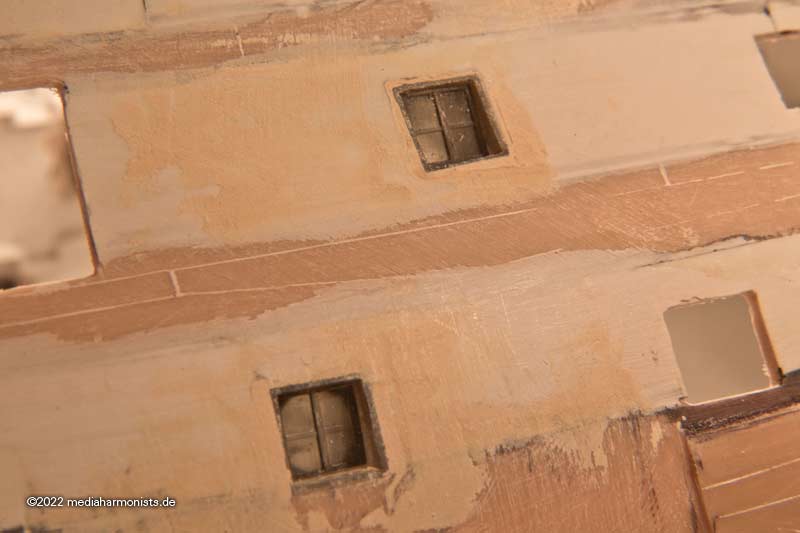 Instead of the polysterol sheet I used 300 gram paper cut in single planks. That could look like this. 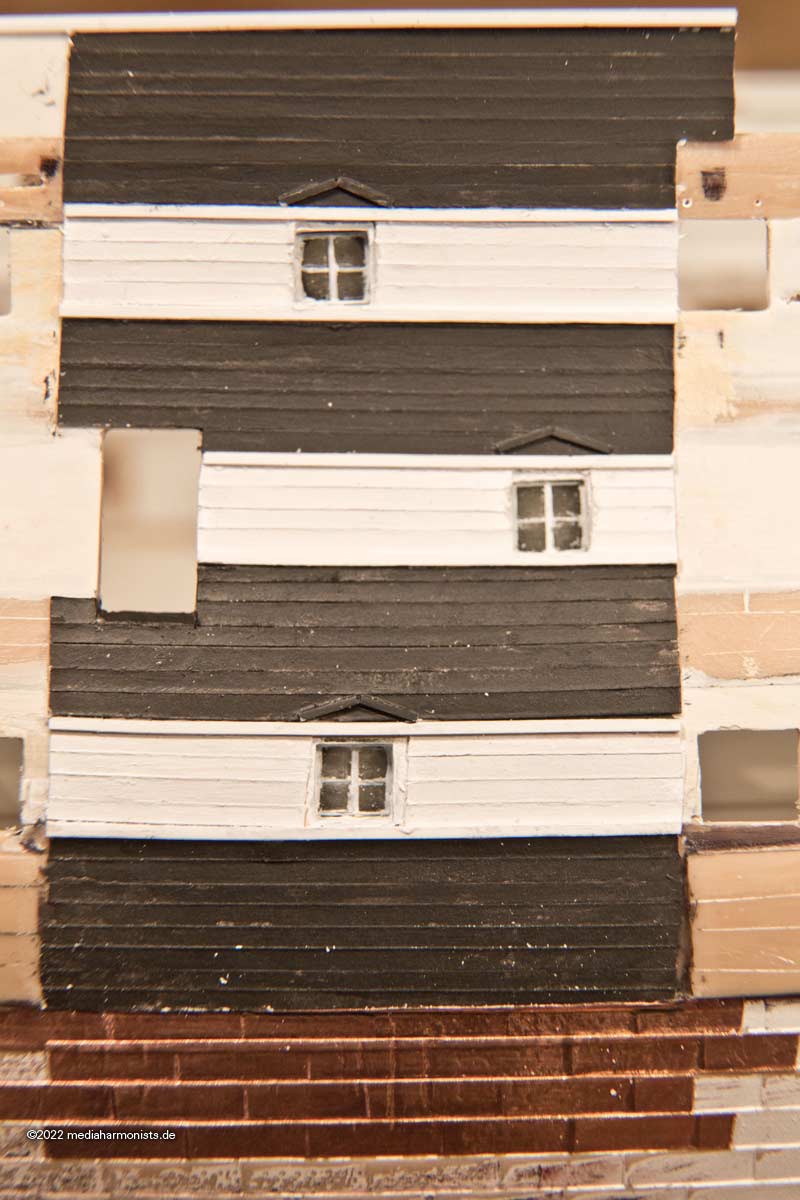 You can also see that the window crosses are difficult to paint. The window panes are also still intransparent black. But above all, the windows are difficult to align at an horizontal angle. Therefore a new system. Window frame with cross on a "carriage" that stands on the deck and thus guarantees height and angle. The window pane can then be added from behind and be secured by a small frame. 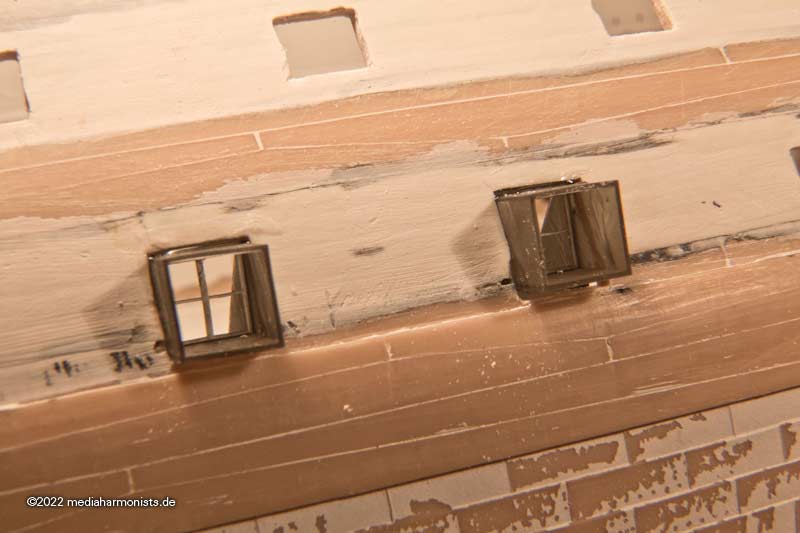 Since these windows were square, and the decorative strip had to sit exactly at the top and bottom of the window, I put a piece of round rod in to align the decorative moulding. 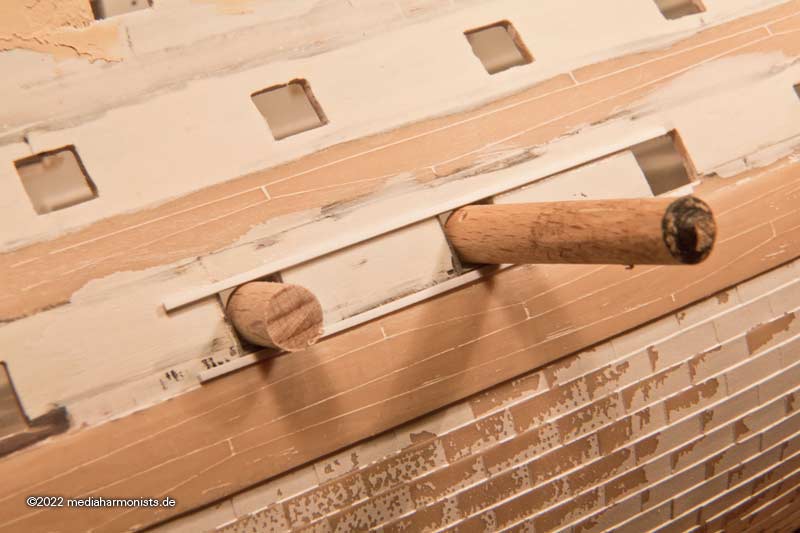 And it looks very cute 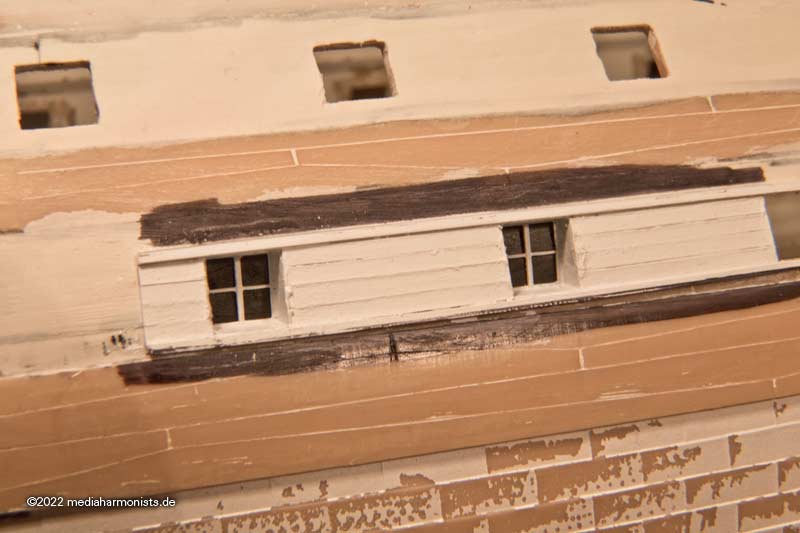 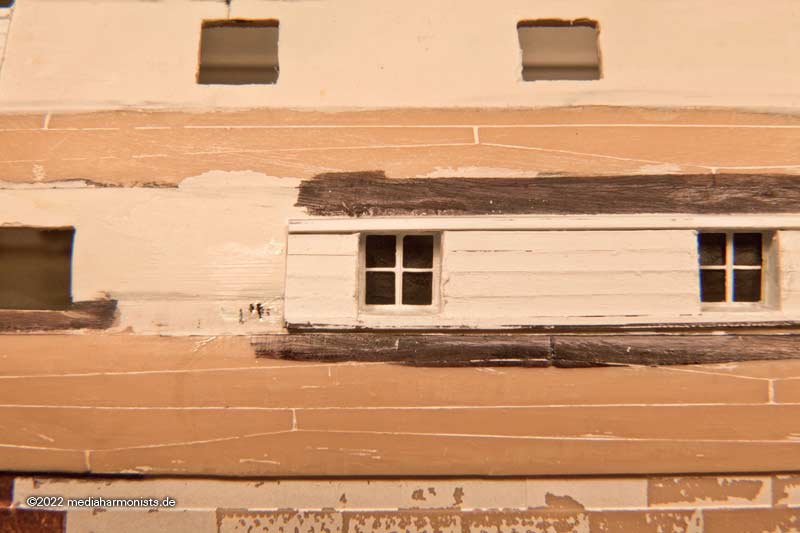 XXXDAn |
|
| Page 44 of 51 | All times are UTC - 6 hours [ DST ] |
| Powered by phpBB® Forum Software © phpBB Group https://www.phpbb.com/ |
|