Good afternoon all! Here is a quick update on my entry into the Cold War Era project, the DDV8 variant of the DDG-51 Arleigh Burke-class destroyer.
The US Navy ordered a study to be performed from the naval engineering firm Gibbs&Cox to study how the Navy could meet the lessons learned in combat during Operation Praying Mantis in the challenging environment of the Persian Gulf.
This study was called Helicopter Capable DDG-51 Study (commonly known as the DDV Study). There were 9 variants designed. The eighth design was the only one to address all of the issues in the study. This provided the DDG-51 class with an embarked helicopter, a gun mount that could perform credible naval gunfire support and anti-ship work, and an increased point defense weapon suite to counter anti-ship cruise missiles fired at close range. This particular variant fulfilled all mission areas by adding the Mk71 8” gun mount in place of the Mk45 5”, adding a single helicopter hanger, and adding the rolling airframe missile (RAM) system to the ship’s point defense suite.
The positioning of RAM in place of the aft long range radar “terminal” illuminators reduced the ship’s AAW engagement range but increased the ship’s chance of survival against missiles fired at close ranges. While at shorter ranges the Aegis system can still direct its missiles without the illuminators. This may have been acceptable to the designers at the time and may be acceptable today.
Enough of the obscure history lesson! Onto the project!
The object of today's post is my efforts to build a helicopter hanger.
Building helicopter hangers has been a "to do" of a bunch of my builds, but I had never tackled it until now. I have found here on modelwarships some fantastic tips, tricks, and methods of building the detail inside of hangers. I have been inside the hangers of the DDG-51 Flight IIAs, and they are overly busy and cramped. You can tell those ships were NOT meant to have helicopter hangers...but they work!
So, the Gibbs&Cox DDV8 displays this as the arrangement for the hanger. The starboard half of the aft VLS and some hull to the side would be taken by the hanger.
Attachment:
 DDV8helo.jpg [ 103.85 KiB | Viewed 1524 times ]
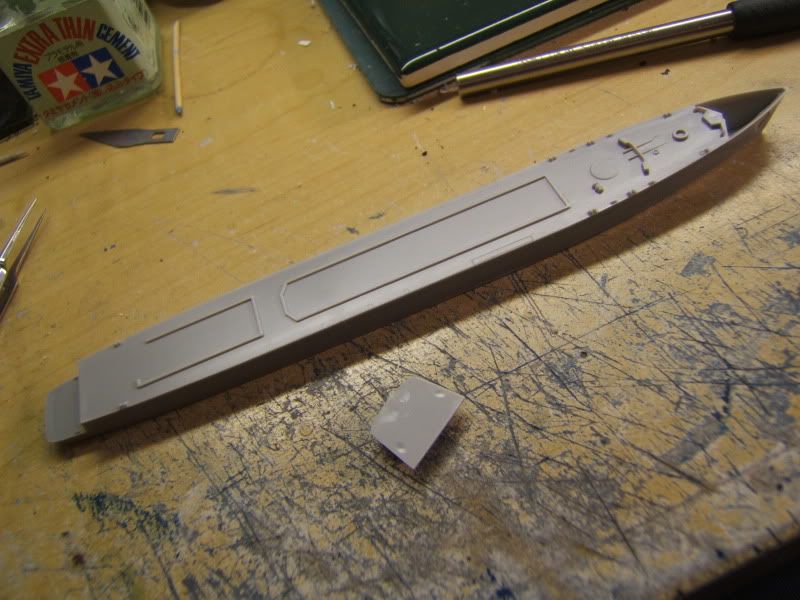
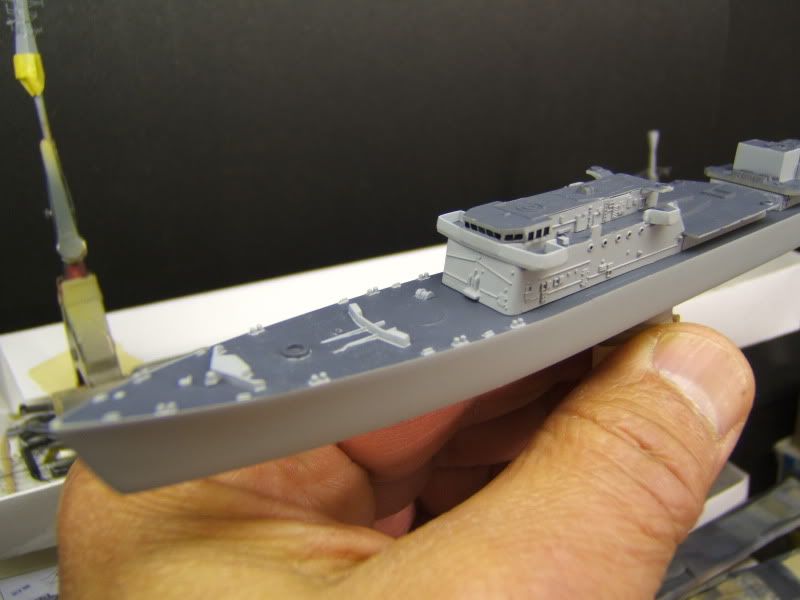
In order to represent this I cut the deck away and added sheet styrene into the gap cut for the hanger's deck.
Attachment:
 small350 Progress 004.jpg [ 93.5 KiB | Viewed 1524 times ]
I used the hanger pieces from a Trumpeter USS Momsen model as templates to shape the hanger's walls.
Attachment:
 small350 Progress 025.jpg [ 77.25 KiB | Viewed 1524 times ]
The walls were a little too long so I trimmed them down to match the drawing, and they worked out great.
Attachment:
 small350 Progress 007.jpg [ 87.89 KiB | Viewed 1524 times ]
Attachment:
 small350 Progress 024.jpg [ 70.8 KiB | Viewed 1524 times ]
So with the hanger shoe boxed in I was able to pull the pieces out and begin detailing them. The bulkheads are covered with vents and conduit of all kinds. I have added hatches and fire hoses. PE is great.
Attachment:
 smallDDV8 Hanger 006.jpg [ 72.98 KiB | Viewed 1524 times ]
Attachment:
 smallDDV8 Hanger 007.jpg [ 72.05 KiB | Viewed 1524 times ]
Attachment:
 smallDDV8 Hanger 011.jpg [ 85.44 KiB | Viewed 1524 times ]
Attachment:
 small350 Progress 032.jpg [ 68.31 KiB | Viewed 1524 times ]
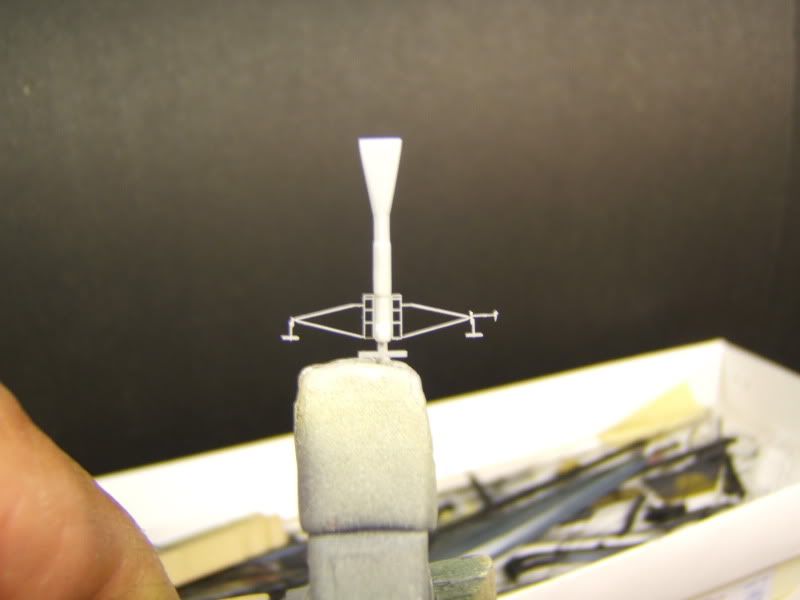
As you can see, what I have on top is a mono-rail crane that will be attached to the roof piece and painted yellow.
Attachment:
 small350 Progress 030.jpg [ 88.26 KiB | Viewed 1524 times ]
I am really pleased with how this turned out. Later this year I am going to be doing a light NGFS ship that involves a single helo hanger as well. I was concerned about the hanger, but now I have no fears at all.
Comments are welcome!


 Looking forward to the build man!