The Ship Model ForumThe Ship Modelers Source |
| It is currently Fri Apr 19, 2024 3:50 pm |
The Ship Model ForumThe Ship Modelers Source |
| It is currently Fri Apr 19, 2024 3:50 pm |
|
All times are UTC - 6 hours [ DST ] |
 
|
Page 7 of 12 |
[ 240 posts ] | Go to page Previous 1 ... 4, 5, 6, 7, 8, 9, 10 ... 12 Next |
|
| Author | Message | |||
|---|---|---|---|---|
| Rick E Davis |
|
|||
|
Joined: Thu May 29, 2008 8:02 pm Posts: 3825 |
|
|||
| Top | ||||
| moomoon |
|
|||
|
Joined: Fri Mar 13, 2009 2:41 pm Posts: 437 |
|
|||
| Top | ||||
| navydavesof |
|
||||
|
Joined: Thu Mar 05, 2009 10:38 pm Posts: 3121 |
|
||||
| Top | |||||
| D-Boy |
|
||||
Joined: Wed May 26, 2010 1:57 pm Posts: 1296 Location: Schodack Landing, NY |
|
||||
| Top | |||||
| AussieBuilder |
|
||||
Joined: Tue Apr 13, 2010 9:35 pm Posts: 50 |
|
||||
| Top | |||||
| moomoon |
|
|||
|
Joined: Fri Mar 13, 2009 2:41 pm Posts: 437 |
|
|||
| Top | ||||
| D-Boy |
|
||||
Joined: Wed May 26, 2010 1:57 pm Posts: 1296 Location: Schodack Landing, NY |
|
||||
| Top | |||||
| MartinJQuinn |
|
||||
Joined: Tue Jan 11, 2005 1:40 pm Posts: 8175 Location: New Jersey |
|
||||
| Top | |||||
| Quincy |
|
||||
Joined: Fri Apr 08, 2005 9:41 am Posts: 2207 Location: Monson, MA. |
|
||||
| Top | |||||
| Quincy |
|
||||
Joined: Fri Apr 08, 2005 9:41 am Posts: 2207 Location: Monson, MA. |
|
||||
| Top | |||||
| atlanticcoast63 |
|
|||
|
Joined: Thu Feb 19, 2009 9:32 pm Posts: 4 |
|
|||
| Top | ||||
| Quincy |
|
||||
Joined: Fri Apr 08, 2005 9:41 am Posts: 2207 Location: Monson, MA. |
|
||||
| Top | |||||
| Quincy |
|
||||
Joined: Fri Apr 08, 2005 9:41 am Posts: 2207 Location: Monson, MA. |
|
||||
| Top | |||||
| Simon_Hwood |
|
||||
Joined: Wed May 03, 2006 7:04 am Posts: 341 Location: London, England |
|
||||
| Top | |||||
| Quincy |
|
||||
Joined: Fri Apr 08, 2005 9:41 am Posts: 2207 Location: Monson, MA. |
|
||||
| Top | |||||
| Quincy |
|
||||
Joined: Fri Apr 08, 2005 9:41 am Posts: 2207 Location: Monson, MA. |
|
||||
| Top | |||||
| taskforce48 |
|
||||
Joined: Mon May 21, 2007 5:49 pm Posts: 1589 Location: The beautiful PNW |
|
||||
| Top | |||||
| moomoon |
|
|||
|
Joined: Fri Mar 13, 2009 2:41 pm Posts: 437 |
|
|||
| Top | ||||
| Bob Dedmon |
|
||||
Joined: Thu Jan 20, 2005 7:39 am Posts: 118 Location: Tide Water, Va |
|
||||
| Top | |||||
| Fletcher |
|
||||
|
Joined: Sat Jul 24, 2010 10:40 pm Posts: 155 Location: Kansas - United States of America |
|
||||
| Top | |||||
|
|
Page 7 of 12 |
[ 240 posts ] | Go to page Previous 1 ... 4, 5, 6, 7, 8, 9, 10 ... 12 Next |
|
All times are UTC - 6 hours [ DST ] |
Who is online |
Users browsing this forum: No registered users and 20 guests |
| You can post new topics in this forum You can reply to topics in this forum You cannot edit your posts in this forum You cannot delete your posts in this forum You cannot post attachments in this forum |
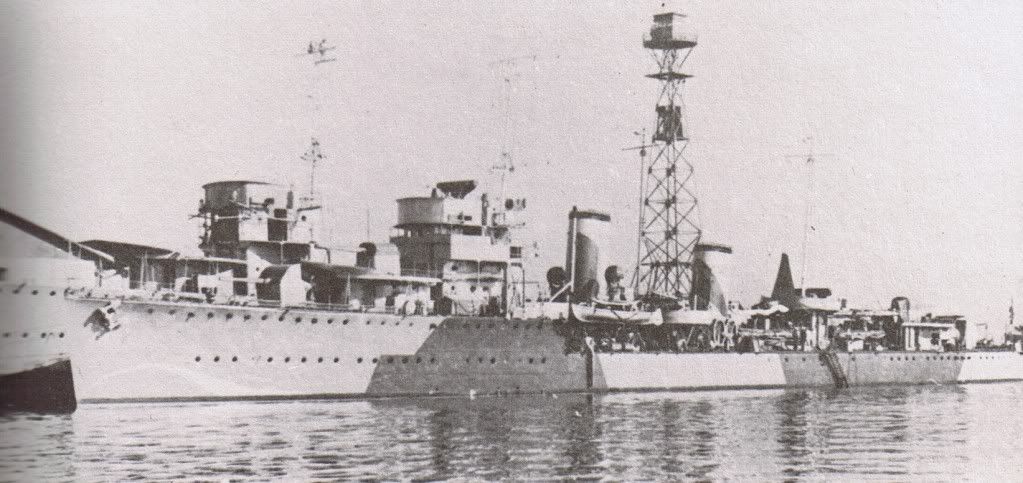
 ! This will be a great build to watch for sure!


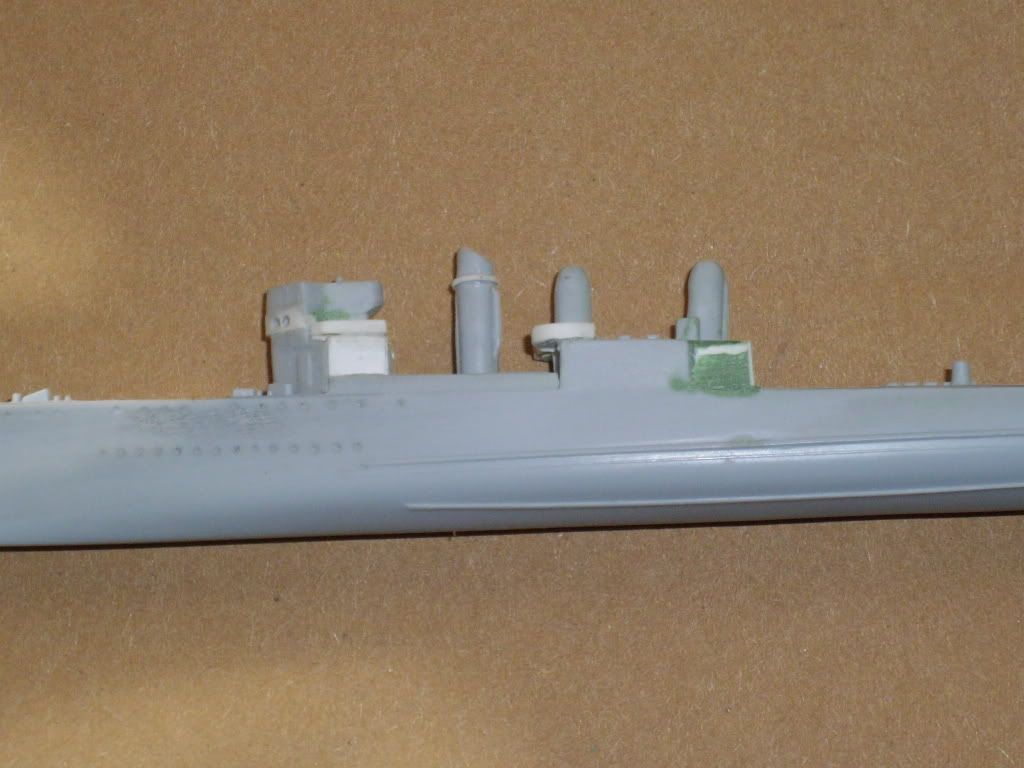
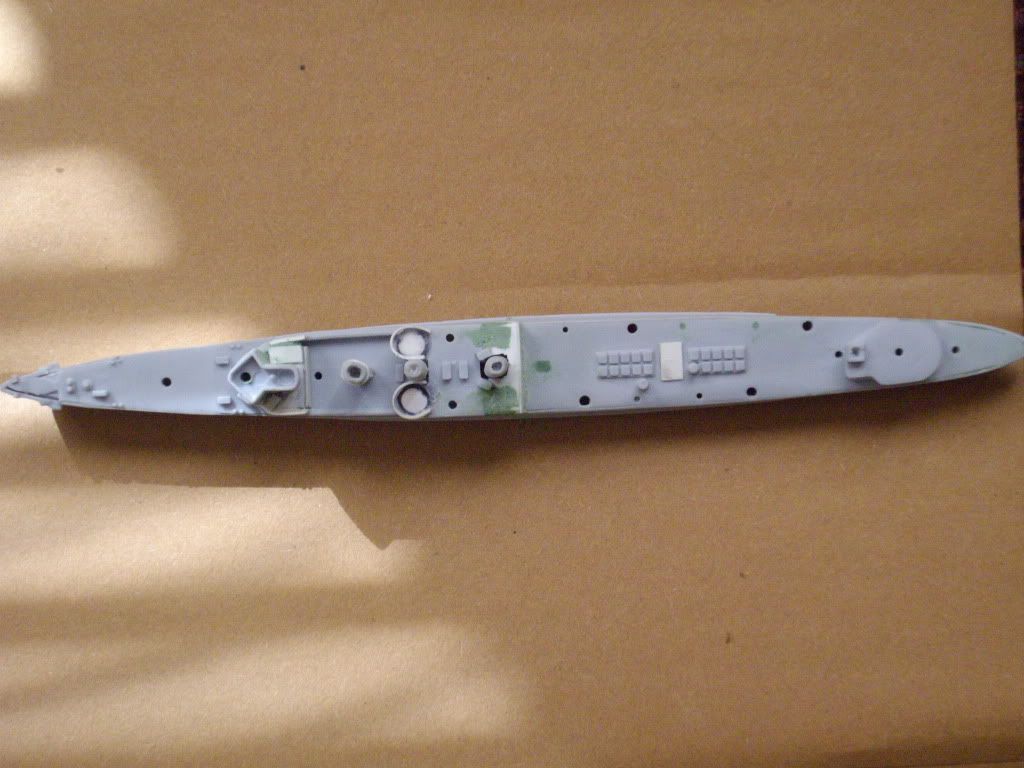
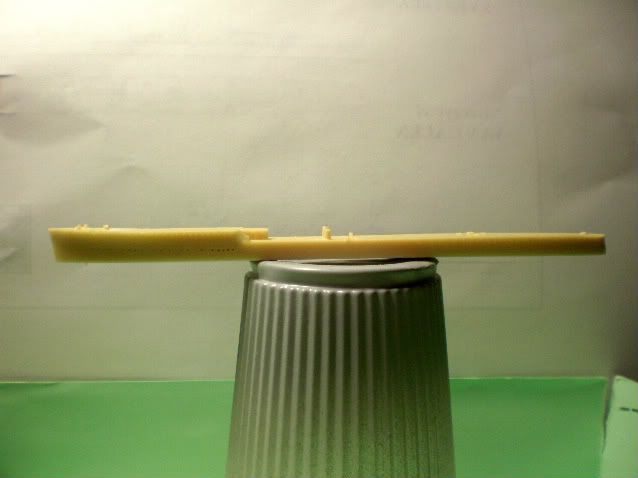
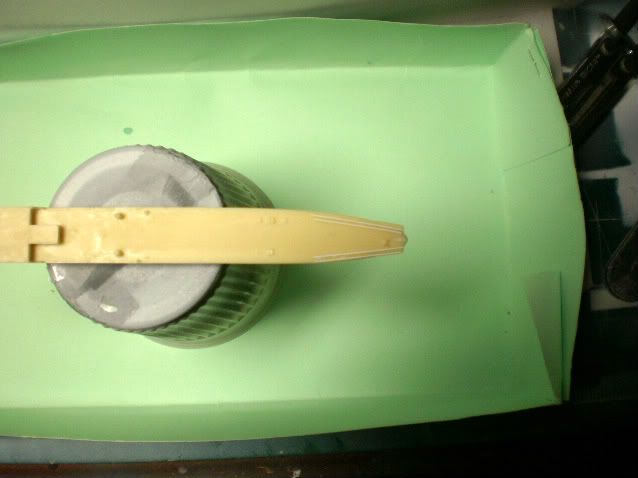
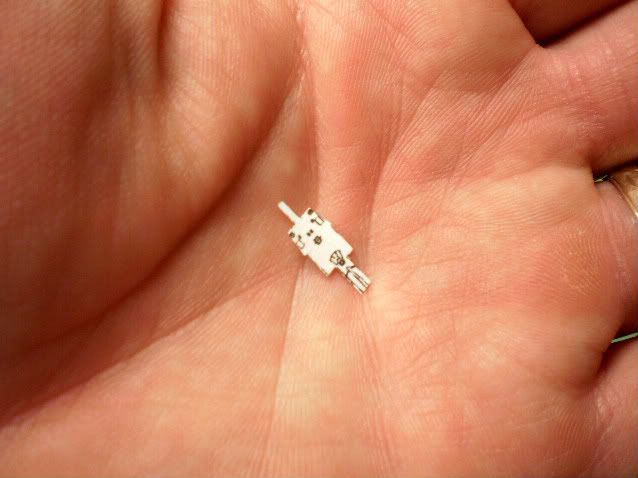
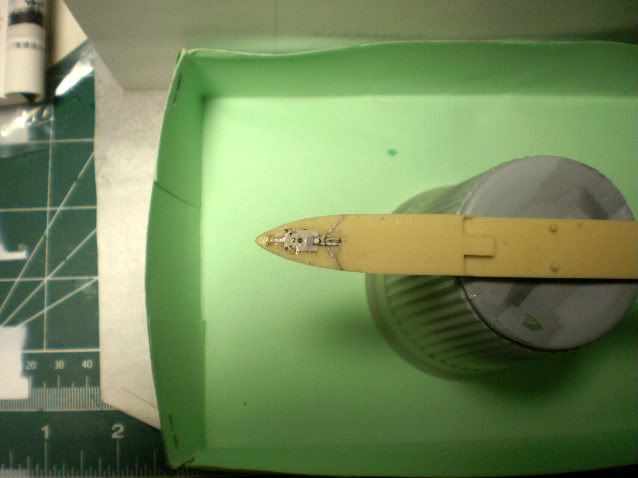
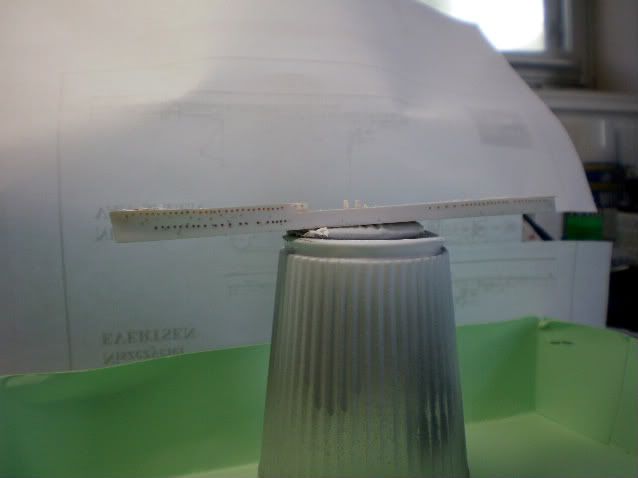
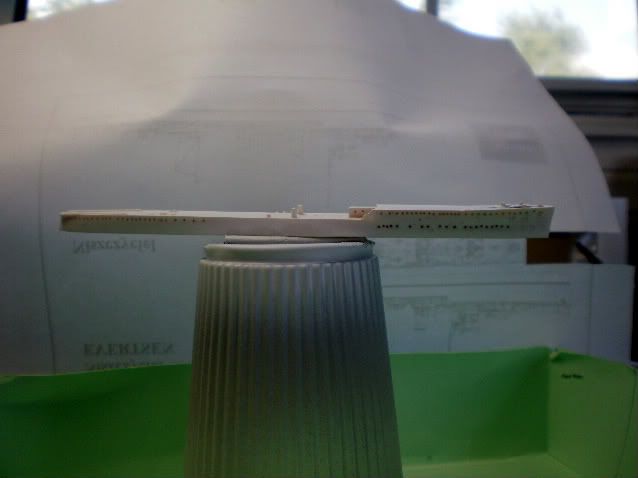
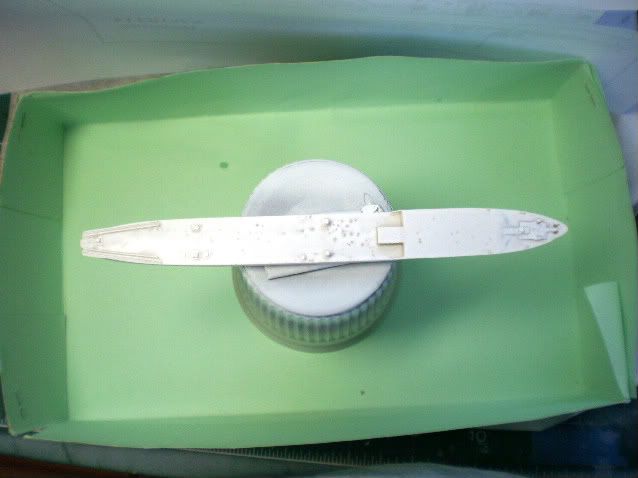
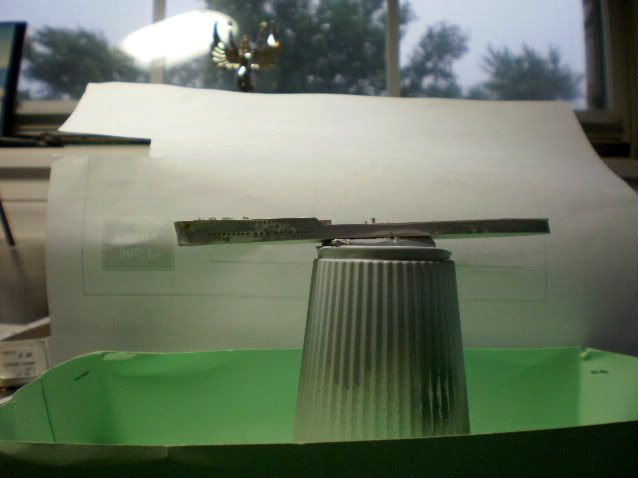
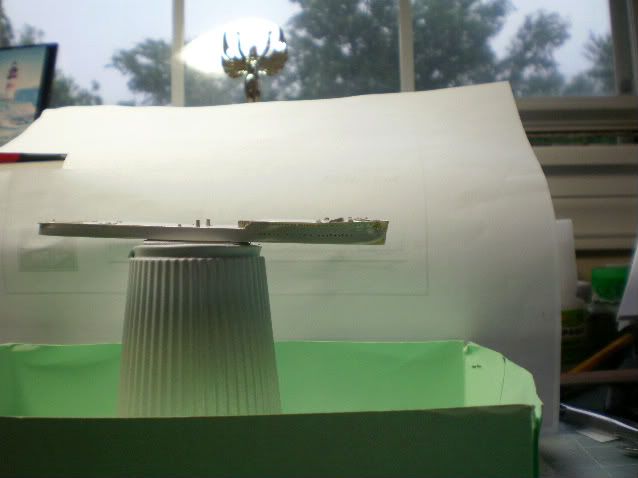
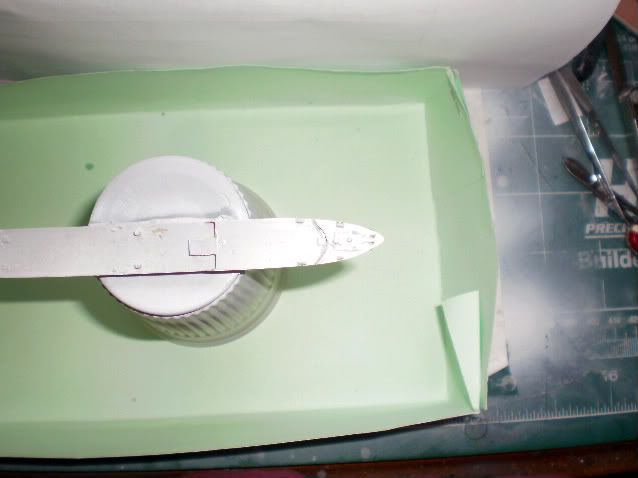
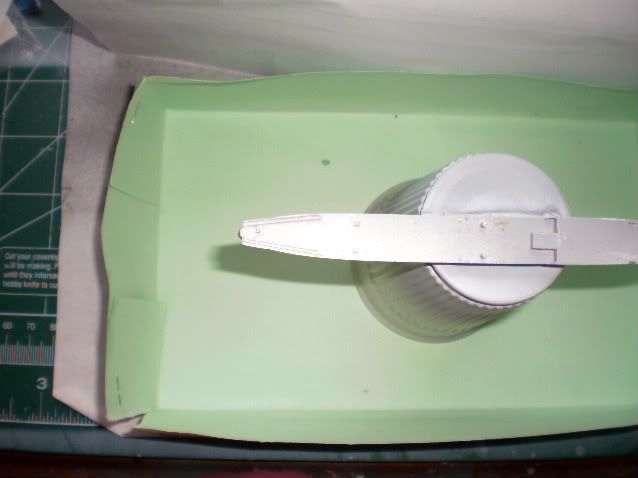
 And this is where I stand as of Sunday.