Thank you very much for your encouraging comments !
********************************************************
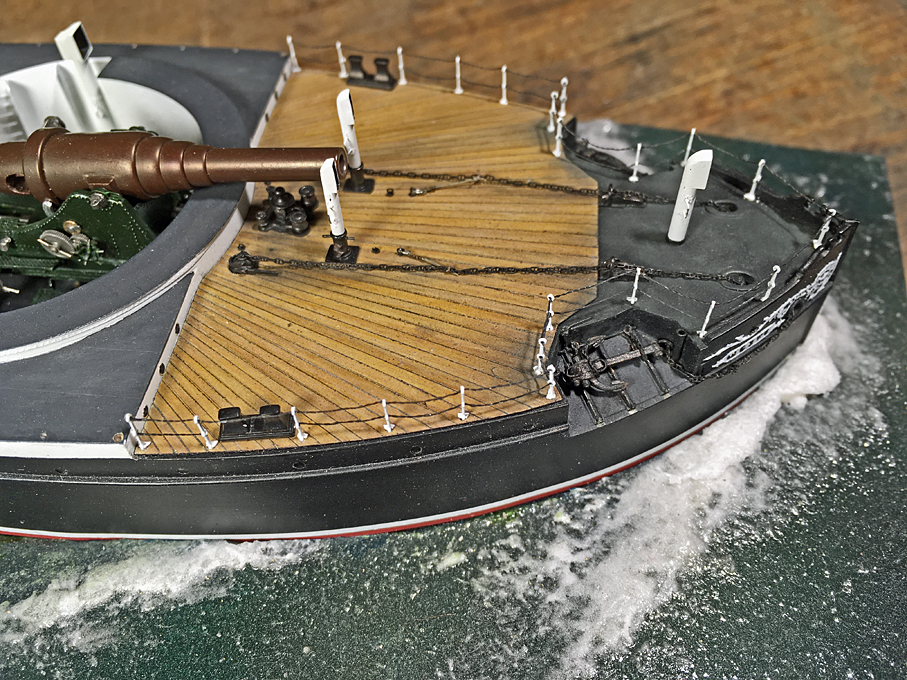
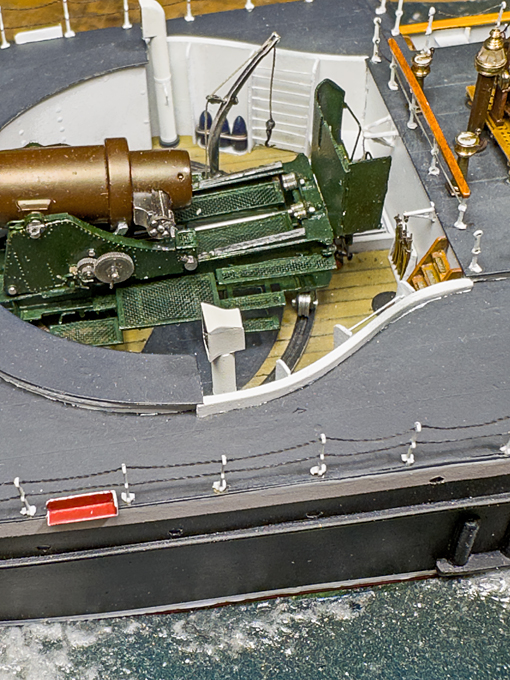
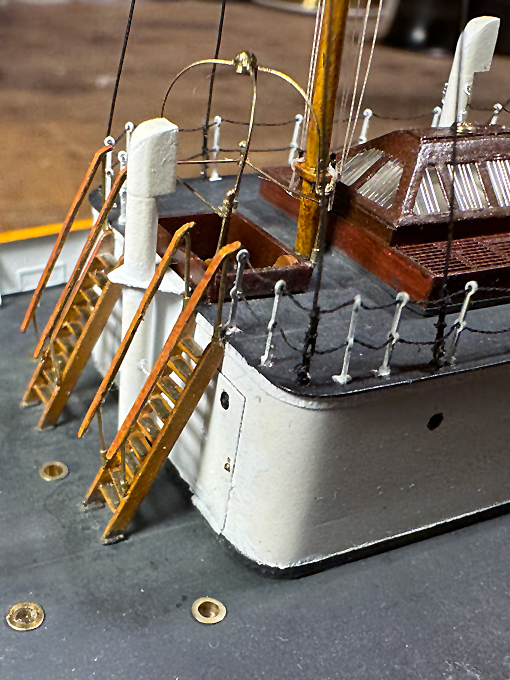
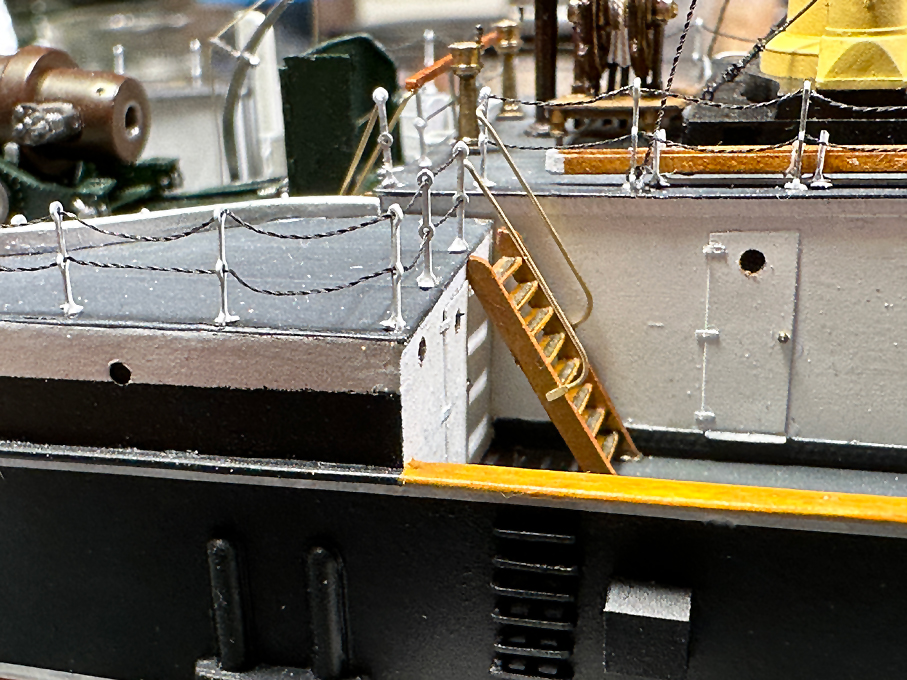
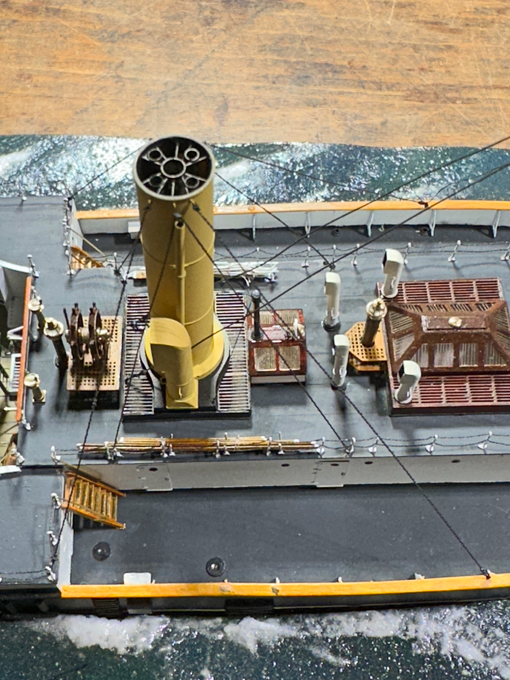
To begin with: in the meantime, I have completed the chain-rails around the barbette:
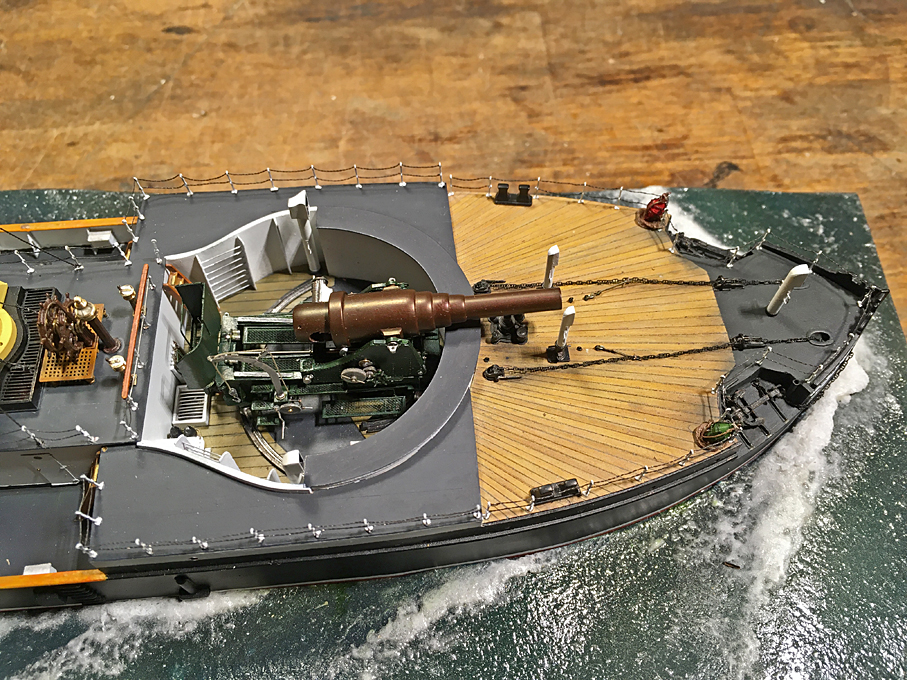
This was a straightforward operation with the experience gained previously and only one corner to go around.
Anchor-BuoysA fairly conspicuous detail on warships of that period were the buoys for the bow-anchors that were lashed to a convenient place near the anchor-davits, when not in use. Their purpose was to mark the location of the anchors. It was important to know, where the anchors were laid out in order to detect, whether they may have shifted and to indicate their location to newcomers, so that they don’t throw their anchors across yours, which could cause trouble, when you have to raise your anchors.
At the time of SMS WESPE, the buoys were made from galvanised sheet-iron and had the shape of two cones joined at their base. A web of served wire-rope gave two attachment points, for the rope with which they were attached to the anchor and for a fishing-lanyard.
 Instruction leaflet from 1909 for the construction and fitting out of anchor-buoys of the German Imperial Navy. Source: https://forum.arbeitskreis-historischer ... &mode=view.
 As per the official instruction sheet from which this illustration was taken, the sheet-metal was supposed to be painted in red lead-oxide primer. There is, however, no clear information in what final colour the buoys were to be painted. Typically, modeller chose green for the starboard anchor-buoy and red for the port one. There is a certain logic in this, because in this way the anchors can be identified, even if the boat may have swayed around them.
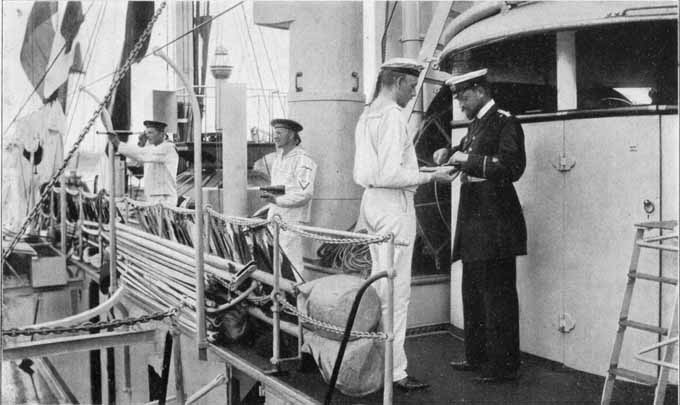
There is a picture taken on board of S.M.S. HERTHA around 1876 that shows seamen working on such anchor-buoys:
 Seamen at work on the deck of S.M.S. HERTHA in around 1876, Source: https://sammlungen.ub.uni-frankfurt.de/ ... w/11408859.
There are two buoys visible, one on the left in a quite light grey and another one, almost covered by the seaman at the front, which is a lot darker. Considering that the glass-plate negatives of the time were less sensitive to red than to green, which would appear darker in the positive print, one can conclude that the buoy on the left was probably painted green, while the other one was probably painted red. This is so far the only evidence from the period in question for them having been painted in different colours.
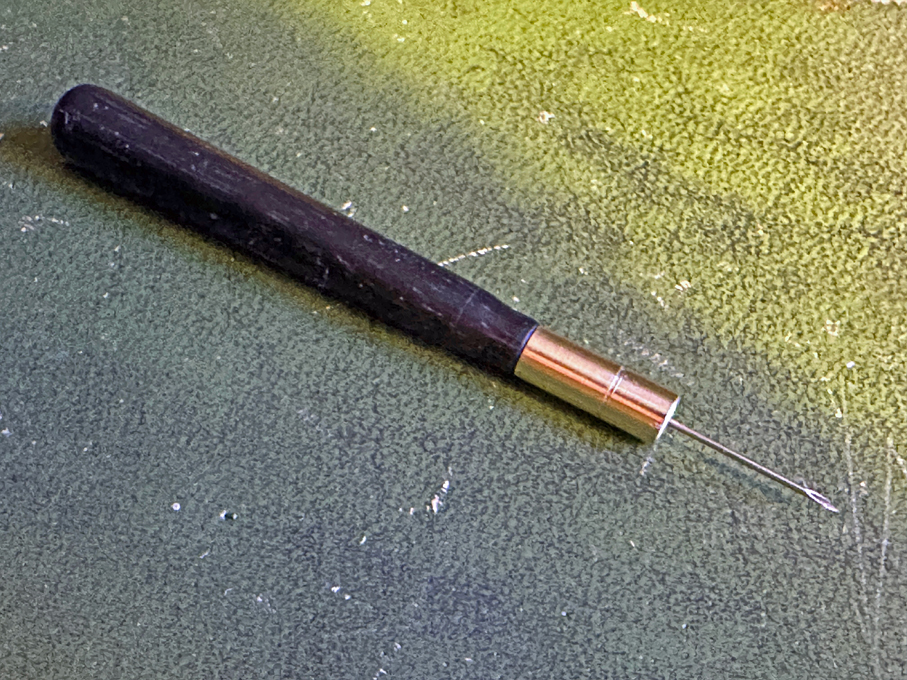
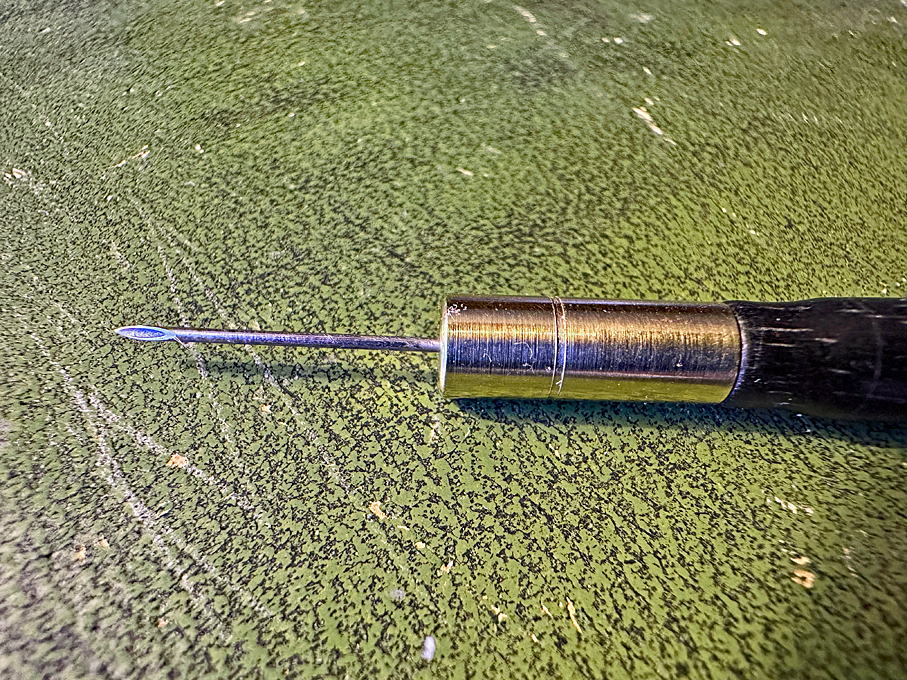
While the shape is seemingly simple, it is not so easy to produce and to manipulate. The two cones have to be turned separately and then fitted together. I choose Plexiglas for ease of gluing the halves together. Turning proceeded in steps: first the diameter for the wooden caps was turned and a groove to mark the overall length, then the top-slide was set over at an angle of 28° to turn the cone. As per prototype four notches were cut into the caps using a pointed cutting tool set with the cutting-edge vertical. Finally, the cones were parted off. The two cones were glued together making sure that the notches for the rope-web were offset by 45° at each end.
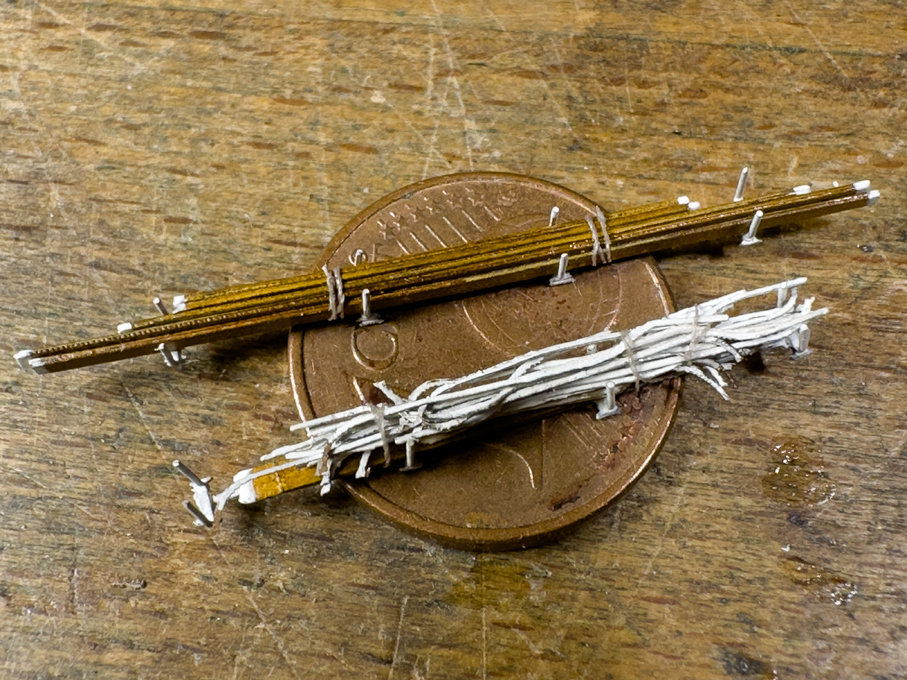
 The unpainted anchor-buoys
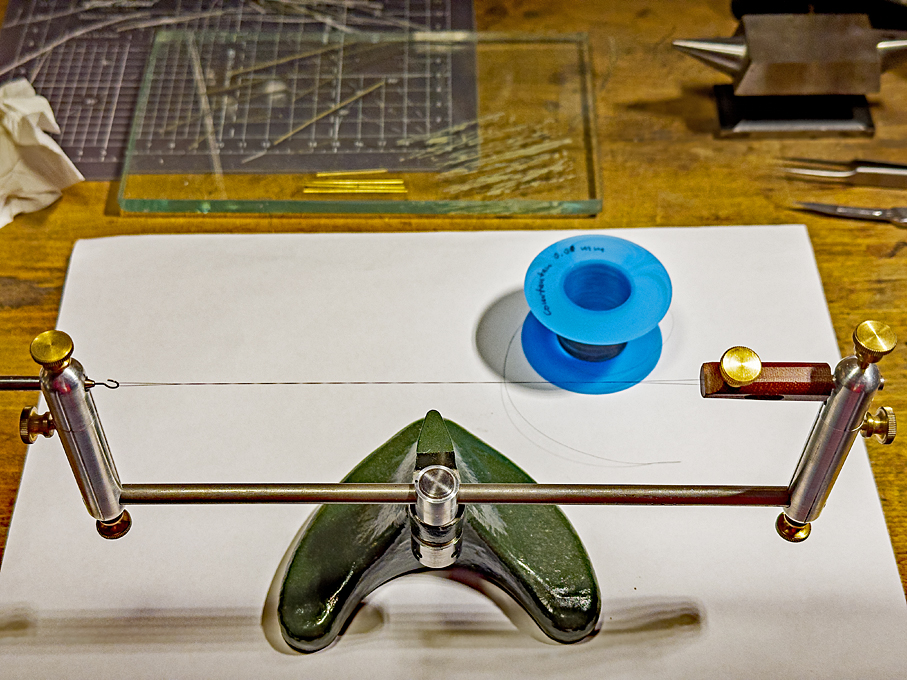
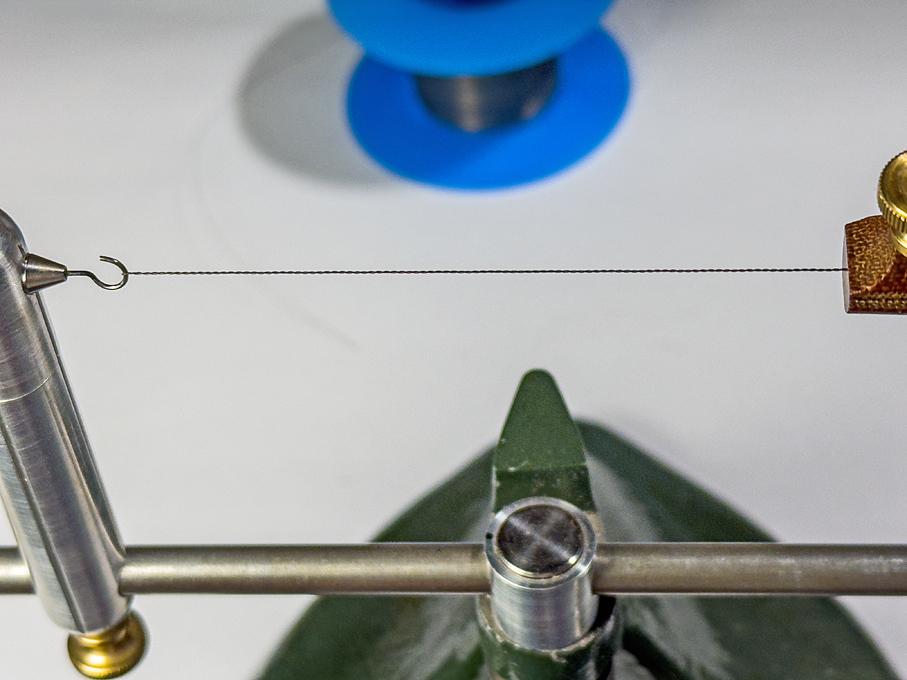
 Another consideration was how to reproduce the carefully spliced web of served wire-ropes. I decided that tightly twisted 0.1 mm diameter tinned copper-wire would be the best route. Four strands of twisted wire with a loop at the end were produced and slipped over a ring of twisted wire which then was soldered closed. The four strands were distributed equally around the ring and fixed with a tiny amount of varnish. The arrangement was slipped over the buoy, gathered together at the end and secured with a short winding of thread soaked in varnish. One of the strands was bent into an eye and secured with a half-hitch of thread. Finally, all the ends were trimmed down to the binding.
The buoys then were sprayed red and green respectively and once the acrylic was dry, the wire-rope was picked out with a sepia artist’s marker pen (which seemed to give more control over the paint flow than my brushing technique).
I did not take any pictures of the manufacturing process, as each step was actually quite straightforward.
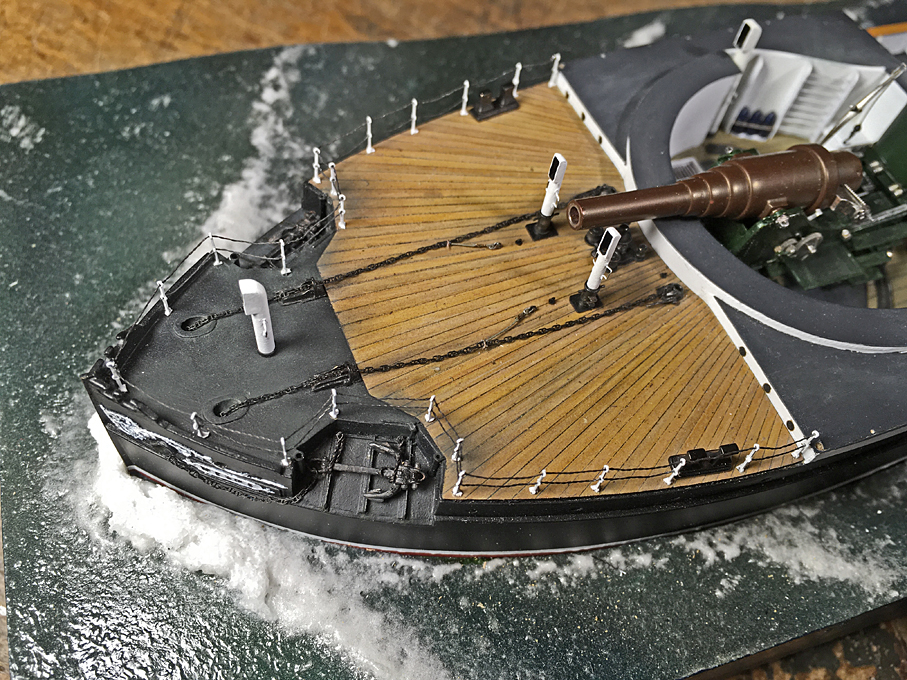
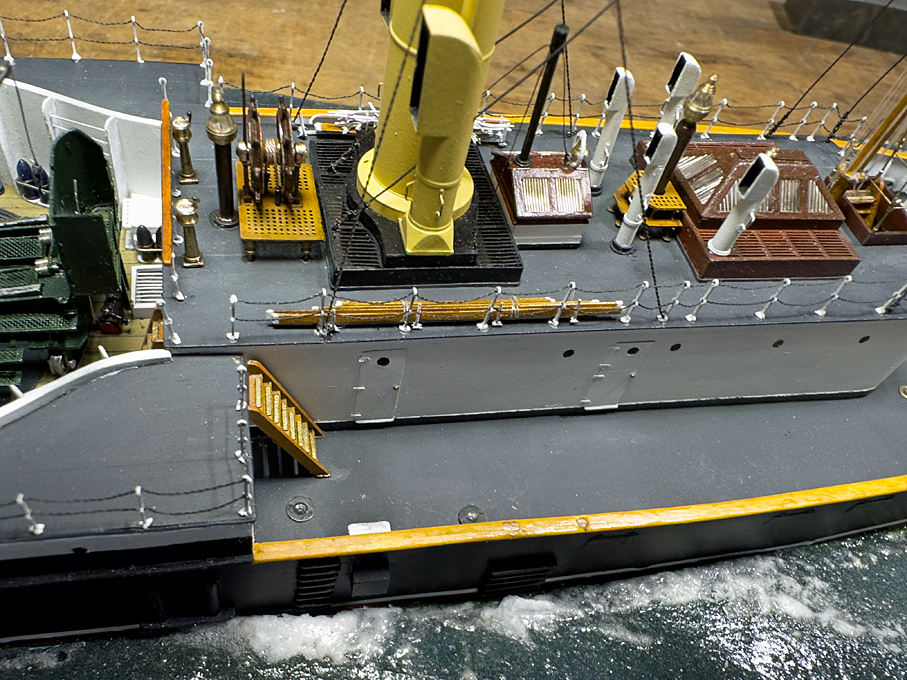
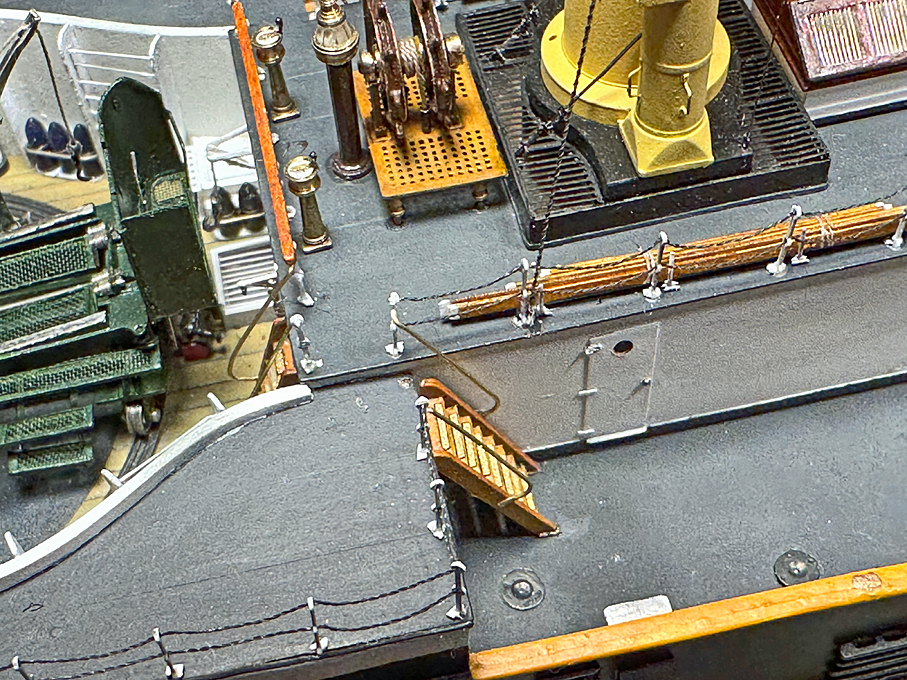
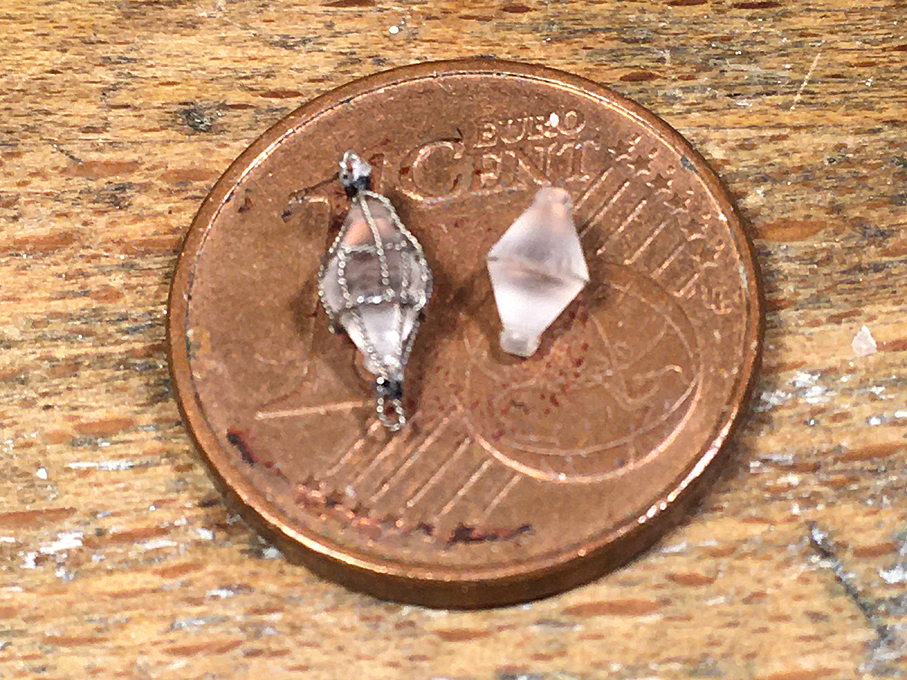
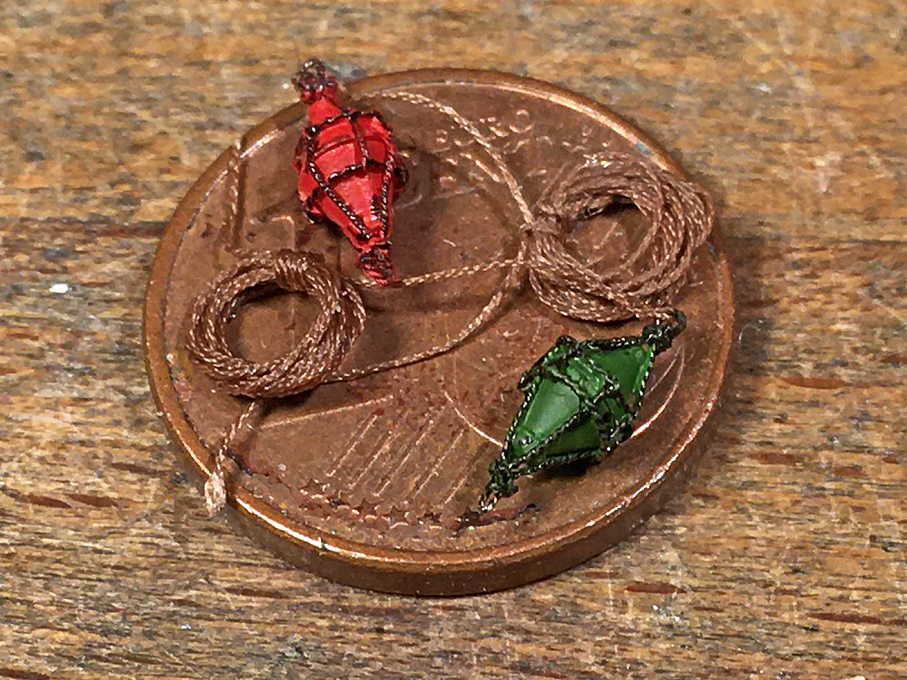 Finished anchor-buoys
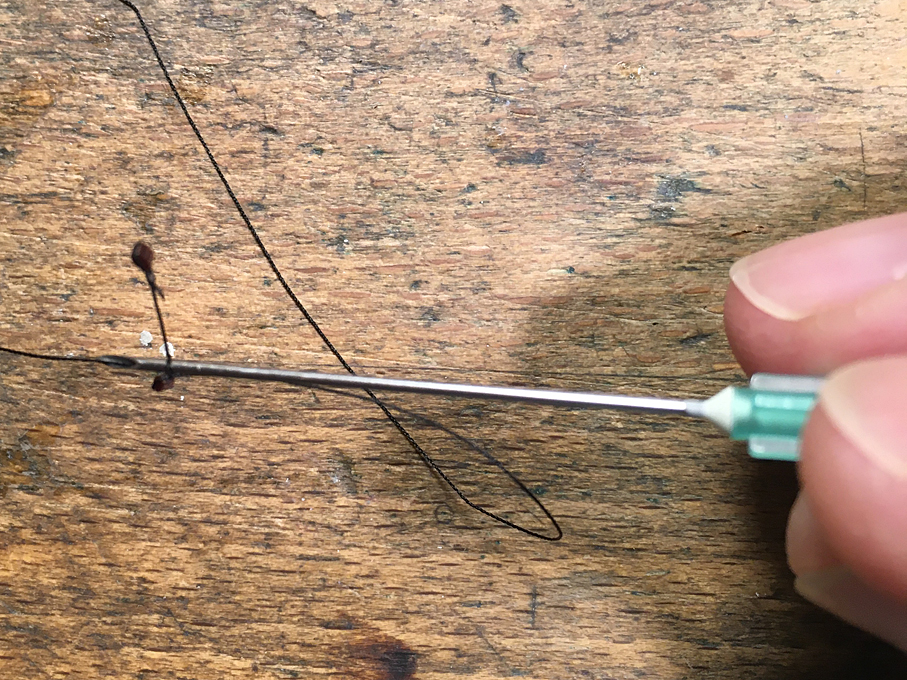
On several photographs one can see that the anchor-buoys were tied to the chain-rail near the rear anchor-davit. I don’t know how long the rope was with which the buoys were tied to the anchors, but I would think it would in the order of 20 m, accounting for typical anchoring depths. A thin ‘rope’ was produced on the rope-walk from slightly brownish material, assuming that such rope would be heavily tarred to resist its permanent exposure to the elements. A ring was formed and tied together with the buoy to the rail.
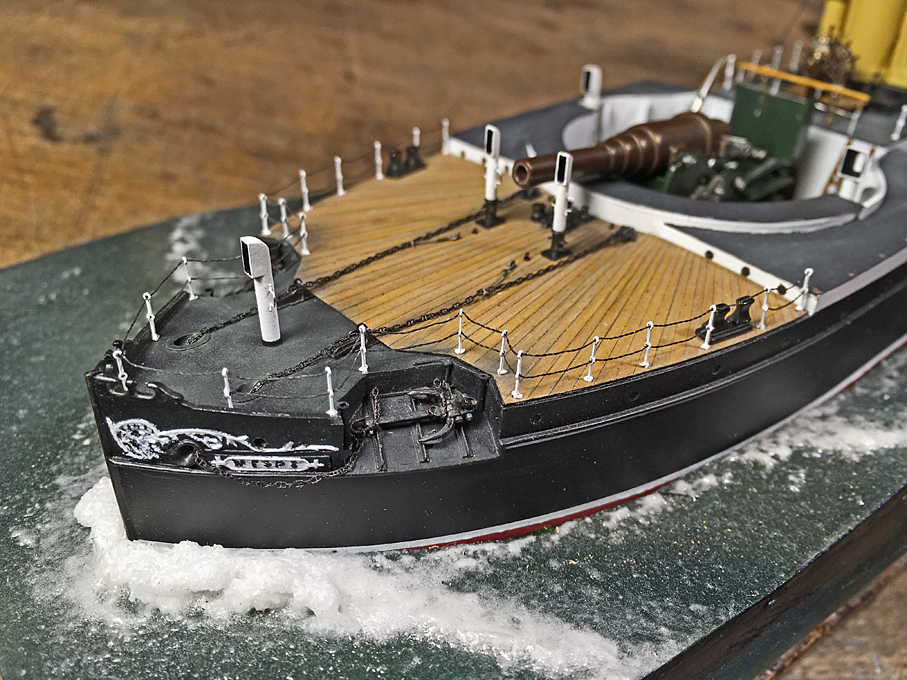
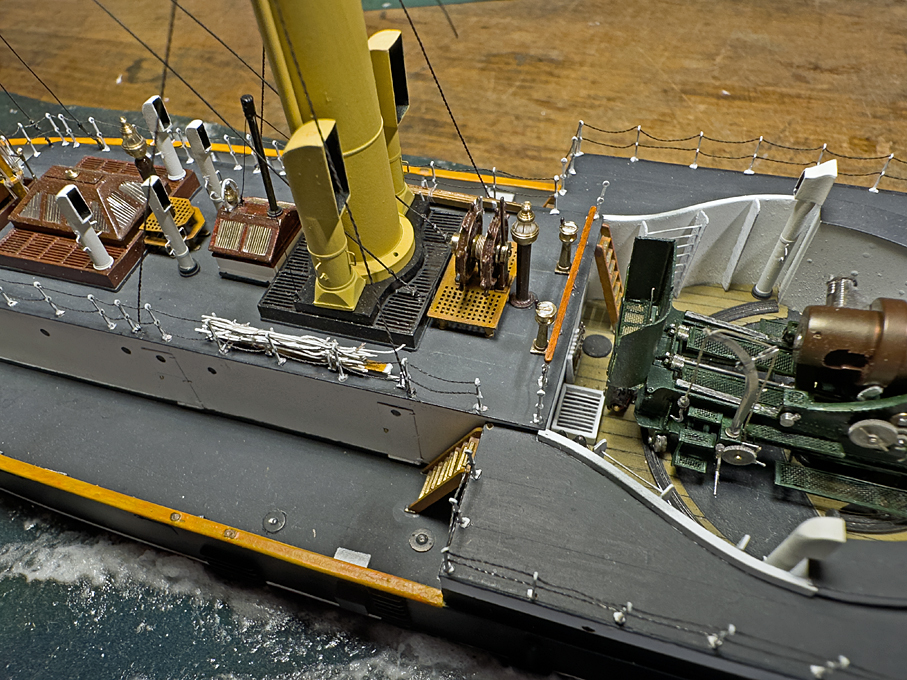
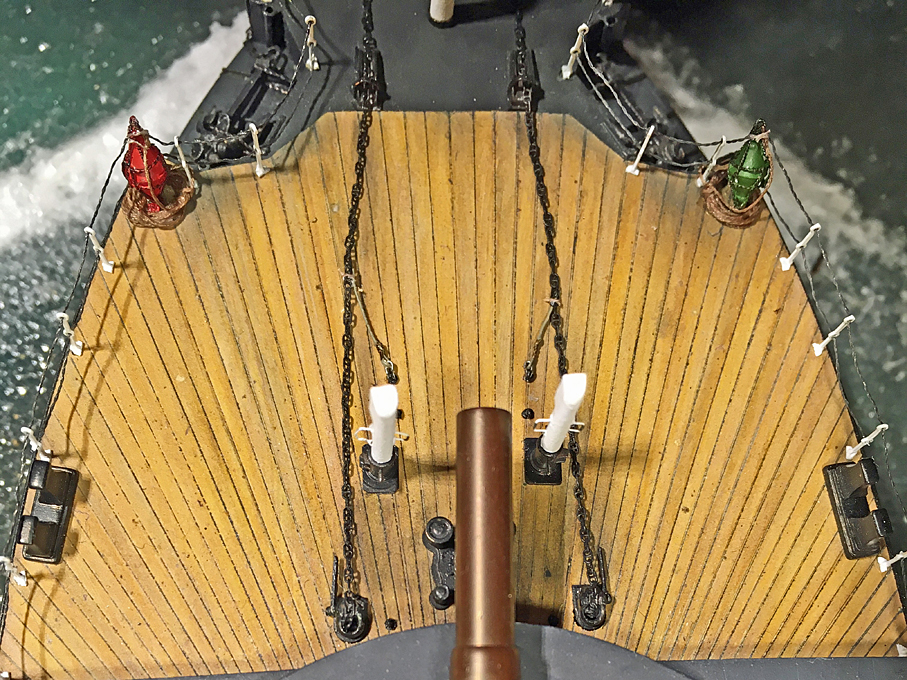 Stowed anchor-buoysTo be continued ....