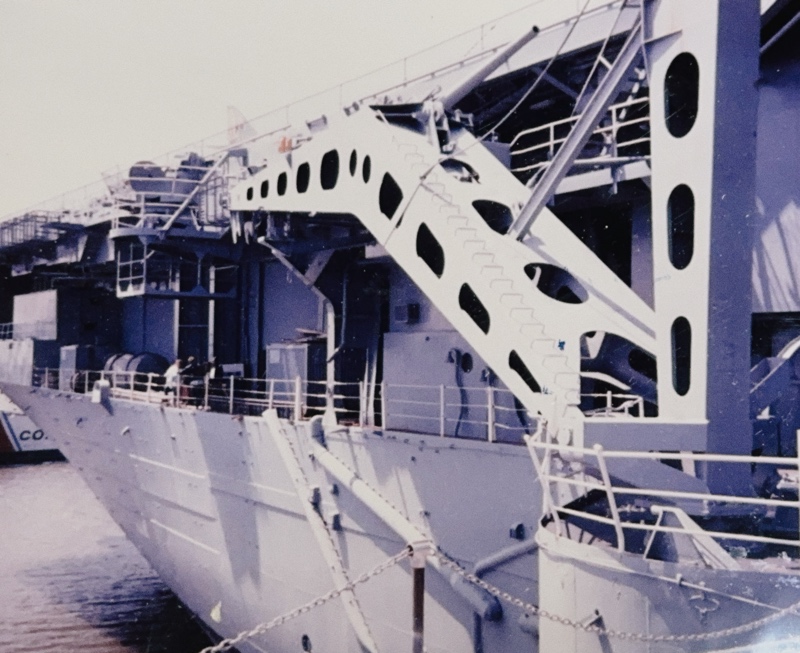
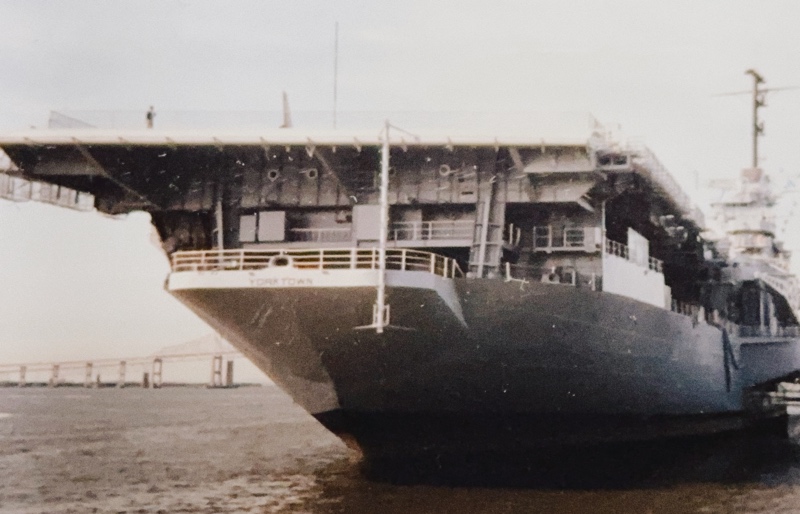
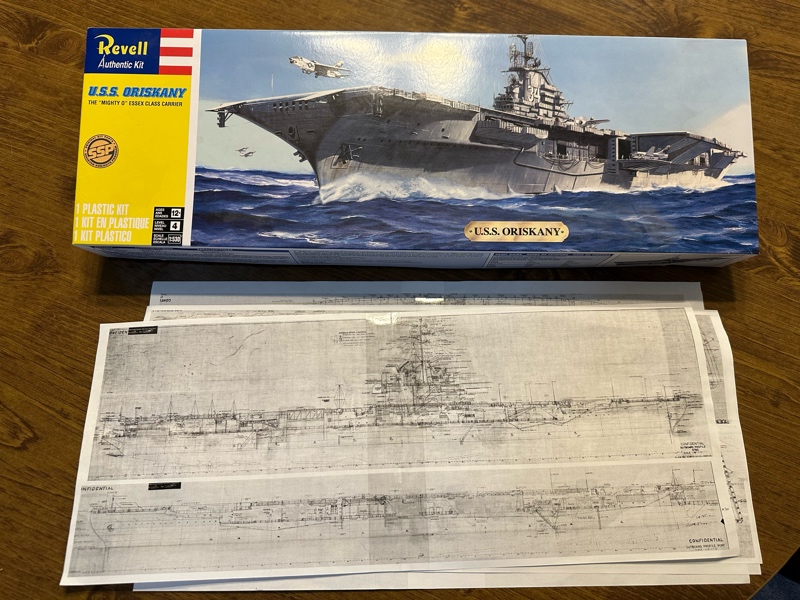
One of my ongoing quests has been to build USS Yorktown on the Apollo 8 recovery in 1968. It all began when I was 8 years old and our family vacation took us to Patriots Point. Back then the gift shop had a special boxing of Revell's 1:530 Essex-class kit as Yorktown, with a special decal sheet and a carefully-cropped version of the Wasp kit's box art, and I remember trying to build mine in the hotel room that night. It's now 45 years later and both Yorktown and that Revell kit occupy special places in my heart.
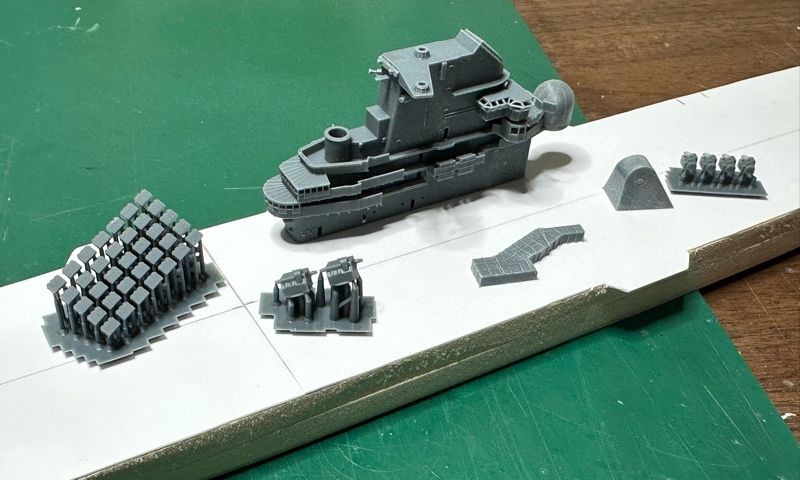
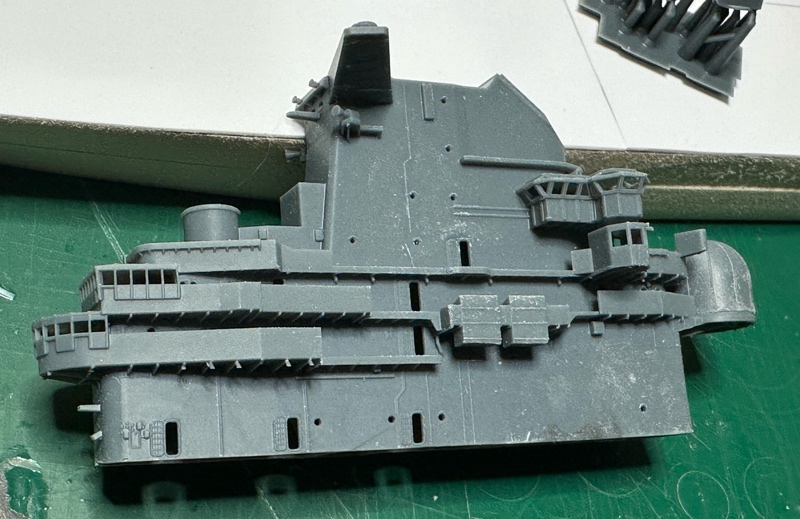
Over the years I've built several of the Revell kits and learned how to make them better. It's an old friend, but it needs a lot of help. Limitations of the injection-molding processes of the time, some shape and proportion issues, some questionable design factors, and now the age of the tooling (which broke a few years ago but, thankfully, got repaired) mean it's not a shake-the-box kit. Model Monkey makes a lot of items to help with some of the issues and to allow more accurate representations of different members of the class, and Yorktown in final configuration is among them. After endless promises, I finally made good on a purchase, and tracking tells me these assorted bits and pieces should be in my mitts tomorrow.
Last week I pulled an Essex-class kit from my shelf, printed out the Booklet of General Plans in the correct scale, and started thinking. Which, as Major Stovall reminded us, is something one should not do.
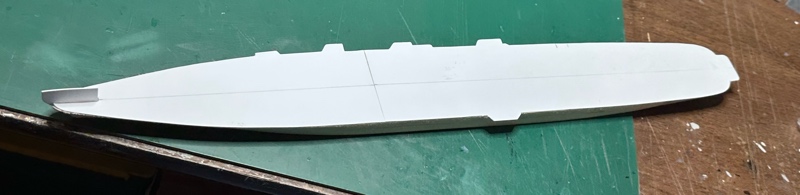
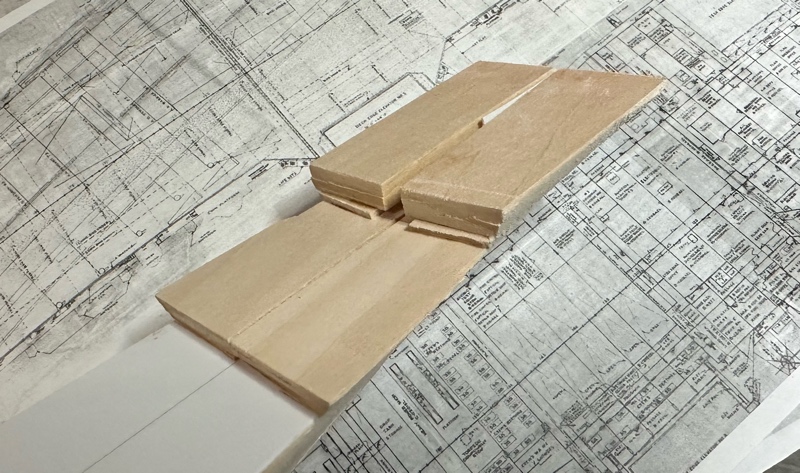
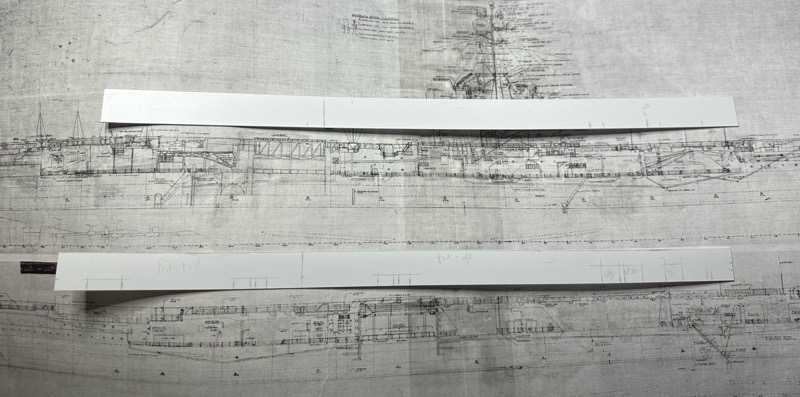
The more I'd have to cut away and rework, and with less and less of the kit being in play as a result, the more I started to think about just scratchbuilding the whole thing. That would give me control over shapes, proportions and everything else. I redrew the deck outlines in Illustrator to make templates, and ordered in a supply of 1/4" basswood. I wished later I'd gone with 3/16", which would have fit the deck spacing on the plans better, but I made this work. I thought for a little while about making this a full-hull model, but I went with a waterline version on this project.
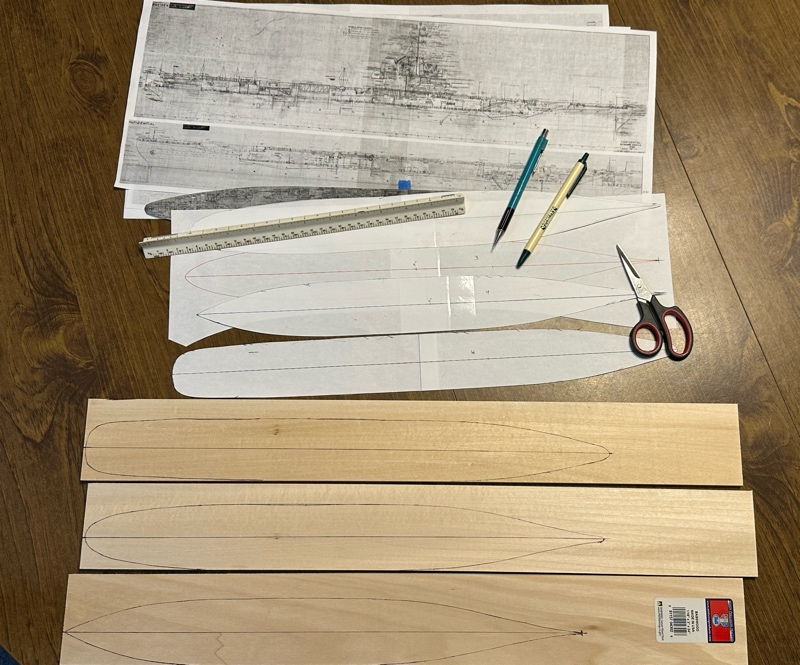
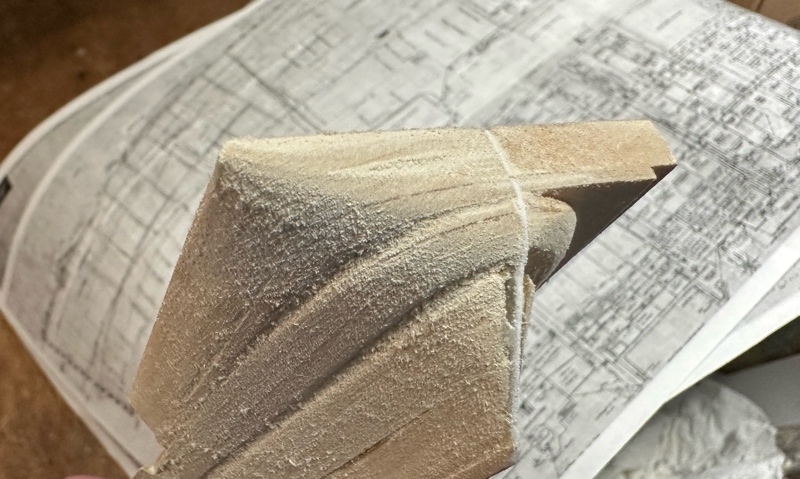
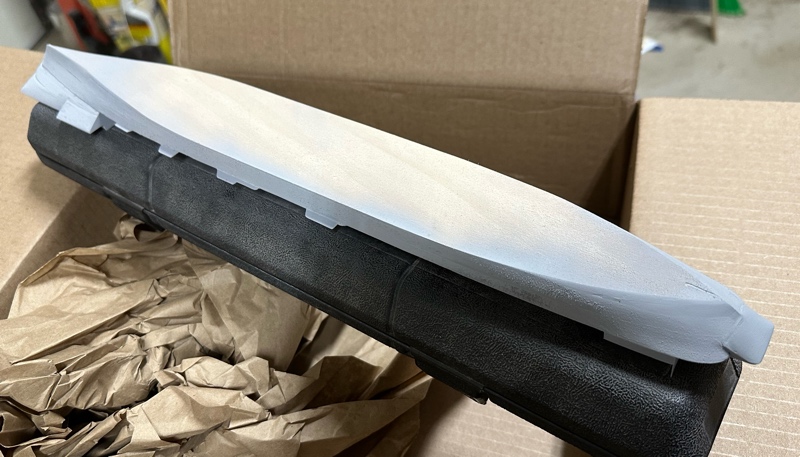
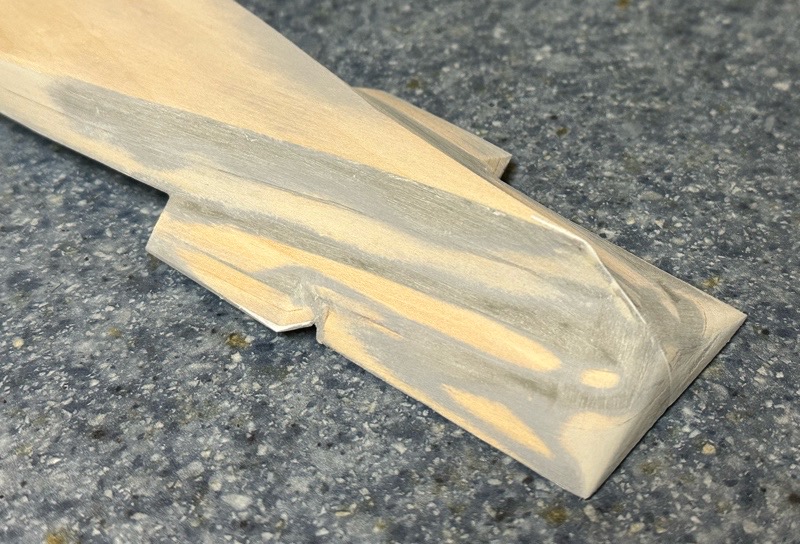
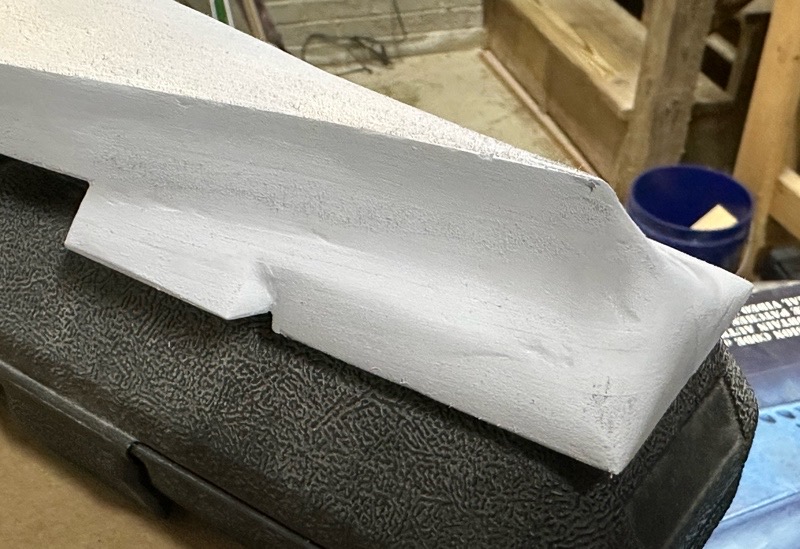
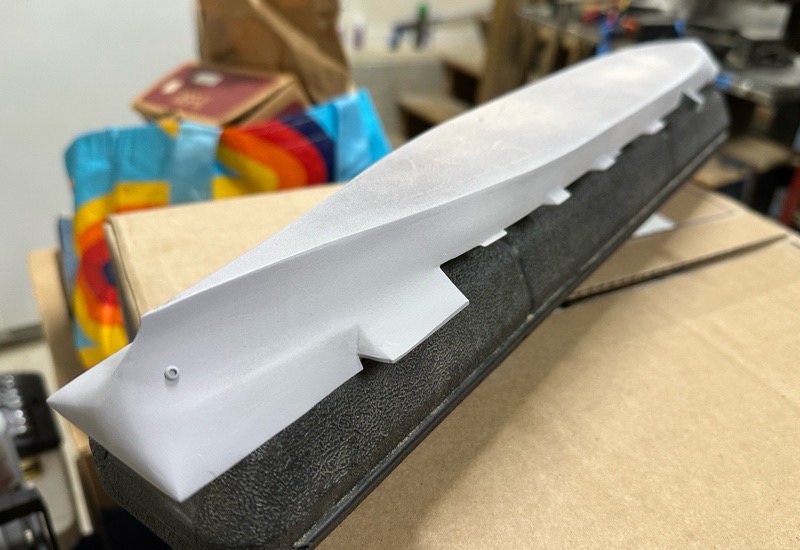
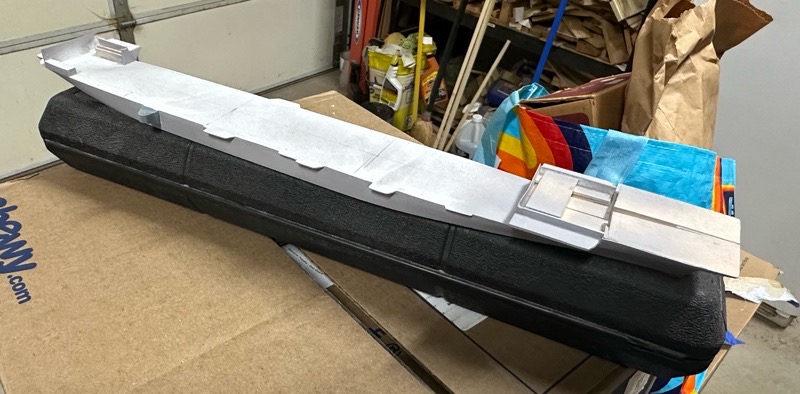
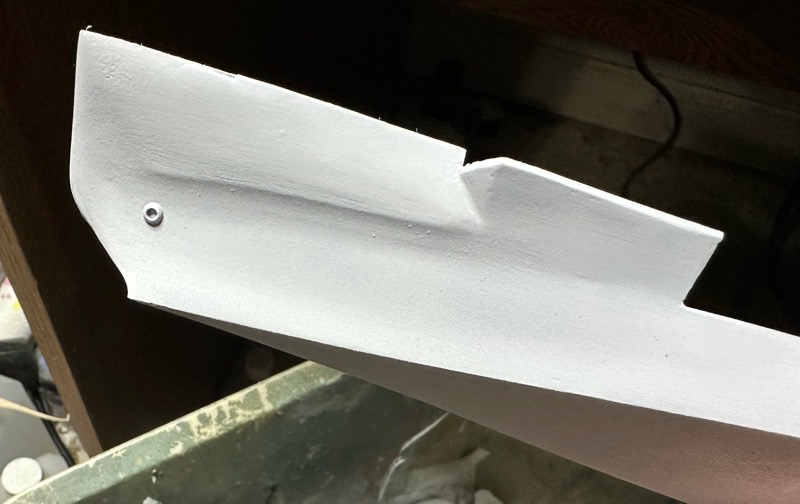
I cut out the hull pieces with the ol' Craftsman band saw, glued everything up and let it sit, and then carved and sanded and whittled, feeling like I should be sitting on the front porch of a general store on a lazy afternoon. If I'd been really thinking, I'd have created hull station outlines and worked from those, but my mind doesn't work that way. I approached this more like sculpture. The deck outlines are there but I used some artistic interpretation for the contours between. Not the most accurate approach, I know, but a model is an artistic interpretation of an object, and to me these shapes capture what I've seen when I've been around these ships. If you have, you know they're a collection of interesting shapes.
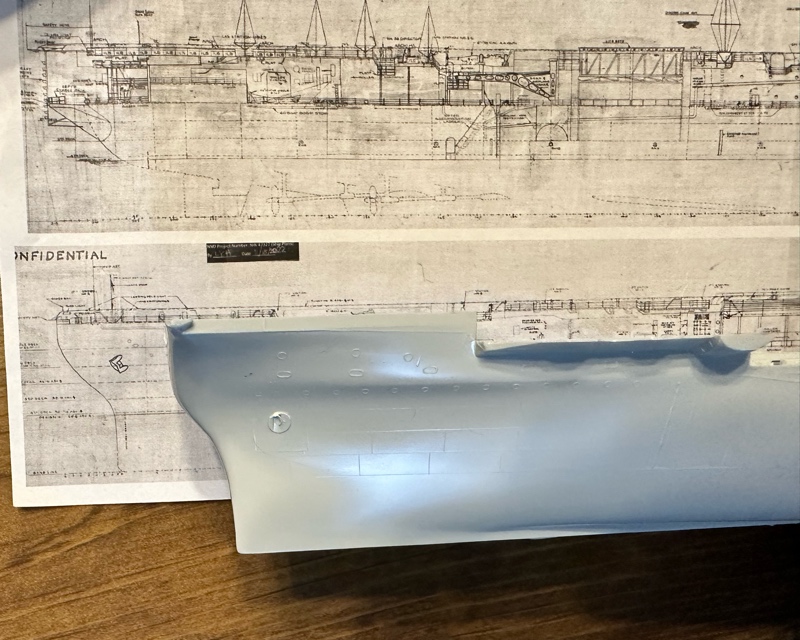
This isn't exact due to perspective within the photo, but you can get an idea of some of the profile issues that need attention on the Revell hull. This doesn't get into the blunt prow or lack of finesse on the hull curves due to 1950s molding technology.
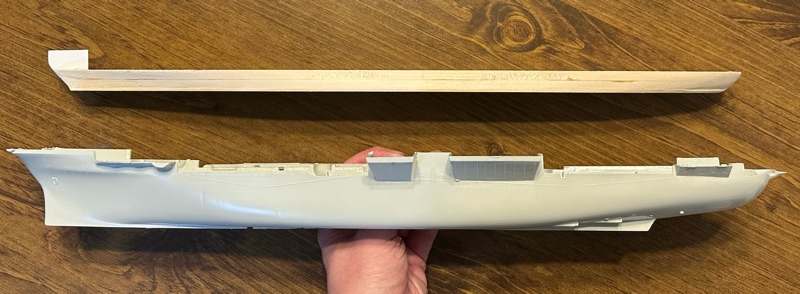
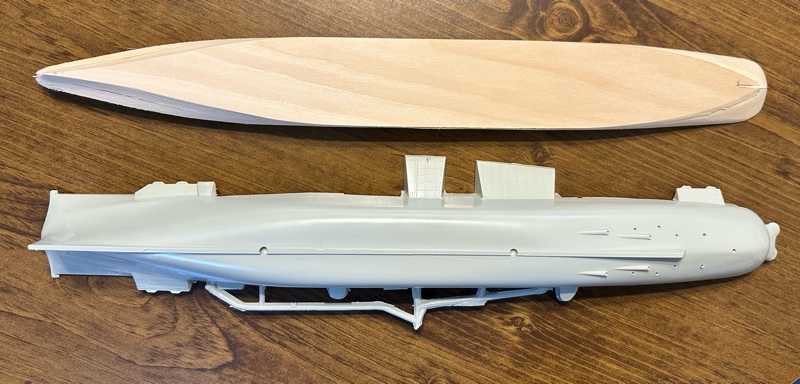
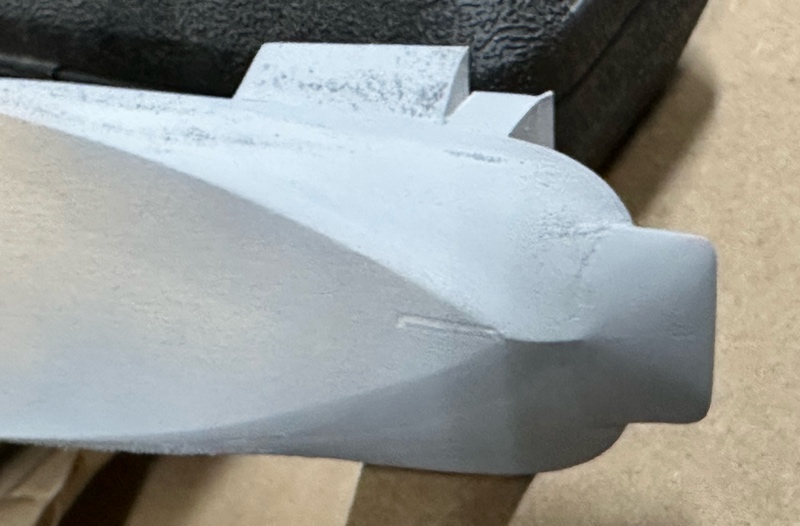
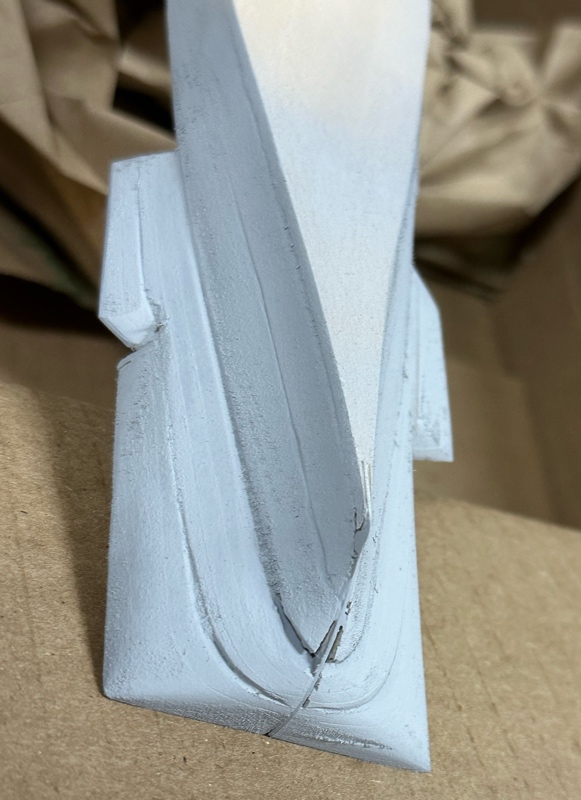
Some comparison shots between the Revell hull and my version. Starting from scratch let me represent some curves and shapes not present on the Revell version. There's some asymmetry I still need to address.
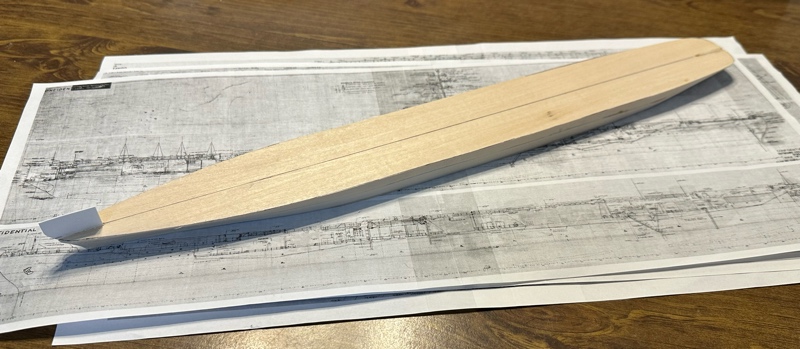
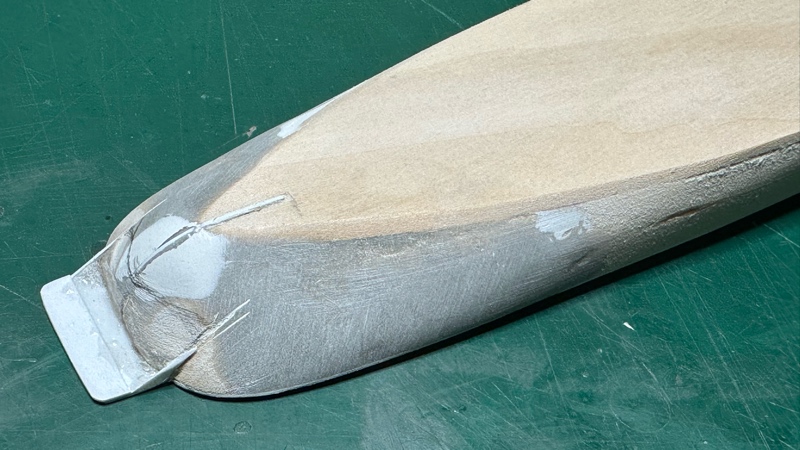
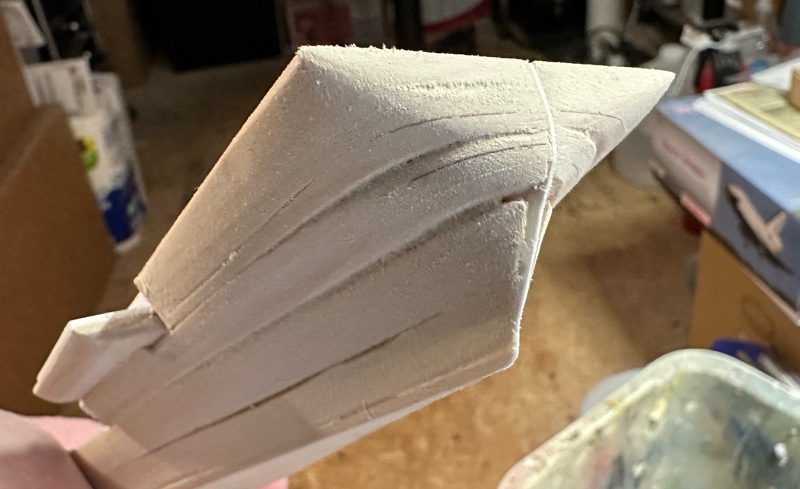
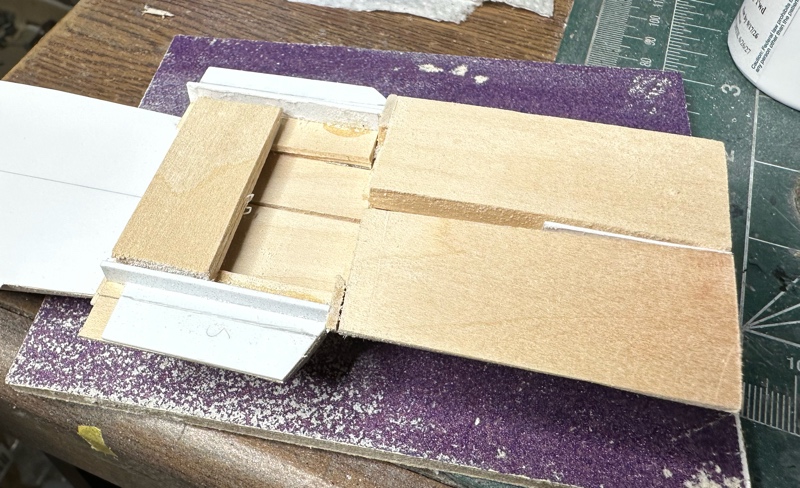
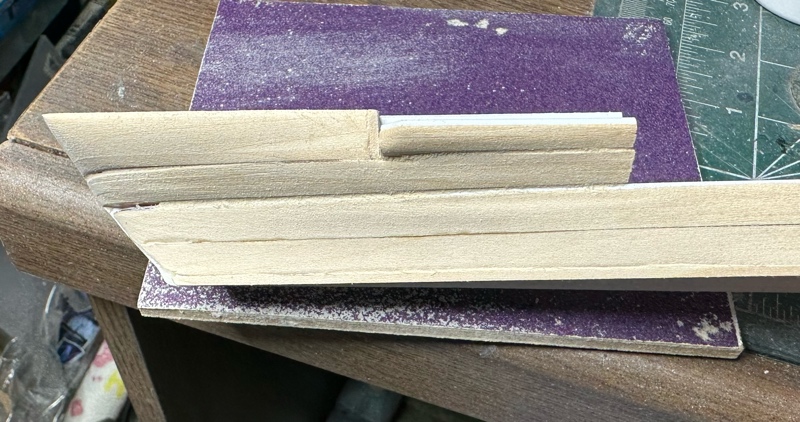
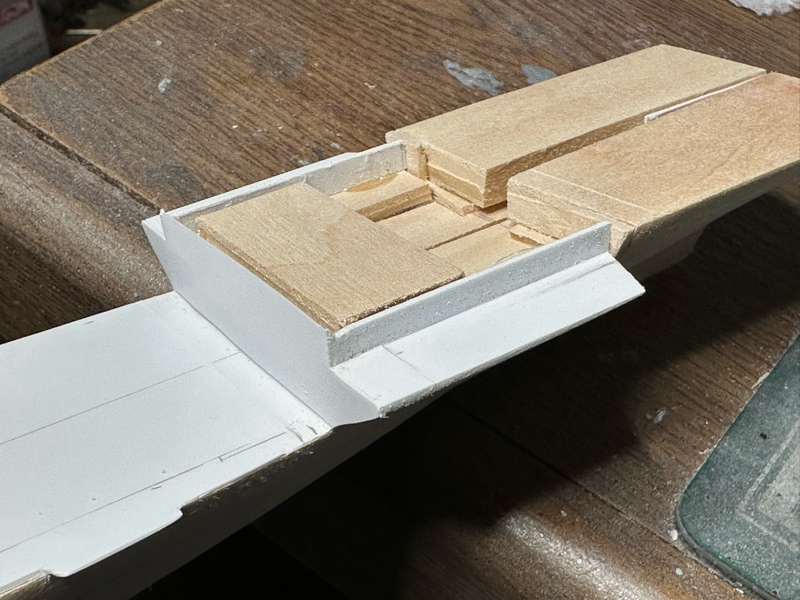
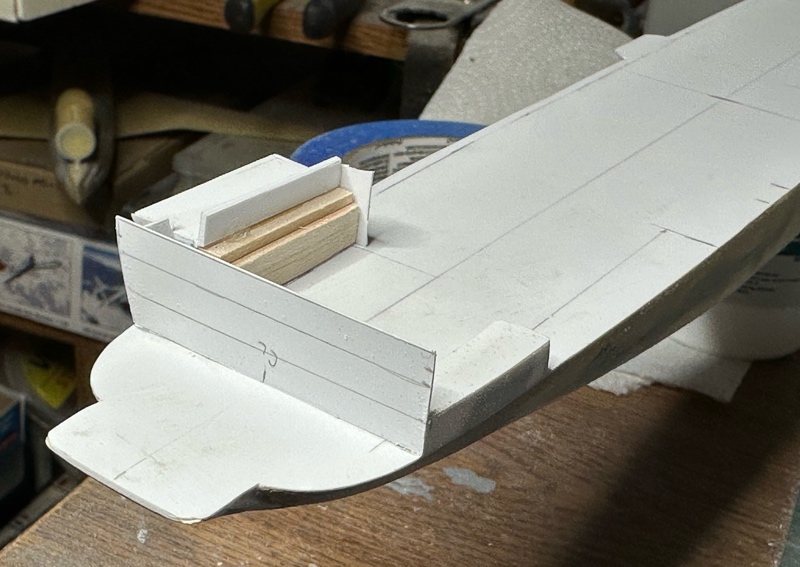
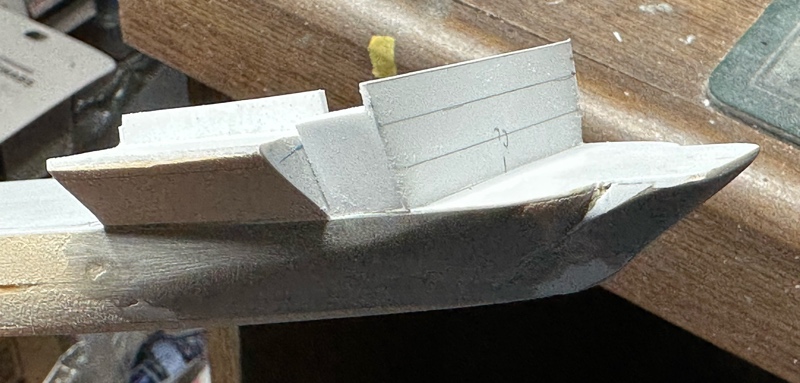
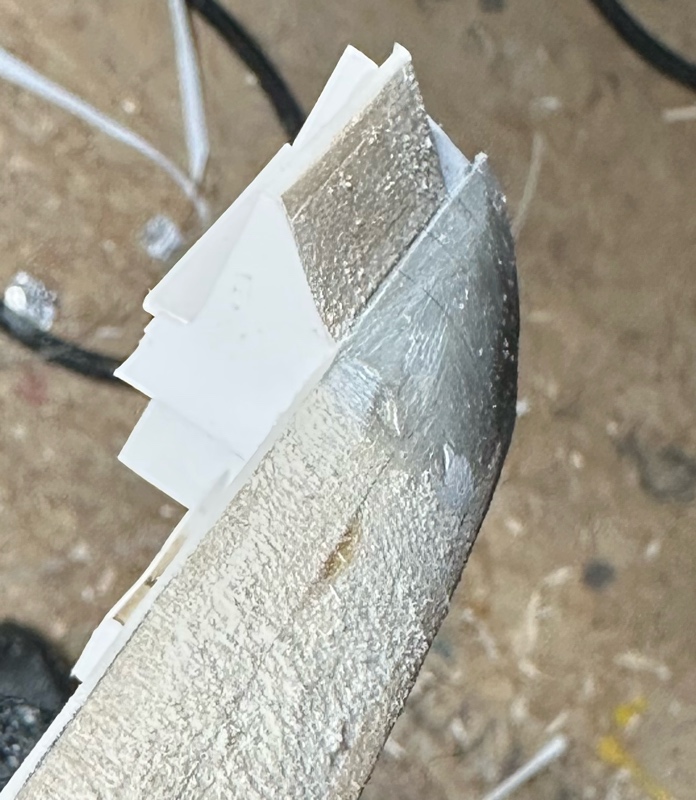
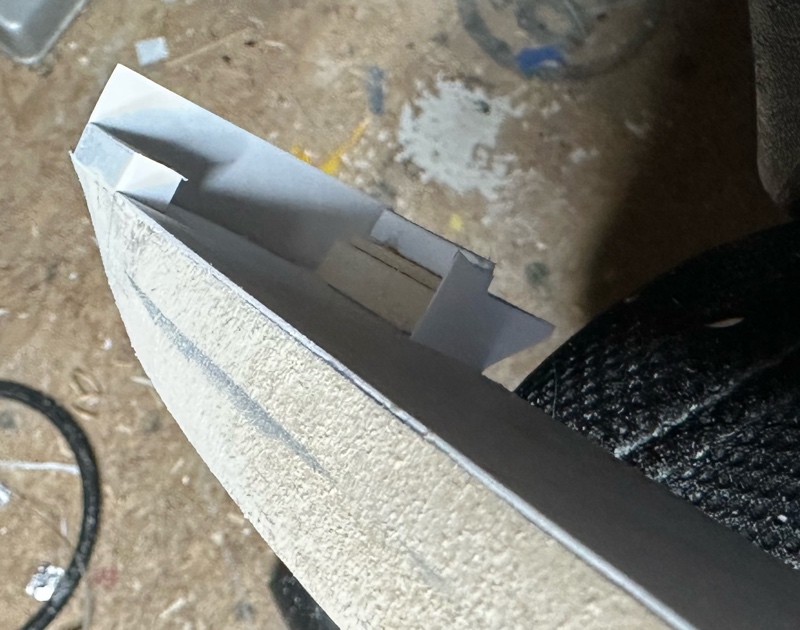
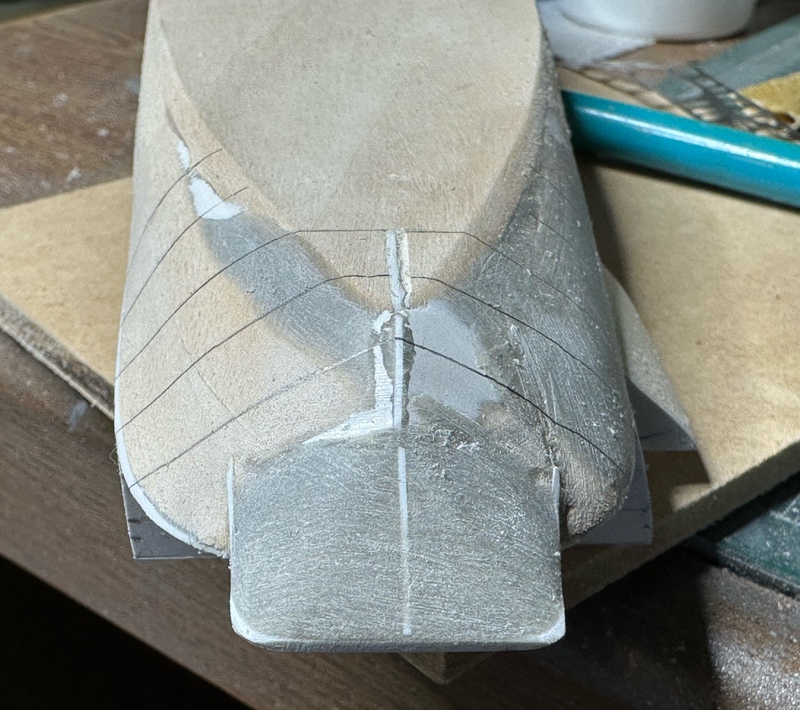
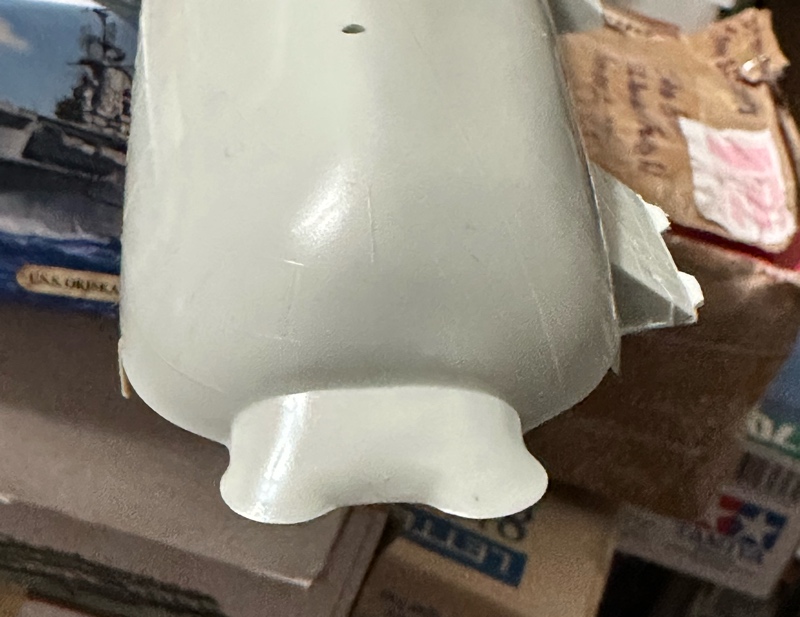
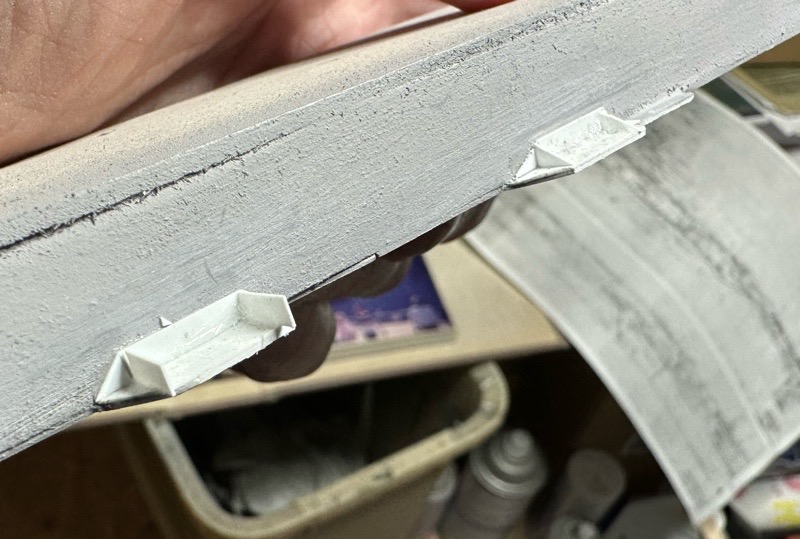
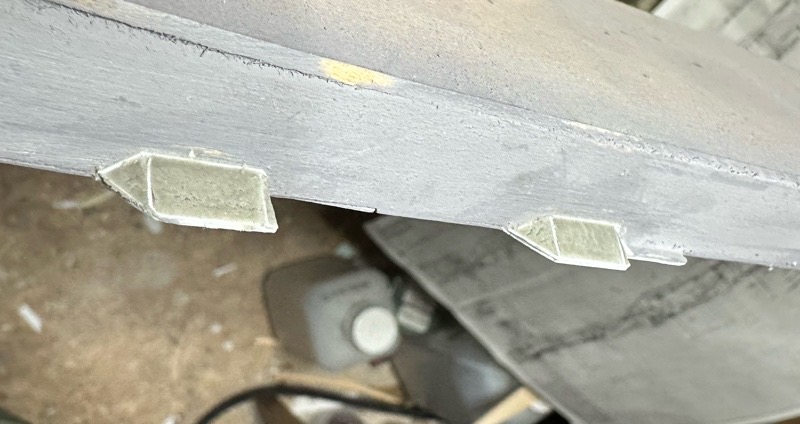
Basswood hull, more or less in shape. Borrowing from Paul Budzik's technique on his USS Enterprise project, I inserted plastic shapes to guide shaping the bow and stern. Paul Budzik's a true craftsman, and if a chill went up his spine because a hack like me is stealing his technique, I completely understand.
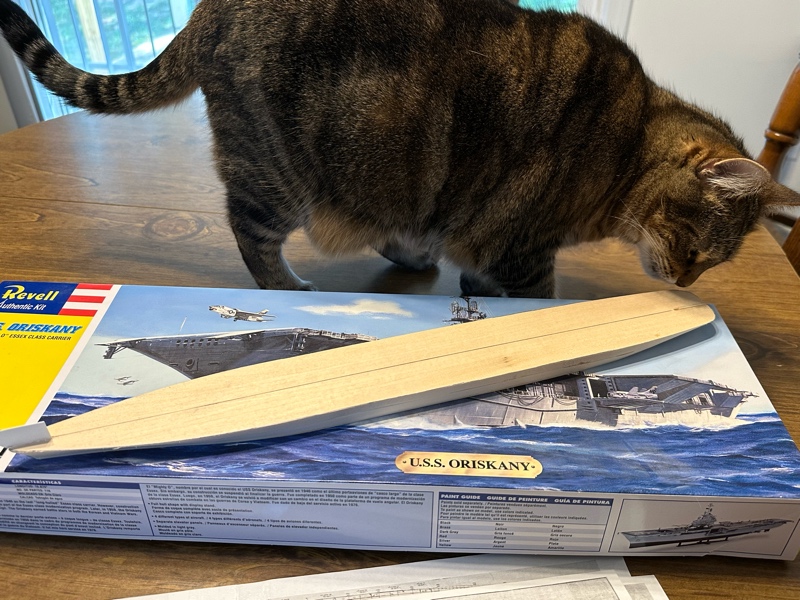
Time for inspection. Adm. John Bulkeley's legendary INSURV reviews are nothing compared to Gilda's critical eye.
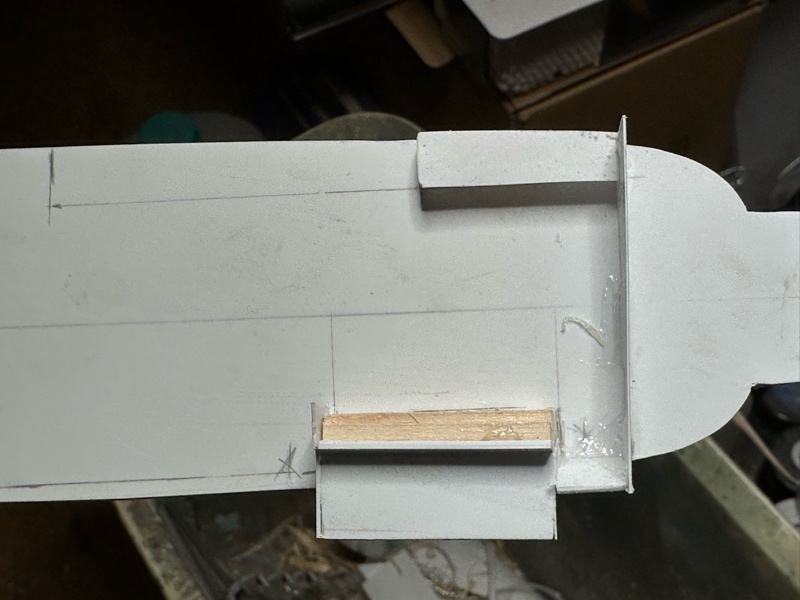
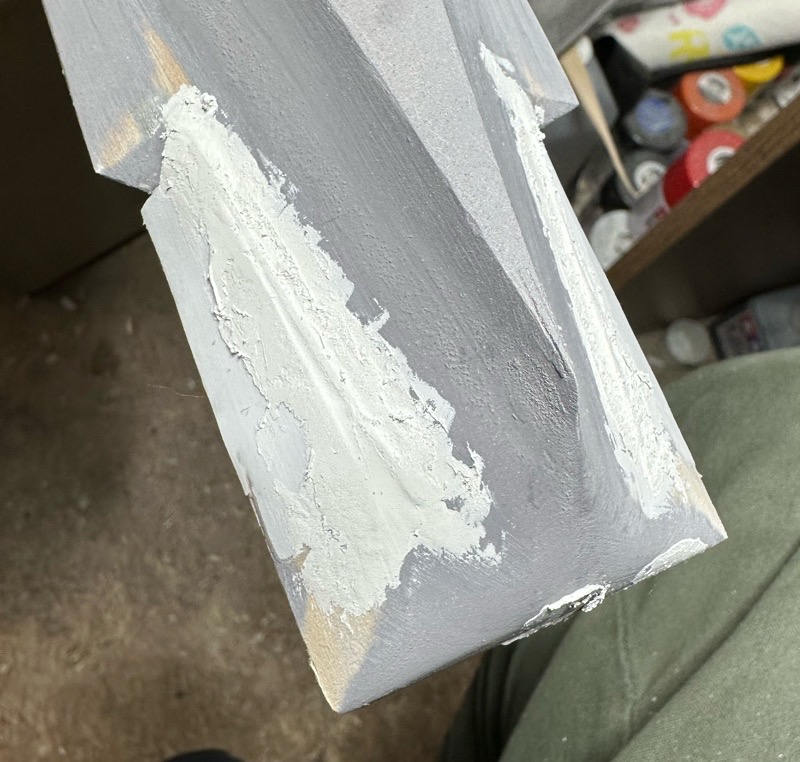
Next steps include installing the hangar deck surface itself, cut from styrene and with the port/starboard/stern platforms incorporated, building the enclosed bow and gun platforms, and then filling and sanding everything to final shape for sealing and priming. Watch this space.
Jodie Peeler