Hi guys. Well I'm back to work on my Truman and plan to stay with it until she's finished. I used to have a progress thread but it has apparently vaporized... Anyway, I am going to post some of the previous "in progress" pics pretty much without comment, then I will start posting my more recent progress as I go. So here we go:
Last edited by Kelly Quirk on Sat Oct 11, 2008 8:46 am, edited 1 time in total.
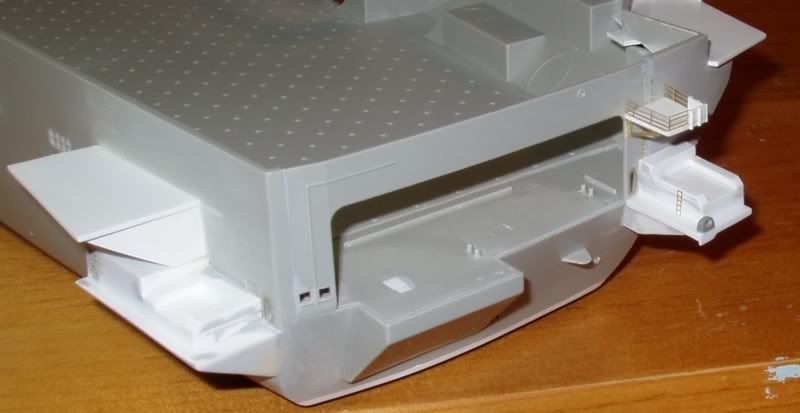
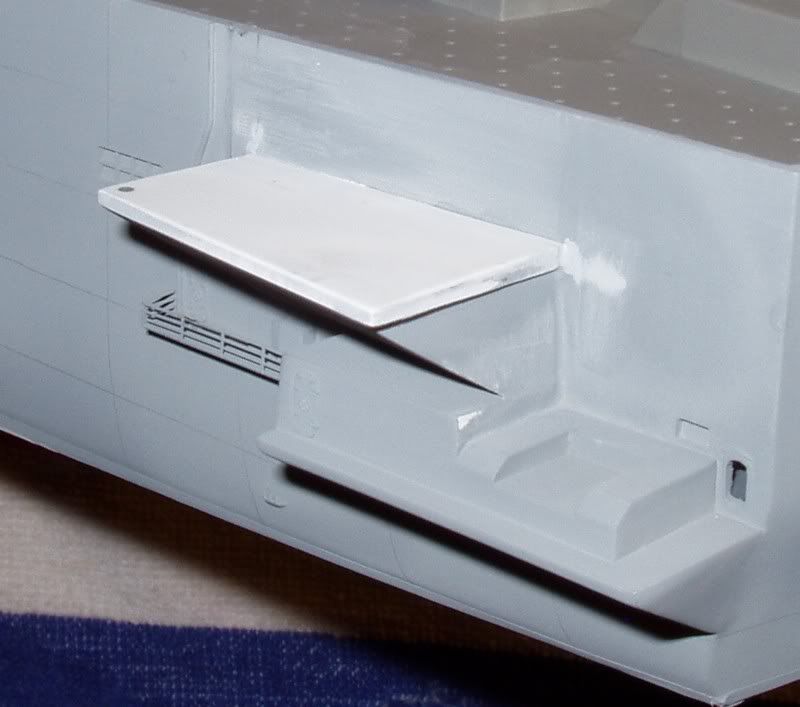
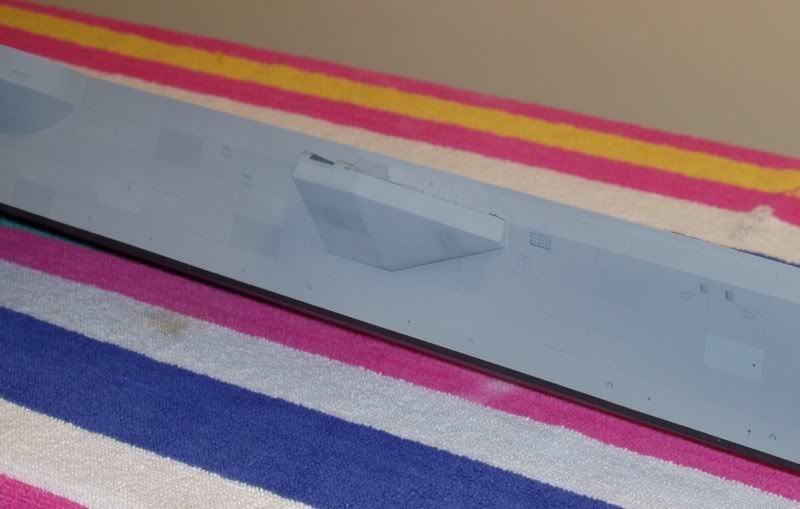
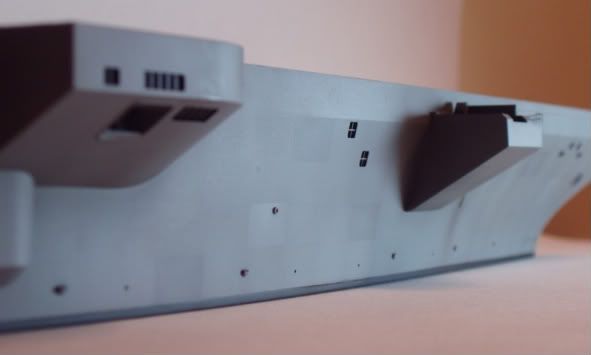
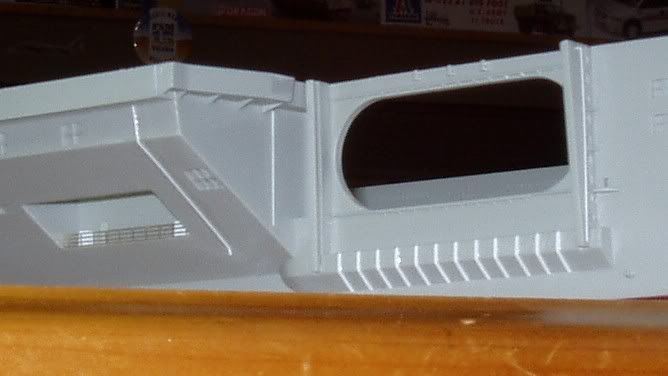
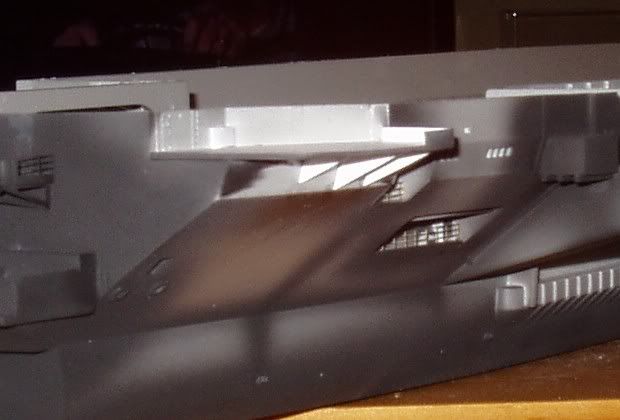
Okay on to recent progress. I wasn't happy with the angle of this port side sponson, so I "fixed" it to my satisfaction:
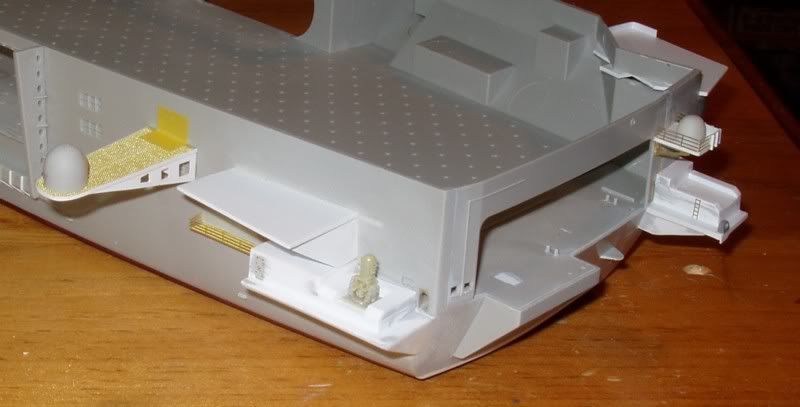
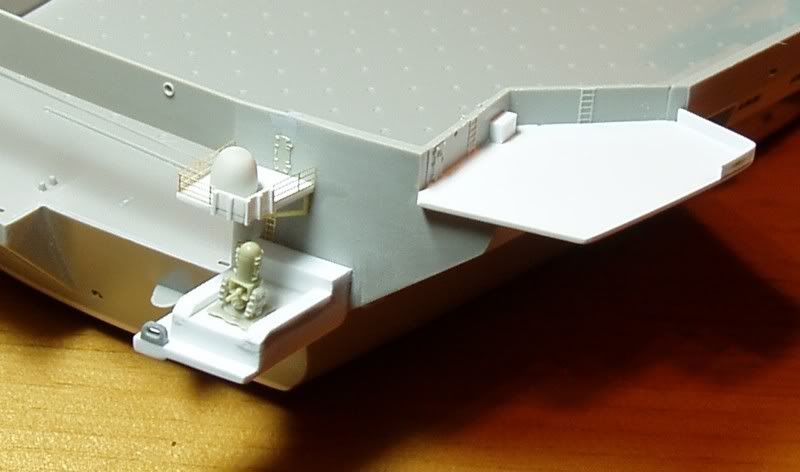
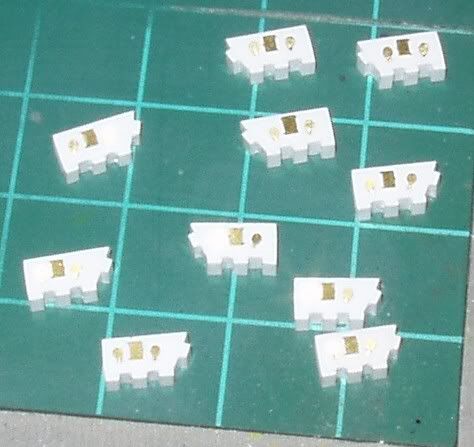
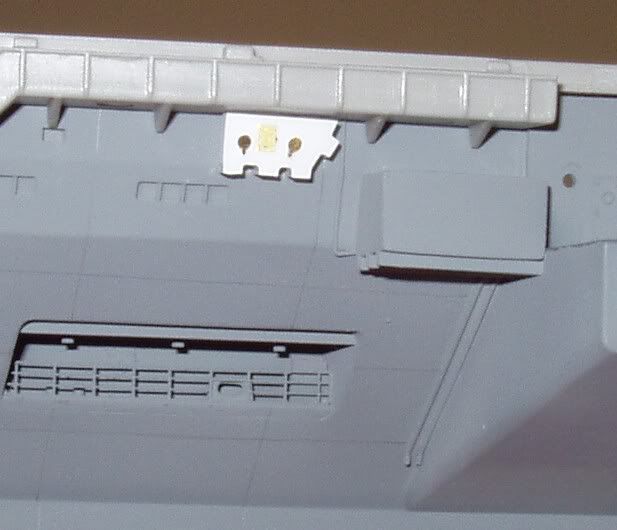
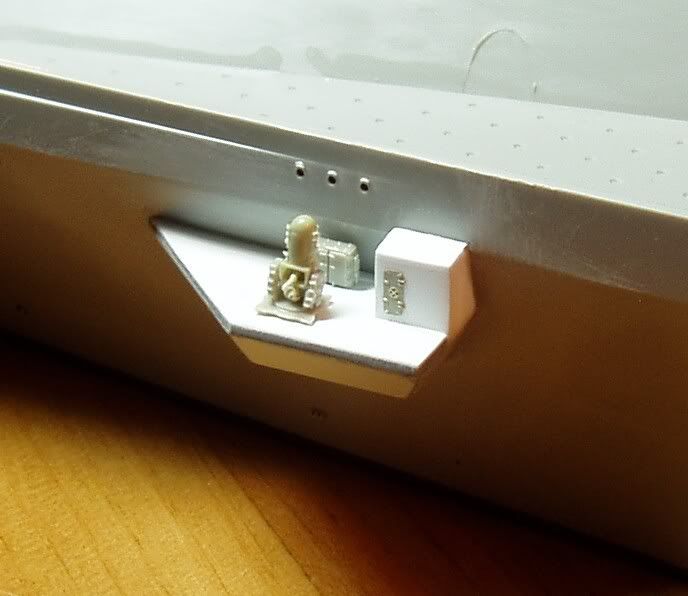
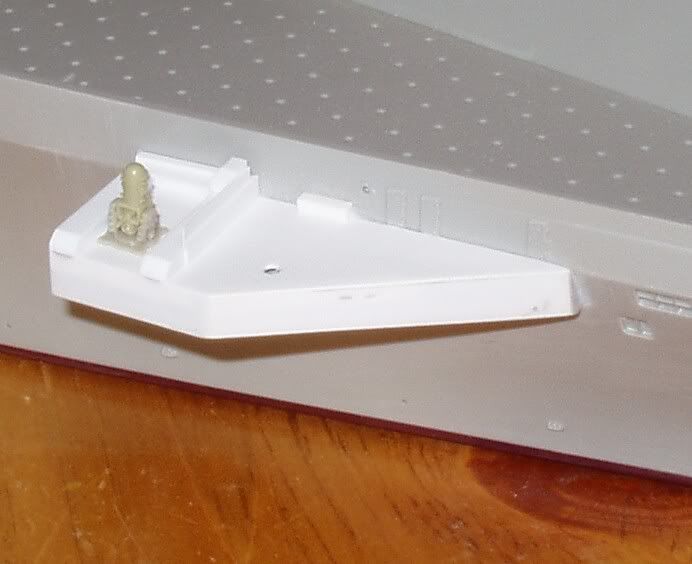
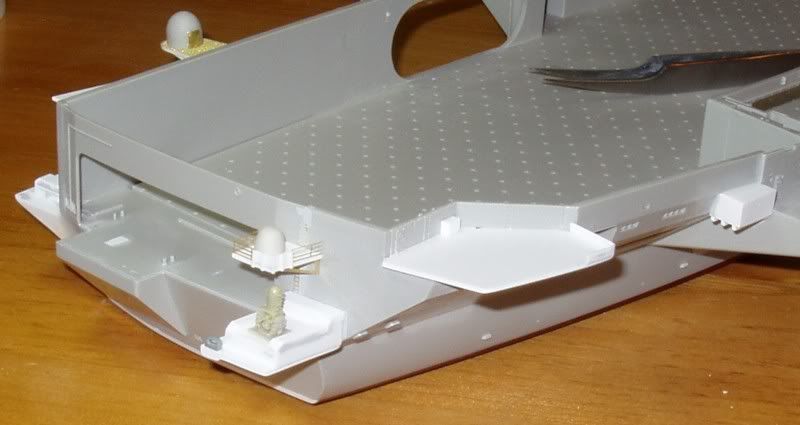
I noticed these, what I assume are stair wells, under the catwalks while browsing my reference photos. These are still not 100% accurate but give a good representation of the real thing. They appear to have an opening in the center and a couple lights attached to them. I used 1/350 scale PE aircraft nosewheels to represent the lights:
I'm not very familiar with all of the available super carrier kits out there. Is this a "Truman" kit? Or are you converting another into the Truman? I'm guessing that you're doing a conversion because of all of the detail changes you're having to make. I appologize for my ignorance on this one.
Nice to see the carrier back on the bench. I wanted to do this one myself having amassed lots on parts etc but the lure of a unrep diorama has led me to 700 scale !
Yes, I'm converting the 1975 era Nimitz kit to a 2005 Harry S. Truman. I wanted to do a more modern carrier and being from Missouri, the Truman was an easy choice
NukeMM wrote:Kelly,
Nice eye for the details!
I'm not very familiar with all of the available super carrier kits out there. Is this a "Truman" kit? Or are you converting another into the Truman? I'm guessing that you're doing a conversion because of all of the detail changes you're having to make. I appologize for my ignorance on this one.
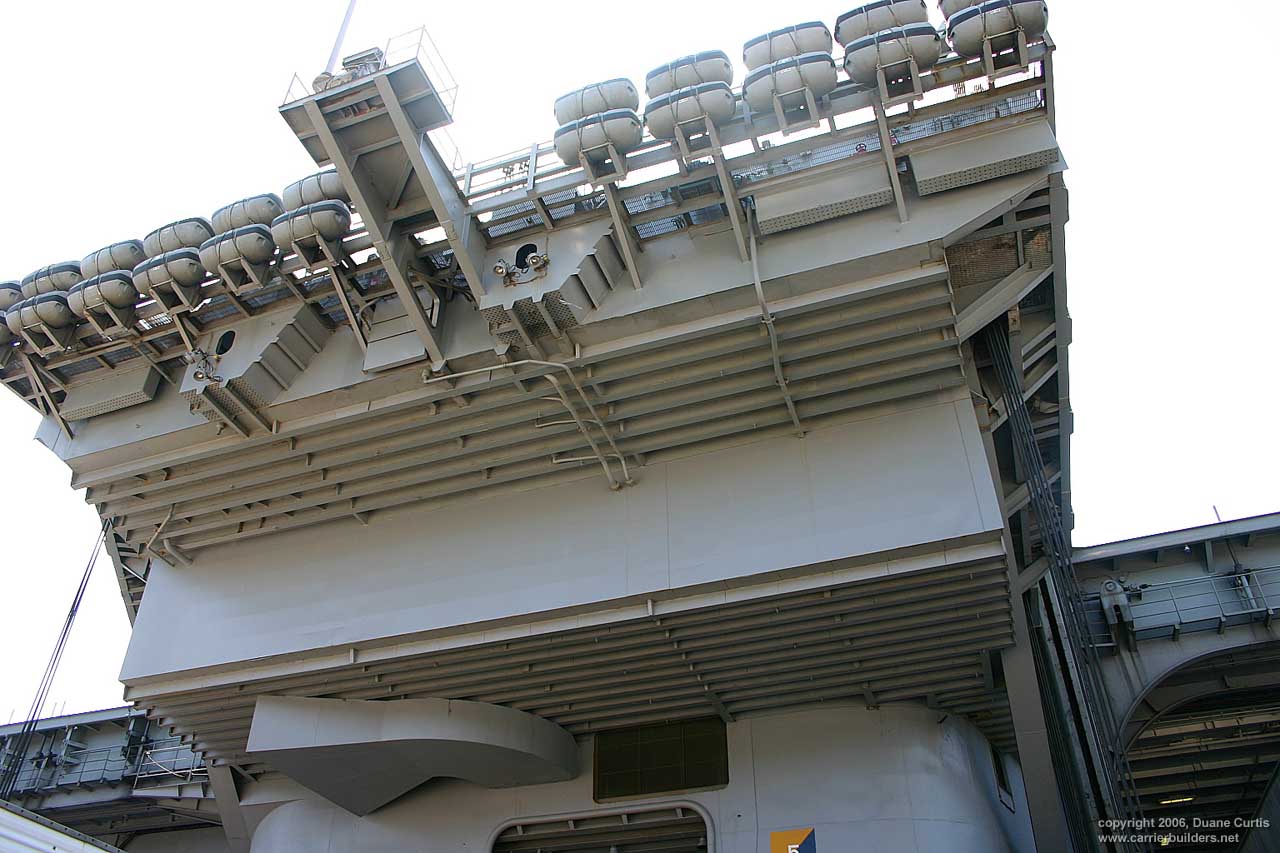
Kelly Quirk wrote:I noticed these, what I assume are stair wells, under the catwalks while browsing my reference photos. These are still not 100% accurate but give a good representation of the real thing. They appear to have an opening in the center and a couple lights attached to them. I used 1/350 scale PE aircraft nosewheels to represent the lights:
I assume you have the photos like this from carrierbuilders.net?
Yep. They are ladderwells from the catwalks to the 03 level.
Tim Barron wrote:
Kelly Quirk wrote:I noticed these, what I assume are stair wells, under the catwalks while browsing my reference photos. These are still not 100% accurate but give a good representation of the real thing. They appear to have an opening in the center and a couple lights attached to them. I used 1/350 scale PE aircraft nosewheels to represent the lights:
I assume you have the photos like this from carrierbuilders.net?
Kelly: I have a technique question for you. There are some small platforms where you have photoetched rails already. I'm assuming that you will spray the whole ship gray, and then brush paint those small decks the darker gray?
Tim Barron wrote:Kelly: I have a technique question for you. There are some small platforms where you have photoetched rails already. I'm assuming that you will spray the whole ship gray, and then brush paint those small decks the darker gray?
Hi Tim, yep, that is exactly what I do. In fact I just hand painted the horizontal decks this morning.
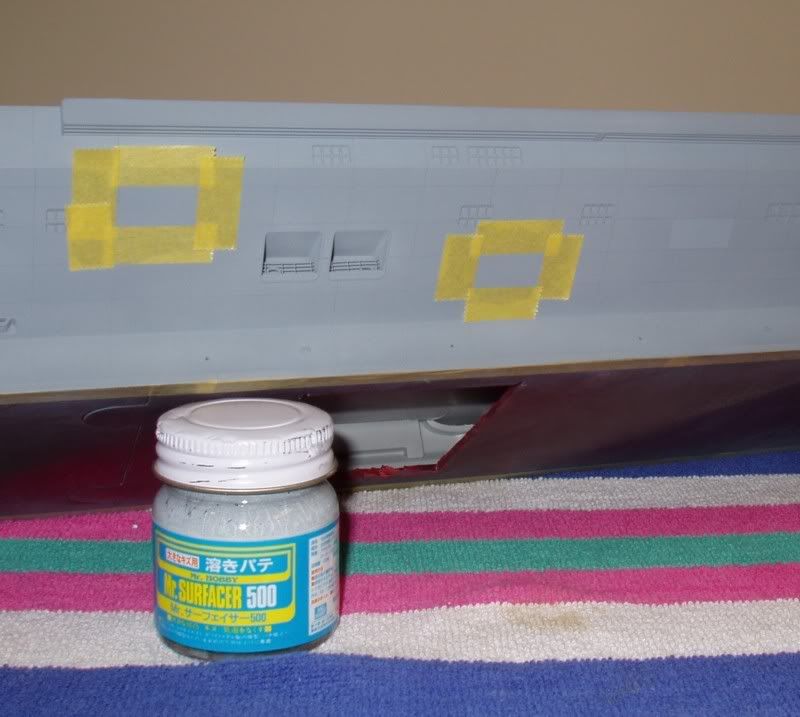
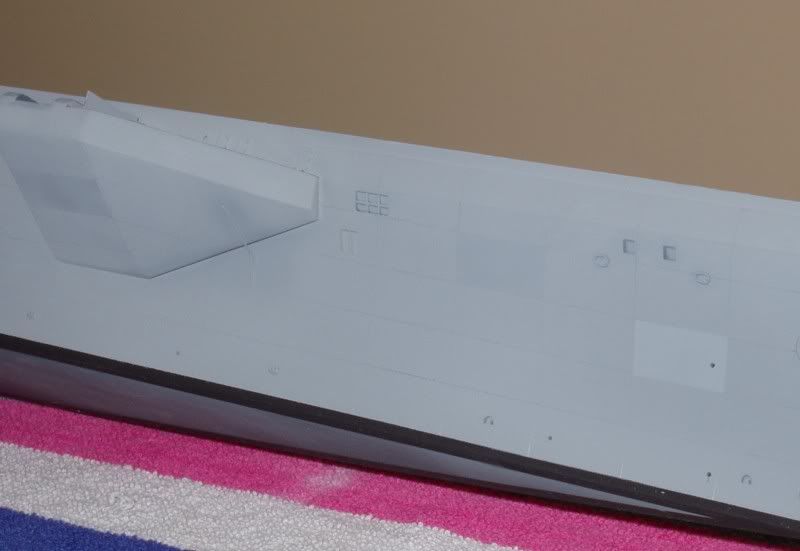
I wanted to try something different on this build - I wanted to add the hull sections from when the carrier was constructed. After the base coat of paint, I started out with lightly marking the sections out with a drafting pencil. The I went back and taped off various sections and sprayed with slightly different shades of the base paint. It looks a little stark at first, but hopefully when I start the weathering process the lines and paint will start to blend. The idea is the have a very subtle effect, noticable but not overpowering.
Thanks! I'll check it out. There is also a set on Ebay right now... I also just bought a set of the fire tractors and deck scrubbers from forum member Thomas (Tom-Tom), so I'm slowly getting all the goodies I need!
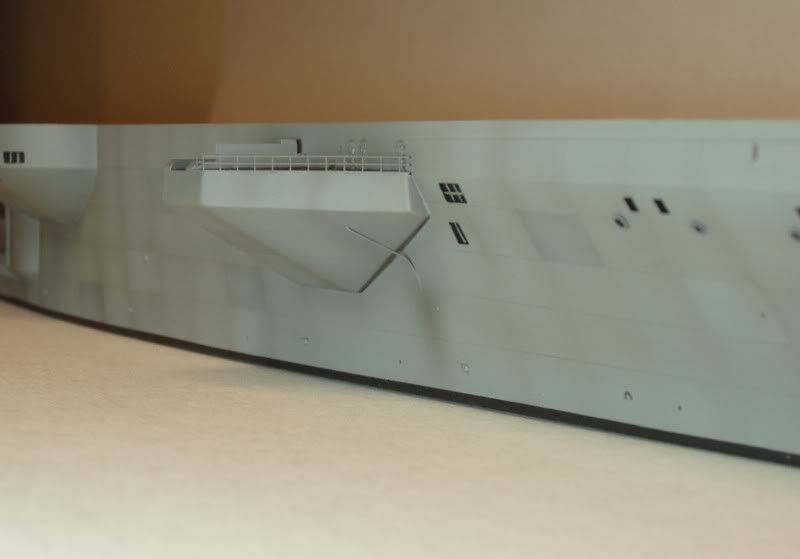
I've been making some progress... Here's how the hull turned out after the first round of weathering. I will still be adding some rust streaks and grime here and there. I'm not 100% sold on the effect... Overall I like that you can make out the hull sections, but maybe I overdid it?
Kelly stated..................Overall I like that you can make out the hull sections, but maybe I overdid it?
My two cents worth..................Right now the weathering and hull sections are most of what there is to look at on the model. Once that everthing else progresses, you may not feel that they were "over done".
I like it, myself, and am anxious for additional updates as the it progresses.


