Since geting back into ship building I've wanted to model a Baltimore class heavy cruiser my all-time favorite class of warship, and for me a 1/350 USS Baltimore is the ultimate!
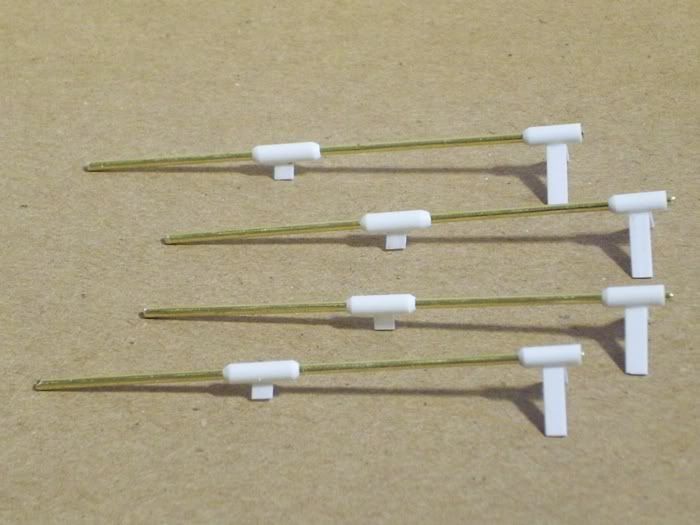
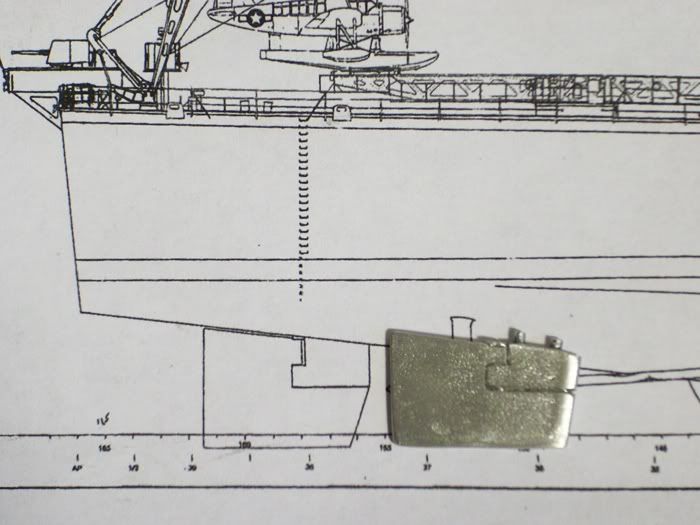
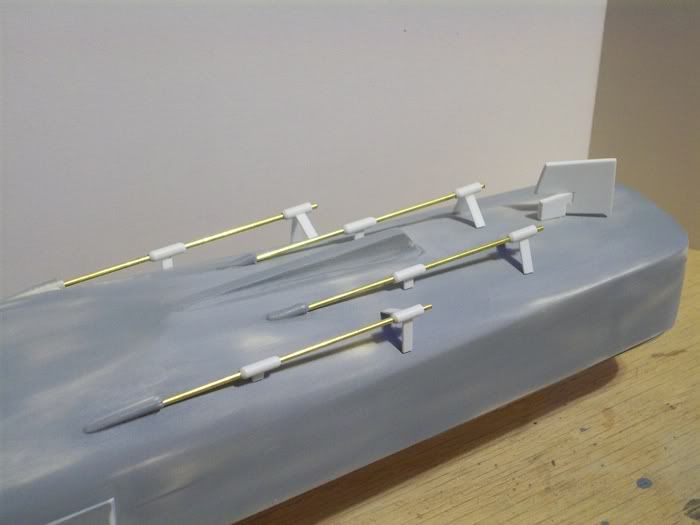
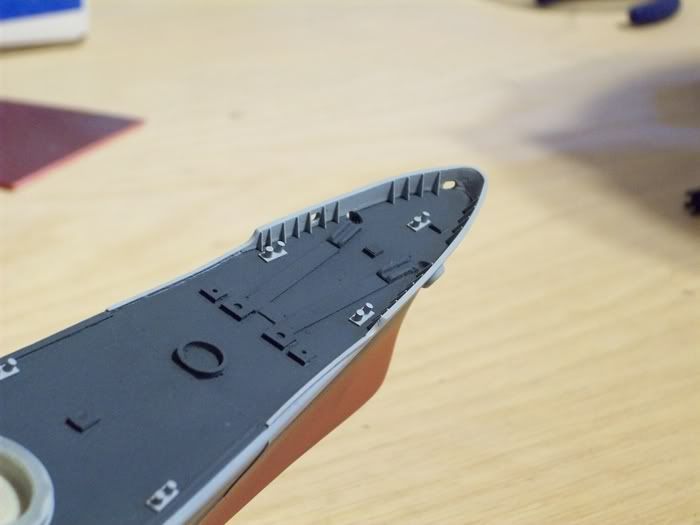
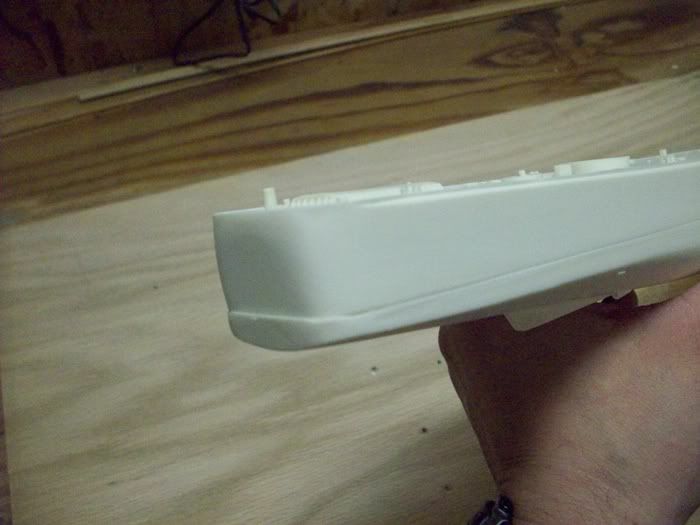
When I recieved the kit I didn't know what to expect because I've never built a resin model so I read all the resin related threads I could find and have been in contact with other moelers who have built this kit who have given me some great advice and tips from their builds. I was very impressed with the quality of the YMW kit, the castings are crisp with good detail and only minor flash and almost no air holes...the upper hull casting is slightly warped (about 1/8" at both ends) with the lower casting being pretty flat but slightly longer than the upper casting...the assembly instructions for the most part are easy to understand but a few steps here and there are still a little confusing. The two pc. p/e fret is very detailed and seems to have everything although some pcs. seem a little overscale.
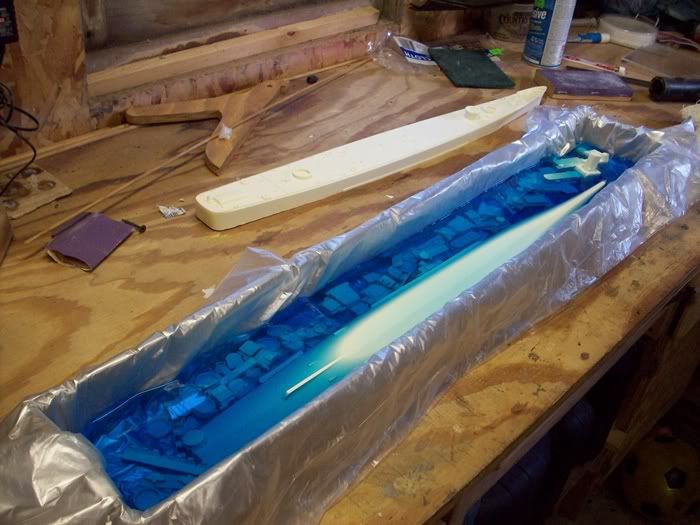
Time to get started...I got a box long enough for the hull castings and lined it with plastic ready to give the model a Wesley's "Bleche-wite bath"...I let the castings soak for about 15min. in the tire cleaner then scrubbed them with an old toothbrush rinsing in clean water and placing them on a towel to dry.
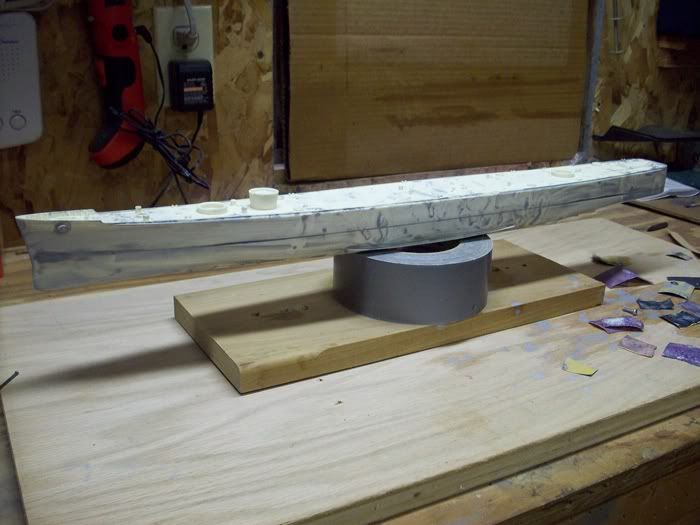
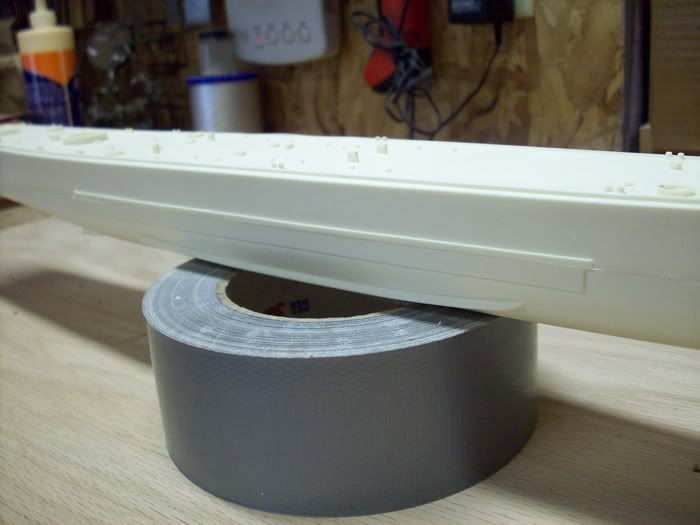
Next it was time to tackle the warped upper hull casting...after reading about fixing warped resin hulls I decided to try the oven method...I baked the hull casting at 200 degrees for a 40 min. heat soak, after the casting flattened out I placed it on a smooth piece of scrap cabinet grade plywood and fastened it down with screws.
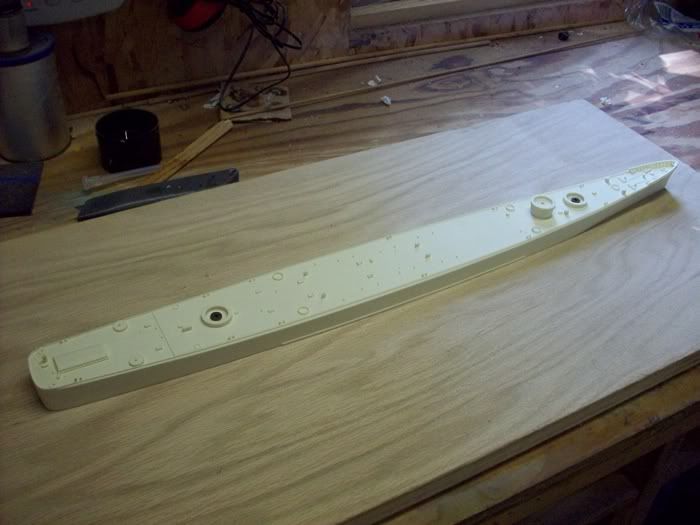
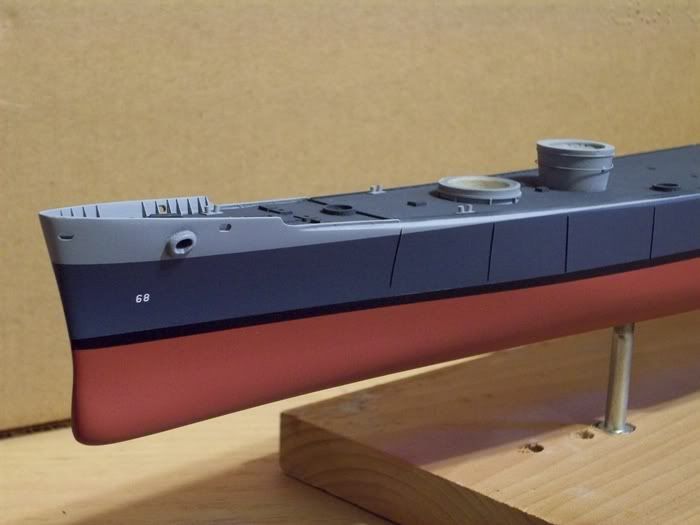
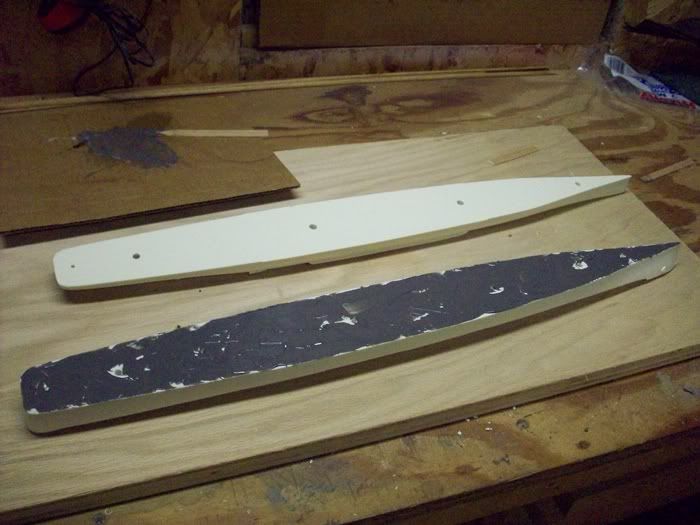
After the upper hull cooled overnite I removed the screws and the casting was almost perfectly flat the warp was gone!!!...so I started work on the lower hull casting needing to remove enough material to bring the hull into specs. I used my bench top jointer/planer and removed about 0.010" at a time untill the hull's overall dimentions were correct.

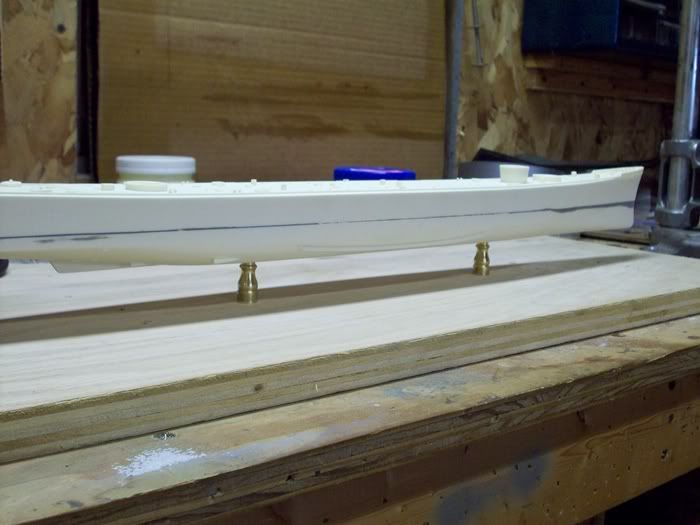
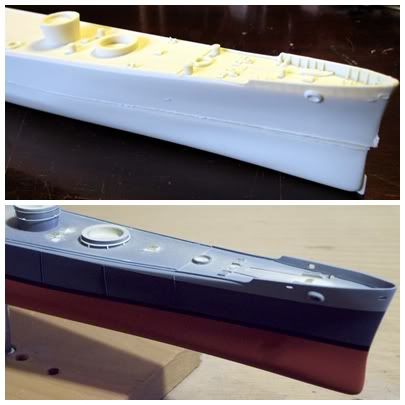
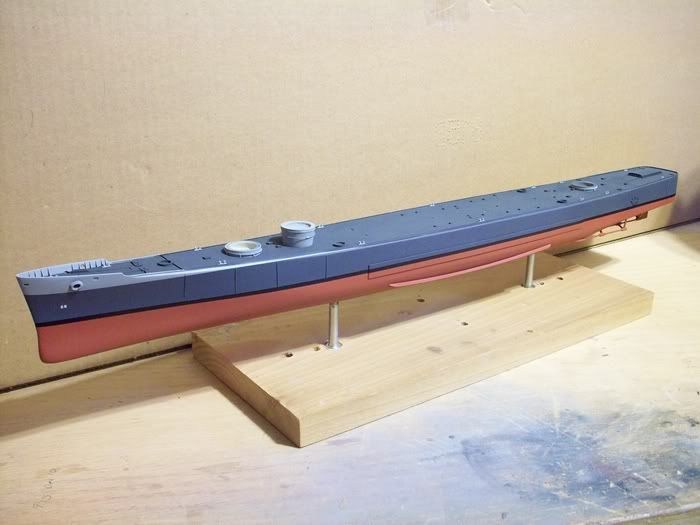
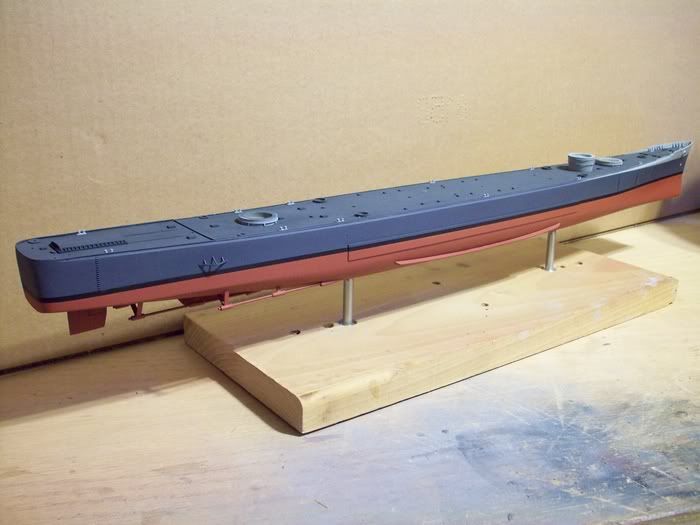
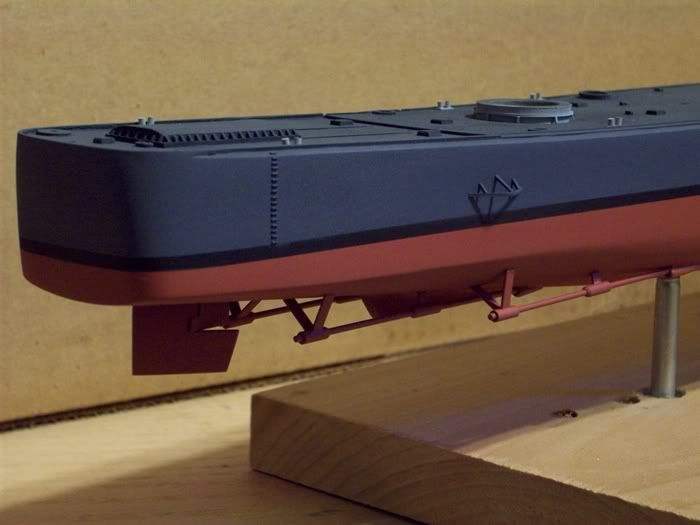
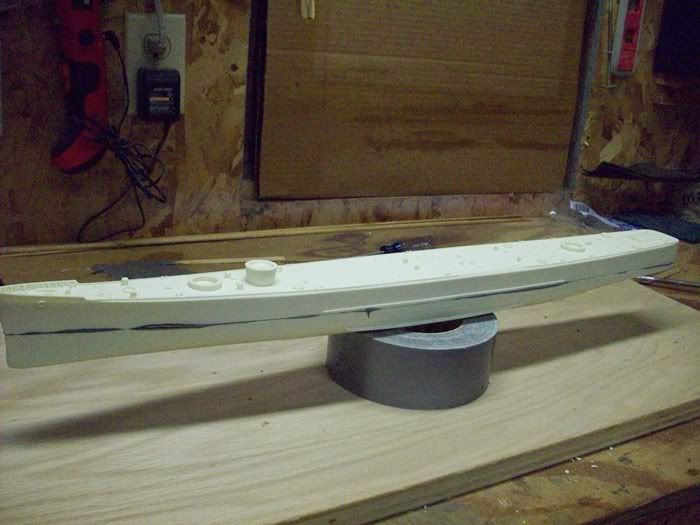
The waterline seam is almost perfect.

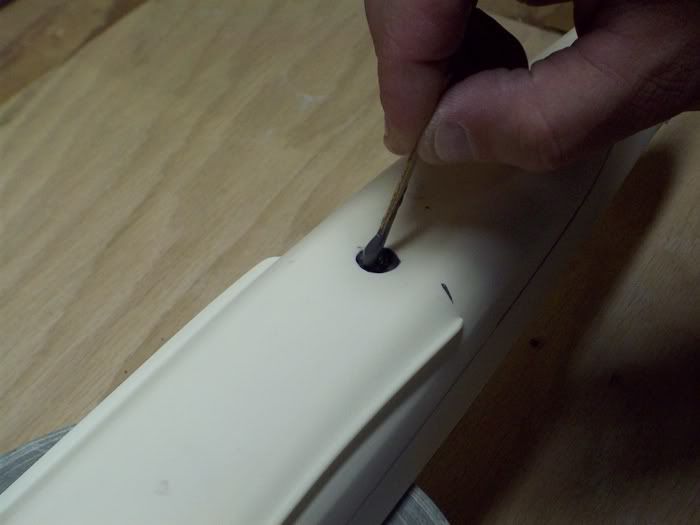
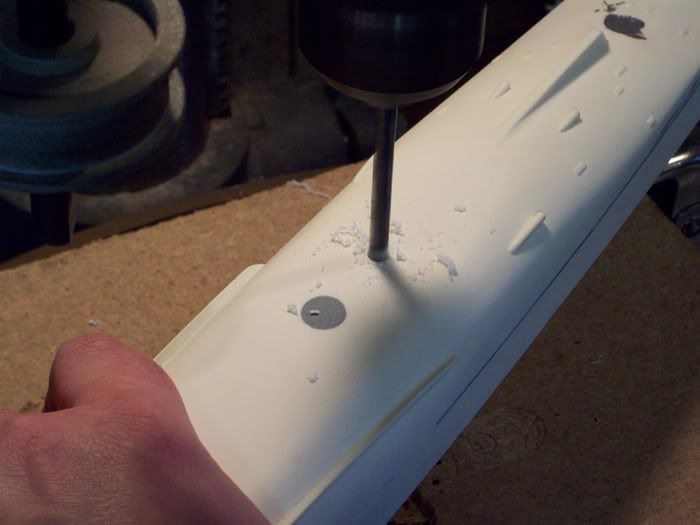
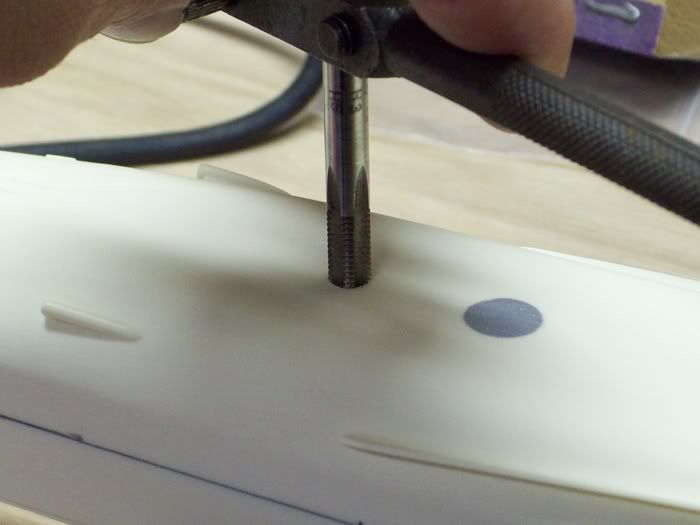
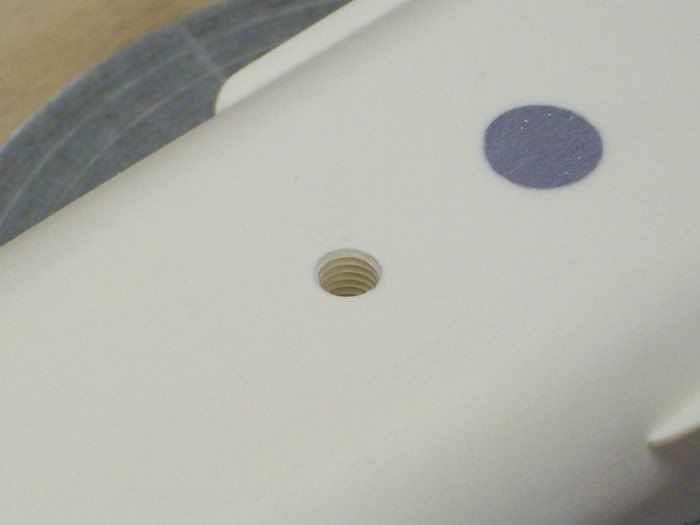
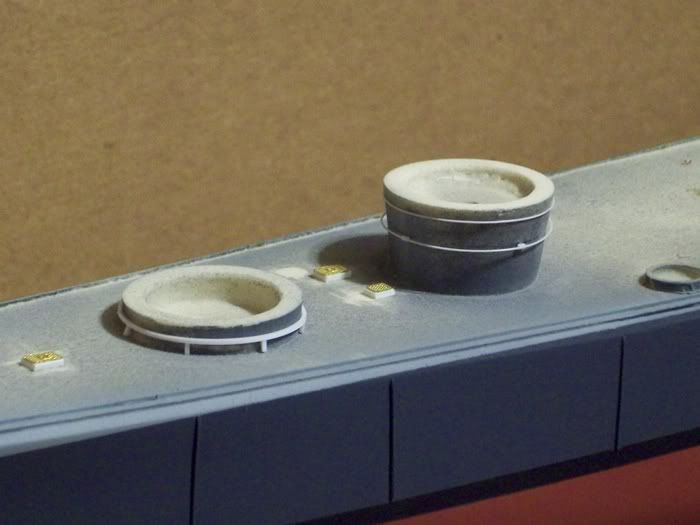
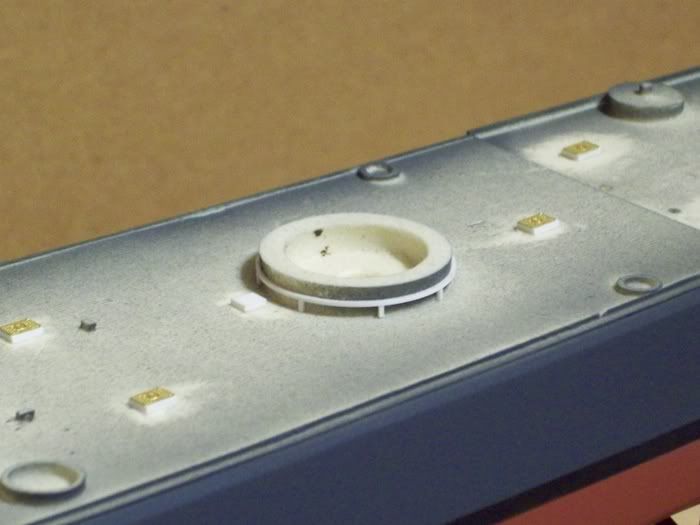
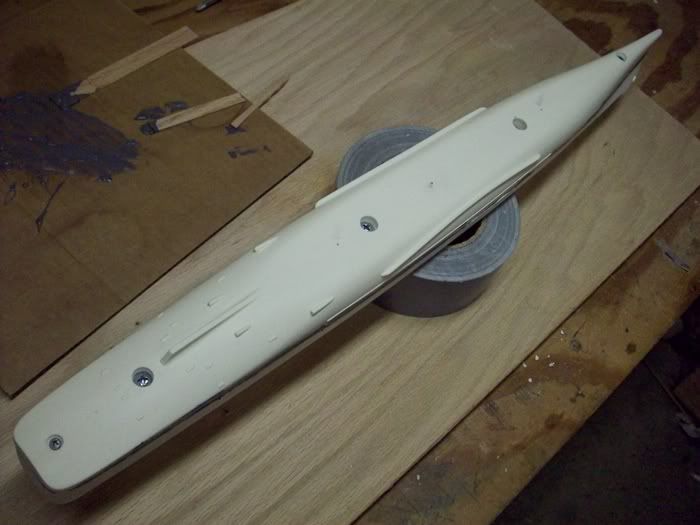
The last thing to do for now was to drill and counterbore holes in the lower hull for some #10 pan-head screws I'm going to use with a two-part high strength epoxy to fasten the hull halves together.

Dave


 I'm really looking forward to seeing your build progress. I hope to learn a lot from watching you!


 I might have to visit the local Rockler and look into that.