Well, started on Renown. Got all the portholes drilled out. The closer you inspect the castings the more you realise how complex the shapes are.. the problem is, there are a few inaccuracies and simplifications and some of the parts are very slightly distorted. The decision is what to fix and what to leave... never an easy one.
The main superstructure was twisted slightly but more worrying was it was not very square even when the twist was removed. Its strange, but putting it on the hull and looking at it, it just didnt look right. Even though it was only very slightly off, I decided to do something about it.
I have a very heavy thick sheet of glass I use for cutting and as a flat surface for sanding, measuring etc. It was obvious there was a slight tilt to starboard and the deck level seemed thinner near the superstructure tower and then get deeper as you moved aft. The only way to cure this was to sand it square in front elevation and then try to even the deck thickness by adding a bit of plastic to the underside and sanding it to shape too. I decided to use one piece of plasticard and try to correct both problems at once.

40 thou sheet glued to base of main superstructure. I had two of these parts as the original had a chunk missing and WEM kindly sent me some spares... this was years ago, thankfully I kept everything just in case I had a major disaster. I had an easy enough repair to do on the other part if needed.
Sanding soft resin or plastic flat and square is really difficult... you can practice all you like, lots of figure of eight movements on a hard flat sanding surface probably works best but it is easy to overdo it as you really cant get even pressure with your hand... most force tends to be below your thumb and it easy to make something even worse or overcorrect. What I do is mark the surface being sanded with a marker and then check regularly (about every two or three swipes) that I am putting pressure on the right place.

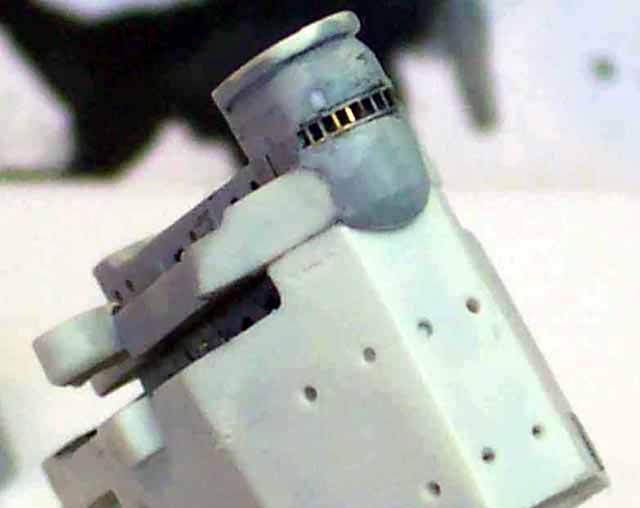
marker pen on undersurface prior to sanding... you need to do this several times obviously, especially when you are getting close to finishing.
I started by correcting the tilt to starboard by sanding the port side. You can see I was putting pressure in the right area and fairly evenly by looking at the marker pen squiggles...

Obviously you keep checking it on the glass surface to make sure you are going in the right direction and then redoing the marking before sanding again. Eventually you will end up with something pretty square.
I then tackled the fore and aft error the same way...

As you can see, again, fairly even and I can see I was sanding the right place.

Having checked everything was a square as I could get it (its not perfect because the two sides of the casting are not parallel either, but its only a slight problem and wont be noticed on the finished model and virtually impossible to correct anyway as there are several overhangs and contours which prevent an easy job), I cut off the excess and sanded it to shape.
Oddly enough, when I put the corrected part in place on the hull the difference was incredible! It looked like almost nothing had changed on the part itself as there was so little correction needed, but getting it right and the whole superstructure seemed somehow more solid and menacing. Glad I took the trouble to do it.
I then drilled out any extra portholes I needed following the Raven/Roberts drawings and then spend ages dry assembling the bridge structure and working out where things should go, how crew moved about and whether I could add detail like stairs and whether it was possible... Obviously there are some inevitable simplifications and trying to add detail on simplified parts can be an issue. You have to decide whether you can live with no obvious means of getting to a deck level and at the same time work out if you can actually fit internal stairs... and if you could see them on the finished model anyway! The more I looked, the more I realised the WEM masters had been thought through pretty well and decided most would be left as it is. There are numerous doors to be added and so on, and I will do them tomorrow.. plus a few braces and piping. Again its a matter of what will be visible and whether adding detail will actually be a benefit. Sometimes it just isnt... although that seems hard to justify... its hard to keep things in scale at 700 and very easy to clutter the model. Of course I cut away the openings for the Admirals Bridge and Compass platform stairs and then realised the part below was solid and I would need to drill and hollow out in order to fit stairs in anyway. I may just have a short aperture and cut the stairs in half so you see the tops disappearing into the ship. Most of the time that looks good enough if its going into a solid part.
Apart from that I cut away flash from all the parts and sanded or scraped most of the flat surfaces to sharpen things up a bit. Again, it is surprising how much difference that makes. Took ages to do though. I then finished by cutting away the windows on the front of the bridge with my razor saw.
 I will fit in some ladder stock to replicate the window frames and then fill and sand them flush.
 The Admirals shelter and chart house on the Admirals bridge level should have windows all round. An Chu seems to have cut his off and used ladder stock and a new plasticard roof on his model... Jim B seems to have used decal film. Not sure which way I will go with this. Probably decal film as there are a number of slots and windows all over the bridge superstructure and they may as well look consistent... although these particular windows are very large and conspicuous... see how I feel tomorrow.
So... nothing particularly exciting to see, but at least I am making a start and I havent broken anything yet... which is a GOOD start!

Bill


 ).
).