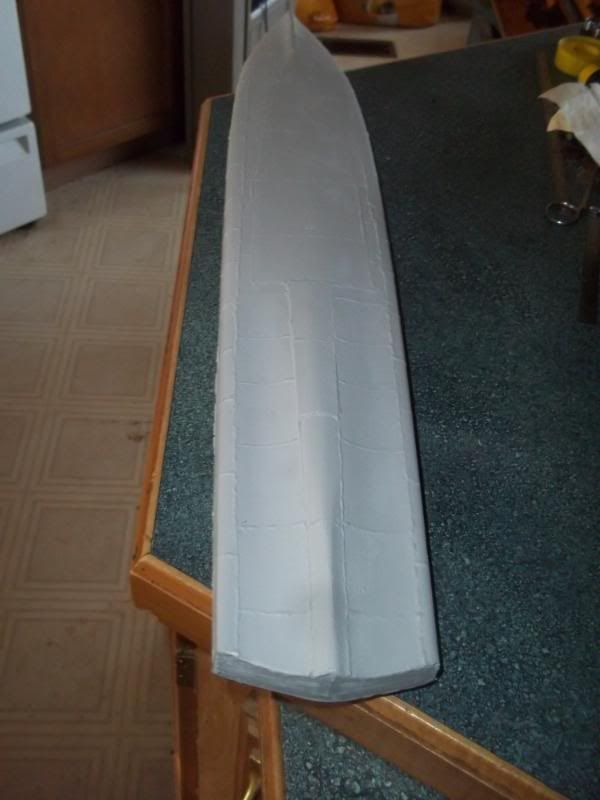
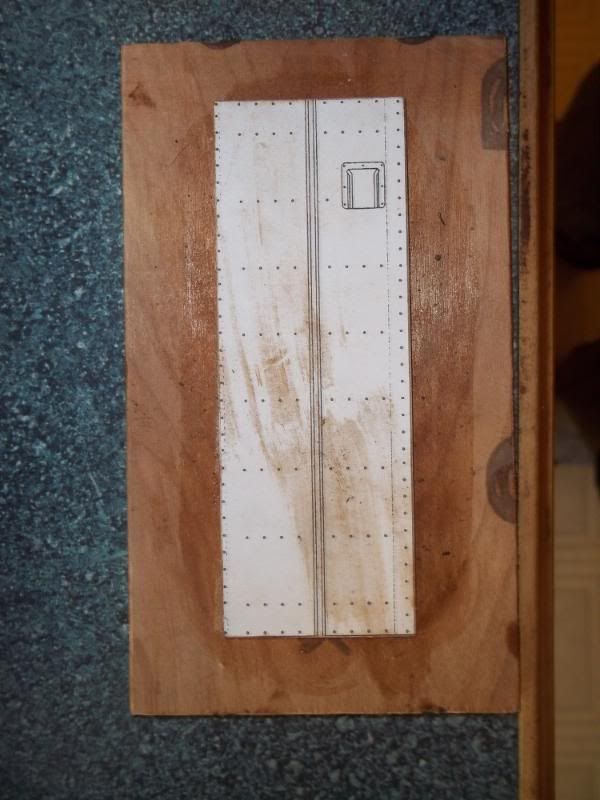
Then I will glue up the rest of the pannels.
Moderators: MartinJQuinn, JIM BAUMANN, HMAS, Tiny69, Dave Wooley


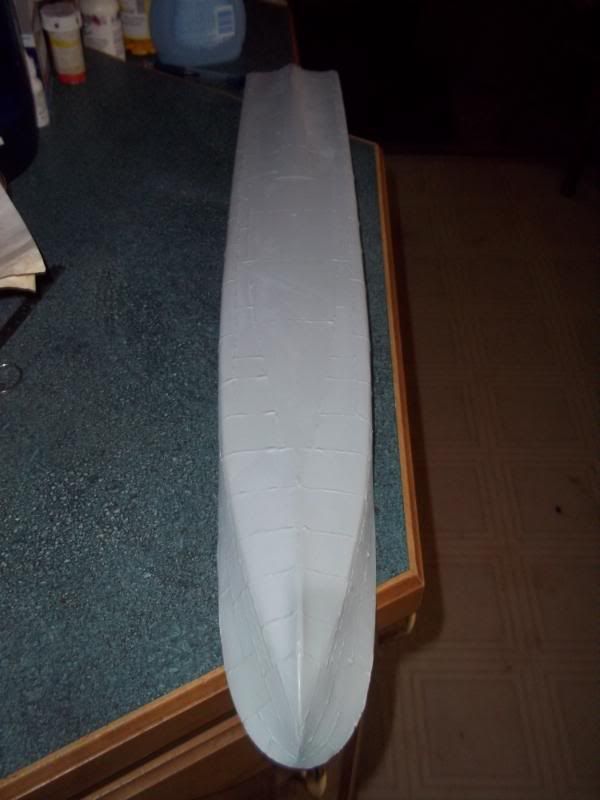


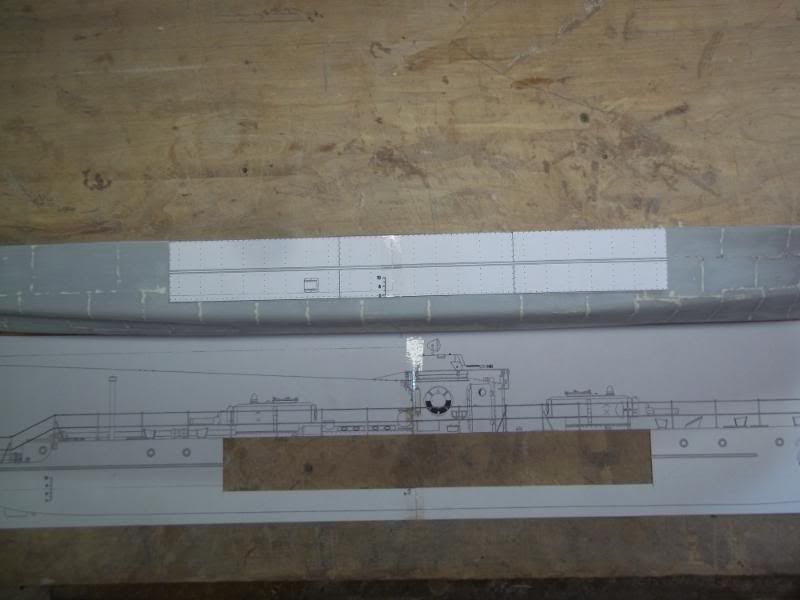
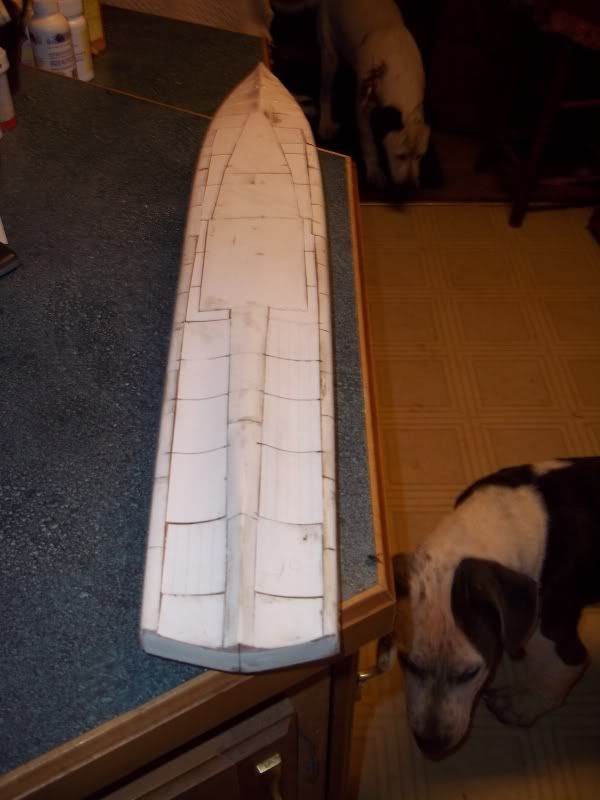
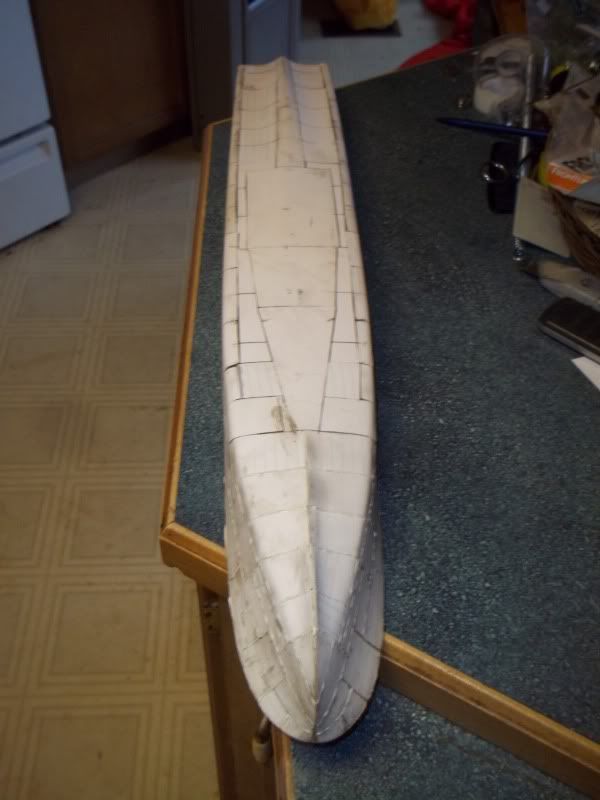
Richard, hi!Richard J OMalley wrote: The plates were cut out of the plans
I want to thank you for this tip tooRichard J OMalley wrote:It takes a shell expantion plan to see the shape of plates laid out flat
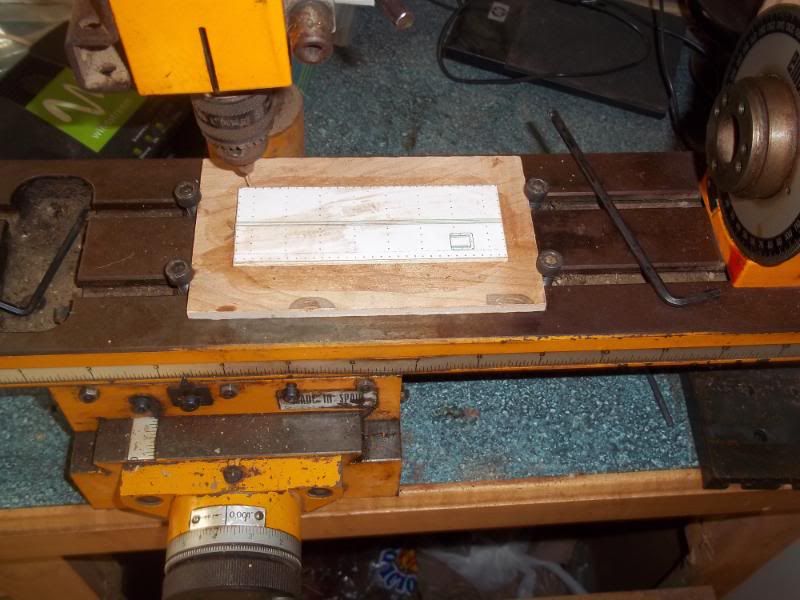 This is when disaster struck .This little mill has been sitting around for years and the dogs had knocked it over bending the bracket that holds the motor .Any way the belt kept fying off .Good thing I have it's big brother .