I thought I had a Hood topic somewhere, but I suppose it died of old age

? Anyway, no reason to open a new one and continue with some progress. Mainly verbatim
blog posts, plus some work-in-progress shots for blog posts that aren't quite done yet! Should you not be familiar with my project, I've been working on a Hood model in 1/350 the past 10 years under the 'leave no detail behind act' of 2000. Every bit on the ship is modeled as well as I am able, which results in wonderful parts to build but it takes forever. The post below is on flag lockers; you could add a plastic block or you could spend 40 hours researching, designing etched parts, folding, soldering and so forth. Keeps me busy...

This is a nice image from the Seaman's pocket book of a few flags used by the signalmen, reproduction of the 1943 version. I thought it would be a nice idea to add some colours to the flag lockers.

Here's a pic I took of HMS Belfast's flag locker. The text on the top row is hidden in this image but reads P1 to P9 plus P0 for a few naval pendants. Most ships carried several of these lockers and images of HMS Hood before her final reconstruction show as many as 6 flag lockers, afterwards at least 4. The HMS Hood site even shows a flag locker in the wreckage but of a different type, which I cannot trace to any location at the moment. I did find images of the four flag lockers of the standard type as on HMS Belfast.

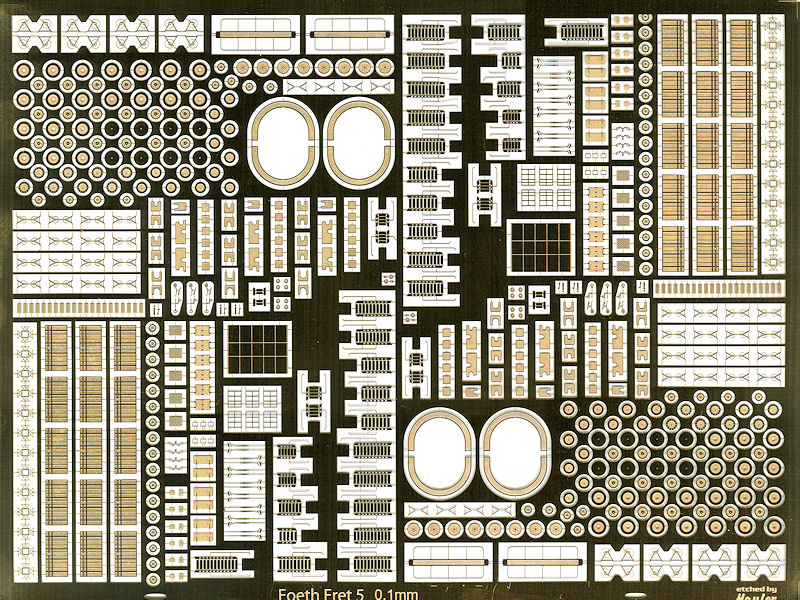
These are the small models. Note the larger openings on the one-but-lowest row. They worked out quite nicely (which isn't a surprise as these are the second version after ironing out a few minor design errors).

Here you can see what flag goes what cell of the locker. As each cell is about 0.3 by 0.3 mm there is no room to paint anything but solid colour.

So I made a small colour map with the dominant colour. Yellow & red flags become orange, green & white become light green, blue & white become light blue, blue & yellow become green. Red & white may become pink so I decided they are folded such that only one colour shows. If adjacent colours are the same the flag will be 'folded' differently as well to keep the appearance of variation; the flags with more than two colours allowed for some variation.

I prepared some styrene strip (Plastruct) and added some colour. Here you can see blue, red, and black 'flags'. These are for the one-but-lowest row, wide openings. For the other flags I painted the tip of the strips. These were cut to size with the chopper and inserted with tweezers. Sometimes they didn't fit and had to be removed. Sometimes they could only be removed by drilling them in with a 0.3mm drill and carefully removing what's left. I had one drill broken and the tip couln't be removed; the end of that flag locker. As the strip/rod of Plastruct or Evergeen is never exactly constant in its dimensions, some strips fit better than others so they were fixed with a drop of varnish. More strips lie on the floor than fit in the lockers. T His was a good reason to stop my attempt to add some striping to the 'flags' to add even more detail.

The flag lockers were taped with their backs to styrene sheet and filled carefully. Minor damage to the base coat of the lockers is visible but I like the result. These will be added to the model after general painting to avoid embarrassing errors with masking...


 much details, in so little space ,congrats