UPDATE 43
Good Evening Everyone!

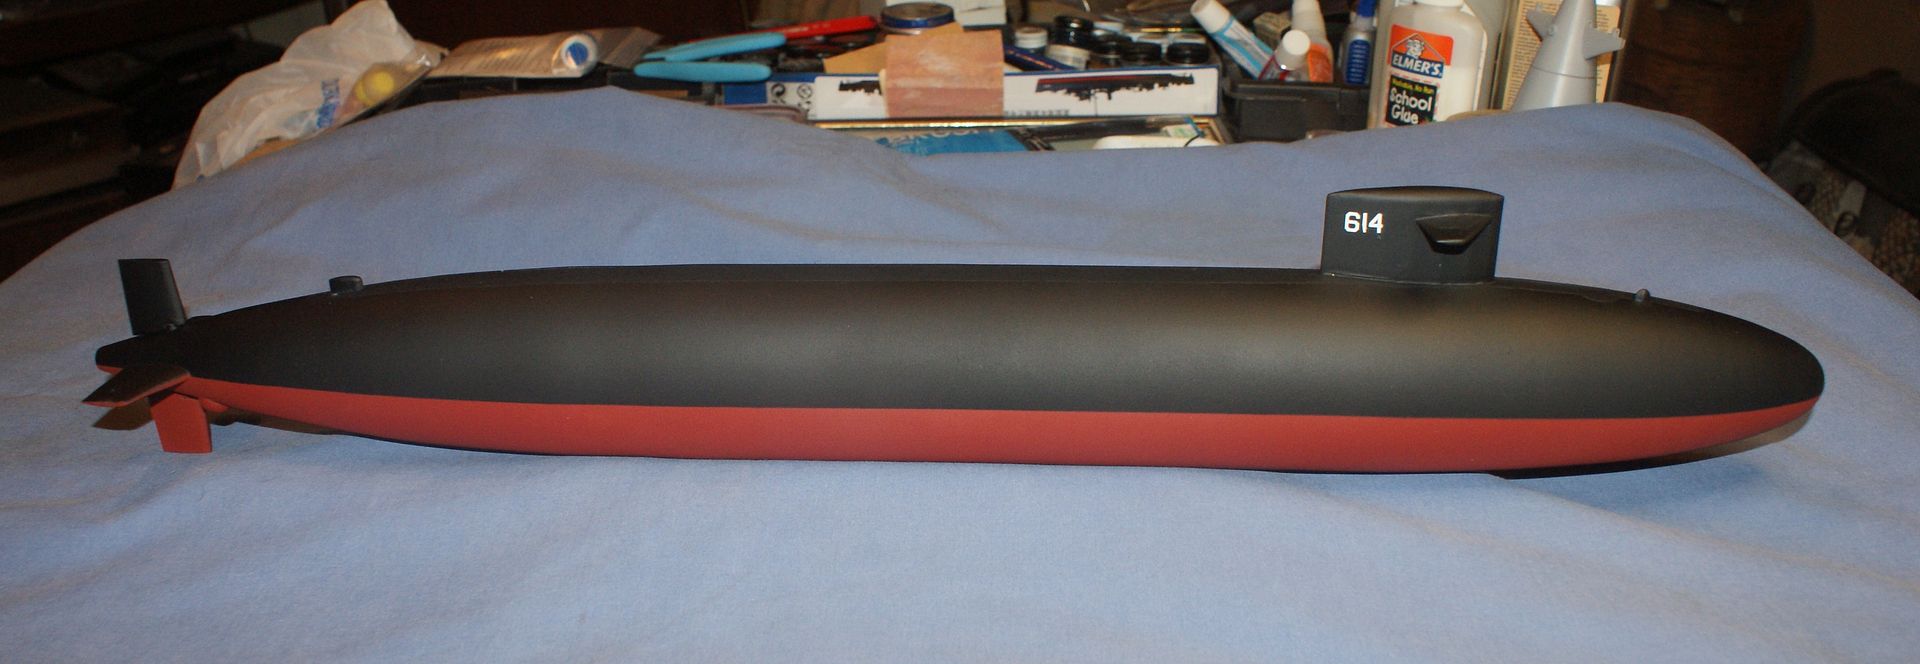
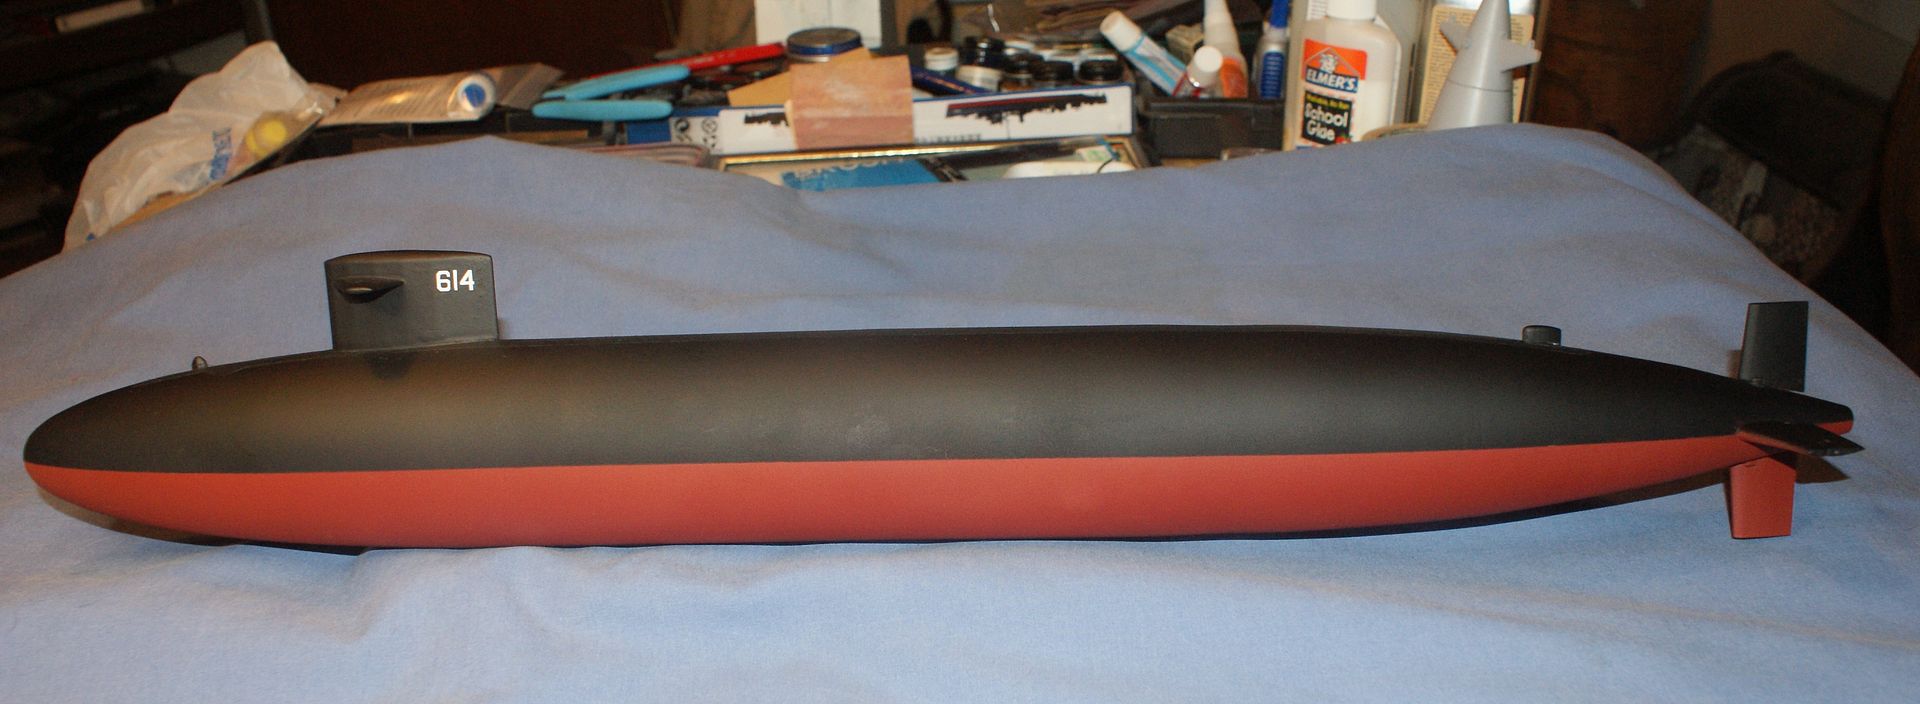
So, let me update you on my progress. First I put another coat and a half (I ran out of paint) on the bottom.

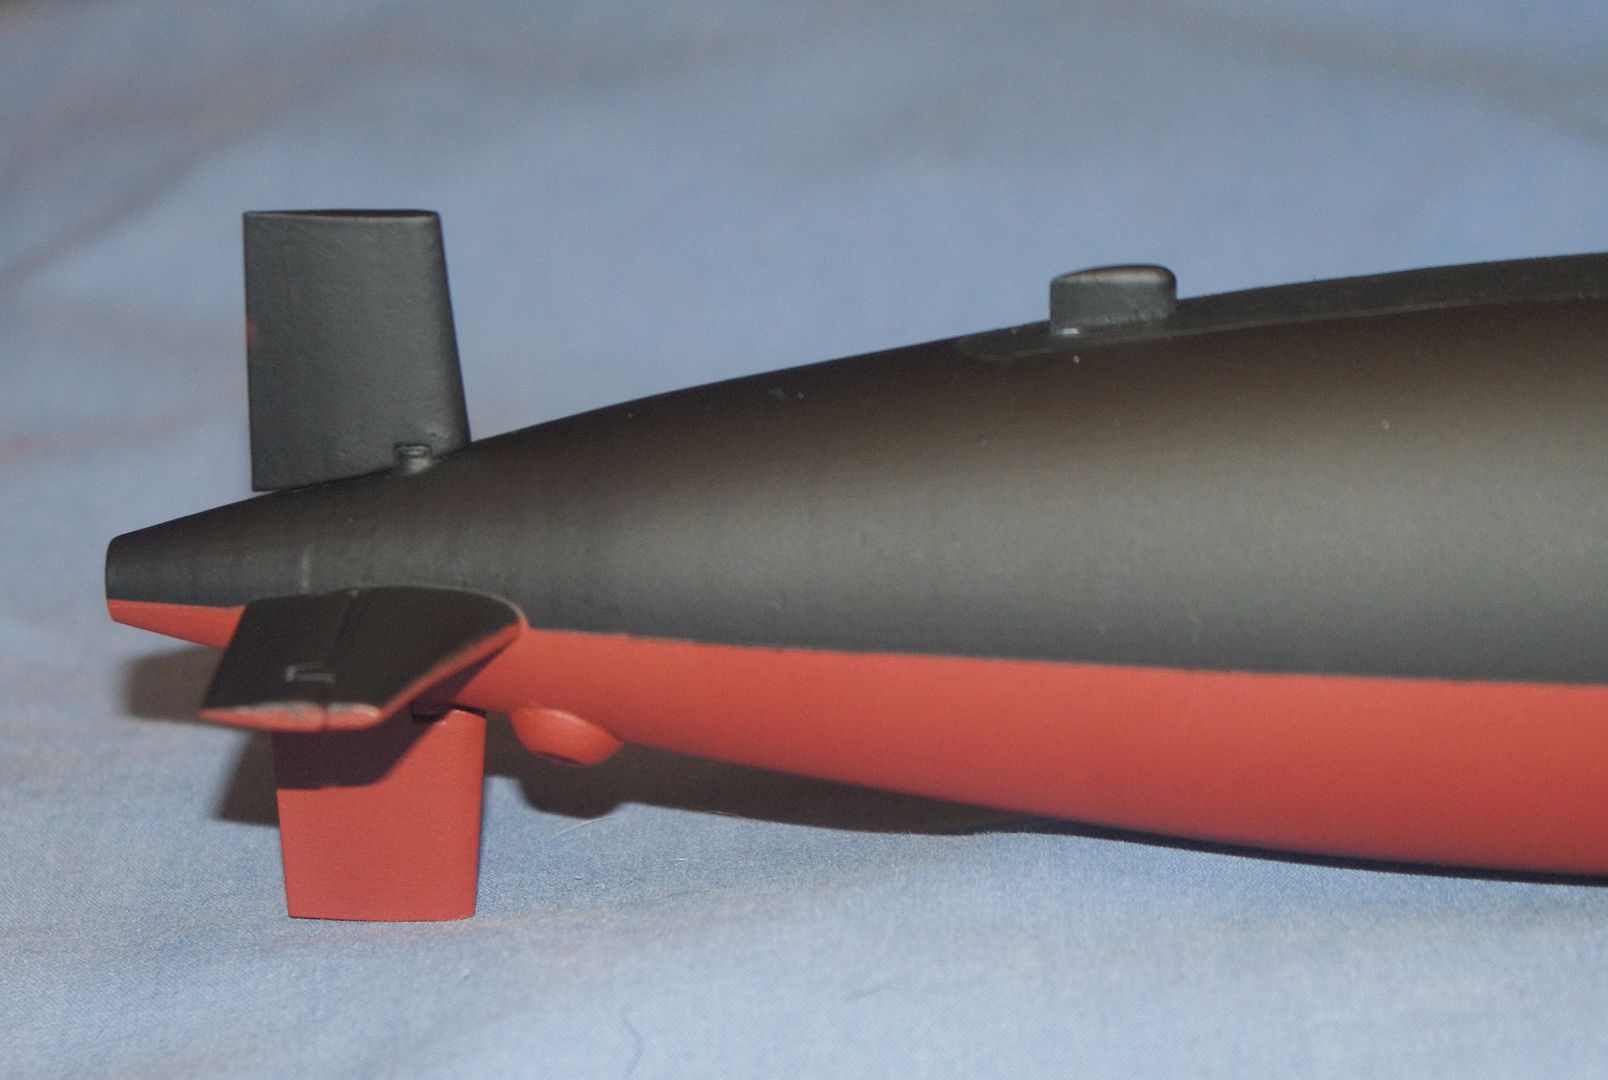
After waiting a day, I masked the bottom and sprayed the top again. Unfortunately, the black bled under the masking tape in a couple of spots, especially at one spot behind the starboard side diving plane.


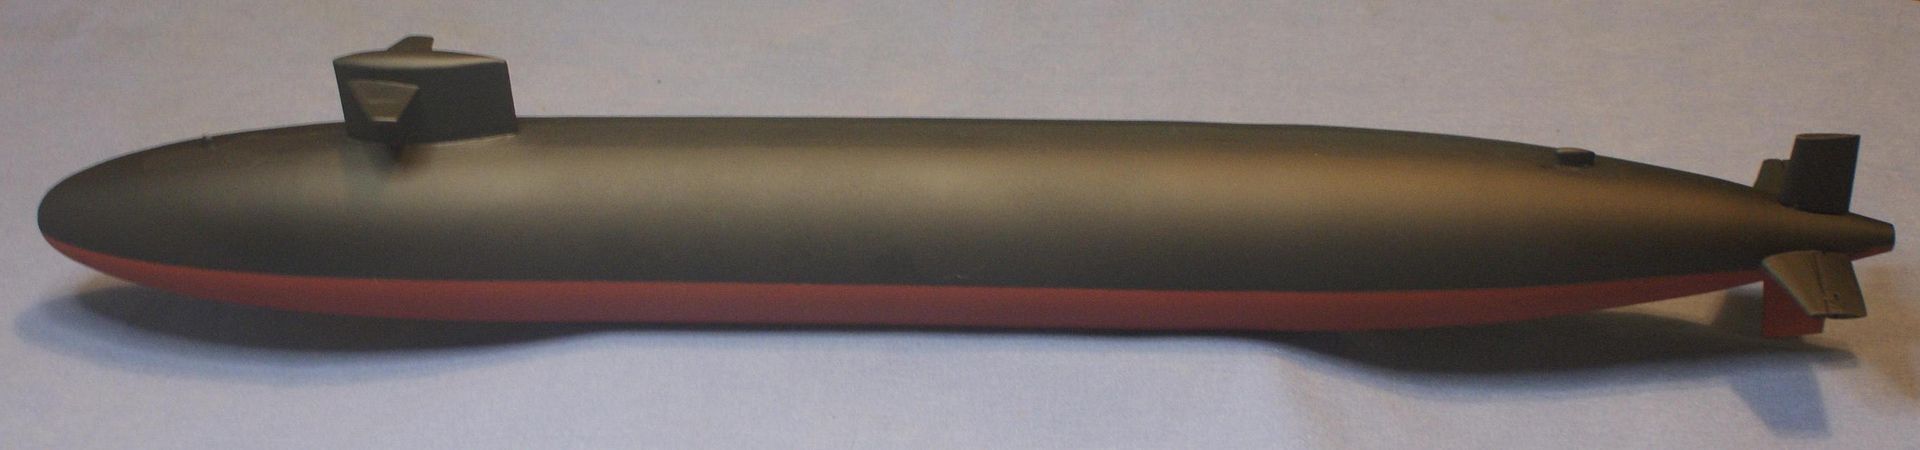
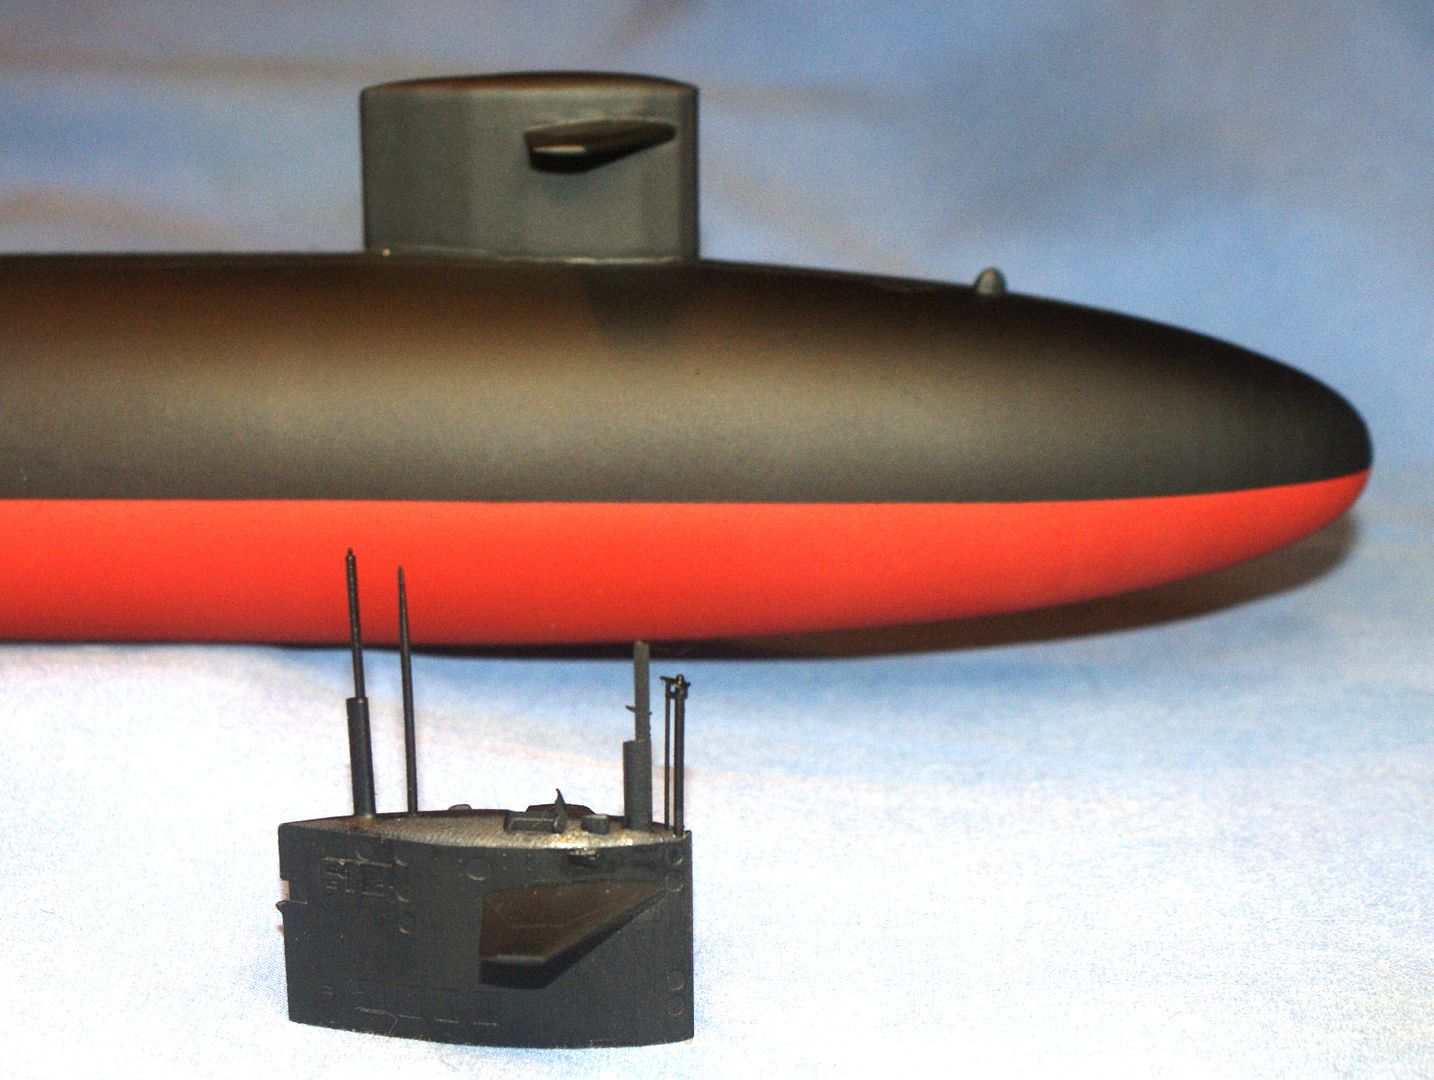
The touch up painting went well and the model looks better.
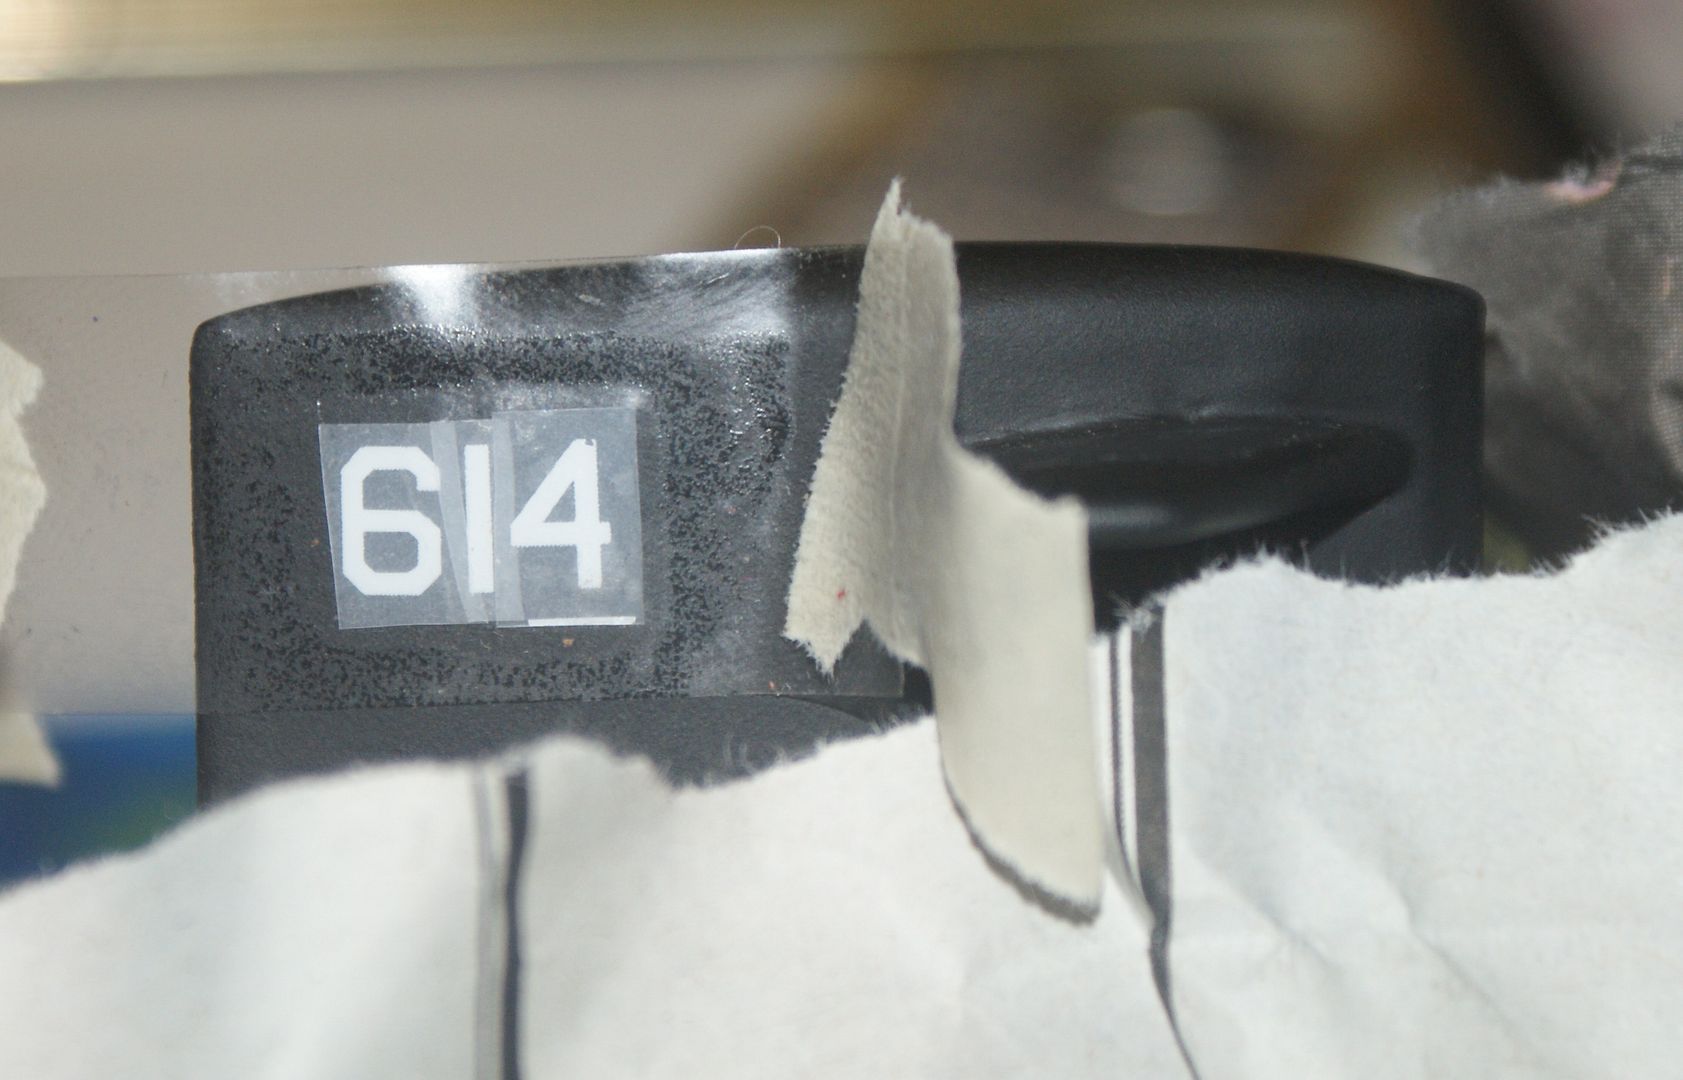
At this point I switched my attention to the decals. To do this, I first laid down a strip of the Edge-Lock masking tape onto a piece of glass. I then taped a piece of scotch tape, sticky side up onto the glass, and laid the numbers on it upside down. In the image below you can see one completed and removed from the glass (top) and the other one completed and ready for removal.

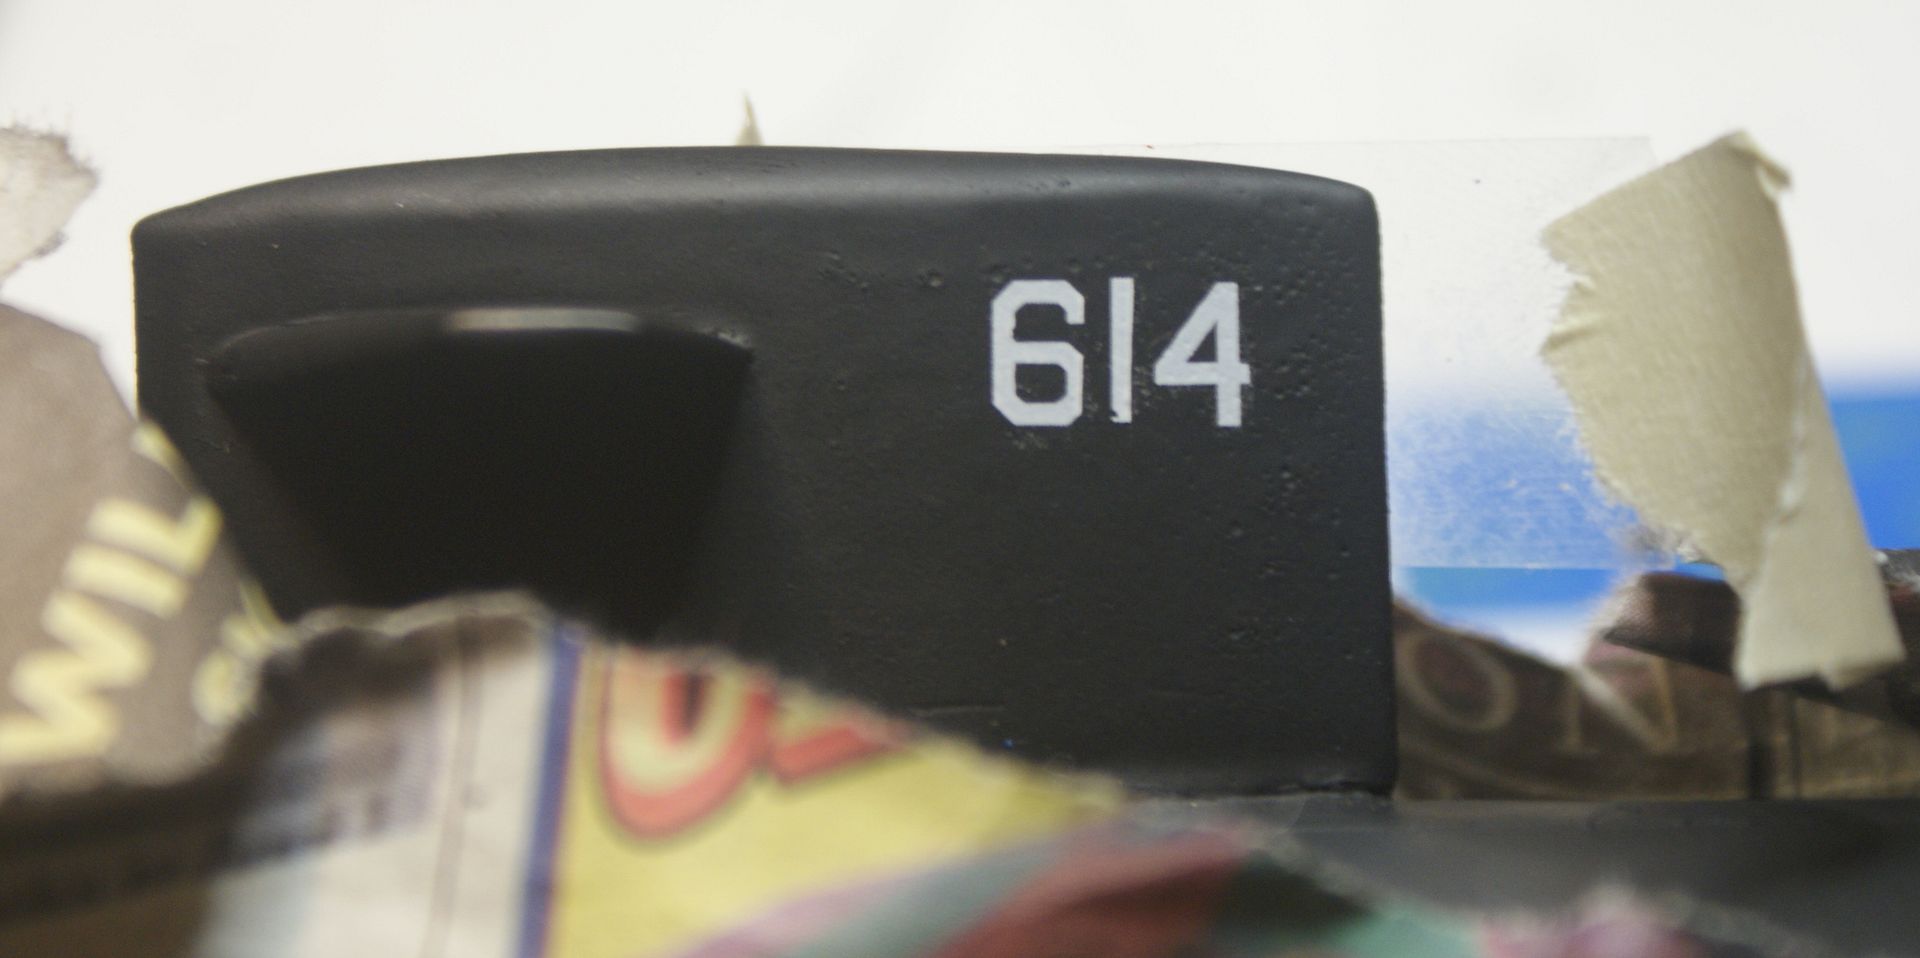
I then taped the numbers into position on the sail and using a PDA stylus I rubbed the numbers to attach them to the sail�
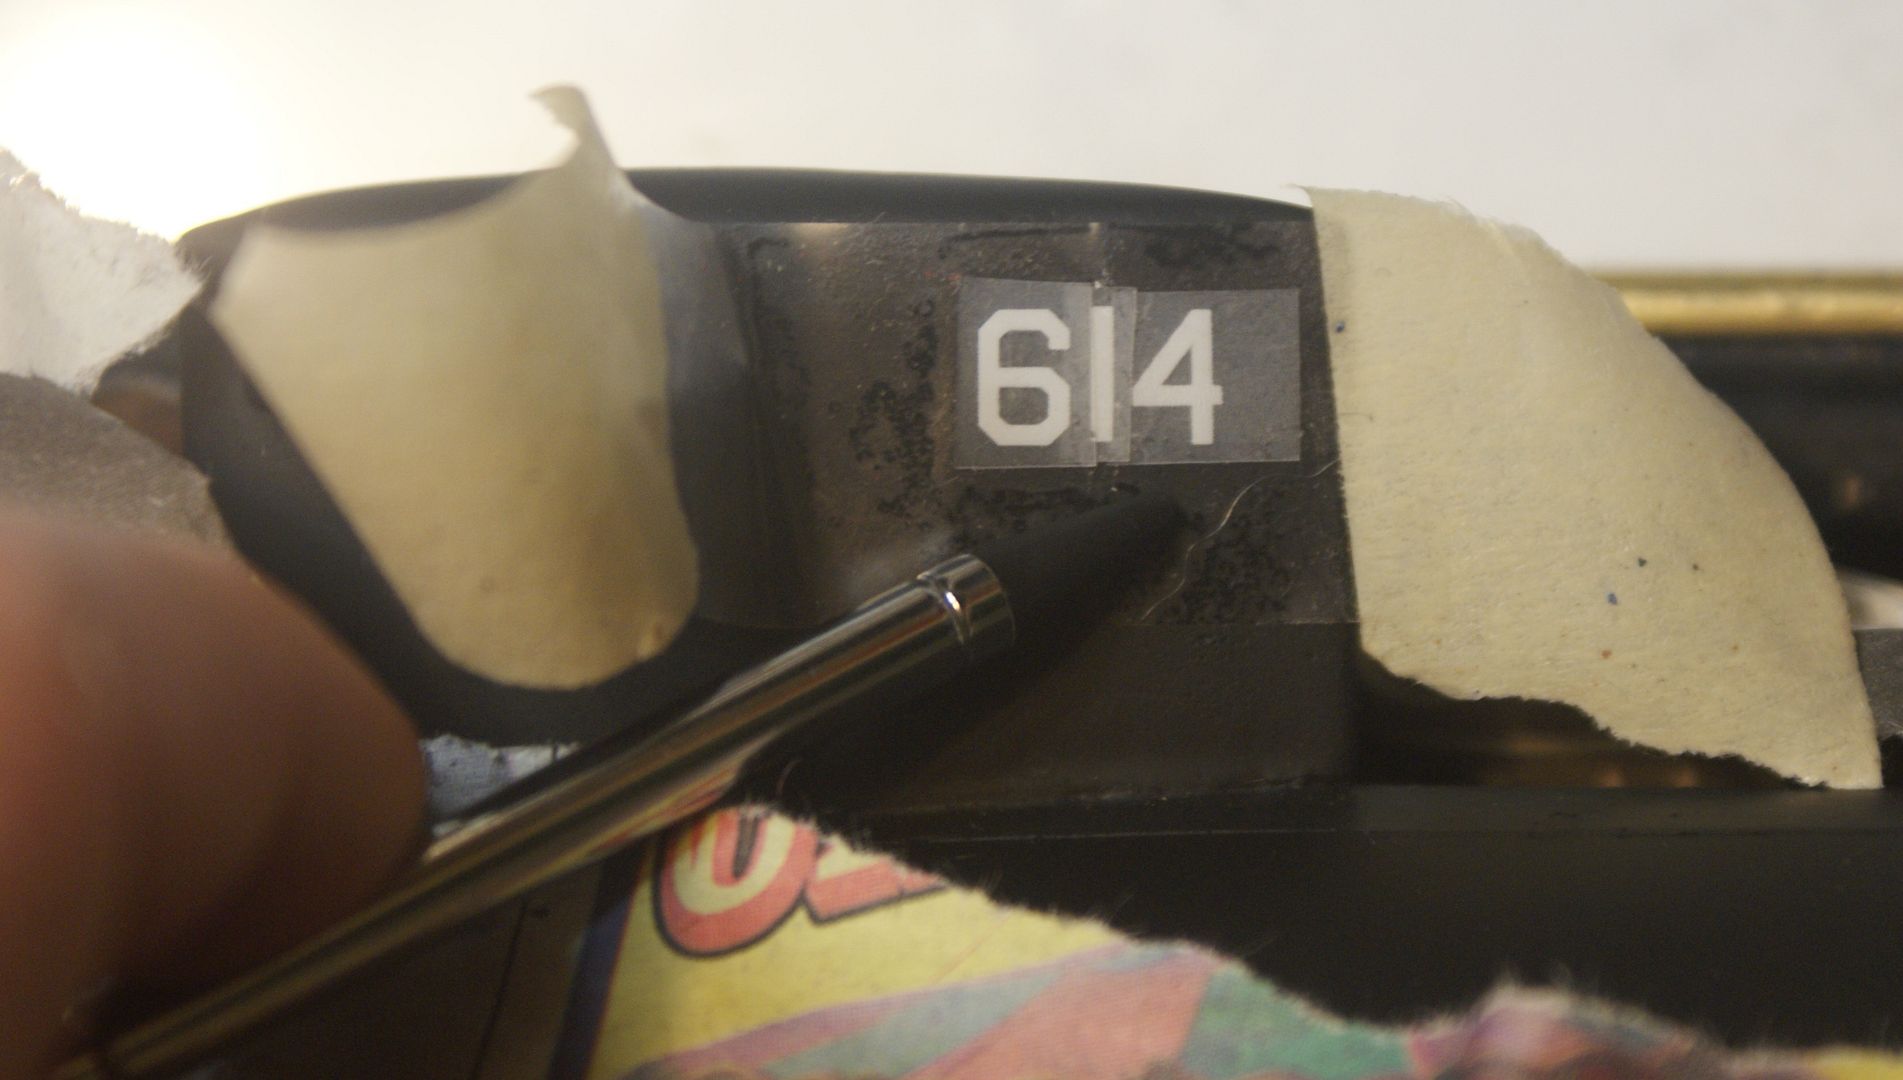
�And removed the scotch tape.
I then repeated the process on the other side.
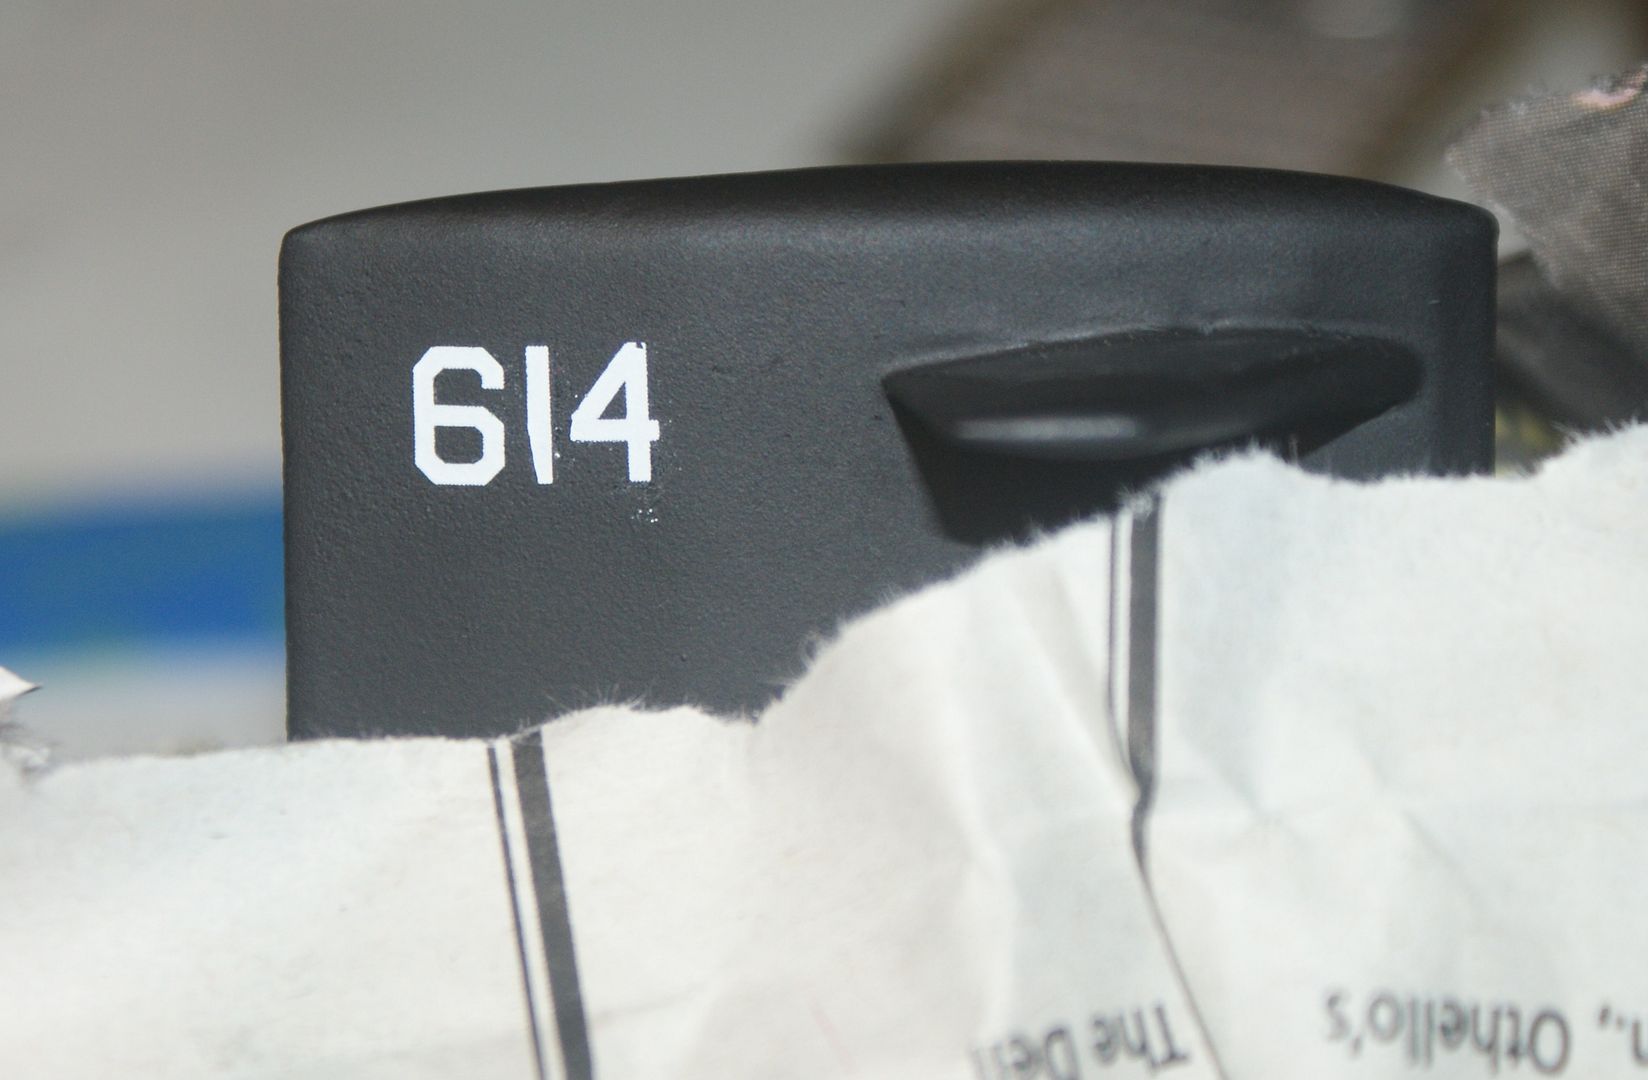
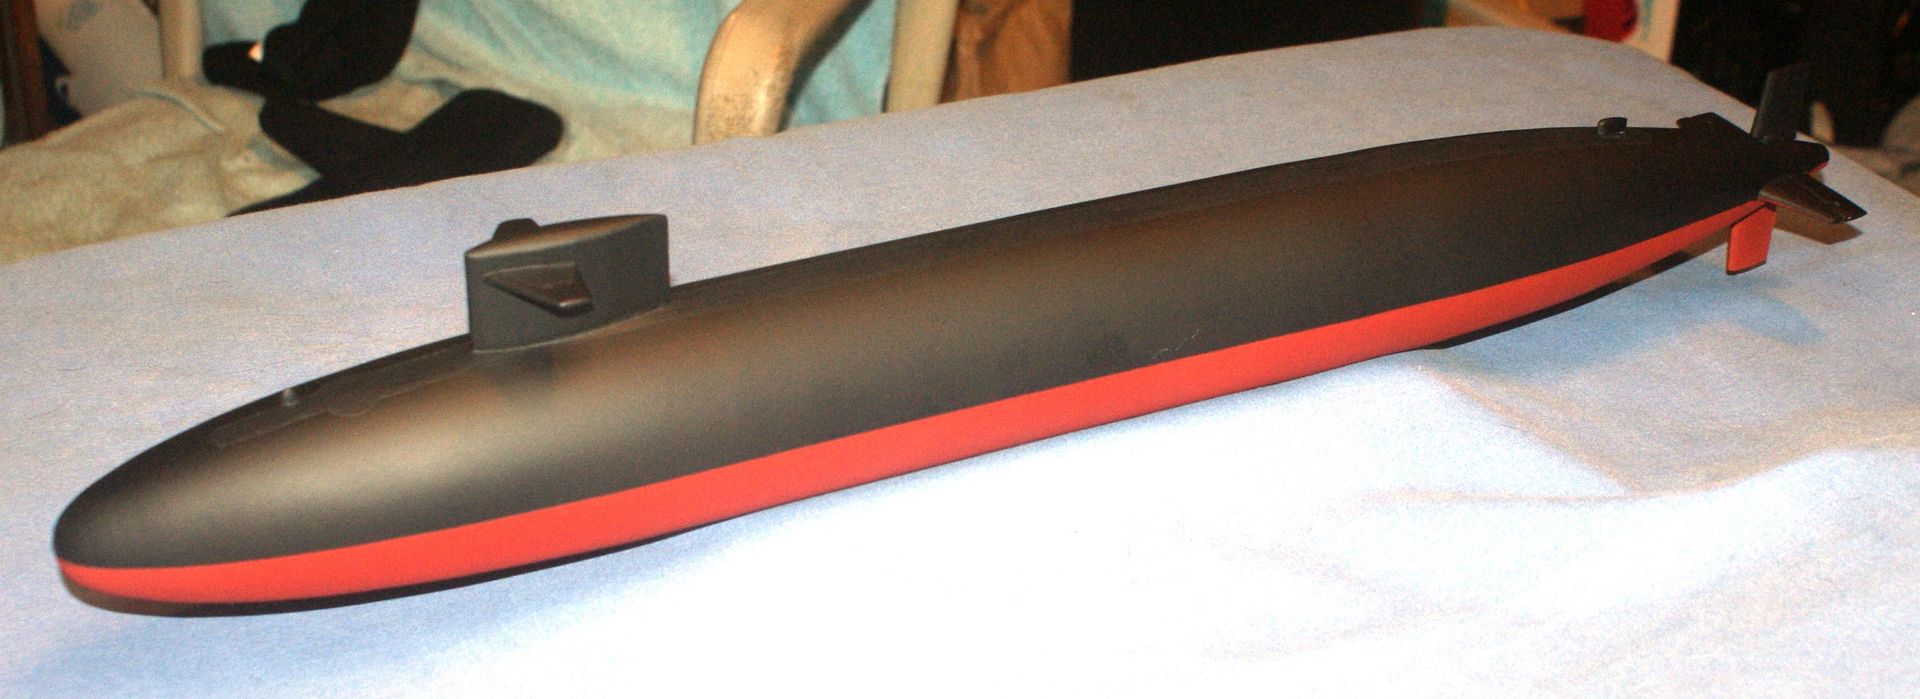
Unfortunately, the �1� on the starboard side didn�t completely adhere to the surface and is slice off on the bottom. I haven�t decided at this point whether to live with it or remove it and redo it. I will probably end up doing the latter.
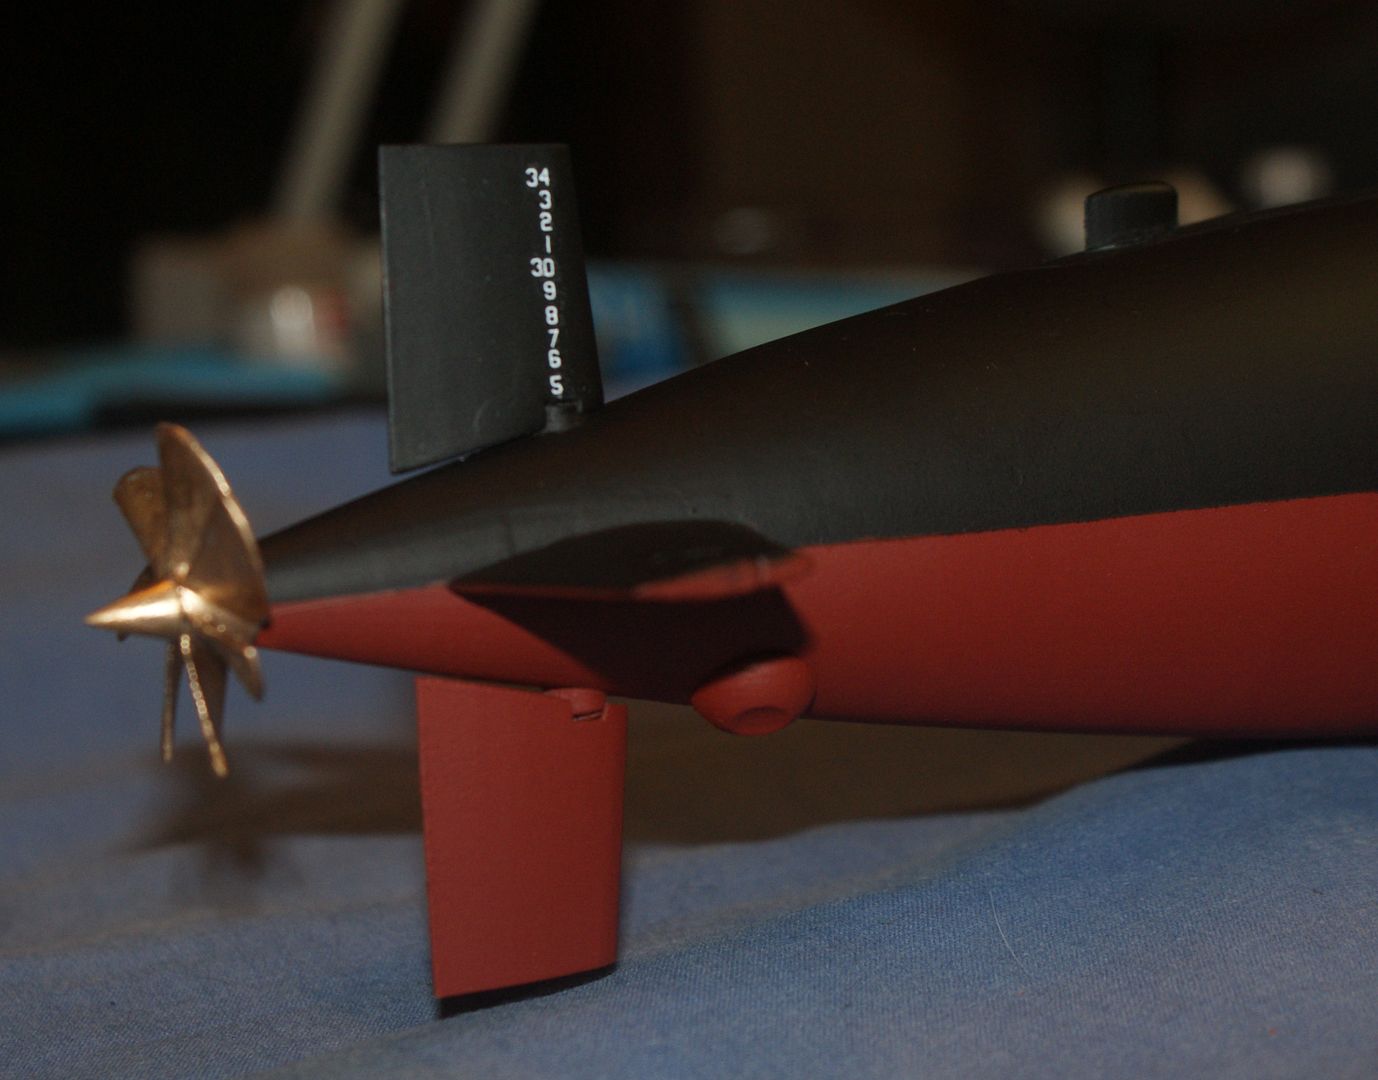
With the success I had with the sail numbers, I decided to try to use this same method to apply the draft numbers. I started by printing the rudder and bow section to scale and drawing a vertical line and lines at the base of the numbers. These drawings were then taped to the underside of my glass sheet (stolen from a picture frame� I didn�t need that picture anyway

).
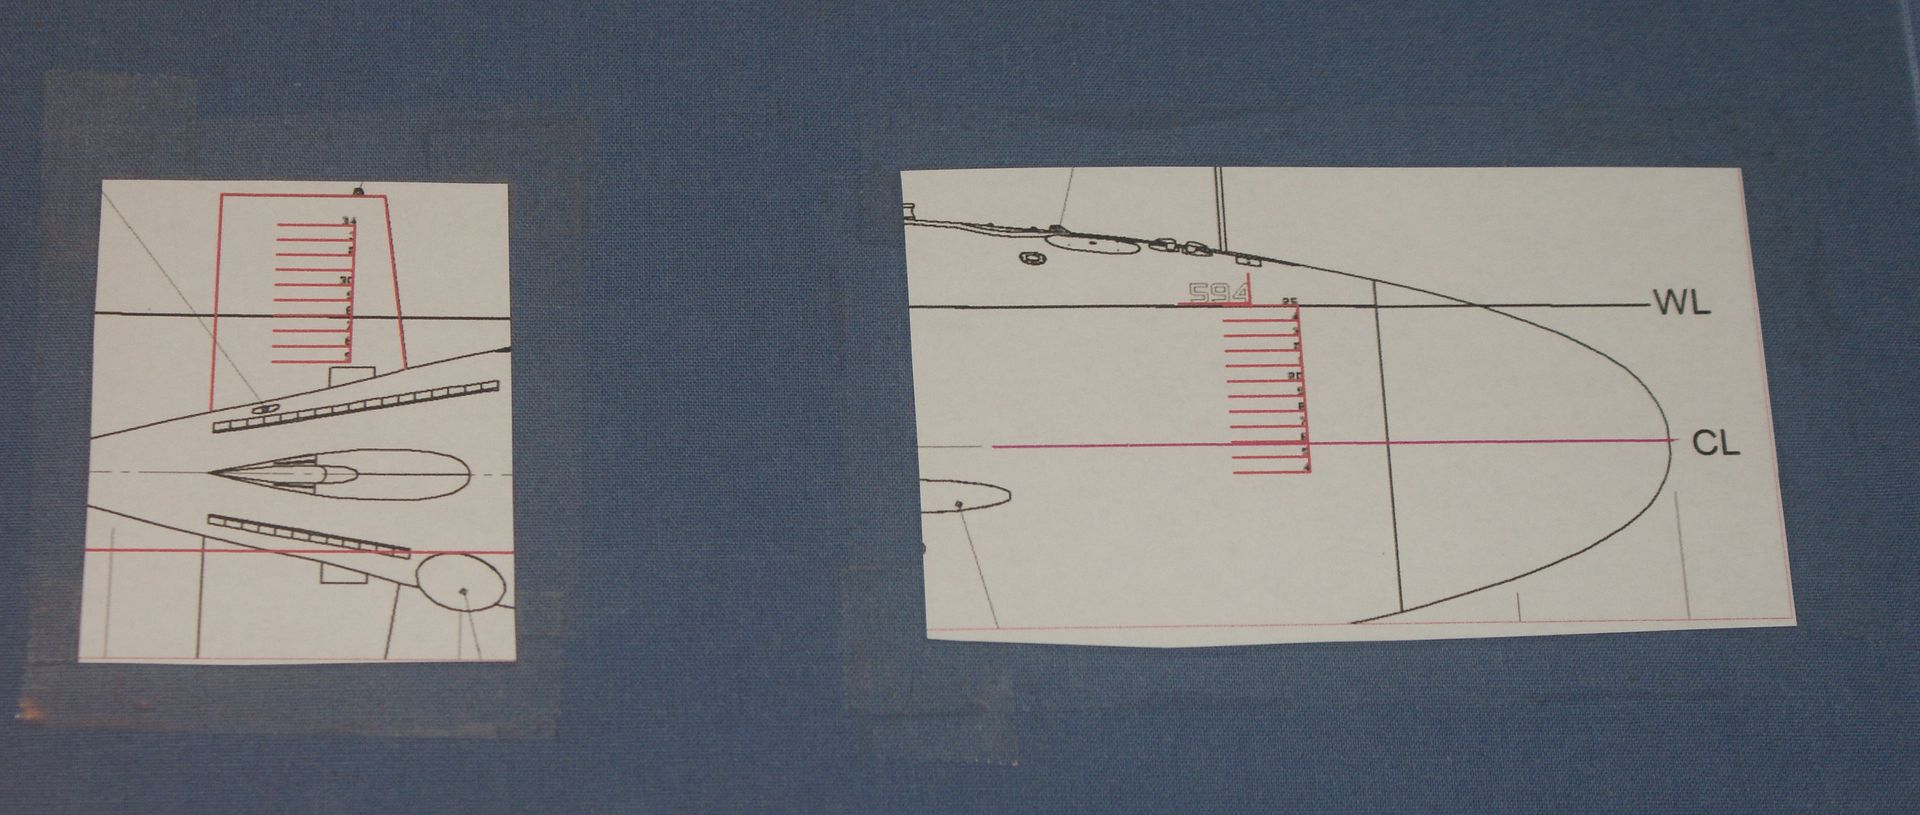
From here I followed roughly the same procedure as before, attaching the numbers upside down to the sticky side of the scotch tape�
�And taping it into position.
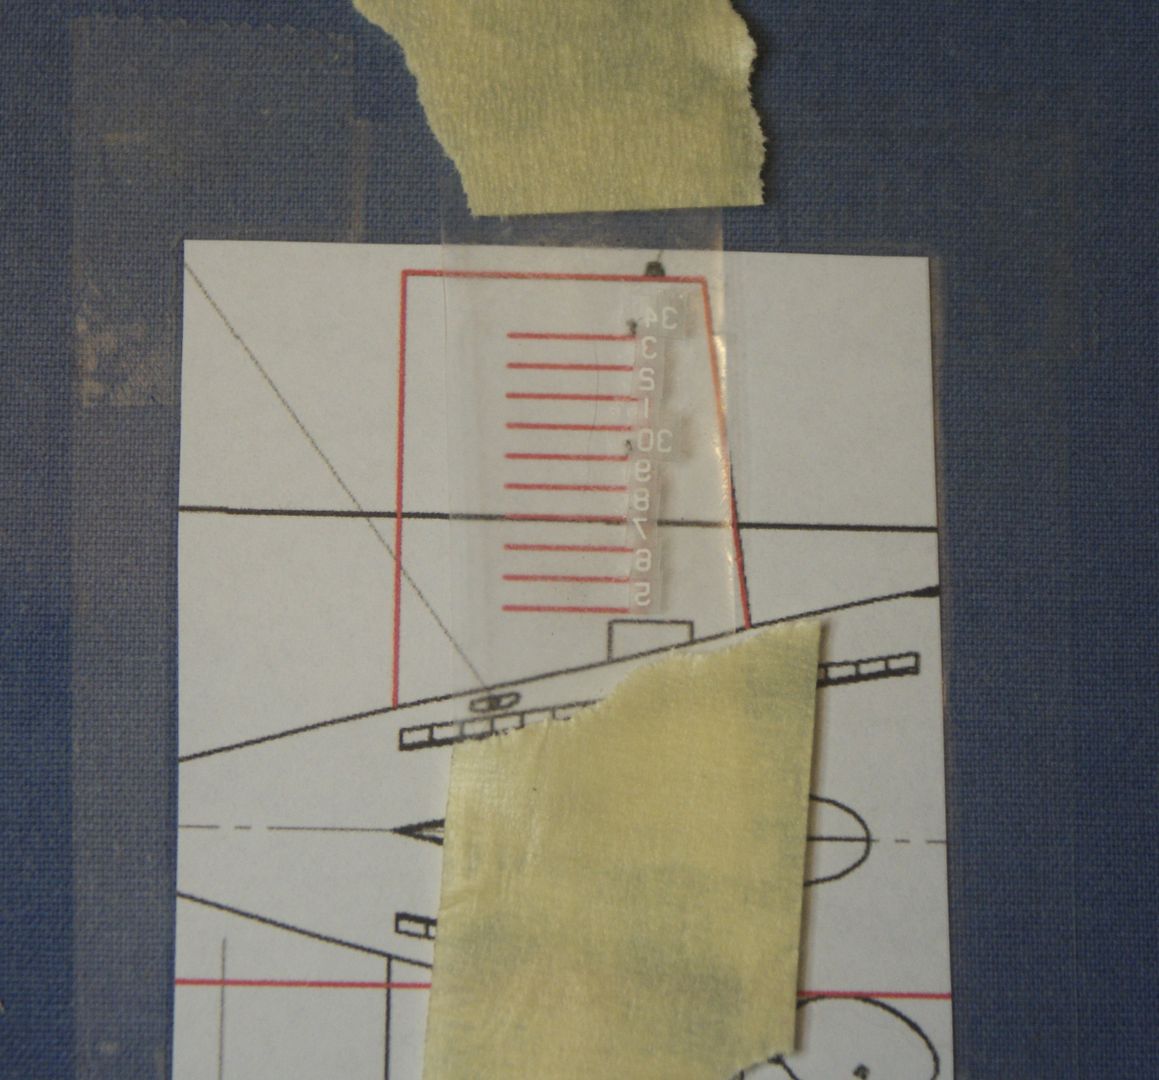
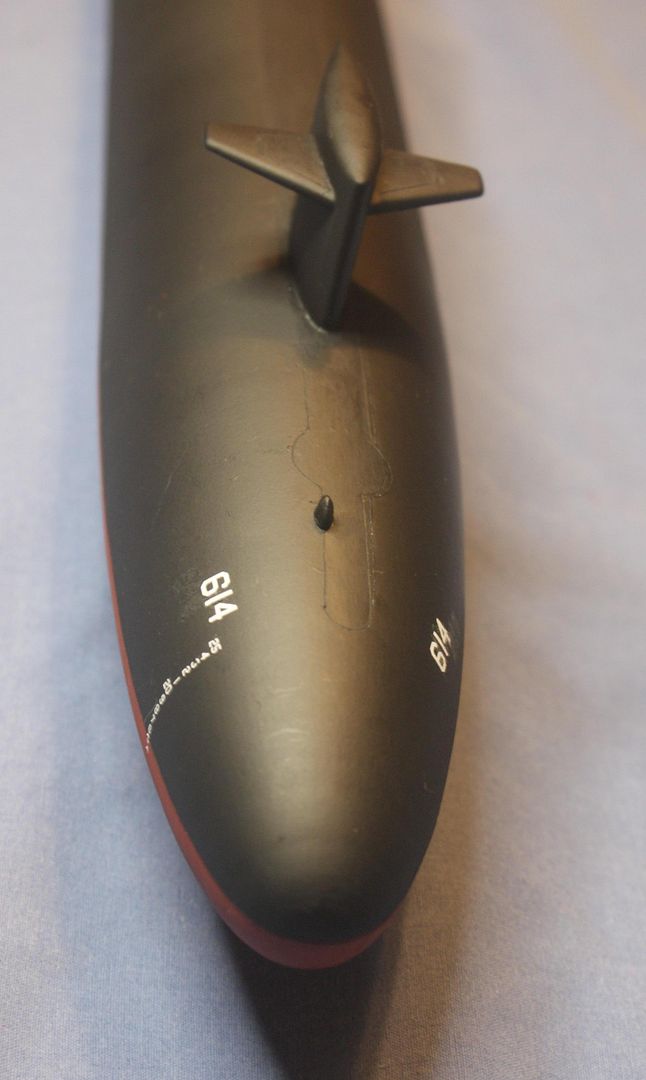
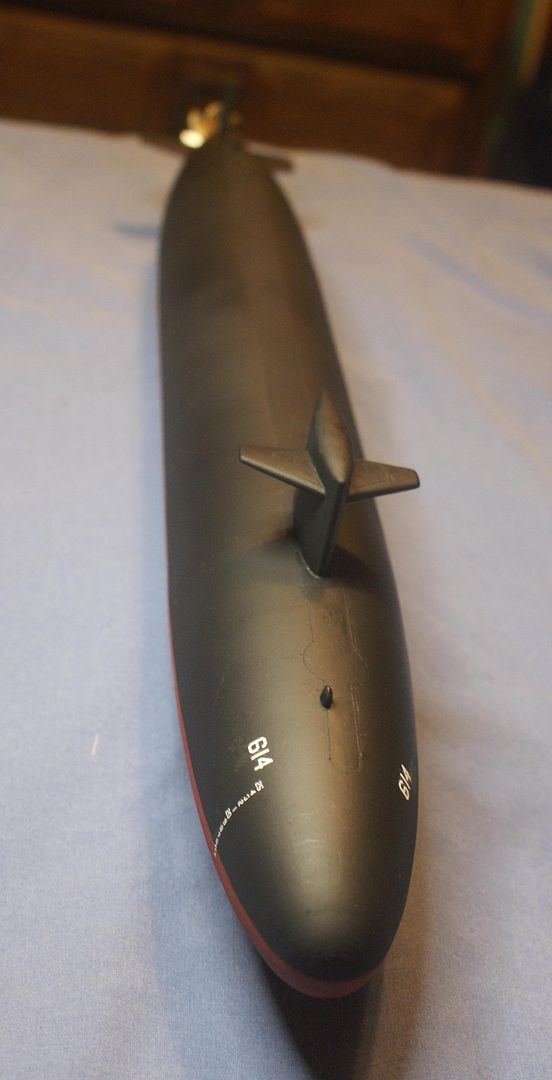
I was rockin� and rollin� at this point, until I removed the tape. Parts of several numbers did like the �1� and didn�t stick. The profanity monster, who isn�t much into taking pictures, showed up around this time, but I was able to remove them using an Exacto knife with minimal impact. I was thinking at this point that I would just use wet transfer decals, which I would apply after spraying Future, so I decided to put the bow numbers on, which turned out to be a mistake. Using the plans I eyeballed where the numbers were supposed to go and attached them in the same manner as I did the sail numbers.
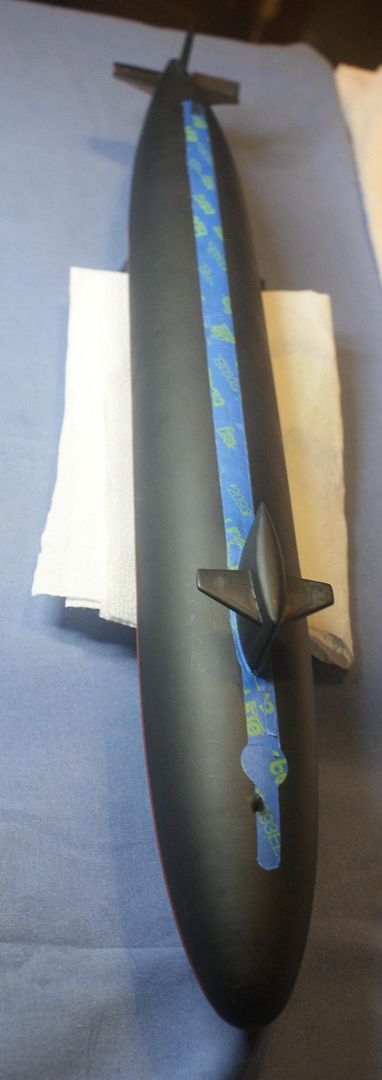
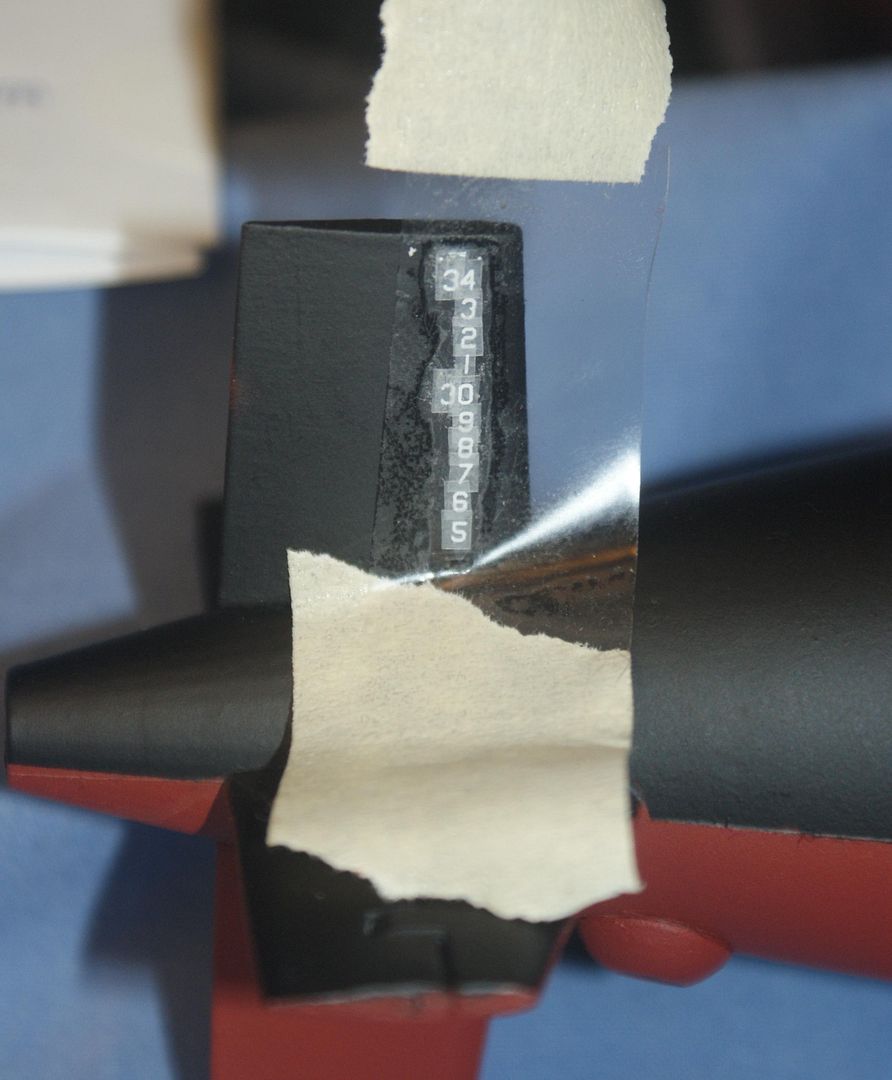
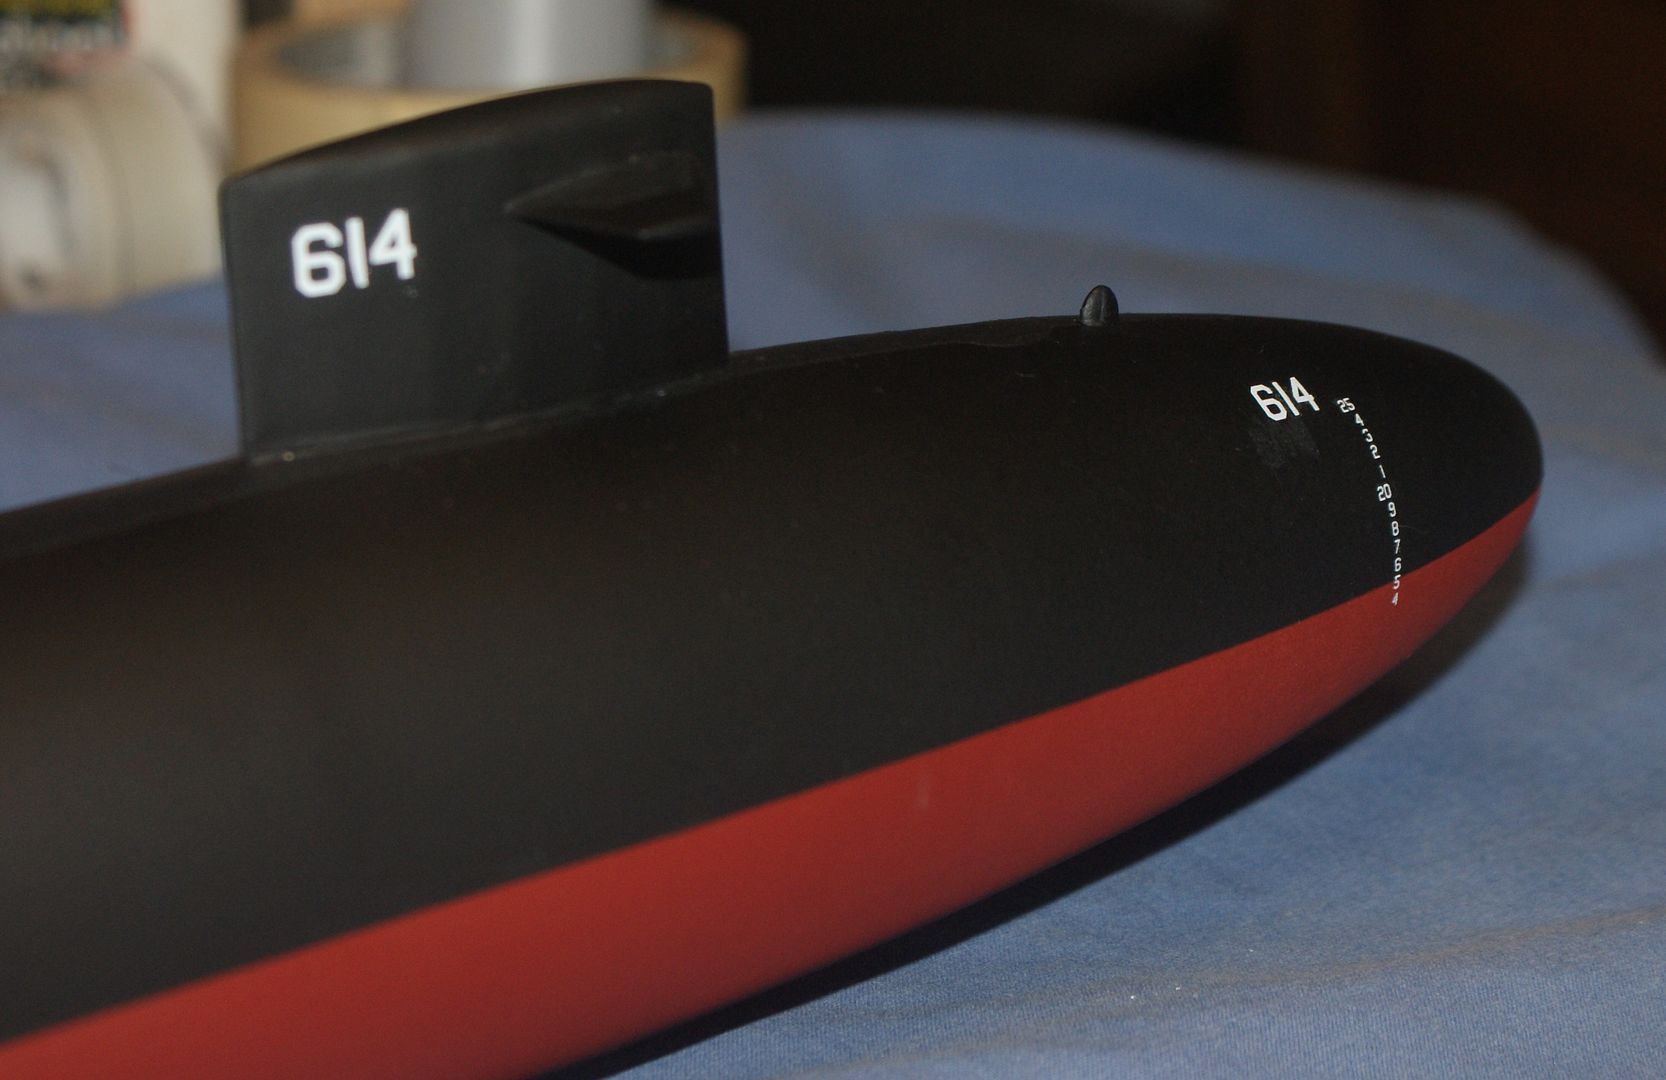
Well, being perhaps a wee bit stubborn, I decided to try the draft numbers on the rudder again, using a different method. This time I taped the template to the rudder and applied the numbers individually directly to the rudder. This worked a lot better after I learned how to do it, but at first I had to redo a couple of numbers. After the rudder I did the bow, and by this time it went really smooth. Unfortunately, it became obvious that although I had the bow numbers in the correct longitudinal position, I had put them on to low (like below the waterline). I had about decided that I could live with it when I did a Google Search on �Removing Dry Transfer Decals� that said that scotch tape would take them right off. Well, rather than testing it on the test pieces I had made when testing my PDA stylus burnishing tool, I hastily went straight to the model. And it worked� partially. It friggin� took off about 1/3 of them. Needless to say I wasn�t a happy camper at this point as I was forced to remove it. Well if I had to remove them, I might as well put them in the right spot so I removed the numbers on the other side too, and redid them. The problem, as you will see in some of the images below, is that it left large smudge spots in the paint job. The port side isn�t as bad because I figured if the tape took off part of the numbers, perhaps repetitive application and removal would remove all of it. It worked fairly well, but I still had to scrape some, though not nearly as much.
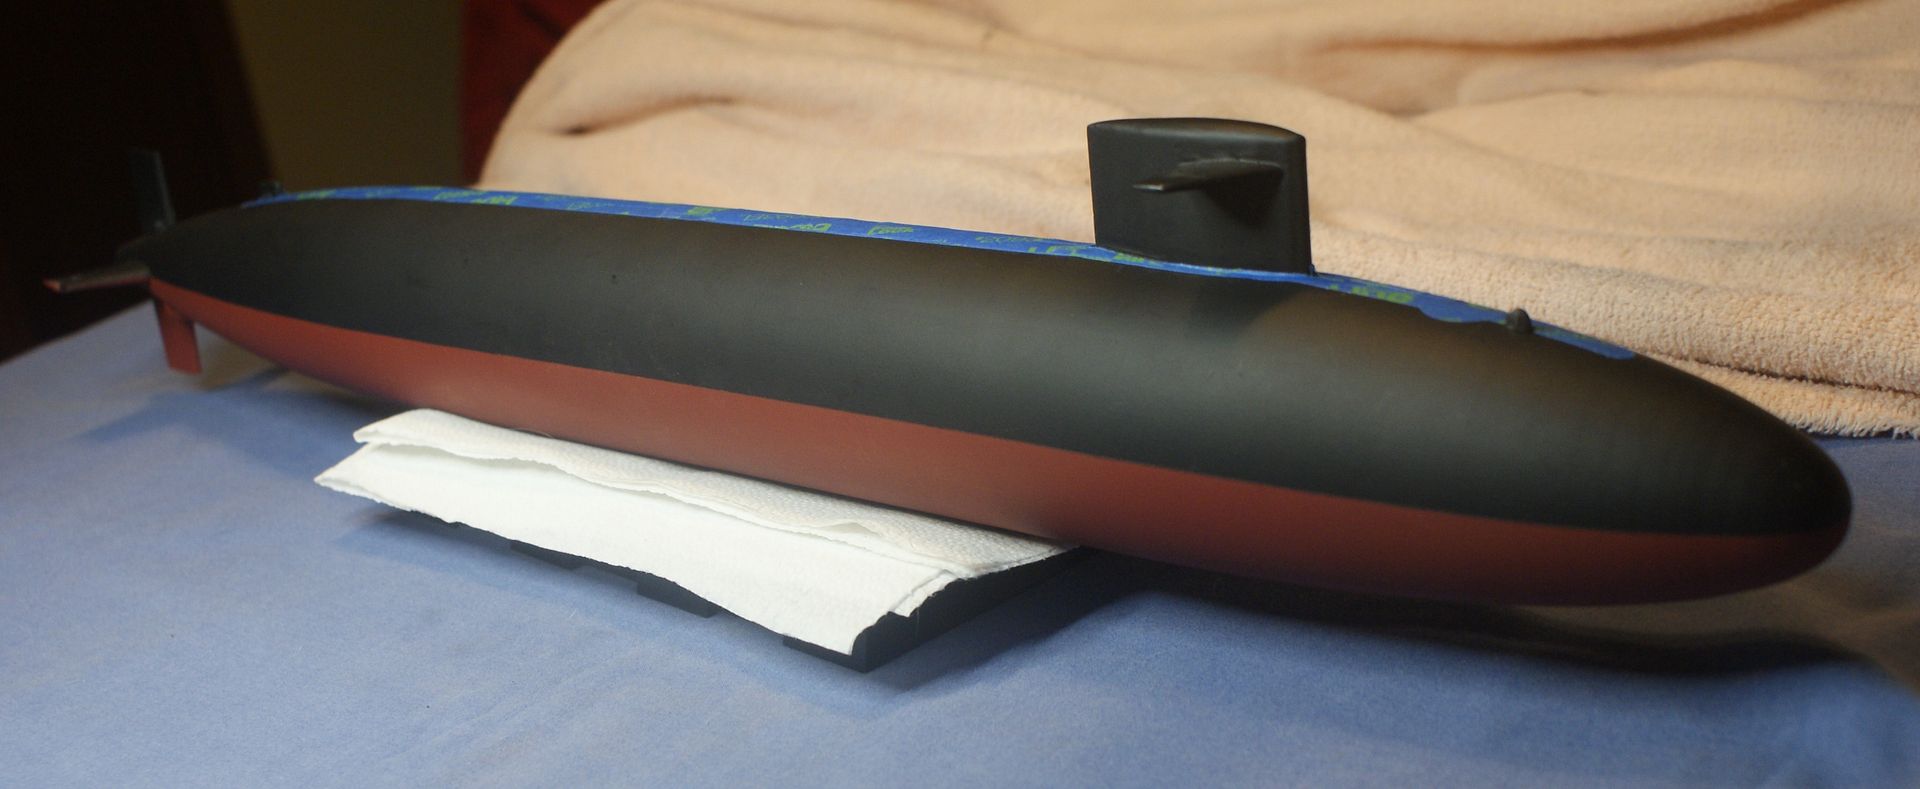
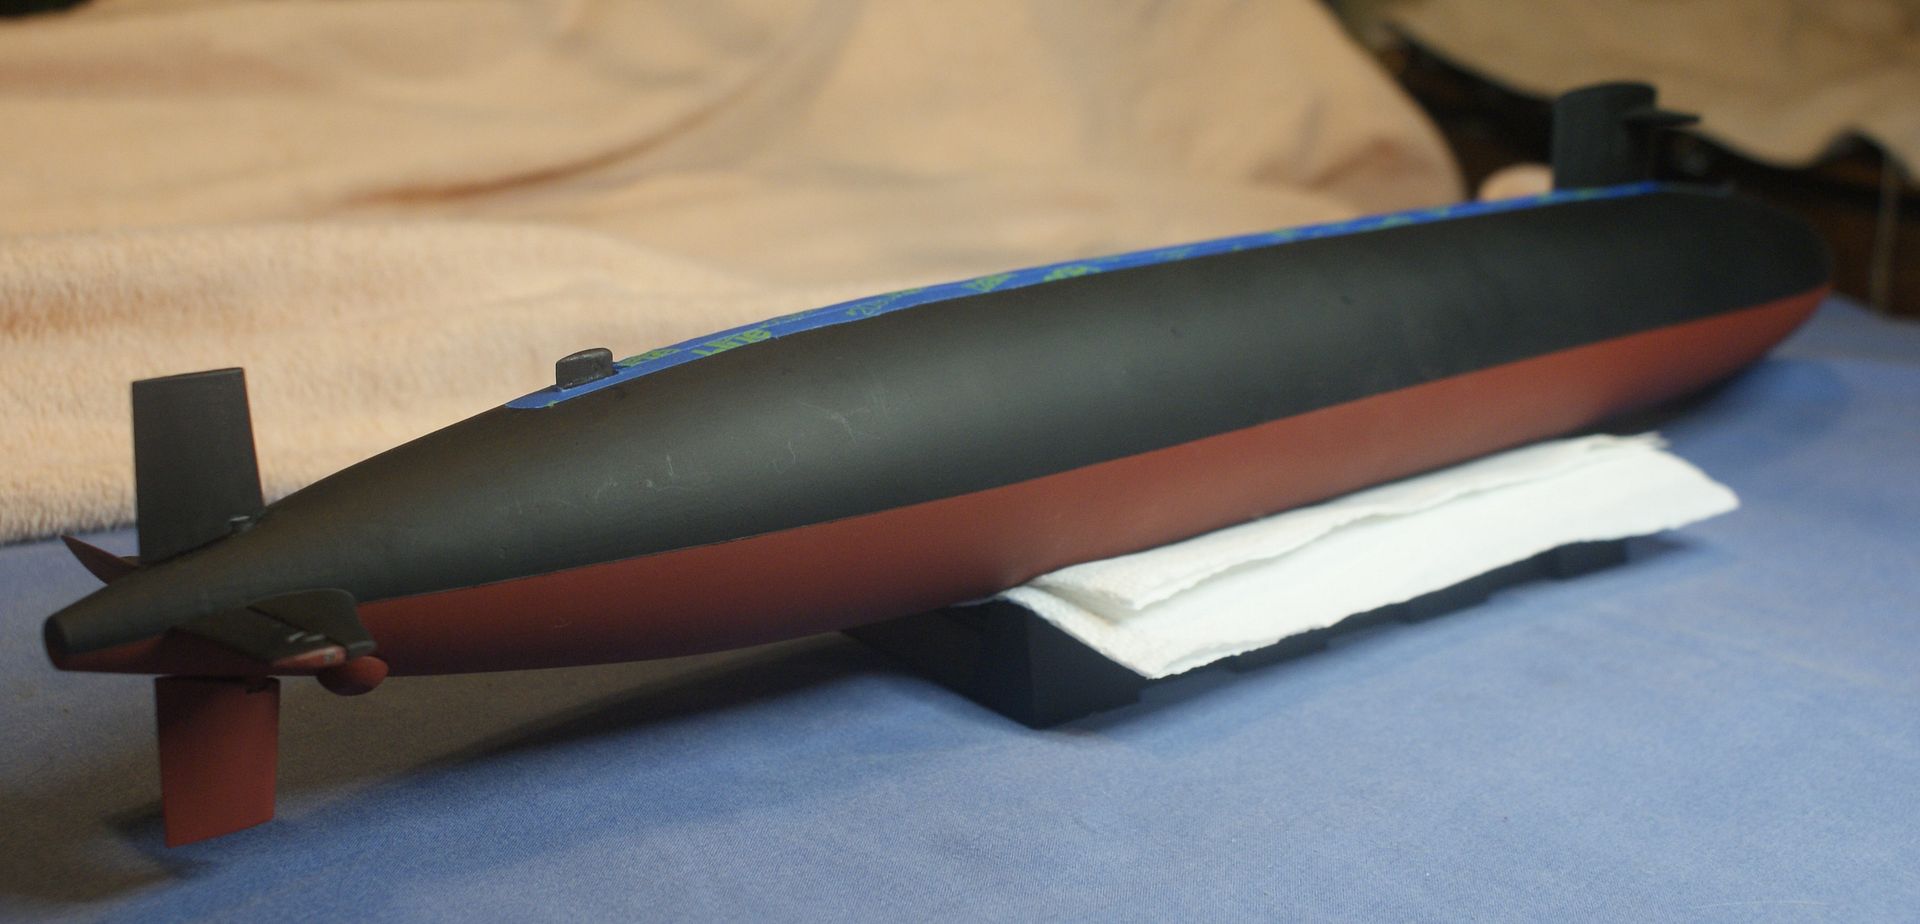
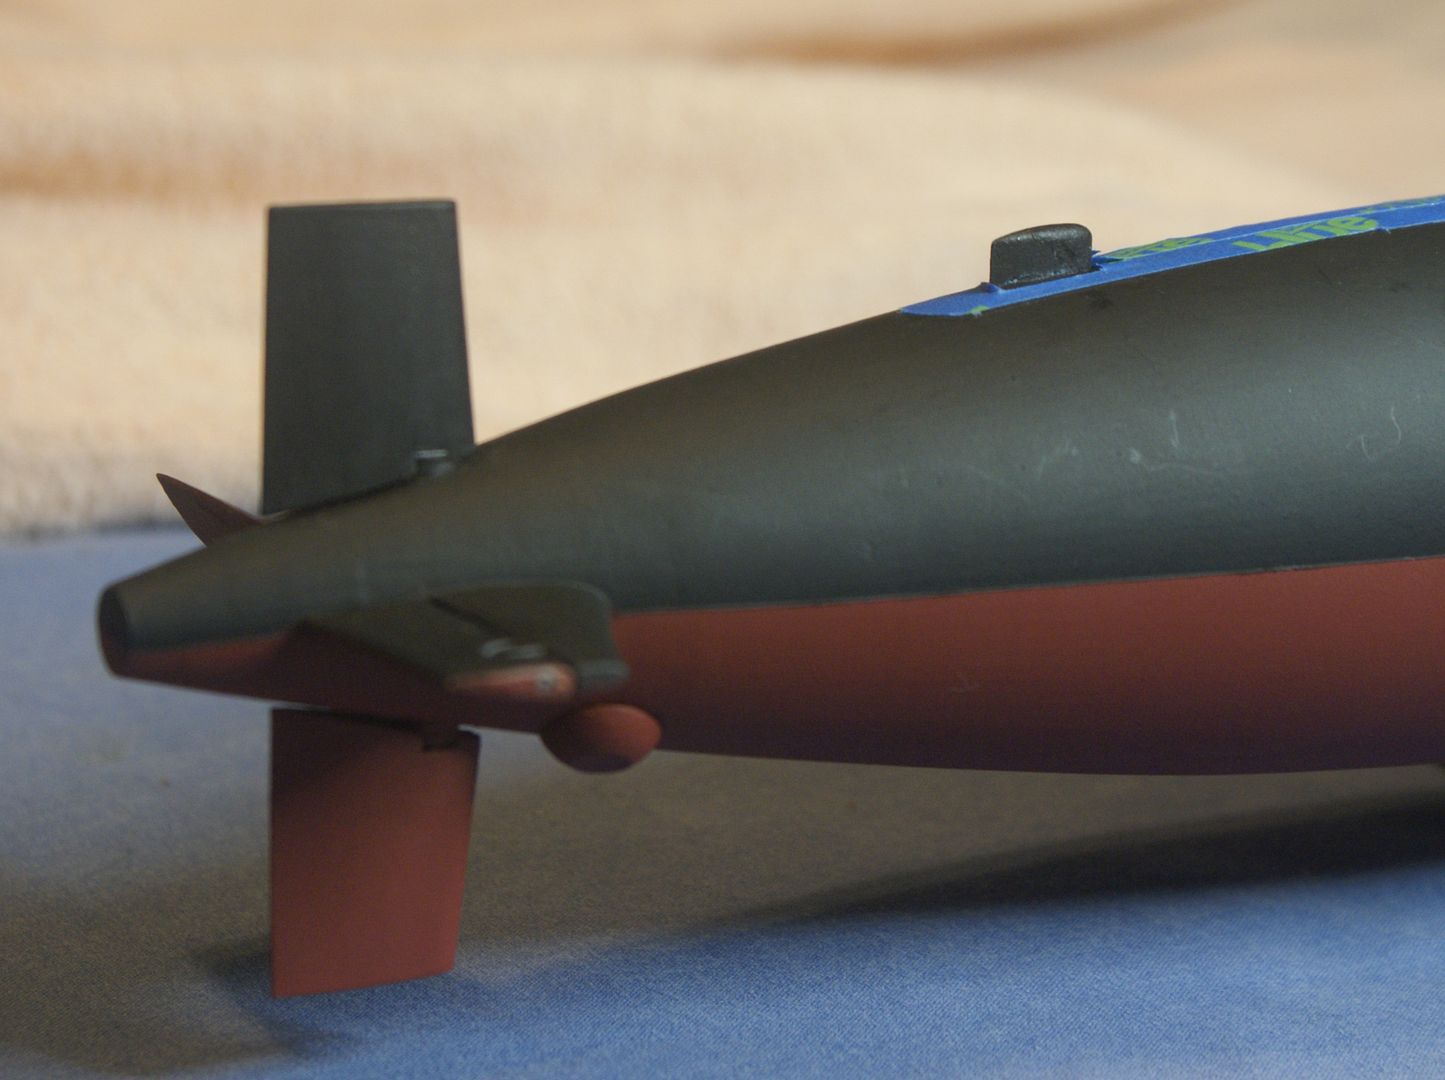
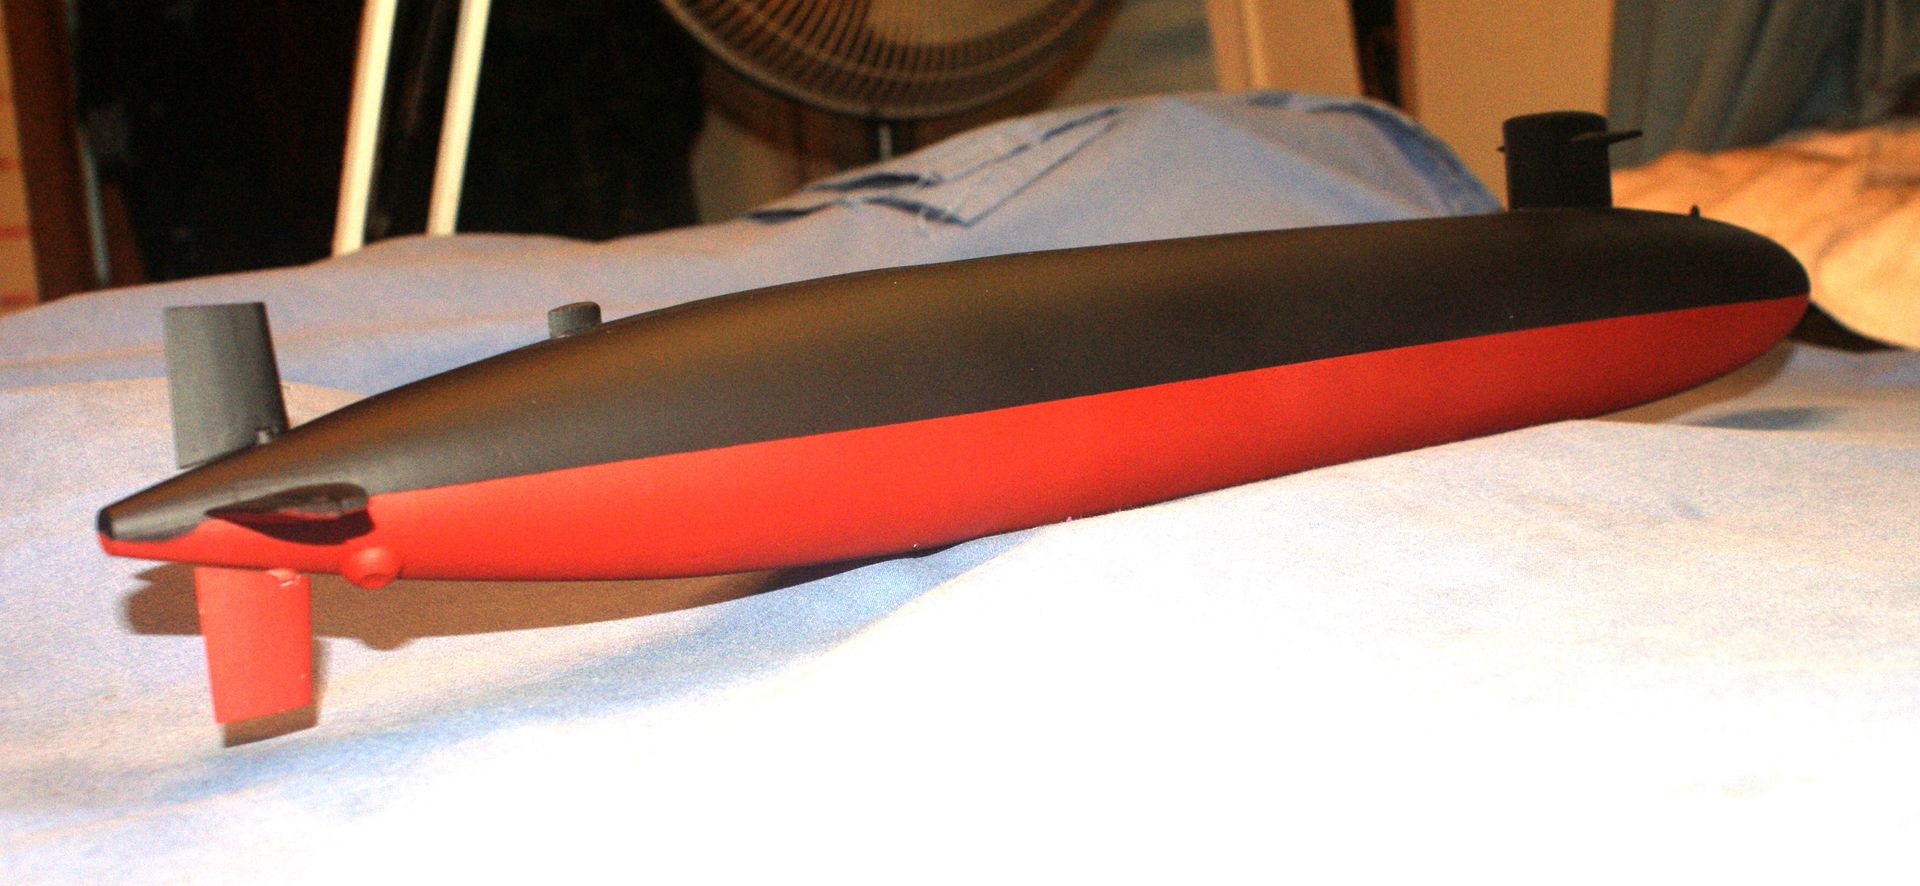
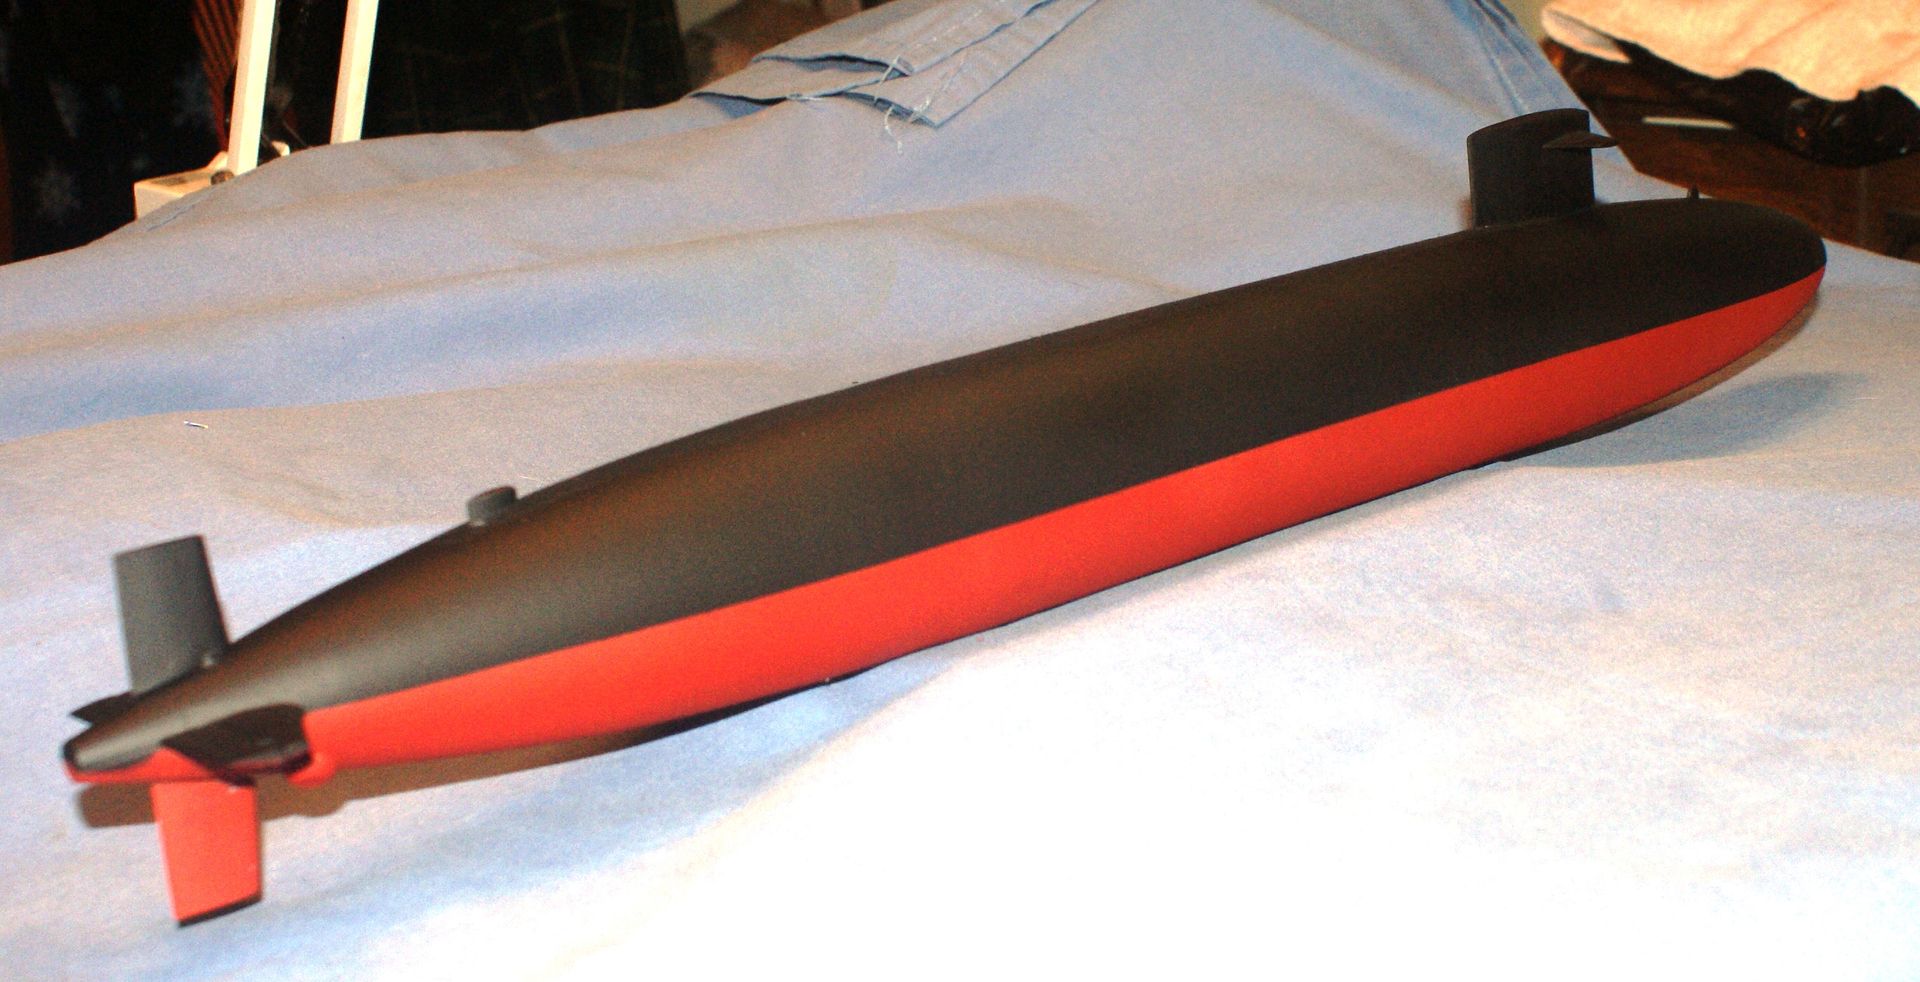
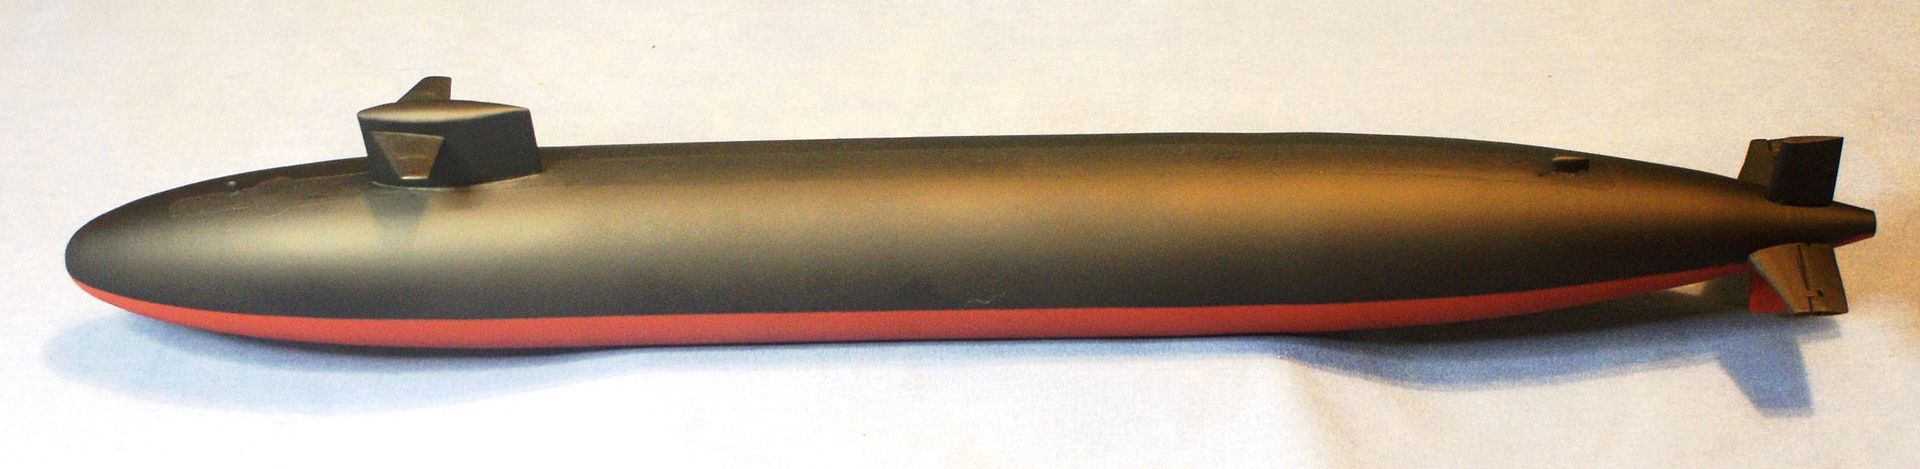
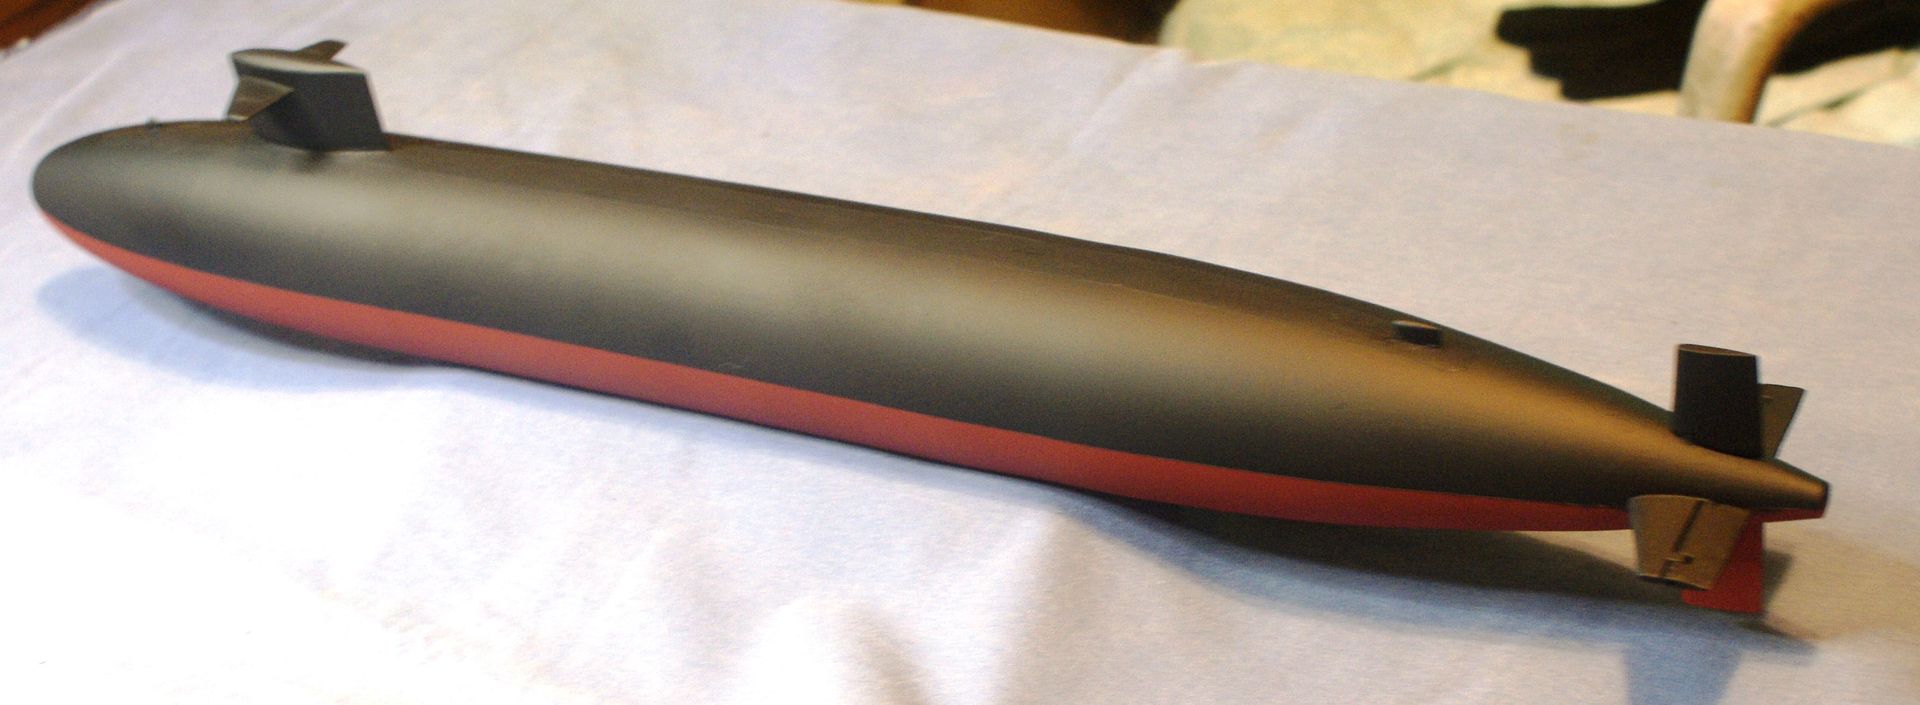
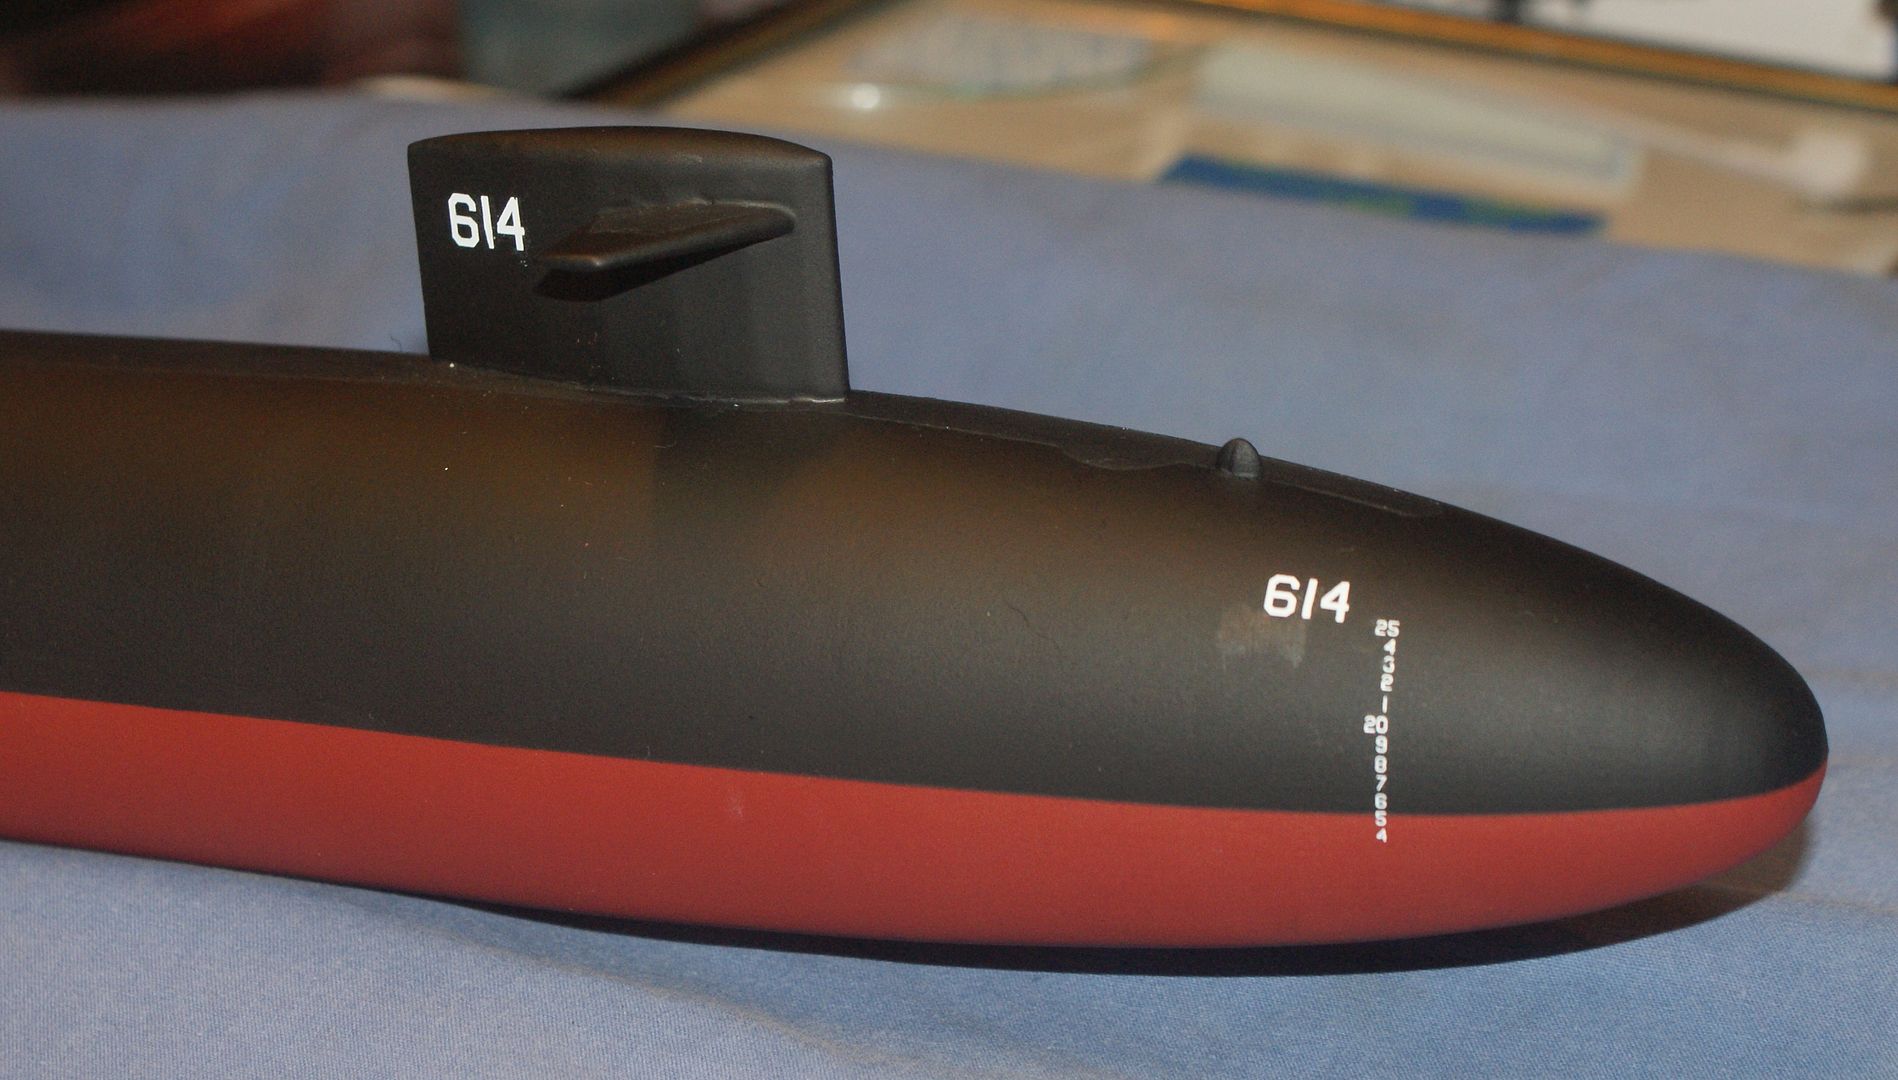
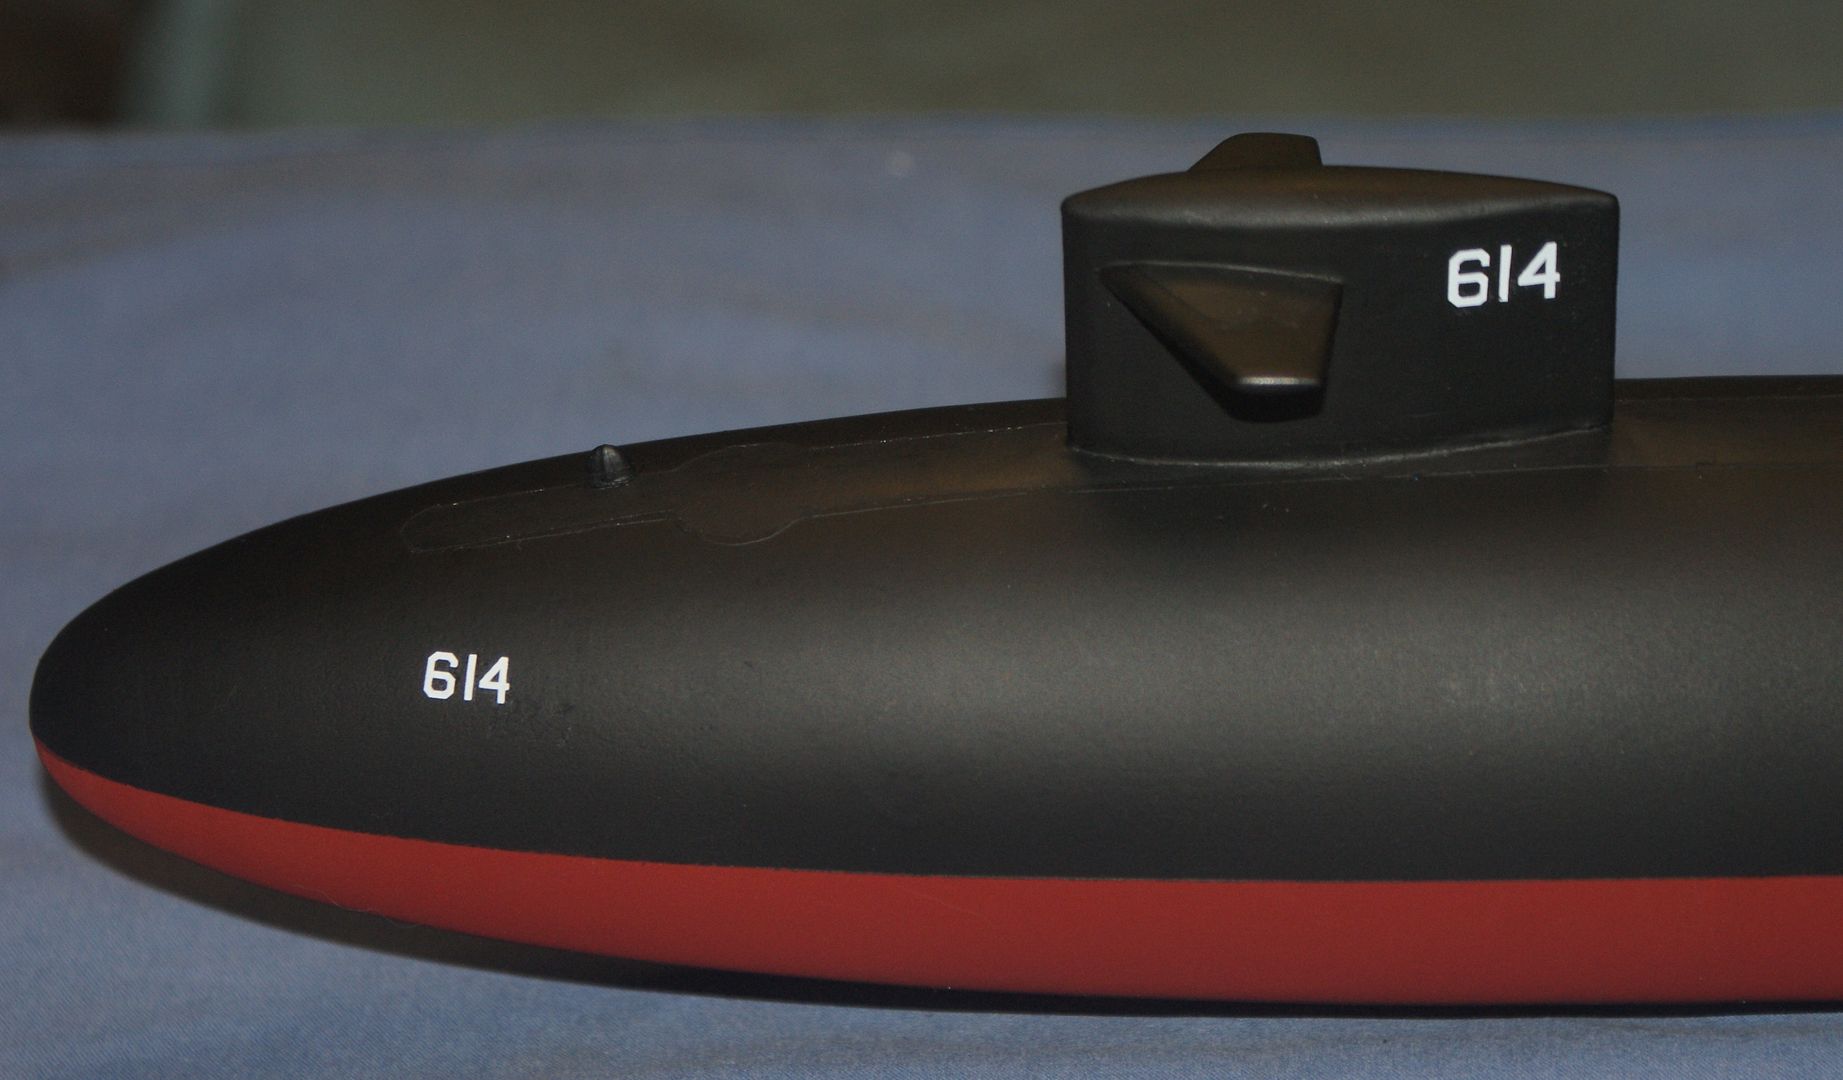
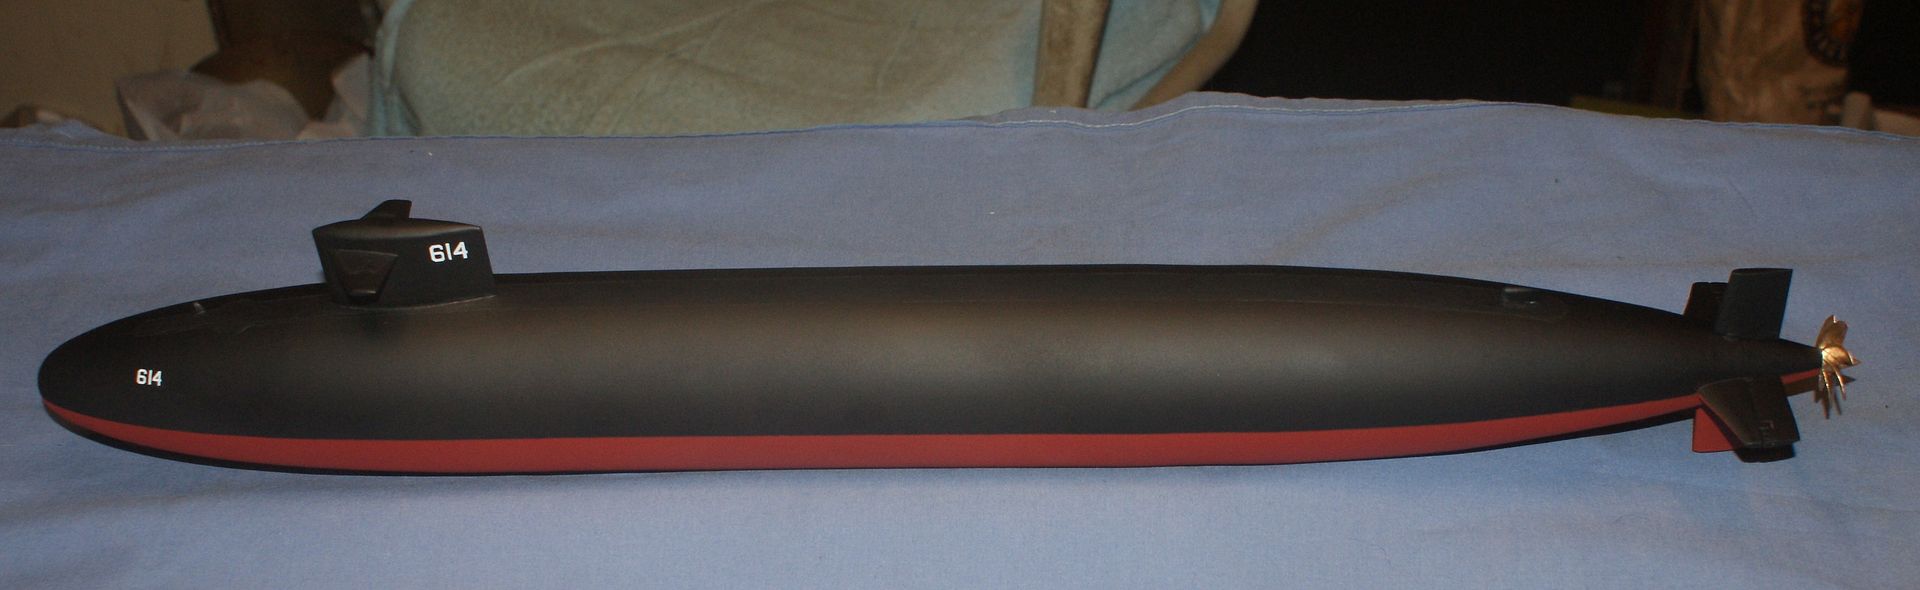
Being now completed with the model, and ready for the Future, I glued the screw in place so that it rotates on the dunce cap shaft, and took pictures. Enjoy!

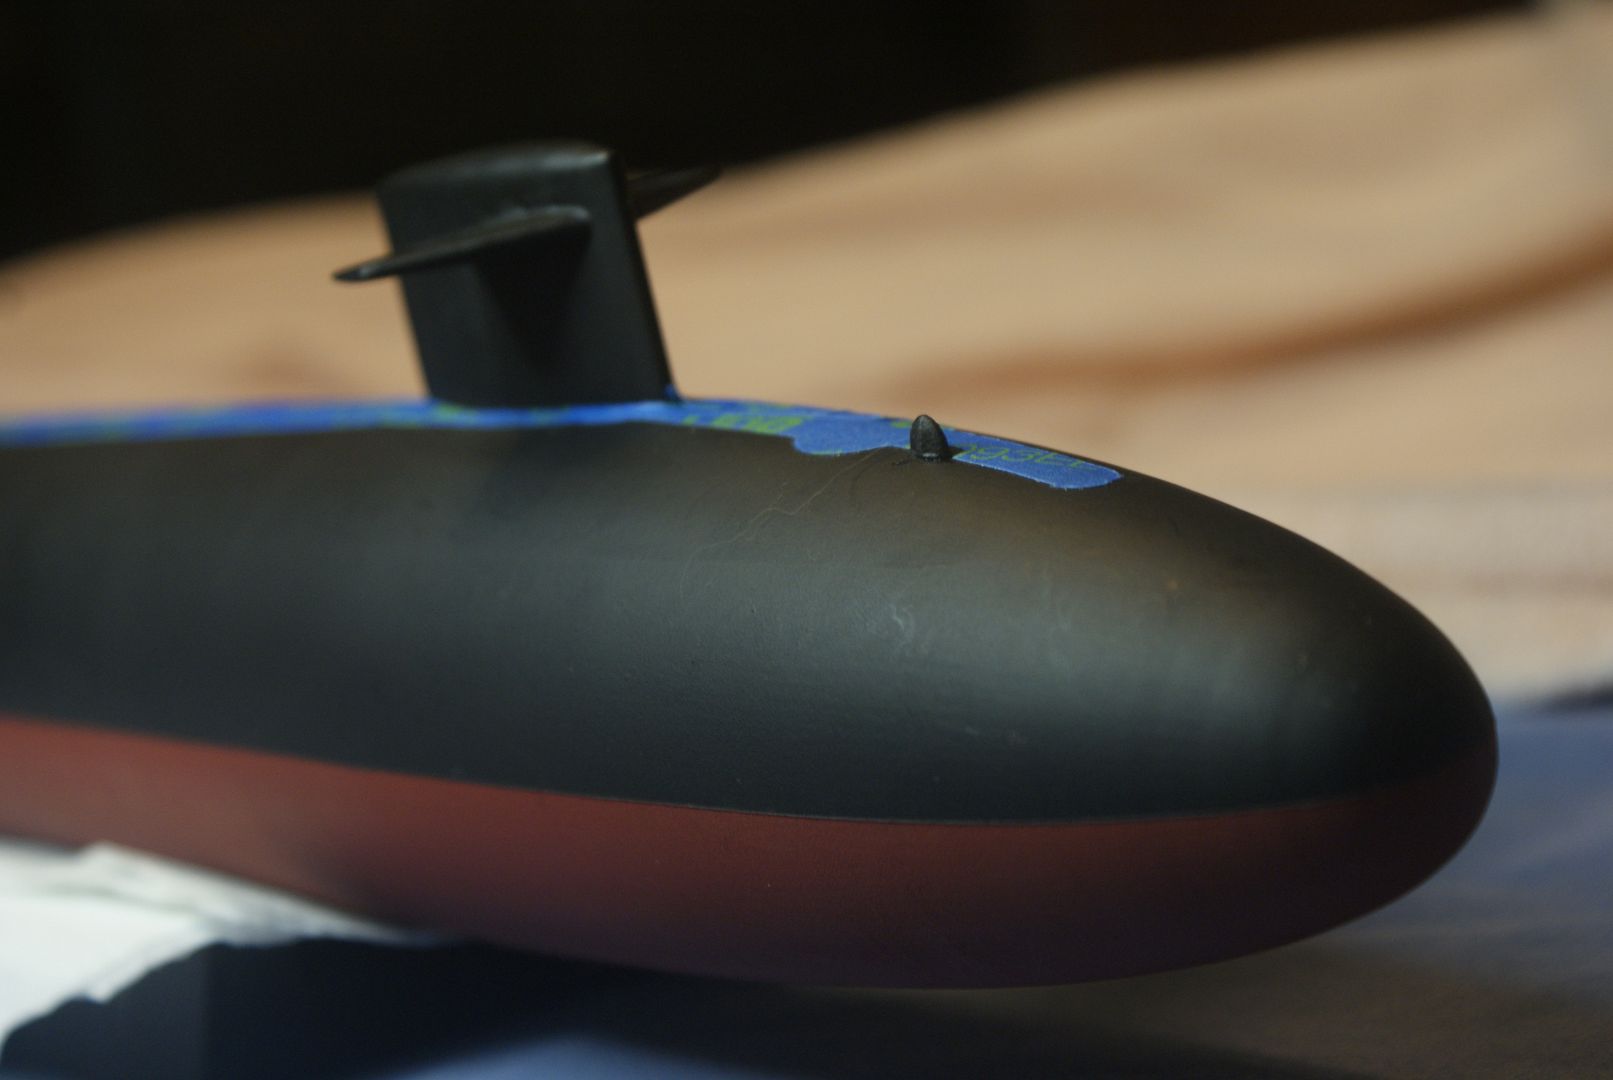
In this photo you can clearly see the �smudge�. Do you guys know of any easy way to fix this? Should I mask around it and spot spray it?
In this image you can just see the smudge at the lower right of the numbers on the bow.
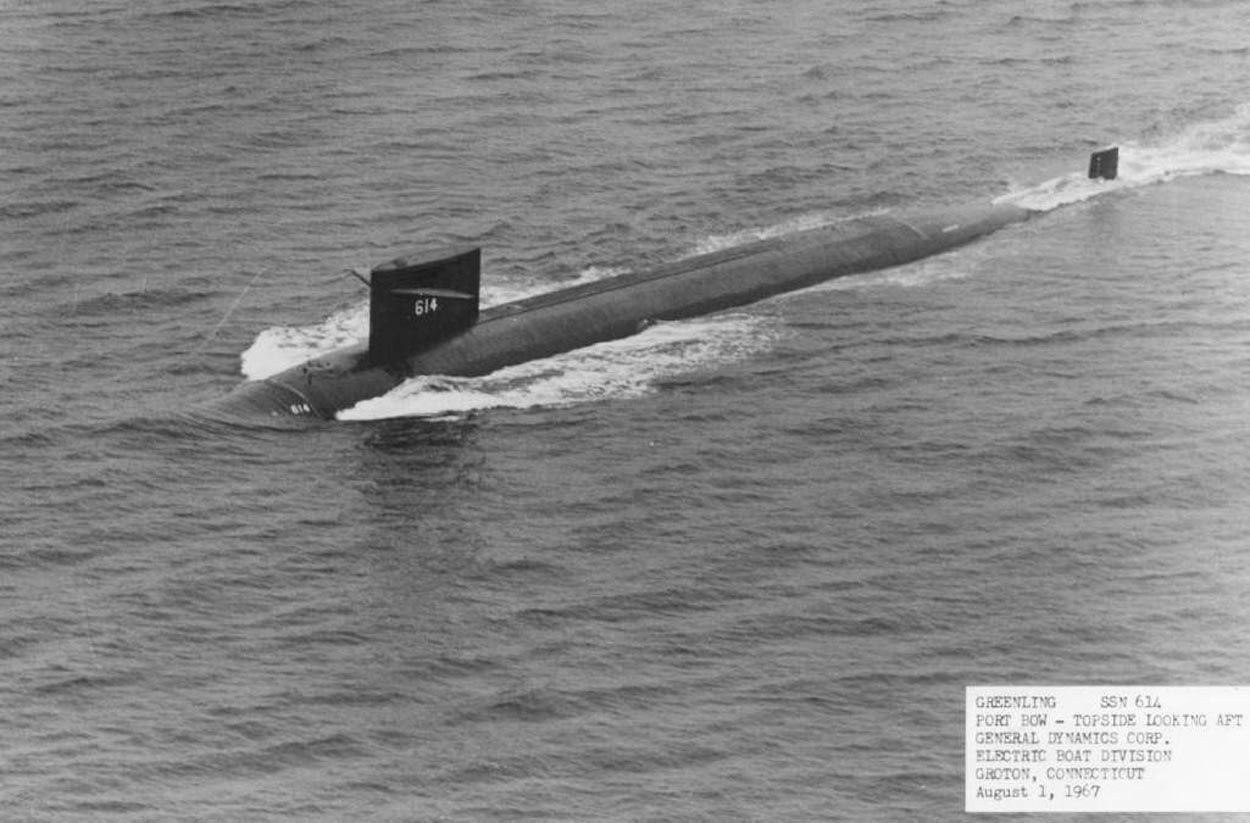
On the plans of Permit that I have, it shows the ship name on the stern sides, and in a picture I have of Greenling, in what appears to be the same configuration as mine (no sonar array tube) the name appears to be present.
Because of this, I decided that I was going to put the name on my model. The problem is that I don�t have letters, just numbers, and neither does my local hobby store, so they ordered them for me, but they won�t be here until Monday. This being the first time that I have used rub on decals on a model, I read info on the internet to learn more about it. In doing so, I read that unlike wet decals, it is better to put dry ones on before the clear coat. I was advised by Pirate on the SubCommittee forum that it is best to �put at least one clear coat on before the rub down type,� so I may go ahead and spray a coat or two of Future on it in the next day or two. I like this idea because it means less handling of the naked paint job.
More good news is that even though I was kicked out of the wood shop because I am not in the School of Architecture any more, I contacted an old carpenter friend and he told me that he now has a complete shop and would either make my base, or help me do it. COOOL!!!
The bad news is that I was making this model for a friend, but now I don�t know if I will be able to part with it.
CHEERS!!!