Fellow Modelers,
U.S.S. Skipjack (SSN-585) was the lead ship in a class of nuclear-powered fast attack submarines
first commissioned in April 1959. These were the fastest submarines in the world, with its new “teardrop” shaped hull design allowing for speeds and maneuverability far beyond anything that existed at the time. A total of six were launched, with only one being lost (Scorpion/SSN-589) in 1968 from unknown causes. The rest of the class served very successfully, and were still considered effective attack submarines when they were individually de-commissioned decades later. Skipjack was the last of the class to be de-commissioned, beginning in April 1990.
In 2012 Moebius Models released a huge 1/72 scale model of this very famous and historic submarine. The kit consists of 60 parts (52 light gray plastic/4 clear plastic/4 photo-etch) and has an overall length of 42”. Master model builder/model maker David Merriman served as the lead-man for Moebius on this project, and I understand he went to a great deal of effort to make sure the manufacturers in China got all of the details and shapes right. Certainly this is (by far) the most accurate styrene plastic model of Skipjack ever made. This is the start of my progress build, so let’s cast off and make some headway…
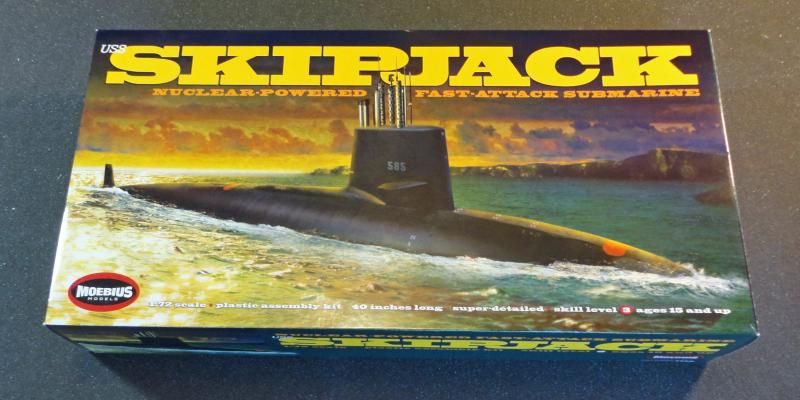
1st Image: This is the model box artwork. I honestly think it would have looked better if it had been a complete body shot underwater, but everyone has an opinion.
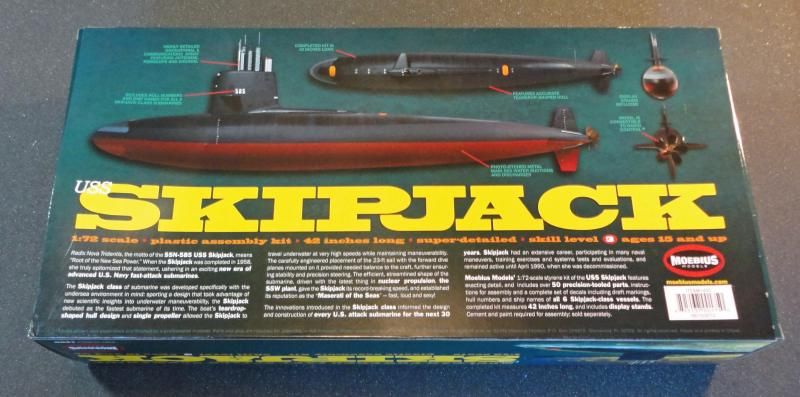
2nd Image: This is the back of the model box. These photos are of the assembled model. I think the same guy that painted the box art built this model, and he did a really nice job. These are helpful as an assembly and painting reference.
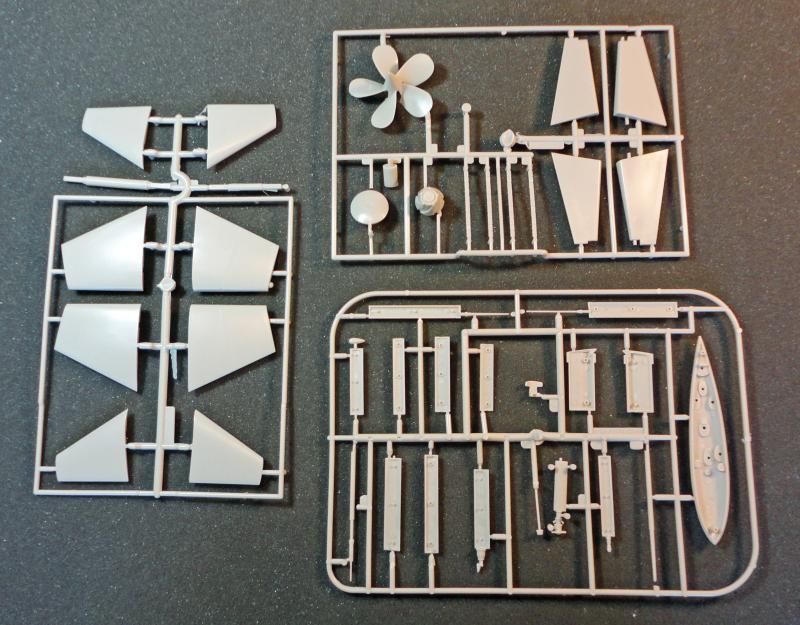
3rd Image: The majority of the kit parts are shown here. The molding is clean and sharp.
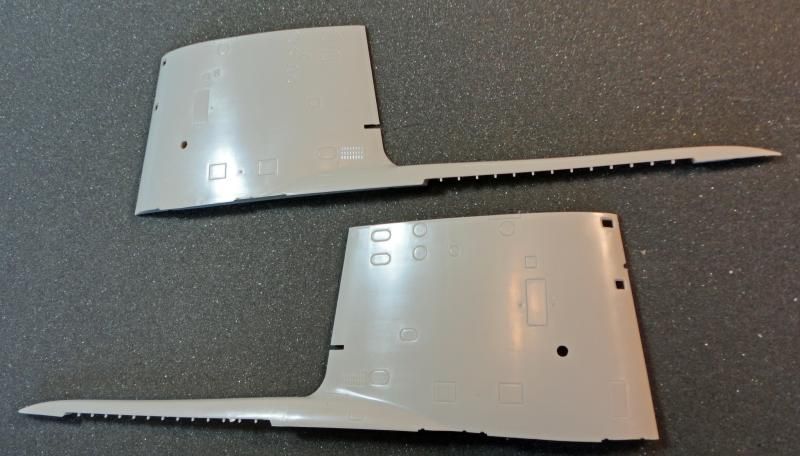
4th Image: The two sail halves are shown side by side.
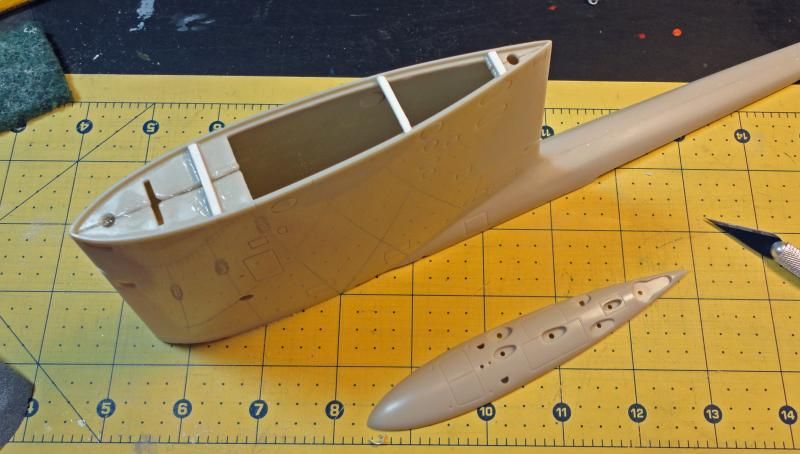
5th Image: The hull comes in four pieces (upper/lower front and upper/lower rear). A little mismatch between the front rear upper pieces can be seen, but this easily removed once the glue is added.
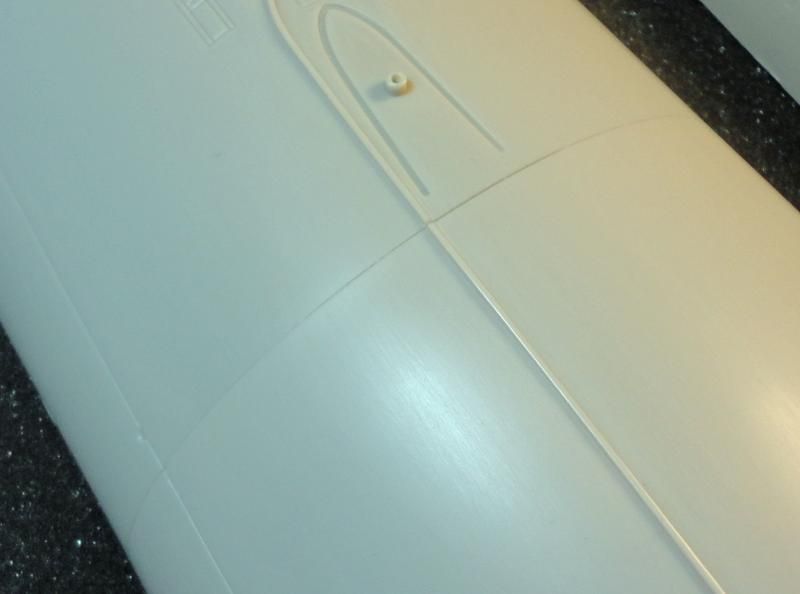
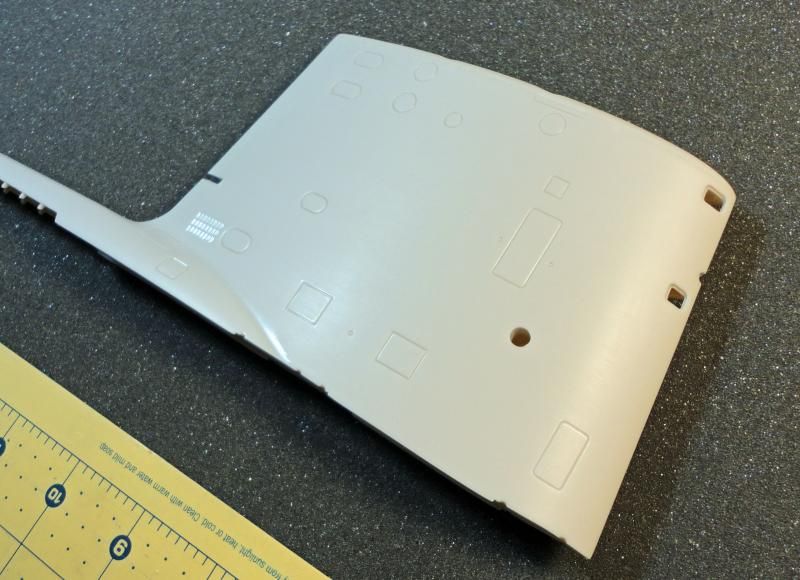
6th Image: The upper hull seam-line is shown after gap-filling superglue was applied and sanded out.
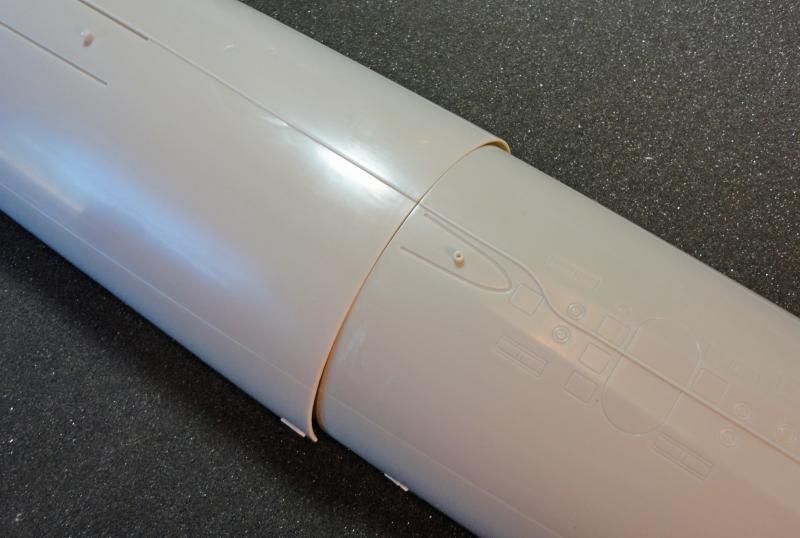
7th Image: The front and rear lower hull pieces have been glued together, but the seam-line has not been filled in or sanded out.
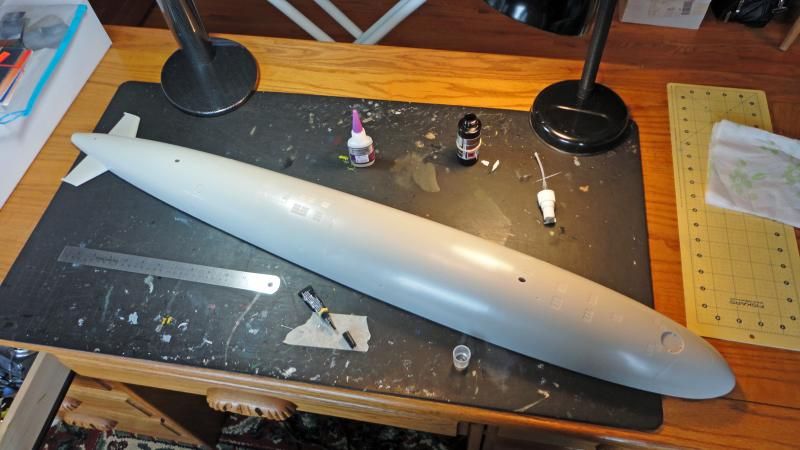
8th Image: Here is an overview of the lower hull assembly on the work table.
9th Image: 5-Minute Epoxy was used to glue the upper and lower hull assemblies. A lot of pieces of masking tape were used to make sure the hull had a tight, gap-free fit.
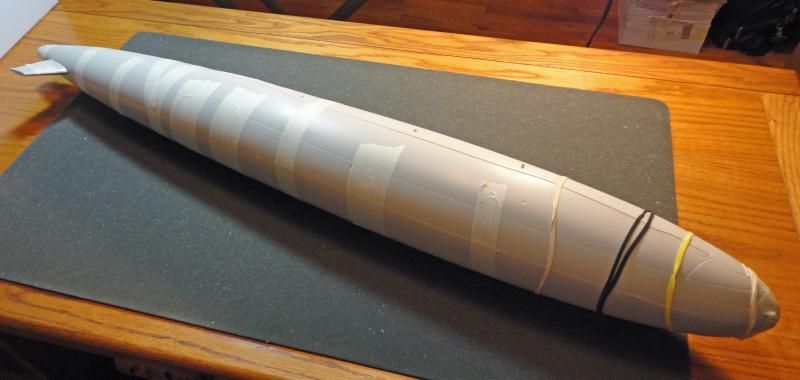
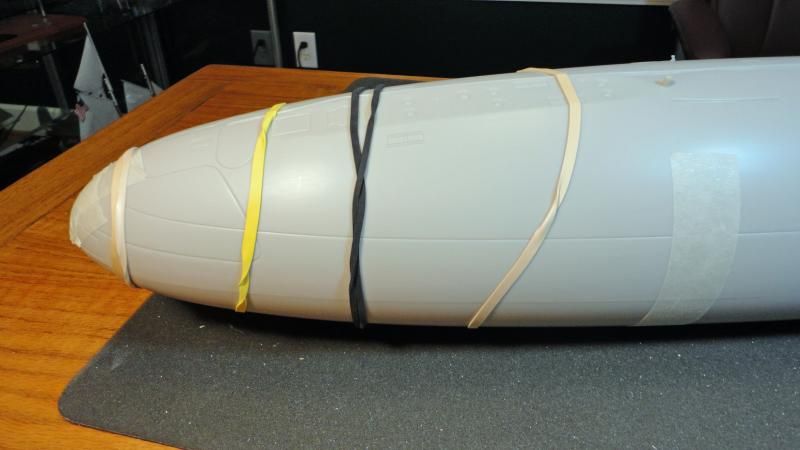
10th Image: The area around the bow was a little warped and required a few rubber bands to make sure the alignment was good while the glue dried.
11th Image: This photo shows the hull seam in the process of being sanded out. Over 80 inches had to be removed. The sanding was fairly easy since there were no surrounding raised details in danger of being lost. The only thing to remember was that the seam line is on a radius so you have to be a little careful not to create any flat spots.

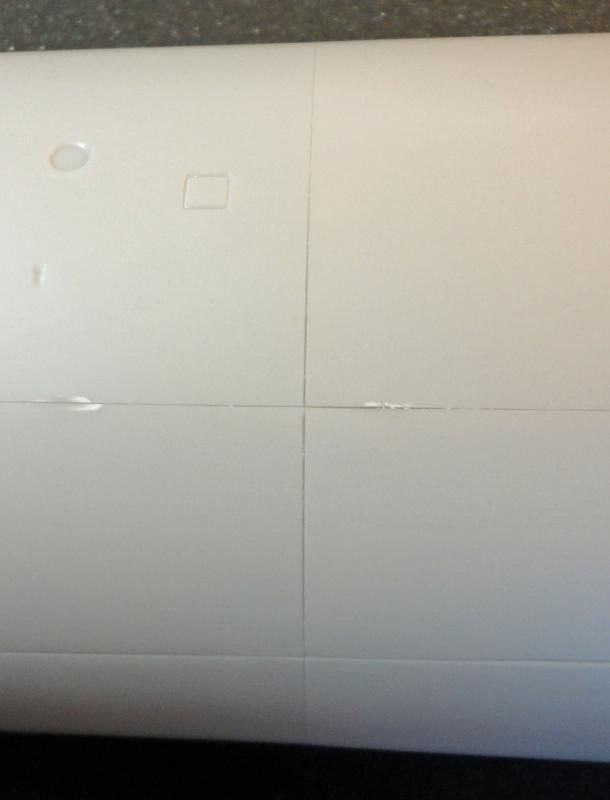
12th Image: All the hull join lines (upper/lower/front/rear) are shown. You can see the gaps are small and the alignment is good, which tells you a good job was done with the engineering and manufacturing of the kit.
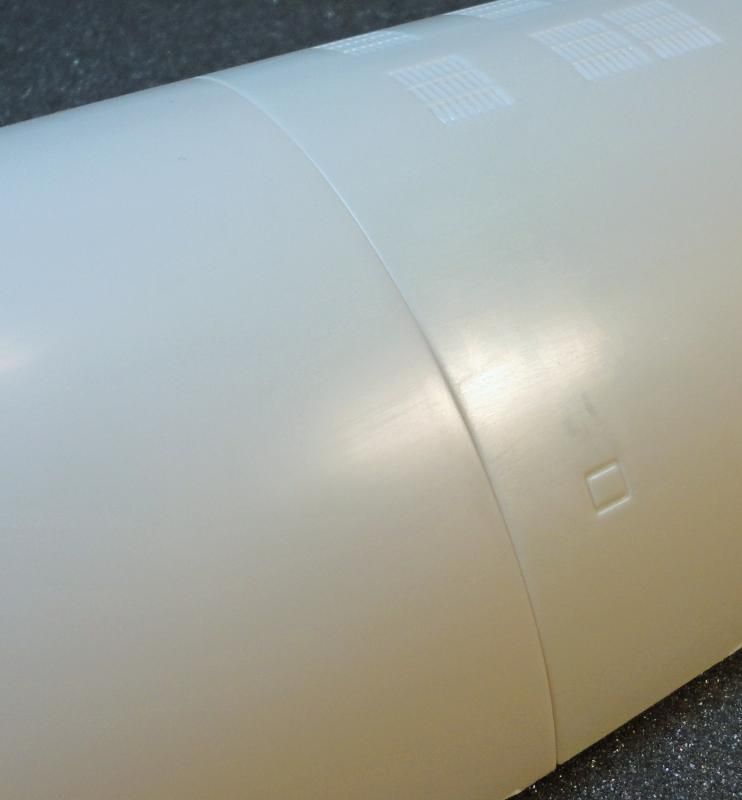
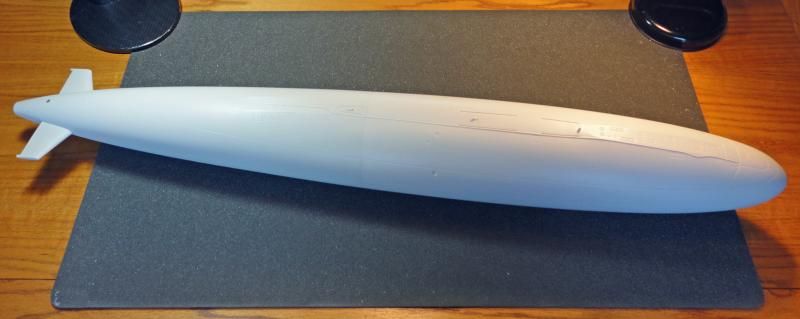
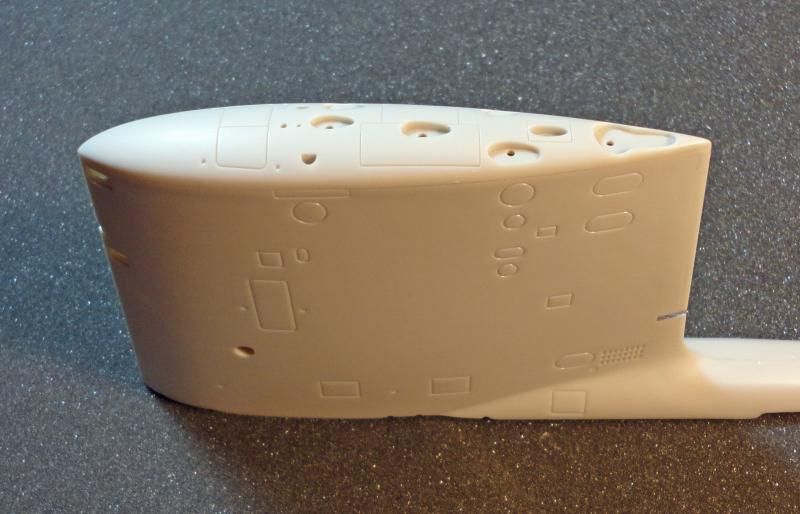
13th Image: Here is the assembly after the mid-hull seam line was sanded out.
14th Image: Works now moves to the sail assembly. The two halves went together very well and it was easy to sand out the seam line. When I added the sail top part it was too wide and overhung both sides by about 1/32”. My fix for this was to cut open the join at the top of the sail and add small styrene pieces to act as spacers. I added three down the length of the sail. Once I had a perfect fit between the sail and sail top, a fair amount of glue was applied to the spacers and original join line.
15th and 16th Image: These two photos show the sail assembly after the top has been added and the seam line removed.
Until next time…
Phillip1


