Hello everybody,
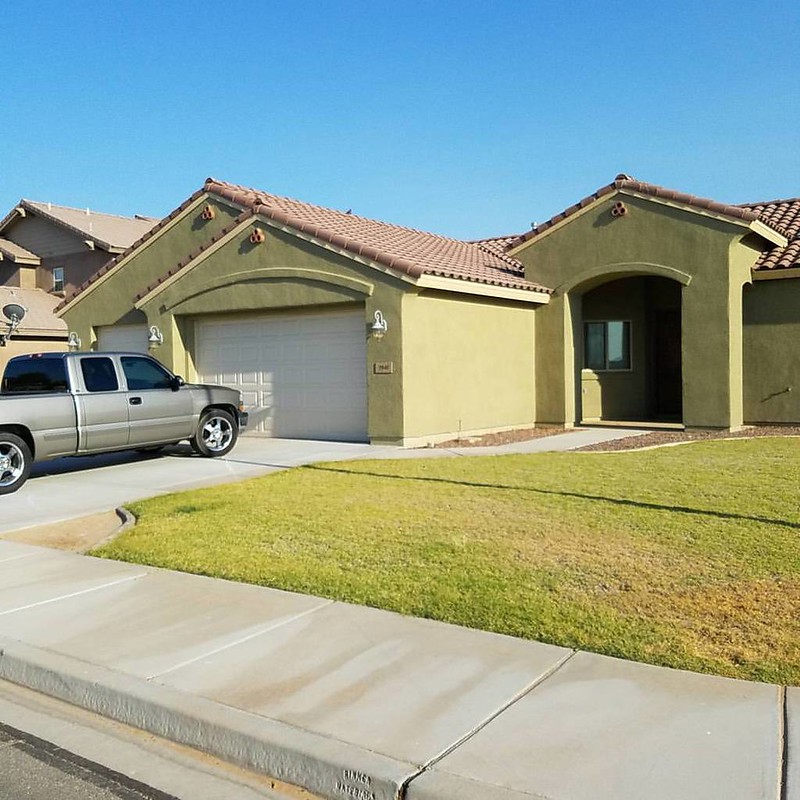
Well, I've joined the world of homeowners! I got the keys to my new house a couple weeks ago and have been moving, which is my excuse for not making any progress on
Arizona recently! Here's a picture of the casa, and yes I know it looks like a bowl of pea soup... hahaha Paint is cheap and it will be fixed!
 13710656_10210222818677274_5379467121934301392_o_zpsieqoash0
 by
Nelson Wallace, on Flickr
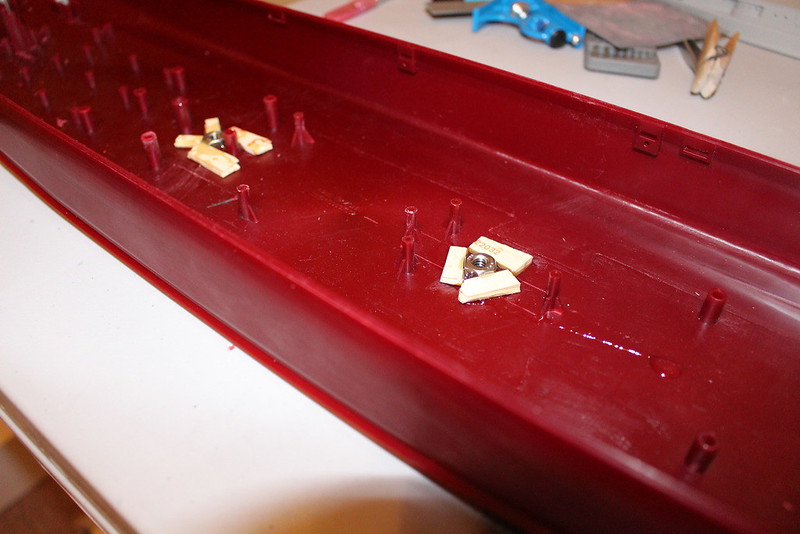
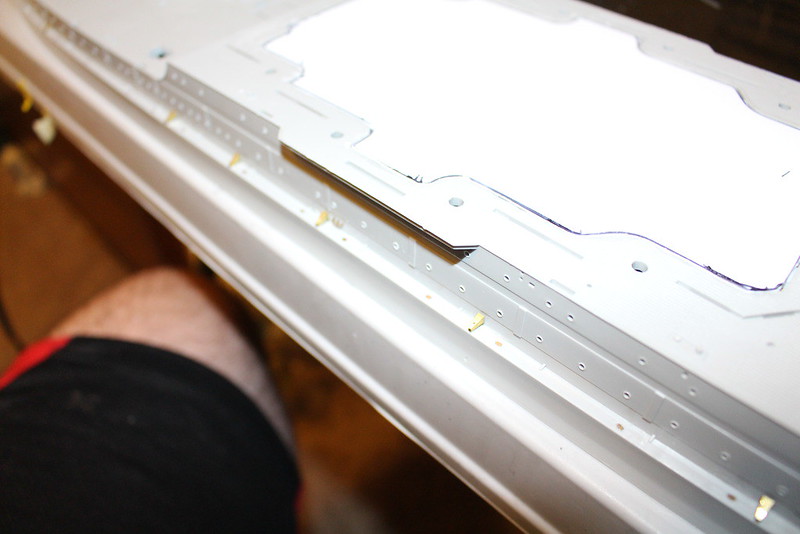
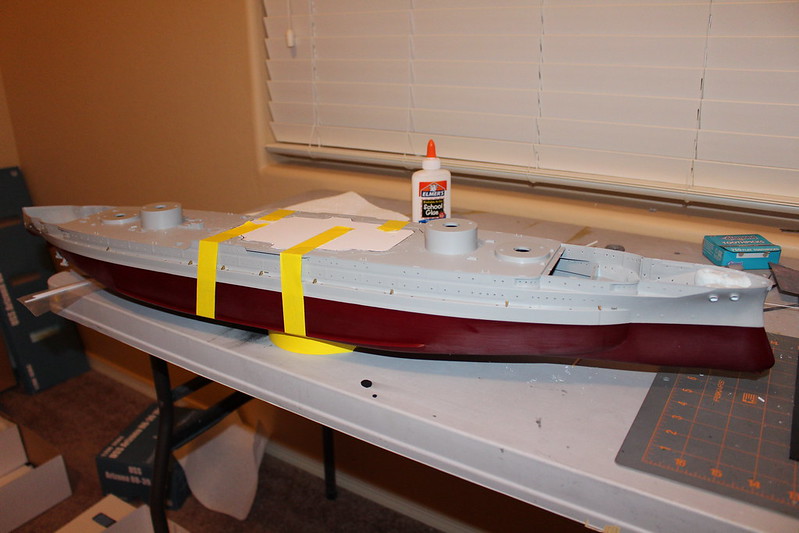
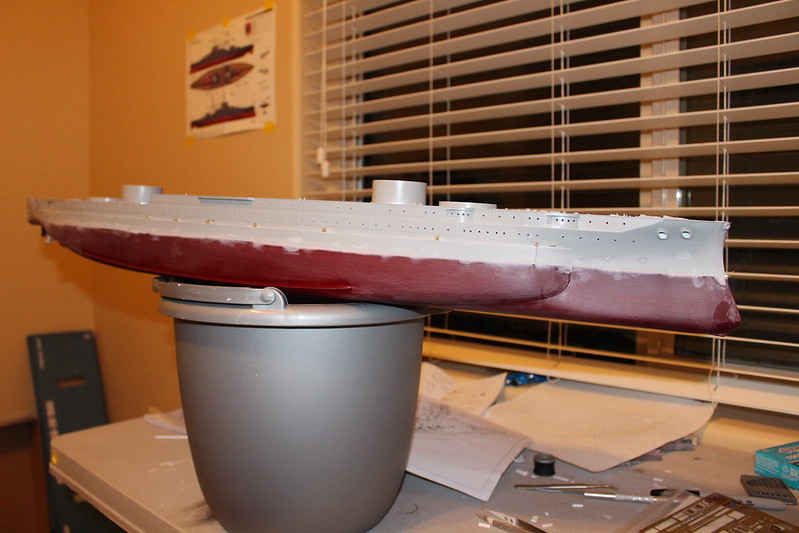
Not that I've gotten my stuff relocated to my new house I was able to get my hobby room set up and return to making progress on my Zona. The first thing I stated on was getting the mounting system built into the lower hull before the halves can be joined. I used some 1/4"-20 nuts and some epoxy resin to secure them into the base. Like on my
Bismarck I added the wood pieces around the nuts to make sure they won't come loose. I plan on making a "Dry Dock" base to mount her to with 1/200 scale dry dock wood blocks.
 IMG_6012_zpskav6ur83
 by
Nelson Wallace, on Flickr
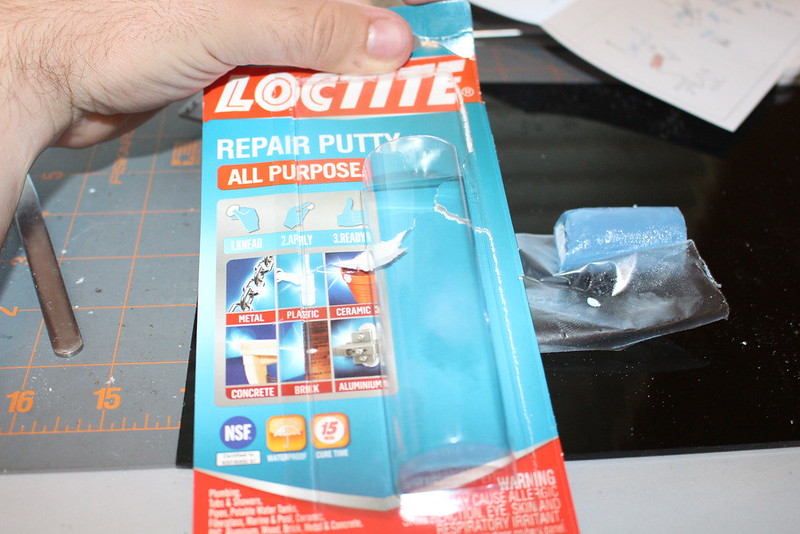
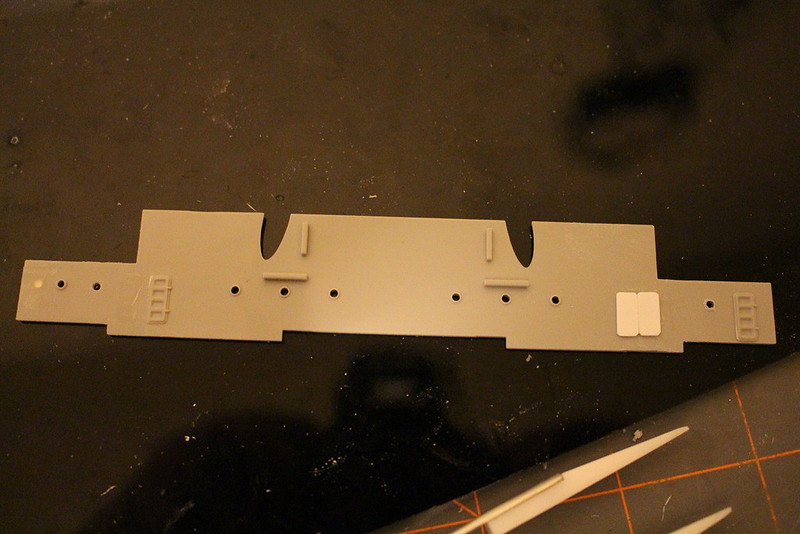
Once those were in I decided to work on the hawse pipes since they were easier to get to with the hull halves separate. I stated with the dremel tool and files and started to reshape the openings so that the anchors can pass through like they are supposed to. To make the hawse pipes I decided to try a new item I noticed while at the local Home Depot.
 IMG_6013_zpscamlkgrr
 by
Nelson Wallace, on Flickr
This repair putty comes in a little stick that you knead to activate and then place it where you want it. Relatively quickly the putty begins to harden and once it's fully cured it can be drilled and sanded. I placed putty under the hawse pipe openings in the deck and while it was still soft I used a drill bit to open up the holes. I then took the deck off so that I could work on the putty without hurting the deck.
 IMG_6014_zpsxjoj2kh2
 by
Nelson Wallace, on Flickr
I still need to go back and touch up some spots, but overall I think this experiment worked well. I may even be able to use his to make blast bags for the main guns if I want. I'll be sure to get some pictures of the finished hawse pipes to show the results.
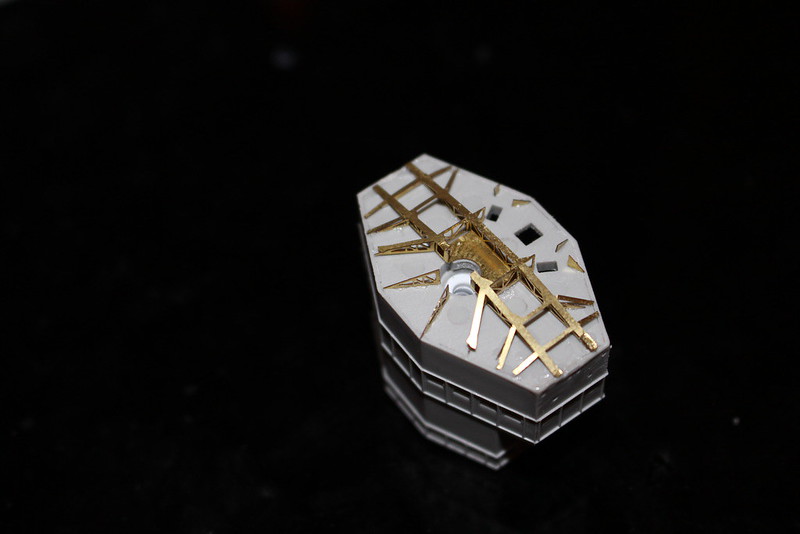
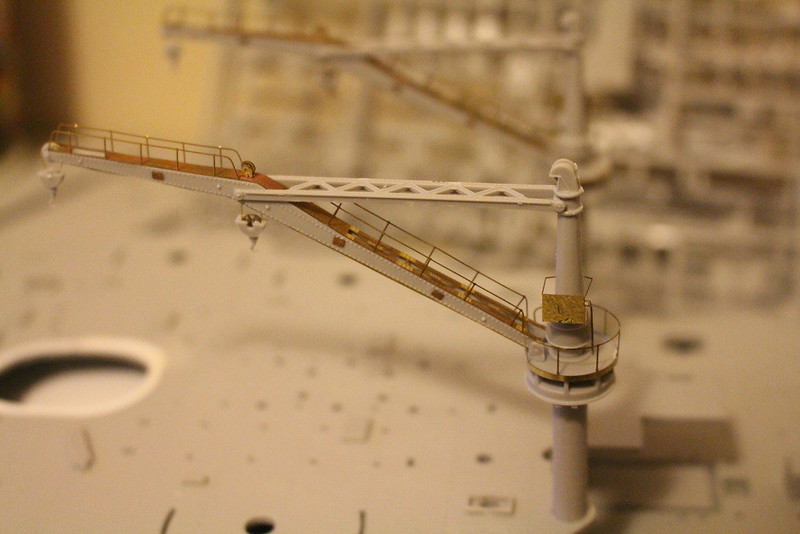
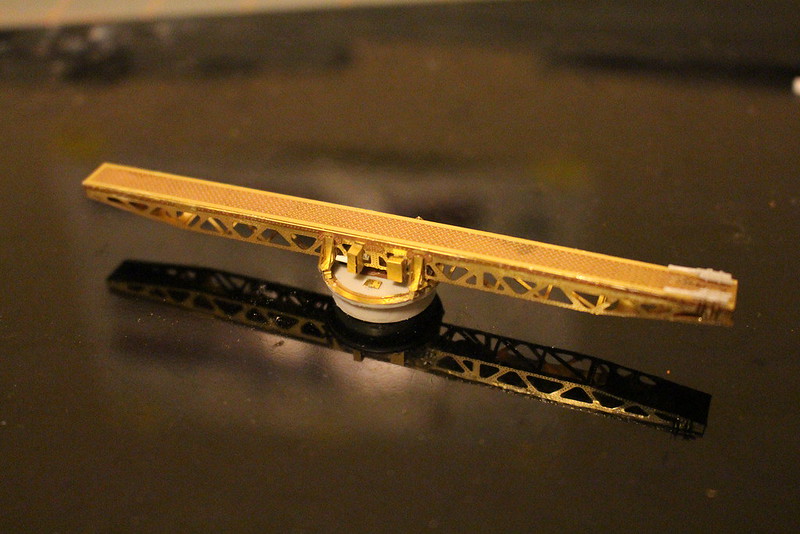
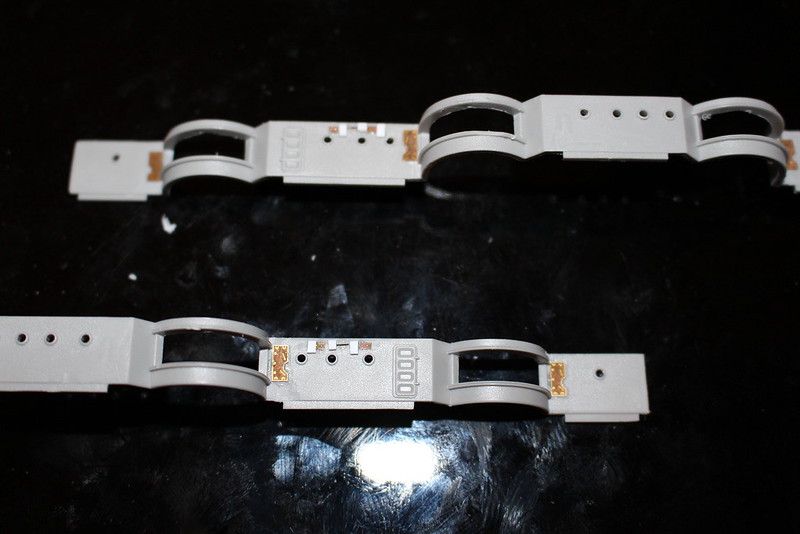
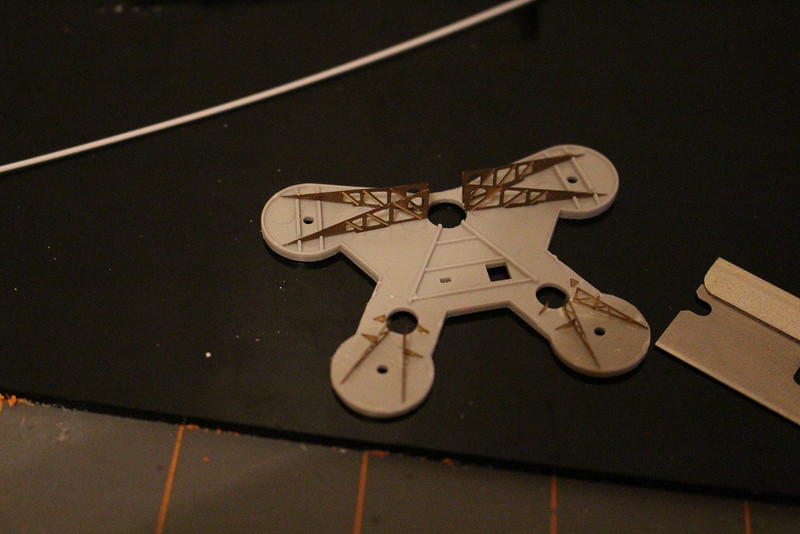
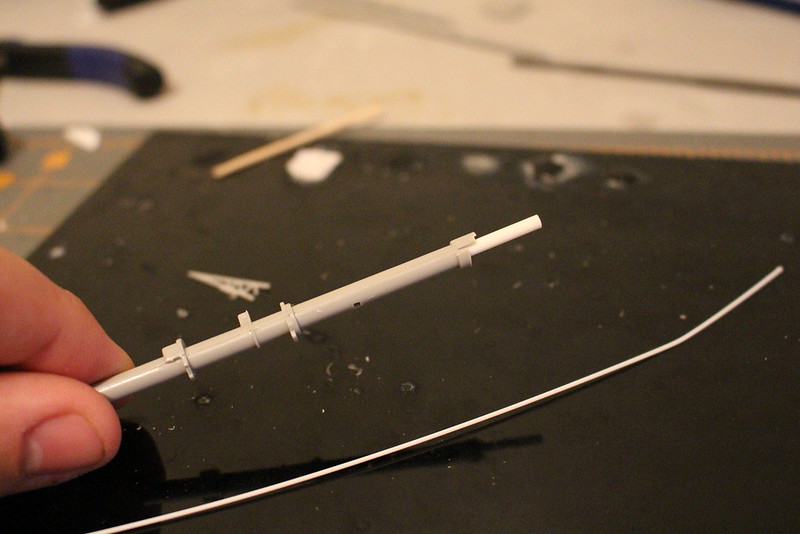
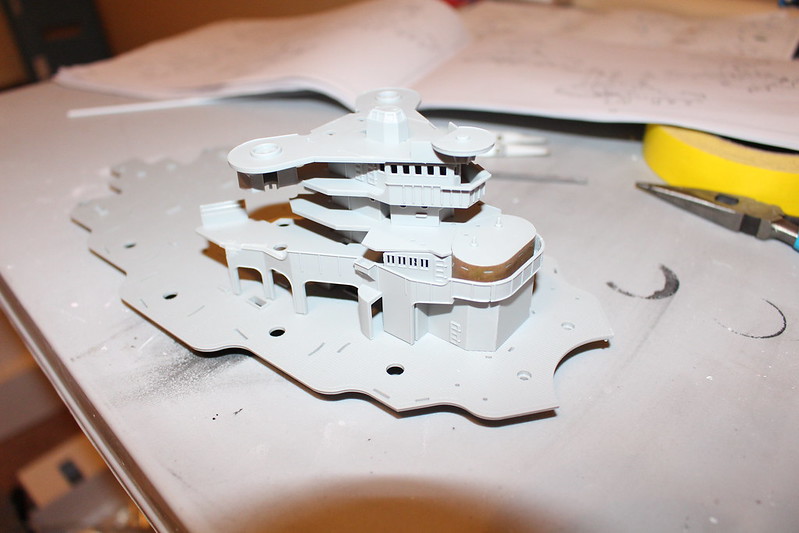
While the putty was hardening I turned my attention to the main mast. I scraped all of the braces off the bottom of the mast house to replace them with the Eduard pieces. This is when I noticed a small issue with the PE. The round cutout in the big PE piece is lot large enough for the part of the mast that attached to the house. I had to start making modifications to the mast that would allow it to fit without making it shorter so that the other legs of the mast would not need to be changed. I used some plastic rod that fit inside the mast and sheet plastic with the same size hole drilled in it to locate the house of the mast. I then cut away the part of the mast that interfered with the PE.
 IMG_6016_zpseay9znsl
 by
Nelson Wallace, on Flickr
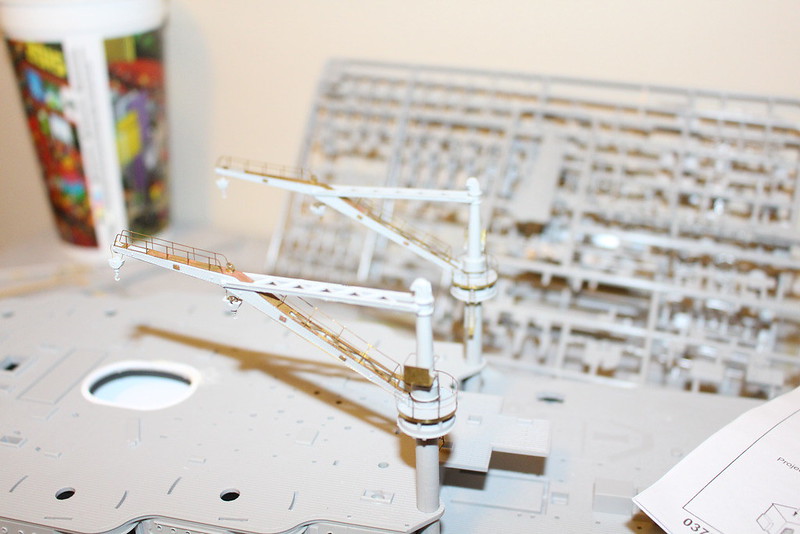
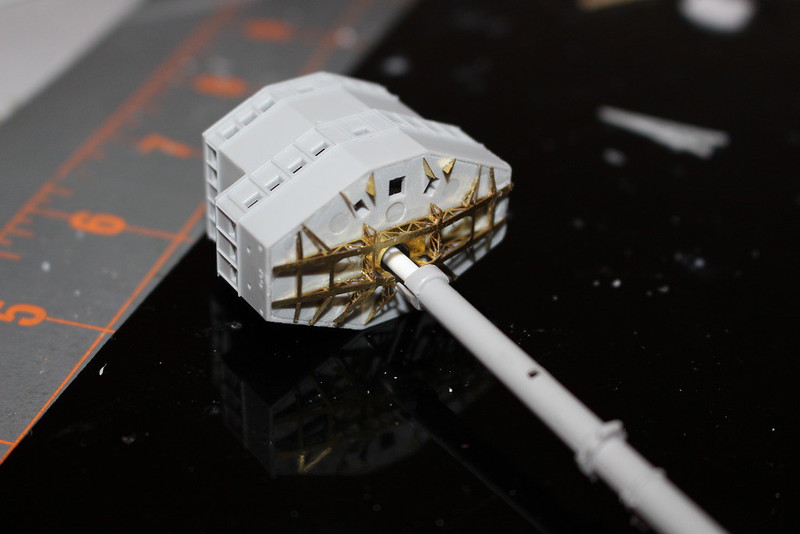
I didn't get a picture of the mast leg, I will get that next time. But the end result is that the main mast assembles as it should with the nicer Eduard PE on the mast house. I will have to make the same modifications to the fore mast as well.
 IMG_6015_zpscuzhicsf
 by
Nelson Wallace, on Flickr
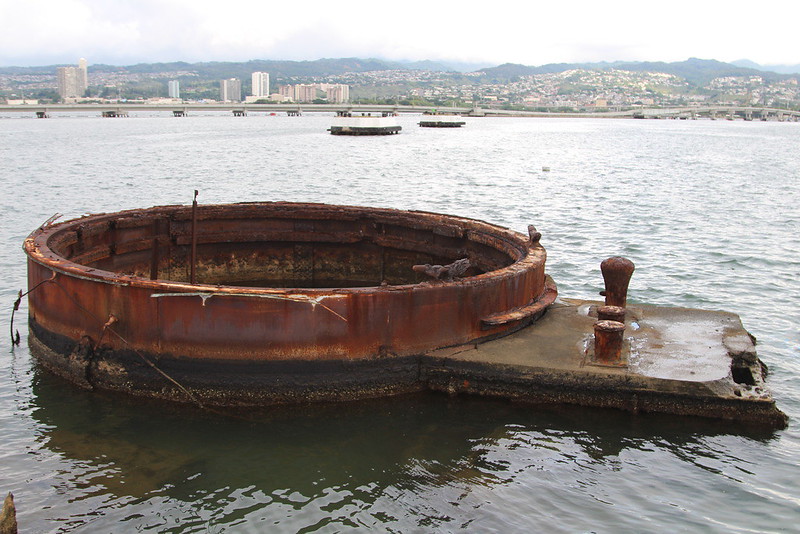
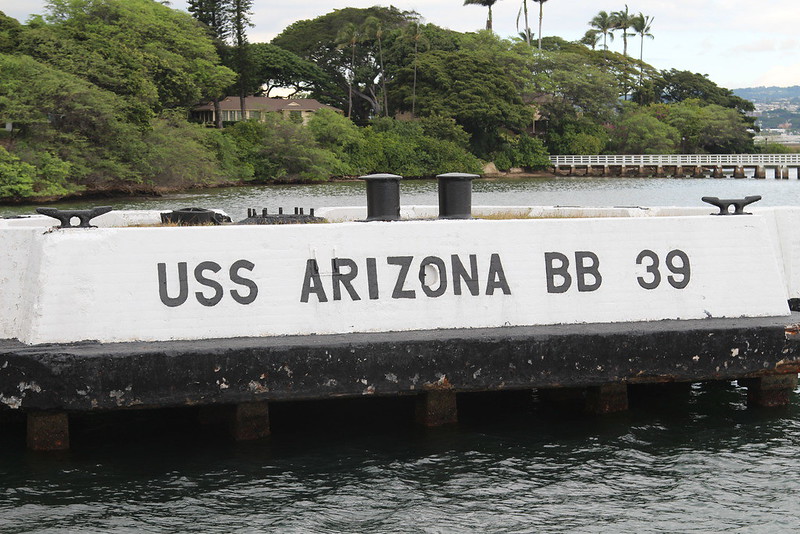
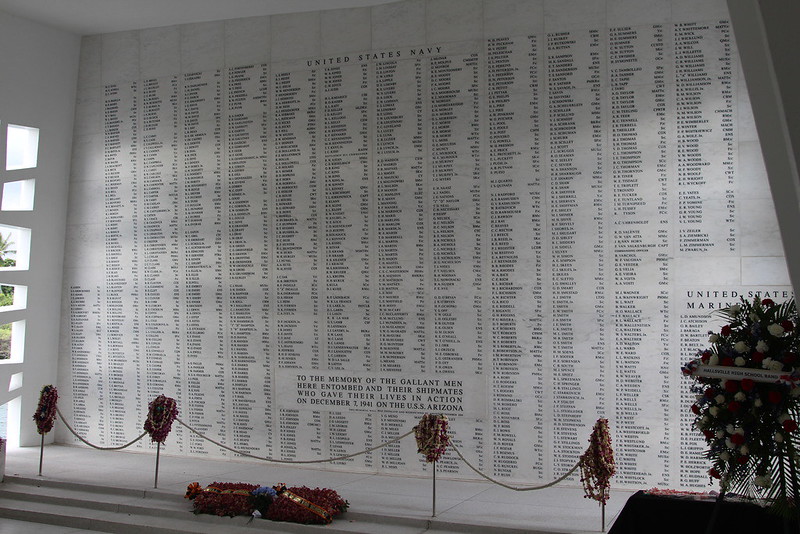
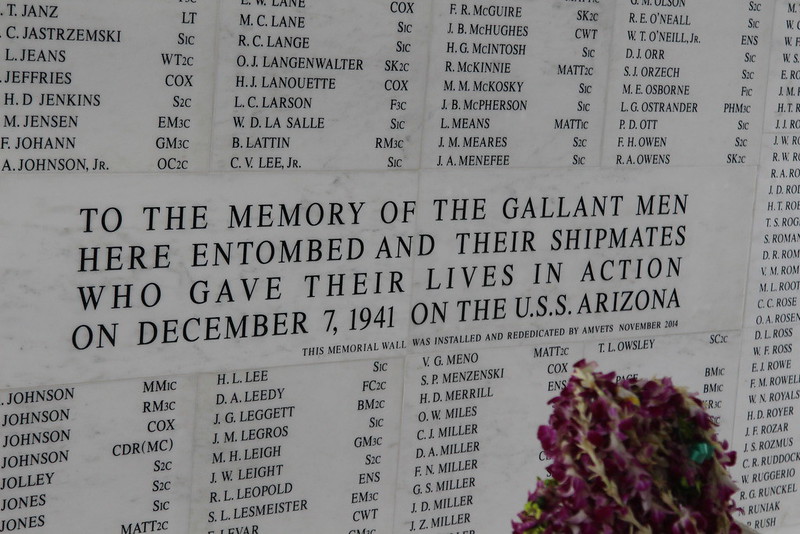
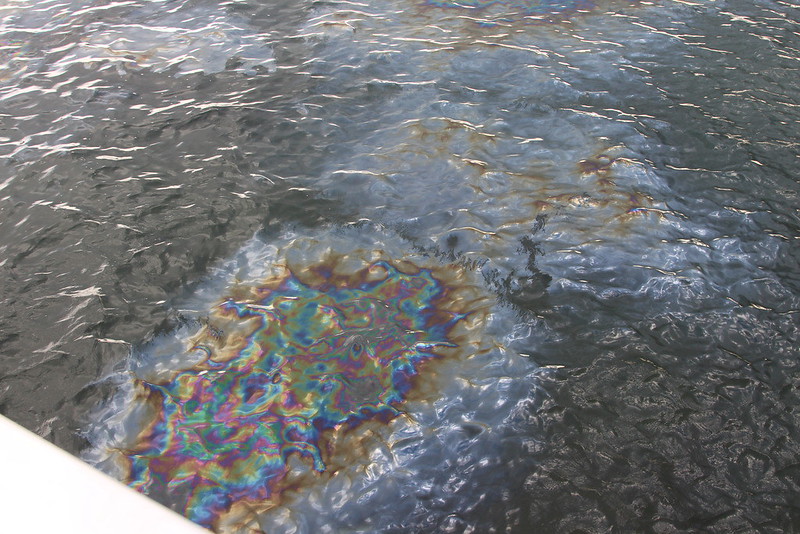
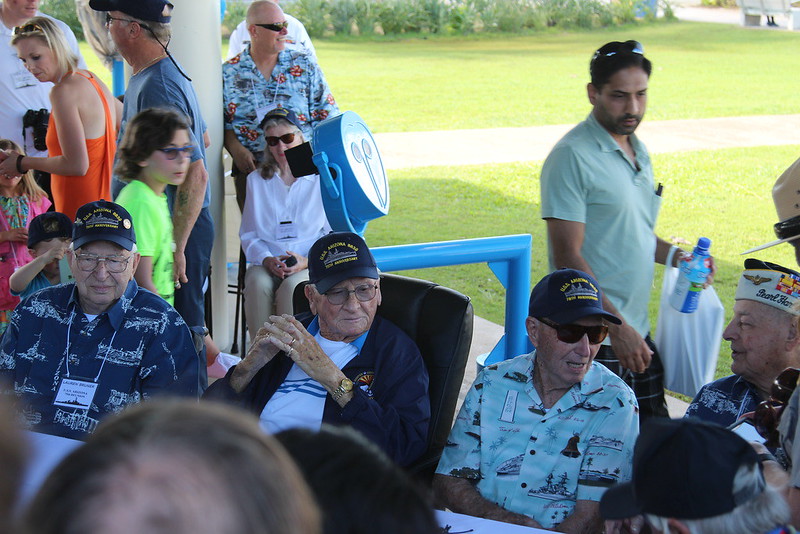
I'm really excited to be back to working on the Zona. I really want to have her finished up before I go to Hawaii in December. I'm finally going to make it to Pearl Harbor on Dec 7th and I would like to have her finished so I have some pictures that I can show to some Pearl Harbor veterans I'm hoping to meet. I'd like to see what they think of her.
Until next time,
Nelson


