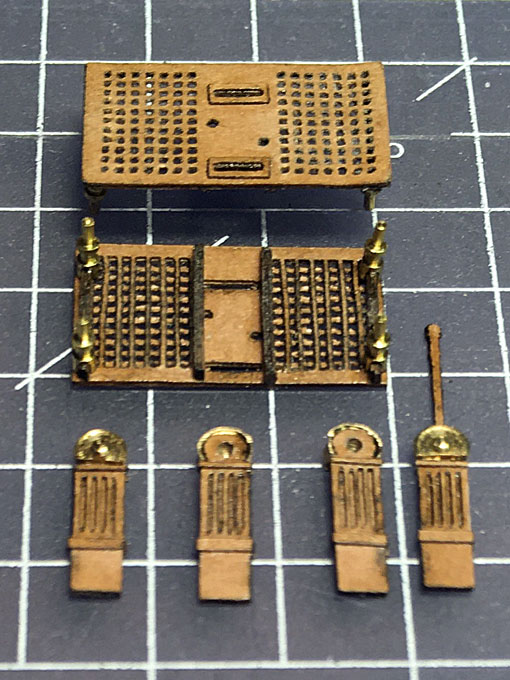
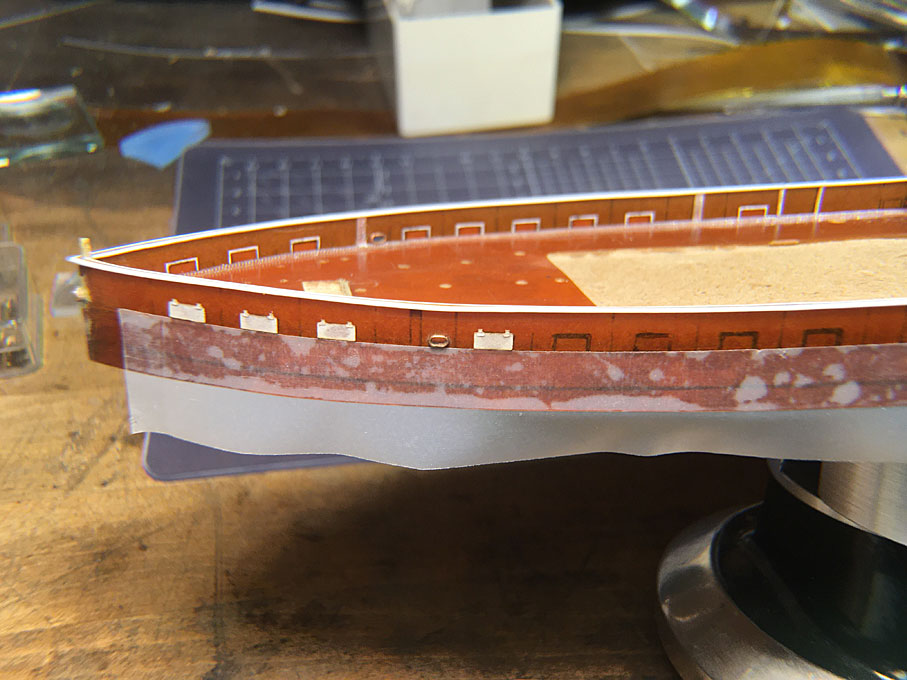
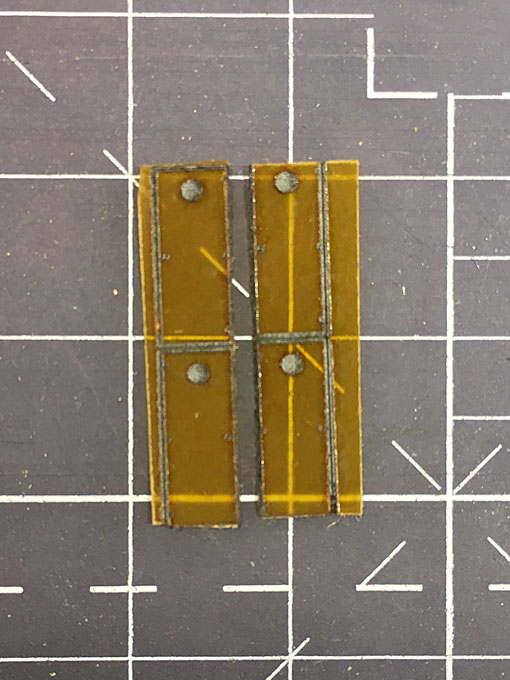
There are some really delicate parts lined up now, such as the frames for the freeing port along the bulwarks. My original thought was to have them photoetched from 0.1 mm brass. However, given the difficulties I had in creating good, dense etching masks, I thought of trying a different route and something that is less messy. Laser-cutting seemed to be an interesting proposition.
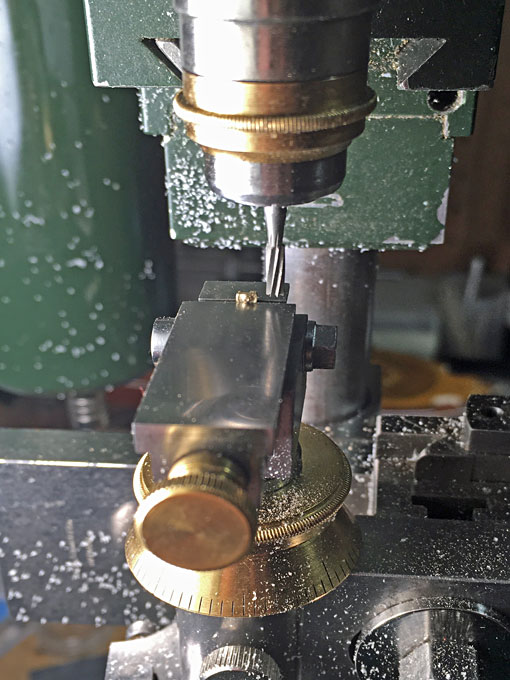
So I got myself a new little toy at 100€ incl. shipping. Toy is perhaps an adequate description for these small compact machines that are now on the market. Their design-purpose probably is to mark merchandise with a burnt-in logo etc. For this reason they are mobile, so items of any size can be marked by just putting the little (15 cm x 15 cm x 15 cm) box on them. Their power is limited, 3W. A mechanical resolution of 0.05 mm is claimed, with a diameter of the laser-spot of 0.1 mm. The engraving area is 53 mm by 53 mm. The software driver works by converting the images into bit-maps and then it runs them down line by line. I should try to find another driver that uses vector graphics, which would speed up the cutting process presumably.
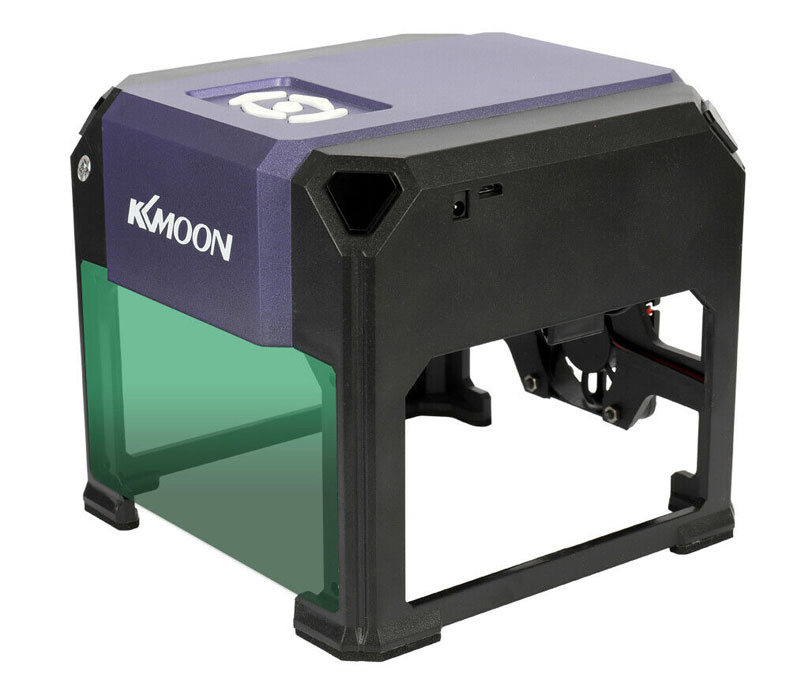 KKMoon-Lasercutter with a 3W laserdiode
The software allows to adjust various parameters, including the contrast of the image, the power output of the LED, and something called ‘cutting depth’, though it is not clear what the latter really does. The focus of the LED can be adjusted manually to allow for materials of different thickness, but it is difficult to judge, whether really the minimum of the spot-size has been achieved.
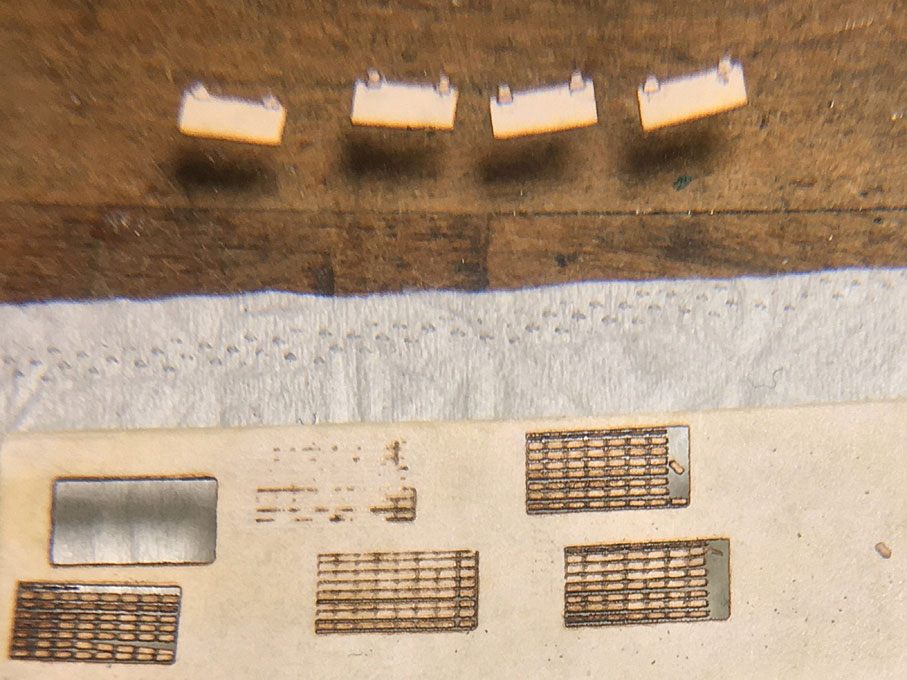
Given the power of only 3W, there are limitation to what materials can be worked with. The cutting resp. engraving effect depends on how much energy is needed to burn or vaporise the material. Paper works well, but a 0.4 mm cardboard seems to be the limit. I did not have much success with white styrene, only some light surface marks resulted even at the highest settings. Hard paper (phenolic resin impregnated paper) would have been my favourite material, but apart from the strong smell (the fumes are also not terribly healthy) a 0.2 mm thick sheet was only cut half-way through. Semi-transparent tracing paper does not take up enough of the energy and remains untouched. A sufficient optical density is required in order to absorb the energy and burn/evaporate the material. Strangely enough, the laser left quite visible marks on the piece of roof-slate that I used as fire-proof protection under machine.
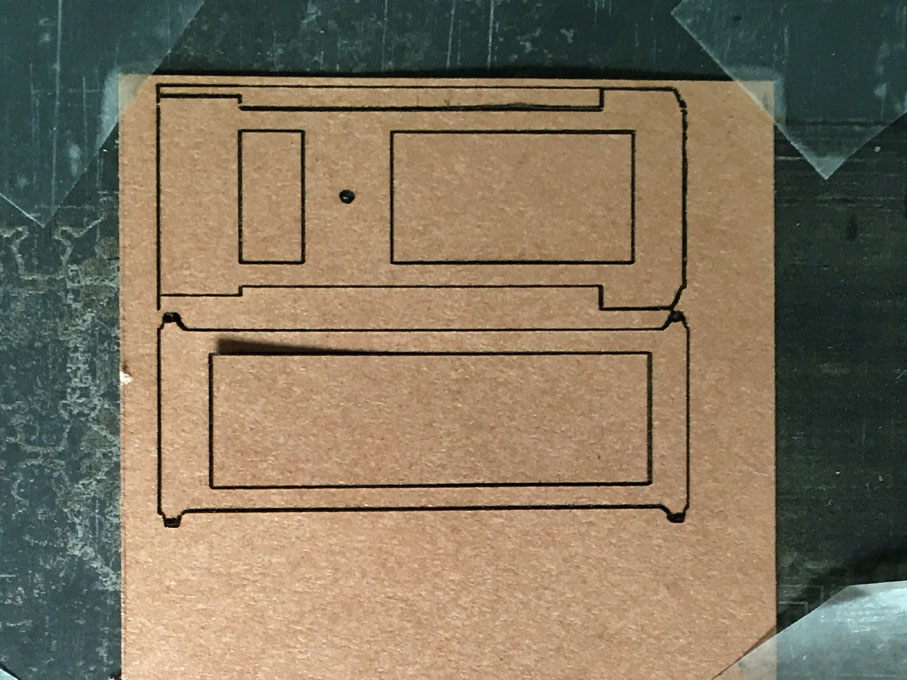
Converting a drawing into a cut-out piece is not quite straightforward. I first had to work out a way to scale the bit-map and JPEG images that I created from my CAD-drawings. The solution was to draw a box around the graphics to be exported, measure this box and then to scale the exported drawing in Adobe Photoshop to a number of pixels the resulted in the box of being of the desired size when laser-cut. The resulting scaling factor was 1 mm = 20 pixel, which was indeed the claimed resolution of 0.05 mm.
On an image everything that is black will be burned away and everything white will remain. However, simply converting the CAD-drawings into images resulted in too narrow/small parts due to the fact, that the each burnt point has a diameter of at least 0.1 mm. Therefore, it was necessary to adjust the sizes of the areas to be burned away so that the remaining parts have the desired dimensions. The effect depends on the burning parameters and on the material. So, unfortunately, each new material and new part will require a certain amount of trial and error.
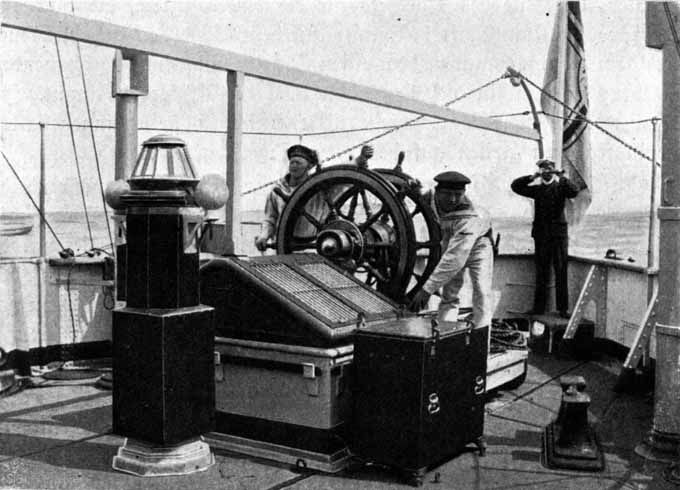
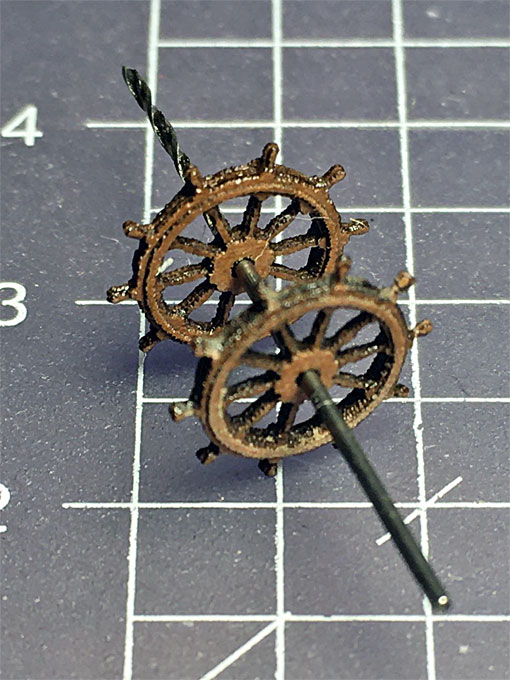
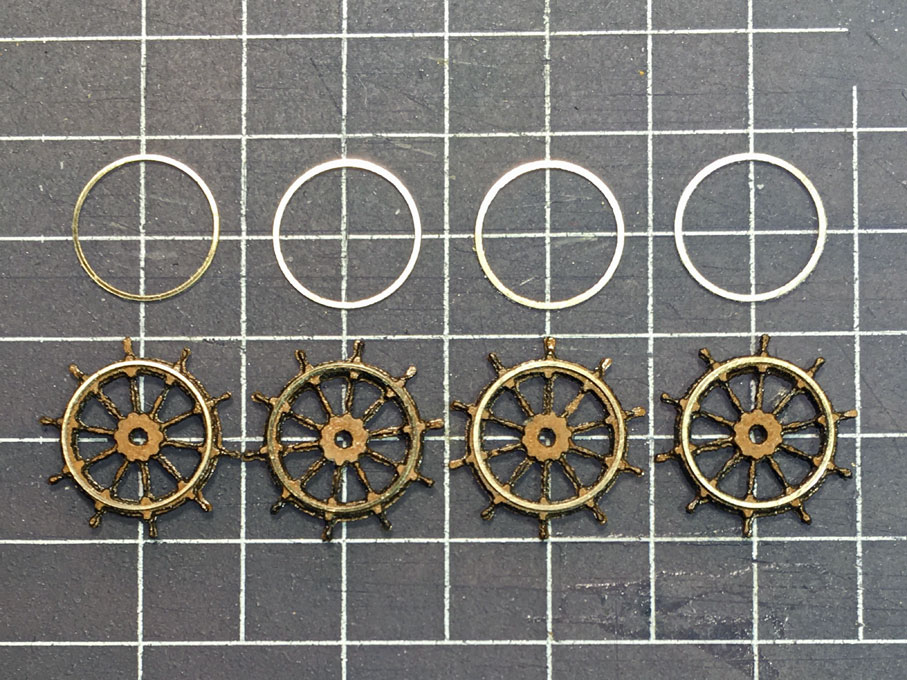
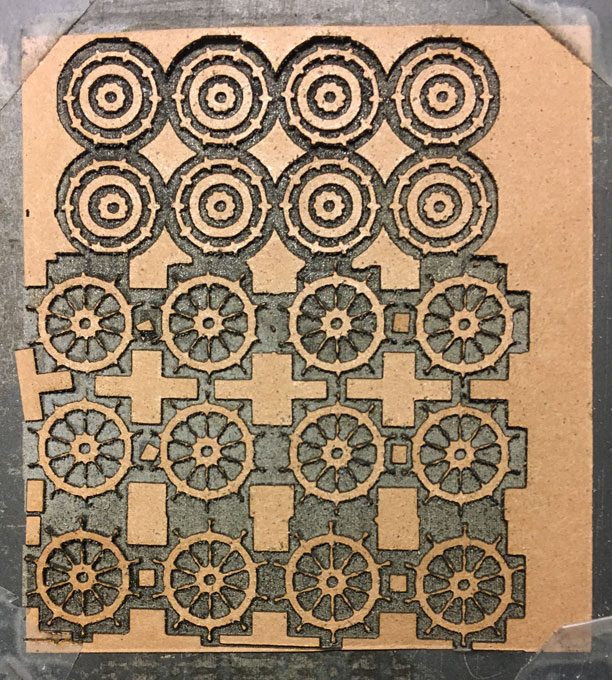
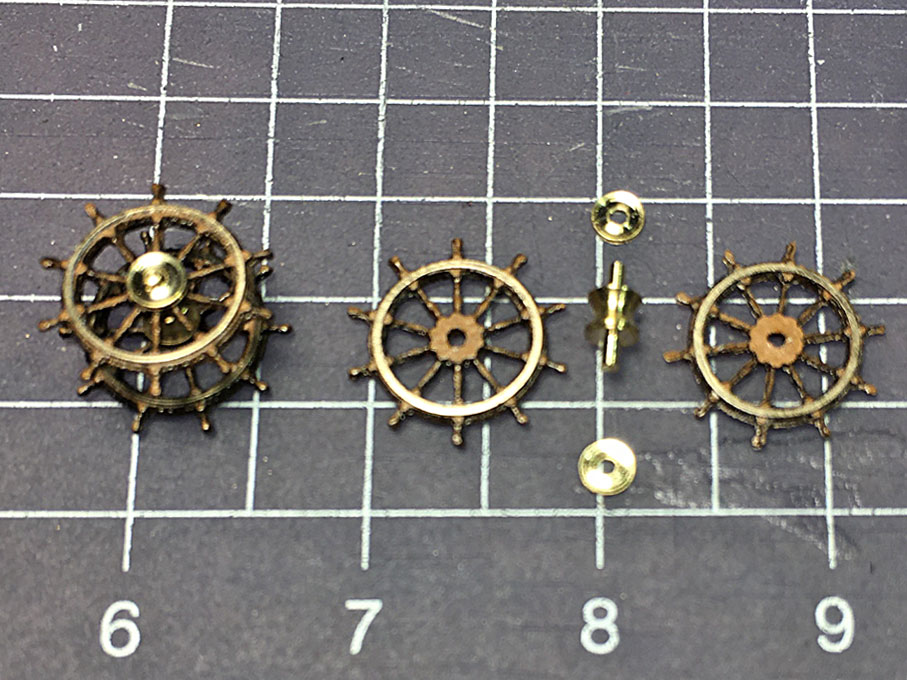
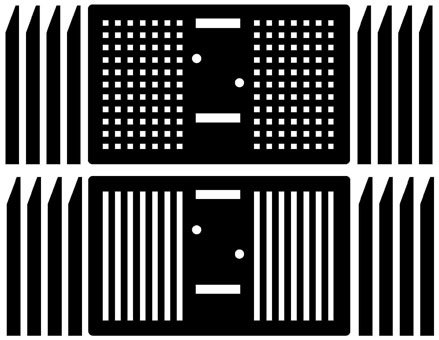
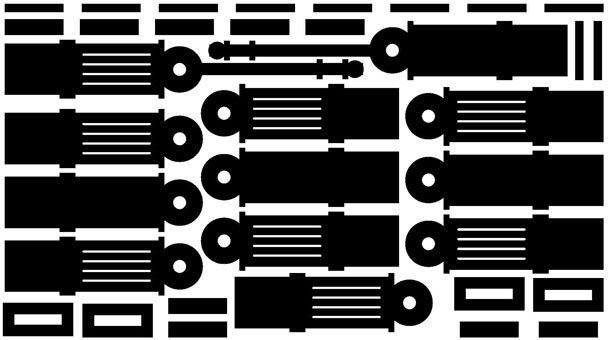
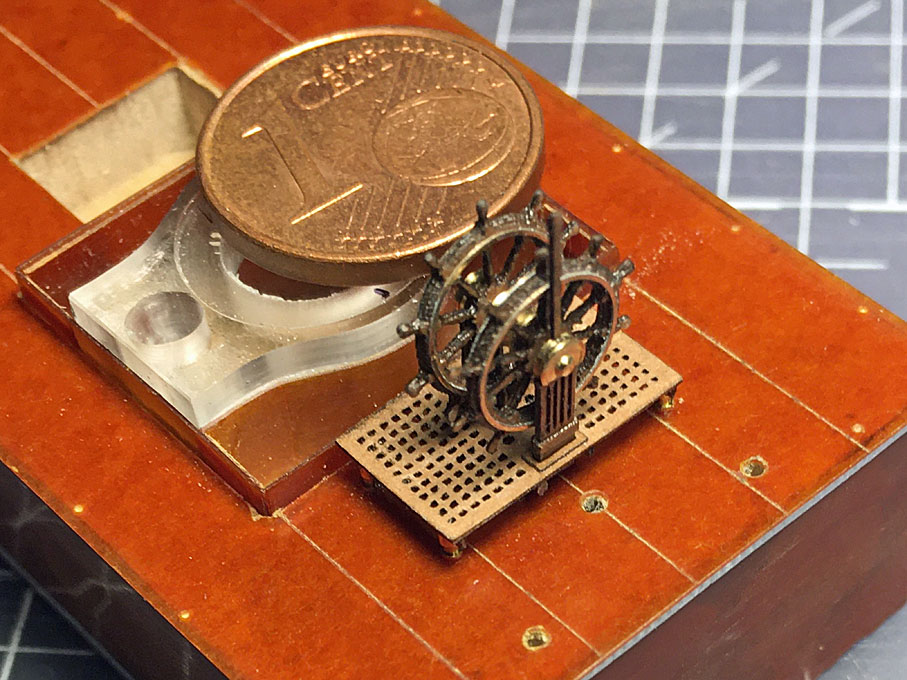
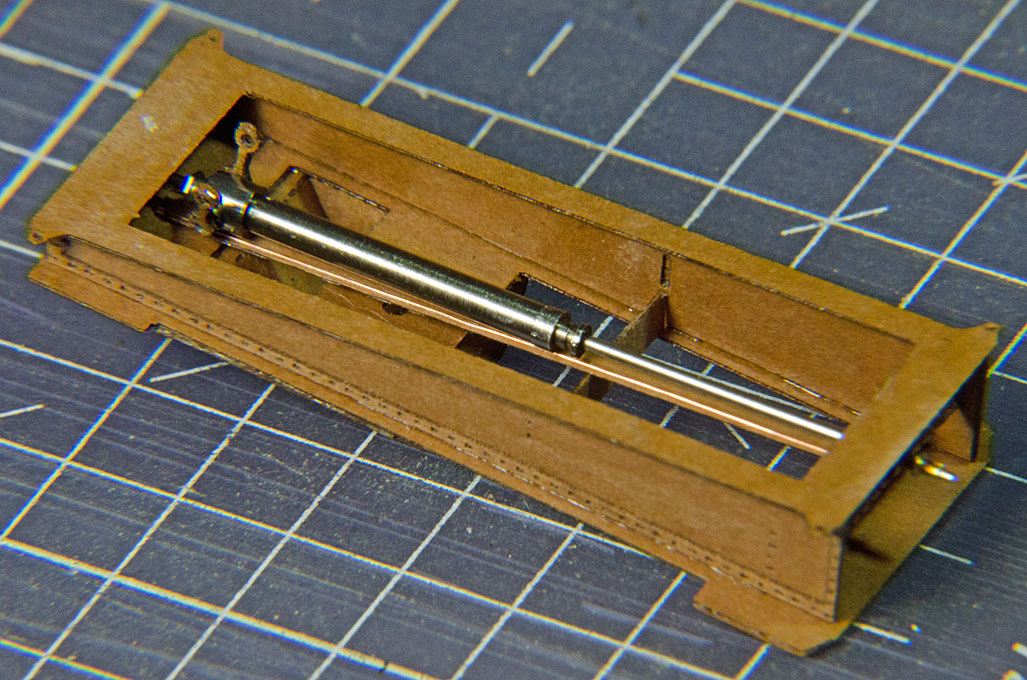
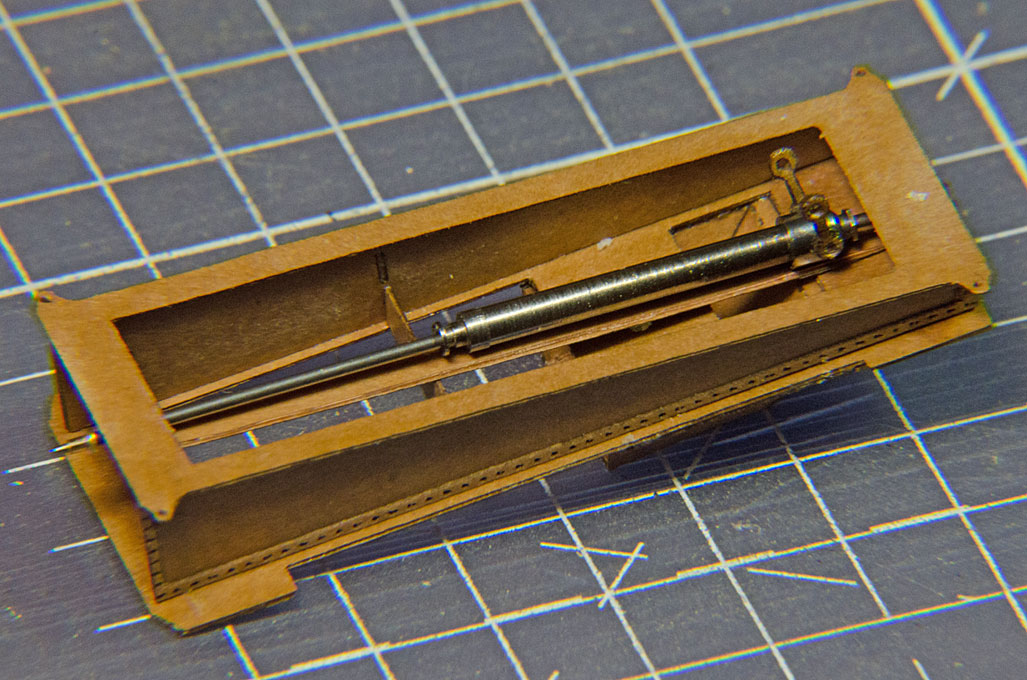
I tried my luck on another set of very delicate parts, namely the steering-wheels. They have an OD of just under 12 mm. Turning the complex shape of spokes of 6 mm length appeared to be daunting task, even if one could have perhaps made the handles and the spokes themselves in two parts. The laser-cut ones look quite good after a few trial runs, but I have to see, whether I can build up enough thickness from several layers. Cutting them from 0.4 mm thick cardboard was not fully successful.
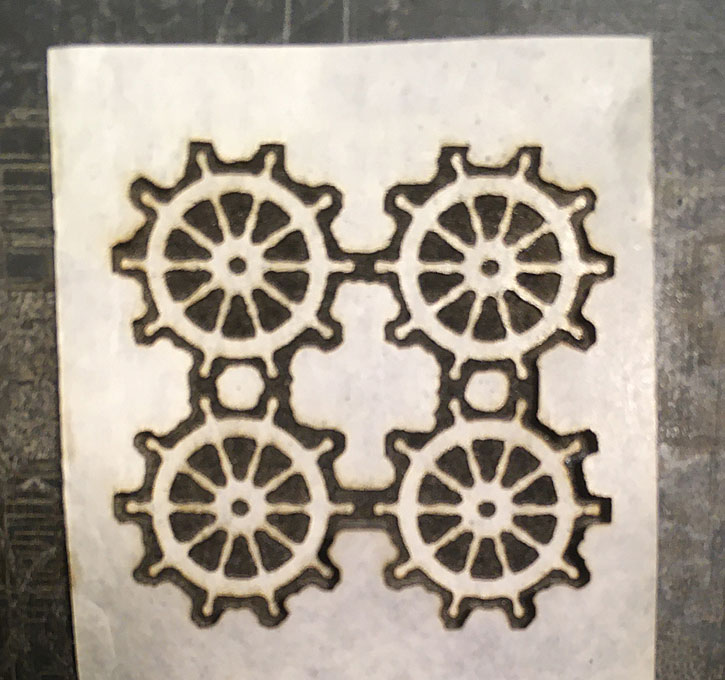 Laser-cut steering wheels of 12 mm outer diameter
I just wanted to share the first experiences with this new workshop toy and trials will continue.
To be continued soon(?) ...