http://www.youtube.com/watch?v=Vv-wq-prqNk
... as does german carnival ...
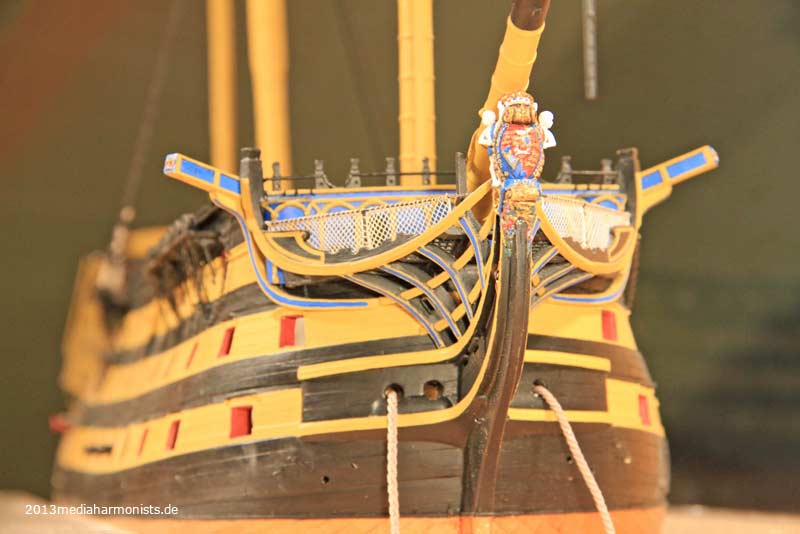
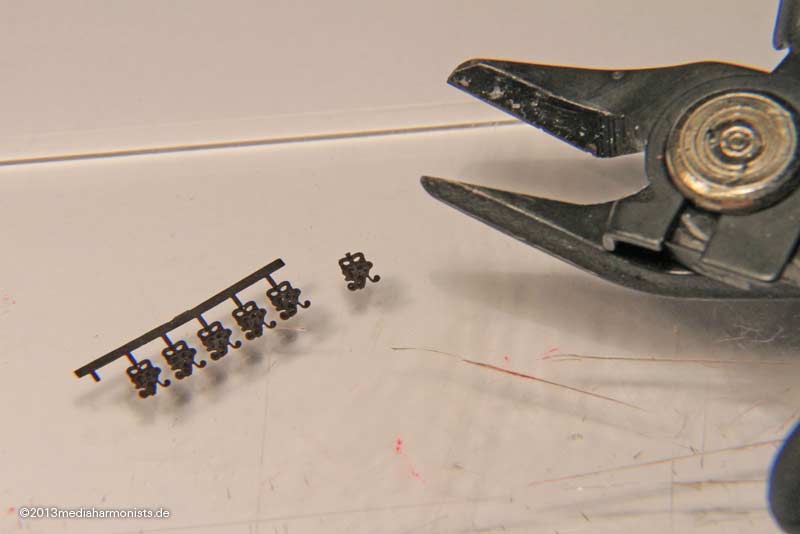
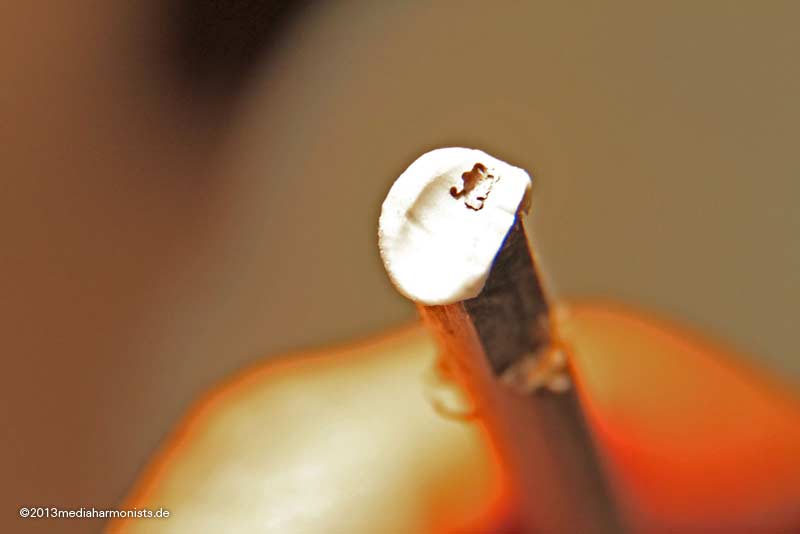
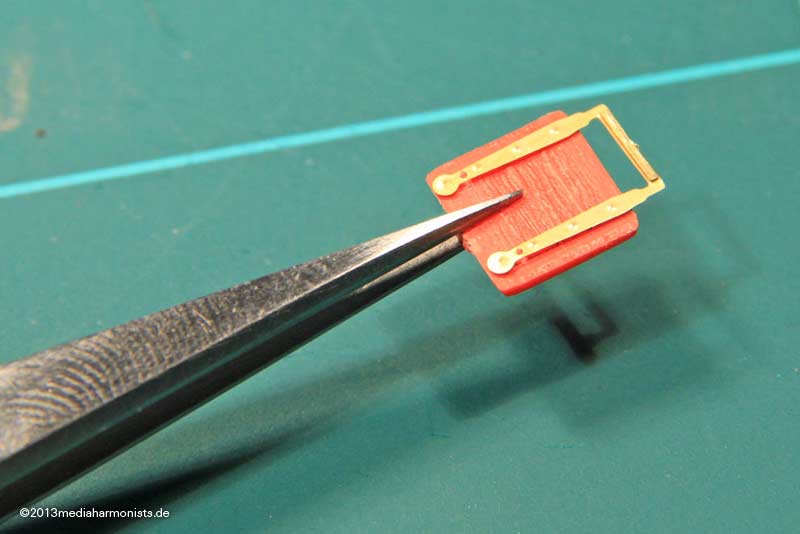
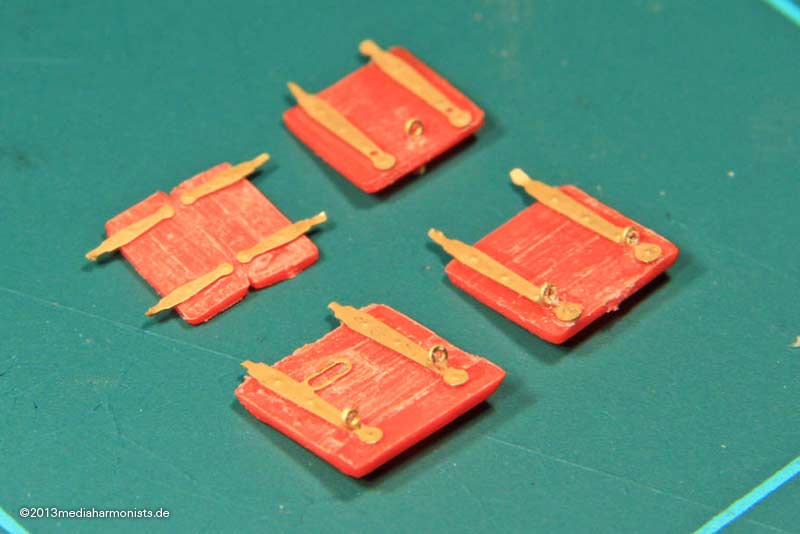
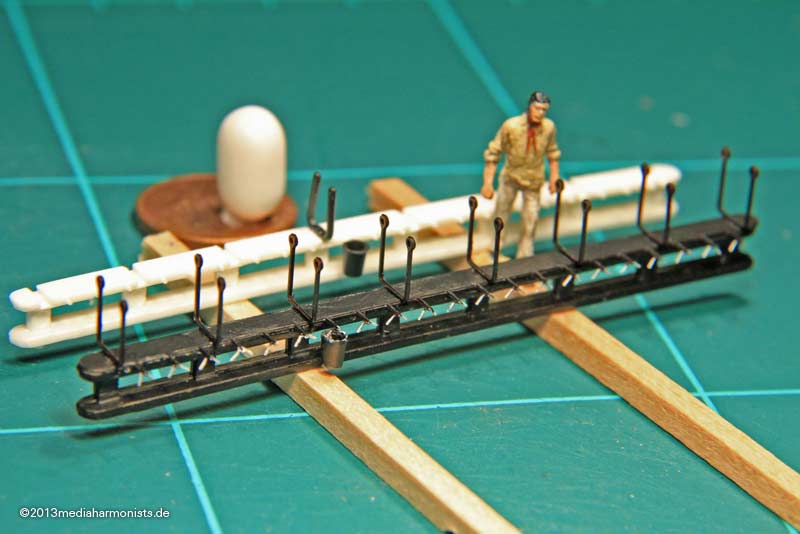
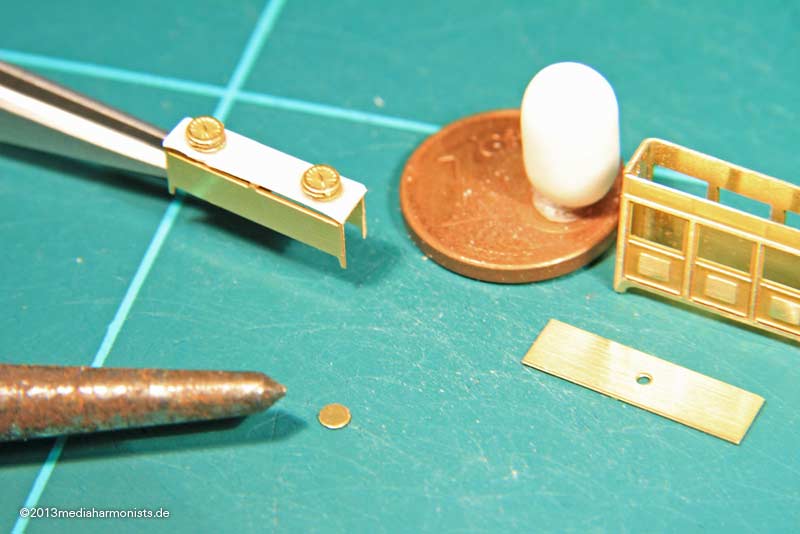
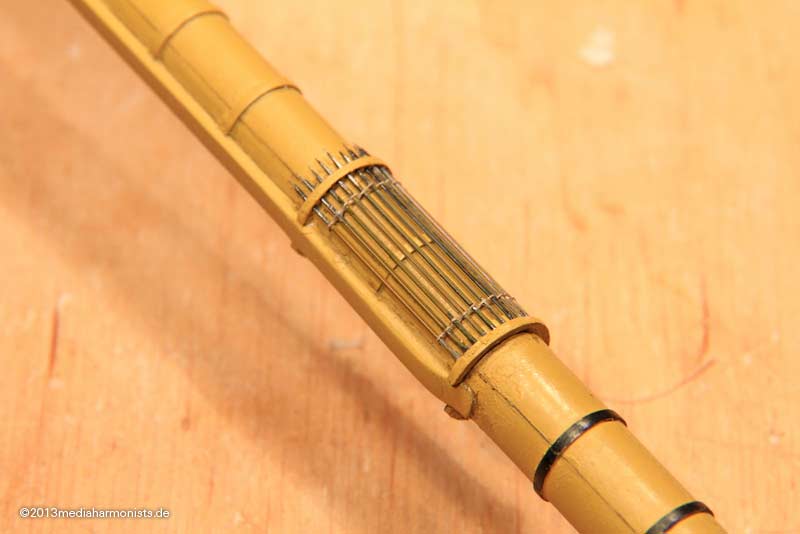
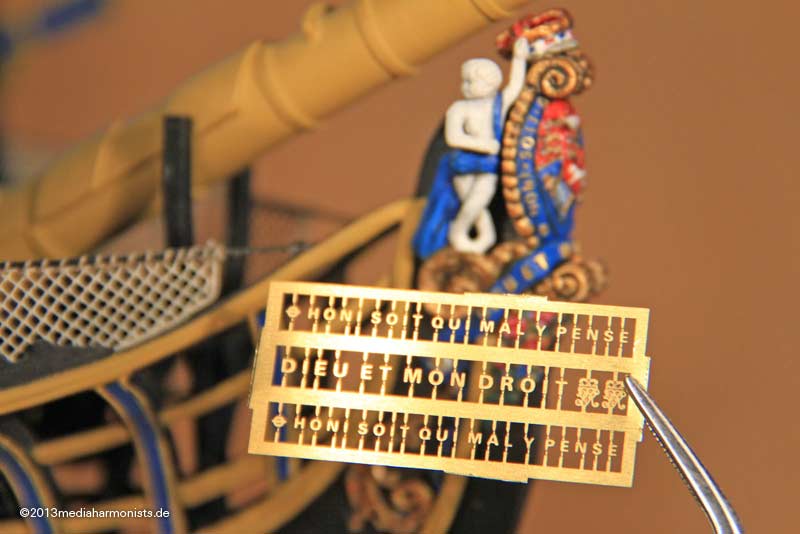
And here comes some petitesse: the kedge on the mizzen channels ...
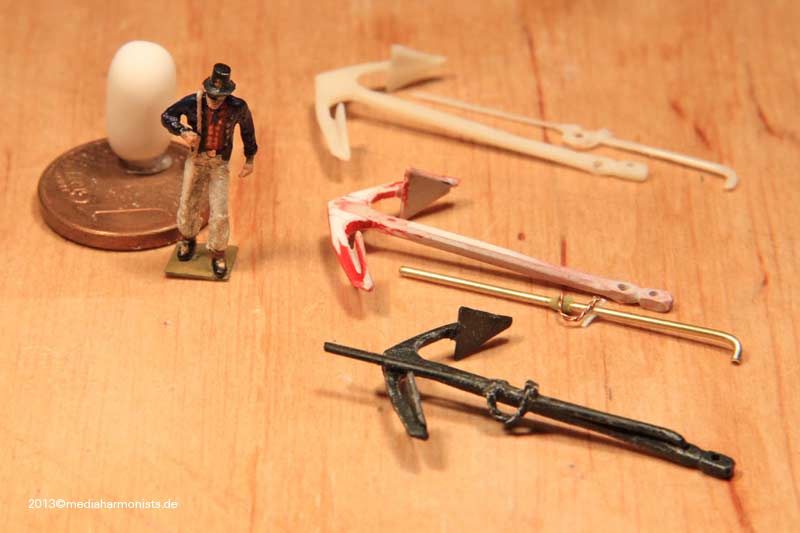
... with the foldable iron stock and locks ...
... and having a test placement - and shooed it to the back end for that the palms keep clear davids and boats.
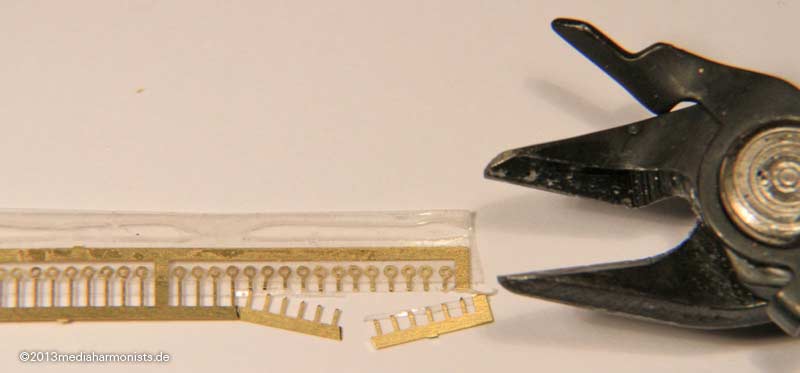
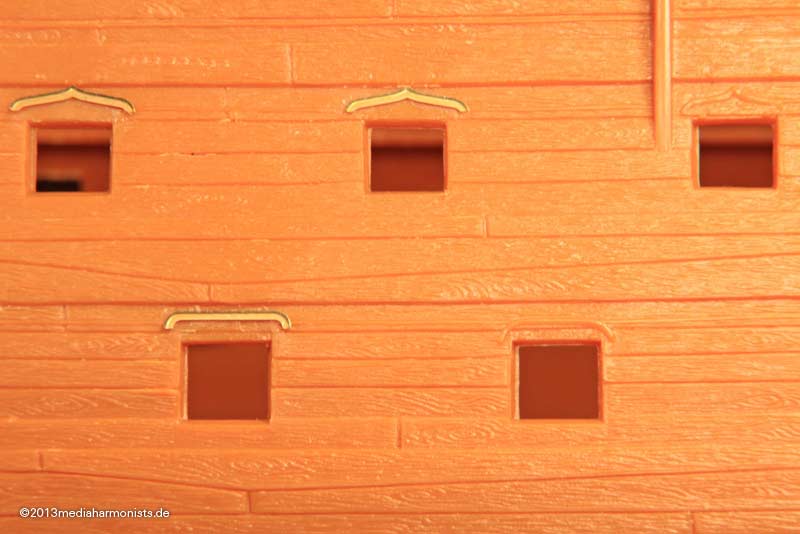
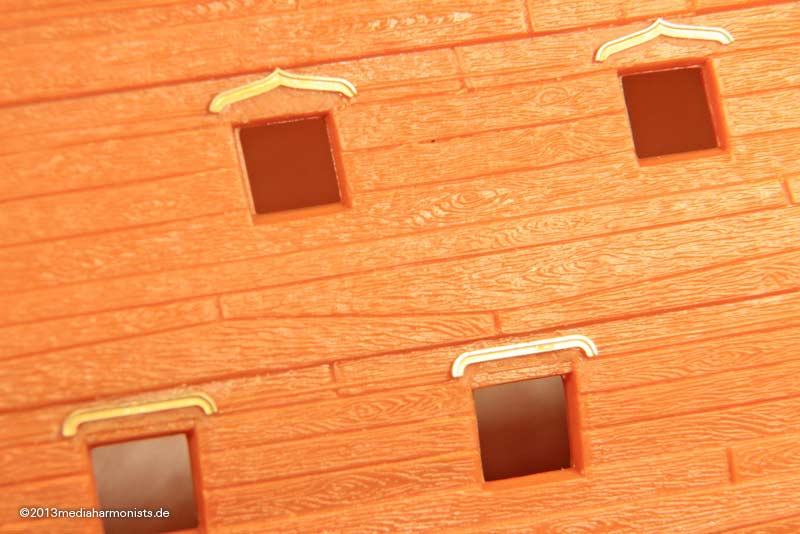
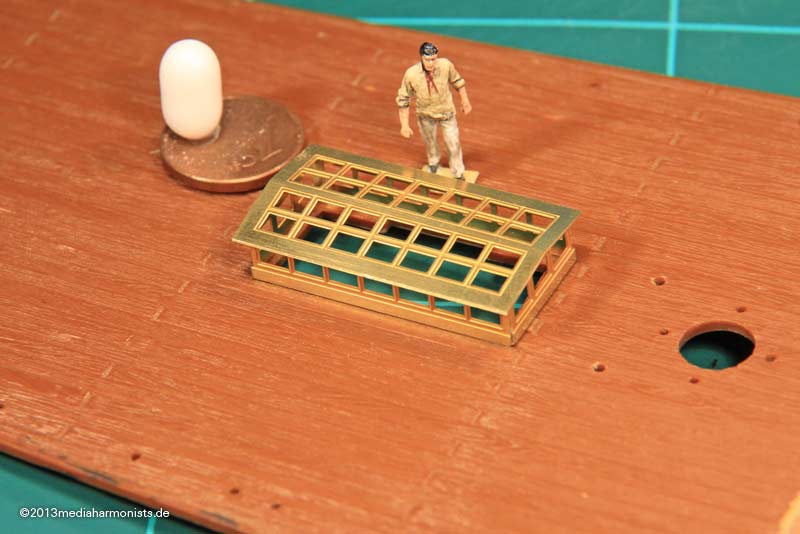
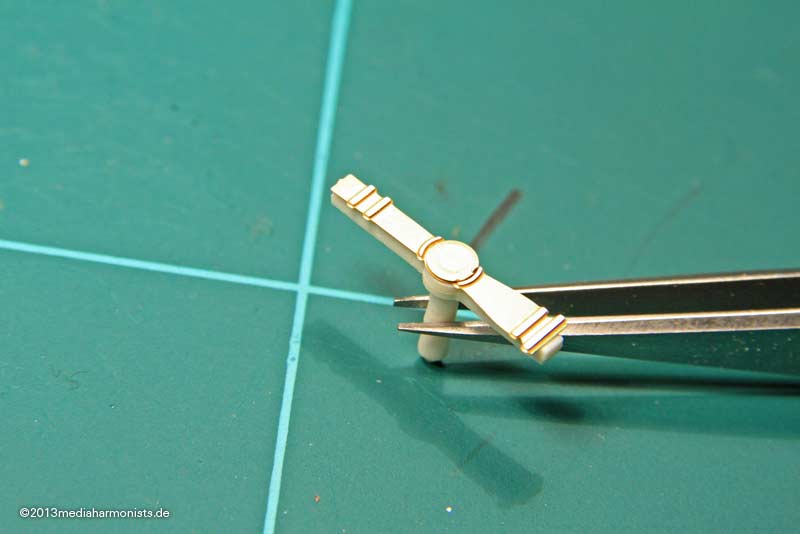
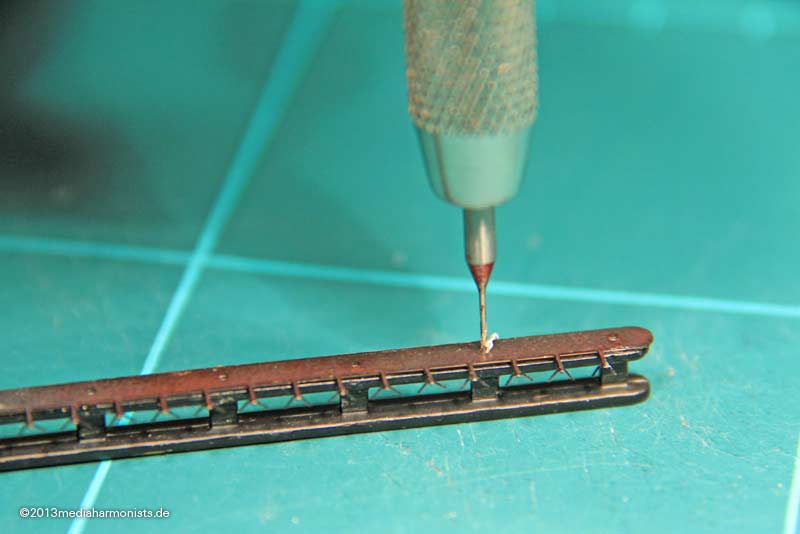
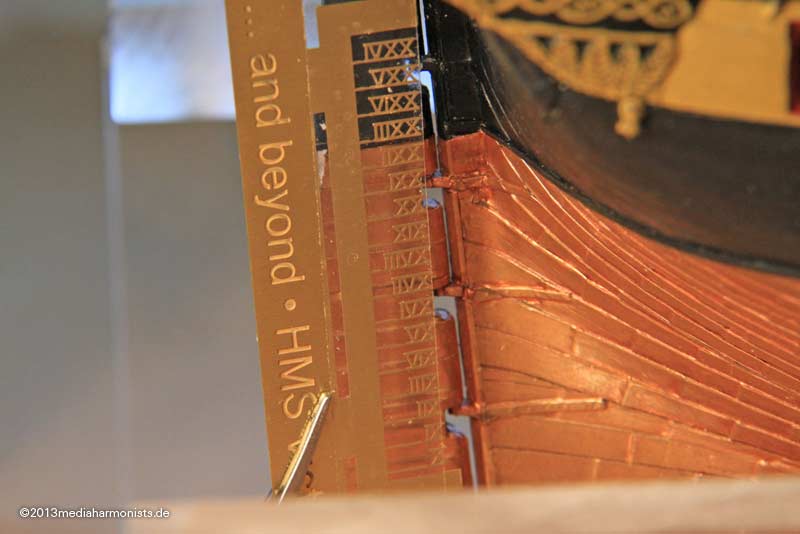
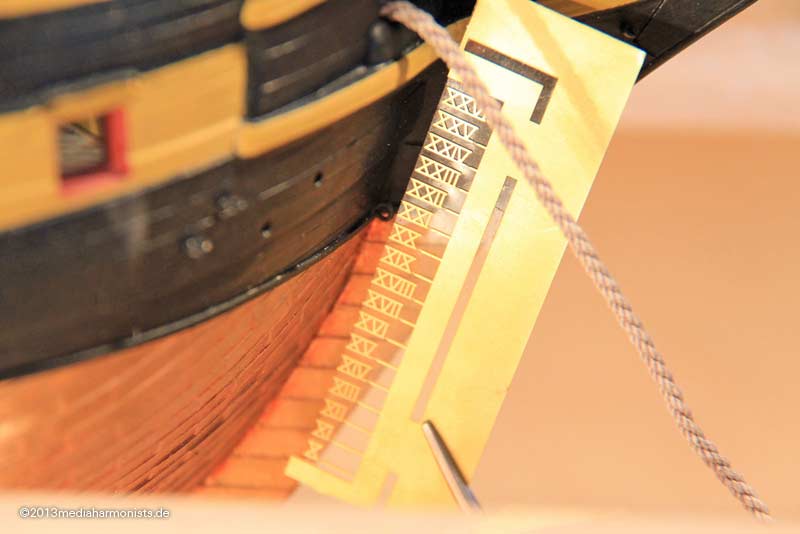
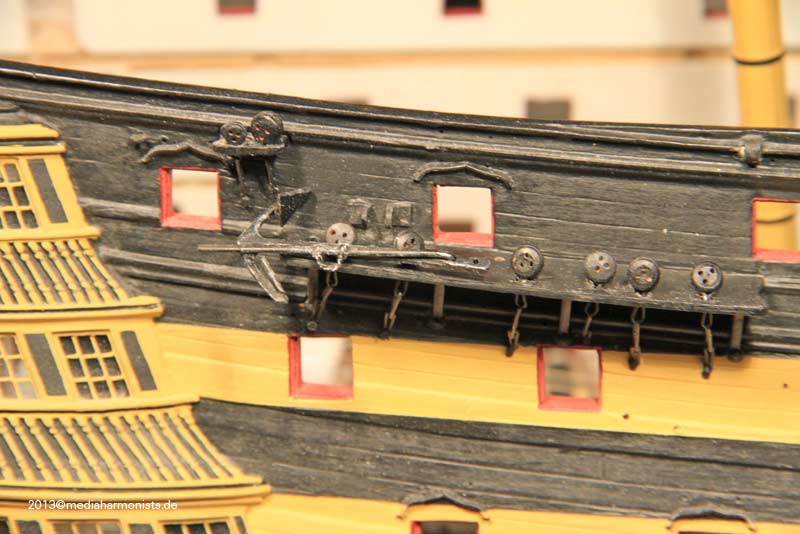
Also found finally the guts to drill the holes for the dales of the chain pumps ...
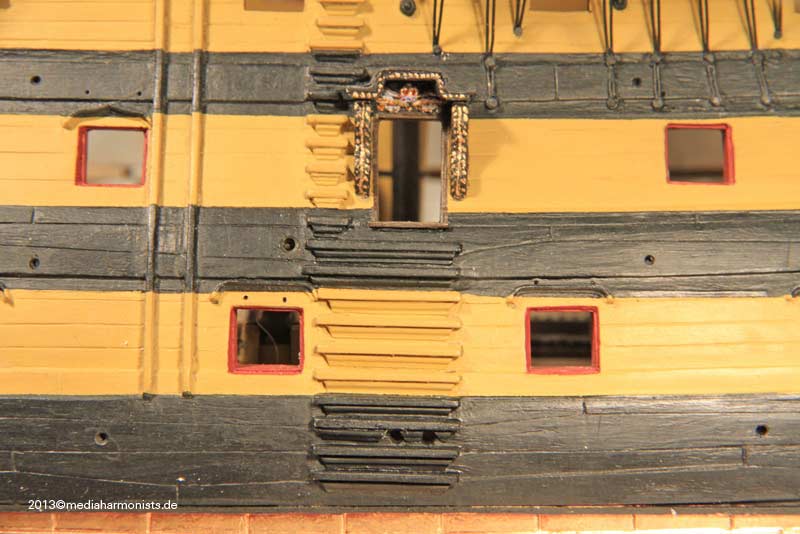
... with their strange places on top of the gunport and in the middle of the stairs.
t�t� - t�t� - t�t�
http://www.youtube.com/watch?v=Vv-wq-prqNk
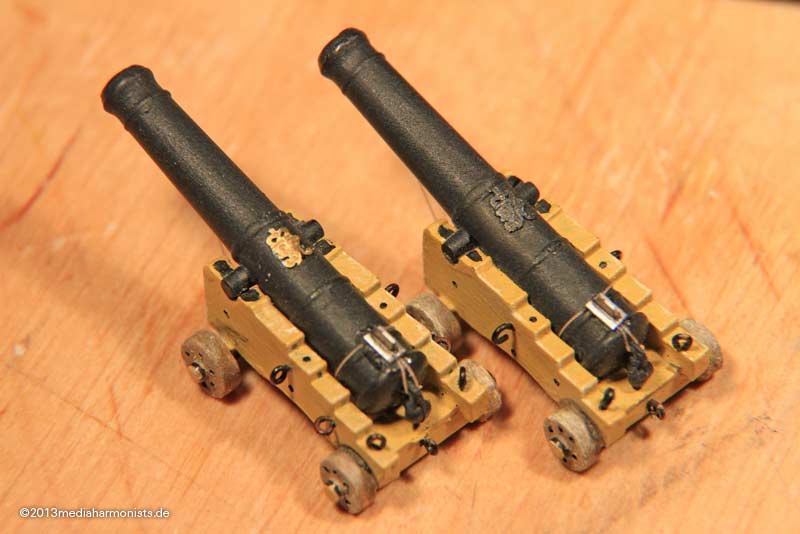
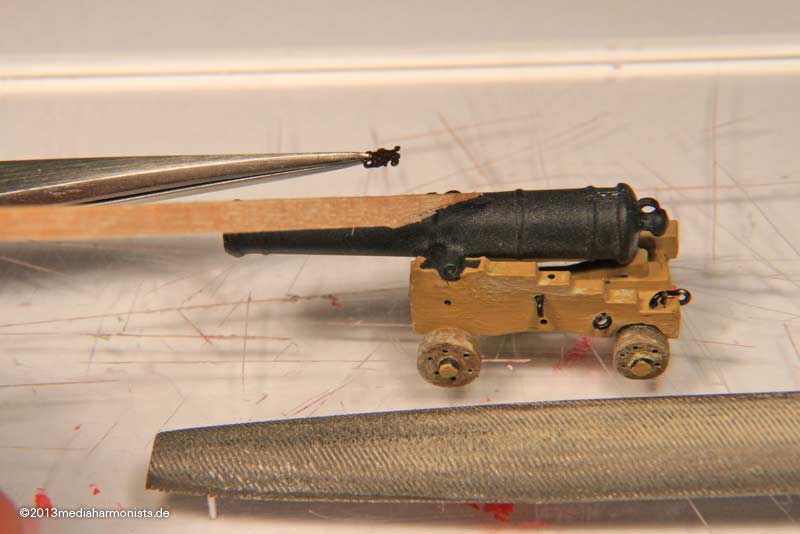
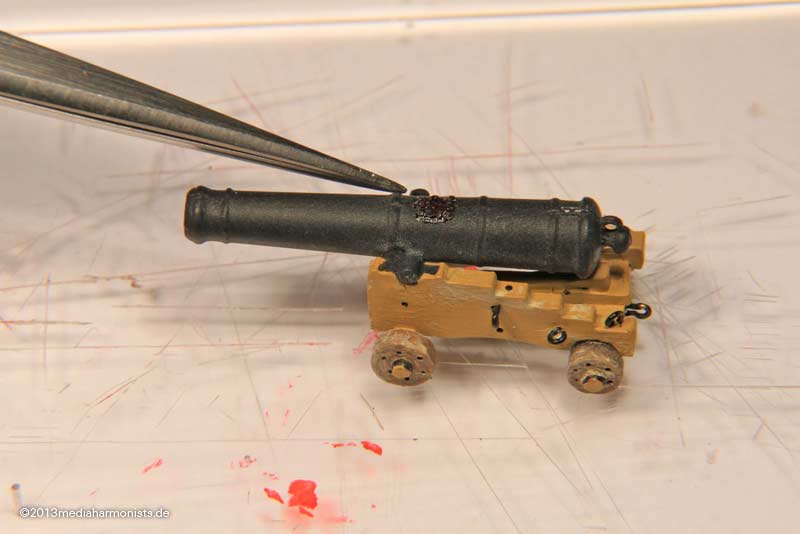
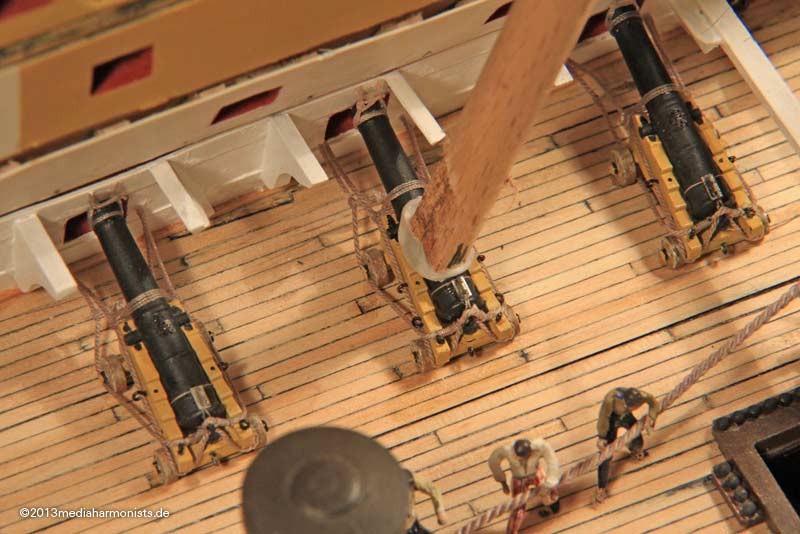
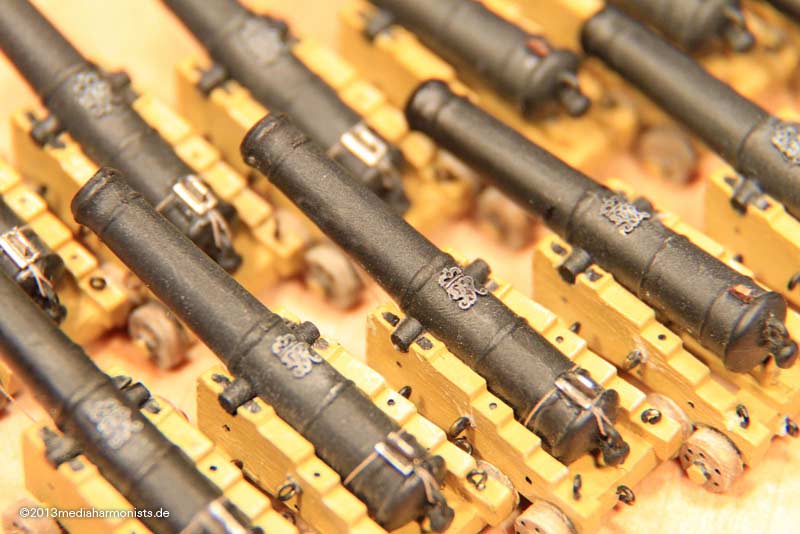
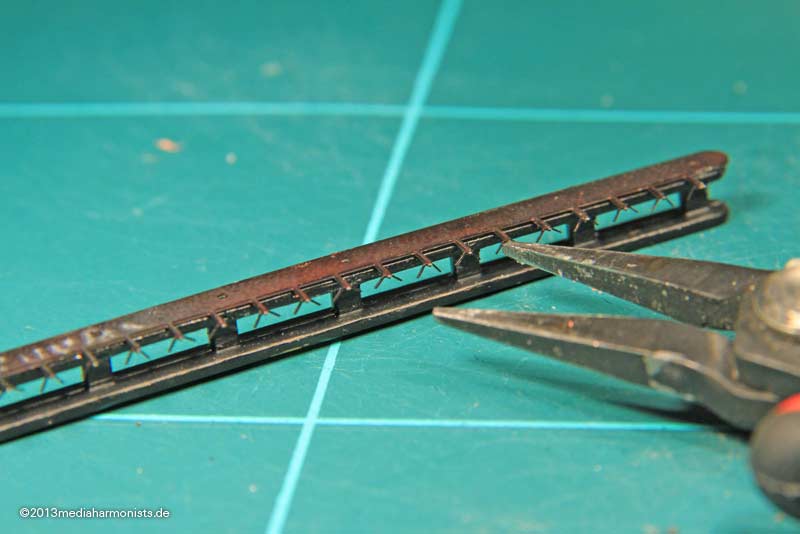
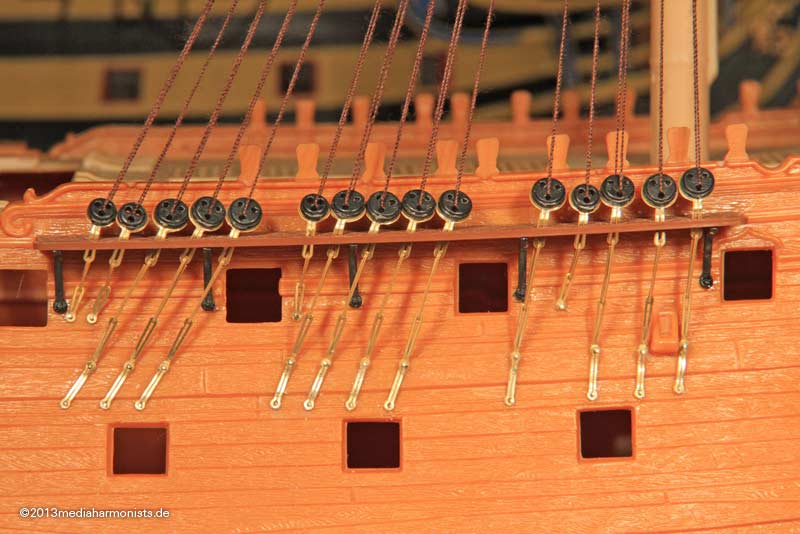
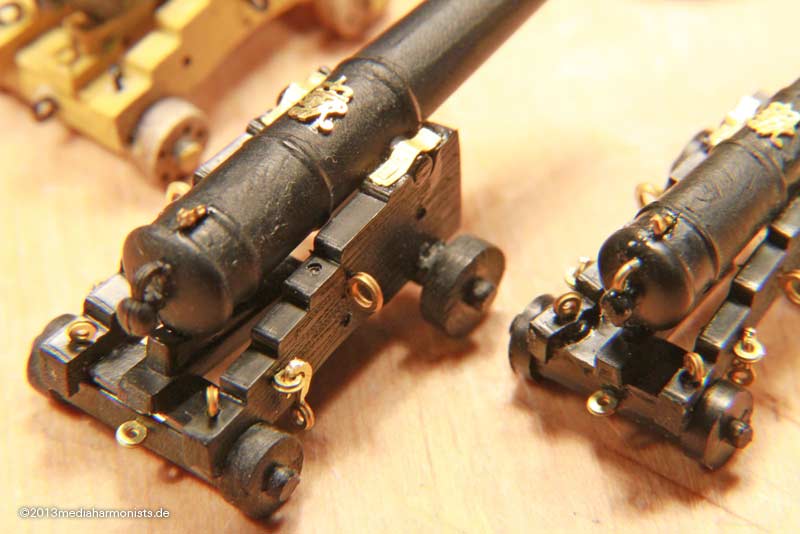
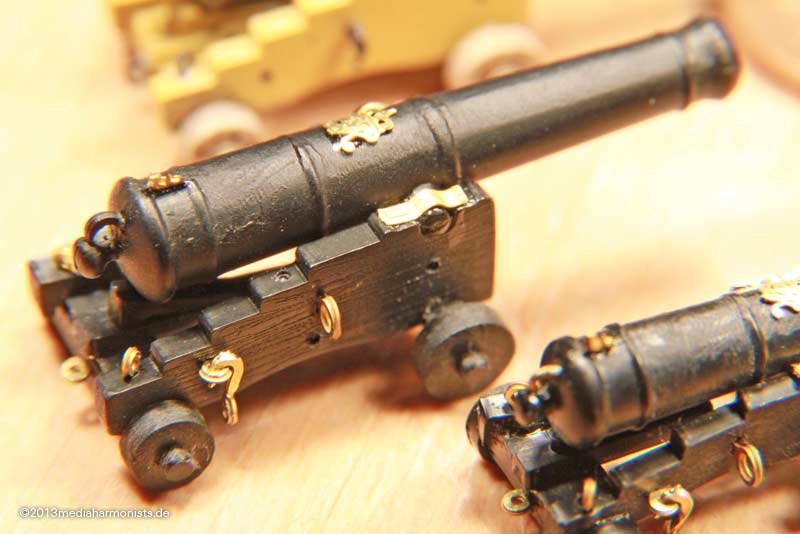
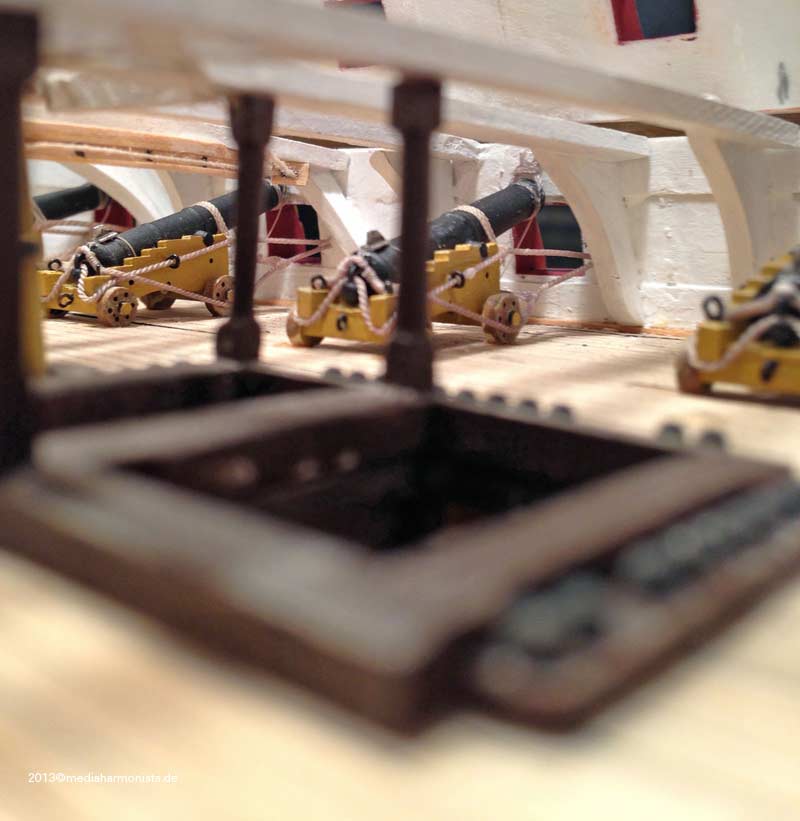
And some more unsignificant things on a ship of this kind: first ten guns are permanetly fixed.
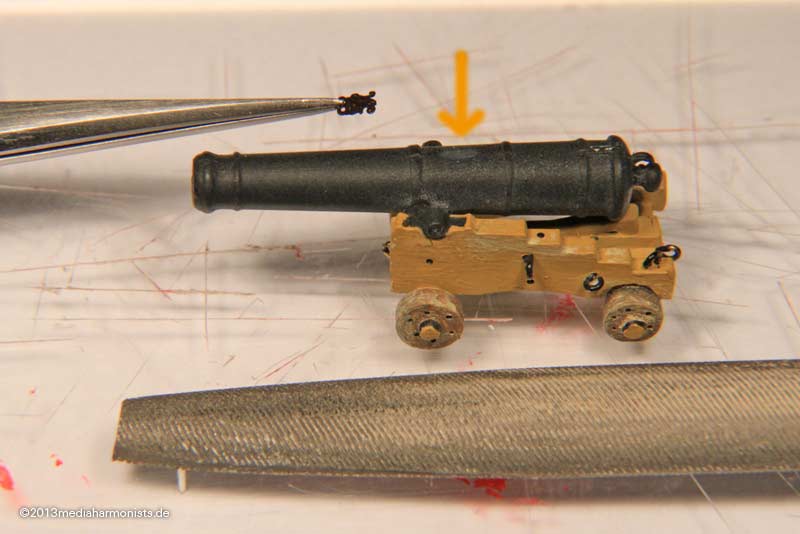
First breechroped them, decided to opt for the controversial Goodwin setting, with S-laid rope and preventer brreching rope - just to keep the discussion going
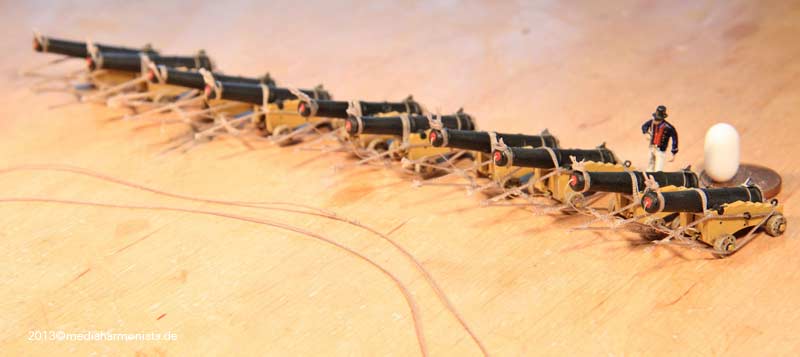
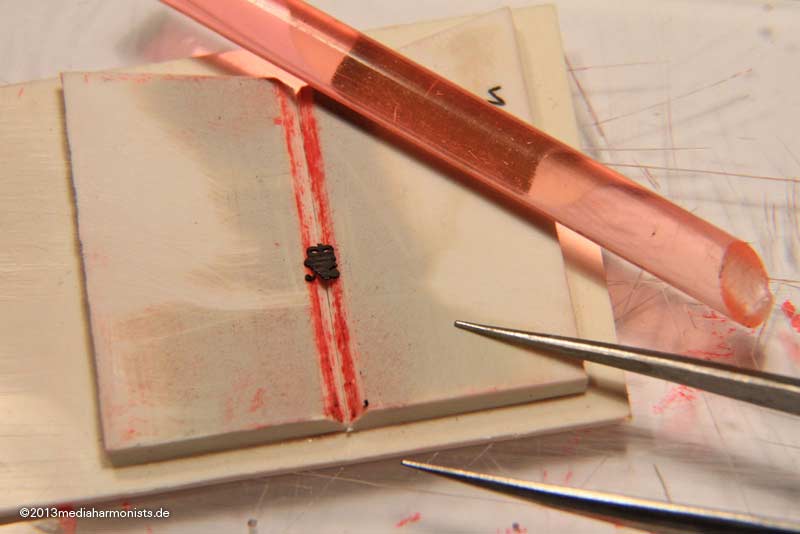
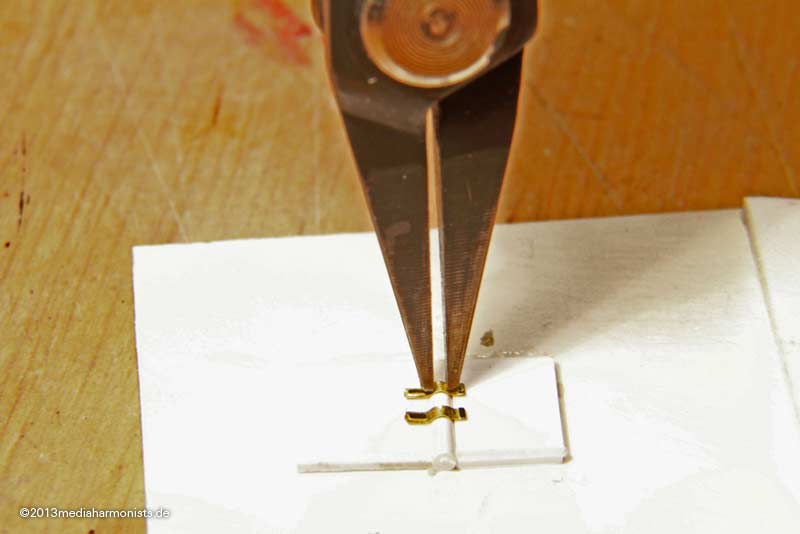
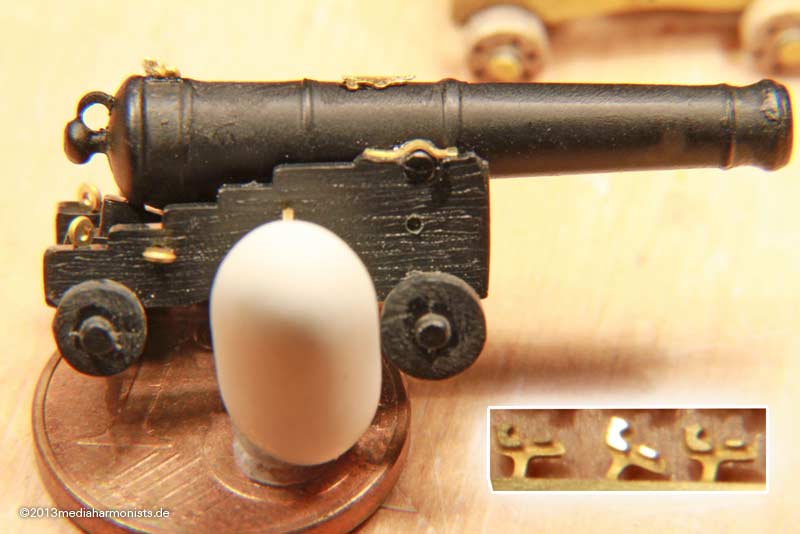
Prepared outboard on the already shown template ...
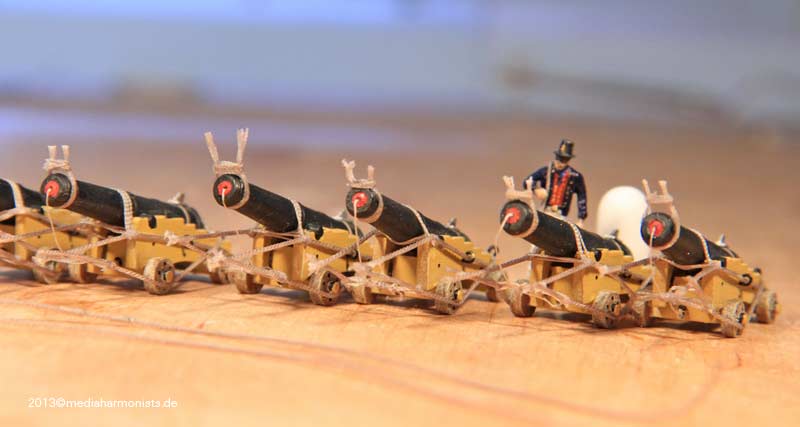
... and with a small cheat on the eye splice of the preventer breeching line

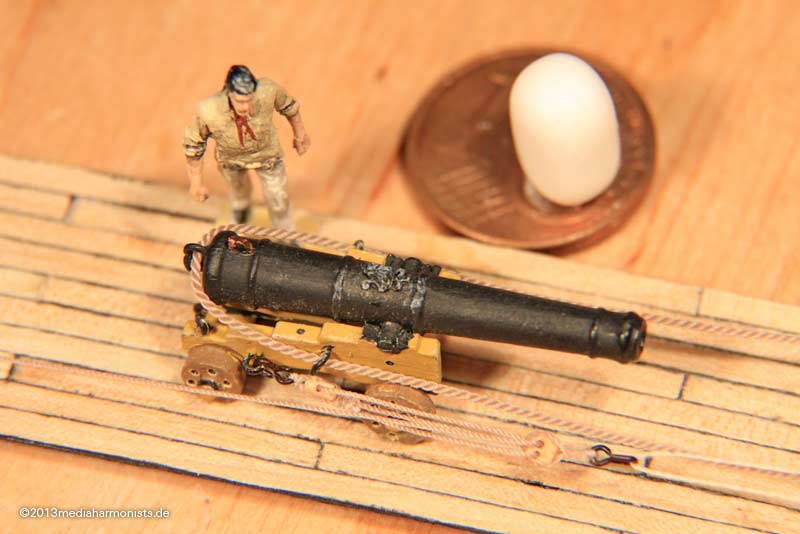
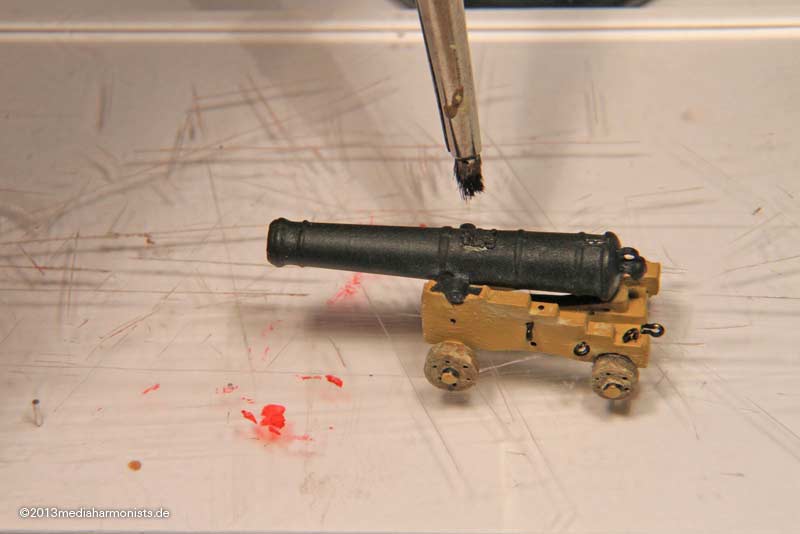
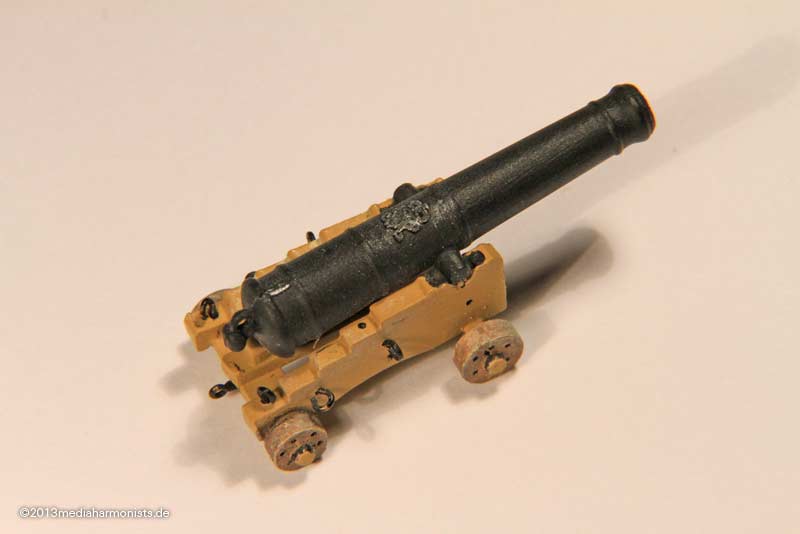
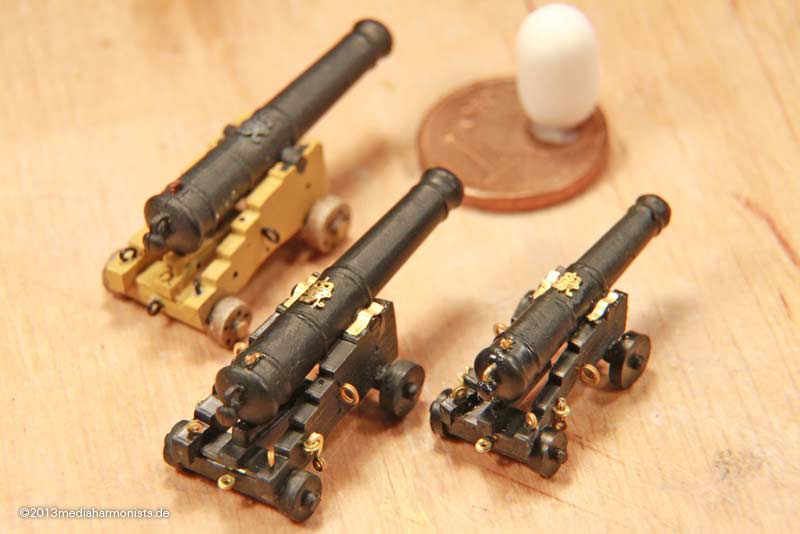
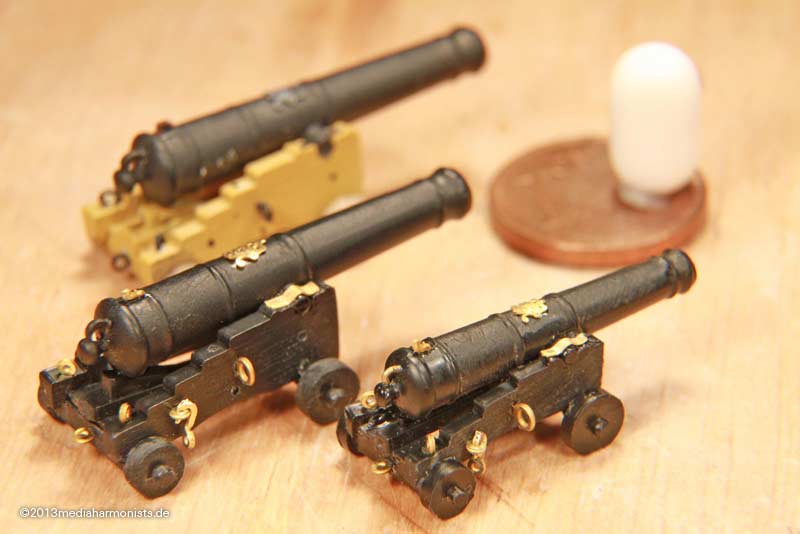
Mise en place ...
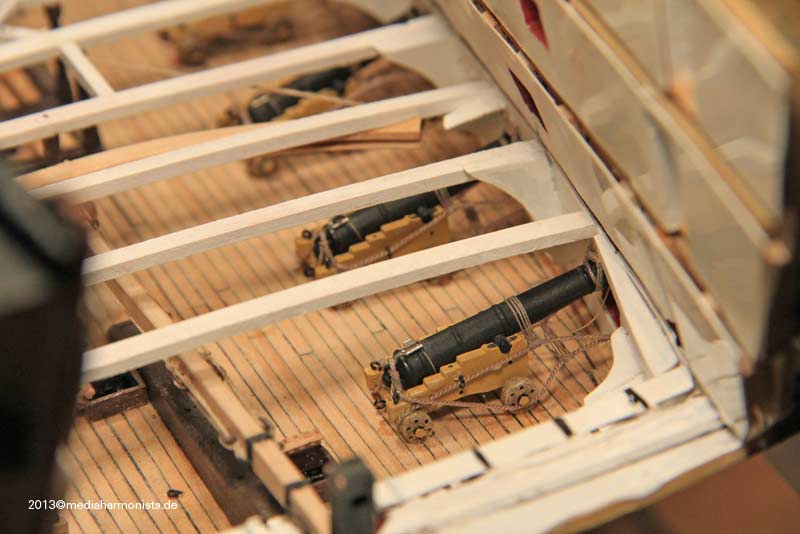
... and ...
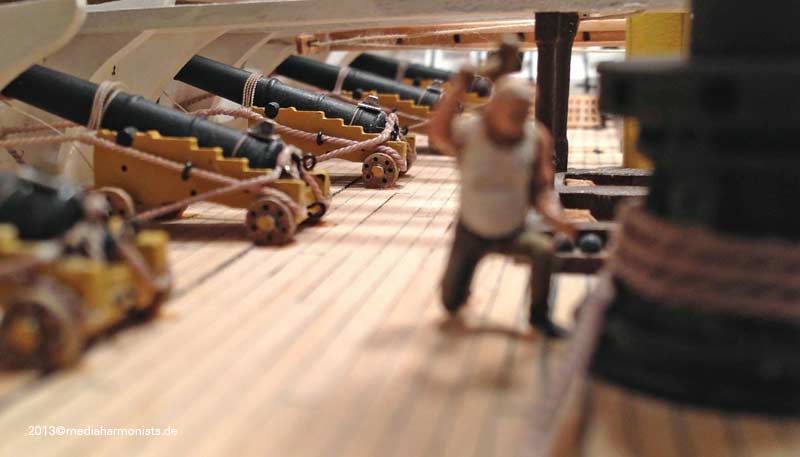
... enjoy!
Happy carnival greetings ...
t�t� - t�t� - t�t�
http://www.youtube.com/watch?v=Vv-wq-prqNk
Daniel