Updated Mr Thomas Schmid 3D rendering on the Hood association website:
http://www.hmshood.com/photos/hoodphotos3.htm
Calling all HMS "Mighty" Hood fans
Moderators: BB62vet, MartinJQuinn, Timmy C, Gernot, Olaf Held, Dan K, HMAS, ModelMonkey
-
coaster

- Posts: 136
- Joined: Mon Oct 10, 2005 1:28 am
- Location: Portugal
- Contact:
-
largeallan

- Posts: 107
- Joined: Thu May 11, 2006 7:00 pm
- Location: Ayr, On Scotland's sunshine coast
-
Dave Martin

- Posts: 507
- Joined: Tue May 17, 2005 5:53 pm
- Location: DERBYSHIRE UK
-
MartinJQuinn

- Posts: 8544
- Joined: Tue Jan 11, 2005 1:40 pm
- Location: New Jersey
Don't feel that way - just take your time and it will go alright.Dave Martin wrote:Never done any PE work before so I'm not looking forward to it.
Martin
"Tomorrow is the most important thing in life. Comes into us at midnight very clean. It's perfect when it arrives and it puts itself in our hands. It hopes we've learned something from yesterday." John Wayne
Ship Model Gallery
"Tomorrow is the most important thing in life. Comes into us at midnight very clean. It's perfect when it arrives and it puts itself in our hands. It hopes we've learned something from yesterday." John Wayne
Ship Model Gallery
-
Anonymous
HMS MIGHTY HOOD
My favourite period for HMS HOOD , is 1937 , when she was painted in AP507C, with Spanish Civil War stripes on B turret.She looked great!
-
Richard Durham

- Posts: 91
- Joined: Tue Apr 04, 2006 10:47 pm
- Location: San Diego CA
1/350 Trumpeter HMS HOOD Finished
This is Trumpeter�s 1/350 HMS HOOD in the May 1941 configuration and in my opinion; it is an absolute jewel of a kit. I added the brass barrels from the Trumpeter HOOD Upgrade Set and used the Gold Medal Models HOOD Photoetch set.
The GMM set fit perfectly and included precut and sized ladders and railing. The photoetch pieces for the pom-poms, forward mast and the quad .50 guns are spectacular. I estimate that I only used about 30 % of the photoetch available in the GMM set as the set is incredibly over complete.
The model was primed with GUNZE Flat Gray and painted with Model Master Acryl paints, using FS 36320, Dark Ghost Gray, for the hull and vertical surfaces color. I used FS 30117, Earth Red, for the Corticene covered decks and FS 36176, Dark Gray (F-15) for the portions of the decks that were dark gray. I like using Model Master Acryl because of ease of hand painting detail work and touch up.
The aft upper mast has been replaced with bronze rod and stainless steel tube. The flag is from the GMM Flag decal sheet. The rigging is Dia Riki 7x monofilament tippet.
Although the kit flag decals went on easy enough and looked good, they were not stiff enough to maintain their shape and had to removed and replaced.
The base is made from 1 by 8 red oak that was cut and routed by me. The water is made with a piece of flat clear acrylic sheet, painted flat white on the bottom and painted with a light/irregular coat of Phthalocyanine Blue on top. The blue is covered with Liquitex Gloss Heavy Gel Medium to simulate waves and the ship wake. I highlighted the waves and wake with Titanium White. This process gives a sense of depth to the water and is quick and easy. I attached the acrylic sheet to the base with 5 min epoxy. I don�t take a lot of effort to simulate other water effects as I view it as more of model base than a seascape.
My 3 references were the fabulous HMS HOOD Association website, Steve Wiper�s �Warship Pictorial 20 HMS HOOD� and finally, one of the best ship reference books ever written, �The Battlecruiser HMS Hood, An Illustrated Biography 1916-1941� by Bruce Taylor.
Rich
http://members.cox.net/rwdurham3/HOOD%20350%205.jpg
http://members.cox.net/rwdurham3/HOOD%20350%206.jpg
http://members.cox.net/rwdurham3/HOOD%20350%207.jpg
http://members.cox.net/rwdurham3/HOOD%20350%208.jpg
http://members.cox.net/rwdurham3/HOOD%20350%209.jpg
http://members.cox.net/rwdurham3/HOOD%20350%2010.jpg
http://members.cox.net/rwdurham3/HOOD%20350%2011.jpg
-
largeallan
- Posts: 107
- Joined: Thu May 11, 2006 7:00 pm
- Location: Ayr, On Scotland's sunshine coast
-
Jefgte

- Posts: 542
- Joined: Fri Aug 26, 2005 6:53 am
- Location: France
-
Tracy White
- Posts: 10624
- Joined: Mon Jan 10, 2005 11:02 am
- Location: EG48
- Contact:
THose are what were termed "Ready Service Lockers" in US parlance... a relatively small amount of ammunition was kept on deck as the firing rate of these guns outstripped what the ammunition elevators could transfer and it was necessary to keep a stock nearby the guns... one does not want to run out of snowbals early in the fight!Jefgte wrote:What a dangerous installation - Engineers think certainly that the enemy shells are snow balls...
For the the smaller ammunition, a cook-off due to an enemy could be dangerous to the nearby crew, but it was not all that dangerous to the nearby structure. The US Navy actually removed sprinkler systems from 20mm clipping rooms on the Essex carriers late in the war to save topside weight after it was found that a fire in this space producing ammunition cook-off wasn't "that" harmfull.
Tracy White -Researcher@Large
"Let the evidence guide the research. Do not have a preconceived agenda which will only distort the result."
-Barbara Tuchman
"Let the evidence guide the research. Do not have a preconceived agenda which will only distort the result."
-Barbara Tuchman
-
Jefgte
- Posts: 542
- Joined: Fri Aug 26, 2005 6:53 am
- Location: France
I know that Tracy & I agree with you
I just speak about the lockers alone on the deck, they could certainly be disposed against the uper works to have a relative protection.
Perhaps a better place is in the ceiling of the gallery under the AA armament where were the 5"5 guns.
...or install the lockers in the uperworks directly...
Jef
I just speak about the lockers alone on the deck, they could certainly be disposed against the uper works to have a relative protection.
Perhaps a better place is in the ceiling of the gallery under the AA armament where were the 5"5 guns.
...or install the lockers in the uperworks directly...
Jef
Current 1/700 WL
HMS Repulse
HMS Repulse
-
Miguel

- Posts: 1562
- Joined: Wed Feb 09, 2005 5:45 pm
- Location: Abu Dhabi
Just an update of my build ,it's hard for me with two small kids an a demanding wife,I think that in about 5 weeks is over(hopefully)
http://i27.photobucket.com/albums/c192/ ... 000526.jpg
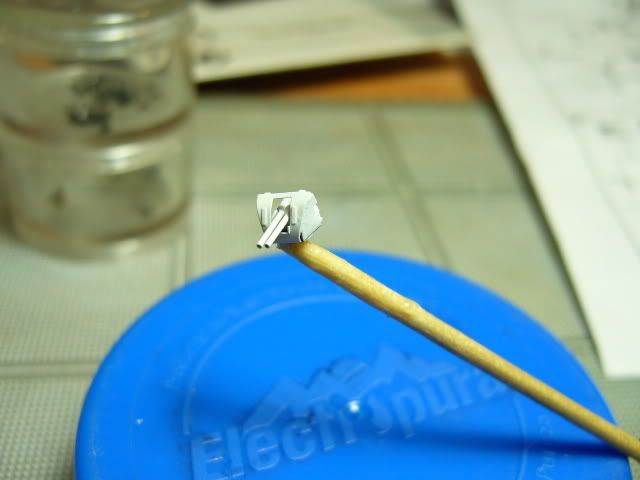
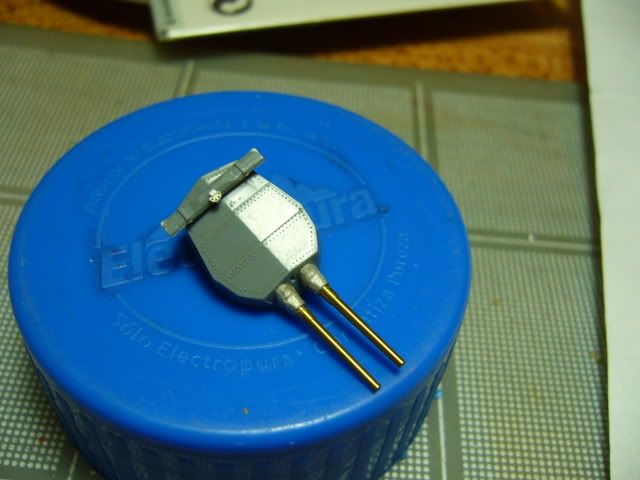
the 0.5 inchers
http://i27.photobucket.com/albums/c192/ ... 000546.jpg
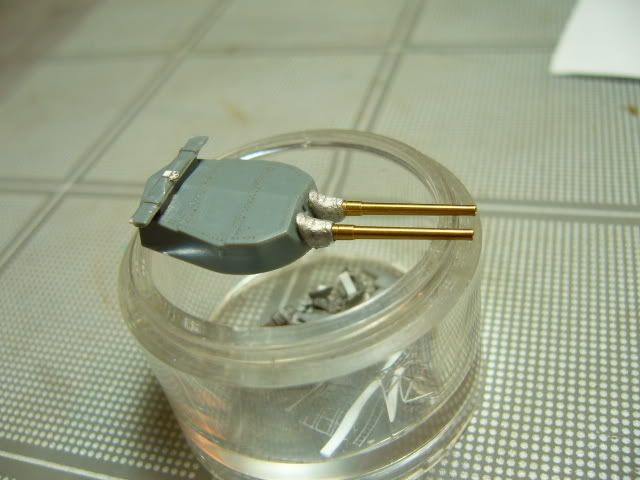
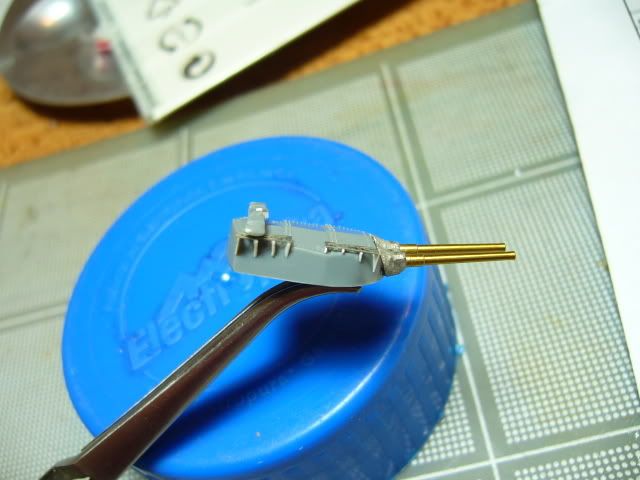
the 4 inchers
http://i27.photobucket.com/albums/c192/ ... 000542.jpg
http://i27.photobucket.com/albums/c192/ ... 000544.jpg
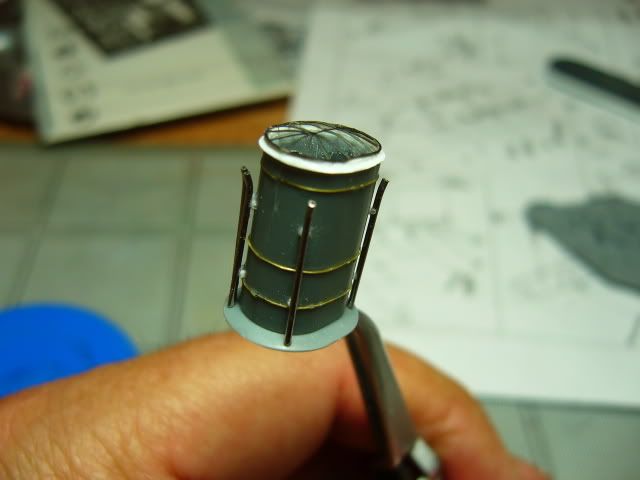
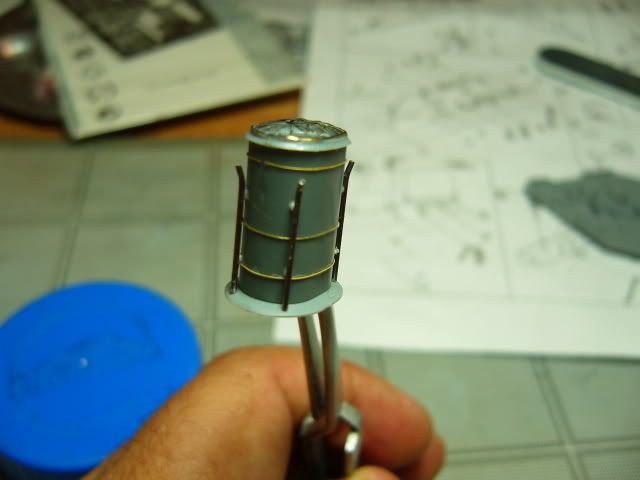
rear funnel
http://i27.photobucket.com/albums/c192/ ... 000539.jpg
A turret
http://i27.photobucket.com/albums/c192/ ... 000528.jpg
B turret
http://i27.photobucket.com/albums/c192/ ... 000531.jpg
X turret
http://i27.photobucket.com/albums/c192/ ... 000532.jpg
http://i27.photobucket.com/albums/c192/ ... 000534.jpg
http://i27.photobucket.com/albums/c192/ ... 000526.jpg
the 0.5 inchers
http://i27.photobucket.com/albums/c192/ ... 000546.jpg
the 4 inchers
http://i27.photobucket.com/albums/c192/ ... 000542.jpg
http://i27.photobucket.com/albums/c192/ ... 000544.jpg
rear funnel
http://i27.photobucket.com/albums/c192/ ... 000539.jpg
A turret
http://i27.photobucket.com/albums/c192/ ... 000528.jpg
B turret
http://i27.photobucket.com/albums/c192/ ... 000531.jpg
X turret
http://i27.photobucket.com/albums/c192/ ... 000532.jpg
http://i27.photobucket.com/albums/c192/ ... 000534.jpg
Last edited by Miguel on Fri Jun 15, 2007 8:38 pm, edited 1 time in total.
-
Miguel
- Posts: 1562
- Joined: Wed Feb 09, 2005 5:45 pm
- Location: Abu Dhabi
Few more shots
Fwd funnel
http://i27.photobucket.com/albums/c192/ ... 000541.jpg
http://i27.photobucket.com/albums/c192/ ... 0540-1.jpg
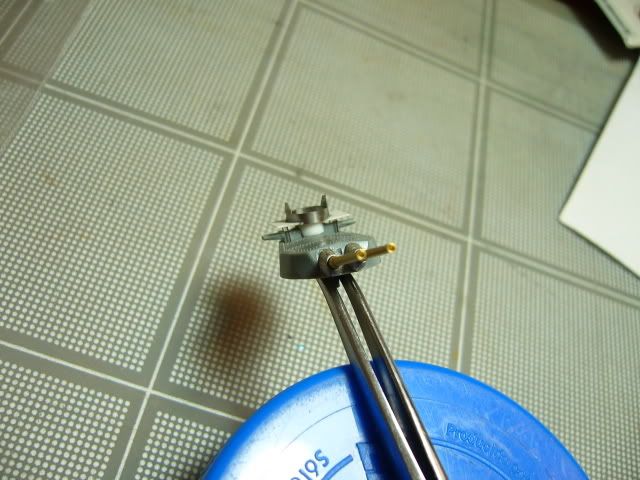
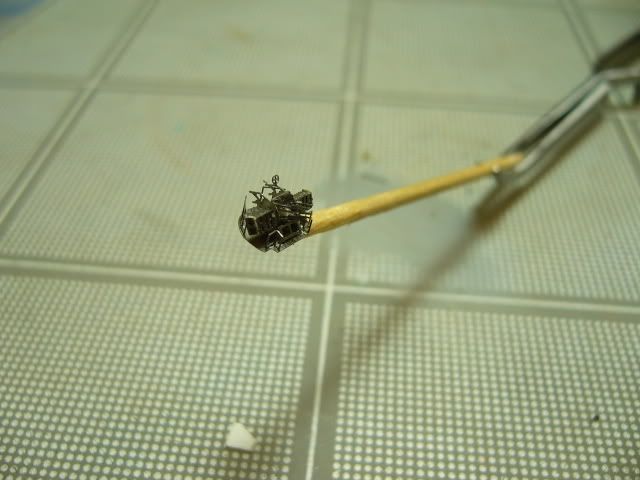
the Pompoms
http://i27.photobucket.com/albums/c192/ ... 000548.jpg
finally Y turret
http://i27.photobucket.com/albums/c192/ ... 000536.jpg
Fwd funnel
http://i27.photobucket.com/albums/c192/ ... 000541.jpg
http://i27.photobucket.com/albums/c192/ ... 0540-1.jpg
the Pompoms
http://i27.photobucket.com/albums/c192/ ... 000548.jpg
finally Y turret
http://i27.photobucket.com/albums/c192/ ... 000536.jpg
-
Miguel
- Posts: 1562
- Joined: Wed Feb 09, 2005 5:45 pm
- Location: Abu Dhabi
Foeth_ wrote:It's nice to see all the recent discoveries in the newly etched parts.
The WEM PE is almost 7 years old and the Eduard is around 4 to 5
,the Clipper barrels close to 5 ,the only new stuff I'm using are the Lion Roar barrels for the 4 inchers(actually 5 inch,but they look great),the rest are hypodermic syringes and scrap metal
Last edited by Miguel on Sat Jun 16, 2007 9:38 am, edited 1 time in total.
-
Dino Carancini
- Posts: 429
- Joined: Wed Oct 11, 2006 5:46 am
-
Anonymous
I only recently discovered the correct shape of the UP launcher splinter shield on B-turret as you have it now and the shape of the detail on X-turret. This was not correct in any of the older etch sets or drawings. Perhaps you added the corrections yourself?The WEM PE is almost 7 years old and the Eduard is around 4 to 5
-
Miguel
- Posts: 1562
- Joined: Wed Feb 09, 2005 5:45 pm
- Location: Abu Dhabi
You are right,mainly with the help of the marvelous Hood Association web page I'm correcting some issues of the Tamiya model(is a crap,I'm waiting for the Trump Hood 1931)Foeth_ wrote:
I only recently discovered the correct shape of the UP launcher splinter shield on B-turret as you have it now and the shape of the detail on X-turret. This was not correct in any of the older etch sets or drawings. Perhaps you added the corrections yourself?
-
coaster
- Posts: 136
- Joined: Mon Oct 10, 2005 1:28 am
- Location: Portugal
- Contact:
-
johndon

- Posts: 1033
- Joined: Mon Jan 10, 2005 3:39 pm
- Location: Newcastle Upon Tyne, England