Re: 1/350 USS Bennington (CV-20)
Posted: Tue Sep 25, 2012 10:58 pm
Update 85
I haven�t worked on the model any for the last couple of days but I did build the frame today. It took me a little over 3 hours to build.
I decided, upon advice from the guys in the shop, to move the plug to the back so that it wasn't in the joint. I like this better and the way the frame turned out, but there are a couple of issues. In the photo below you can see that the top switch hole is larger than the other three. I didn�t have the hardware with me and when I got home and tested them to see if they fit, they didn�t. Bummer! I used a file on the top one to get one of the switches to fit, but I think I will just go back to the shop and drill it larger.
Lesson: TAKE YOUR HARDARE WITH YOU!
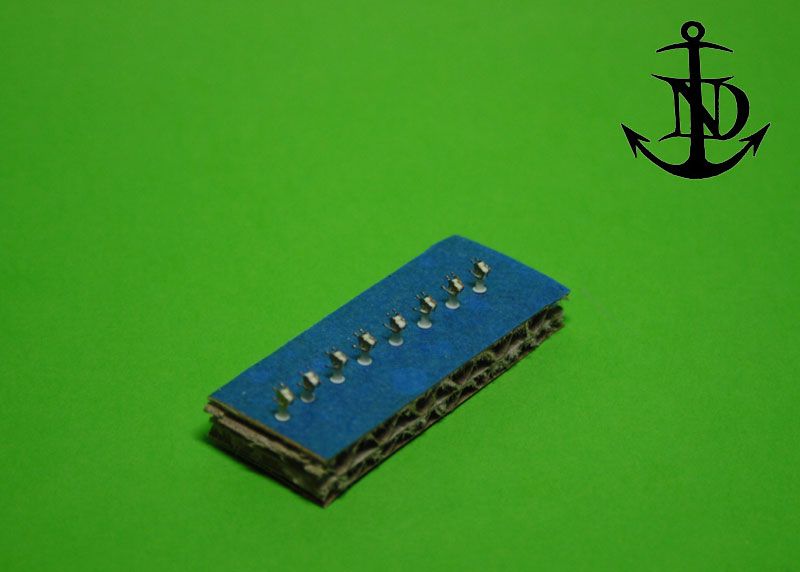
A more difficult problem to fix is on the backside. In the picture below, you can see the 4 large holes for the switches and some of the 8 holes to accommodate the wiring. They don�t go all the way through. The problem is that I didn�t drill them quite deep enough, which I guess, is better than drilling them too far.
Below is a clip of a picture I found on-line of the switch. I have the 2 important dimensions labeled A and B. Essentially, I missed them both.
The A dimension (diameter) is easy to fix. The B dimension (depth) might not be. If I would have had the switch with me and tested it before I put the frame together it would be an easy fix. It will be more difficult now, because I can�t use a drill press, and even a hand drill will be difficult because I won�t be able to get it straight. My best bet may be carving it out of there by hand.
Lesson: TAKE YOUR HARDARE WITH YOU!
I also took some pictures with the unfinished model in it, using an old iPhone box to put the ship at about the correct height.
The plan was to stain it dark, but I kind of like it the color it is, so maybe I�ll just use a clear stain, or maybe a couple of coats of polyurethane. Another reason to leave it the color it is, is that the black letters on the text would probably show up better than on a darker color. Any comments on light or dark? I don't see many light colored model frames, is there a reason for that that I am unaware of?
I think I will give a text decal a test. And tomorrow it�s back to the shop.
I haven�t worked on the model any for the last couple of days but I did build the frame today. It took me a little over 3 hours to build.
A more difficult problem to fix is on the backside. In the picture below, you can see the 4 large holes for the switches and some of the 8 holes to accommodate the wiring. They don�t go all the way through. The problem is that I didn�t drill them quite deep enough, which I guess, is better than drilling them too far.
Lesson: TAKE YOUR HARDARE WITH YOU!
I also took some pictures with the unfinished model in it, using an old iPhone box to put the ship at about the correct height.
I think I will give a text decal a test. And tomorrow it�s back to the shop.