Re: 1/530 USS Yorktown (CVS-10) (1968) - no, not the Revell kit
Posted: Tue Sep 15, 2026 7:08 pm
I need to begin by thanking all three of you who have commented since my last update - getting compliments from craftsmen of your caliber is no small thing. Dr. PR, having had kind of a long-standing crush on CLG-5 I have followed your work on the Oklahoma City project with no end of admiration. Martin, I've likewise really enjoyed the outstanding work you have posted on here, and it's work that makes me want to make my own that much better. Pieter, you'll be interested to know that Ticonderoga in 1972 is on my list of future projects if I can get all the referecnces together, so your comment really got my attention.
And, really, thanks to all of you who are reading, and to those of you who have commented. It's very much appreciated and it helps keep me going when things get tedious.
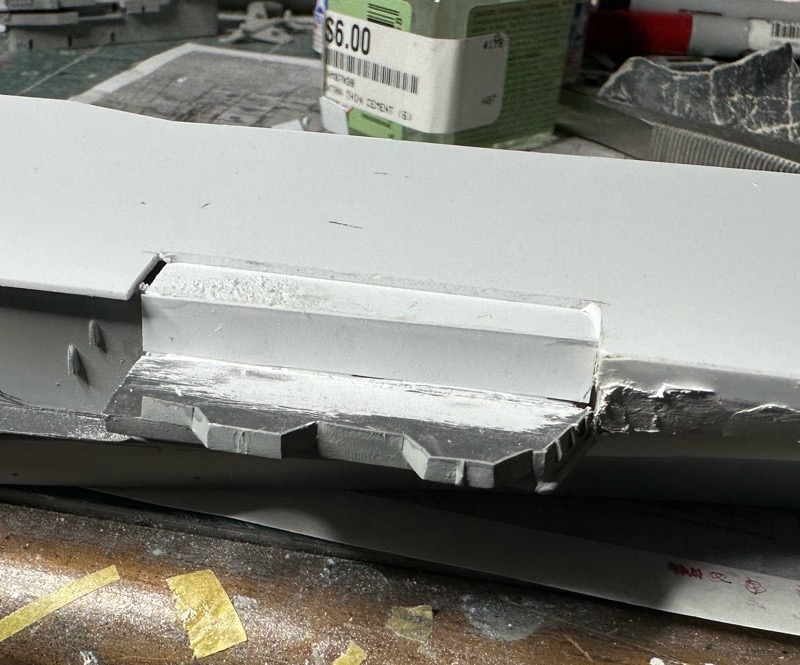
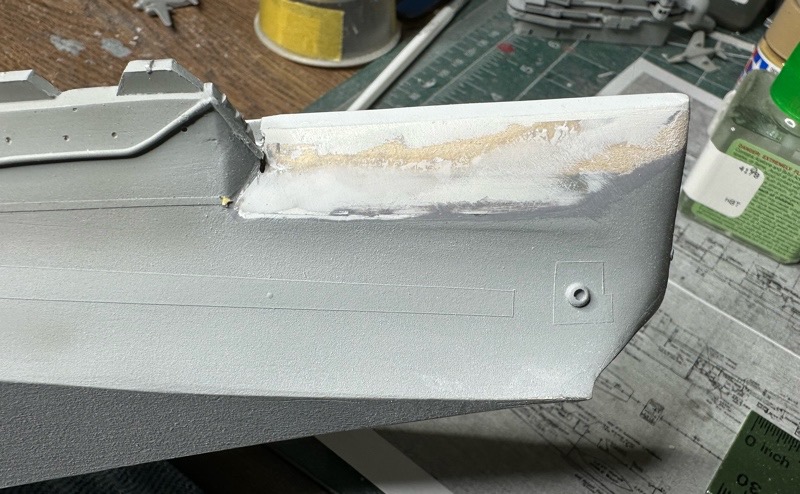
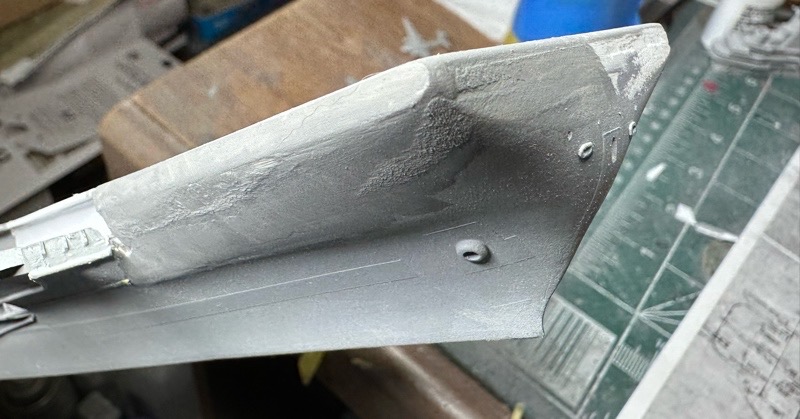
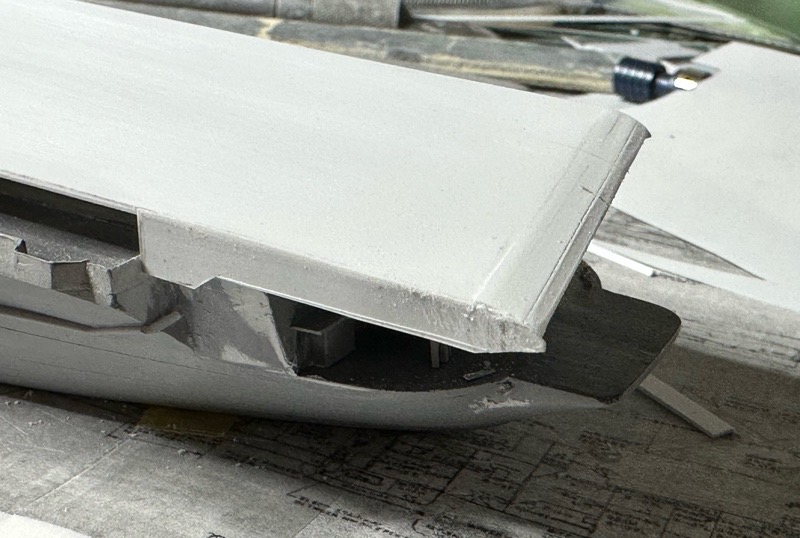
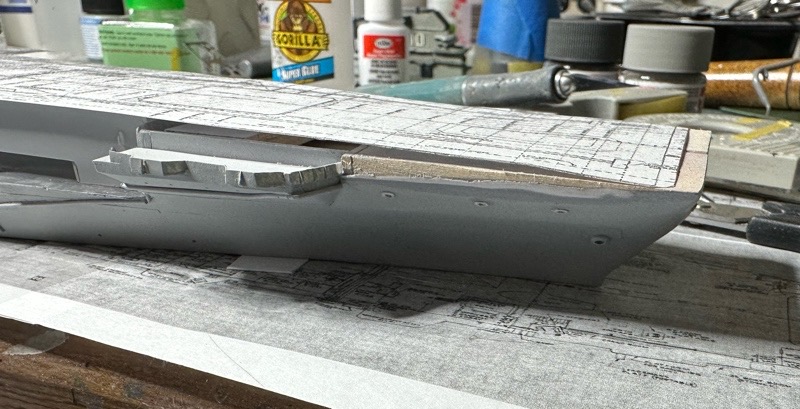
I didn't get to work on the model yesterday for various reasons, but in some moments between chores, I found several more photos that gave me what I needed. This meant some revisions on the port side forward this morning.
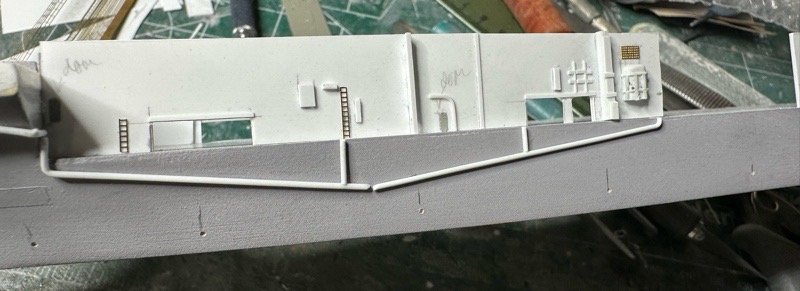
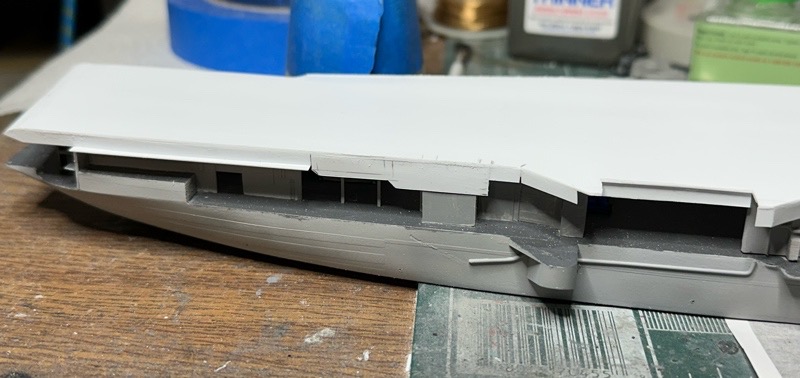
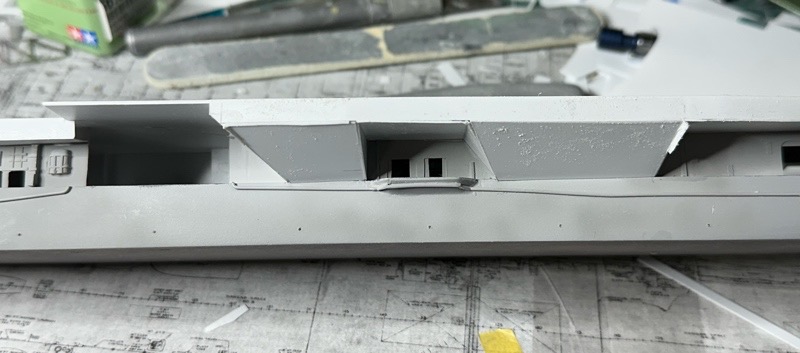
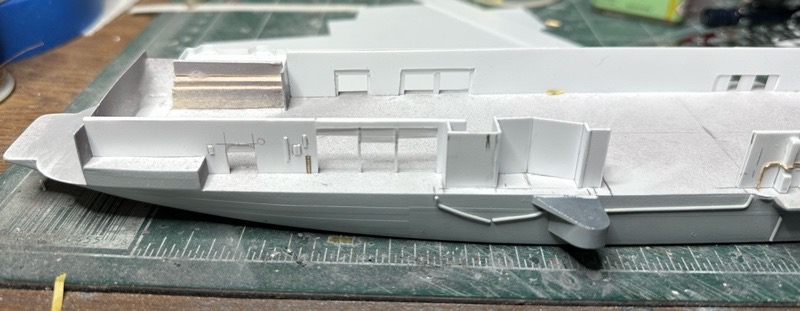
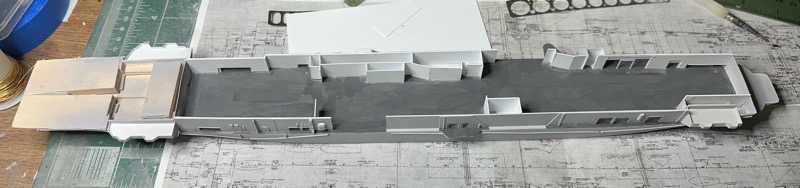
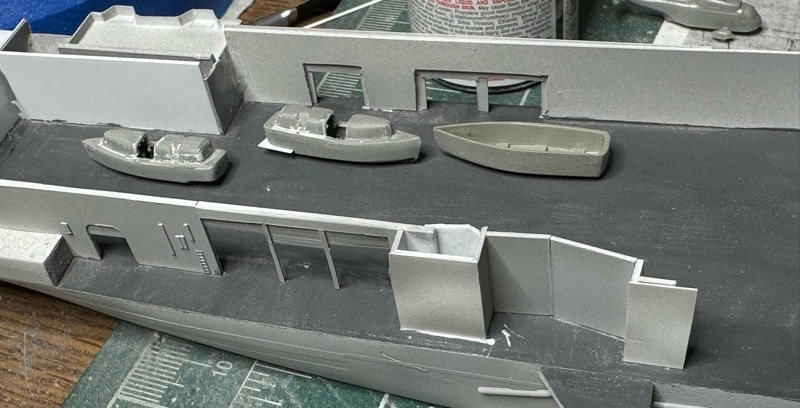
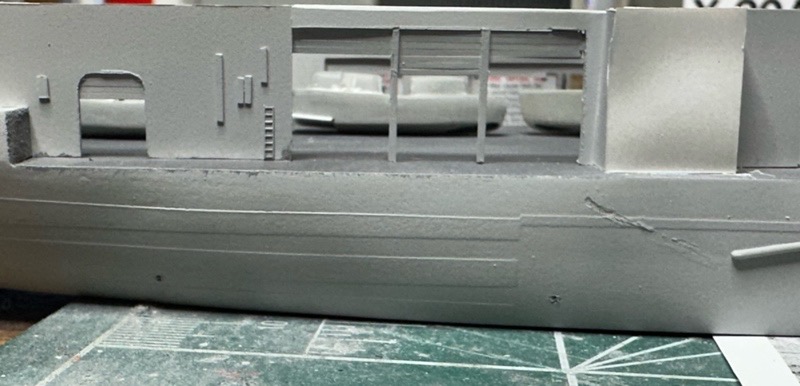
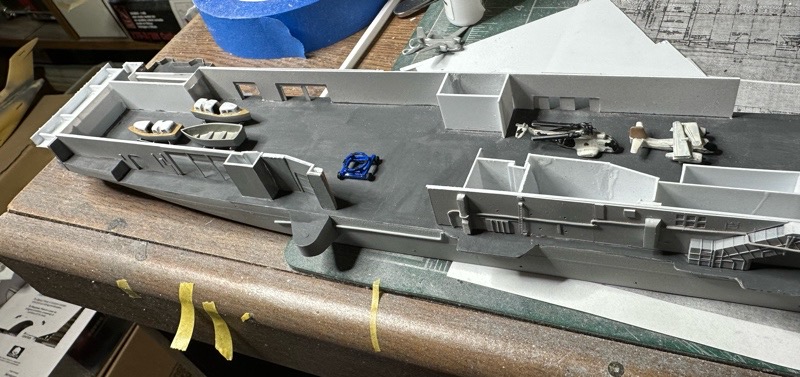
Then on to the starboard side. I found a really helpful close-up of the outside of the Hangar Bay 1 area that answered a lot of questions. Of course, part of the challenge of using photos of a preserved ship is trying to figure out what was there back then and what's been added or modified by the museum. I did my best to work that out. When you remember how many doors and openings these ships had along the hangar deck when constructed, it's interesting to see how closed in they'd become by the late 1960s for various reasons. For the modeler, it means fewer big places to look in, and since it'll be dark in there once the flight deck's installed, a little more leeway on what you absolutely need to show inside.
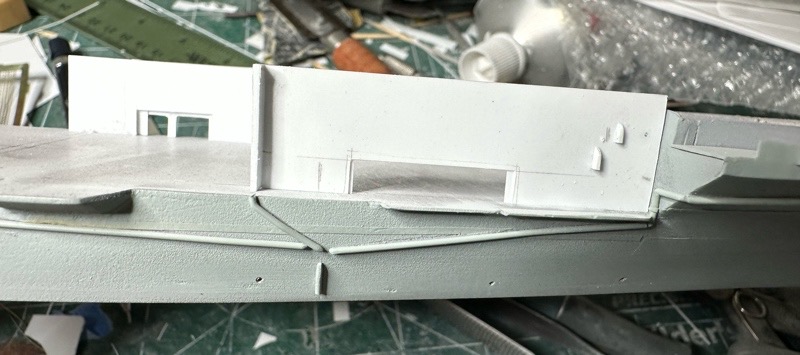
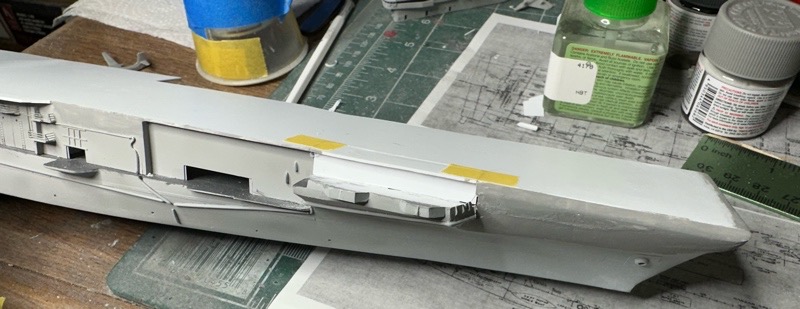
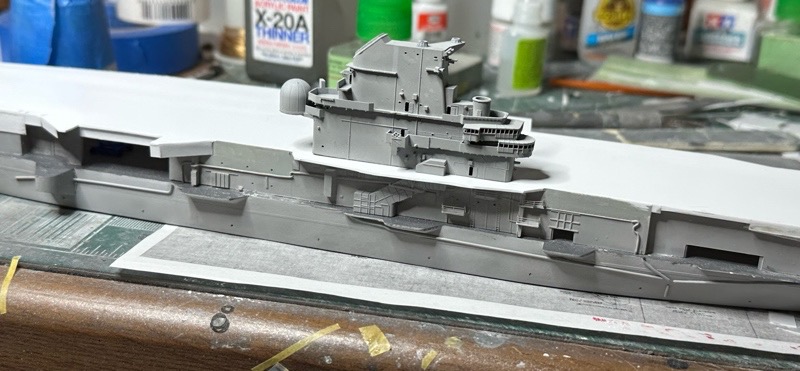
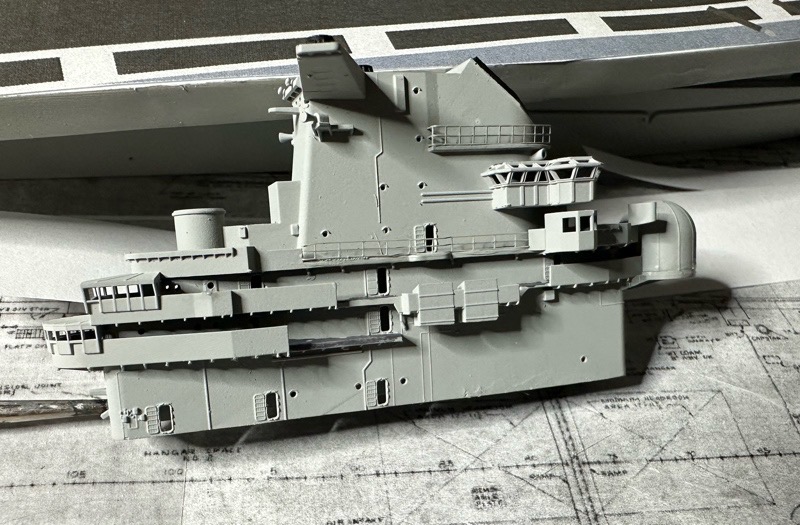
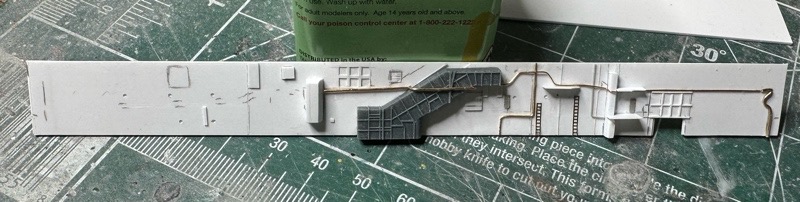
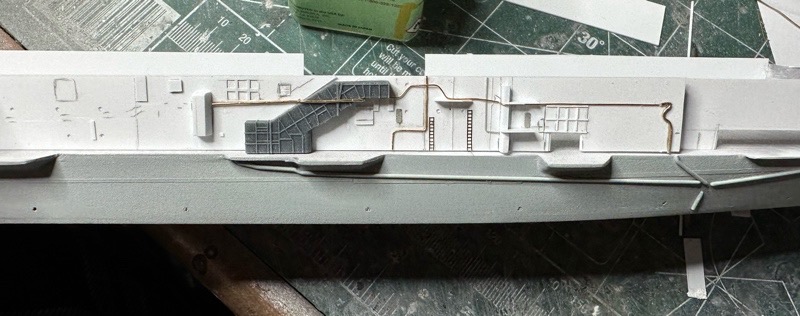
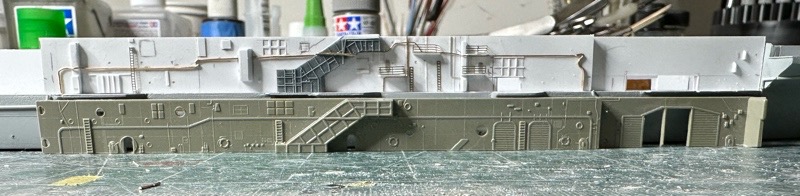
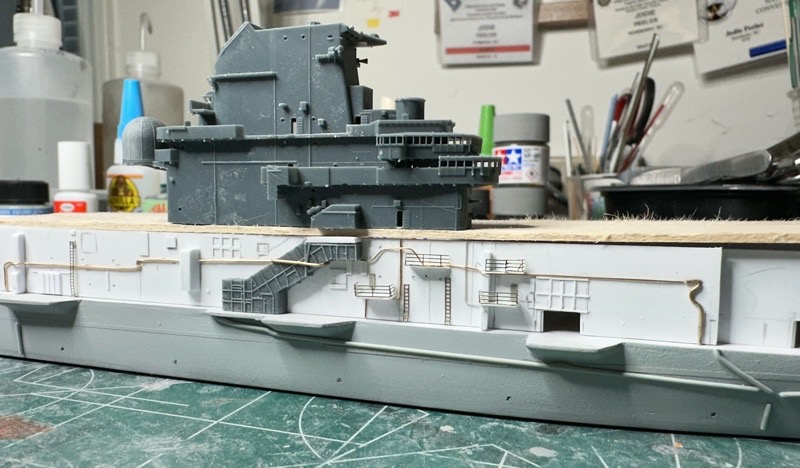
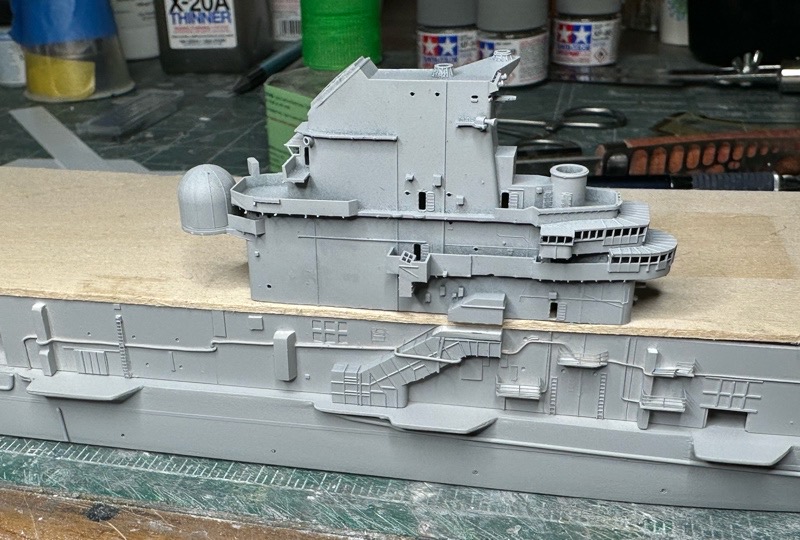
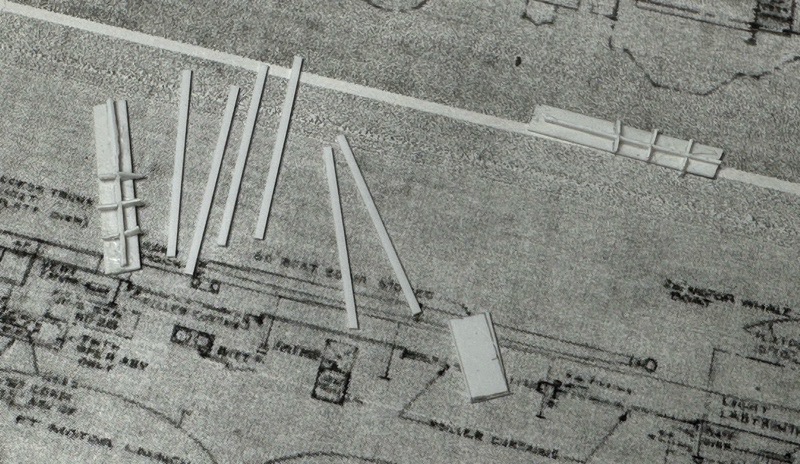
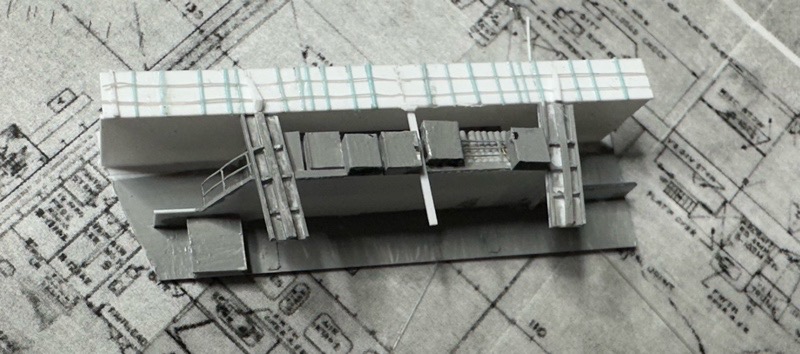
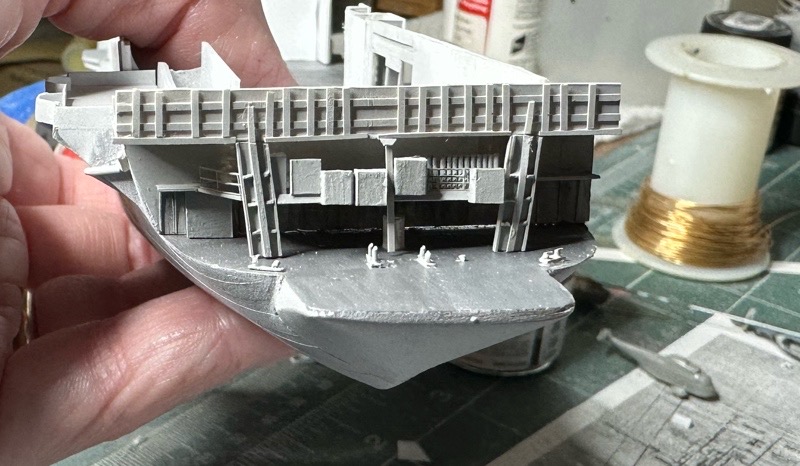
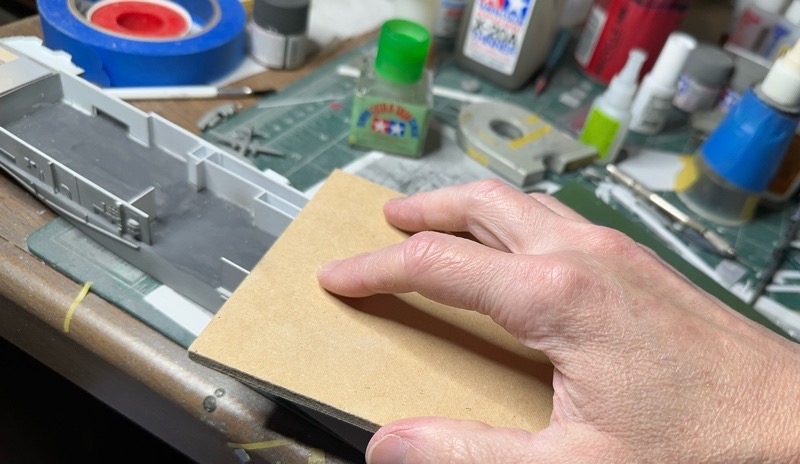
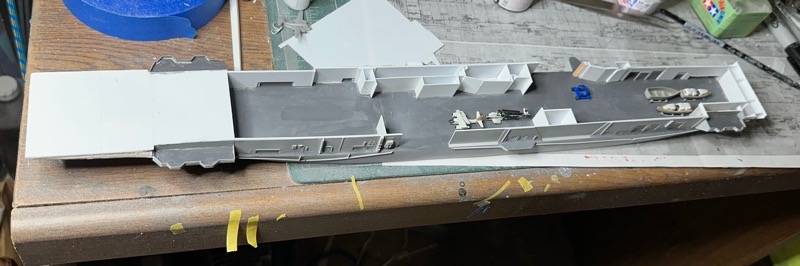
Once the set-back area was in place, now time for the long stretch amidships. It's easy to inspect up close on the real ship, so there's no excuse for cheaping out here. A ton of photo references helped me get things more or less where they need to be, or at least close enough. There's so much detail to add that your eye will be too busy anyway. I've dry-fit the Model Monkey escalator, which will probably get a shim up near the top so it matches the height of my scratchbuilt bulkhead. The shim will probably be hidden by the island parking ramp overhang, anyway. It's going to take a while to do all this detailing, but it needs to be there.
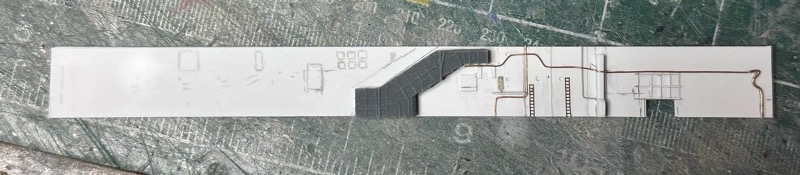
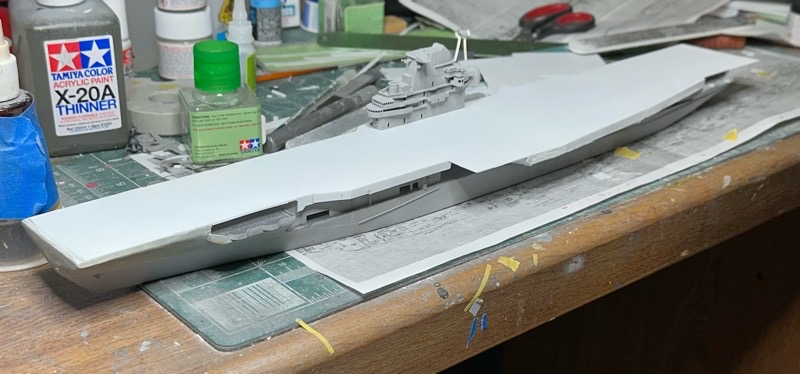
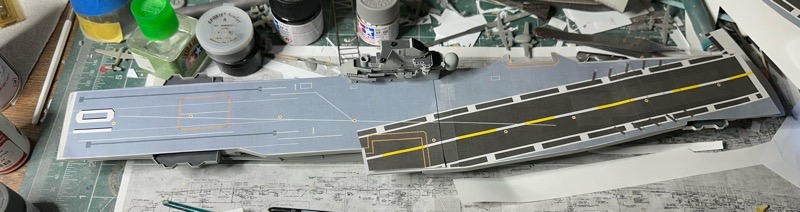
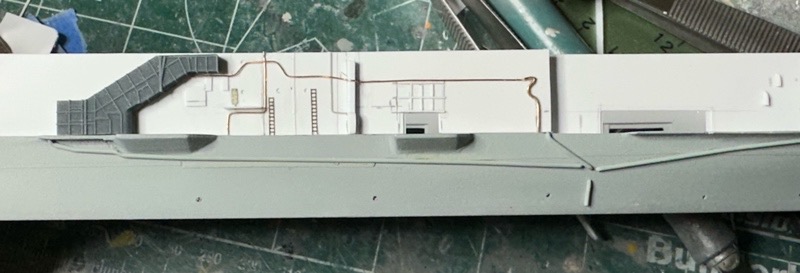
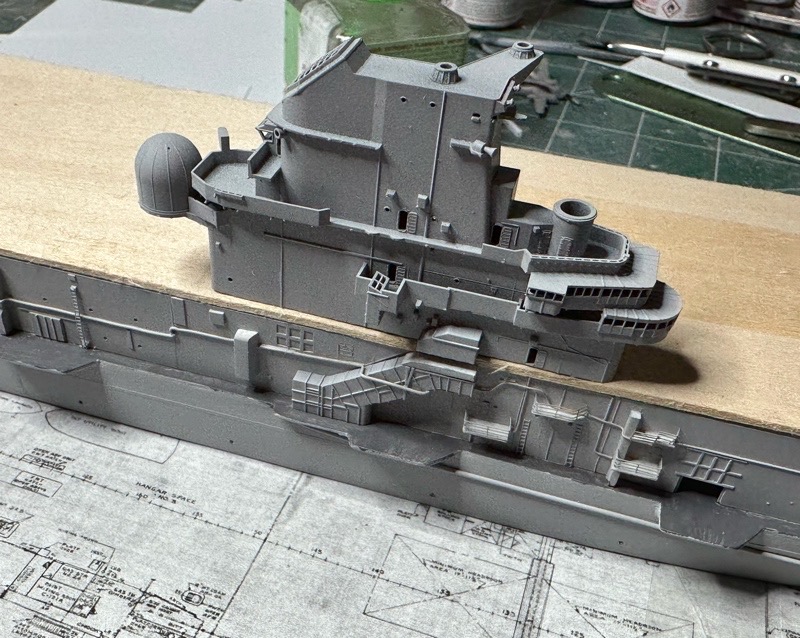
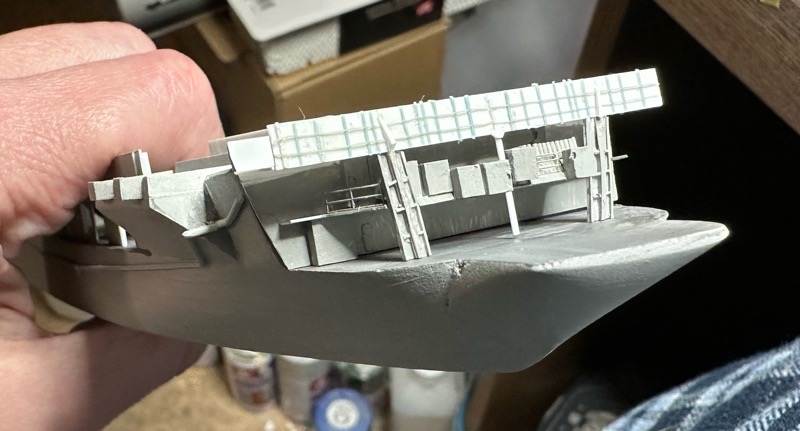
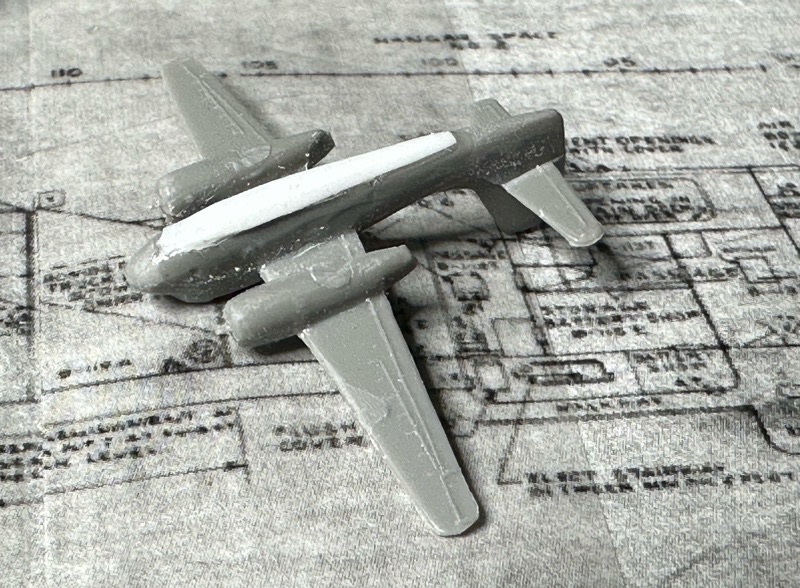
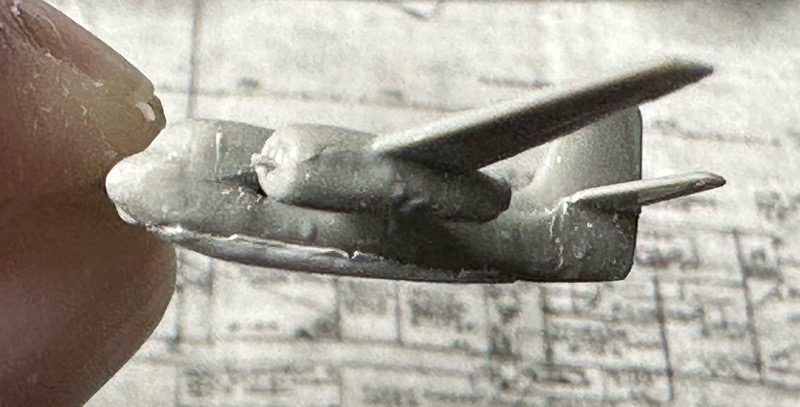
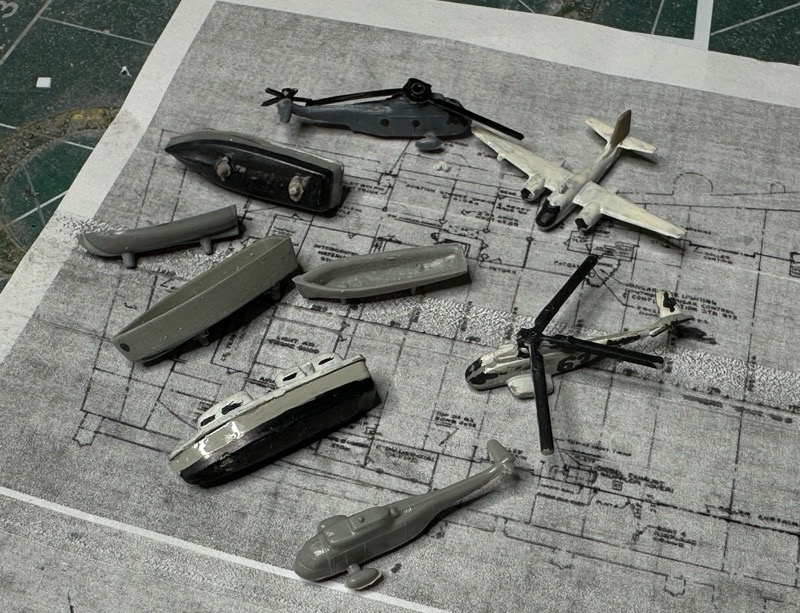
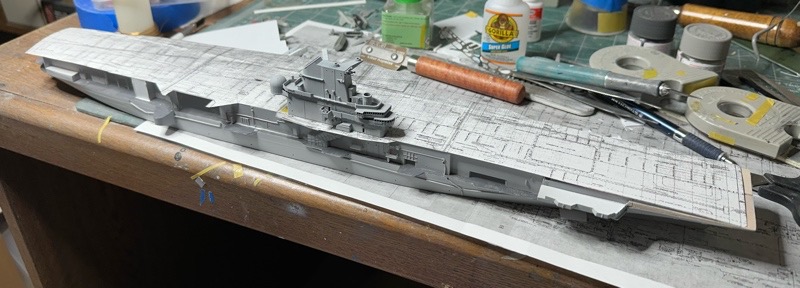
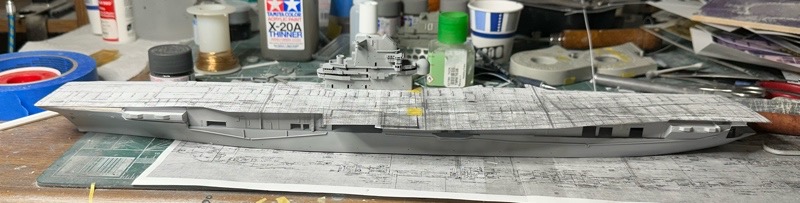
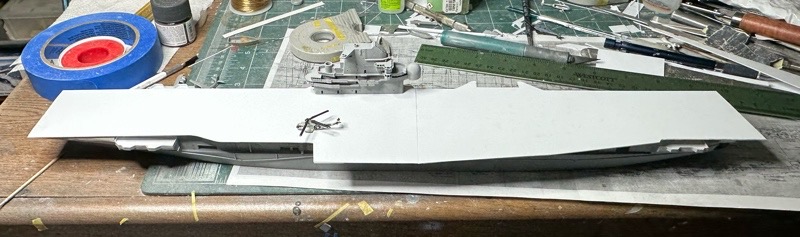
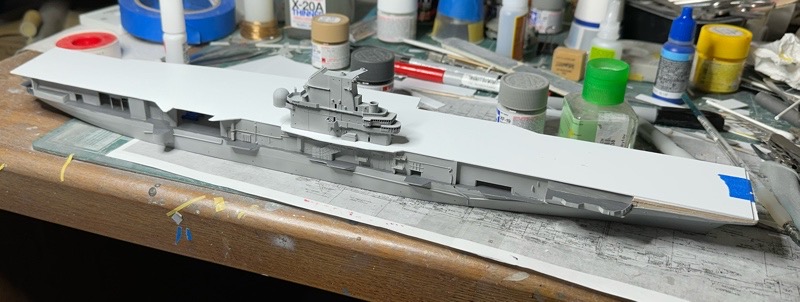
Here's the whole mess during a fit check. It's both tedious and absorbing work, but it appears to be heading somewhere neat. Soon I hope to be doing some rudimentary hangar deck detailing and probably stashing a C-1 or US-2 down below. Maybe if I'm feeling extra frisky I may even park the live television trucks in Bay 2. (IIRC, it was ABC's turn in the rotation to supply the live trucks and other stuff for the pool coverage.)
My errands today included a stop at the nearest well-supplied hobby shop, where among my purchases were several bottles of paint suitable for model ships. The new airbrush may be getting a nice long test run soon. Stay tuned to this channel.
Jodie Peeler
And, really, thanks to all of you who are reading, and to those of you who have commented. It's very much appreciated and it helps keep me going when things get tedious.
I didn't get to work on the model yesterday for various reasons, but in some moments between chores, I found several more photos that gave me what I needed. This meant some revisions on the port side forward this morning.
Then on to the starboard side. I found a really helpful close-up of the outside of the Hangar Bay 1 area that answered a lot of questions. Of course, part of the challenge of using photos of a preserved ship is trying to figure out what was there back then and what's been added or modified by the museum. I did my best to work that out. When you remember how many doors and openings these ships had along the hangar deck when constructed, it's interesting to see how closed in they'd become by the late 1960s for various reasons. For the modeler, it means fewer big places to look in, and since it'll be dark in there once the flight deck's installed, a little more leeway on what you absolutely need to show inside.
Once the set-back area was in place, now time for the long stretch amidships. It's easy to inspect up close on the real ship, so there's no excuse for cheaping out here. A ton of photo references helped me get things more or less where they need to be, or at least close enough. There's so much detail to add that your eye will be too busy anyway. I've dry-fit the Model Monkey escalator, which will probably get a shim up near the top so it matches the height of my scratchbuilt bulkhead. The shim will probably be hidden by the island parking ramp overhang, anyway. It's going to take a while to do all this detailing, but it needs to be there.
Here's the whole mess during a fit check. It's both tedious and absorbing work, but it appears to be heading somewhere neat. Soon I hope to be doing some rudimentary hangar deck detailing and probably stashing a C-1 or US-2 down below. Maybe if I'm feeling extra frisky I may even park the live television trucks in Bay 2. (IIRC, it was ABC's turn in the rotation to supply the live trucks and other stuff for the pool coverage.)
My errands today included a stop at the nearest well-supplied hobby shop, where among my purchases were several bottles of paint suitable for model ships. The new airbrush may be getting a nice long test run soon. Stay tuned to this channel.
Jodie Peeler
 LOVE IT!!!!