Re: 1/100 Chaconia LPG carrier
Posted: Wed Jul 07, 2010 8:30 am
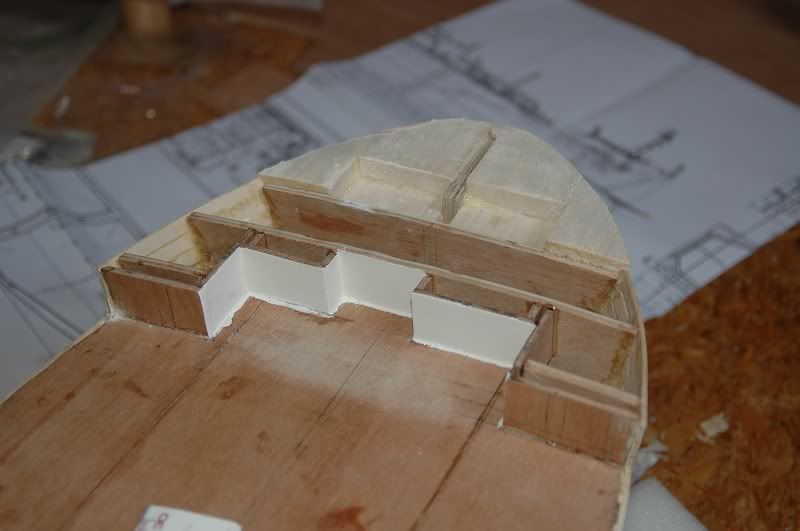
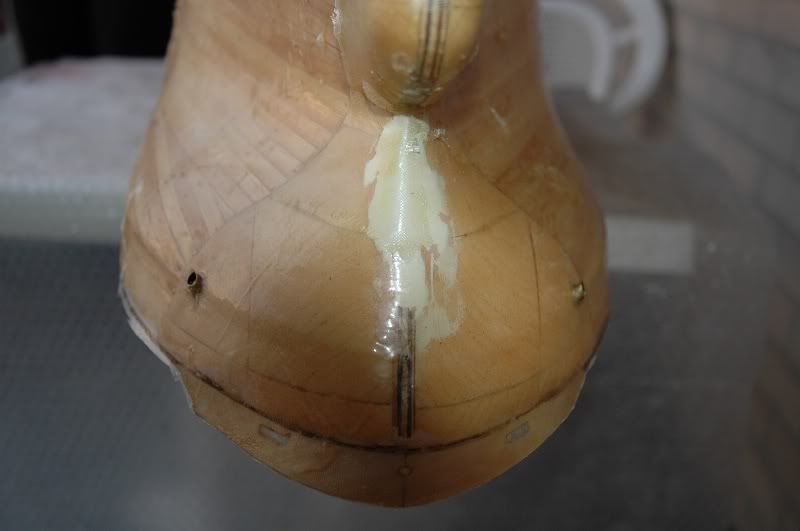
Well, as Dave said, fine grain wood is what you are looking for. Balsa is also excellent. I hadn't worked with it before, but for the bow I did need balsa. It's very expensive over here, although some people seem to come up with blocks out of nowhere too. Don't know where they got that, yet I had to buy mine the normal way in the store.
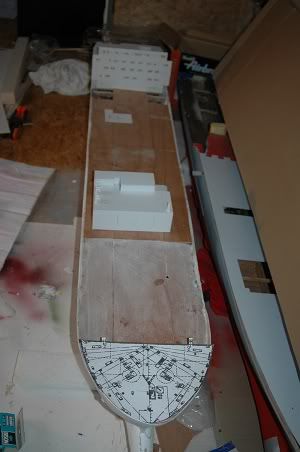
It came in a bar shape of 5cm x 5cm x 1m, so I'm puzzling them together now.
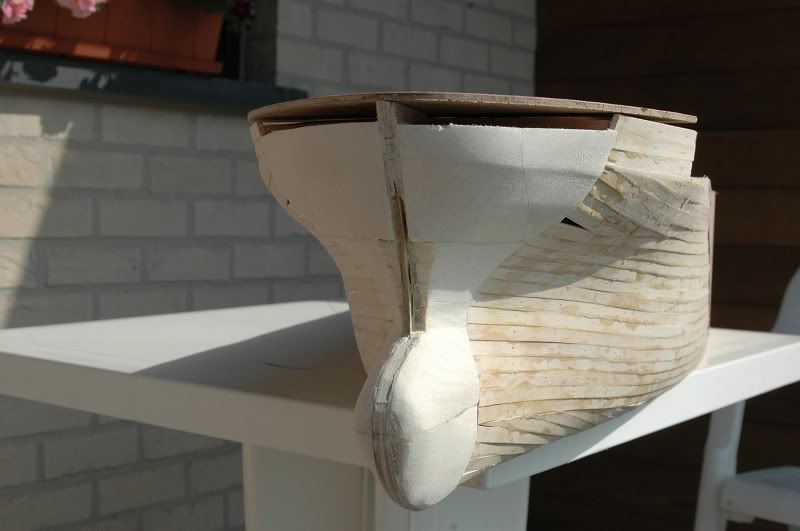
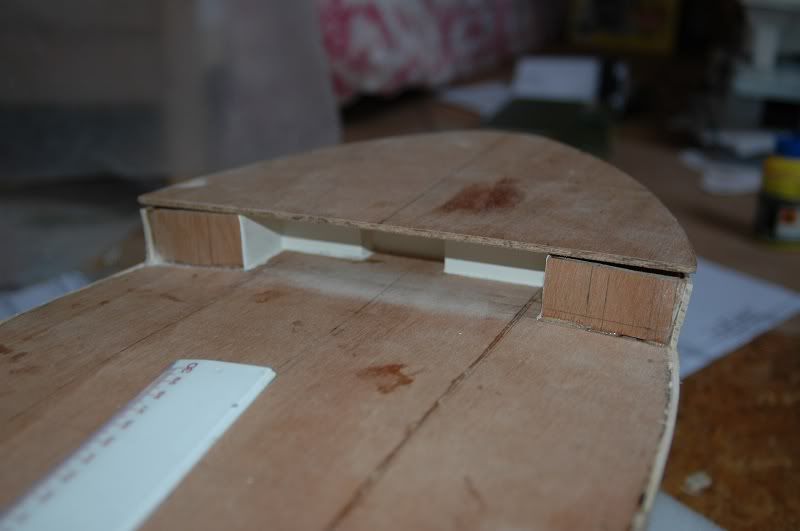
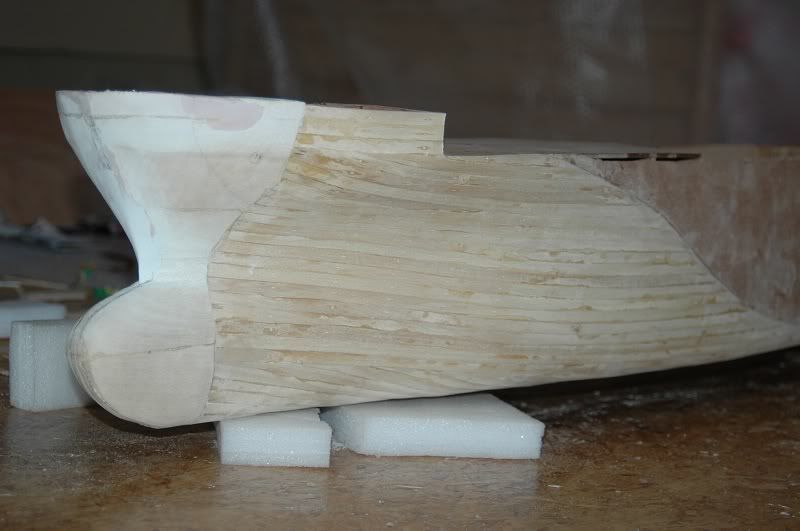
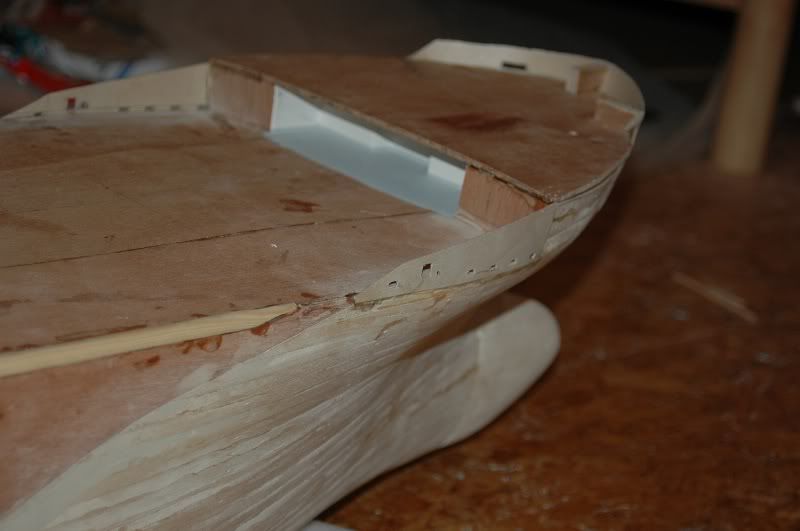
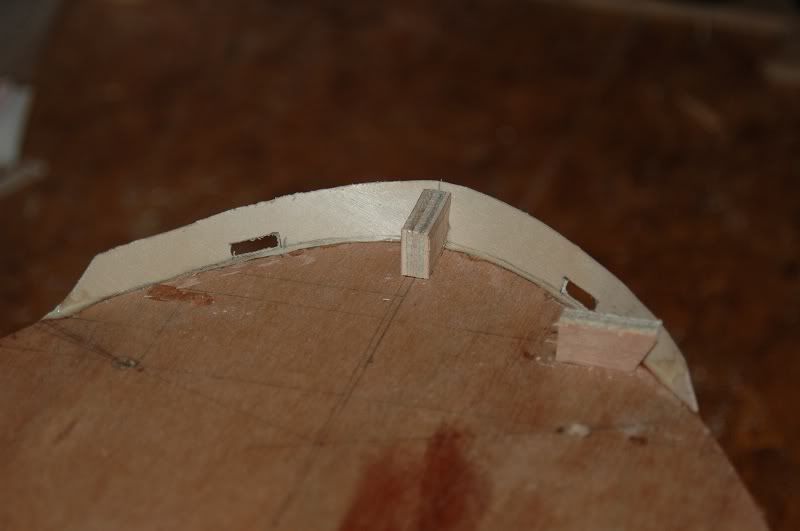
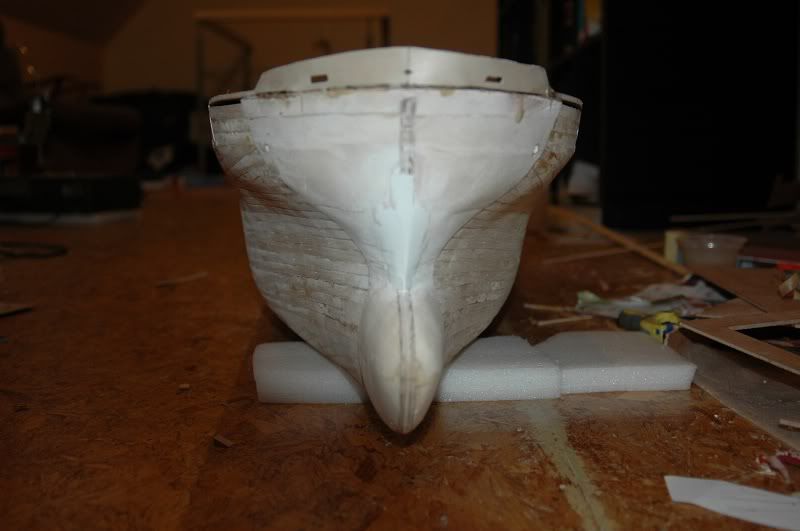
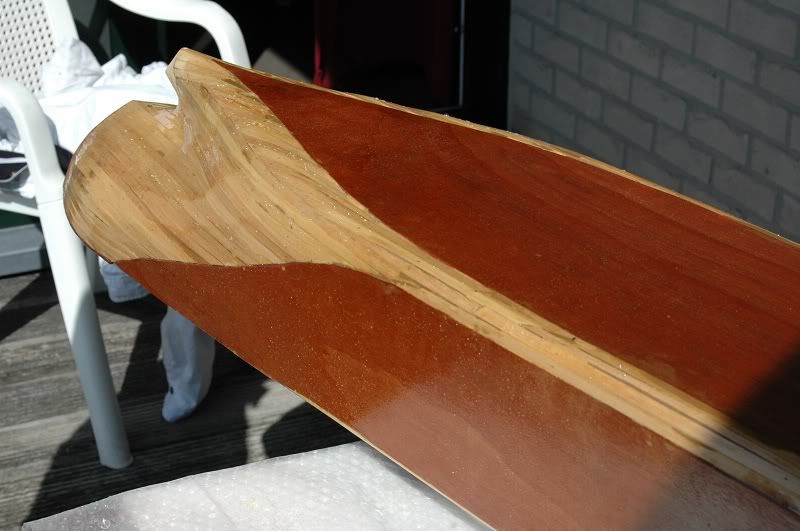
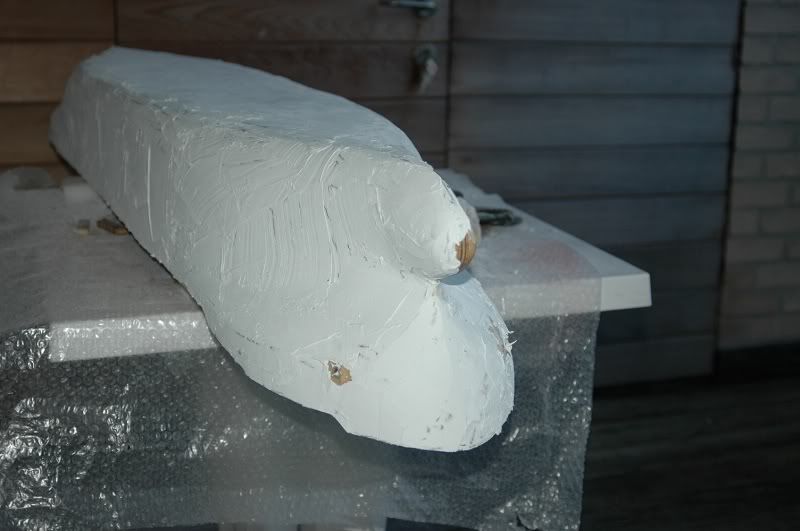
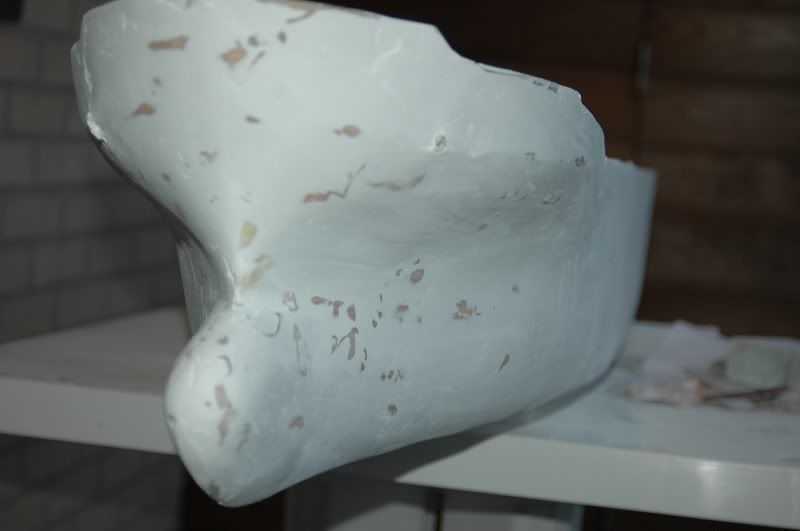
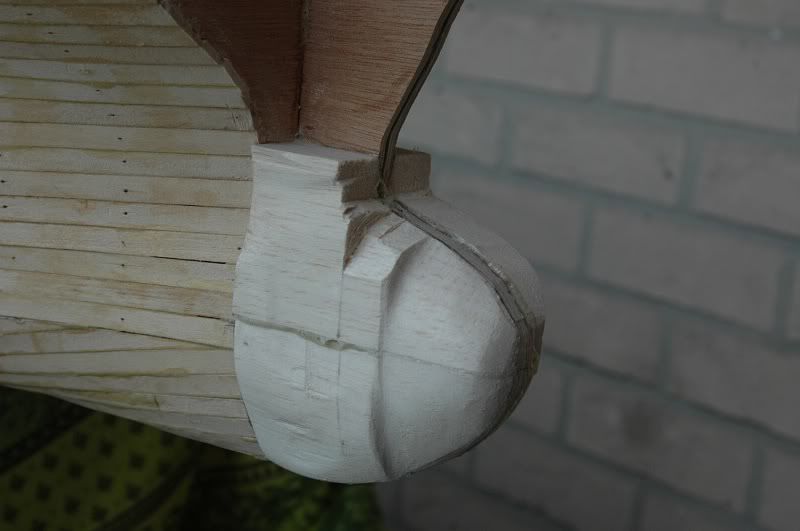
Anyway I'm still thinking about that stern and the dimension problem there, but with the good weather I decided to tackle the bulb first. At first I thought of going from wide and large towards small, but I changed method and went from small to large (forward to aft) following the frames step by step. First I cut the blocks to shape using the linesplan taken from the top to have the biggest horizontal cut. After that I glued them in place. Next step was to cut small triangles away from the block to reducing sanding work. I also made a transverse cut to avoid the triangles shaving off too far. That way I achieved an edge to lay the sanding block against. to nicely follow the frame up and down.
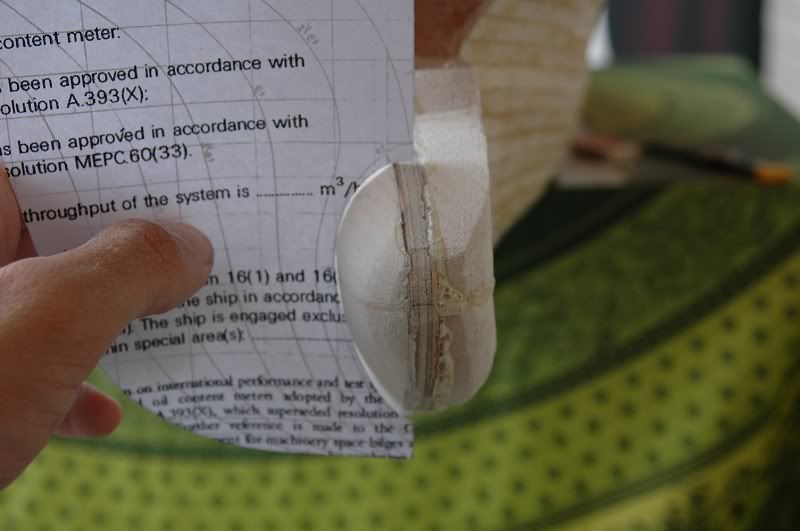
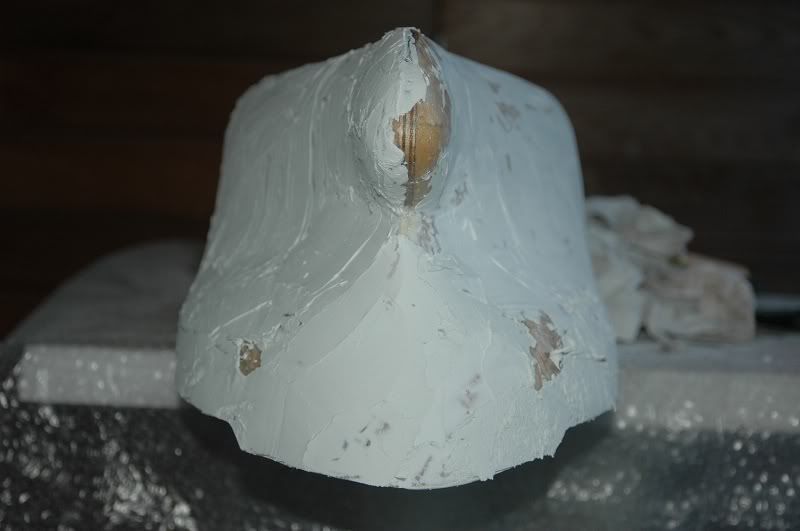
This one shows the edge created by cutting off the parts.
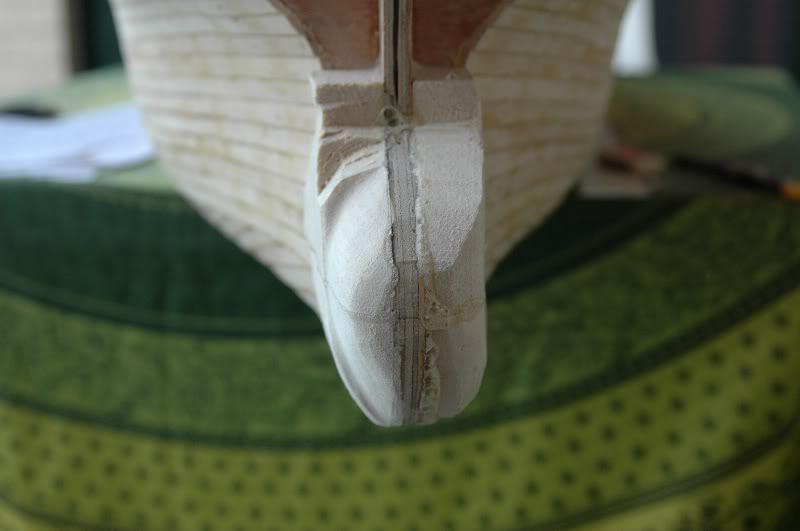
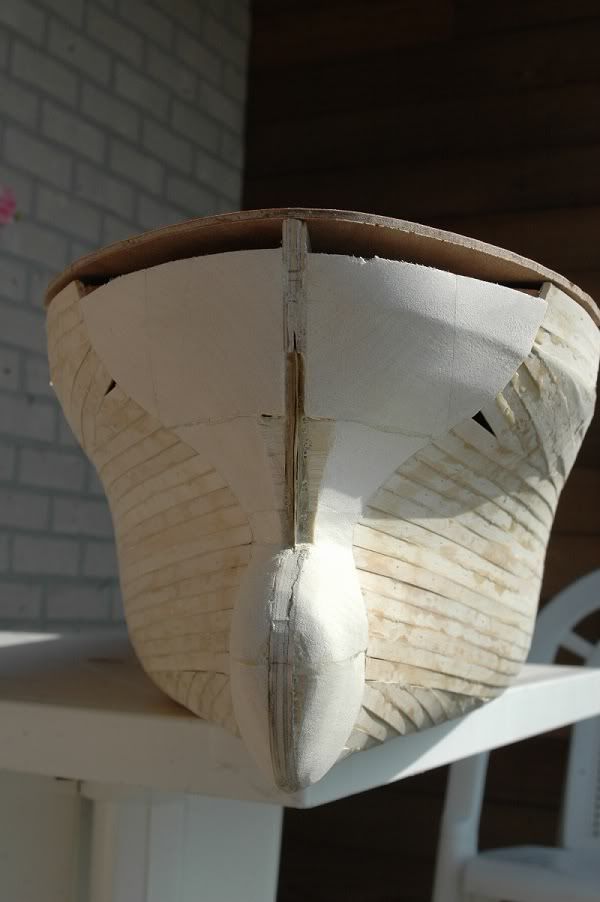
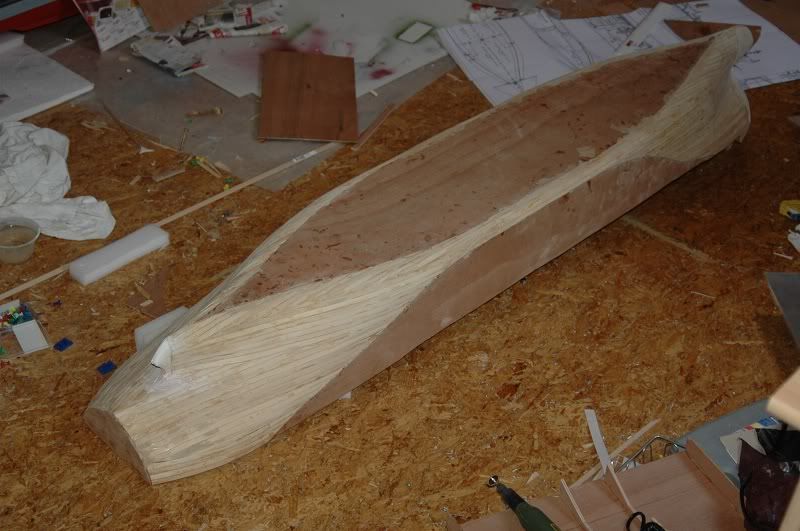
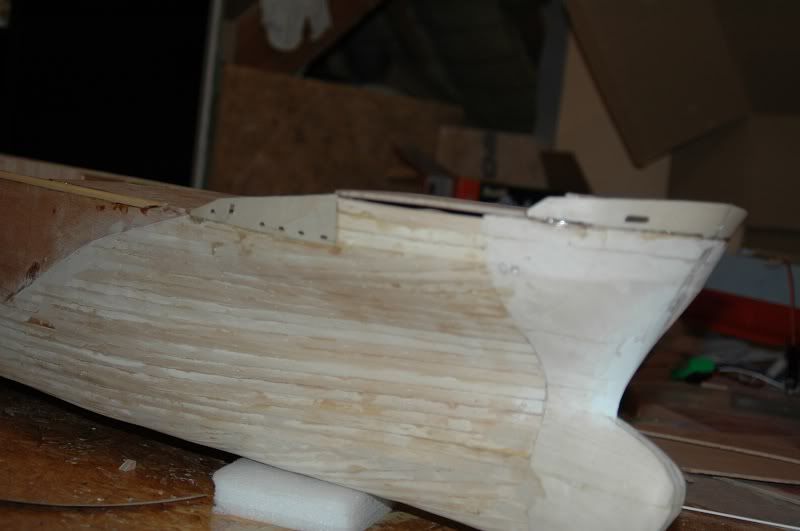
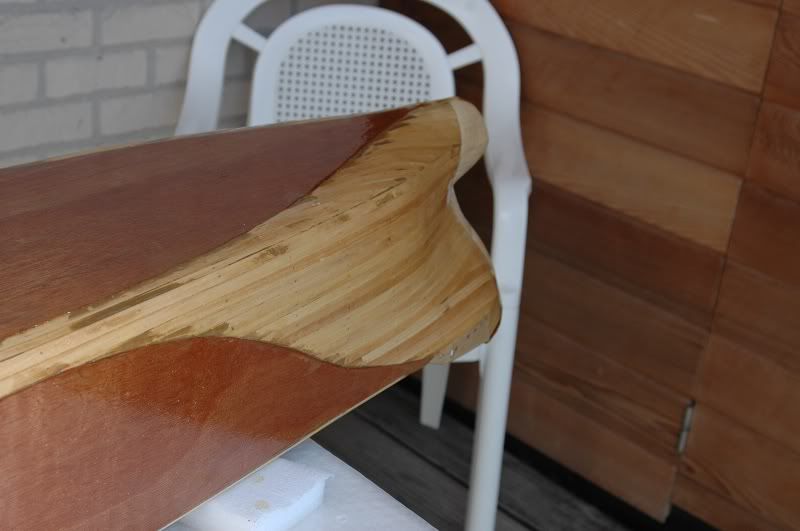
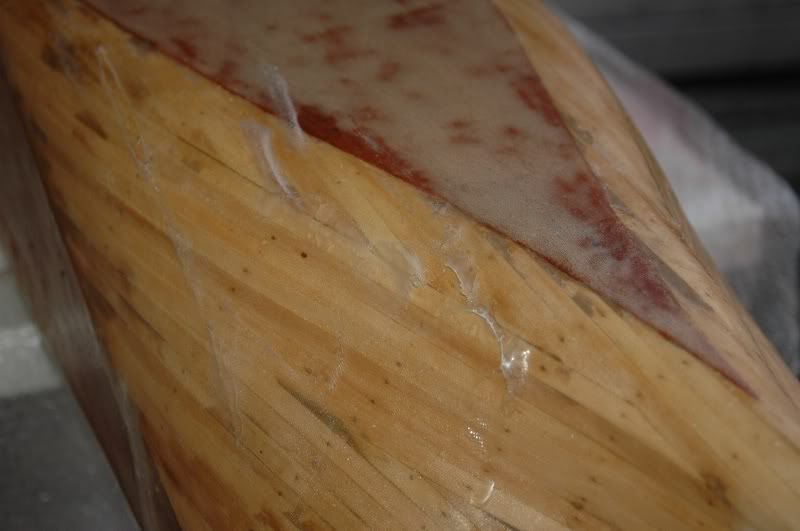
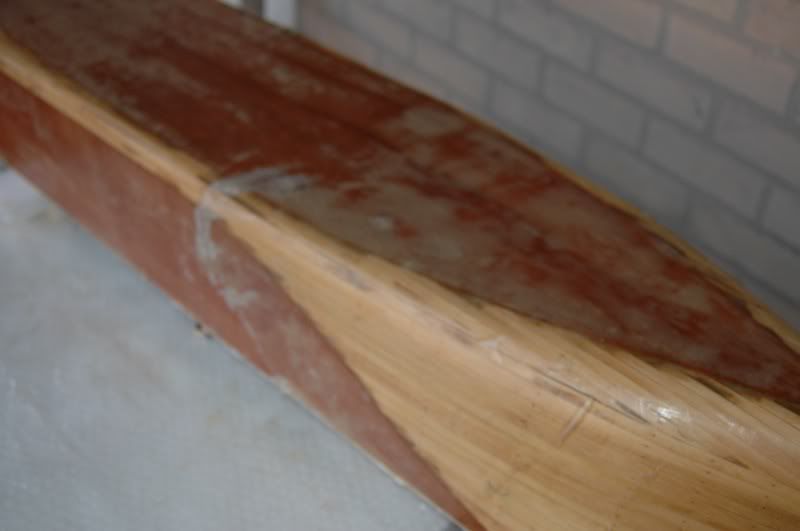
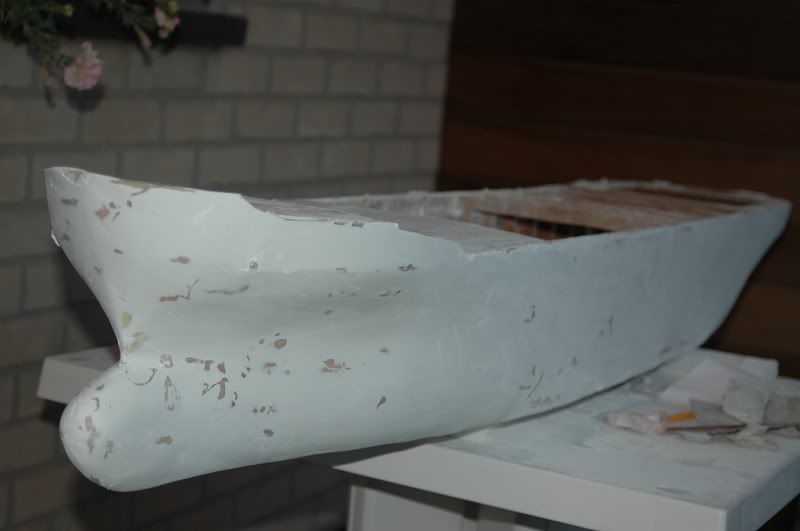
Here you can see the different steps of the process. Forward finished, going towards the cut off parts, ready for sanding and finally towards the hull the rough block.
It came in a bar shape of 5cm x 5cm x 1m, so I'm puzzling them together now.
Anyway I'm still thinking about that stern and the dimension problem there, but with the good weather I decided to tackle the bulb first. At first I thought of going from wide and large towards small, but I changed method and went from small to large (forward to aft) following the frames step by step. First I cut the blocks to shape using the linesplan taken from the top to have the biggest horizontal cut. After that I glued them in place. Next step was to cut small triangles away from the block to reducing sanding work. I also made a transverse cut to avoid the triangles shaving off too far. That way I achieved an edge to lay the sanding block against. to nicely follow the frame up and down.
This one shows the edge created by cutting off the parts.
Here you can see the different steps of the process. Forward finished, going towards the cut off parts, ready for sanding and finally towards the hull the rough block.