Page 11 of 52
Re: APA project
Posted: Sun Jul 19, 2020 7:23 pm
by Fliger747
Current progress USS Randall APA 224. Starting to high the booms, very tedious progress!
Re: APA project
Posted: Sun Jul 19, 2020 8:36 pm
by BB62vet
Tom,
Well, your RANDALL is really shaping up nice!! I like the details on the after cargo boom - very intricate!!!
Hank
Re: APA project
Posted: Sat Jul 25, 2020 1:16 am
by Fliger747
A hiatus in progress. The cargo boom rigging can be very frustrating, sometimes two steps backwards, a learning process! I have been experimenting with the fly tiers UV setting adhesive, which sets reliably in a couple of seconds when the UV light is shined on it. Currently I am using black thread for the wire rope and white thread for the manila line used for preventers etc. I run the thread through wax (XC Ski Wax in this case) to knock down any fuzz.
Cheers: Tom
Re: APA project
Posted: Fri Aug 07, 2020 9:15 pm
by Fliger747
Slow progress, what I need is a spider to spin the web!
A few photo stack issues here, but you get the idea.
Re: APA project
Posted: Sat Aug 08, 2020 10:21 pm
by Fliger747
Absolutely tired of rigging for a little bit, I decided to build three more P Boats as I like the first one so much.
So roughing the hulls out of basswood (2 layers) for carving, sanding and all the other fix's.
Re: APA project
Posted: Sun Aug 09, 2020 8:47 pm
by Fliger747
After building over a dozen LCVP's you can see where I was desperate to not rig to embark on yet another three 'Pee" boats.
Hulls primed, it's of course the deck fittings and interiors that are time consuming.
Re: APA project
Posted: Tue Aug 11, 2020 10:12 pm
by Fliger747
Pee Boats in primer. Still missing the handrails along the gunwales. A problem that crops up time to time being 400 miles from the nearest hobby shop and not having the appropriate material on hand.
Re: APA project
Posted: Thu Aug 13, 2020 9:06 pm
by Fliger747
2 of the three new P-Boats. If I build any more boats the model would disappear under the pile of small craft. Maybe a tank or truck to occupy one of the LCM's. Though I expect due to crane capacity such weren't slung over the side till the LCM's were alongside.
Re: APA project
Posted: Fri Aug 14, 2020 11:21 pm
by Fliger747
Question for those who might know. Did small craft such as LCVP's and P-Boats use deck blue on the horizontal surfaces?
Re: APA project
Posted: Fri Aug 21, 2020 7:12 pm
by Fliger747
Several photos from today. The rigging is far more extensive than I would have guessed! A long ways to go!
Re: APA project
Posted: Sat Aug 22, 2020 1:31 pm
by BB62vet
Tom,
That's quite the model, well done!!! In spite of it's complexity, the rigging detail is superb!!! Well done!!!
Hank
Re: APA project
Posted: Mon Aug 24, 2020 2:58 pm
by Fliger747
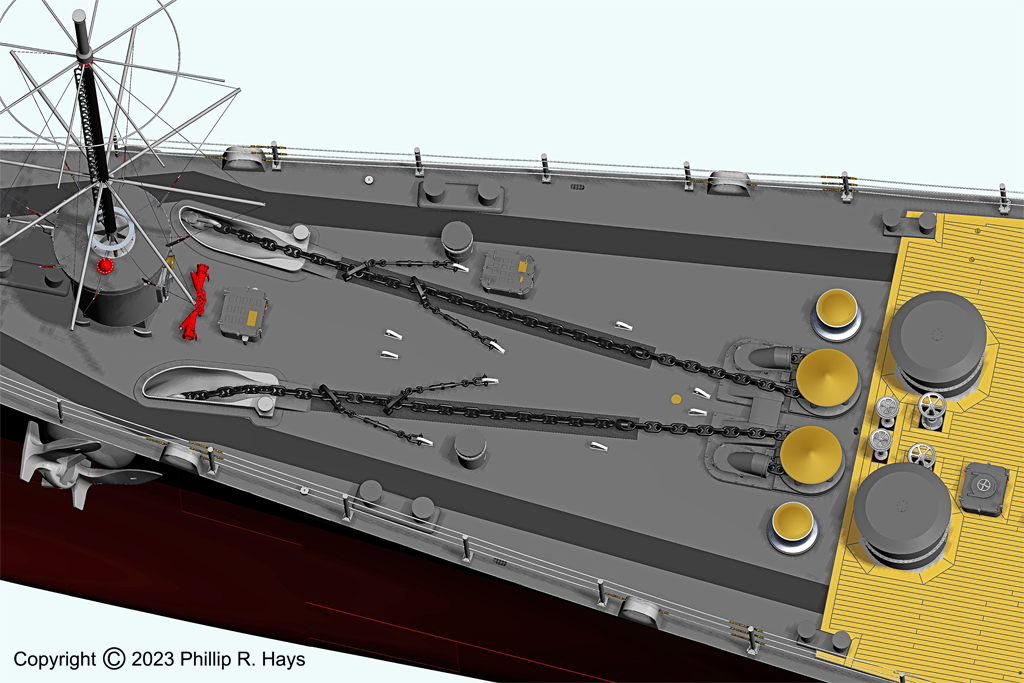
The sort of stuff I am working on right now. Chain Stays with padeyes and shackles. Do you have any idea how many shackles are on a ship of this size?
Re: APA project
Posted: Thu Aug 27, 2020 12:19 am
by DrPR
By "shackles" do you mean the whole assembly?
These are called "stoppers." They consist of an attachment point to the deck, a shackle attached to a a short section of chain with a turnbuckle in the middle and a pelican hook.
You can see some photos of the anchor chain stopper assemblies on a cruiser here:
https://www.okieboat.com/Free%20steaming.html
Scroll down the page to the part about dropping the anchor. The stoppers on the APA would have been similar. Usually there were two stoppers per anchor chain.
After the anchor is hauled in (weighed) with the wildcat and the brake was set the stoppers were attached to the chain to secure it. Then the brake was released on the wildcat to release tension. The stoppers are what holds the anchor in place when they are not being used.
Also note that there was a swivel link in the chain between the stoppers and the wildcat. You can see the whole assembly in this image:
https://www.okieboat.com/Copyright%20im ... 24%20C.jpg
See the Naval Ships Technical Manual S9086-TV-STM-010/CH 581 R3 for Anchoring page 69 for chain assembly and page 78 for stopper assembly:
https://www.google.com/url?sa=t&rct=j&q ... 1HzuZV5V48
Phil
Re: APA project
Posted: Thu Aug 27, 2020 12:42 am
by Fliger747
Phil:
Not for anchoring but setting the standing and running rigging.
These are variously used to fix the preventers at deck level when they are positioning the booms. Via block and tackle (usually using the cathead on the winch) the position is set by hauling in the manila line and the chain which is attached via a bridle is attached to the deck.
At the either end of the model chain is a small shackle soldered from fine brass wire. At the padeye end one is used to attach the chain to the padeye, which will then be attached to the deck (easier that way) and the other end another shackle to attach to the eye in the wire rope, bridle or manila line as appropriate.
A little small for me to do other than approximate by bending a U in the fine wire and then soldering a bar across the bottom. I've already made a couple of dozen of the little buggers and never seem to see an end to applications for them.
Cheers: Tom
Re: APA project
Posted: Thu Aug 27, 2020 1:36 pm
by Fliger747
The chains are used to secure the preventers, positioning the boom. They are worked via the catheads and secured with the chains. Attached to each other with a bridle.
Re: APA project
Posted: Sat Aug 29, 2020 10:01 pm
by Fliger747
Rigging: (Sound of muffled scream from the workshop)
Elbow smashes very delicate hand assembled three pipe rail...
Oh well....
Re: APA project
Posted: Tue Sep 01, 2020 3:42 pm
by Fliger747
I make these as needed, with a seemingly never ending requirement. With some luck we make progress in our model building, sometimes too late for the current project. I figured out (finally) how to imitate a wire spliced end using contact cement, after getting 85% through the rigging. I used to be able to make a splice in line faster than most people can tie a bowline.
Re: APA project
Posted: Tue Sep 01, 2020 4:39 pm
by Fliger747
Beginning to rig the fore part of the ship. Note that the Whelan Davits are not yet attached, it would be even more difficult to rig here with them in place. The bridge deck is also removable still for this reason.
Re: APA project
Posted: Wed Sep 02, 2020 7:43 am
by Ian Roberts
Truly fantastic work in this thread... I'm really enjoying the amount of detail and the serious technical research going into this model!
Re: APA project
Posted: Wed Sep 02, 2020 11:42 am
by Fliger747
Thank You Ian:
The Haskell Class APA's were a large class and there is some reasonable information available but it's not like a popular subject (one that I like) such as the Fletcher Class destroyers or an Iowa Class Battleship. When I was very young my dad, a Pacific USN veteran took me to the movie Away All Boats and this is an attempt to recreate the ship USS Randall which was used in the movie. As the Randall in the movie has had some changes postwar, though not as many as some, interpretation is needed. I expect during the war she had the tall slim vent poles directly in front of the bridge. I have made these but not decided to install them as yet as they were not there during the 50's.
As a modeling exercise I have decided to use no commercially made parts or fittings. Certainly assembling a ship using the many available parts from PE or 3D would save a lot of time, and perhaps be more accurate and detailed, but that's not the point of my modeling, it's the challenge. using available photos reveals many small details and it's fun to provide as many of these as possible. As it turns out there will be hardly a square inch of the model without some item. The choice of 1:120 turned out to be a convenient one for total scratch building as almost no one uses it. As that turns out 1"= 10 feet, great to quickly scale parts with a digital caliper and more or less directly read the dimensions. This came about as I had originally constructed the hull some 55 years ago and it turned out that that what the scale was. Dimensionally correct in every respect except length, it required a midships plug. A commitment when I sawed it in half on the bandsaw!
It's fun and keeps me busy during the current goings on. Cheers: Tom
Some items will be re constructed and replaced, the prop being one, not quite happy with that as it is.