Thanks again, gentlemen !
***************************
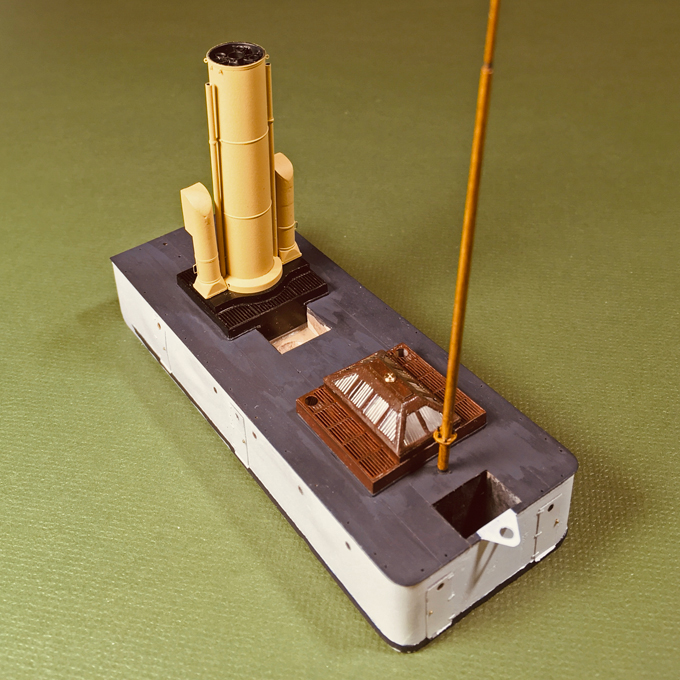
Mounting the model
In another thread the question was raised as to when (permanently) mounting the model. It is a question of scale, of course, and also whether we are looking at a full-hull or a waterline-model. Smaller scale model can be very delicate, while larger scale models tend to be inherently more robust. A waterline-model may not offer you a lot of positions from which you can grab it during construction and final mounting. So, in general, it will have to be done earlier than for a full-hull model. In this particular case, adding more delicate items, particularly also those outside the hull, would make it almost impossible to handle the model without damaging it. Therefore, it was decided to prepare the mounting now.
The base-plate, a piece of 20 mm thick, MDF, forms an integral part of the display case that had been constructed earlier. To this the model will be fixed with a single wood-screw from the bottom. The hole in the model for this had been drilled early on in the construction process. I did not envisage to have to mount and unmount the model frequently, otherwise I would have embedded a threaded nut into the bread-and-butter hull and used a machine screw instead.
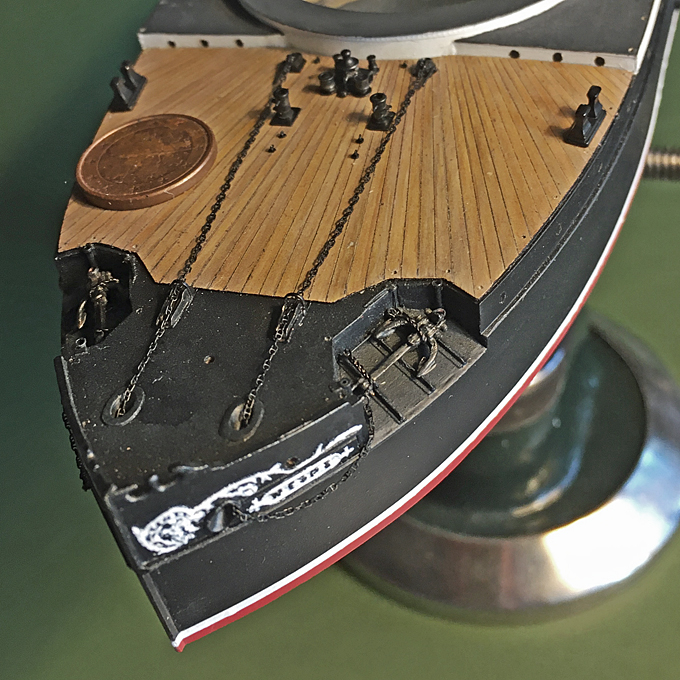
With hindsight, I perhaps should have extended the hull a bit more than just 2 mm below the waterline. The 2 mm are not that much to model the sea, but would translate into a wave-height of around 32 cm or a good foot.
The scenario I imagined for the presentation is that the ship moves in a rather calm sea, but at moderate speed (the max. speed of the WESPE-class was only around 10 kn anyway). The weather is fine, with sun and a light breeze � a summer day on the North Sea or the Baltic.
There is only one image I am aware off, that shows one of the boats moving, S.M.S. NATTER moving slowly along the Kiel-Kanal. Therefore, we do not really know what their wave-pattern would have looked like. The bow is quite full, it has a ram protruding below the waterline, and hard bilges with a flat bottom. In a way, this is the form of our river freighters. Therefore, I looked around on the Internet for pictures that show such ships on the move. Of course, there is a difference in wave patterns due to the restricted water depths in river channels. The wake would be more or less a Kelvin pattern with the waves radiating from the ship with an included angle of around 40�. The base is not much bigger than the ship to allow close-up view of the model, so there is actually not so much sea to model.
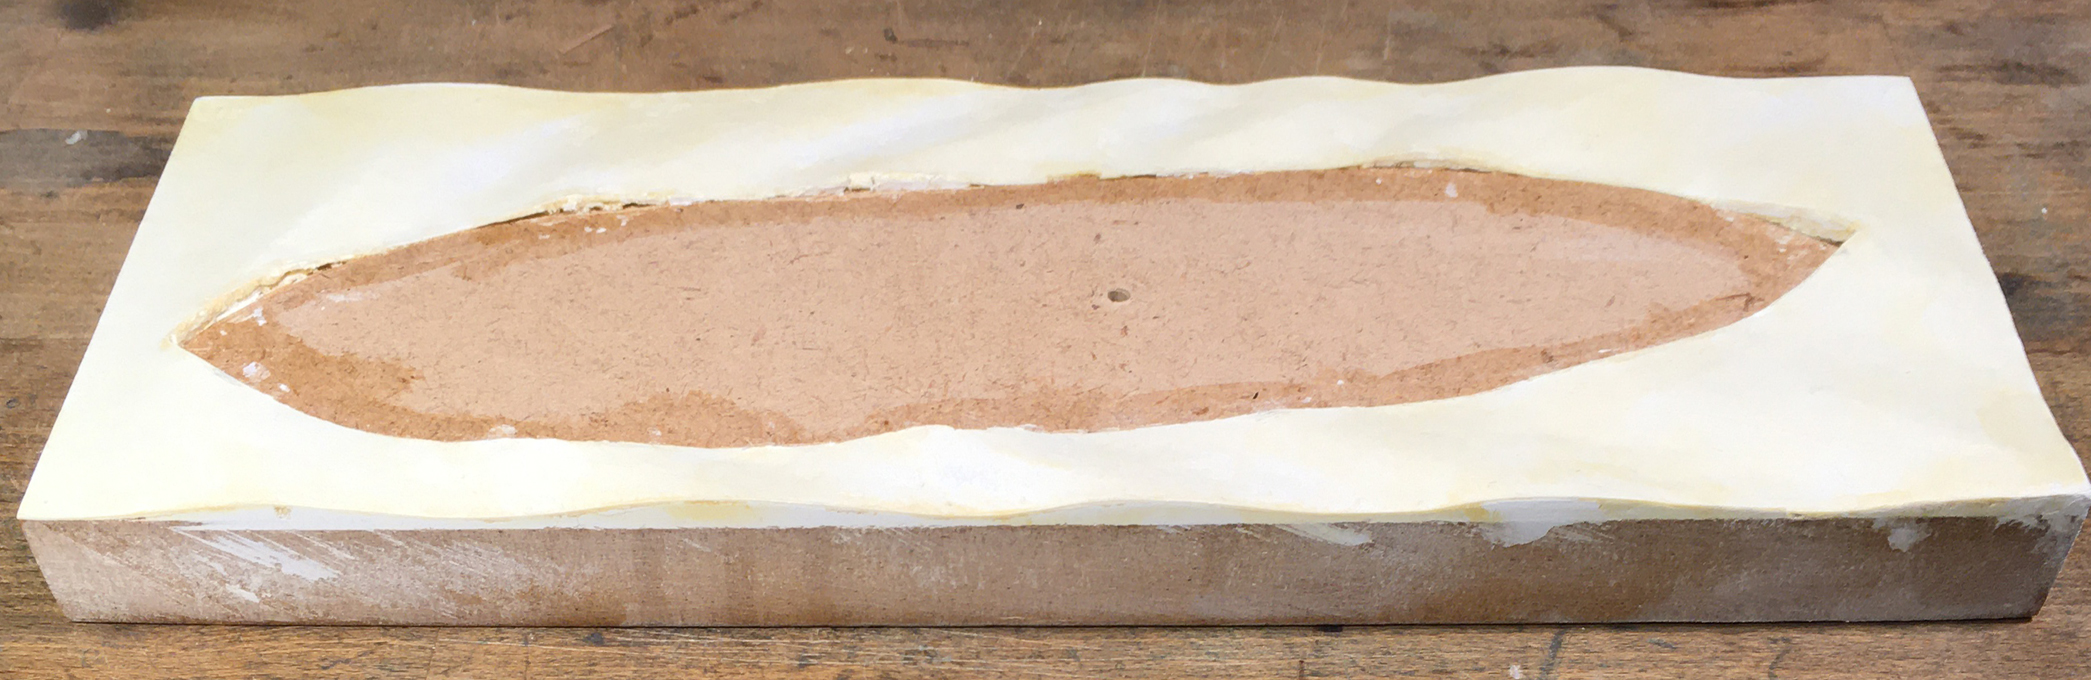 Base-board covered in moulded water-colour paper and primed
I decided to try something new (for me) and instead of sculpting and carving the sea from plaster of Paris, as I had done in the past, I used a sheet of thick water-colour paper. The waves were formed by placing thin scraps of acrylic foam (because I happen to have some) underneath and then gluing it down with white glue, working from the bow to the stern. The space for the model was cut out first, of course. Once the glue set, the paper was trimmed to size. The gaps under the paper were filled with acrylic wood-repair putty and the edges sanded smooth once the putty had set. At this stage also the fit of both, the model and the display case were checked and small corrections made. Finally, the whole base was given a coat of sanding filler to seal the paper and the wood. The edges were sanded smooth again.
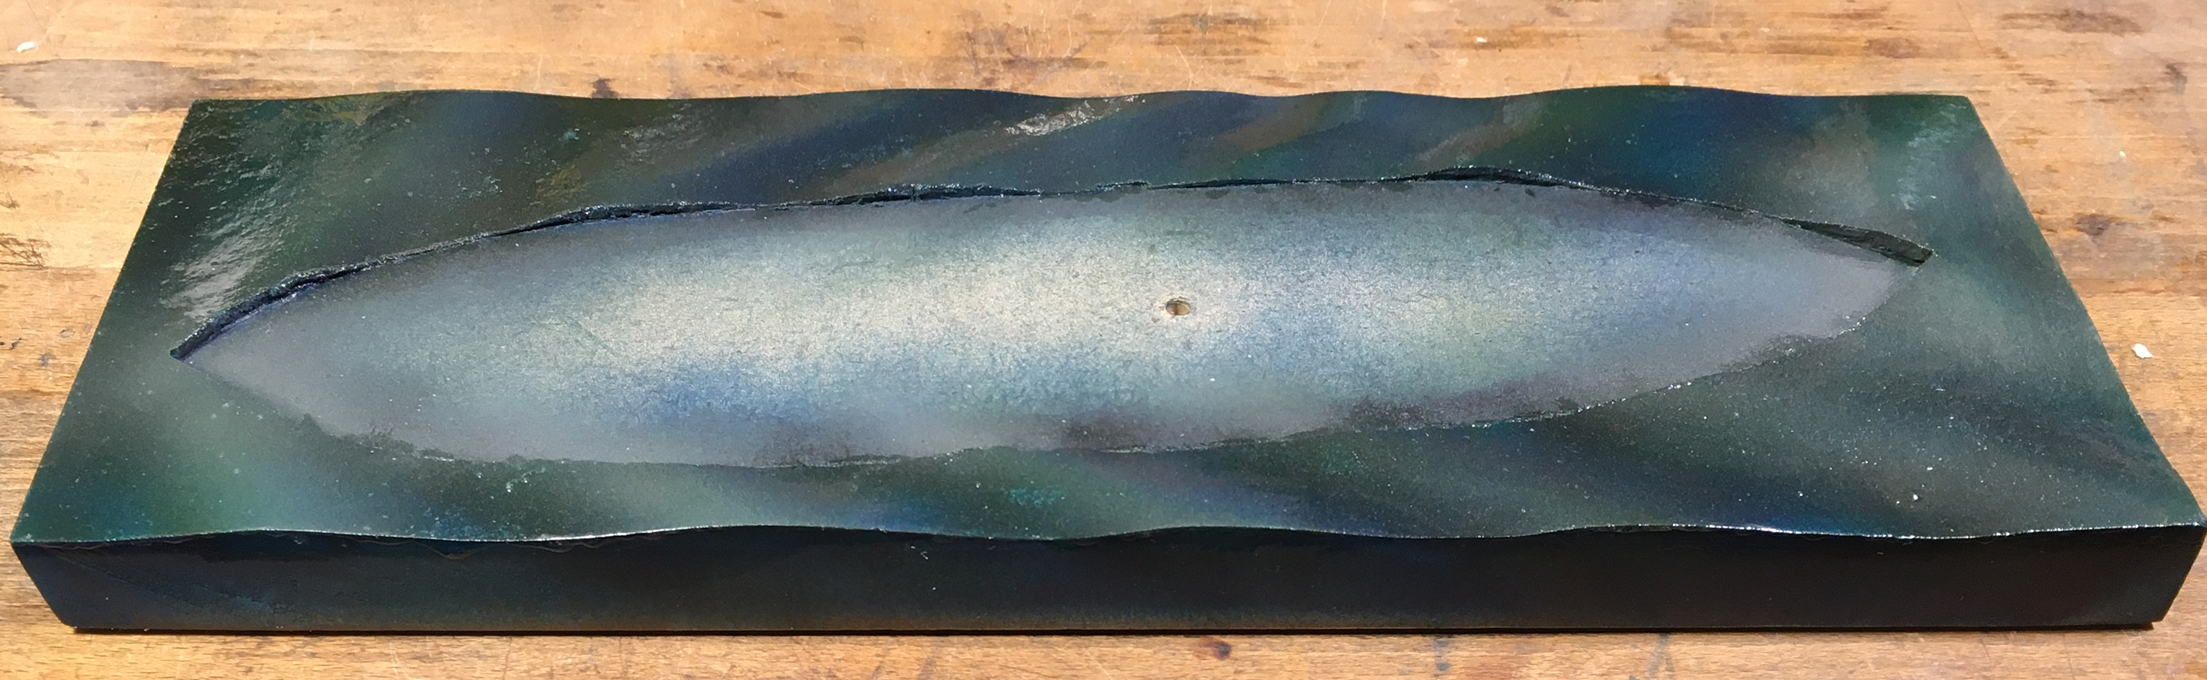 Base colouring sealed with gloss varnish
Painting proceeded in several steps. First a coat of Schmincke AeroColor turquois acrylic was applied by airbrush. However, the paint was applied in a glancing fashion against the direction of the waves. A second coat using Vallejo ModelAir �steel blue�, again glancing, but with the waves was applied. Here in this application, it is not really apparent, but when there are shorter, steeper waves modelled this causes a colour change effect, when you look at the sea-scape from different angles. The front of the waves then was lightened up somewhat by a light spray of Schmincke AeroColor chrome-oxide green and the crest areas further lightened up with a light dust of Vallejo ModelAir �hemp� to give the sea a flatter green appearance. This base colouring was sealed by two generous coats of acrylic gloss varnish applied with a flat hairbrush.
In the next step, the wave crests were modelled using acrylic gel and gel filled with acrylic �micro-balloons�. In the past I actually used crystal sugar as a filler, which works very well, as not all crystals dissolve, but remain as transparent parts. I used this even before I became aware of acrylic gels together with wallpaper-glue and this �icing� is holding up well after 40+ years. Part of the bow-wave was sculpted again in this way.
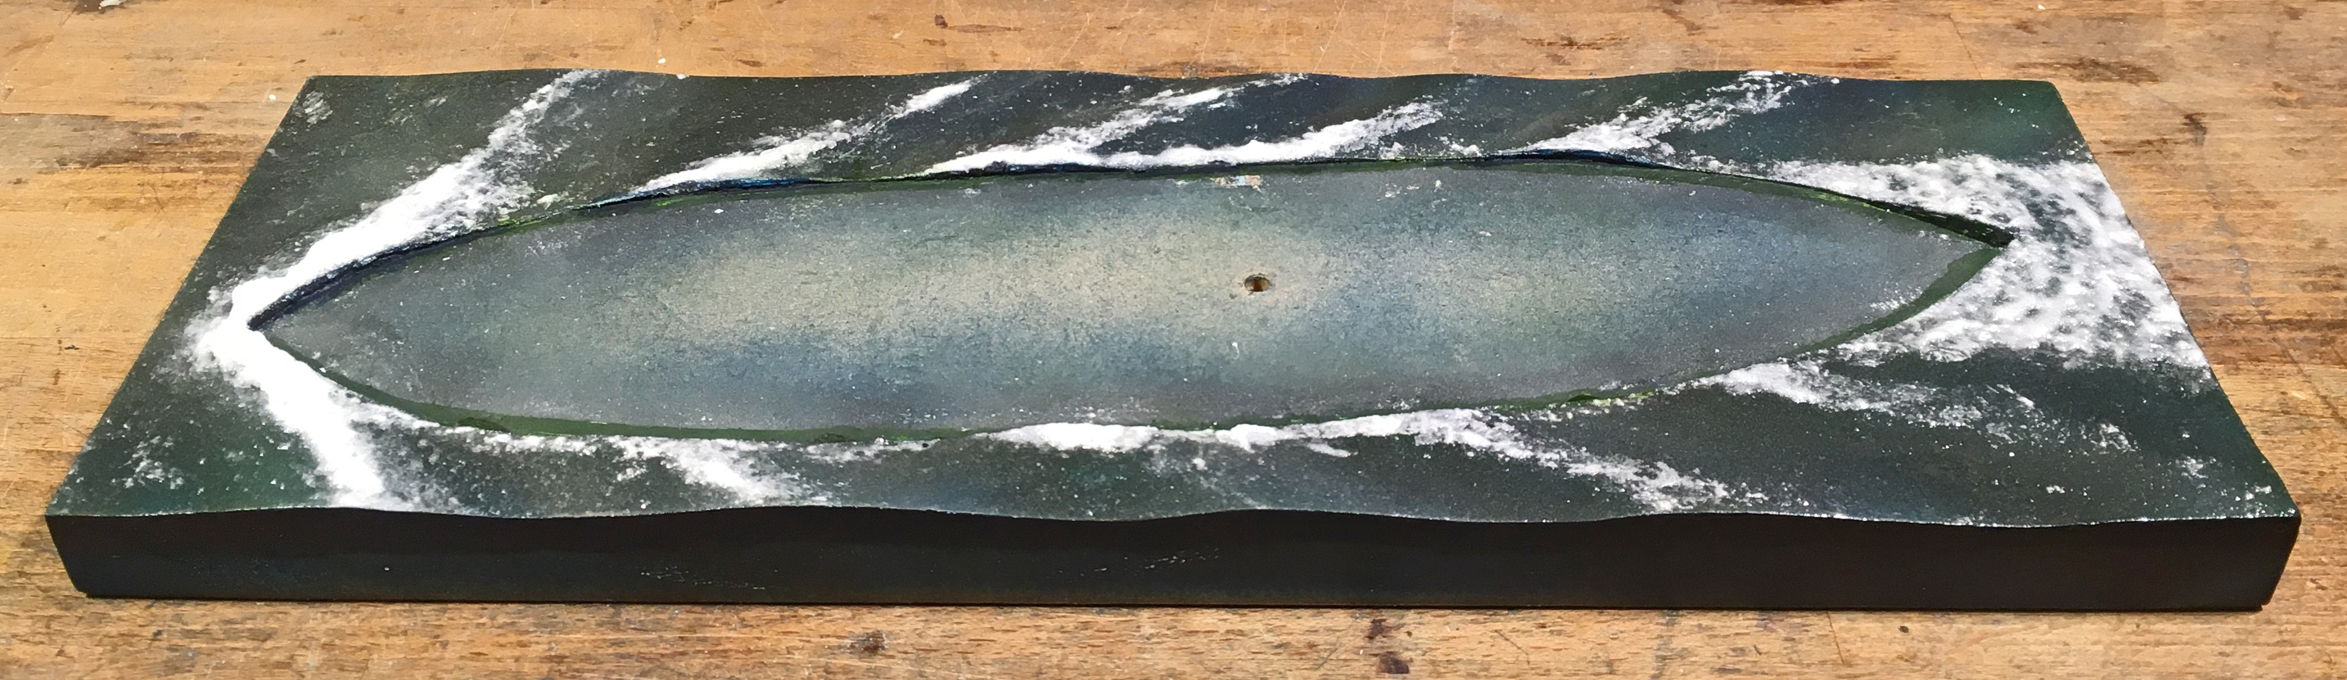 Sea-scape with wave-crests sculpted in filled acrylic gel
With the sculpting of the wave-crests and foam stirred-up complete, the sea-scape was given several more coats of gloss varnish to smooth it out, playing also with more rough areas behind breaking waves, as these should appear more matt. Assuming that the top of the waves would be more exposed to the action of wind than their front, these areas were also stippled with acrylic gel using a bristle brush, simulating the wind rippling that indicates an incoming gust of wind to the attentive sailor.
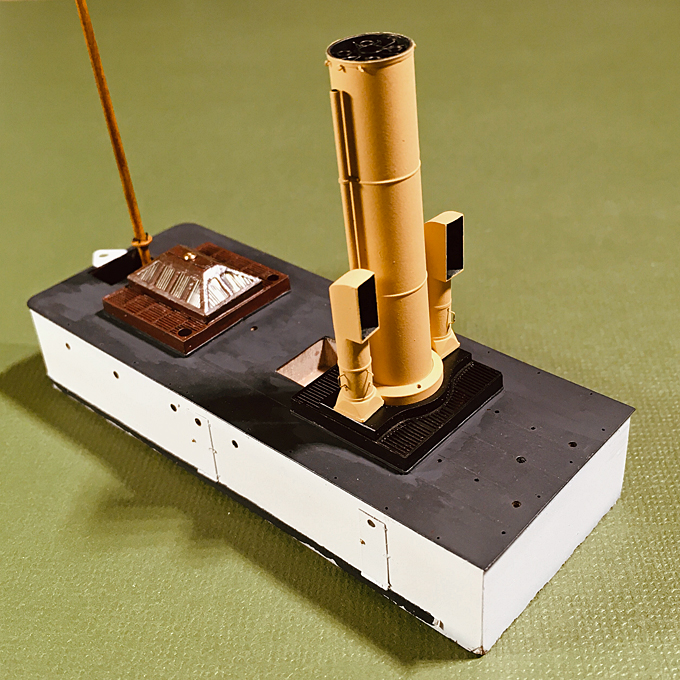
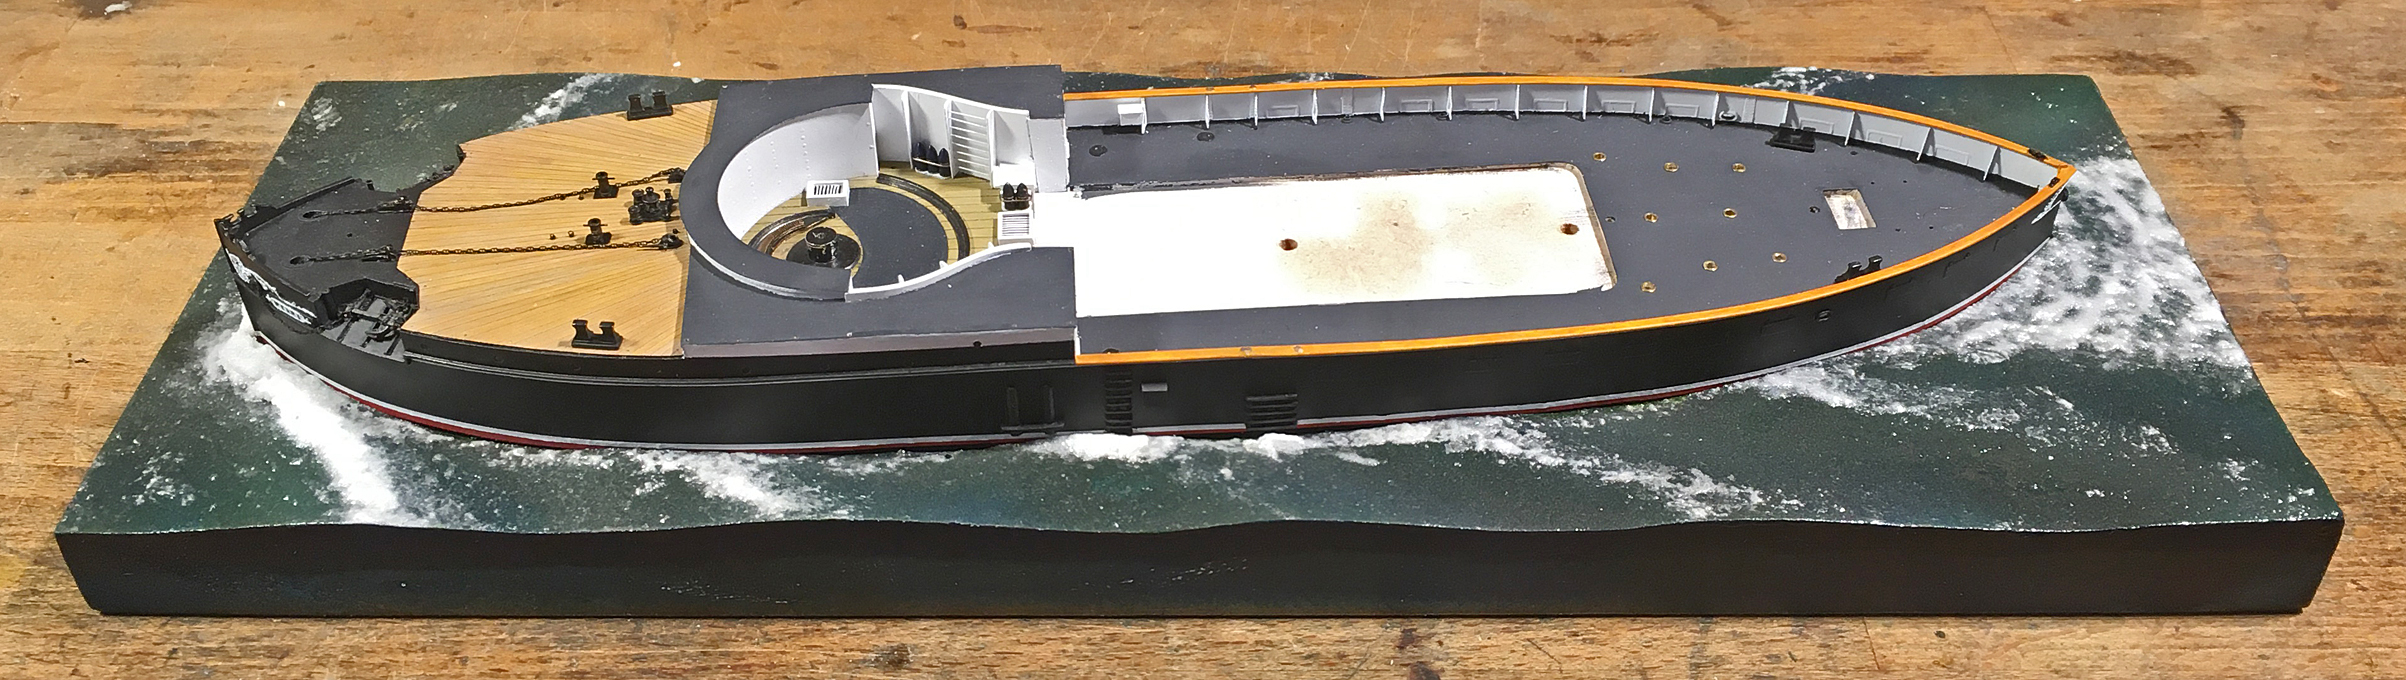 S.M.S. WESPE placed temporarily into the sea-scape
Having prepared the sea-scape in this way, the model will not yet be placed irretrievably into it. Filling the gap between the sea-scape and the model with acrylic gel will be left to the very end, so that the model can be removed, should the need arise.
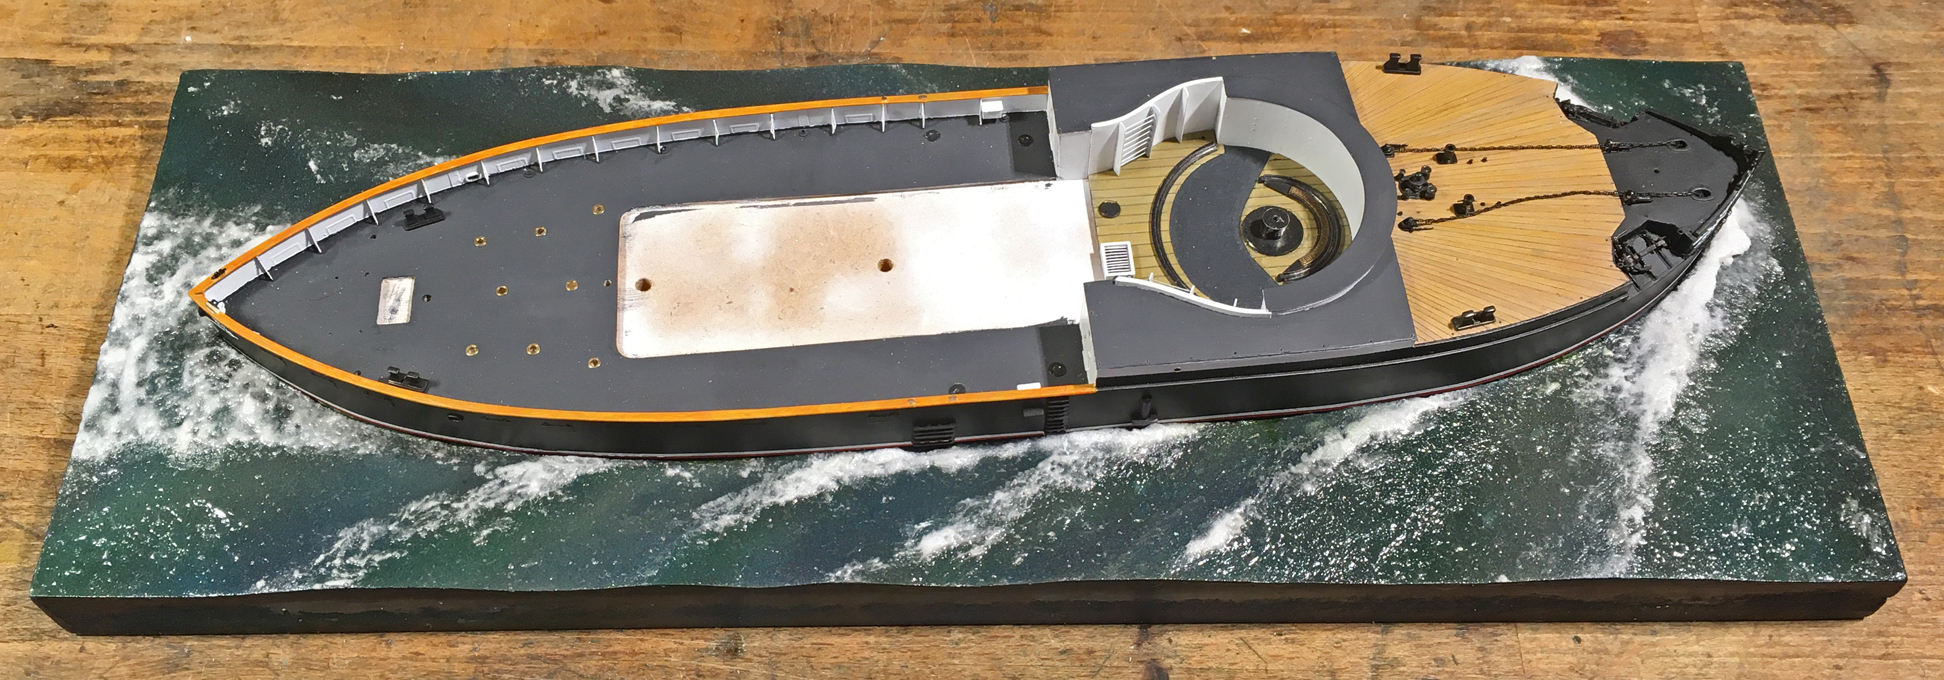 S.M.S. WESPE placed temporarily into the sea-scape
To be continued ....
S.M.S. WESPE placed temporarily into the sea-scape
To be continued .... Usually below the limit where my parts are already airborne!