Page 28 of 57
Re: To HMS Victory and beyond
Posted: Sat Mar 12, 2016 4:55 am
by marijn van gils
Daniel, your attention to detail ever ceases to amaze!

One question: how do you make those long perforations through the end of the catheads, and through their blocks?
Cheers,
Marijn
Re: To HMS Victory and beyond
Posted: Mon Mar 14, 2016 3:18 am
by dafi
Hello Marijn,
thank you for the kind word

The slots were done on the Proxxon MF70 Microfr�se using 0,5 drills and 0,5 milling cutters.
...
Just being back from Augsburg, and I love
Man staring at Ships ...
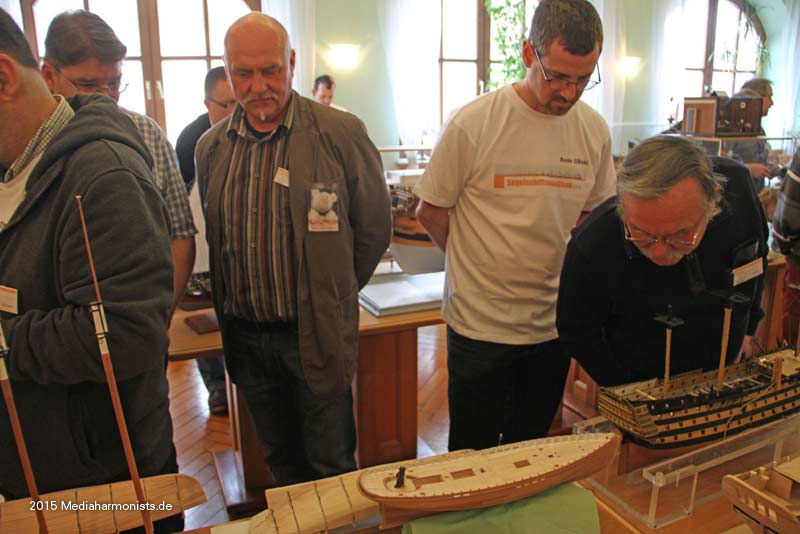
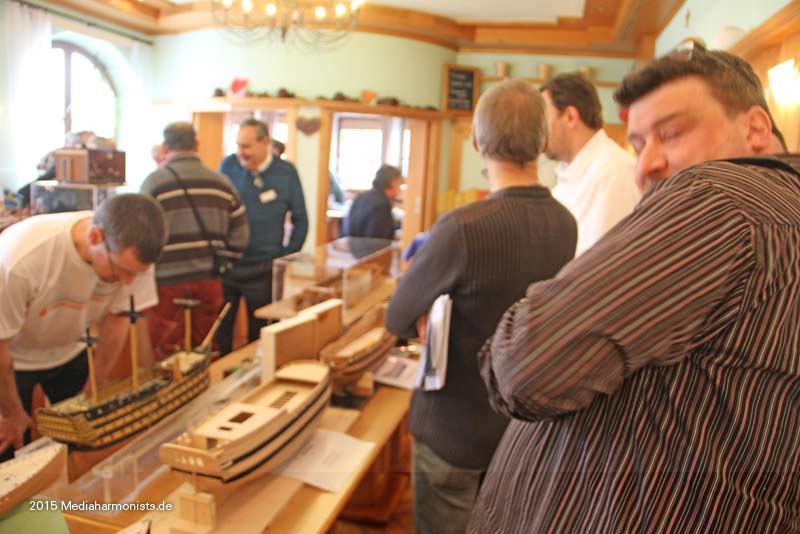
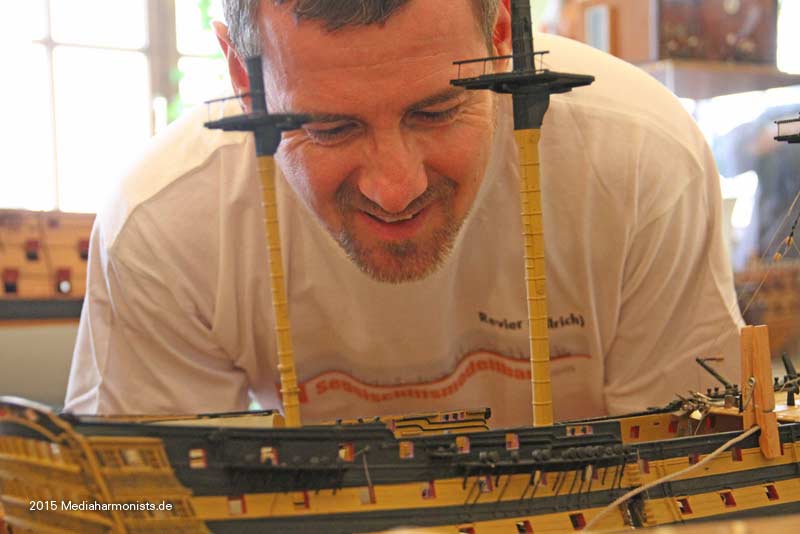
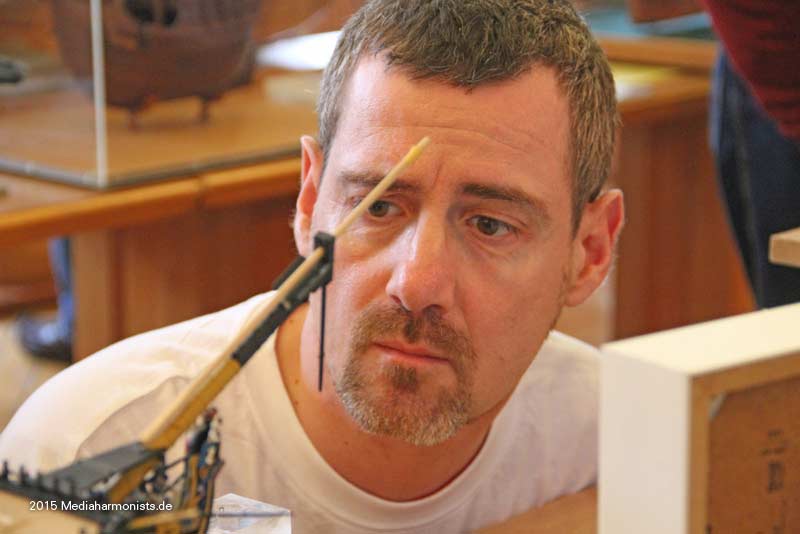
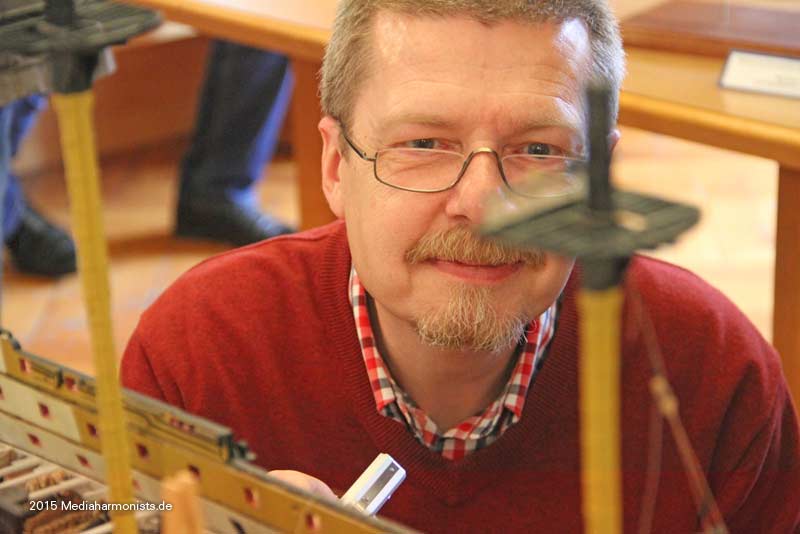
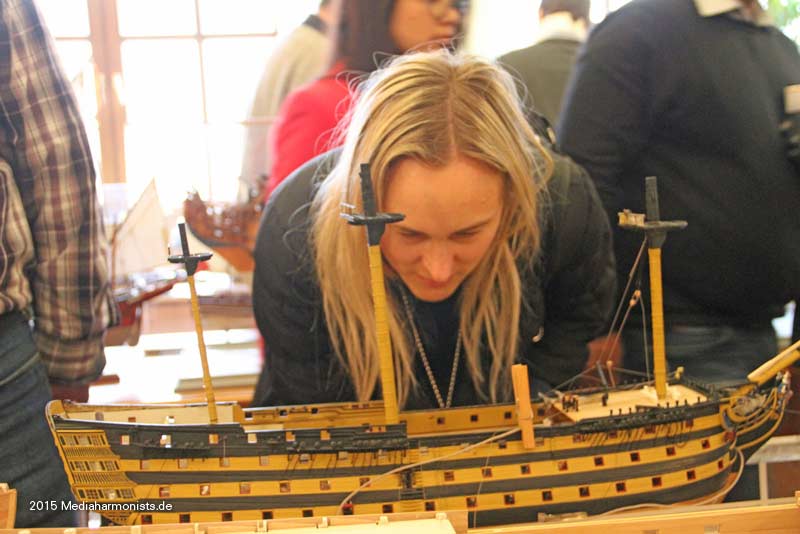
...hihihihihihihihihi...
It was marvelous, more than 70 people and about 50 models, and my small little plastic tub in between
XXXDan
Re: To HMS Victory and beyond
Posted: Fri Mar 18, 2016 9:04 am
by Voyteque
Dear Daniel,
could You please show some short tutorial on how You deal with those Preiser figurines? We see how they are painted but maybe You could show how are they shaped step by step. It would be very helpful!
Thanks in advance,
Voyteque
Re: To HMS Victory and beyond
Posted: Fri Mar 18, 2016 11:28 am
by dafi
Re: To HMS Victory and beyond
Posted: Sat Mar 19, 2016 3:41 am
by Voyteque
Thank You Dan,
I have seen all Your posts in this V. story. As sometimes You show small details being made step by step, I was counting on tutorial in this matter. Especially, I am interested in how You deal with small details, for instance: how do You fill the gaps in material after remodeling? Am I right when I come to the conclusion that You customize clothes with the paper?
By the way - I admire You passion and willingness to share workshop with us. It is great that You do not keep it to yourself! In this kind of work it is sometimes important to know that it is worth something to the others. I hope You know how important it is for many of us who are watching this story.
Best Regards,
Voyteque
Re: To HMS Victory and beyond
Posted: Fri Apr 01, 2016 9:38 am
by Bill Code
Dan , I was looking at your bows work... The netting , is this the same material you sent me with your PE sheet no 4 for the hammock netting ? The material you sent looks a little finer weave to it ! I really like your netting work on the Bow.. looks like you attached a rope on the underside of it that conforms with the bulkheads ?? As always your work is an inspiration to those of us tackling this Beast of a kit !
Re: To HMS Victory and beyond
Posted: Fri Apr 01, 2016 10:03 am
by dafi
Hello Voytec,
sorry for the late reply, had many other things to distract me from model making ...
I basically cut the limbs off and regale them. At this scale the glue is sufficient to fill gaps. It is only for the marines coattails that I use paper. Officers shirts are carved and most sailors do not get any treatment at all, only paint.
There are plenty of small hints hidden in this building report.
Hello Bill,
yes, it is the same material, only that I painted it heavily to give it a bit thicker appearance. I used a cardboard template and a glued-on copper thread to hold the form.
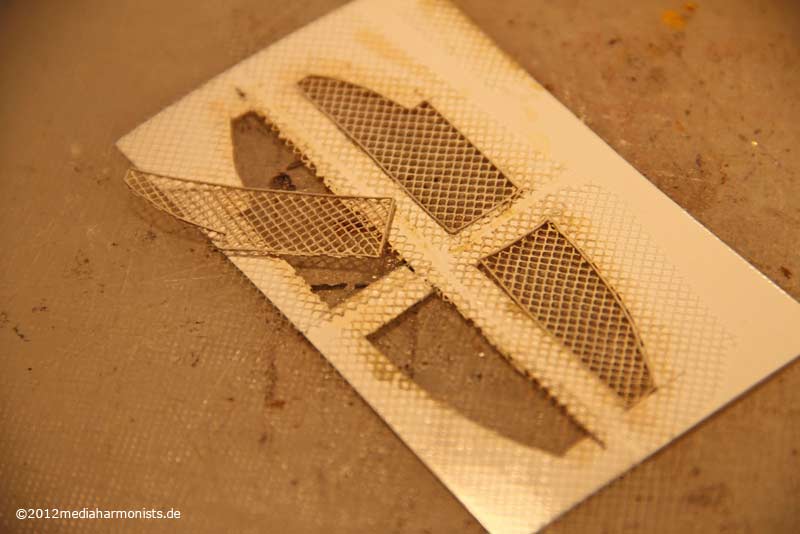
Hope that helps.
XXXDAn
Re: To HMS Victory and beyond
Posted: Fri Apr 01, 2016 10:03 am
by dafi
Hello Voytec,
sorry for the late reply, had many other things to distract me from model making ...
I basically cut the limbs off and regale them. At this scale the glue is sufficient to fill gaps. It is only for the marines coattails that I use paper. Officers shirts are carved and most sailors do not get any treatment at all, only paint.
There are plenty of small hints hidden in this building report.
Hello Bill,
yes, it is the same material, only that I painted it heavily to give it a bit thicker appearance. I used a cardboard template and a glued-on copper thread to hold the form.
Hope that helps.
XXXDAn
Re: To HMS Victory and beyond
Posted: Fri Apr 01, 2016 10:04 am
by dafi
Hello Voytec,
sorry for the late reply, had many other things to distract me from model making ...
I basically cut the limbs off and regale them. At this scale the glue is sufficient to fill gaps. It is only for the marines coattails that I use paper. Officers shirts are carved and most sailors do not get any treatment at all, only paint.
There are plenty of small hints hidden in this building report.
Hello Bill,
yes, it is the same material, only that I painted it heavily to give it a bit thicker appearance. I used a cardboard template and a glued-on copper thread to hold the form.
Hope that helps.
XXXDAn
Re: To HMS Victory and beyond
Posted: Sat Apr 02, 2016 2:23 pm
by dafi
As I do not find much time to do bigger things, I was looking for bits that could be done in smaller steps
And know something very hurtful for all lovers of the classic look, not only the "proposed pink-punk" is new to get used to, much more hurtful and more provable things are on the way

By the "rediscovered" Turner drawings from after the return from Trafalgar one can see clearly the build bulwarks instead of the timber heads. Also 3 ports are to be seen. Compared to the Jotica version I used the smaller holes to give access to the timber heads as seen in the Boyne/Union classes and aft of the waist on todays ship.
Took me some thought to get the smooth curve into all 3 dimensions, so I started with bolting on a base.
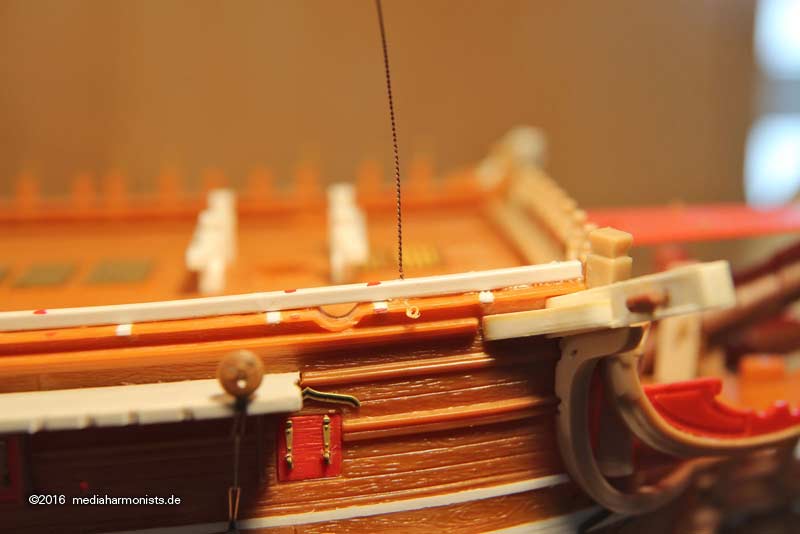
Then determined the position of the ports with some ledger shrouds ...
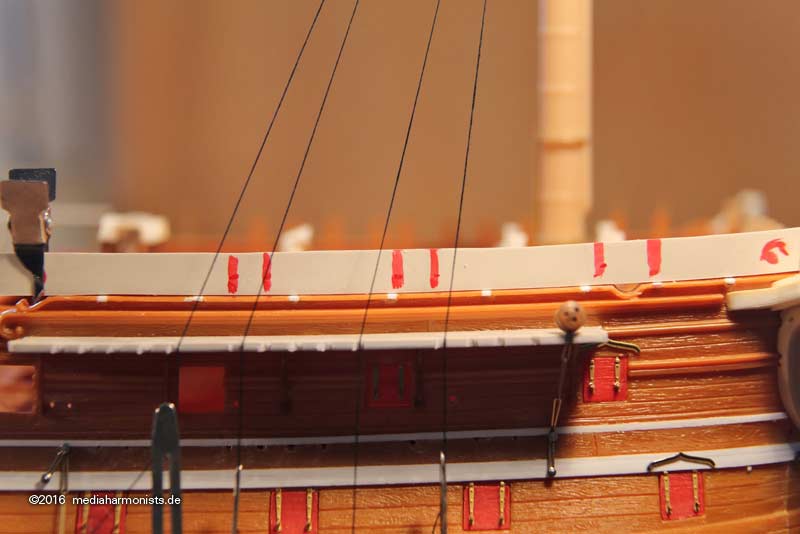
... glued on the inner planking, opened the base at the gunport ...
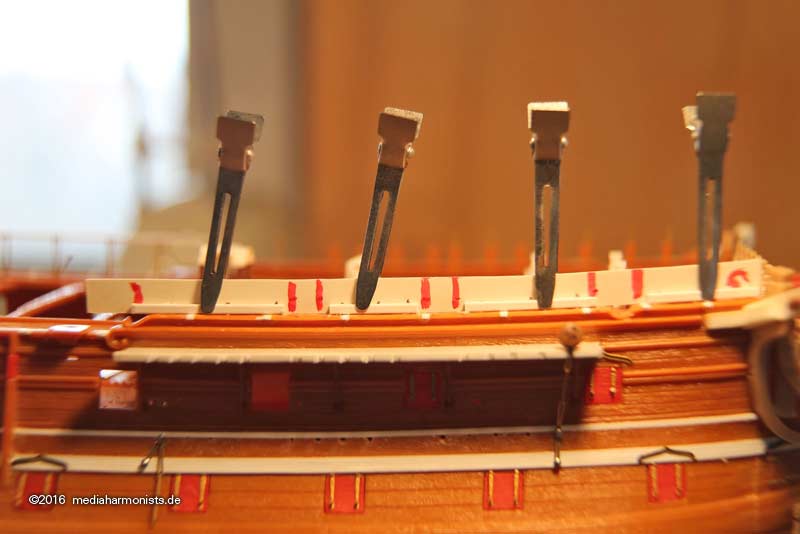
... temporarily placed the timber heads, fixed in the internal structure ...
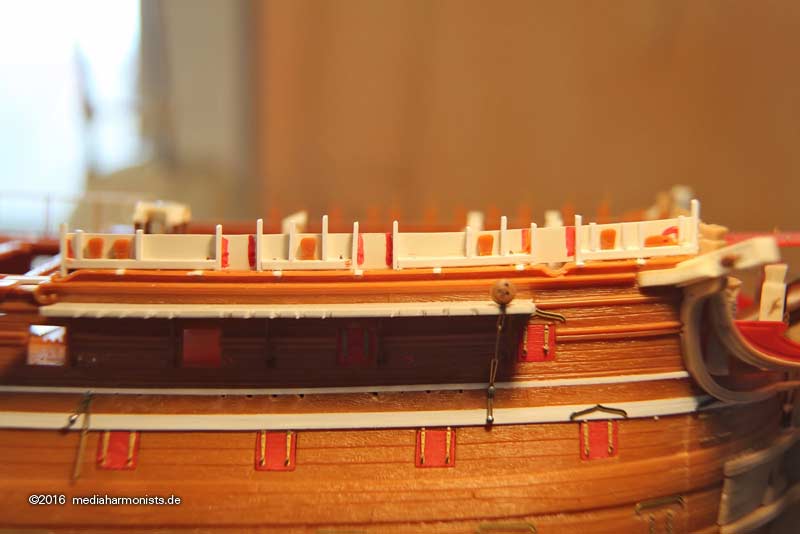
... glued on the outer planking and opened the openings.
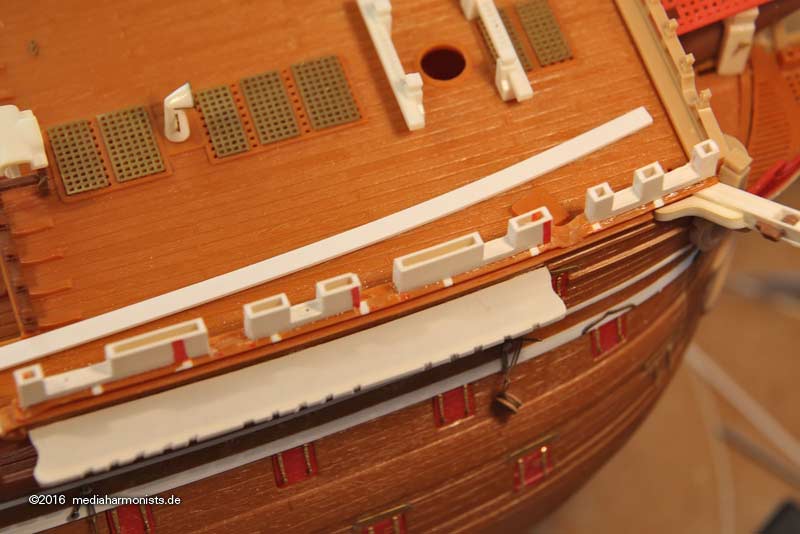
The handrail are two evergreen strips glued together to obtain a nice curve.
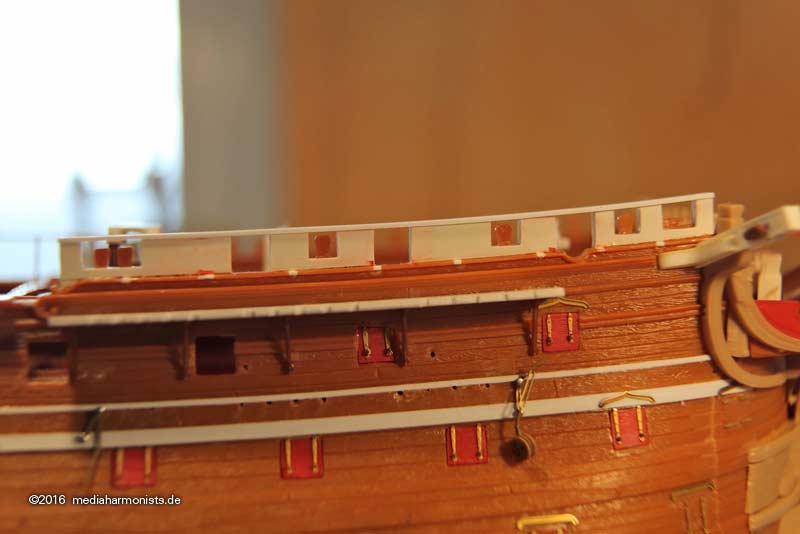
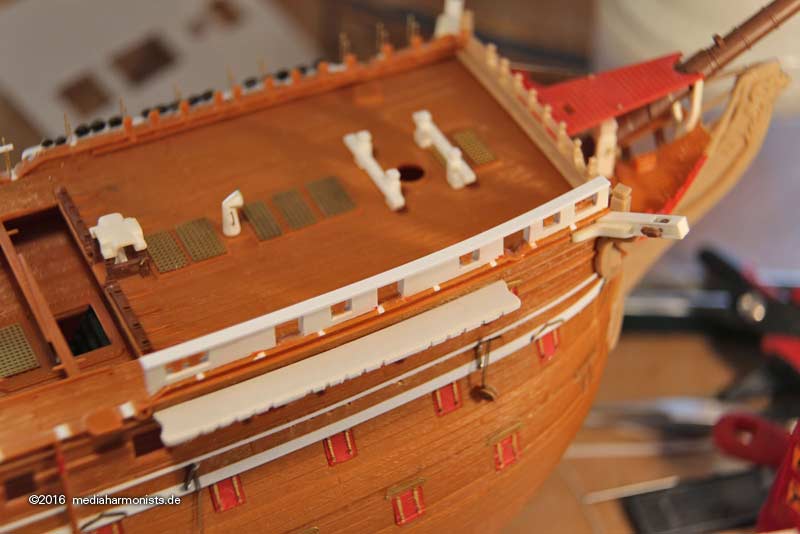
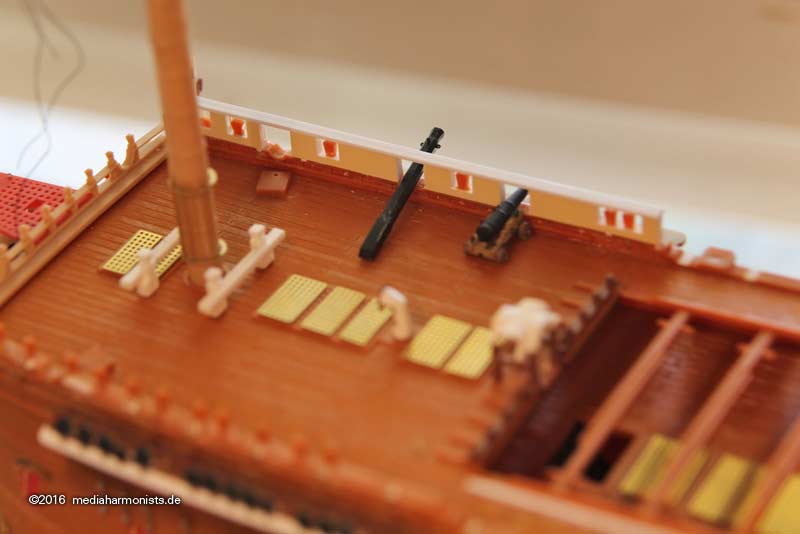
Cheers, Daniel
Re: To HMS Victory and beyond
Posted: Sun Apr 10, 2016 2:55 am
by dafi
And now something completely different
Sometimes research is like a big puzzle, everyone can bring in a piece and suddenly one gets a complete new picture
Happend in our german forum, I was in resaerch of a detail on the poop railing and came out with something completely different but nice and surprising. Being pointed from two different friends towards one detail, once to be seen on the contemporary 1765 model of the Vic and once on a Turner sketch after Trafalgar, one could make out something that was most possibly not a mere decoration frieze but a helm indicator!
And on we went immediately.
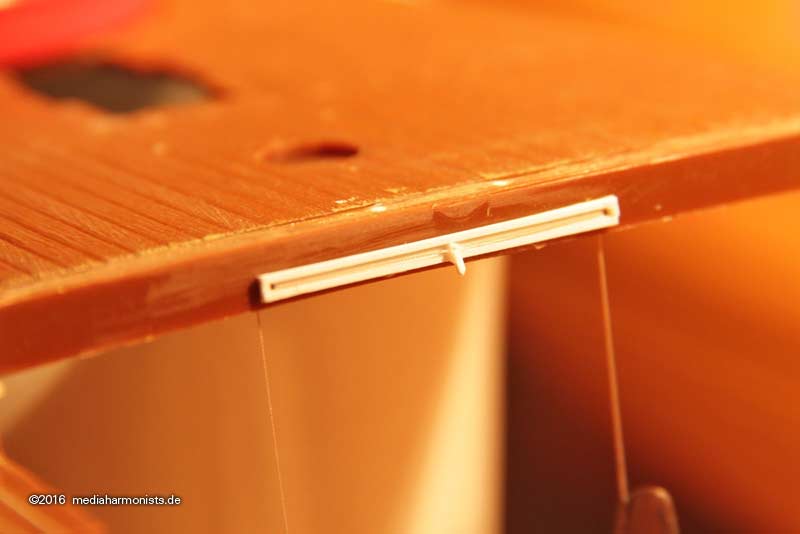
The build was rather simple, a simple slide for an indicator moved by some thin rope to the left and to the right.
The pointer was bit itzy bitzy teeny weeny, a 0,3 mm drill into som 0,6 plastic ...
Victory-helm-indicator_9926.jpg[/img]
... and the test assembly ...
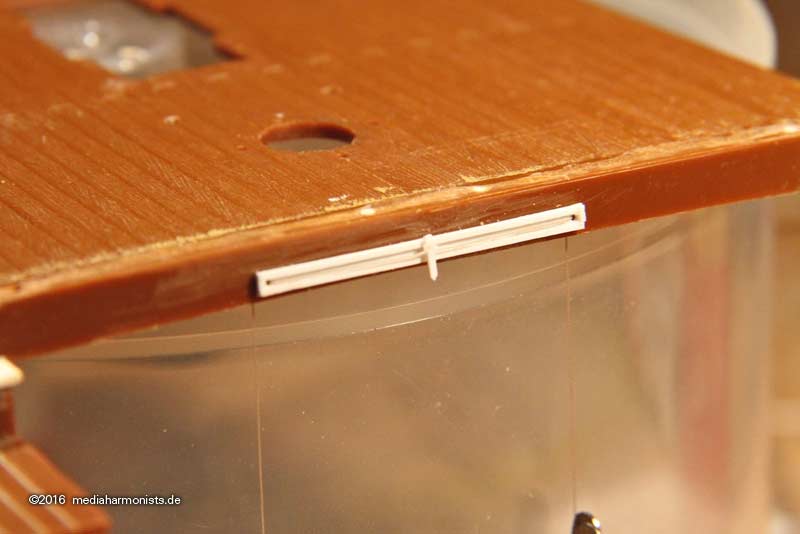
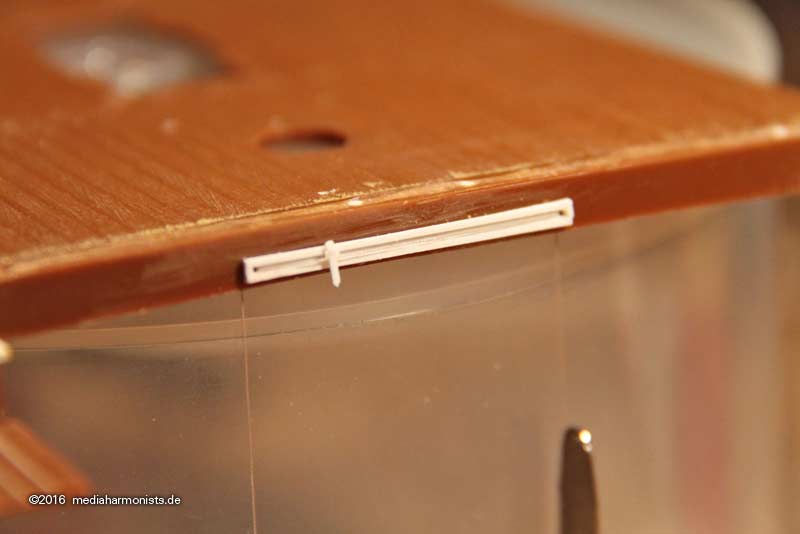
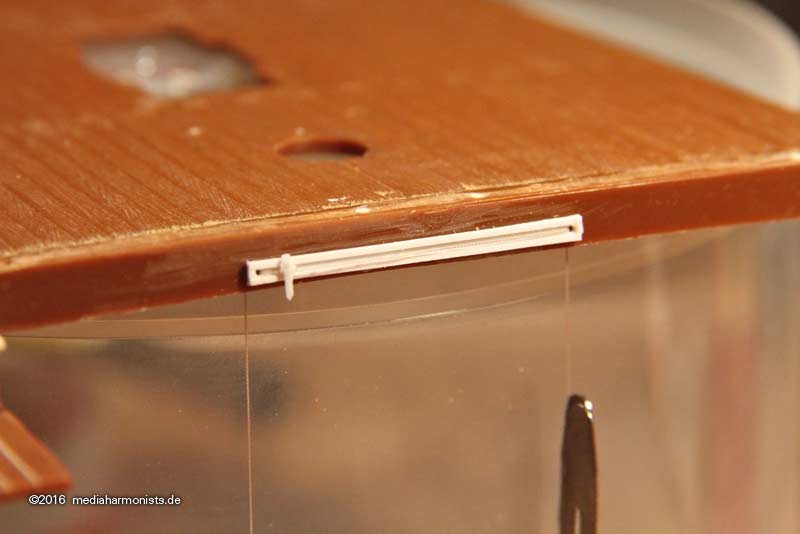
... and on my tryout model on location
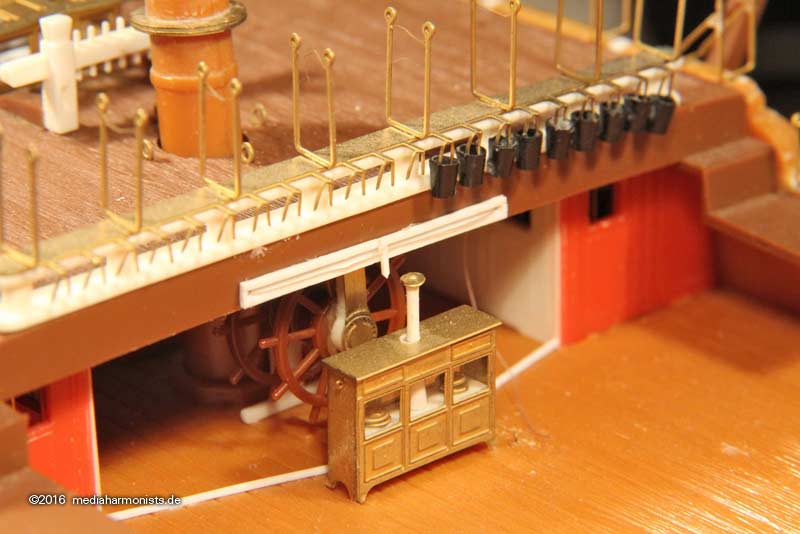
Looks smart and ingenious, learnt something new, added a nice detail to all things Victory and beyond and I am happy.
Hope you are too
Cheers, Dr. dafi
Re: To HMS Victory and beyond
Posted: Sun Apr 10, 2016 3:29 am
by LE BOSCO
Hello Dan
always looking for the detail that kills
just a incredible work

a absolute fan of your work Dr Dafi
cheers
Nicolas
Re: To HMS Victory and beyond
Posted: Tue Apr 19, 2016 4:25 pm
by mister me
just insane

Re: To HMS Victory and beyond
Posted: Wed Apr 20, 2016 9:20 pm
by Bill Code
I like your bulkheads alot better than mine... I copyed the Jotika version using a plastic sandwich and brass pins to get the curve to them. your method looks alot easier... BTW did you send the anchors ?? regards BC
Re: To HMS Victory and beyond
Posted: Wed Apr 20, 2016 11:18 pm
by dafi
Thank you Bosco, Mister me and Bill!
And Bill, yes they already send since a while, I did send you an update on the status
XXXDAn
Re: To HMS Victory and beyond
Posted: Sun May 29, 2016 3:54 pm
by dafi
What a sad story ...
... after the big modelers meeting in Augsburg near Munich in March my sweet black�n�yellow beaty even did not make it back up to the tinkering table and had to stay in the staircase ...
... the poor one, all alone ...
...
...

Until today she went underneath the knife again - HUUUUURRRRRAYYYY!
First relocating the skylight of the poop. Being a little to much upfront ...
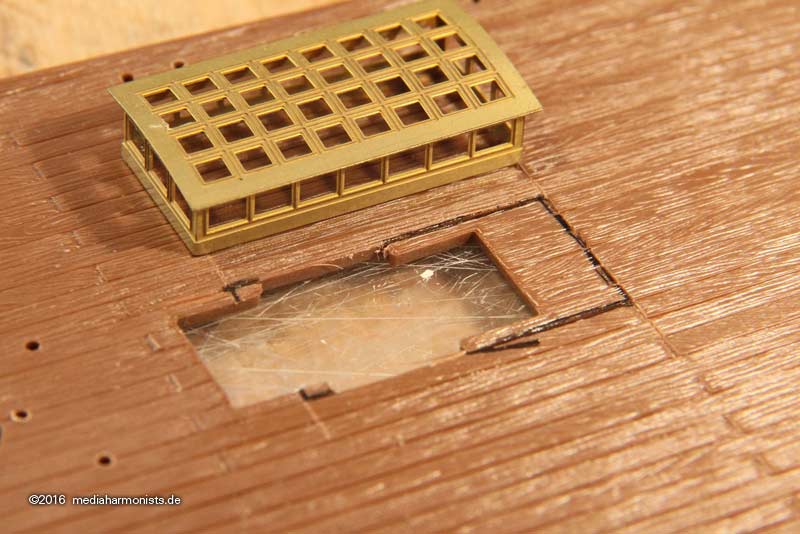
... bravely using the knife ...
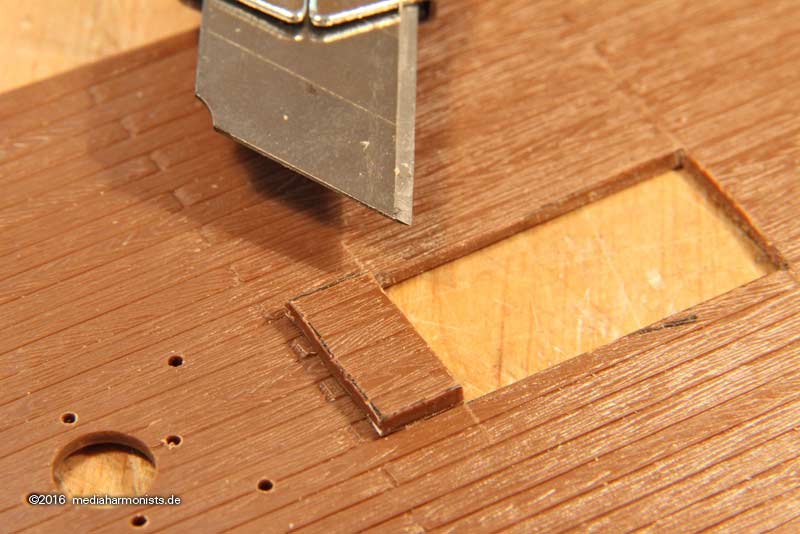
... and resettling the cut out.
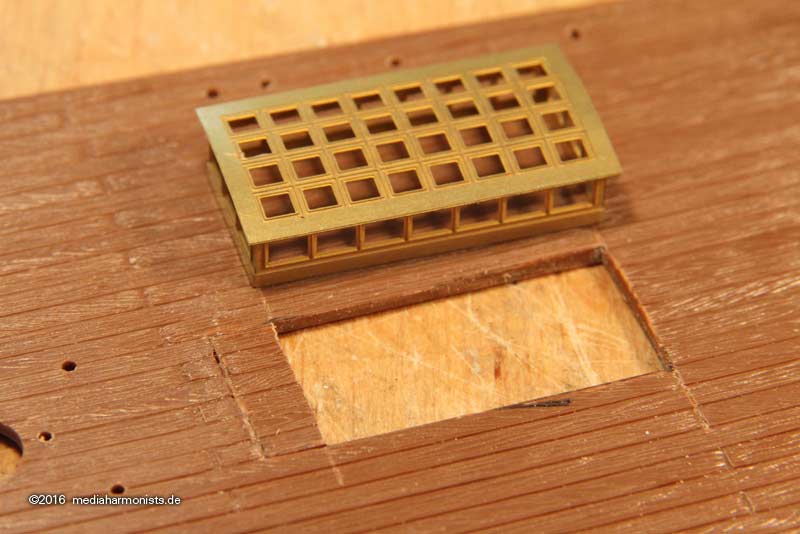
And then something I always wanted to try out ...
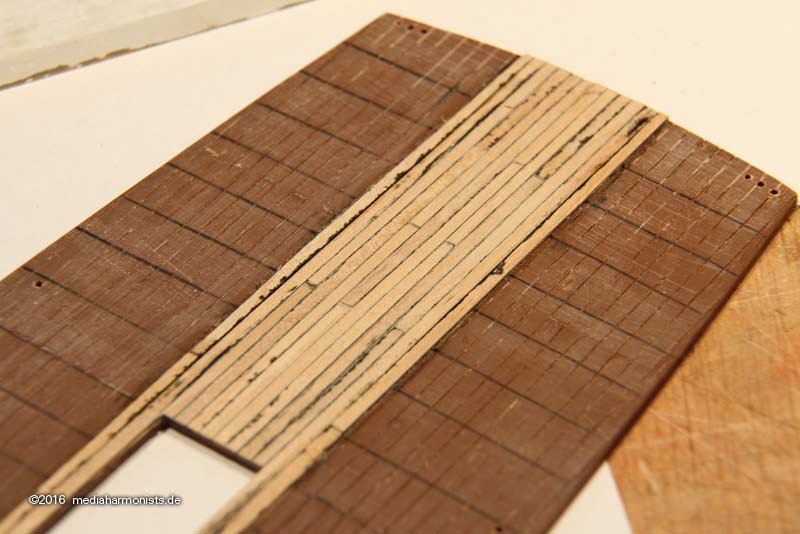
... the new planking in between the binding strakes still parallel because of the 2 middle poop deck partners ...
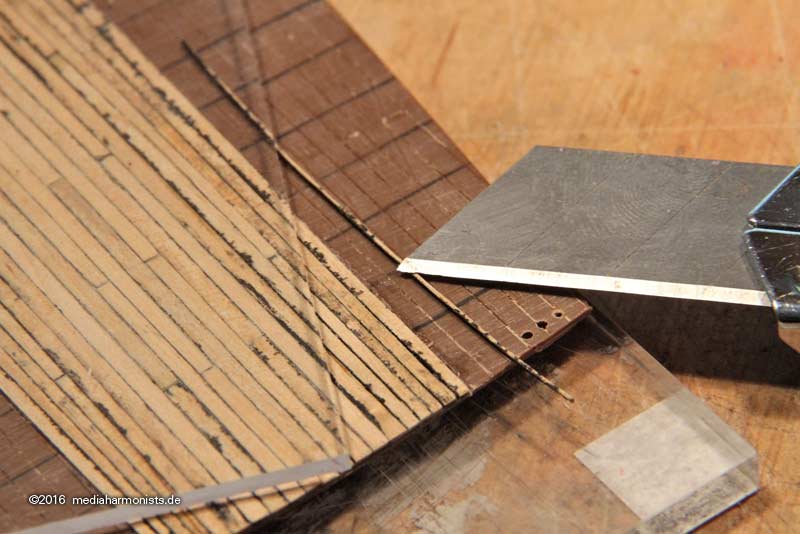
... but then getting curved towards the outer hull. After gluing the planks cutting with a plexi ruler in several turns into shape ...
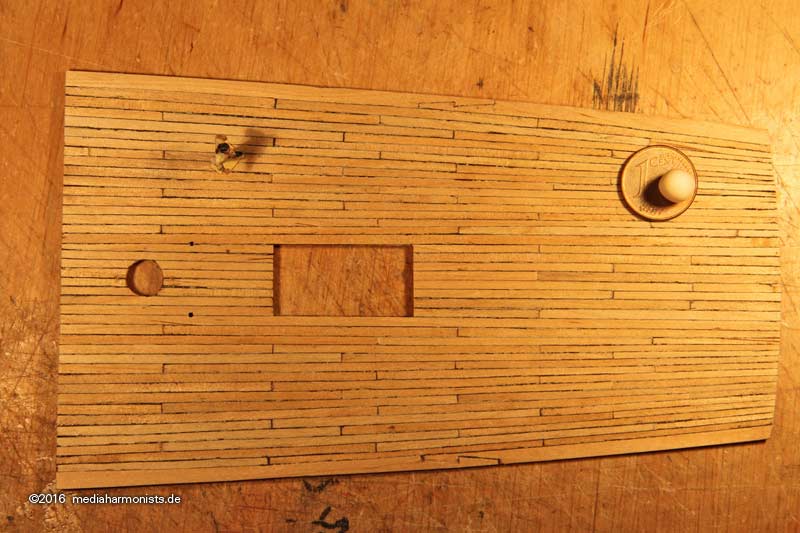
... and so I got a nice deck with curved planks and that even in 1:100
XXXDAn
Re: To HMS Victory and beyond
Posted: Sun May 29, 2016 6:55 pm
by Goodwood
Well golly gee whiz Dan, how much of the original kit will there be left, once you get that monster all tidied up and finished?
My money is on between 15-25%.

Re: To HMS Victory and beyond
Posted: Sun Jun 05, 2016 4:06 am
by Bill Code
Wow ! hand laid deck.... Very Impressive... I was wondering if you have a solution for what I think is a really weak point of this kit... Her lanterns... I am missing one half of one of her stern lanterns... I have a friend who has a vacuform machine and I was thinking of copying the side I do have.. I wonder if 3D printing might not be the way to go.
Re: To HMS Victory and beyond
Posted: Sun Jun 05, 2016 4:30 am
by dafi
They are not as bad as they seem, the lanterns. Just some TLC and some paint and they can be transformed into small marvels.
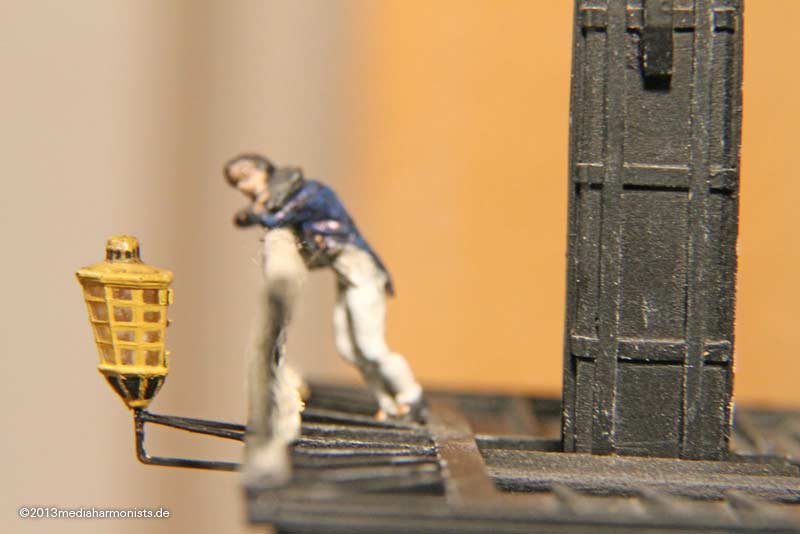
Ok bad you lost some - me too by the way, so you are not alone. Try to contact the replacement department from
Glow to be, they take quite some time, but most people got the parts in the end. Look the Heller homepage or google
Glow to be.
If ever you do some vacuum forming, would be great to see the results. I did not offer etch so far, as I realised, that simply painting would give a better result than the etch tests I did.
Cheers, Daniel
Re: To HMS Victory and beyond
Posted: Tue Jun 07, 2016 2:29 pm
by dafi
Oh those marvels of modern technology. Sitting in the car towards a job in Switzerland and being able to update some of the late progress.
Not much was possible, just small bits late night, so one had to find the right subject - I found one, not too far off
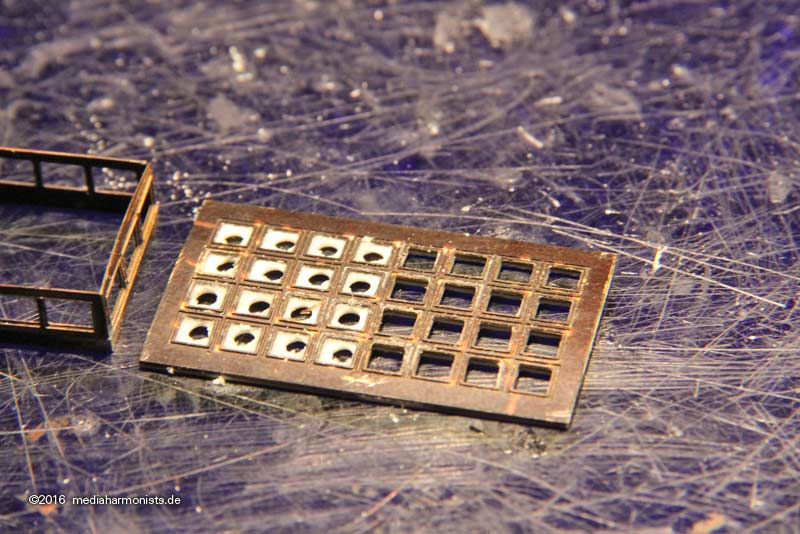
I love the small etch skylight, but as all etch it misses a bit of depth. Long time I wanted to try something.
First glued some 0,25 mm sheet onto the back of the roof using CA �
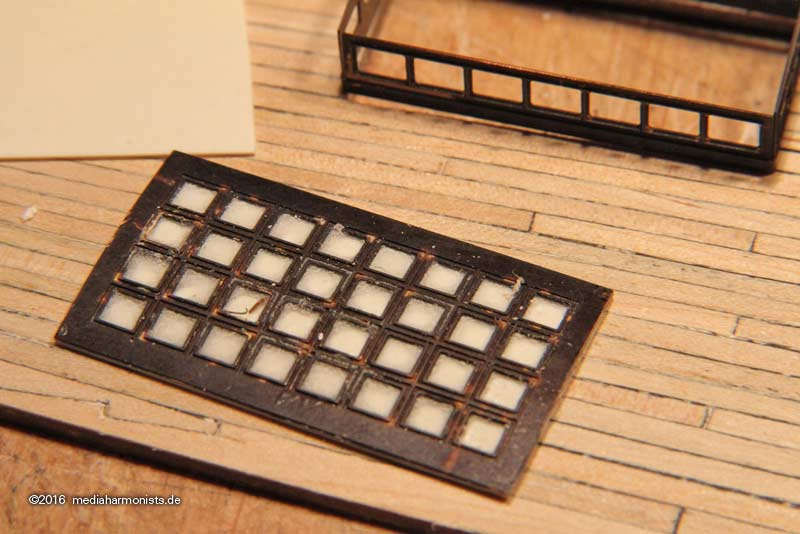
� cleaned the edges, drilled the holes and opened the windows with a file using the brass as template �
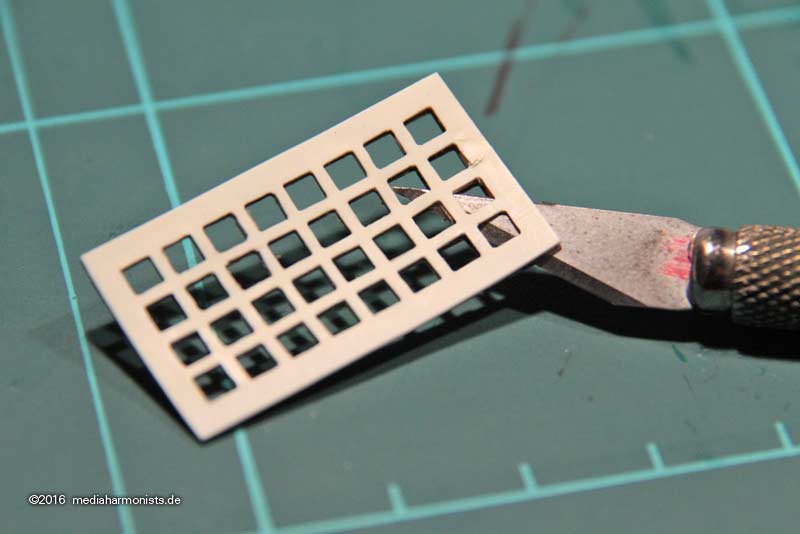
� and then separated the parts very caaaaaaaaarefully using a scalpel.
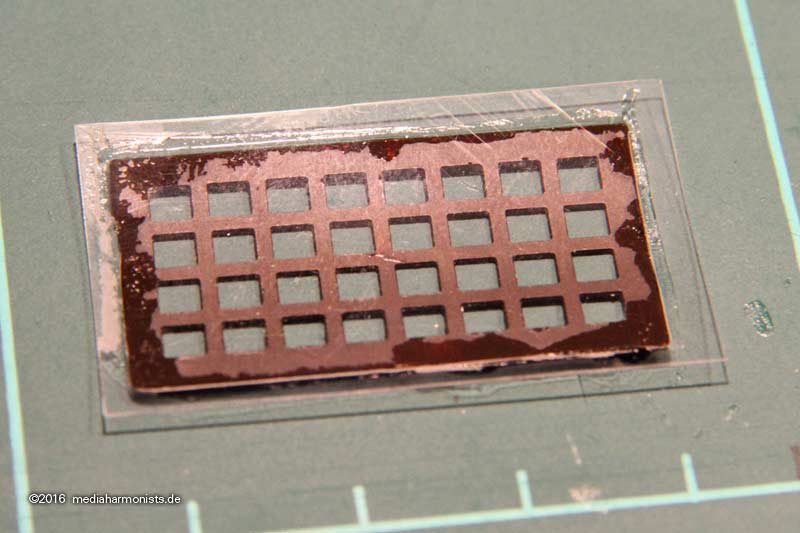
Then cleaned the back of the roof and glued the clear sheet onto it by just applying CA on the edges to minimise fumes and mess �
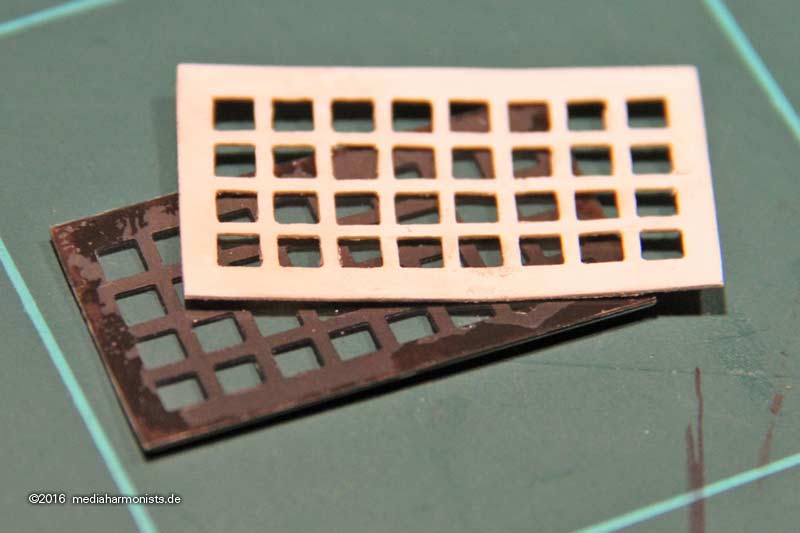
� and glued the sheet back in place thus resulting into a nice three level sandwich brass-clear sheet-normal sheet with a nice edge with the right thickness
The sides went alike, first clear, then normal, this time using Evergreen for the glazing bars fixed with UHU-Plast. Like this, the �glass� is nicely packed in the middle.
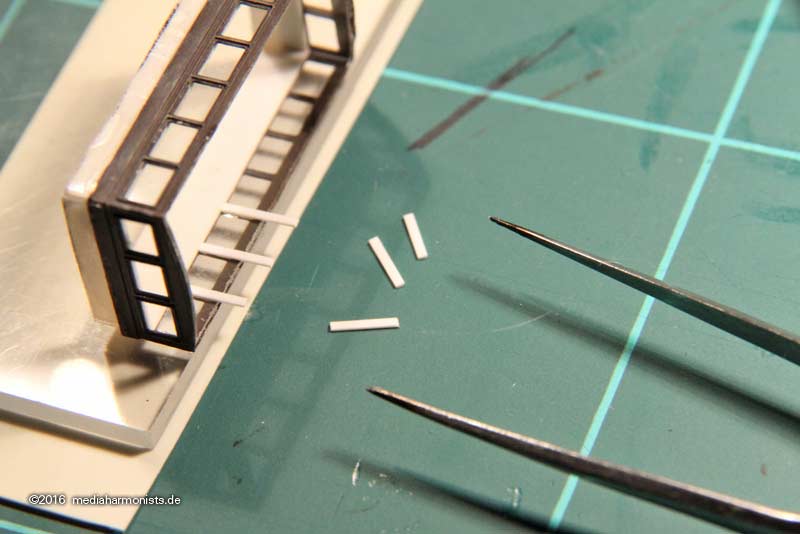
The lower part was left longer on purpose as this gives a nice anchorage on the deck.
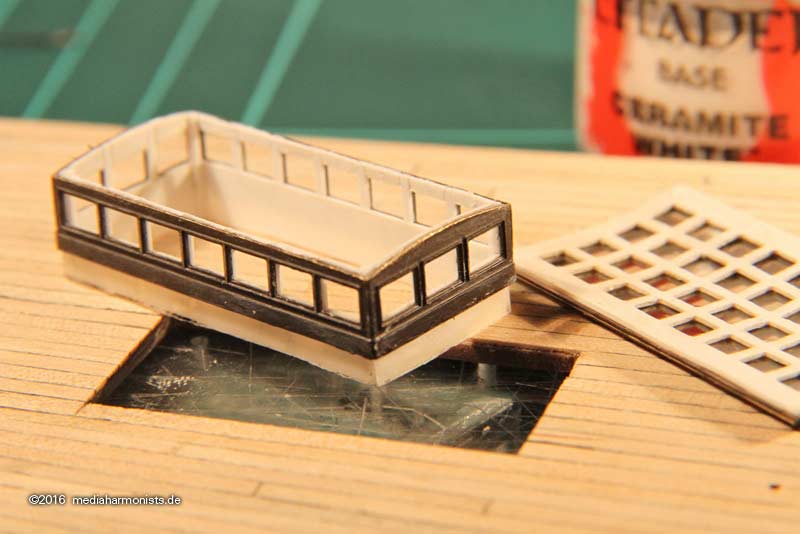
Still added the deck beams �
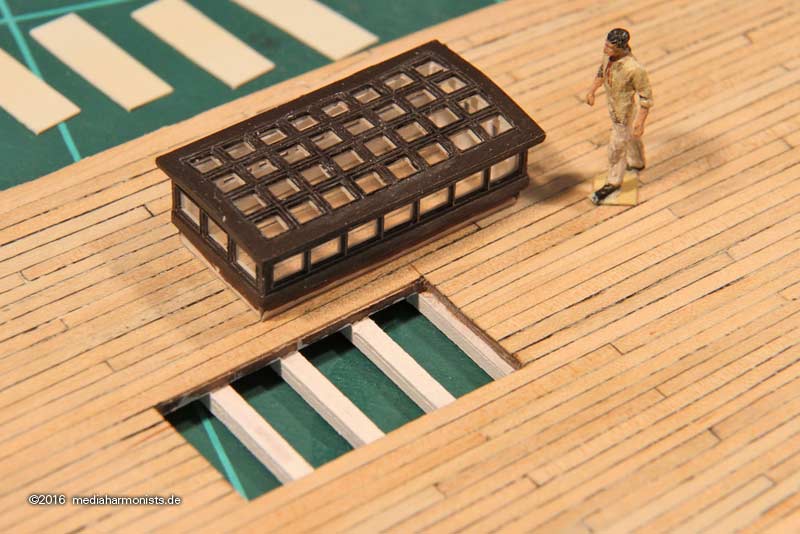
� and it already looked rather cute �
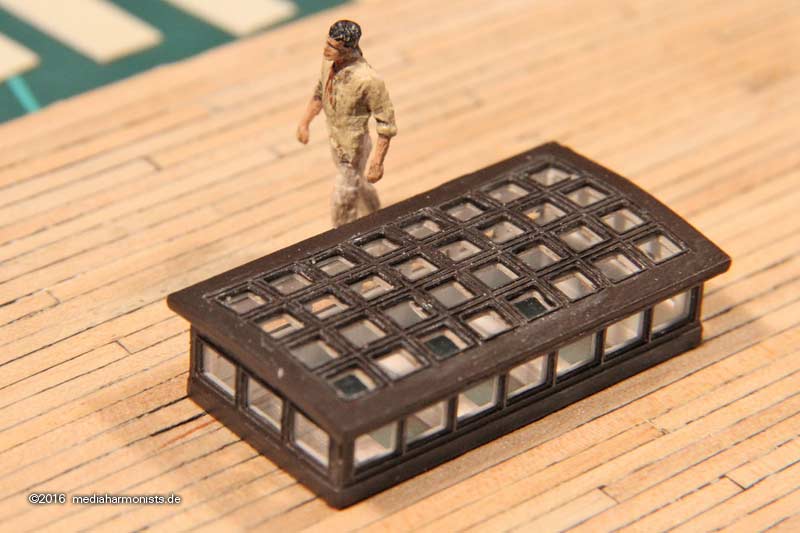
� even reflecting in the light.
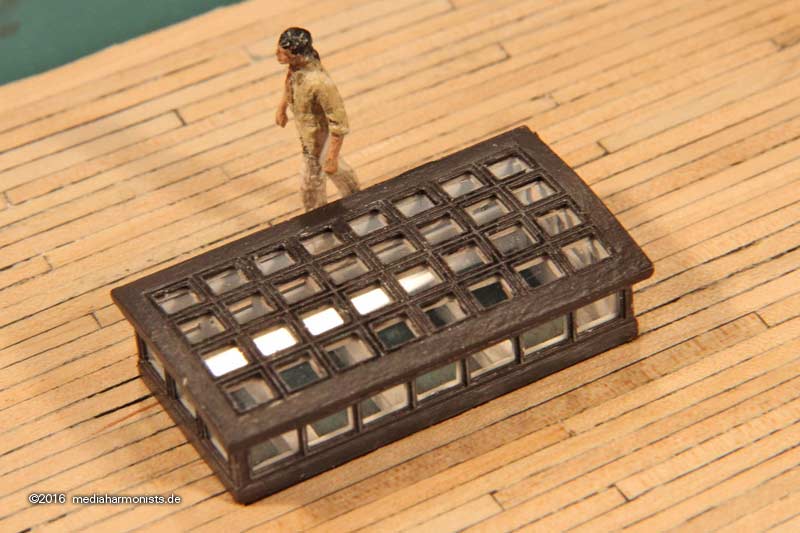
Even though I used clear sheet, how was the original glazed? Using mica for the advantage of not breaking? Or old fashioned very disturbed glas?
Cheers, Daniel
PS: ***Do not worry, my colleague is driving