Page 29 of 57
Re: To HMS Victory and beyond
Posted: Tue Jun 07, 2016 6:57 pm
by gscott
I'm beginning to believe the demarcation between master and madman is quite thin indeed.

Outstanding work!!!

Re: To HMS Victory and beyond
Posted: Tue Jun 07, 2016 8:03 pm
by Goodwood
gscott wrote:I'm beginning to believe the demarcation between master and madman is quite thin indeed.
Outstanding work!!!
Thin, diffuse, and it doesn't even run straight.

Re: To HMS Victory and beyond
Posted: Thu Jun 09, 2016 3:51 am
by dafi
Thank you Sirs, trying my uttermost
Bern in Switzerland at night and it rains cats and dogs. Lovely city with wonderful arcades and beautiful shops, but all closed by this time. To wet to do anything else so I sit underneath the arcades in front of the hotel and do some more addenda - bad luck for you lot
If being fed up with gross motor skilled work like the planking or skylighting, I still had something else to do.
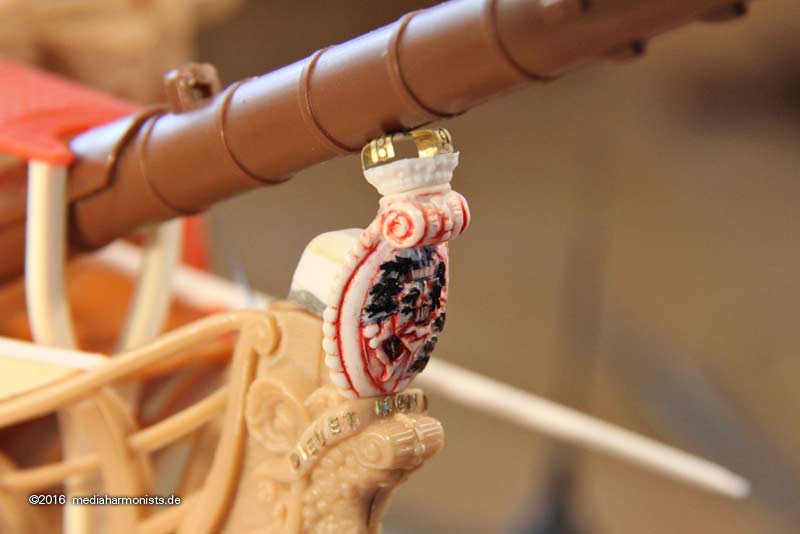
As I already knew that I will need two more figure heads, so i decided to do a decent one, and this time to hopefully do a casting of it.
Here are two Heller originals. and even here one is less crisp than the other and even that one has the appearance of an old chewed and sucked out chewing gum �
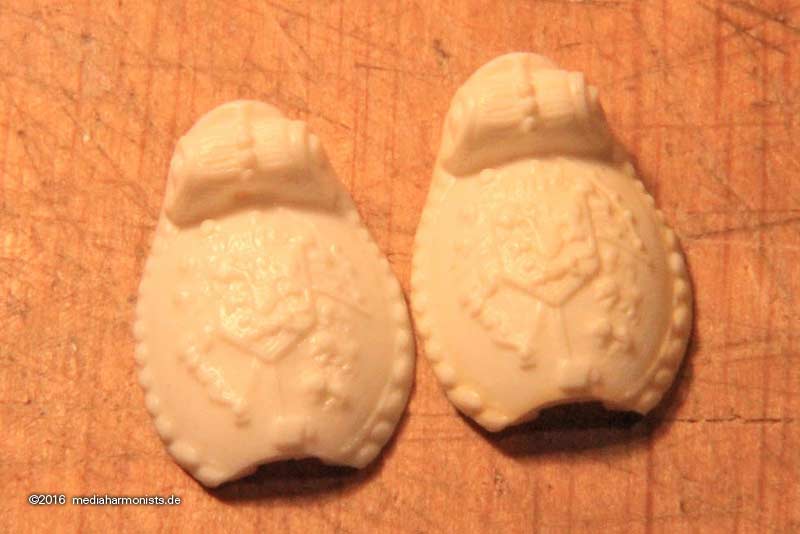
� that is why I spend several nighttimes giving some TLC wich the help of my scraping skills and a scalpel �
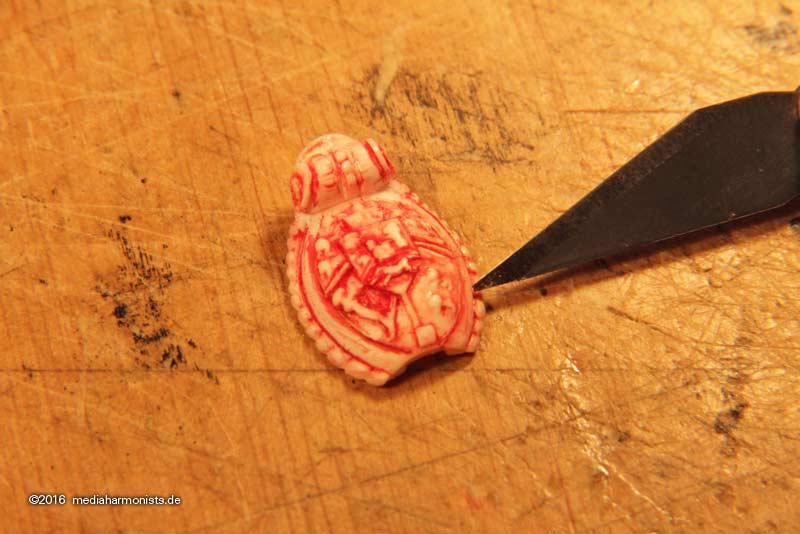
� and no, the red is no blood, it is only Edding marker to have a control what i was doing. And suddenly the horse started to jump, the harp harped again, the ice bucket rebecame Charlemagne�s crown and the duke�s hat behated everything once more and the undercuts finally cutted under �
� only ..
� only the lions where not be be revived by this treatment, so I replaced them by thin sheet like I already did with figure-head.1

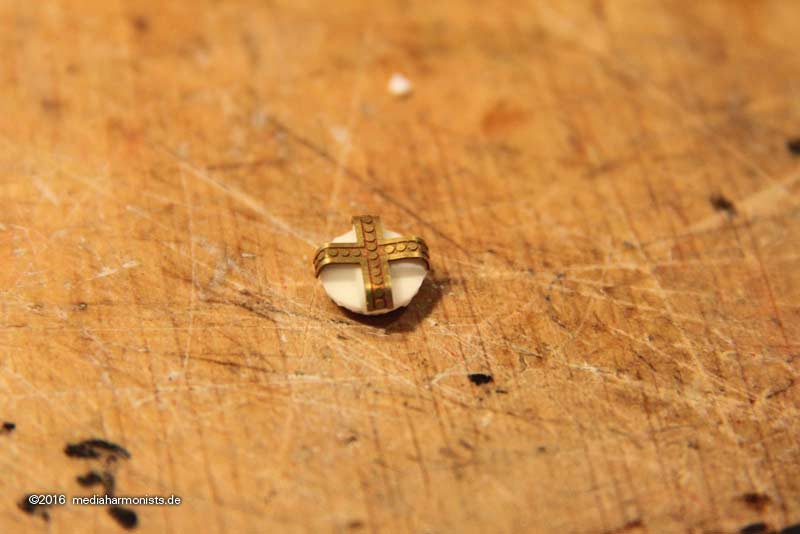
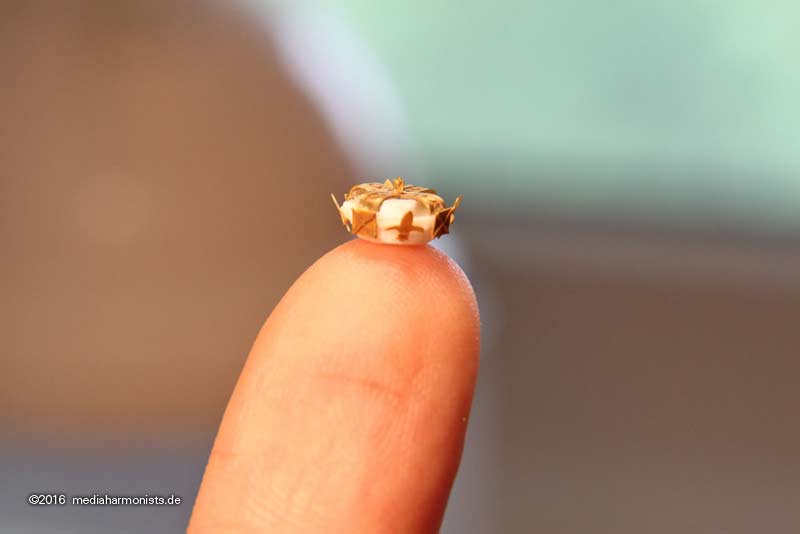
And to crown the assembly �
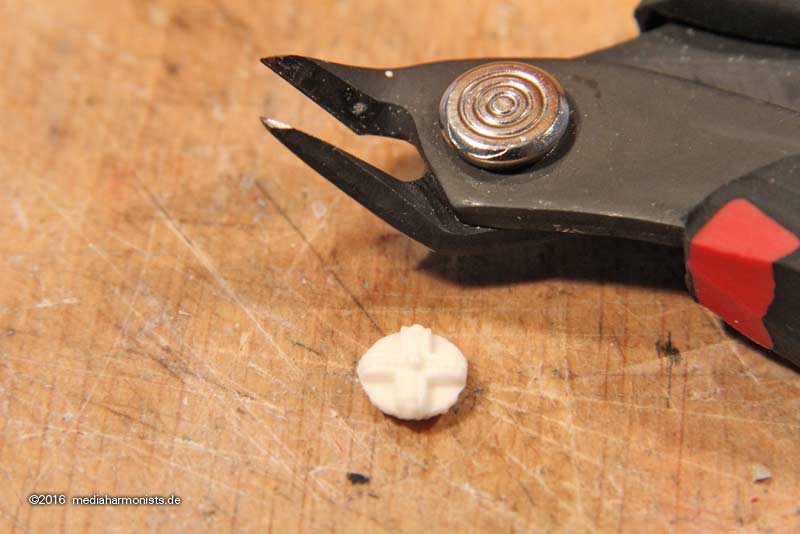
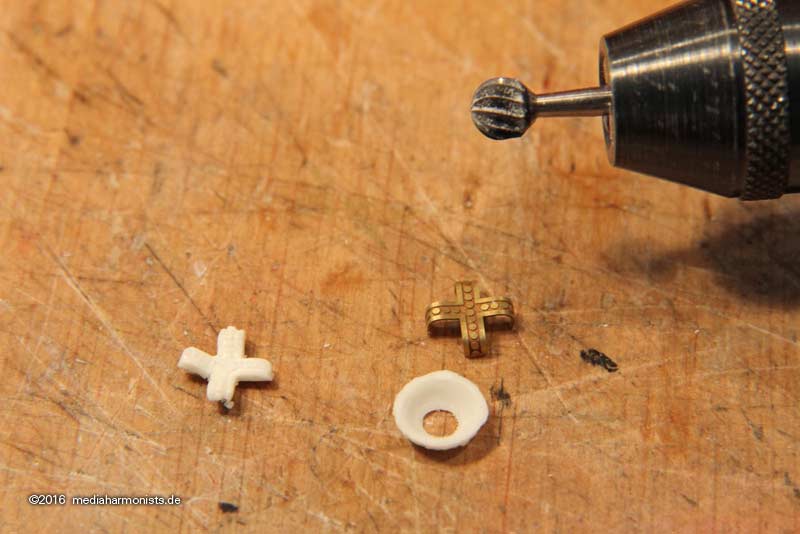
� massacred the old crown �
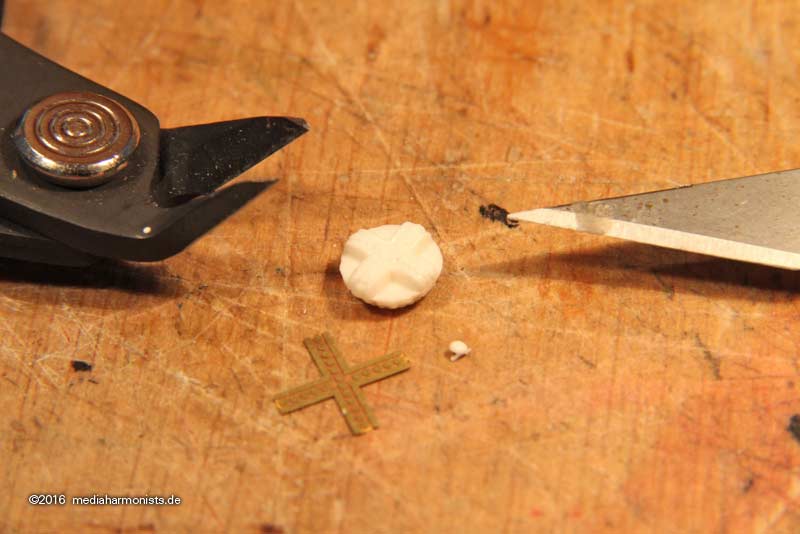
� to serve as a bending template for the replacement.
Hollowed the base �
� and checked how much space was under the spriet mast.
Shortened the top accordingly �
� and it looked good
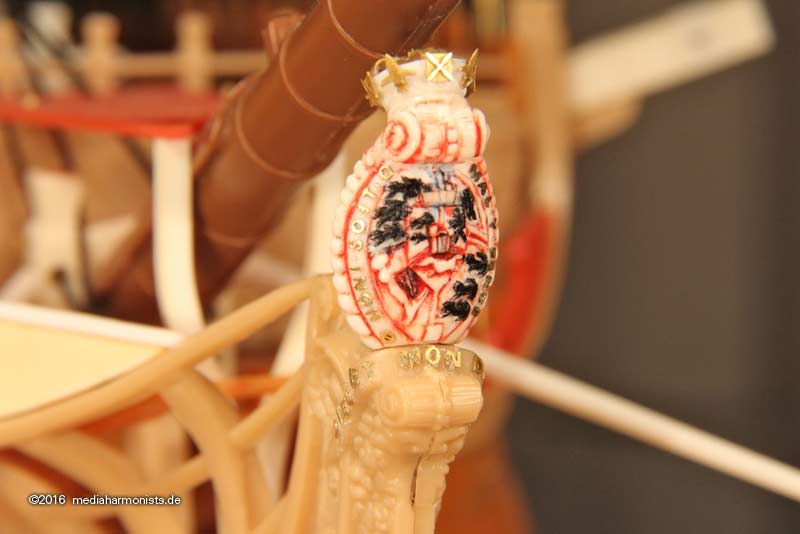
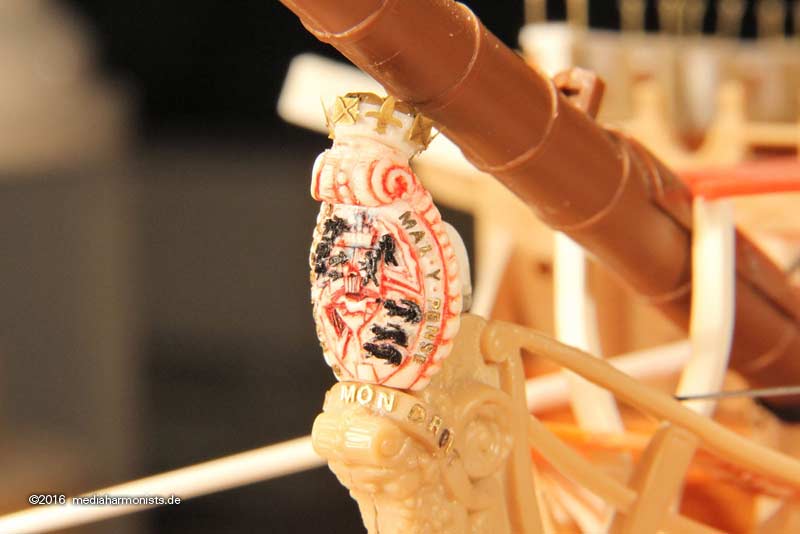
O yes the small lettering was also fixed. After using pincers and paint, after spray glue and CA I tried something new, transparent Post-its
Cut in small stripes �
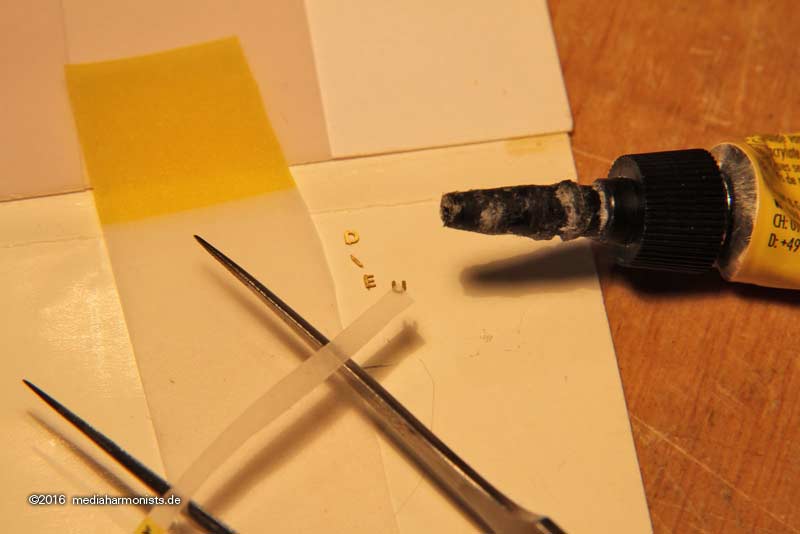
� and catch the letter with the sticky side - the transparent allows to see the orientation - applied little CA �
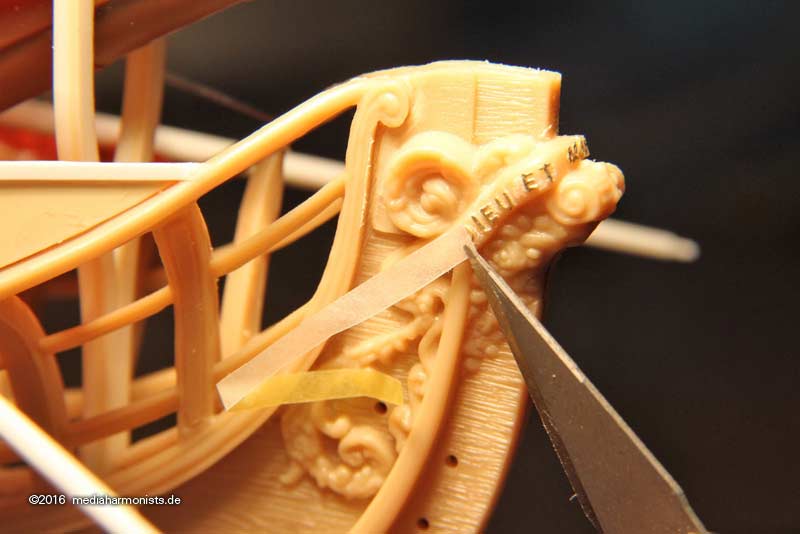
� placed it and used something pointed to press against the surface �
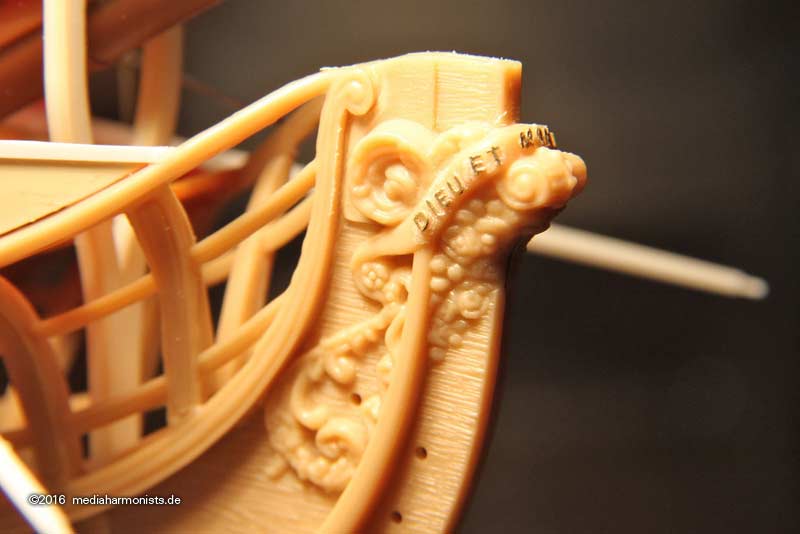
� and it fits
XXXDAn
Re: To HMS Victory and beyond
Posted: Thu Jun 09, 2016 7:14 am
by dafi
I knew it! I KNEW it!
I knew I took pictures while taming the lions
Here is the addendum�s addendum.
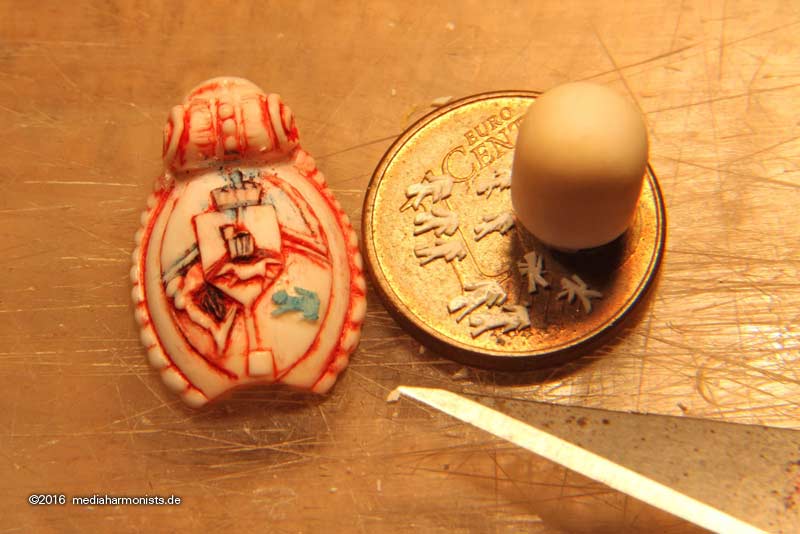
Yes that thing in the right lower corner is my scalpel. Some more before-after shots.
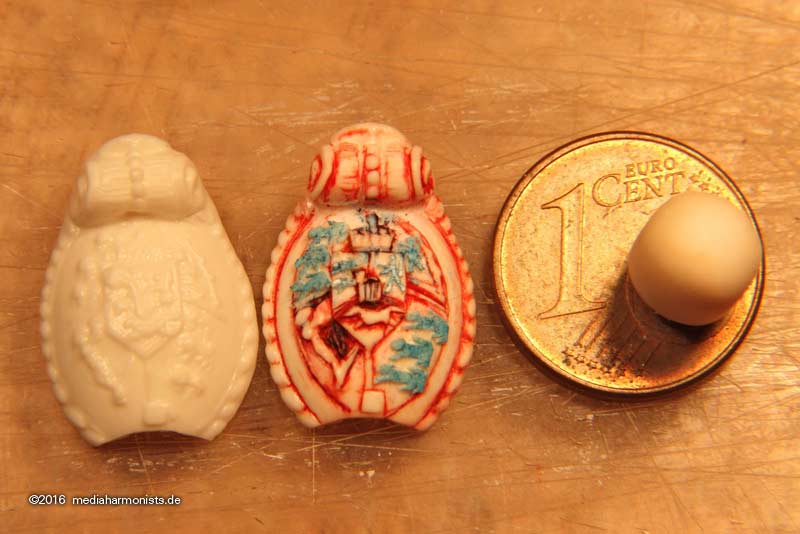
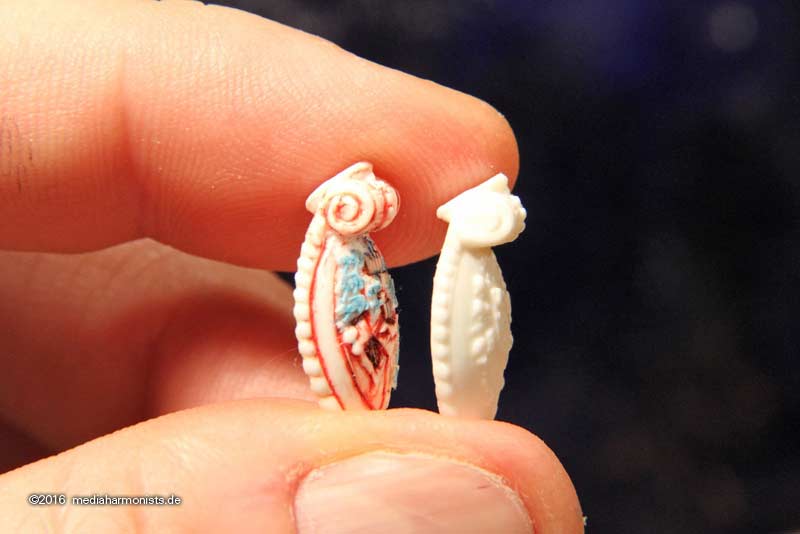
XXXDAn
Re: To HMS Victory and beyond
Posted: Sun Jul 03, 2016 4:45 am
by dafi
After the match yesterday was :censored_2: for my nerves, I had to calm down doing some of my favorite themes
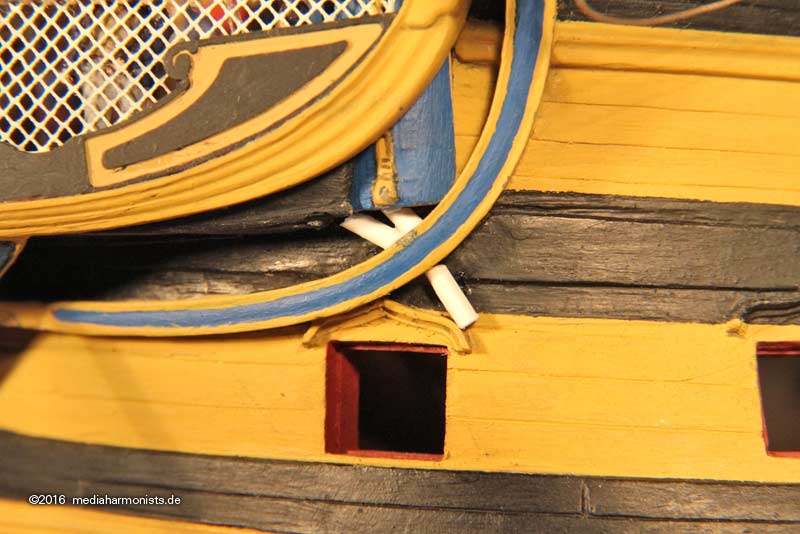
Plumbers work. The drain angle could be possibly optimized towards then windows or - as Livesay indicates - with mock windows the drainage could even go down straight, possibly hidden behind a curtain wall. Does anybody know contemporary details about that?.
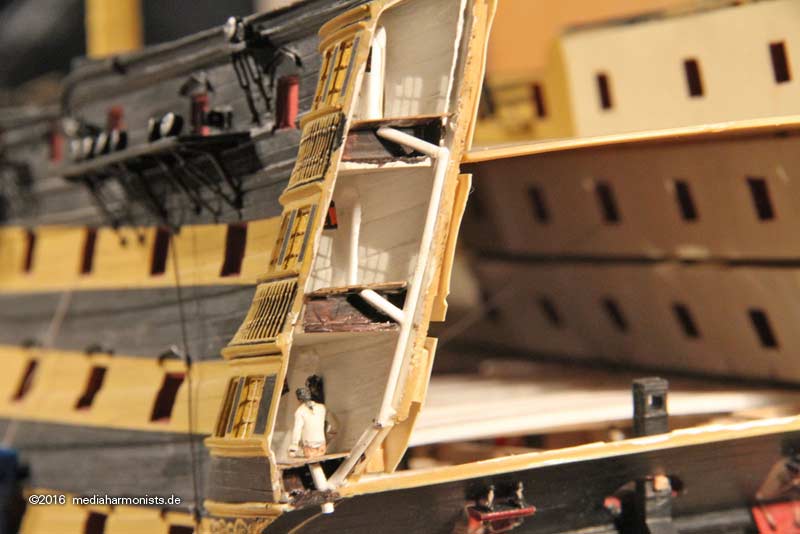
Also the front got some discharges to go around the window underneath. Here I chose to point it aft for waves not to get stuck in it and shower the roundhouses inside.
XXXDAn
Re: To HMS Victory and beyond
Posted: Sun Jul 03, 2016 6:32 am
by Jabberwock
!!!!!!!!!!!!!!!!!!!!!!!!!!!!!!!!!!!!!!!!!!!!!!!!!!!!!!!!!!!!!!!!!!!!!
I am ................................................... astounded!
Jabb
Re: To HMS Victory and beyond
Posted: Mon Jul 04, 2016 2:17 am
by marijn van gils
Fantastic work as always!
And very inventive techniques too! Very creative!
And so much fun and passion always radiates from you work, it's really inspiring!
Cheers,
Marijn
Re: To HMS Victory and beyond
Posted: Mon Jul 04, 2016 1:20 pm
by LE BOSCO
as Marijm Daniel ......always a great pleasure to see your progress ...thank to share your techniques here
I do not tire ..again

cheers
nicolas
Re: To HMS Victory and beyond
Posted: Mon Jul 04, 2016 11:02 pm
by steinerman
HOLY SH*T!!!!!!!!!!
Re: To HMS Victory and beyond
Posted: Tue Jul 05, 2016 5:35 pm
by dafi
And now?!?
XXXDAn
Re: To HMS Victory and beyond
Posted: Wed Jul 06, 2016 12:47 am
by Thomas E. Johnson
Re: To HMS Victory and beyond
Posted: Thu Jul 07, 2016 1:07 pm
by dafi
So after I had no time to continue on the mystery part, here some addendums to the poop skylight.
Even captains and admirals needed some privacy. That is why the skylight was fitted with sliding blinds in between the deck beams to give seclusion ...
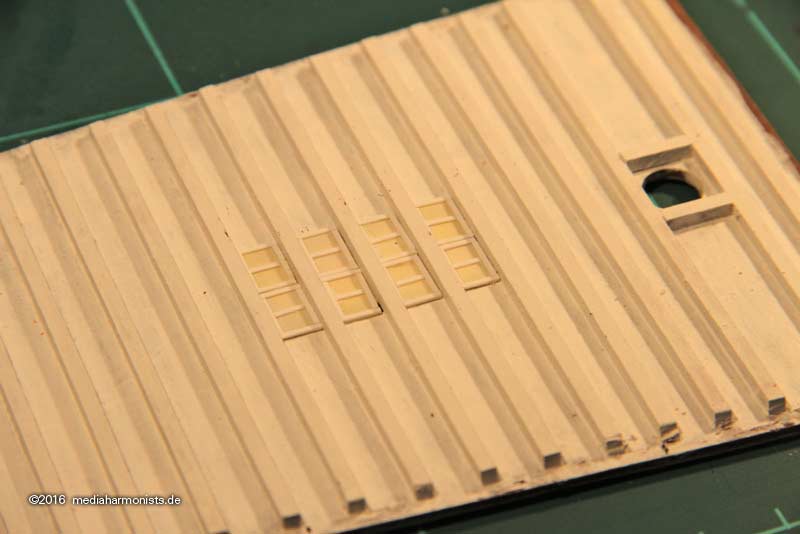
... and for enlightenment.
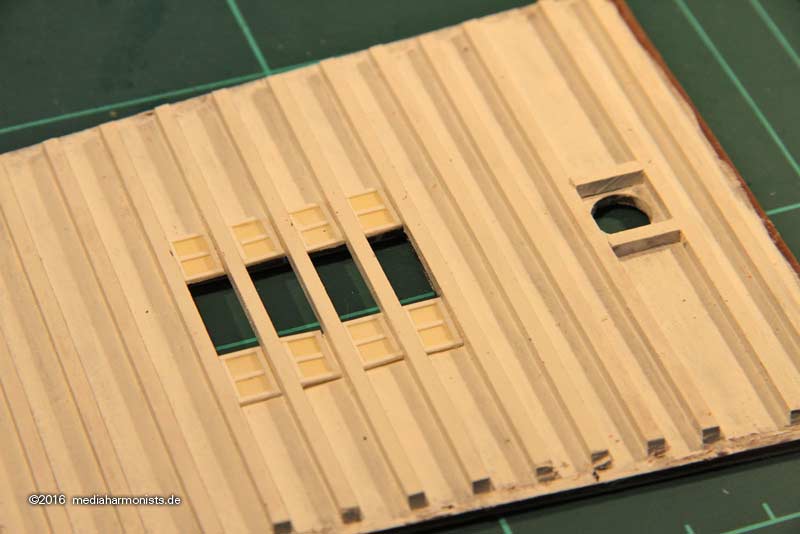
But then I remembered the partitions of the cabins. That meant for the sliders to pass over the bulkheads, so I got this sorted.
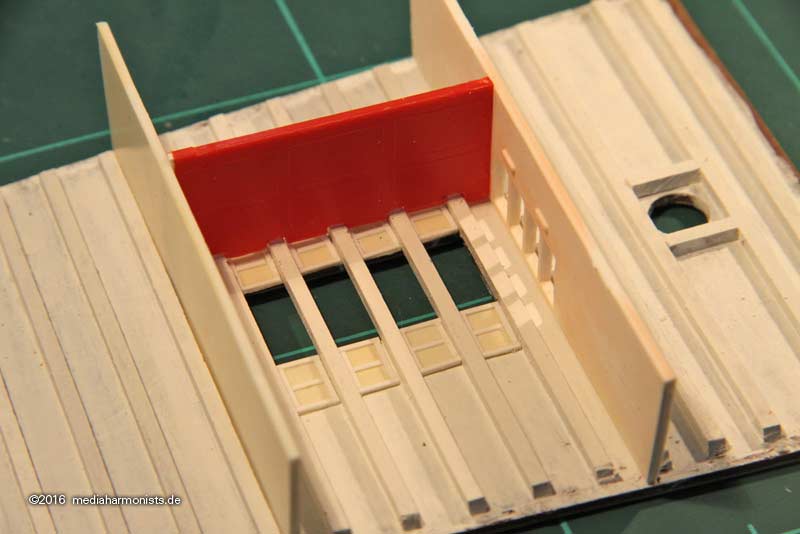
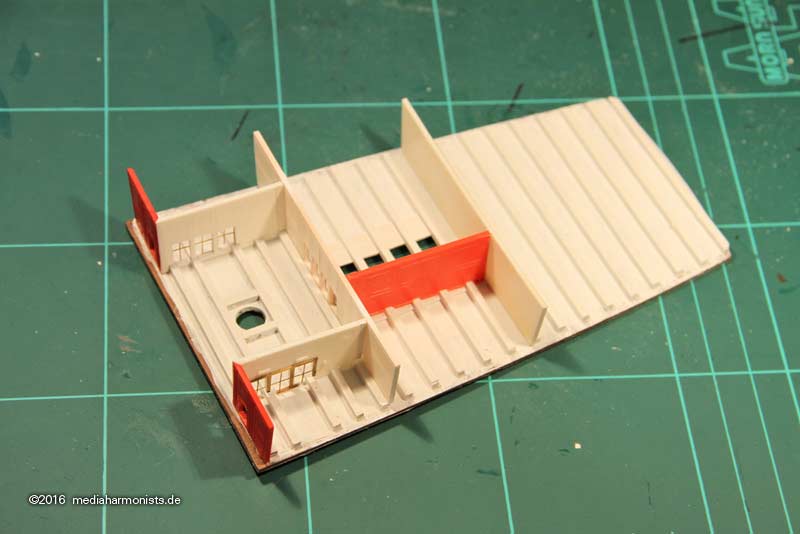
And once on the run, the two small cabins beside the wheel were added too.
And two more remarks: The flag pole - a very subtle hint to skip the plastic spars and to make wooden replacements.
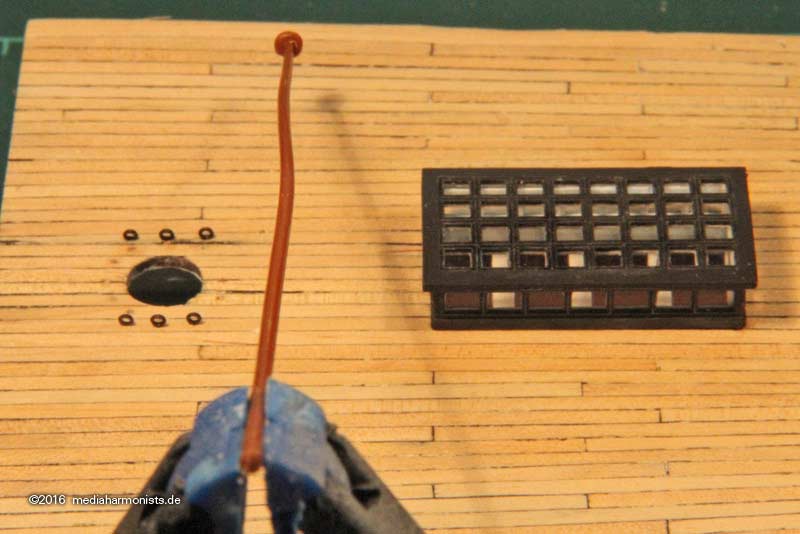
And I was asked to also show the Heller original parts - here they are
One more nice enlightenment I had too. Heller positions 4 eyebolts around the mizzen mast: one left, one right, one fore and one aft. i first had them and already moved the fore and aft half a planck thickness to the side to not sit on the seam. Then I realised the Vic in P. has 3 bolts in a row on each side. Doing the beams underneath the poop deck I realised why, the rings are sitting on the small carling beside the mast and can be fixed much better that way.
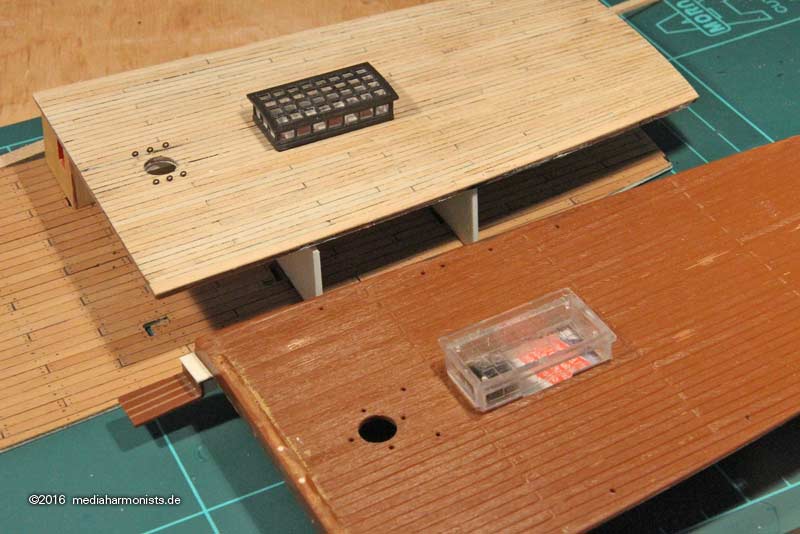
XXXDAn
Re: To HMS Victory and beyond
Posted: Thu Jul 07, 2016 6:15 pm
by JIM BAUMANN
that is a very bent flagstaff...�!!!
but also a VERY impressive figurehead
love the lettering and application technique thereof!
JB
Re: To HMS Victory and beyond
Posted: Sun Jul 10, 2016 4:30 am
by dafi
Thank you Jim!
But the plastic asparagus is already history
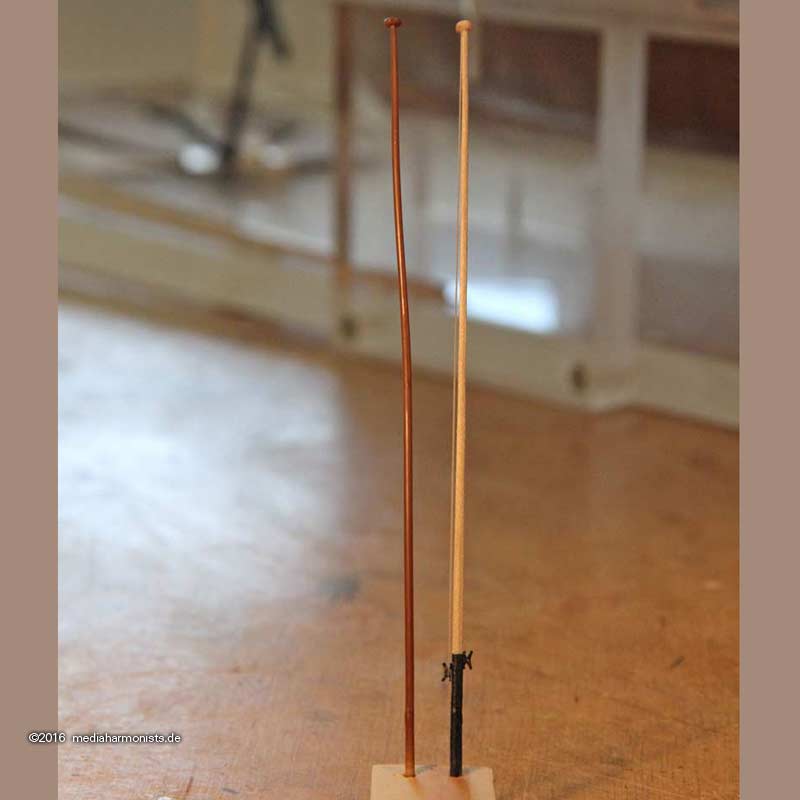
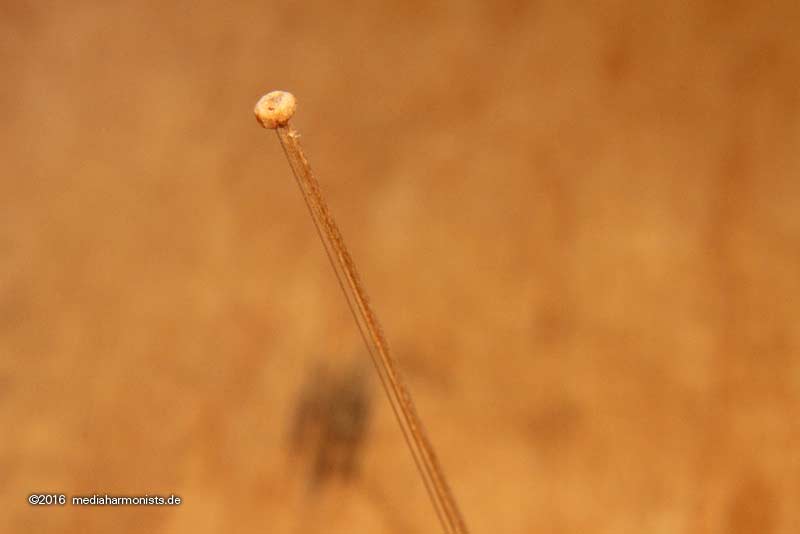
Naturally with the proper pommel at its end with 2 pairs of integrated and working* sheaves and halyard.
And as everything in life should be grounded on a solid base, I overworked the Heller parts**...
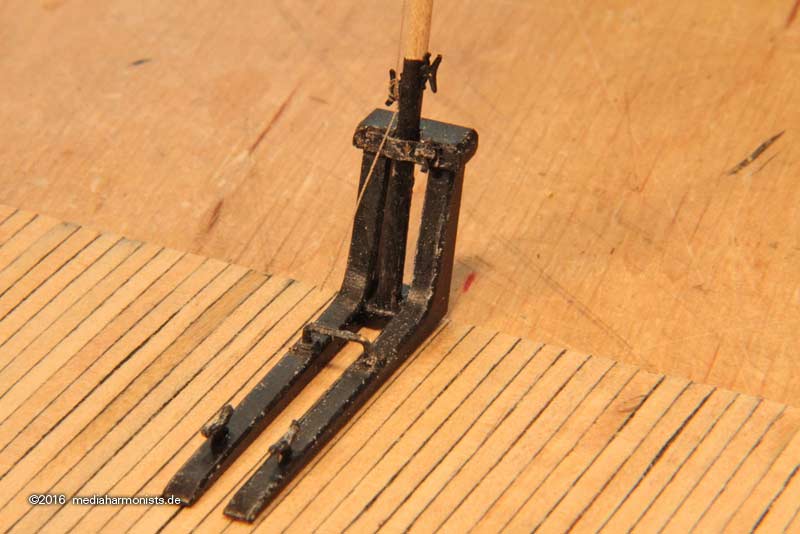
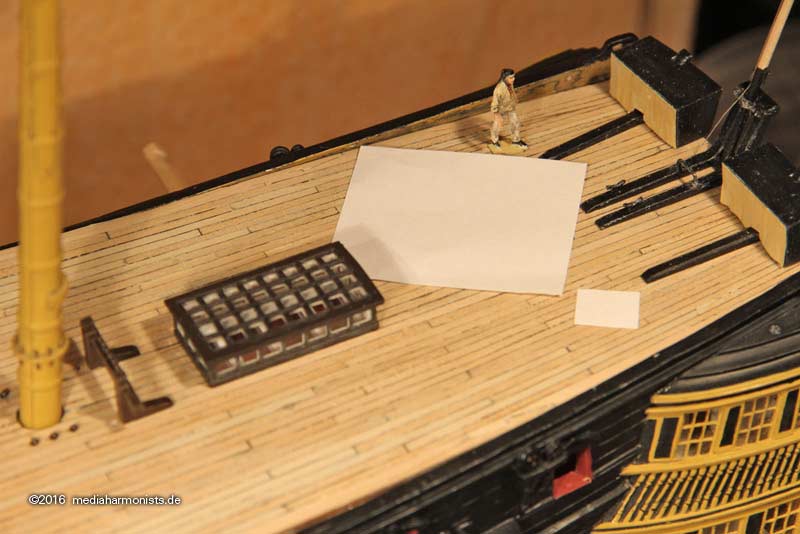
... and placed everything in situ. As alway standing on one leg is not good, I added the two flag lockers and covered them.
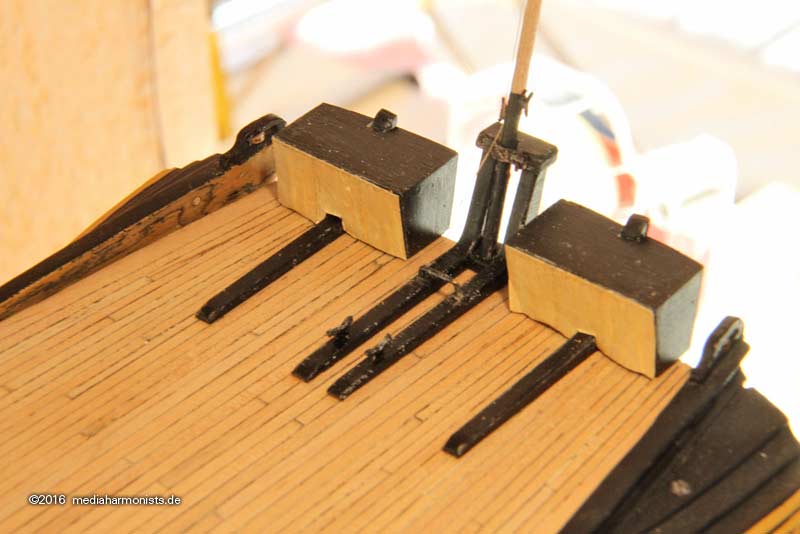
And now I am trying to find out about the sizes of the signal flags. Left 12 x 14 feet as found in Atkin�s "Trafalgar companion" and approx 3 x 4 feet the size mostly found in NMM.
XXXDAn
*not
**YES really you read right: Heller parts!
Re: To HMS Victory and beyond
Posted: Sun Jul 10, 2016 6:24 am
by K494
Great work!
Scott
Re: To HMS Victory and beyond
Posted: Sun Jul 10, 2016 4:58 pm
by dafi
I still owe you one ...
... how the partners of the flag staff were build?
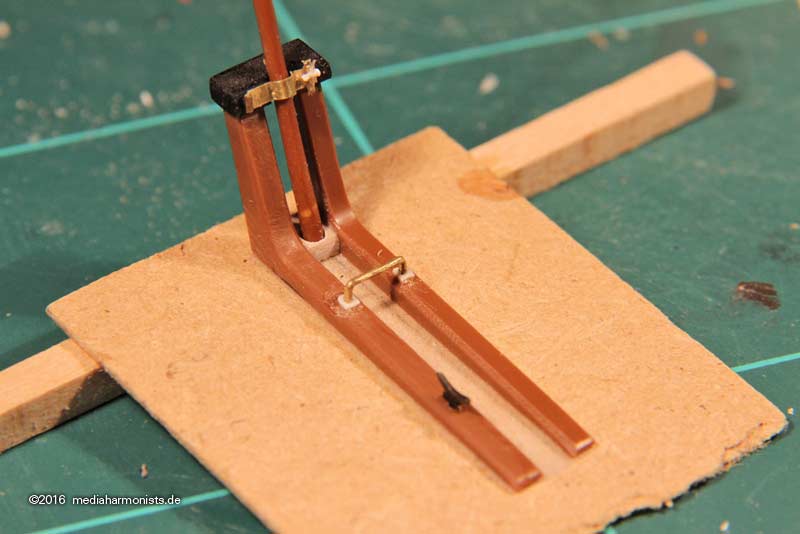
No, something else ...
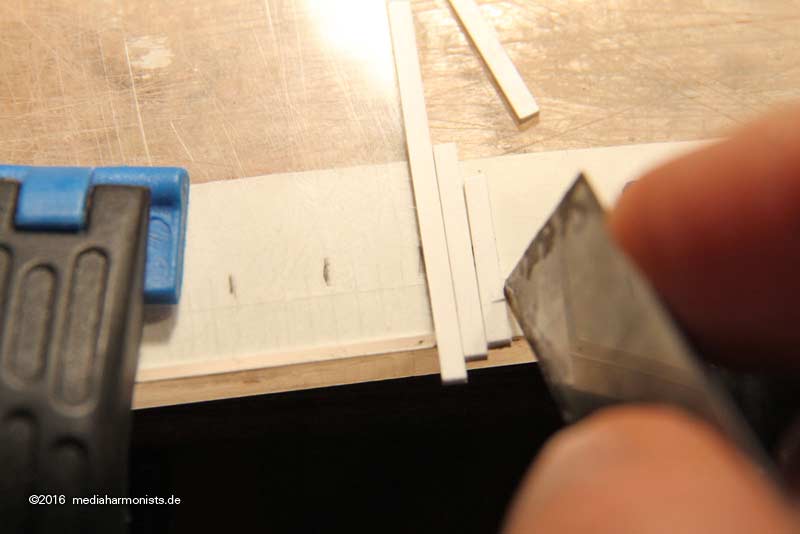
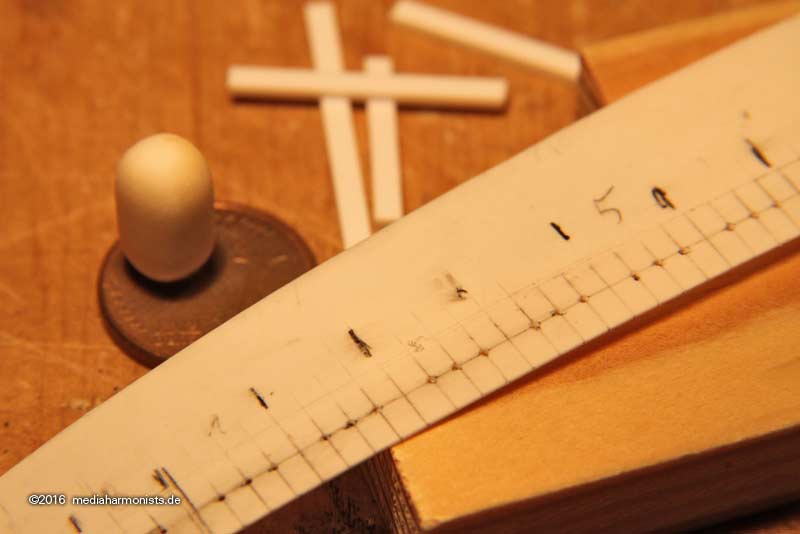
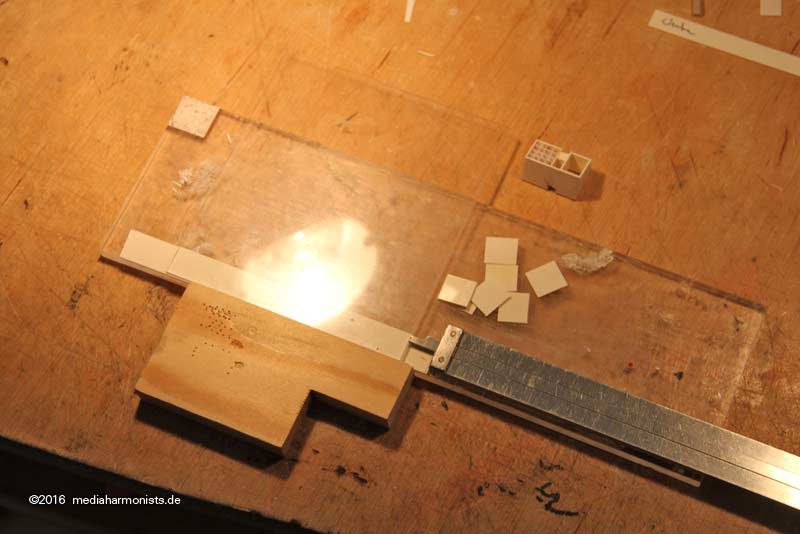
... a piece of sheet, left a rectangular acrylic, then some stripes of Evergreen to keep even distances ...
... and yes, that is the mysterious picture of before, and then opening the gaps with the side cutter ...
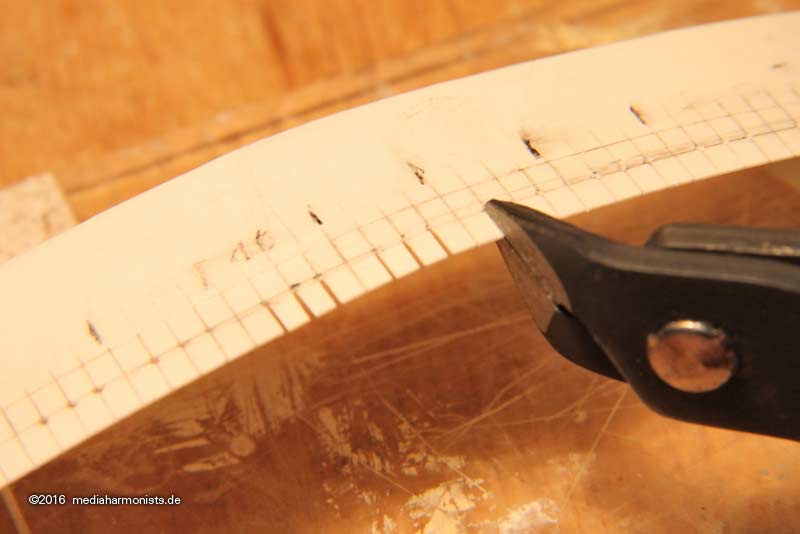
... and lengthened ...
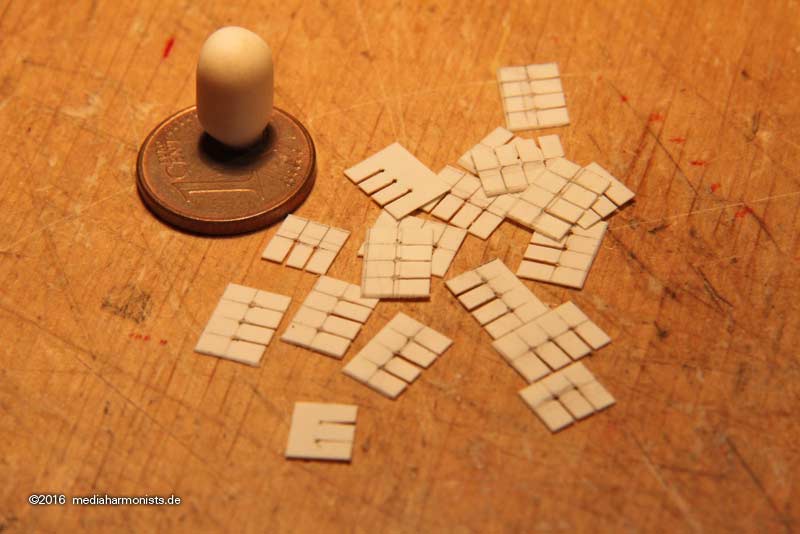
... but why?
As the first try to do the compartments of the flag lockers went completely wrong

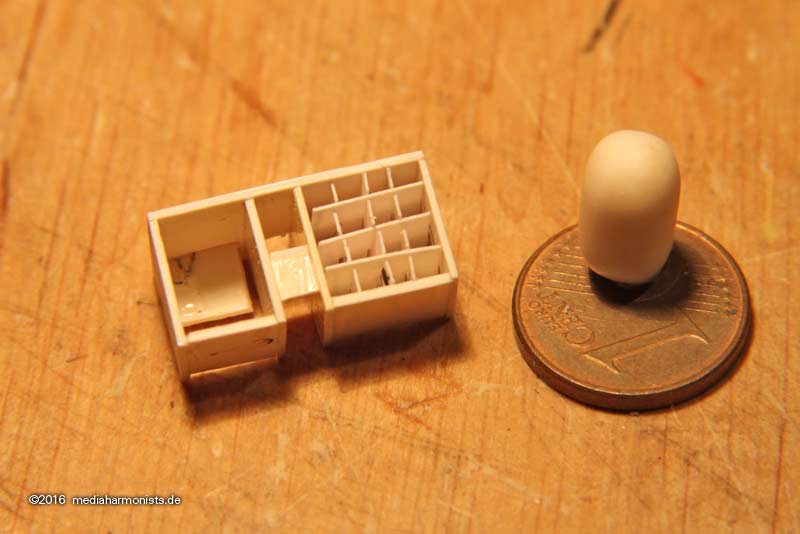
That is why some much more crisp workout made the difference ...
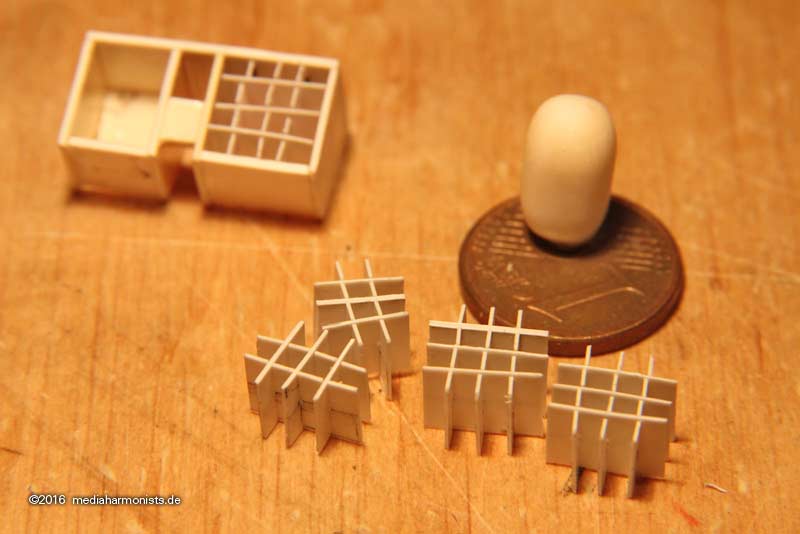
... then the side parts ...
... the small yellow tape giving the angle ...
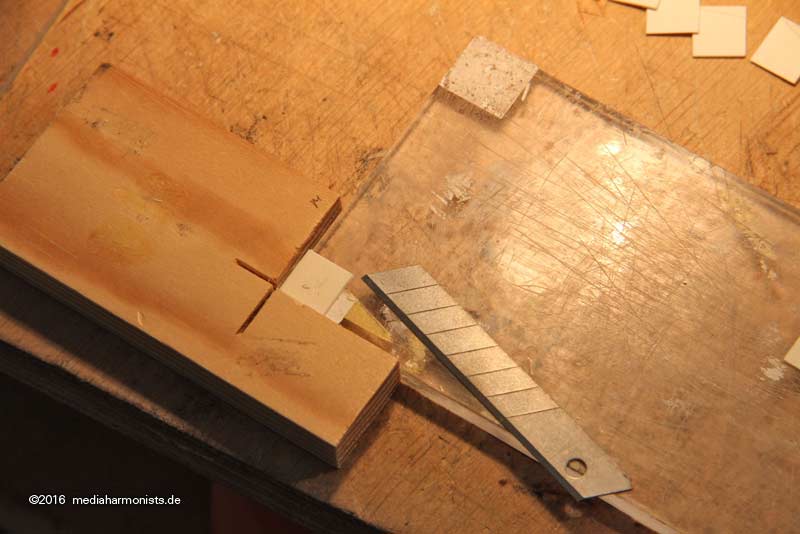
... and a nice before and after shot
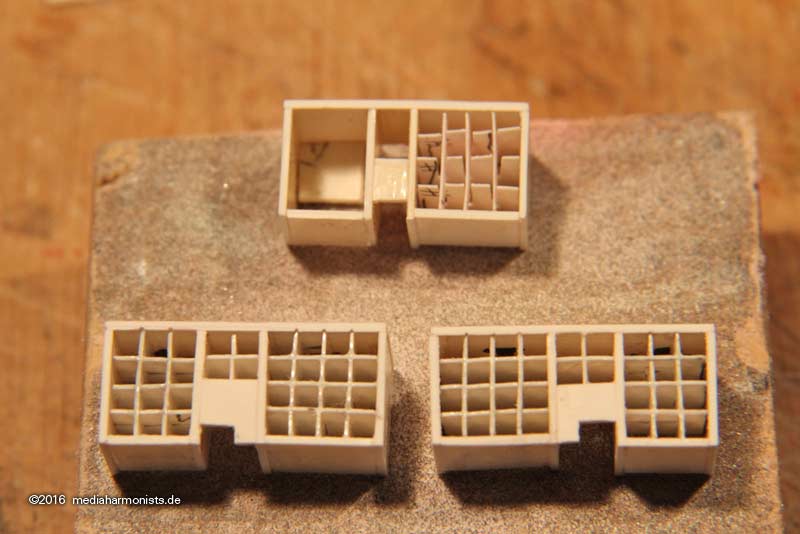
So, that is where we are ...
Cheers, DAniel
Re: To HMS Victory and beyond
Posted: Tue Jul 12, 2016 12:20 am
by marijn van gils
Wonderful work as always Daniel!
This is a tremendously 'complete' model. Not just the visble parts are perfectly build for people to look at, but it really a miniature recreation of every part of the real vessel, visible on the finished model or not. And that while finishing a Heller Victory even strait from the box is a major undertaking... Respect!!!
Thanks for documenting every step here, complete with all the step-by-steps.
I'm looking forward to the next step in your madness!
Marijn
Re: To HMS Victory and beyond
Posted: Tue Jul 12, 2016 2:38 pm
by Thomas E. Johnson
Madness doesn't begin to describe this impressive masterpiece!!!

Re: To HMS Victory and beyond
Posted: Sat Jul 16, 2016 9:03 am
by dafi
Thank you Marijn and Thomas, very appreciated your comments!
As on another place, there is the "war of the thimbles" raging, here is my input for special small ones.
A brass tube of 1mm outside and 0,5 mm inside is secured with a core of high-grade steel wire ...
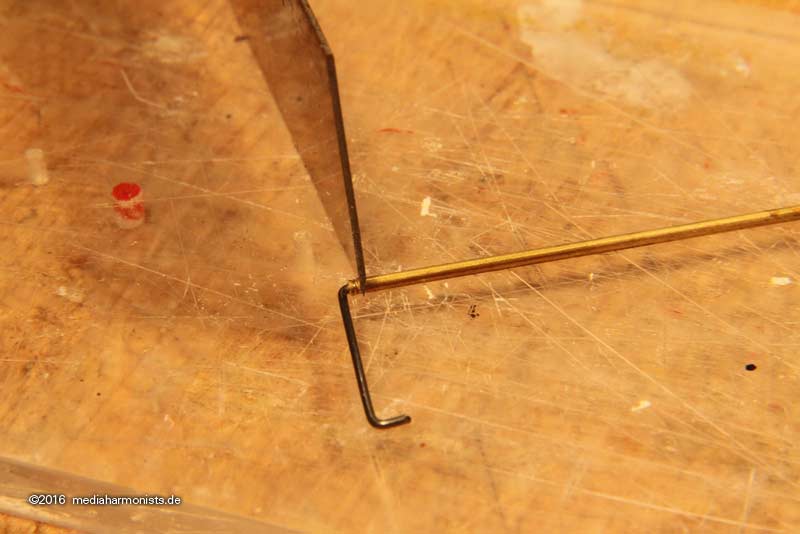
... and placed upon a hard acrylic surface and a cutter blade is use to
roll in a groove ...
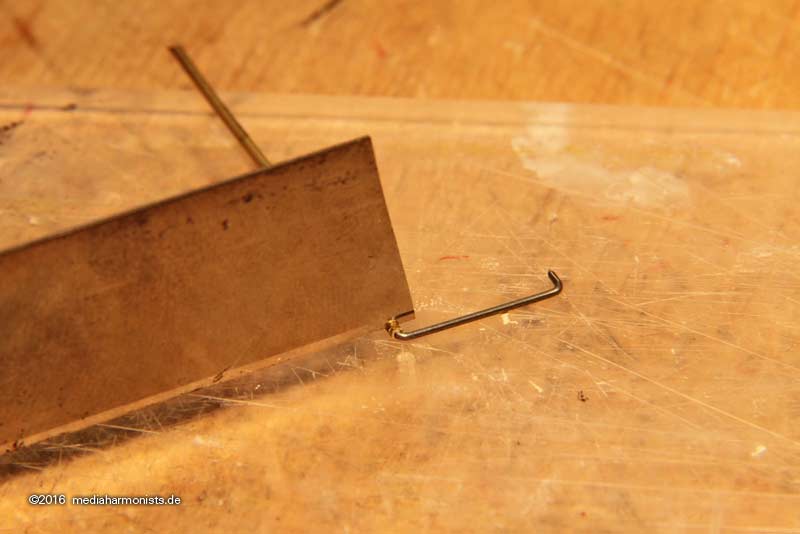
... then the blade is placed further in and with pressing rolling the thimble is cut off.
Then the core is used as handle to sand off the edges ...
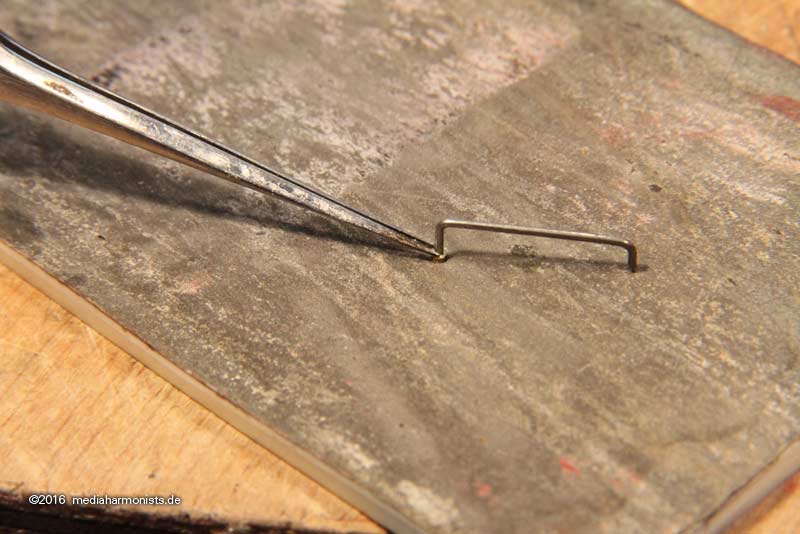
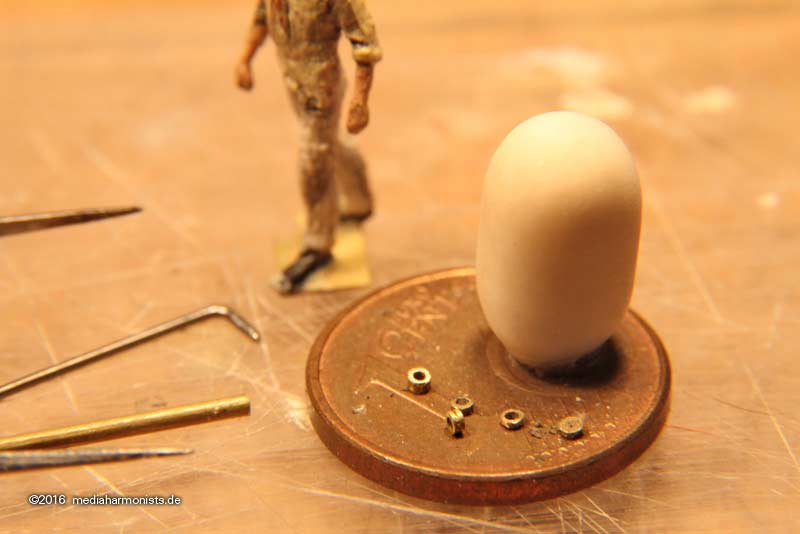
... and ready is the thimble of 1 mm outside, 0,5 mm inside and 0,5 mm thickness with 0,5 mm hight.
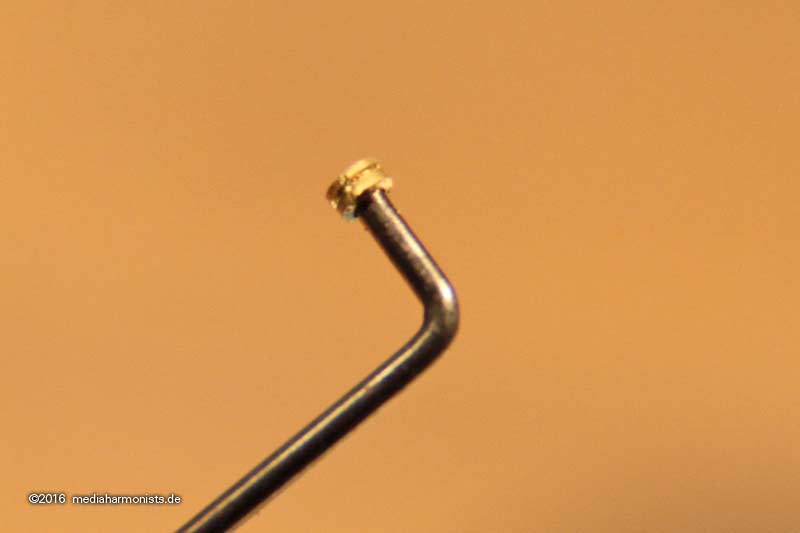
Production is quite easy and if necessary also possible with reduced hight - then without the groove
Cheers, Daniel
Re: To HMS Victory and beyond
Posted: Sat Jul 16, 2016 2:23 pm
by dafi
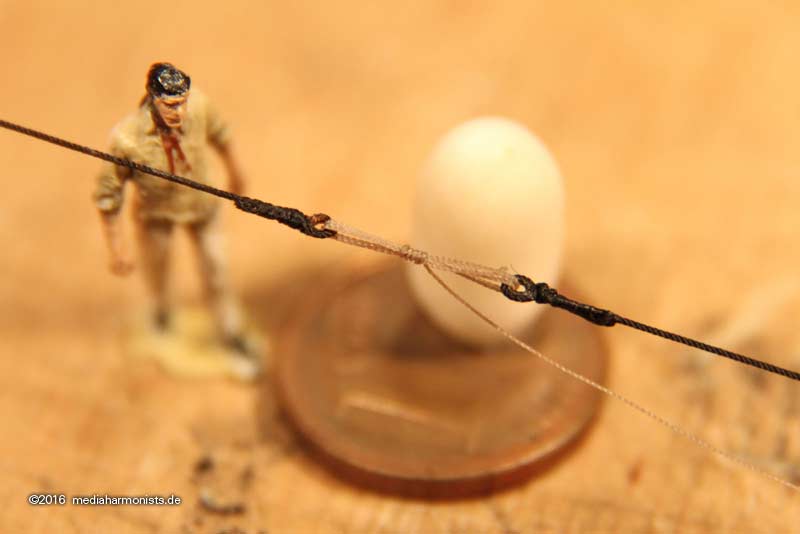
And what�s a thimble without a rope ?!?
Took off the inner edges to give the typical rounding on the inside ...
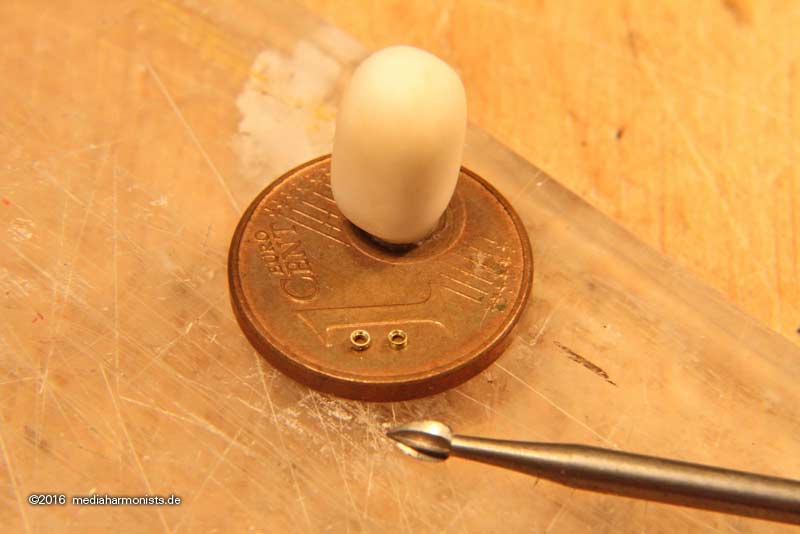
... hooked them up to put them into the blackening soup and to get them out without having to search ...
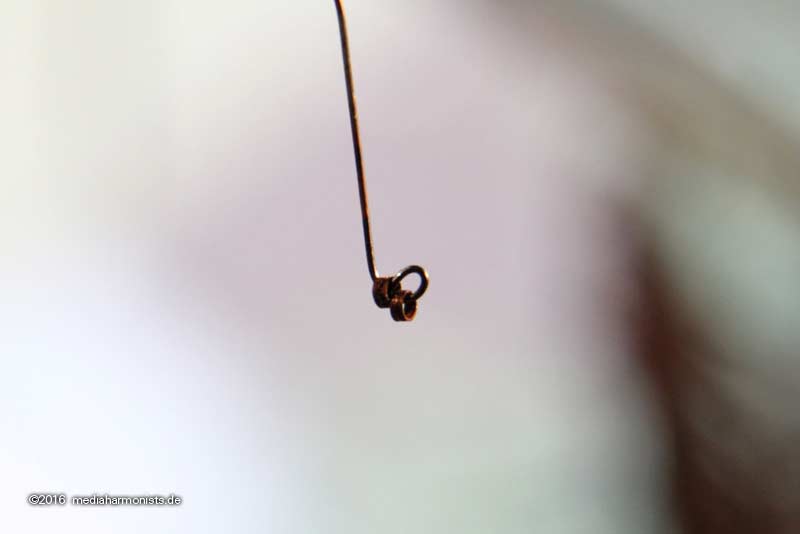
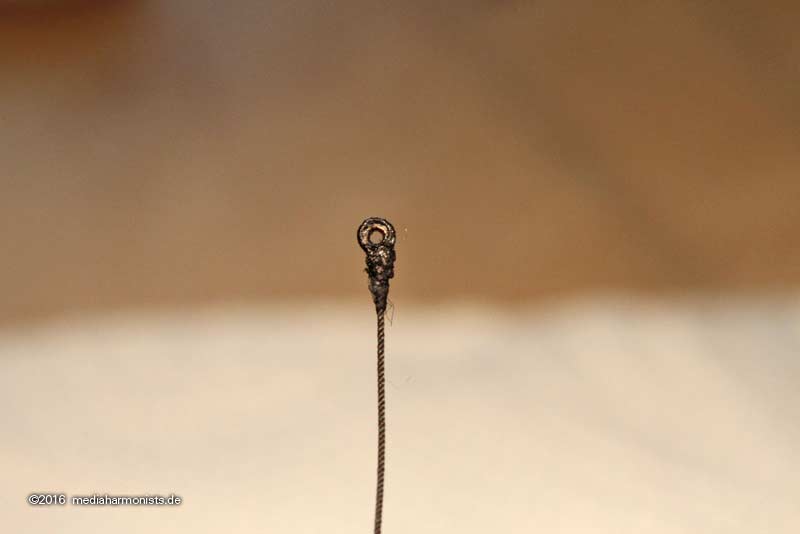
... ok, first trial was not the wanted result as smartened ropes can�t be sliced ...
... so to be smart no smartening but a splice, inserted the thimble and closed the loop ...
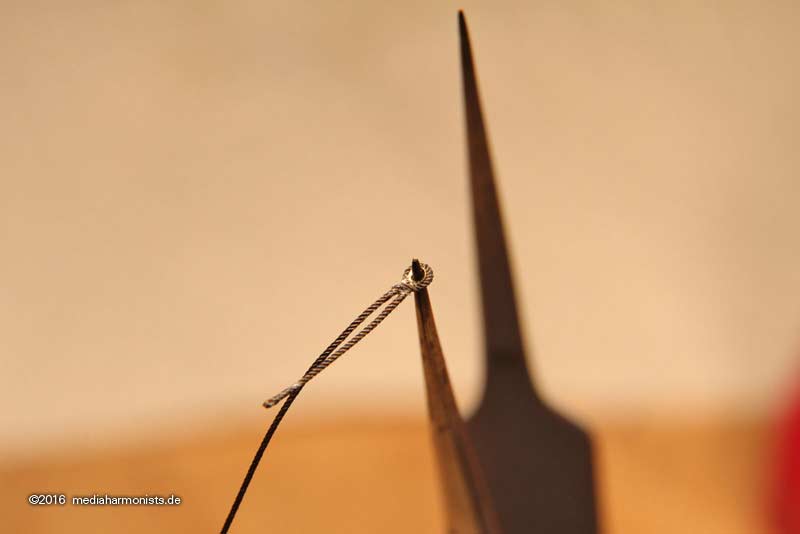
... smartened the ends off and lashed it down ...
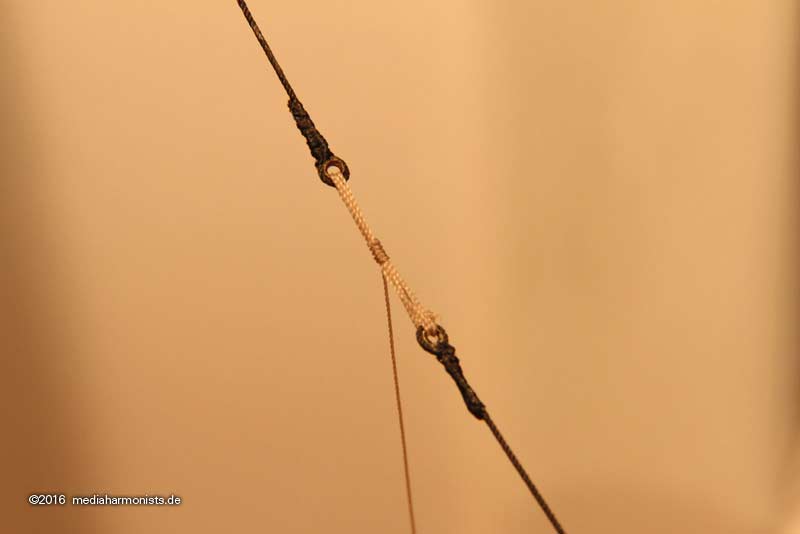
... and went happy about the result
XXXDAn