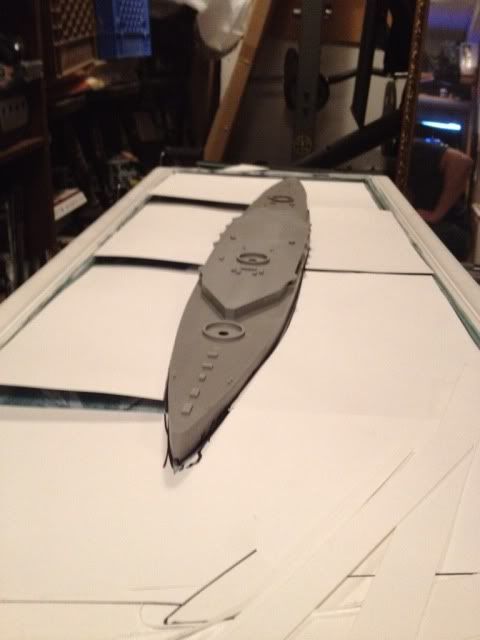
I'll dry fit and check photos (mainly other builds) before I glue something on.
It already started with the rudders, prop axles and the props...also wrong.
Moderators: MartinJQuinn, JIM BAUMANN, Jon, Dan K


See, this is why I use my DML instructions as merely polite suggestions as to how I should proceed.FlowerPower wrote:Thanks for the information...even without issues I dislike the Dragon manual...pfff.
I'll dry fit and check photos (mainly other builds) before I glue something on.
It already started with the rudders, prop axles and the props...also wrong.


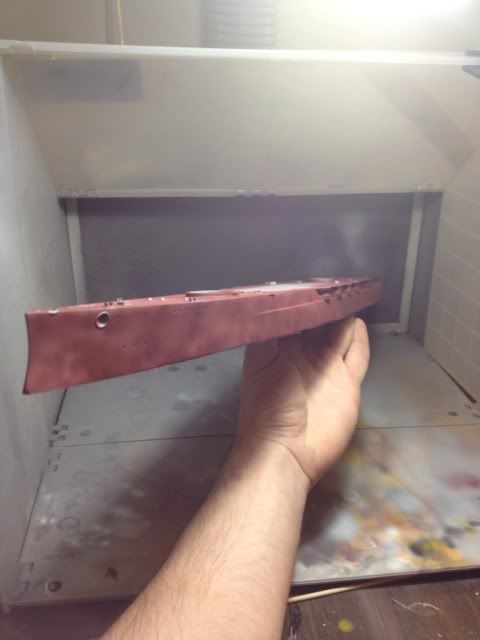
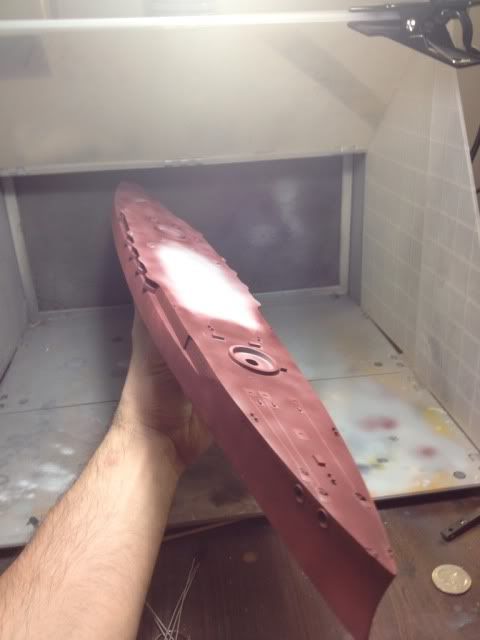
It's 3 layers of basecoat paint. I used Vallejo rattle can primer for this, normally I prefer Tamiya basecoat, but since Vallejo has more body, I thought it was best for this. It worked fine.You mentioned sink marks on the lower hull and I can see the white bands in your photos. Was that just white paint that you sanded down or did you spray something more substantial like Mr. Surfacer?
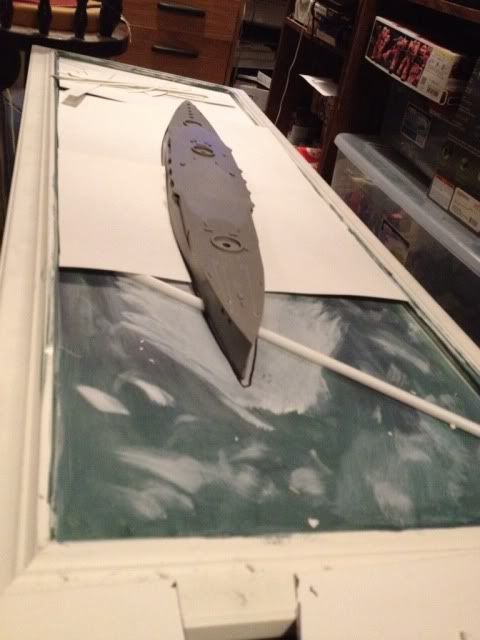
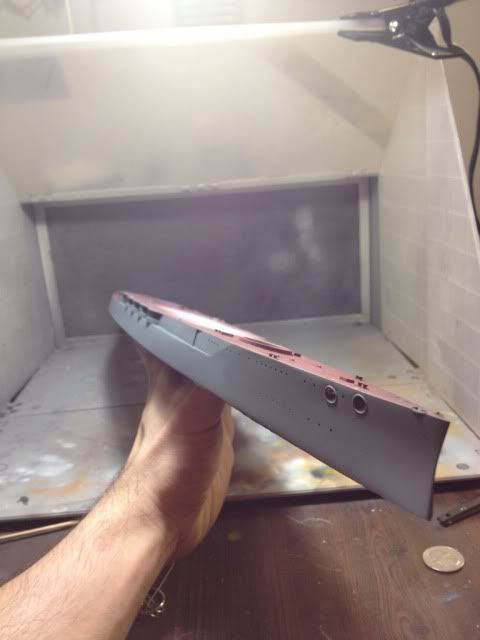
Will do and post it here with an edit. It's just a brass tube...I also squeezed thin styrene strips between the wedge and the hull.Can you post a photo of the additional brace you added to the hull?

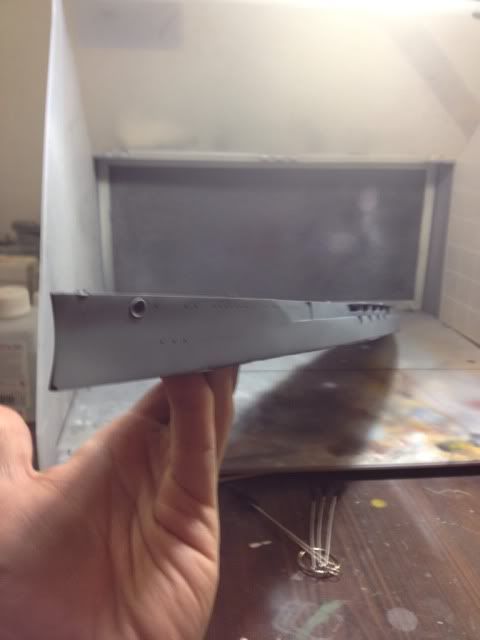
The instructions are wrong...the parts are perfectly fine, although it was a pain to position the rudders right. they have no pins...and the hull no holes, but that's nitpicking.You mentioned the rudders/propellors are wrong. Did you mean the instructions are wrong or the kit parts are inaccurate?

