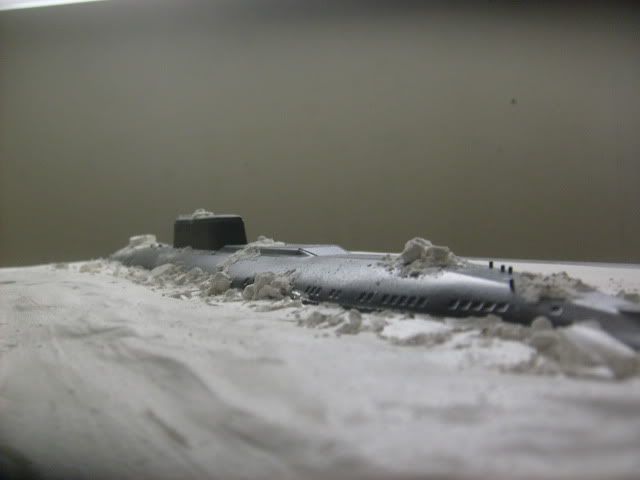
Page 5 of 8
Re: Silent Night with the Silent Service GB 11/1-12/25/11
Posted: Fri Dec 09, 2011 10:10 am
by D-Boy
JTninja wrote:^Thats cool
Im almost there with mine...we'll see if I add p/e or not...
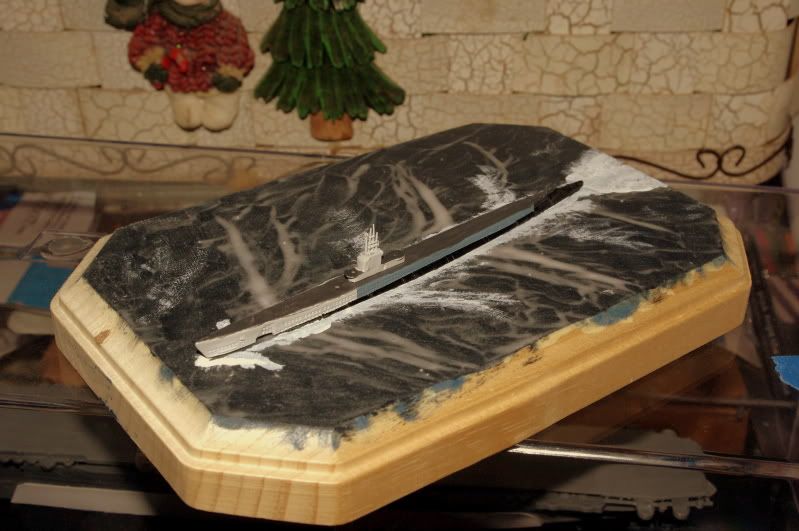
JT, what paints have you used in this build to date? Love the look of that gray/blue on the hull side.
- D-Boy
Re: Silent Night with the Silent Service GB 11/1-12/25/11
Posted: Fri Dec 09, 2011 10:17 am
by D-Boy
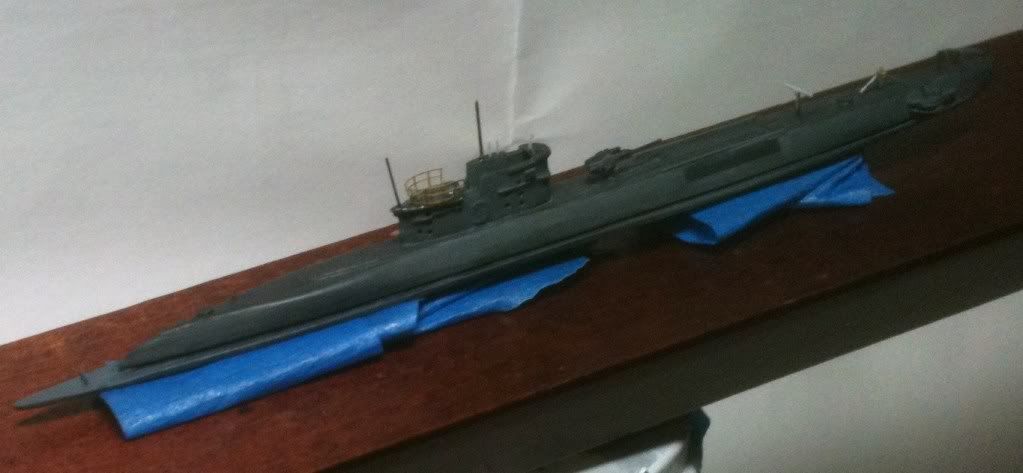
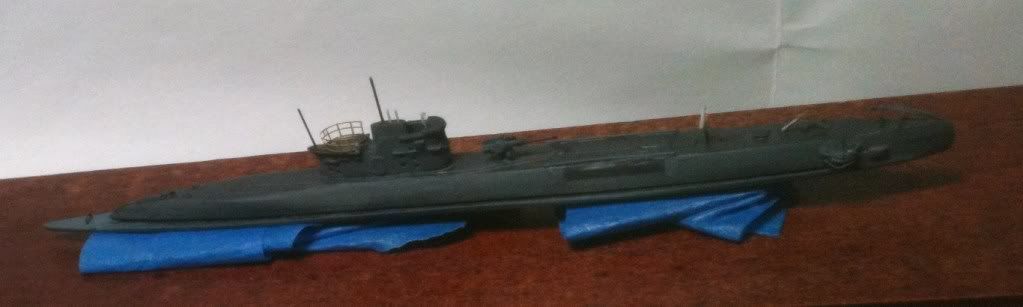
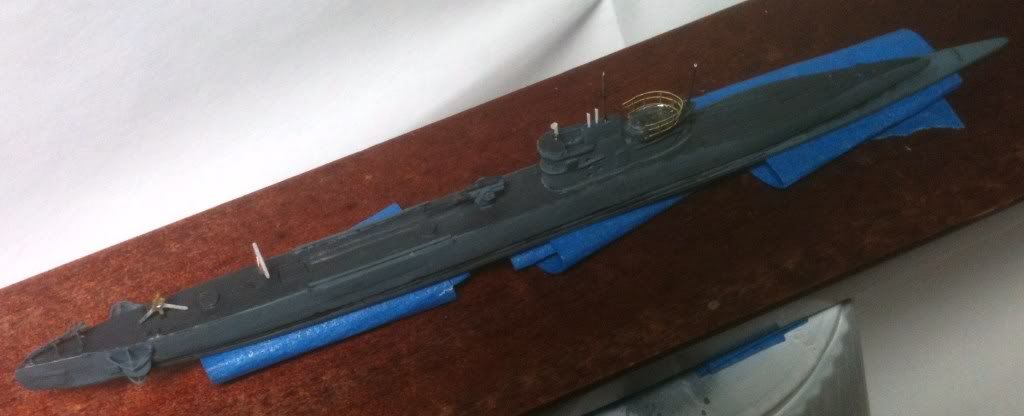
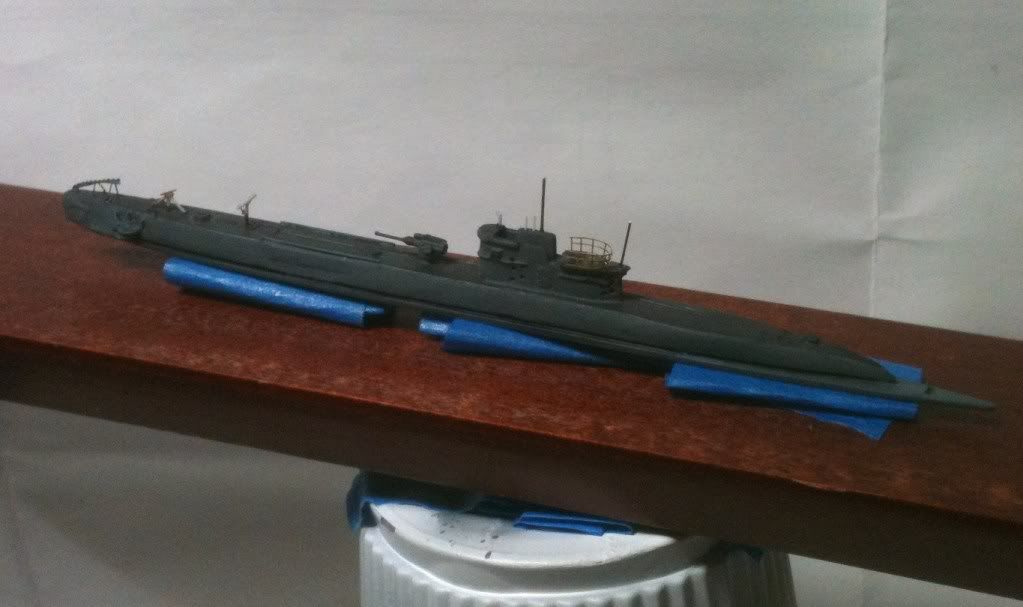
cb120 wrote:Hull is fully painted and marked with all decals.
[url=http://kvaksiuk.com/pix/viewer.php?id=945466034.jpg]

And remains the last step - painting and installing periscopes and antennas.

Just a monsterous boat, begging a side-by-side comparison with another submarine in the same scale. What a sight to see in person.
- D-Boy
Re: Silent Night with the Silent Service GB 11/1-12/25/11
Posted: Fri Dec 09, 2011 10:26 am
by D-Boy
Those plans are eye-openers! Thanks for providing.
Glad I did not choose to do a cut-away version of this ship (but won't that be a tempting thought for a hard-core sub-builder when the new 1:72-scale Skipjack is out)!
Re: Silent Night with the Silent Service GB 11/1-12/25/11
Posted: Fri Dec 09, 2011 10:38 am
by D-Boy
Been thinking on the Grayback rather than building. Here's what's up:
1) Placed two orders with Freetime Hobbies - their new website worked well and both orders shipped the same day. Expecting to see them here at the office early next week. Ordered replacement 3-blade propellers from Yankee Modelworks and replacement white metal prop shafts and braces. Will either use directly or as templates for altering the kit parts/scratchbuilding. Having seen reference photos for 5-bladed props for this class on the ways at Mare Island, I then ordered replacement 5-blade props (which will need to be thinned a bit in prop-width, perhaps) and a 1:350 set of USN ladders PE from Alliance Modelworks. This will serve as the source for the ladder at the stern and possibly as replacement rings for the ladders on the sail.
2) Puttied over the mounting holes for the prop guards on the hull stern. Based on discussions here, it seems the prop guards were not mounted at sea, so with the intention of the Regulus on deck, that decision has been made. Forward planes will also be modeled in the upright position, as depicted in every missile launch photo I've seen.
3) Done with hull sanding, save the filler added above. Otherwise primed and ready for first layers of the finish paint scheme. Had quite an odyssey tracking down replacement hoses for my Iwata Smart Jet compressor this fall, but the airbrush is up and running in time for this build, thank goodness!
4) Will be drilling out the periscope mounts and priming and painting them this weekend as well.
Progress! I wish you all the same!
Re: Silent Night with the Silent Service GB 11/1-12/25/11
Posted: Fri Dec 09, 2011 11:07 am
by Cliffy B
Alright, I now know what you mean about the lack of photos of the Regulus II launcher, sheesh! I'd been meaning to research the two missiles for a project of mine anyway so I was happy to do it. I scoured the HNSA (
http://www.hnsa.org/doc/index.htm) documents section for anything on Regulus but came up empty. They have ordnance pamphlets which are usually full of schematics and info but even though they are dated 1958, no mention of Regulus at all

Any idea the designation of the launcher?
I did manage to find this page, figured it help you detail the actual missile. 5 pages of photos of one of the missiles in a museum.
http://www.primeportal.net/hangar/bill_ ... a_gm-3048/
Remind me the next time I build a 1/700 WWII sub of type to paint the parts AS I glue them

Even with my tiniest brush I'm going nuts trying to paint around the AA guns and the railings to get to the interior of the sail and its decks, not to mention the deck alongside the sail. I'm feeling like this guy right now

Other than that the painting is going well. Time to do the white patches now!
Re: Silent Night with the Silent Service GB 11/1-12/25/11
Posted: Fri Dec 09, 2011 7:00 pm
by JTninja
D-Boy wrote:
JT, what paints have you used in this build to date? Love the look of that gray/blue on the hull side.
- D-Boy
Both are Model Master, Light Gray FS36495 for 5-L, and Navy Blue Gray for 5-O (Might be US Navy Blue Gray, but the words are smudged)
Re: Silent Night with the Silent Service GB 11/1-12/25/11
Posted: Fri Dec 09, 2011 9:37 pm
by Cliffy B
Ahhhhh color! Well, shades of gray at least


She still needs some touch ups here and there but she's almost done. Time to work on the seascape now. Colors used were all MM Acrylics brushed by hand; Lt. Ghost Gray, White, Gunship Gray, Engine Gray, and Gunmetal. I wanted the steel deck and the wooden deck to contrast since I figured they'd weather at different rates, hence the two tone. It lends some nice tonal variations at the very least. Weathering will come later but I'll be going light on it, probably just some watercolor washes to bring out the detailing.
Any comments, thoughts, questions, etc... are appreciated as always.
-Mike
Re: Silent Night with the Silent Service GB 11/1-12/25/11
Posted: Fri Dec 09, 2011 10:20 pm
by D-Boy
Cliffy B wrote:Ahhhhh color! Well, shades of gray at least
Weathering will come later but I'll be going light on it, probably just some watercolor washes to bring out the detailing.
Any comments, thoughts, questions, etc... are appreciated as always.
-Mike
Nice step forward for this build! I think the weathering will tie it together well. How much do you thin your MM for brush painting? Why MM versus another brand? Would you really sequence this differently (paint before PE) next time?
Re: Silent Night with the Silent Service GB 11/1-12/25/11
Posted: Fri Dec 09, 2011 11:36 pm
by Cliffy B
Bob, I'm really loving that I-boat, nice, crisp, and clean

JT, smart looking Gato you have there
Thanks D-Boy! Weathering isn't exactly a strong point of mine so we'll what happens. I use MM and PS acrylics exclusively mainly because that's all my LHSs have, save for Tamiya which we all know is horrid for brush painting. I've used them for years and have no complaints; don't fix what isn't broken. As far as thinning goes I use plain water and for the most part use the paint straight out of the bottle. I'll wet the brush first and get it nice and wet, dab it on a paper towel and then hit the paint. I'll re-wet the brush periodically as I go following the same process. If I'm painting a large area and brush strokes show up that I don't want, I'll clean the brush completely, and then go back over the surface with it wet slightly with clean water. Usually evens it out nicely, if not, another coat does the trick. I use synthetic brushes you can get at Michael's or any other art store called "American Painter". They have orange bristles and light gray or silver handles. I've used them for years for models as well as my watercolor paintings and they've never let me down. They're great value for their money, certainly not the cheapest or the most expensive, especially when Michael's puts them on sale or I nab one of their famous coupons (sometimes both in which case I clean them out
).
As far as construction goes, i realized I should of left of the guns until I painted the sub completely. It was a royal pain to get in around them, especially with the railings in place already. The railings along the main deck to caused some issues with painting the sail and the deck. If there hadn't been such a gap around the sail, I would of painted it separately and then installed it. In retrospect, I should of assembled everything, sans the guns and the main deck rails, and then painted it completely, installing them in the end, per-painted. Oh well, live and learn
I free handed the white patches and I think I'm going to go back and tape them off. They didn't look that bad when I was painting them but now I can see they're a bit too fuzzy for my liking. Think I might alter the shapes on the starboard side as well, they're bothering me a bit.
Upwards and onwards!
Re: Silent Night with the Silent Service GB 11/1-12/25/11
Posted: Sat Dec 10, 2011 8:30 pm
by Bob Cicconi
Sure! I painted the deck color first and used it as a primer to fill all the minor scratches on the entire model. There's no special reason I did that- it's not for any color change or anything. I use Testors US Army/Marine Sand for the wooden decks. After both the deck and hull colors are painted, I take regular children's water color and make a black wash on the deck. It brings out the deck planking and tones down the sand color at the same time. It's fast, easy, and gives a good result. If you don't like the way it came out, or you got a little bit of black on the hull color, just take a damp Q-tip or similar tool and wipe it off! Make sure you have a little bit of soap in the water that you use to thin the wash so it breaks the surface tension and doesn't just blob up all over the place. I gaurantee you'll love the technique!

Re: Silent Night with the Silent Service GB 11/1-12/25/11
Posted: Wed Dec 14, 2011 8:52 pm
by Quincy
Re: Silent Night with the Silent Service GB 11/1-12/25/11
Posted: Thu Dec 15, 2011 5:01 am
by roy allen
Love that wire cutter quincy, hope to put the finishing touches to my I16 over the next few days but work and the Christmas shopping has kinda slowed me down. As i start my seven day stretch of nights on Monday it only leaves me a short time to finish.
onwards and upwards gentlemen
Roy
Re: Silent Night with the Silent Service GB 11/1-12/25/11
Posted: Thu Dec 15, 2011 8:33 am
by Bob Cicconi
Quincy: Looks good, Bro!
Re: Silent Night with the Silent Service GB 11/1-12/25/11
Posted: Fri Dec 16, 2011 8:31 am
by Bob Dedmon
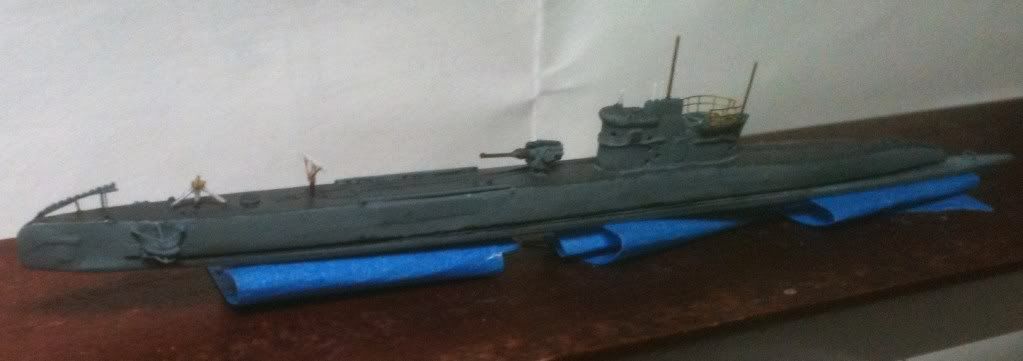
nearly finished with my 1/700 1941 Gato to be completed as Archerfish...sub is mounted and weathered, just need to add the rails and antenna rigging. Hope to finish it in the next couple days and get the shots out.
Re: Silent Night with the Silent Service GB 11/1-12/25/11
Posted: Fri Dec 16, 2011 3:18 pm
by D-Boy
Beautiful builds, all of you. Nice to see that so many of you have reached the painting and weathering stages. Thanks to all who have provided such detailed answers to questions I've posted about your builds.
For me, a step-backward kind of week - correcting some earlier assembly and committing to a higher level of detail than initially planned.
1) Pulled apart the Regulus missile because one of the wings was mounted slightly off-line the other. Now re-glued and hopefully set for priming.
2) Final sanding on the hull. Still not satisfied with how I've addressed the mold line on the bow. Putty in the mounting holes of the prop guards, since I won't be using them in this build.
3) Stripped the Regulus launcher parts of primer. Too heavy a coating from the aerosal can, so I think I'll prime and paint with the airbrush alone. Did not like the coverage the primer gave to the PE on these parts.
4) Began work on the sail. That's turned into a story unto itself. In the course of reaching out to several sub-modelers on this forum with nice builds documented in the Gallery, Ken Hart and I have struck up a correspondence. You can recall his work here:
http://www.modelshipgallery.com/gallery ... index.html. Ken has been encouraging me to push myself on this build and so my work this week has been to set the stage for several upgrades he recommends. Given he's practically a neighbor - only 2.5 hours away in Syracuse - and knows US subs from direct experience, I am trying to do right by a fellow Upstate NY modeler. As a result: additional detailing going on the sail:
1) Replace molded grab-handles with PE from Yankee Modelworks. If that doesn't look right (there will be mounts on either side that will need to be puttied flush), then I might just drill out holes for each rung. 2) Add a faring at the top of the sail that is not part of the Waveline kit. 3) Evaluate photos to see whether the molded-in-place doors on the kit existed on the actual ship and if so, whether they were on both sides of the sail - putty and sand as appropriate. 4) Sand off molded-on grab-rails and replace with PE, and 6) Will deepen cockpit, mount a wood-deck within, and replace molded-on plexiglass windshield with transparent sprue sanded to shape.
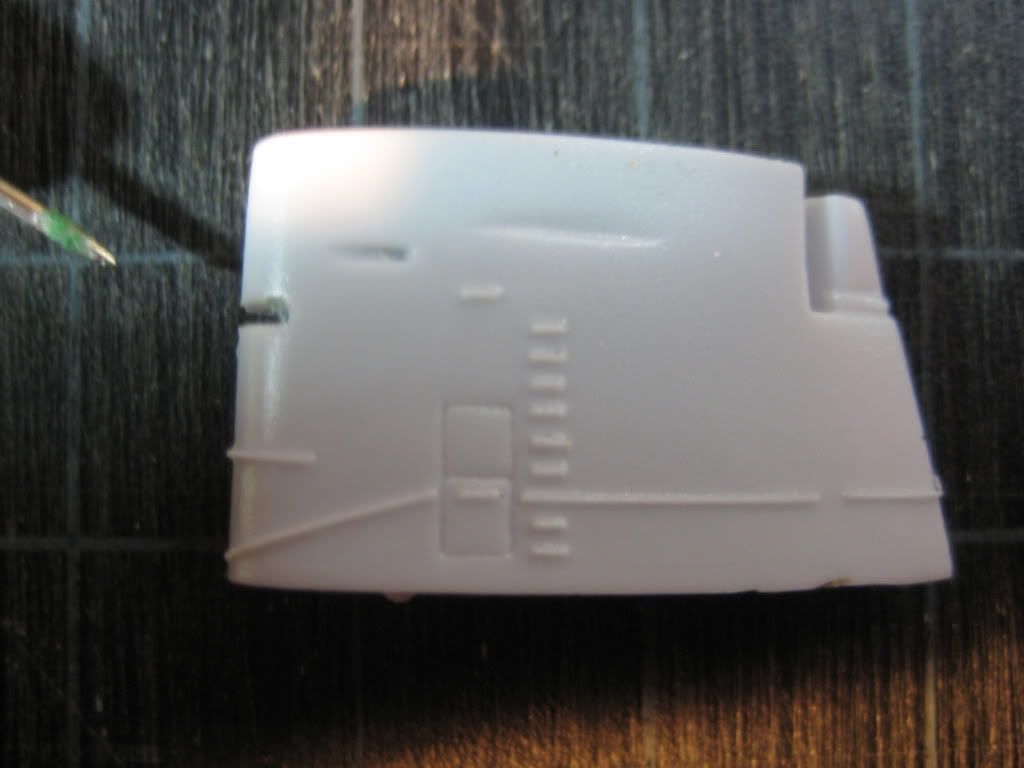
4) Per Ken's encouragement, have already drilled out the deadlights and will reframe with plastic rod and then coat with Krystal Klear. First steps of that progress here:
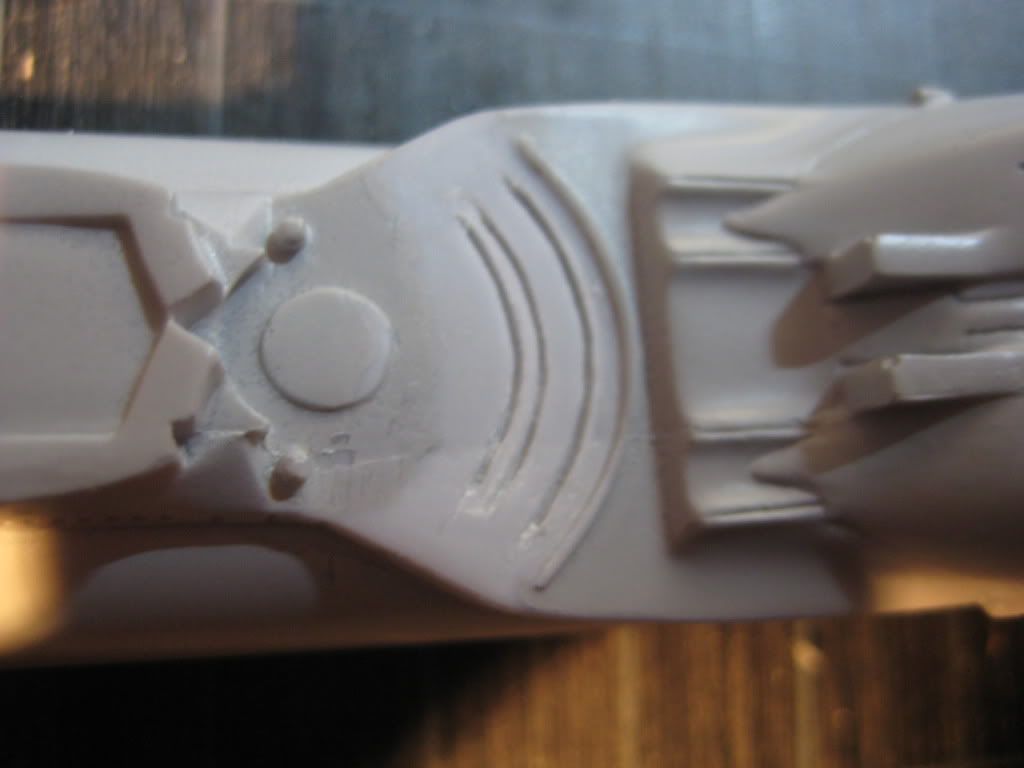
Ken has also noted that the guiderails for the Regulus launcher were cut into the hull, not mounted on top of the hull, so I've begun to cut those down, using a needle chucked in a pin vise and then cleaning them out with an X-Acto blade. One raised molding left to remove (on the right side) so you can see the comparison:
So, some progress, but nothing that offers assurances that the this build will meet the deadline!
Re: Silent Night with the Silent Service GB 11/1-12/25/11
Posted: Sat Dec 17, 2011 9:01 am
by Pieter
That's a very nice build D-Boy.
Time for some progress on Surcouf. I've painted the waterline so I can mount the hull to its base over the weekend.
After the comments on the list I've tried to drill the gun ports out a bit. I have also added the rangefinder hood. The shape of the rangefinder points to the period this kit is supposed to represent as Surcouf was given a more streamlined rangefinder hood around 1935. I'm positively surprised again by the quality of the castings of this old kit.
And I've stacked the parts together to show the current state of the project.
Next up: the waterline base and I may be starting the aircraft tomorrow.
Re: Silent Night with the Silent Service GB 11/1-12/25/11
Posted: Sat Dec 17, 2011 9:10 am
by D-Boy
Pieter wrote:And I've stacked the parts together to show the current state of the project.
That depth over the gun barrels was well done - breaks up the streamlining very nicely. Your build has put this kit on my "want" list!
Re: Silent Night with the Silent Service GB 11/1-12/25/11
Posted: Sat Dec 17, 2011 7:46 pm
by Quincy
Re: Silent Night with the Silent Service GB 11/1-12/25/11
Posted: Sat Dec 17, 2011 9:07 pm
by D-Boy
Here's the progress to date this weekend - trying not to look at the calendar, tick, tick, tick!
An overview of preparations for sail detailing:
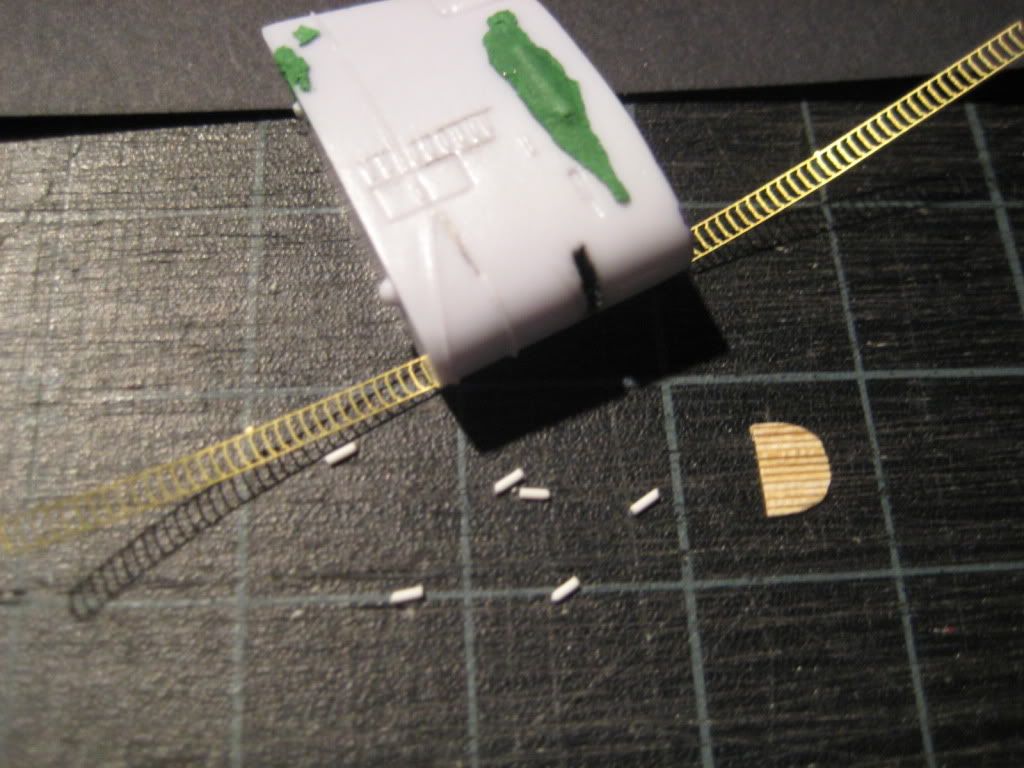
Grab rails and grab-rungs cut from the YMW PE fret. Raided my 1:700 scale wood deck castaway pieces and sized a piece for the cockpit floor. After razor-saw cuts to the deadlights, painted all surfaces black and cut new window bracing to approximate size. Plastruct rod and putty in place to provide rough form for a flair in the sail that is actually represented in the kit by an indent.
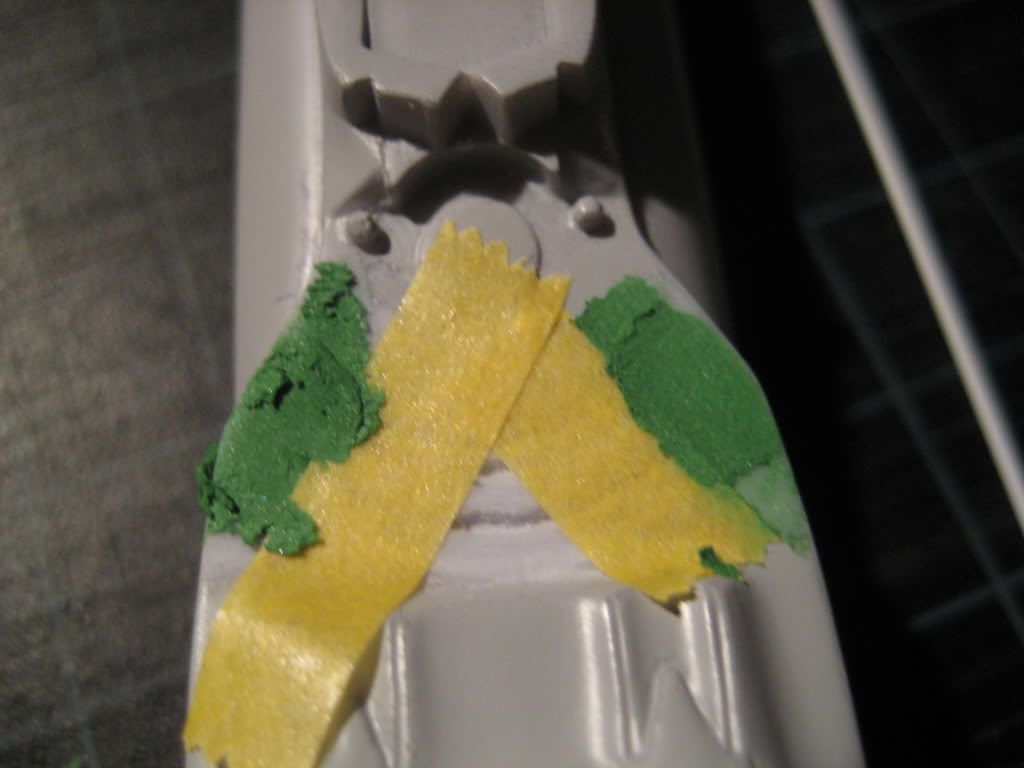
Tape provides sharp edges for putty to provide clean ends to the missile launcher guide rails:
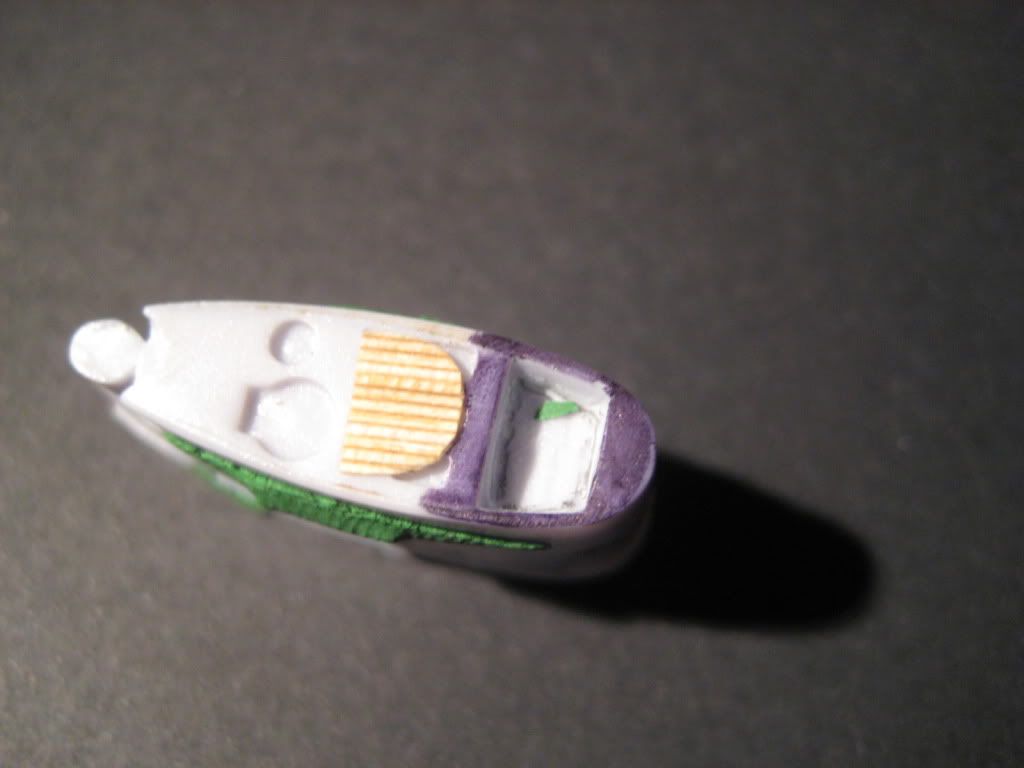
Close-up of sail top and cockpit. Cut the floor to approximate size, then colored the sail top with a Sharpe marker, then pressed the back of the wood deck segment againt the wet marker to provide impression of shape. Wood floor, I am told, covered the access hatch and had a hinged section for access. Will seek to demarcate that with an X-Acto blade cut before installation:
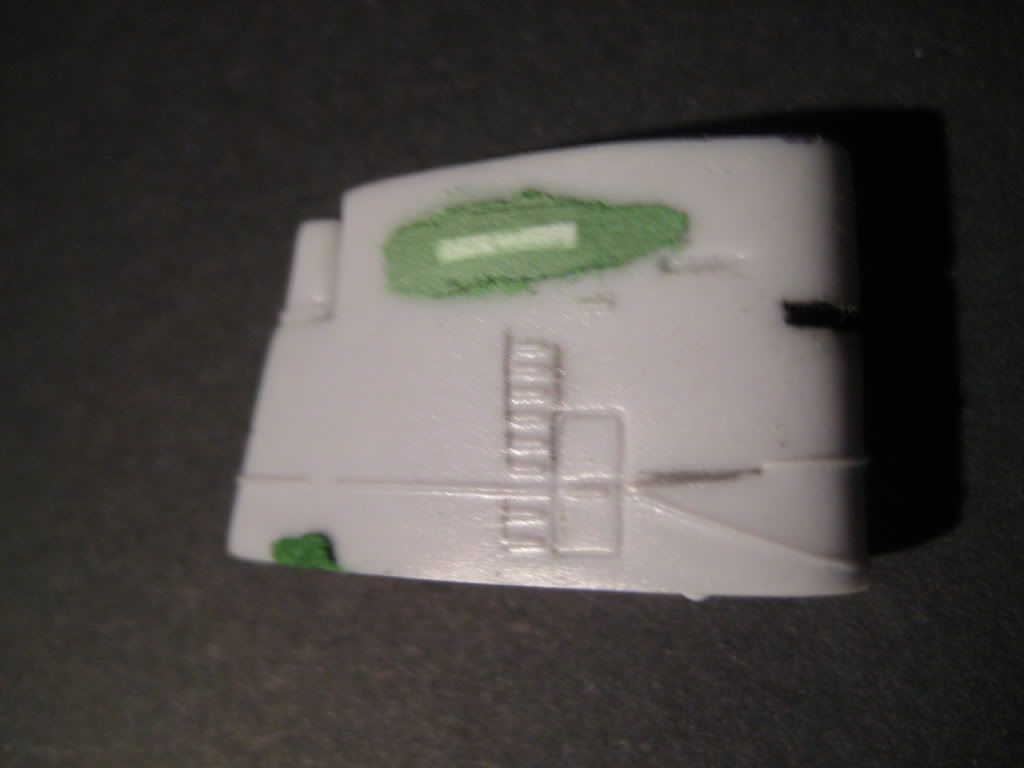
Initial sanding to achieve relief and contour of the sail flair. Plastruct piece provides rigidity for putty and will keep too-zealous sanding from quickly wrecking the profile:
Here's a photo of what I am seeking to reproduce:

Re: Silent Night with the Silent Service GB 11/1-12/25/11
Posted: Sun Dec 18, 2011 2:56 am
by drdoom1337