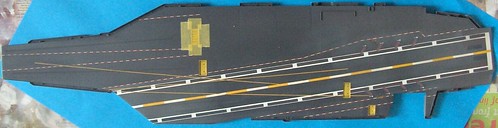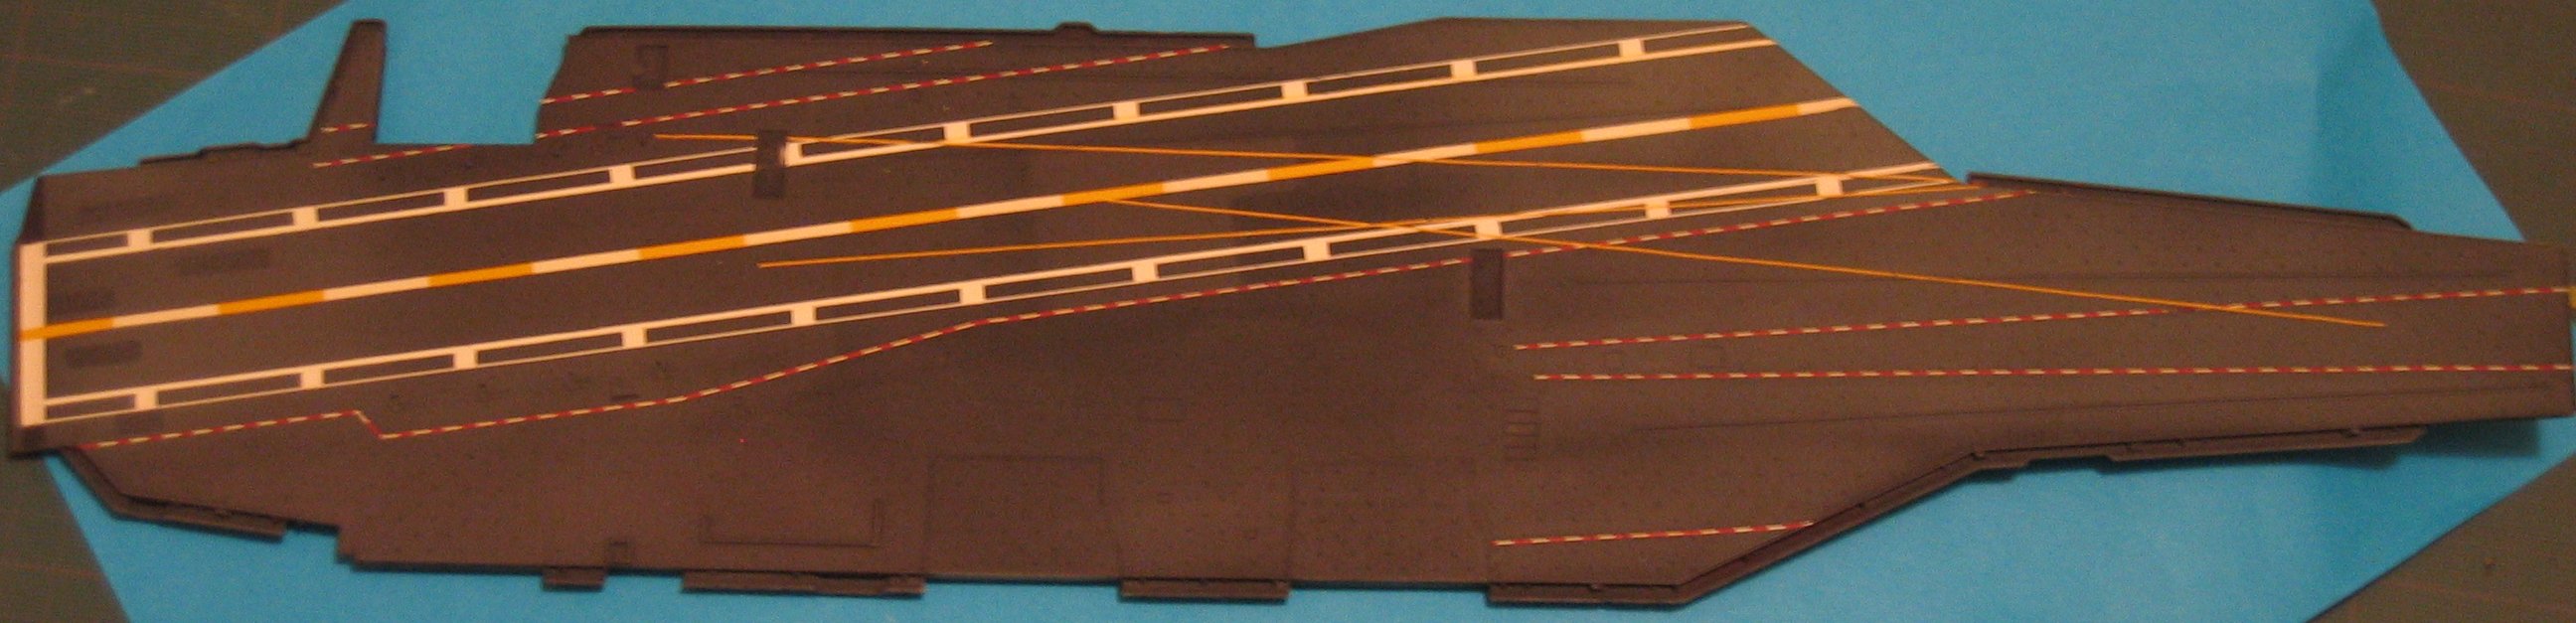
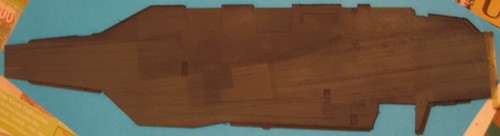
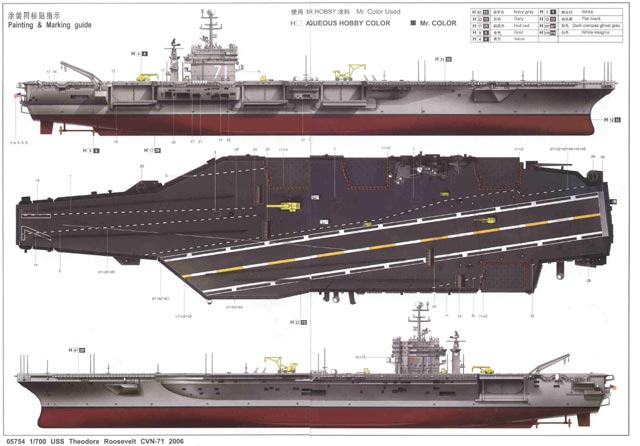
Here is the painting process of the deck, which I decided to paint almost completely (I will use GMM decals for the power hatches) as the Trumpeter markings are wrong/incomplete. I use a "negative" masking technique, i.e. the details colours are painted first, then masked and the final deck colour is sprayed. I am not sure if it works better than the usual technique, I guess I simply wanted to use the .4mm microtape I had

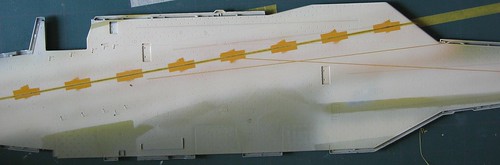
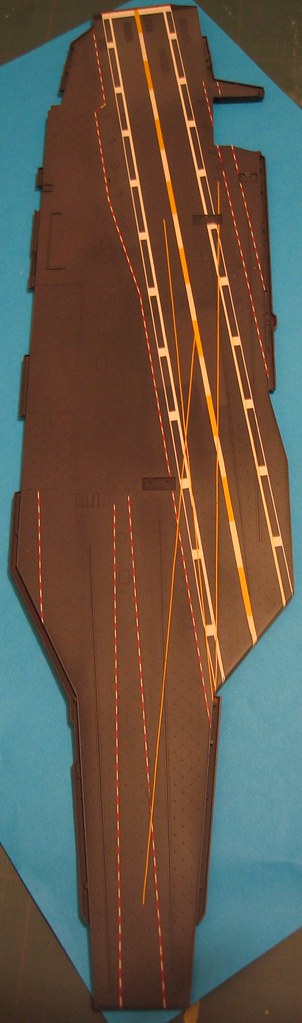
First, a layer of yellow:
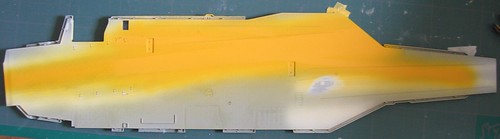
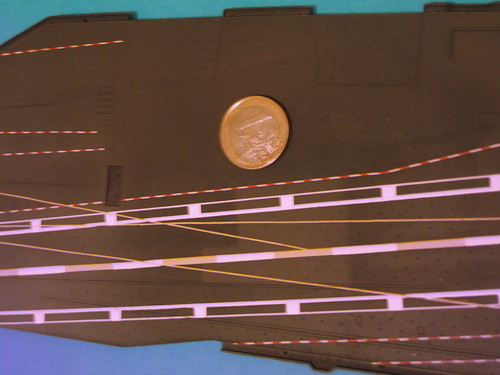
The parts to remain yellow are masked with microtape (Single stripes) or normal tamiya masking tape (Big dashes of the middle white/yellow dashed line). The main yellow/white stripe is wrong in the Trumpeter decals/deck engraving: There should be 18 dashes, the 17 first starting from the stern being 1.95mm long. In the Trumpeter kit they are too long, thus there is one missing and the last one is yellow when it should be white.
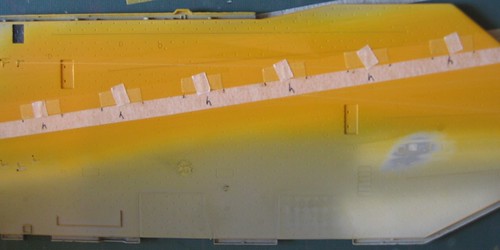
A white layer is then sprayed. The previous masked areas appear, but they are still masked (The yellow is that of the tape):
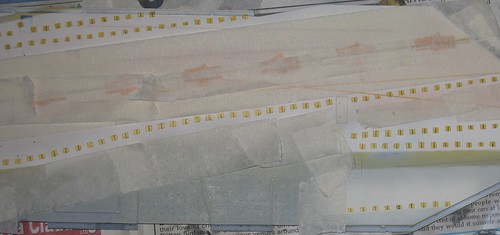
Once this layer is dry the part to remain white are masked. These are the dashes of the red/white 7 yellow/white dashed lines and the two main stripes.
These main white stripes have a problem in the Trumpeter declas/engraving: The widest white part is too wide, and as a result the internal gray rectangles are too narrow. This is easily corrected when you paint them but rather difficult to improve on decals!
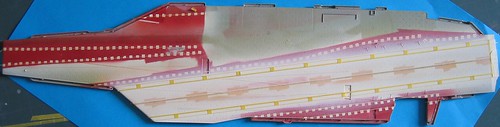
The next step is to spray a red layer...





 )
)





 , so you aint the first and will not be the last.