Hello Gentleman and thanks for tuning in again!
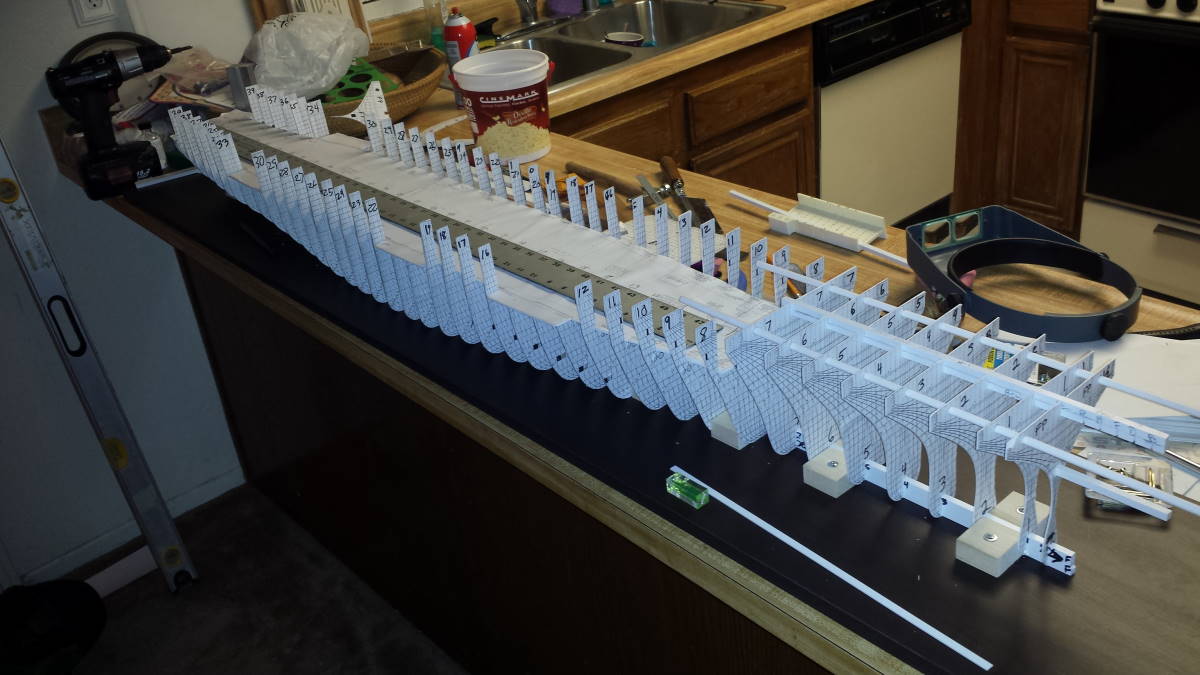
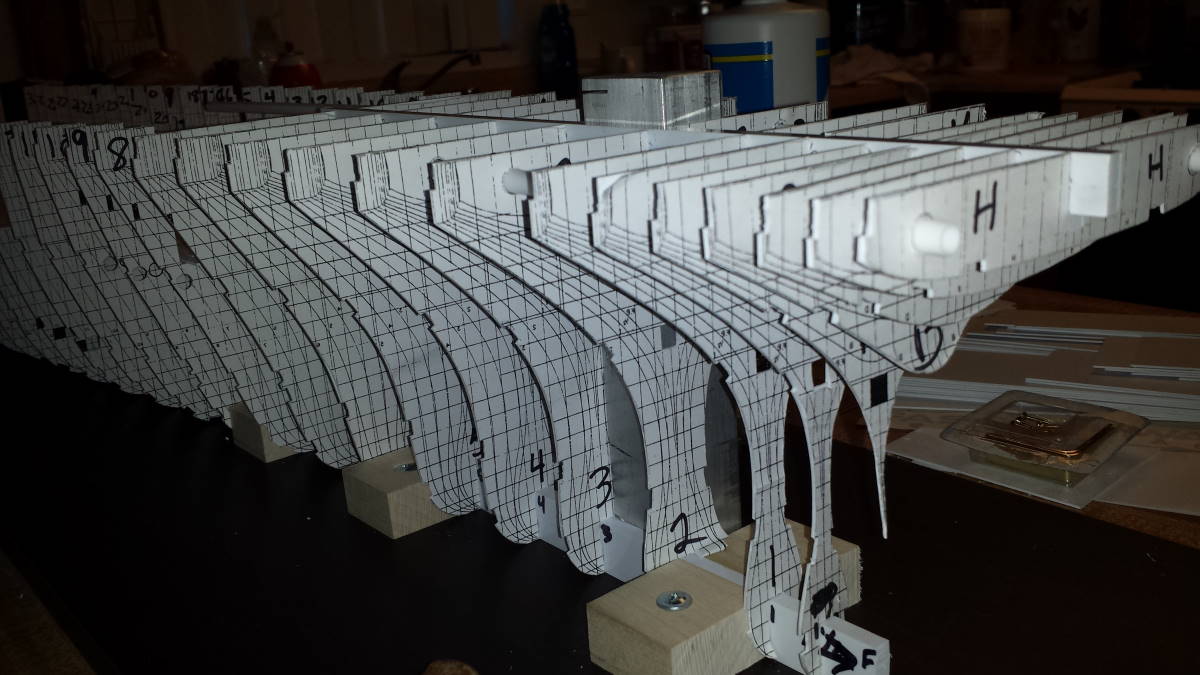
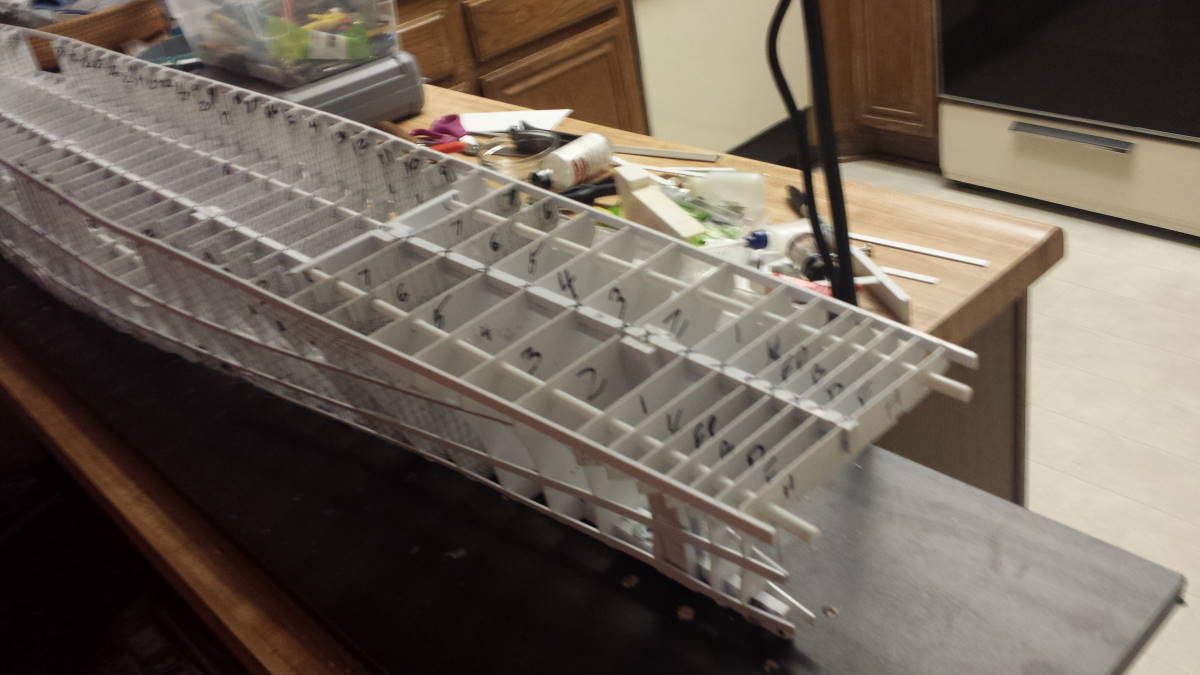
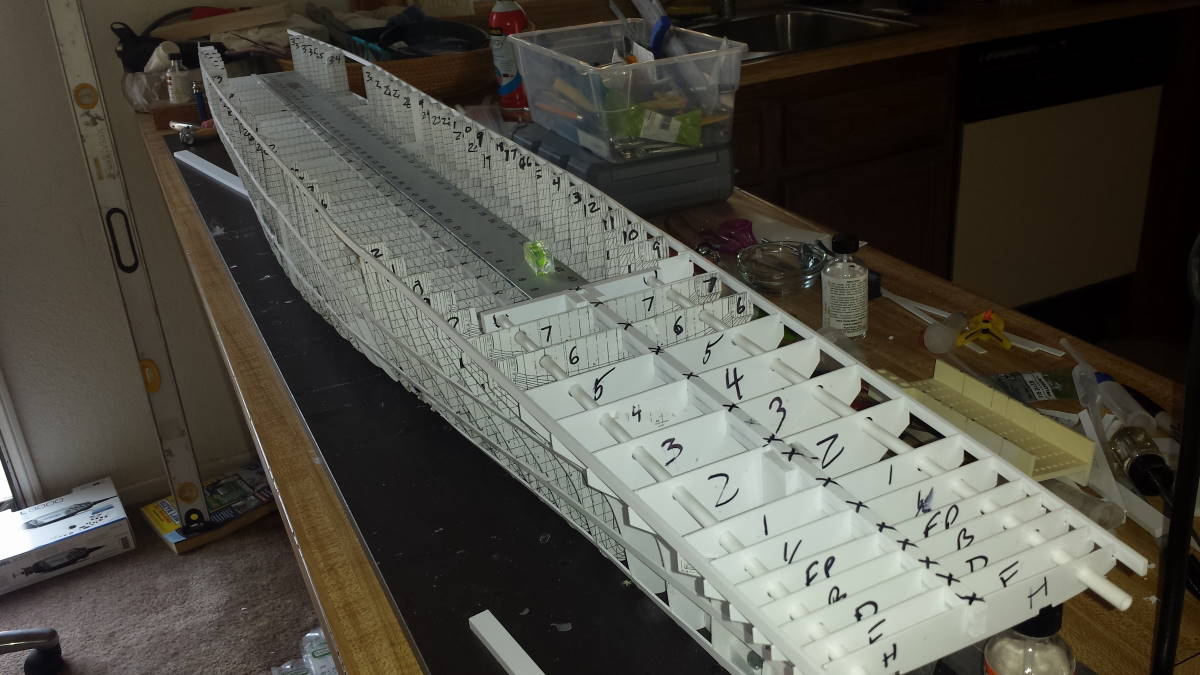
So the last two or three weeks have seen some heavy progress! I have the hull all glued up and it is rock solid! I don't even have it skinned yet and it is very rigid.
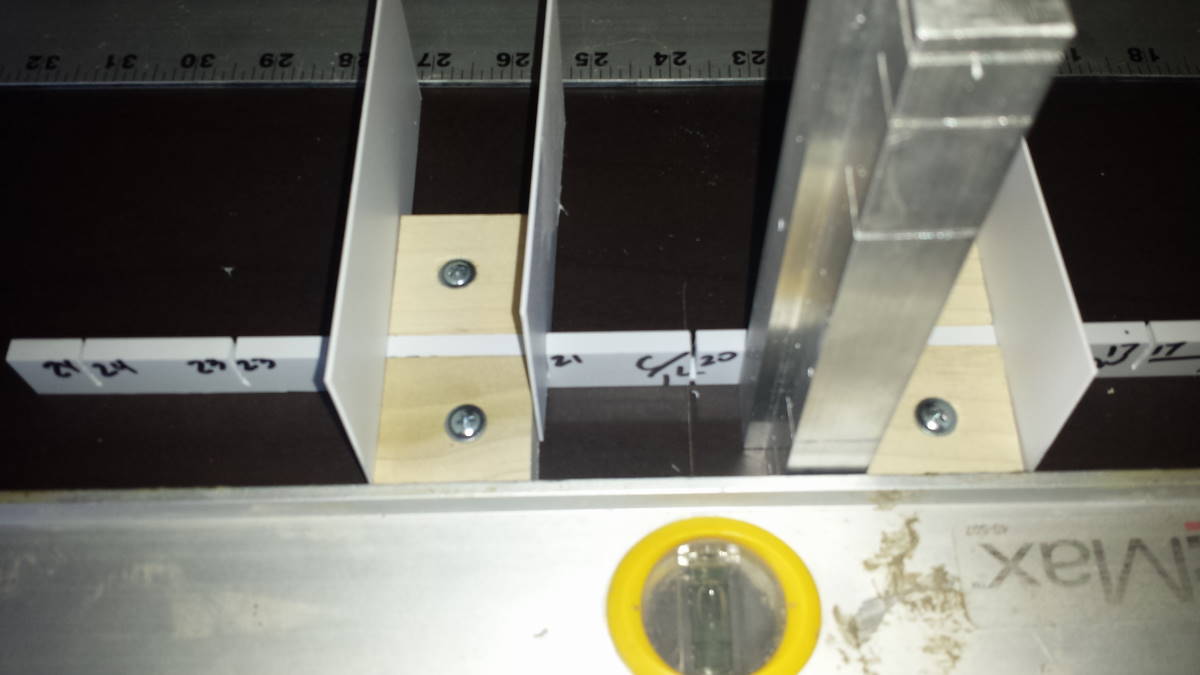
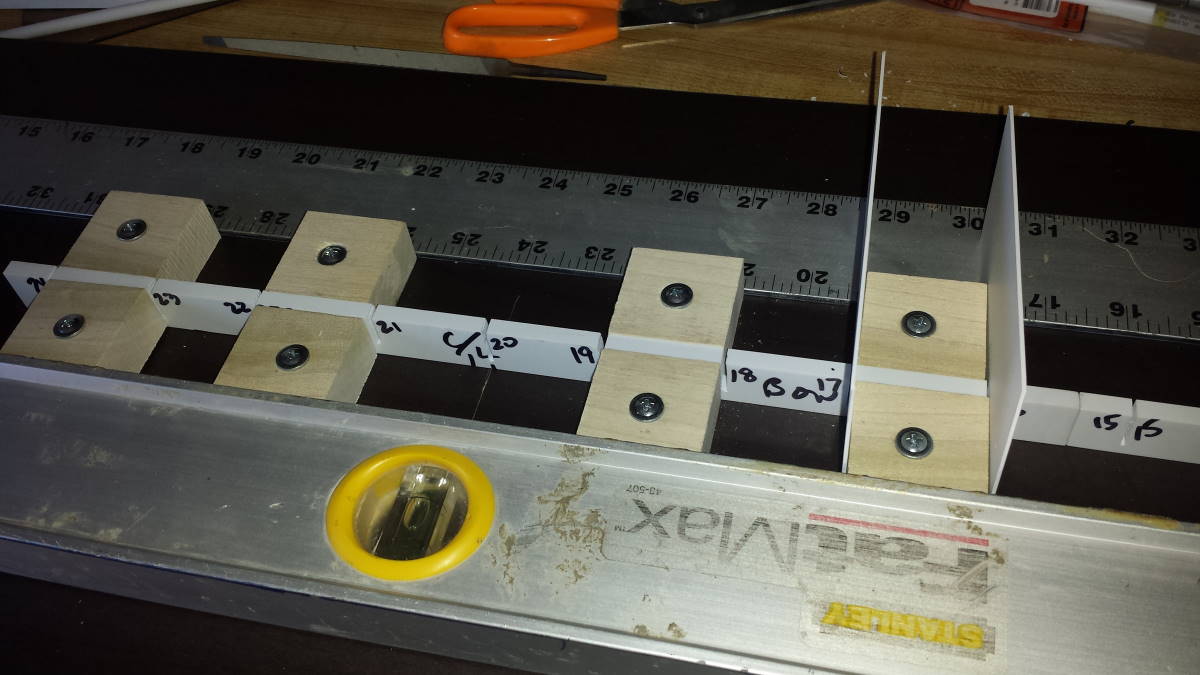
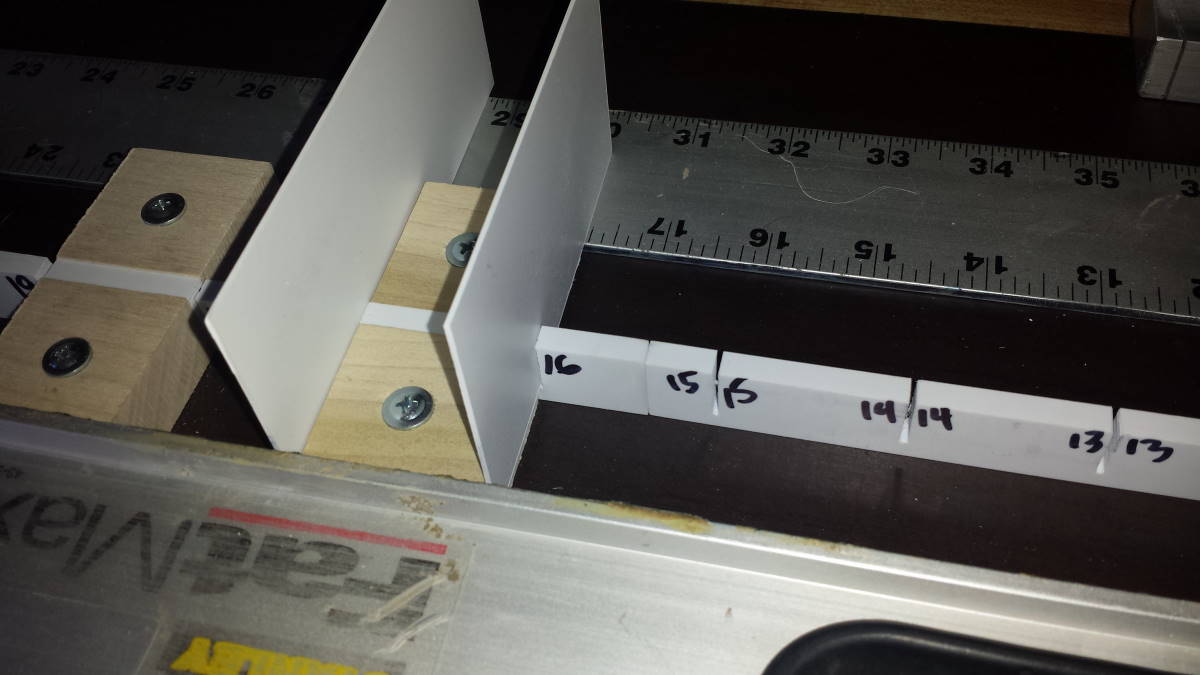
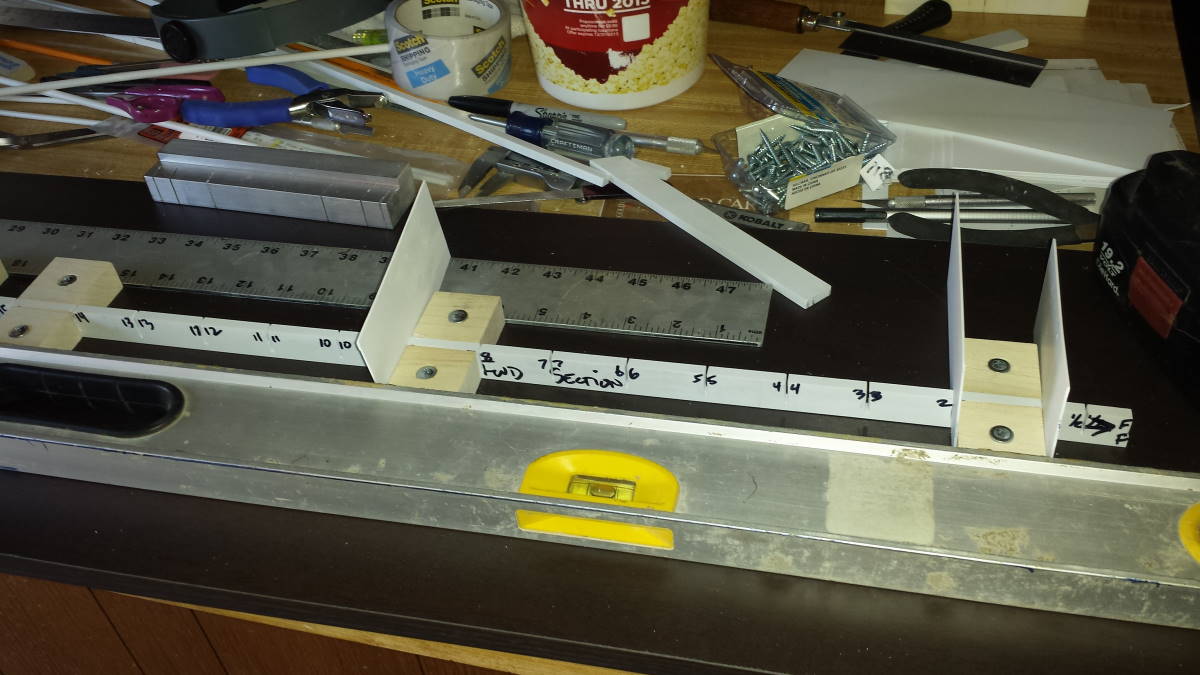
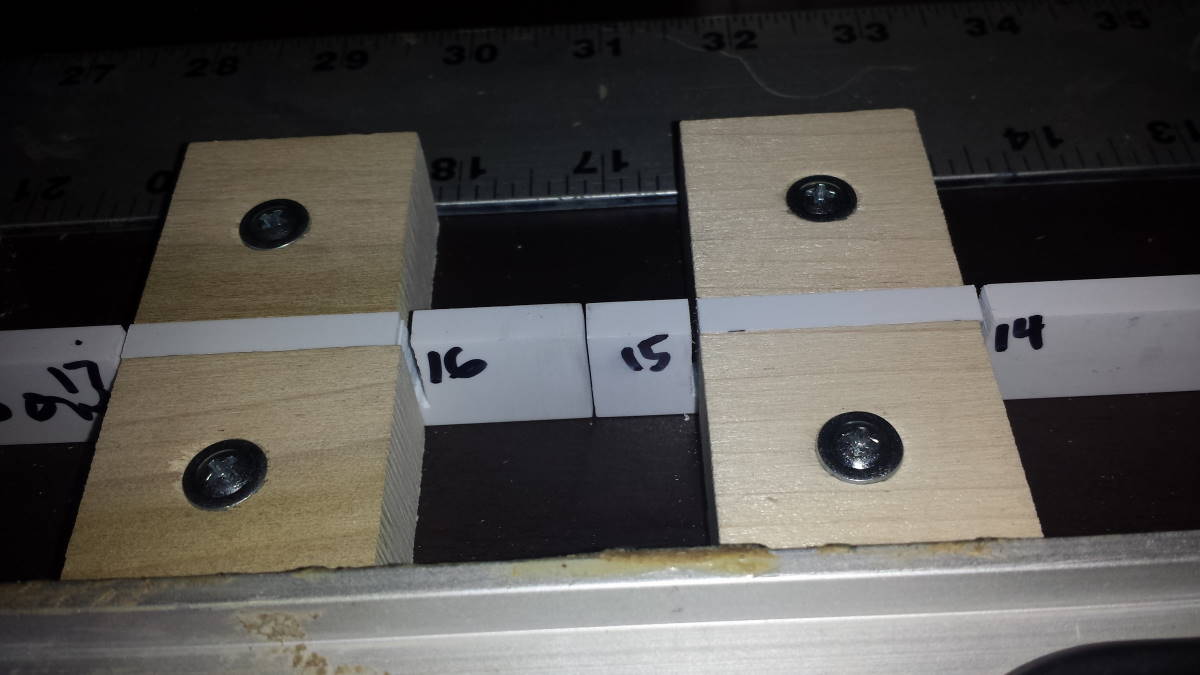
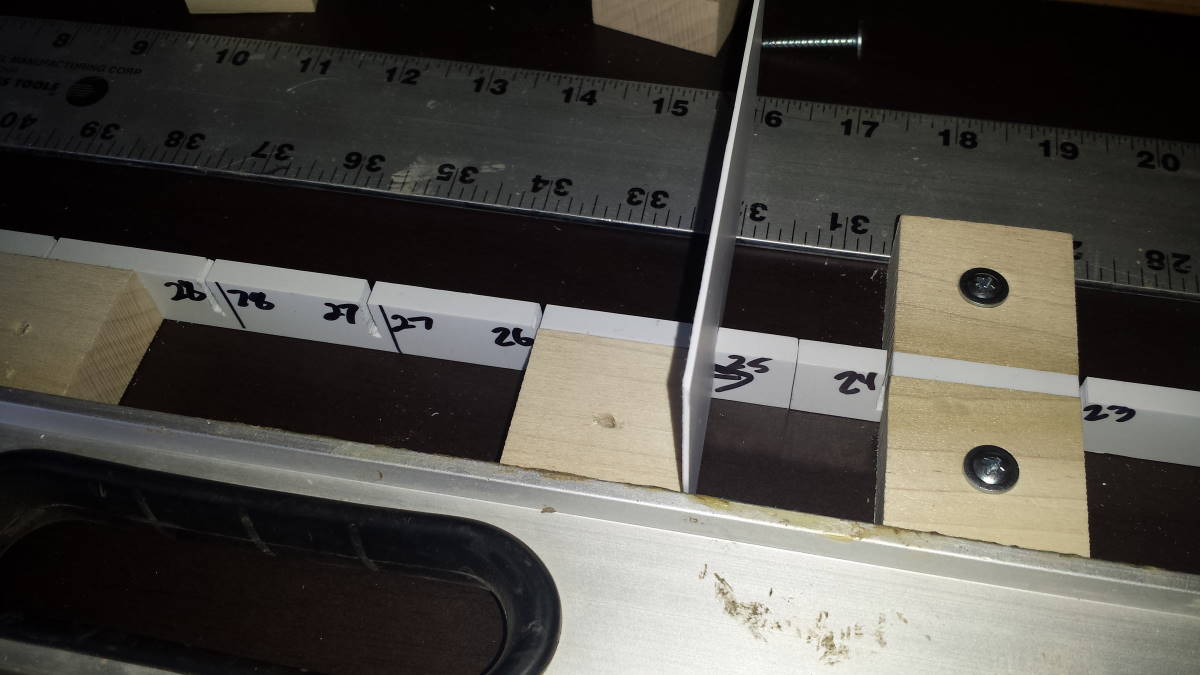
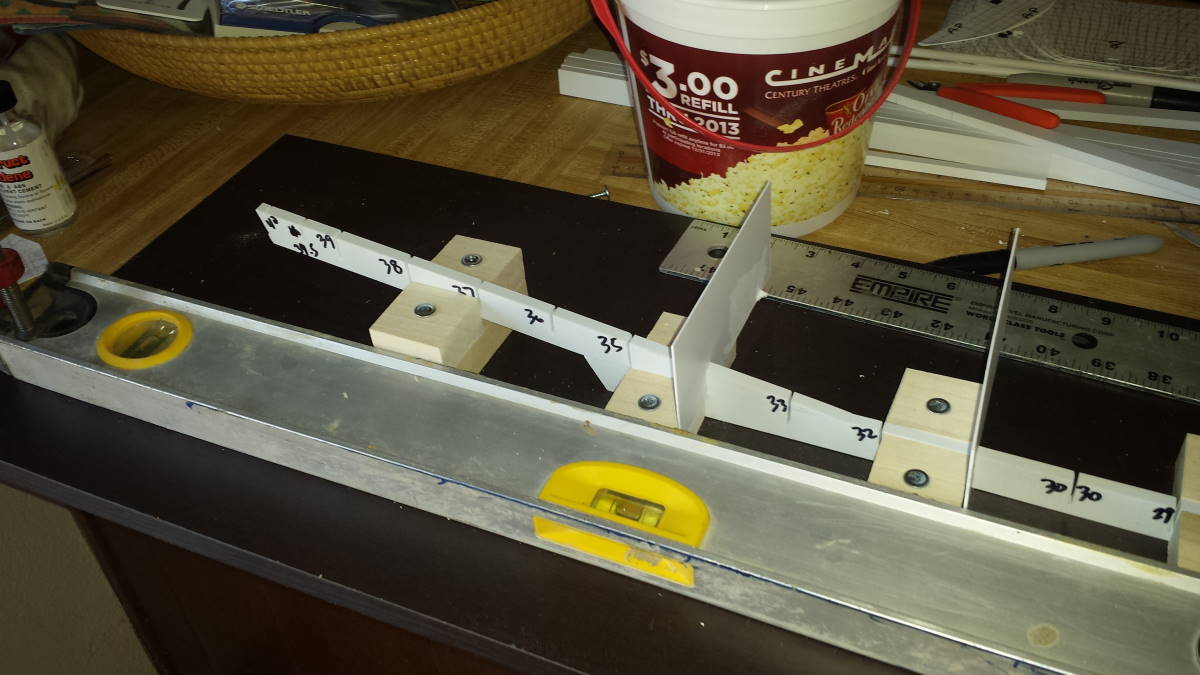
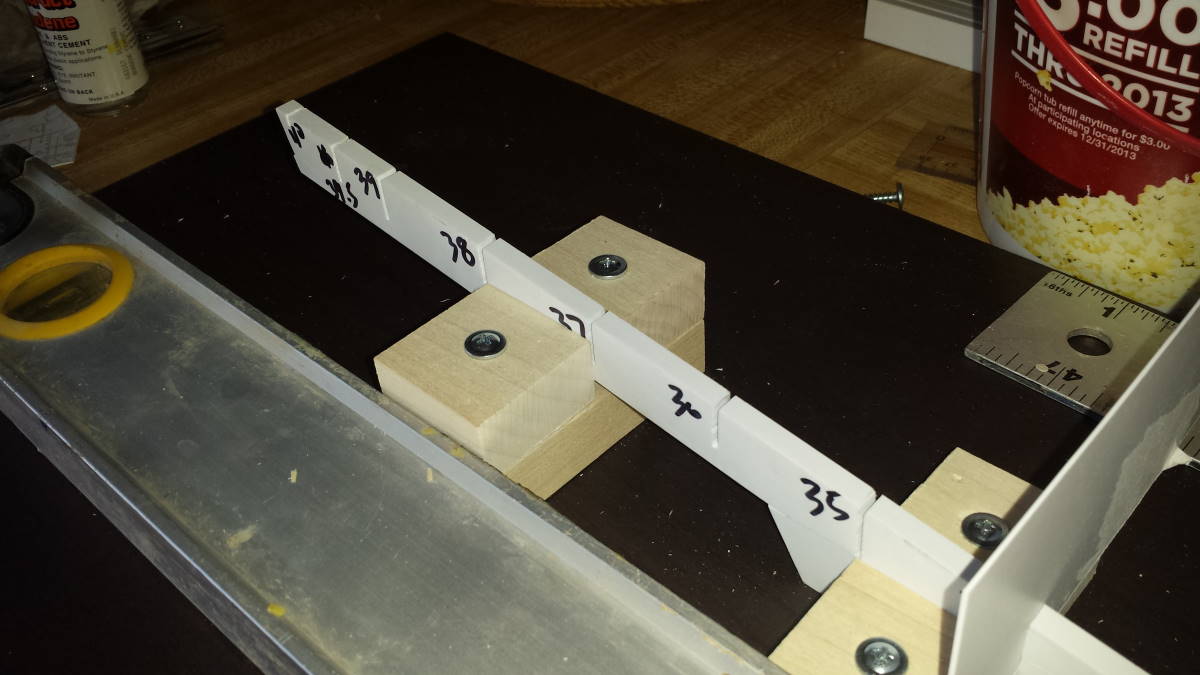
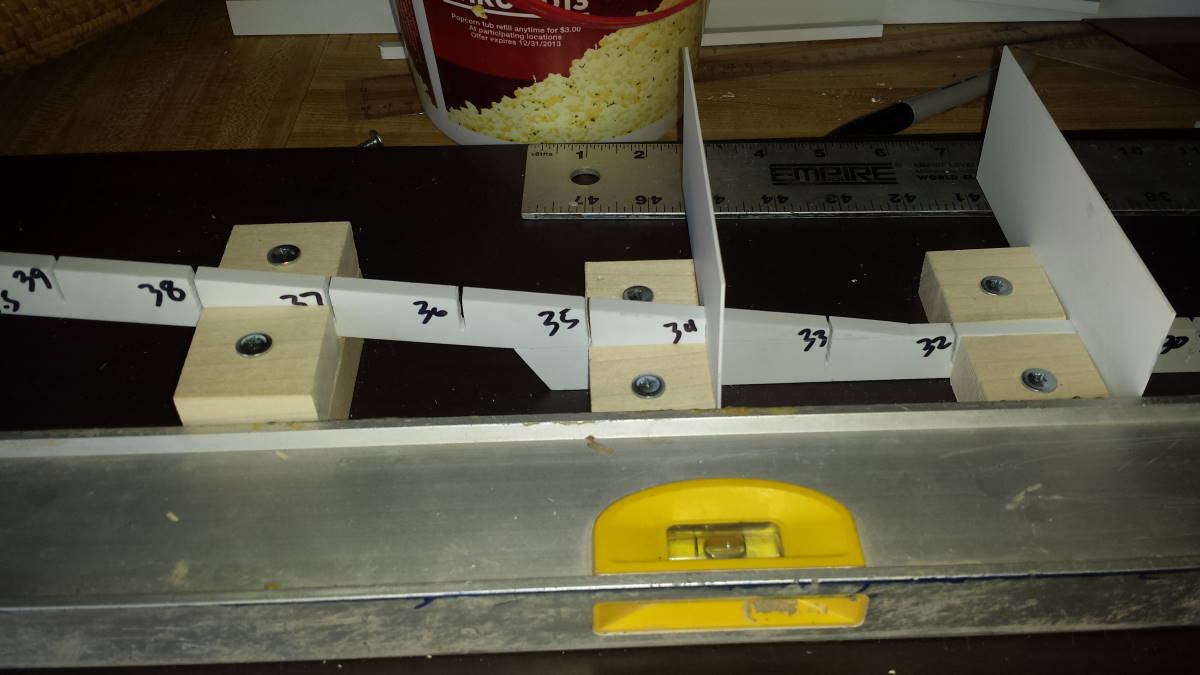
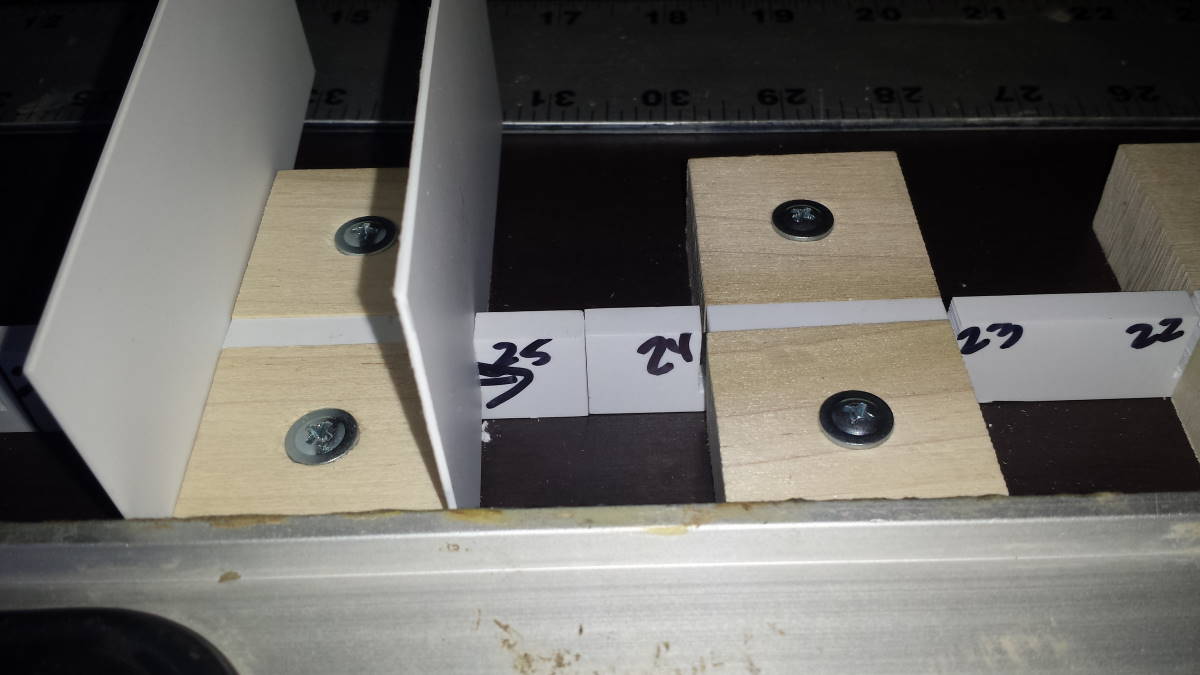
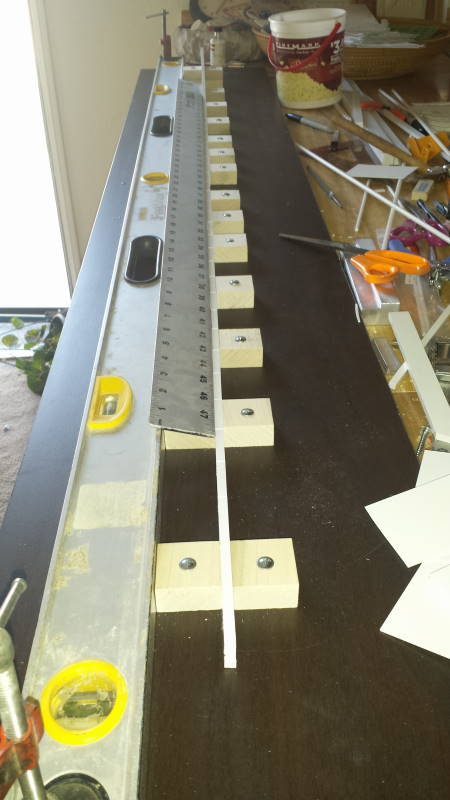
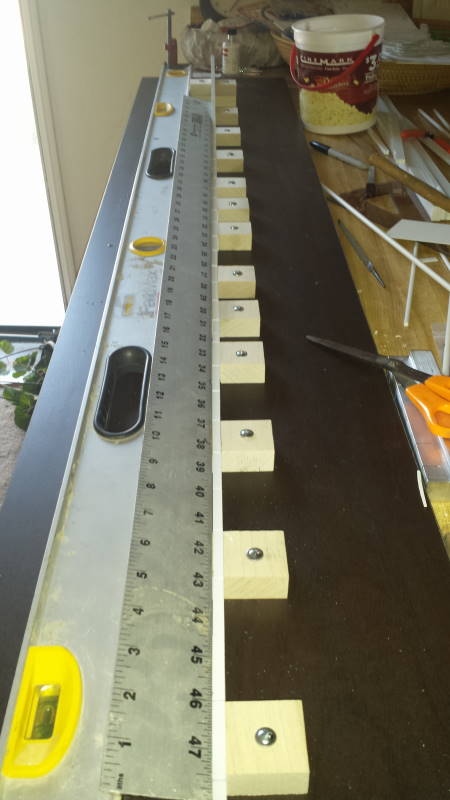
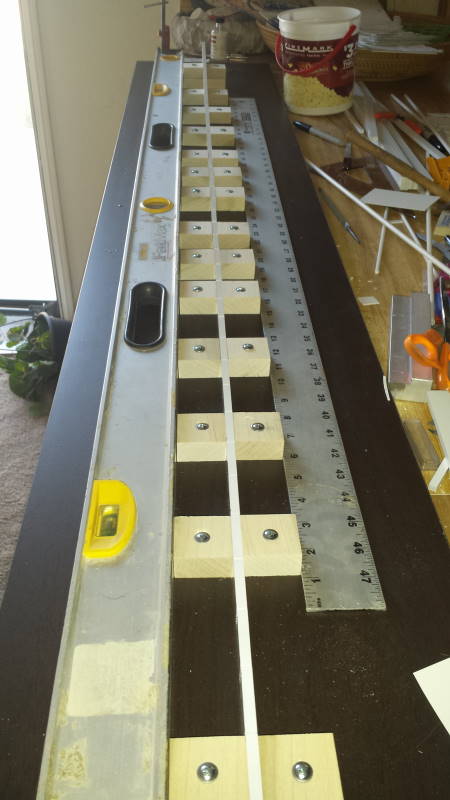
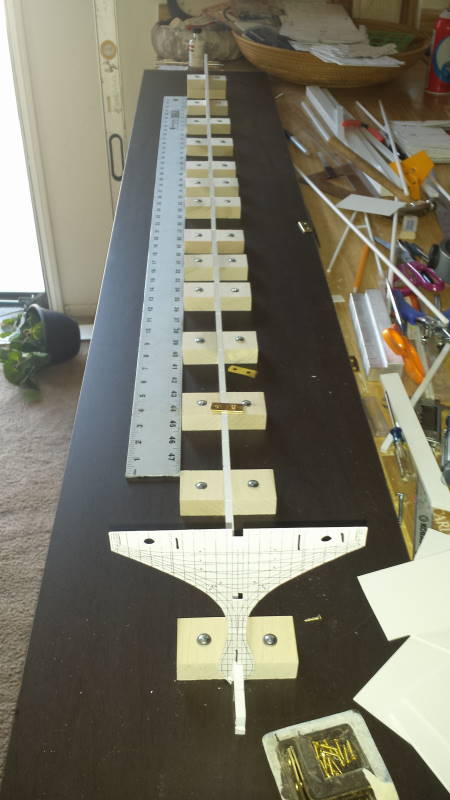
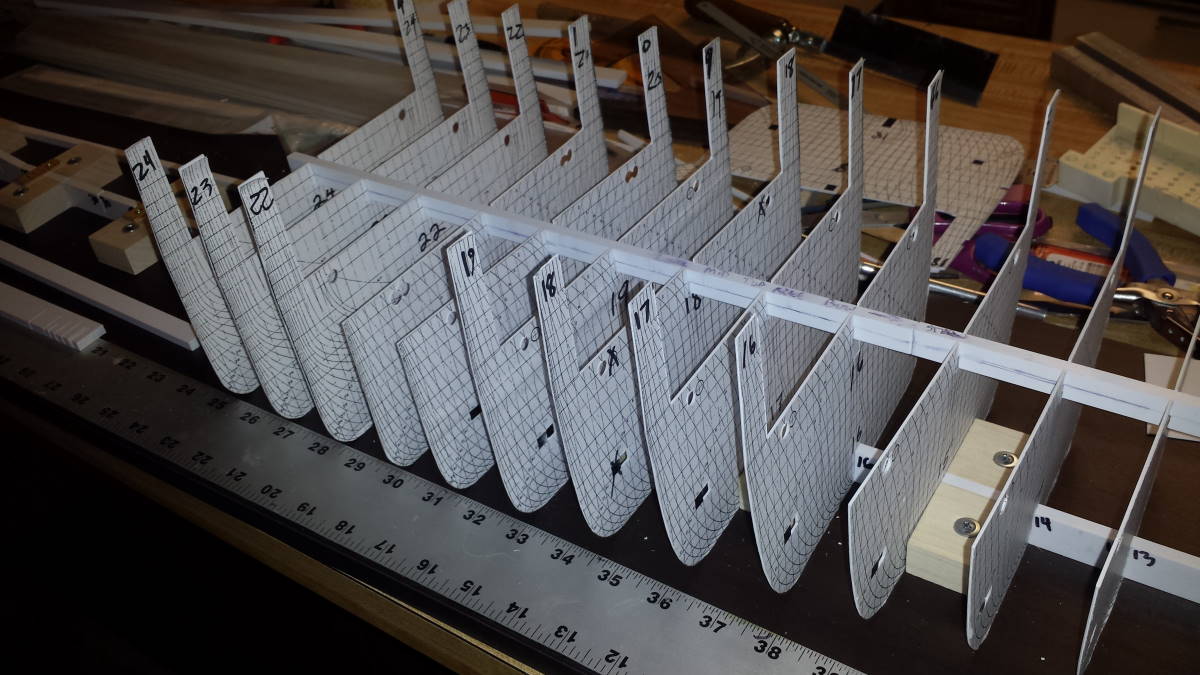
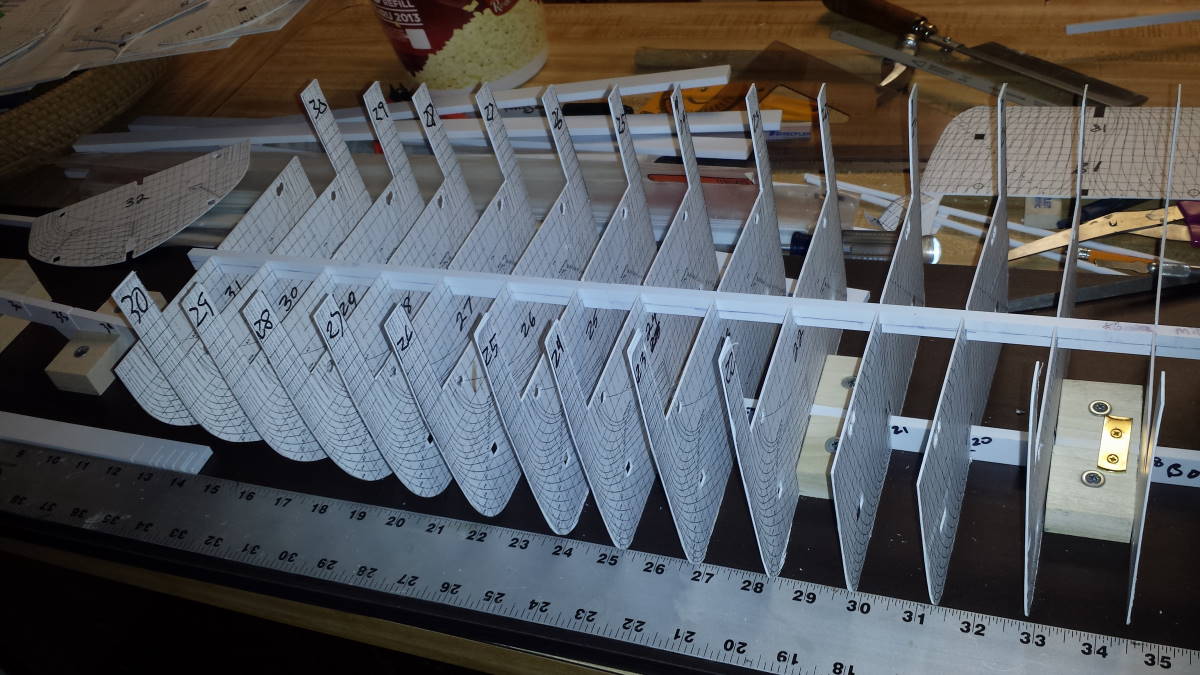
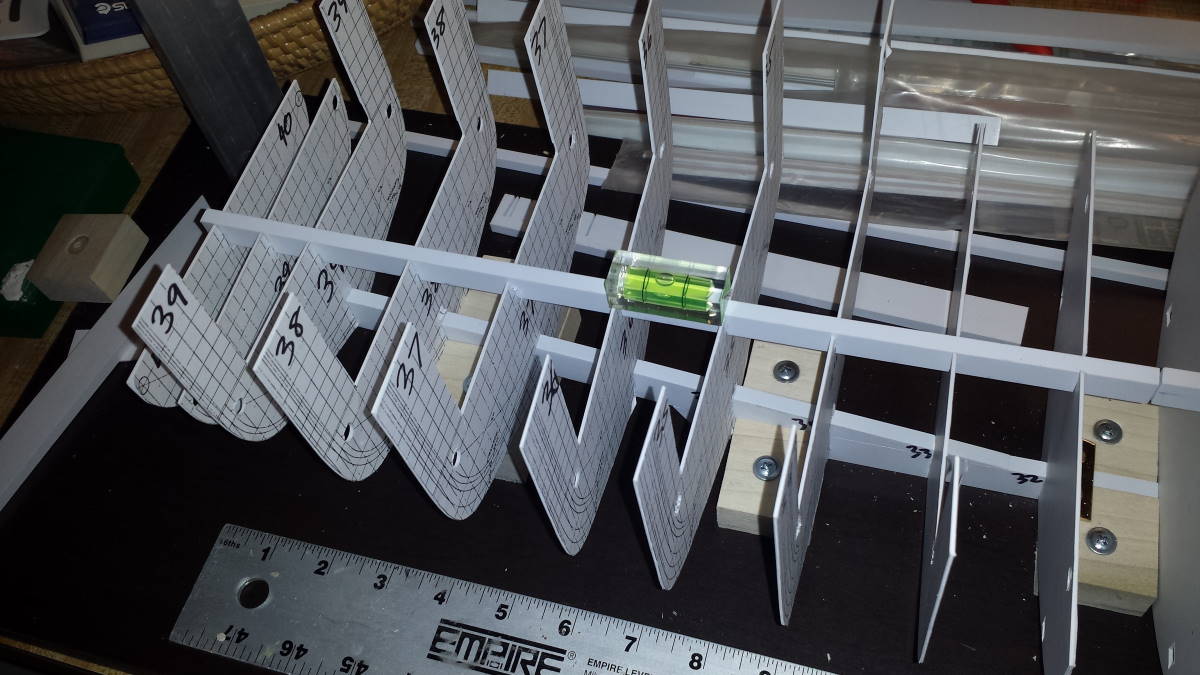
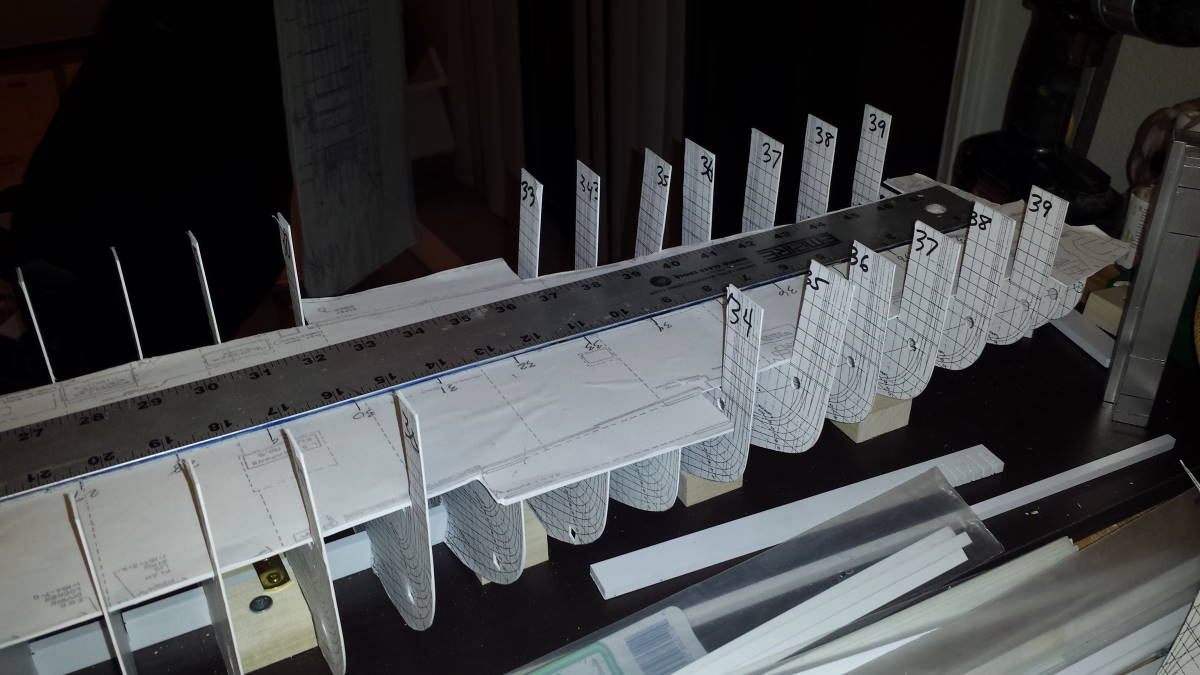
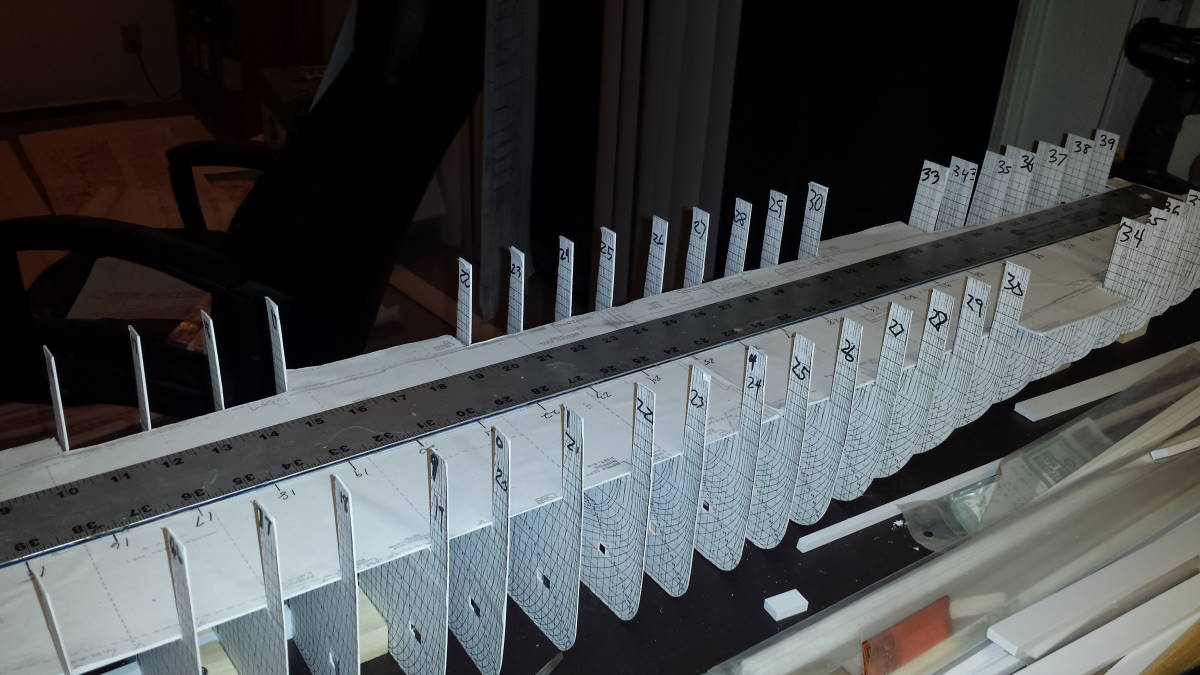
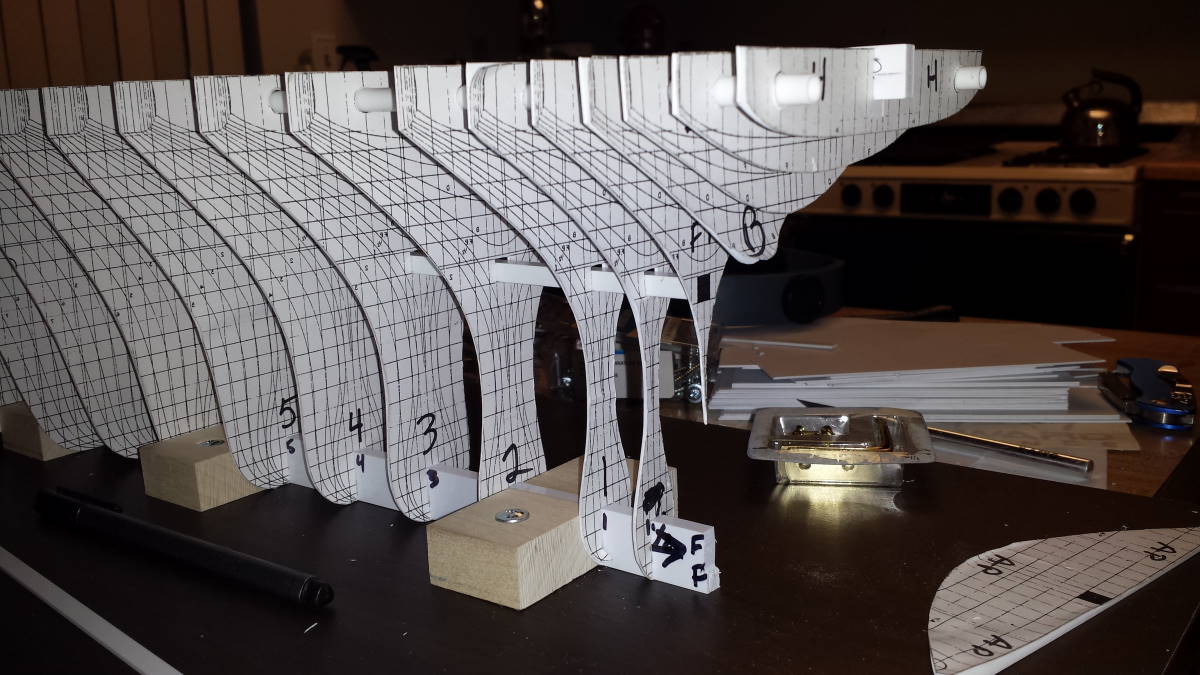
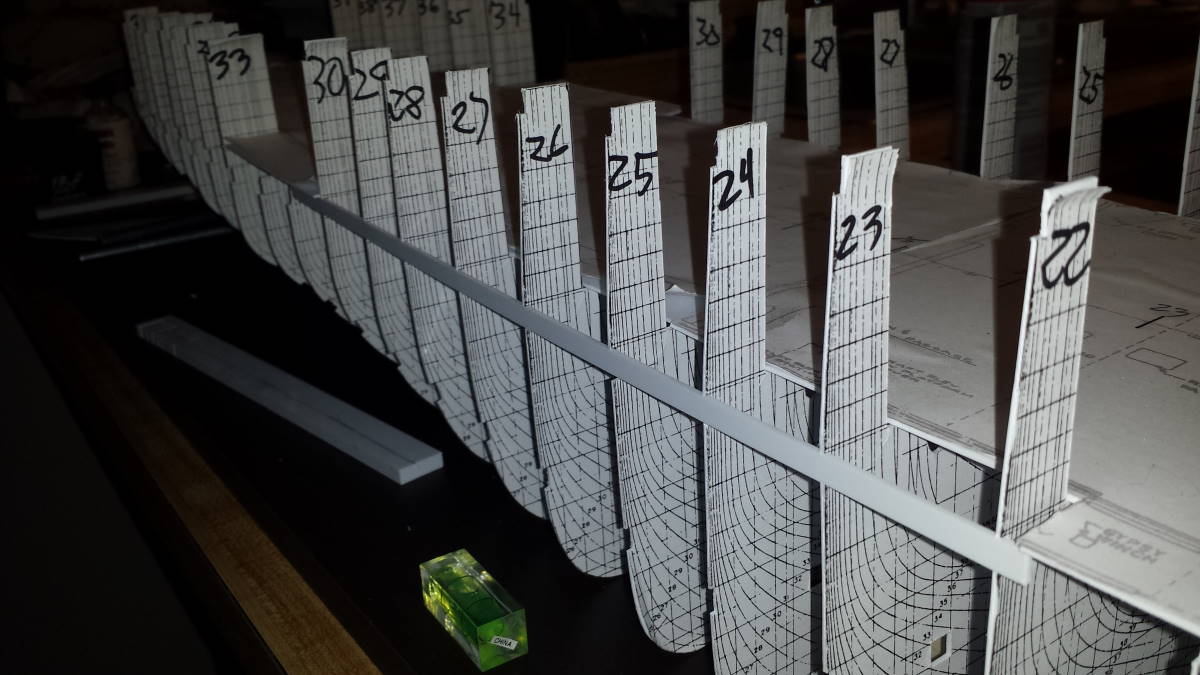
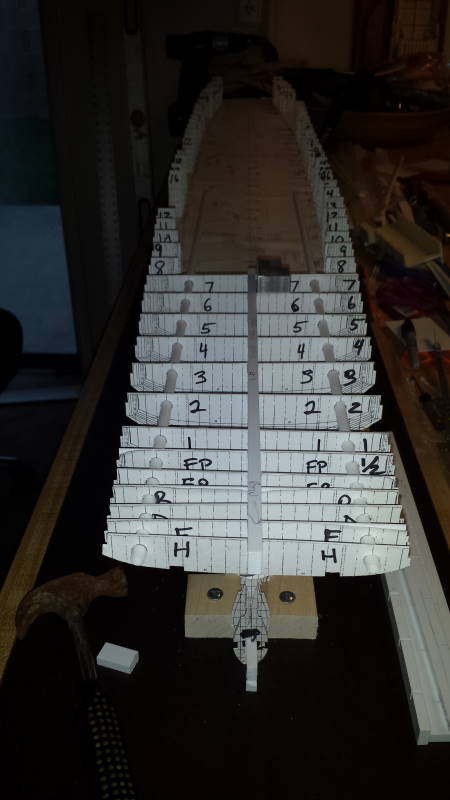
When I last left off, I was cutting the notches for the longitudinal stringers and that took about a week to do properly. I made a couple of mistakes early, but corrected them as I went along. Once they were all cut and aligned, it was time to start gluing up the hull. I took a few days and leveled all of the frames using the hanger bay as the reference as it is the main deck on the ship. I ensured that all of the frames were level to that point and that they all aligned with the stringers too. I used various straight edges to ensure that all of the frames touched at the hanger deck.
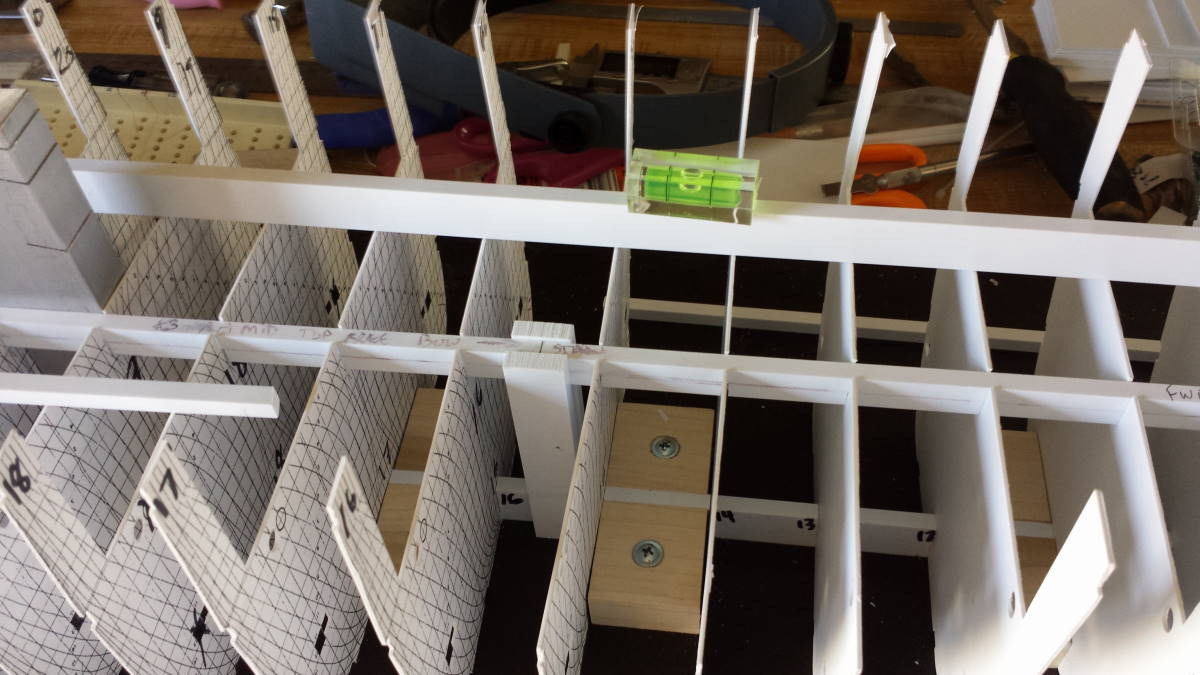
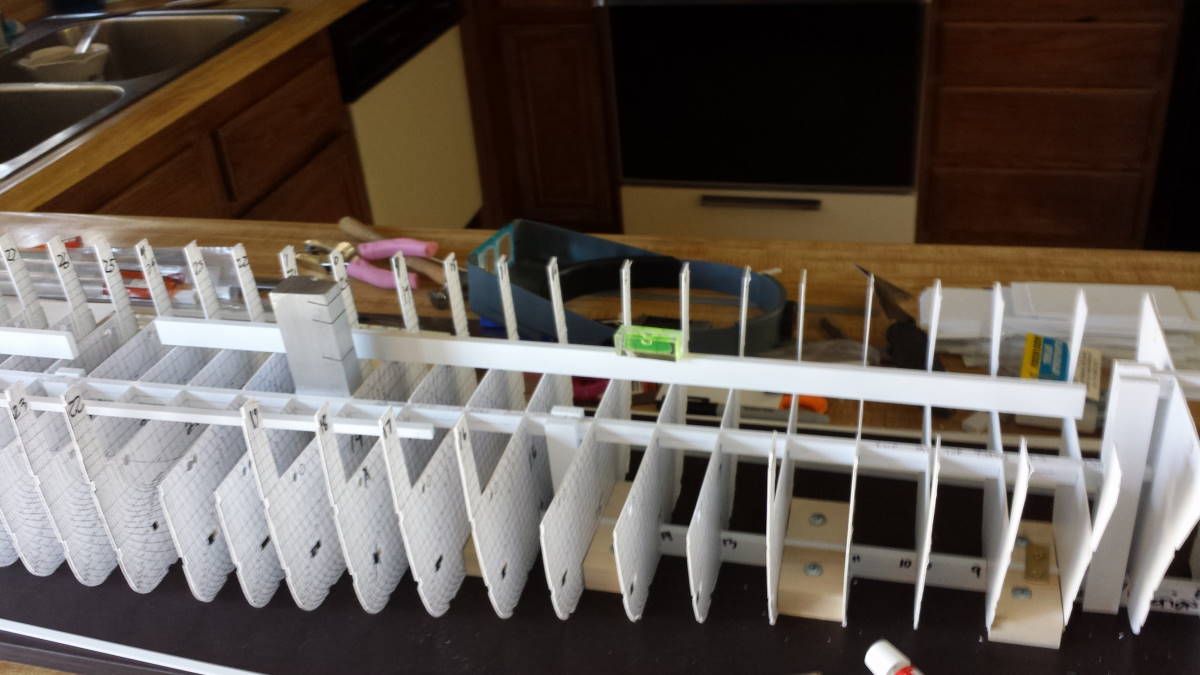
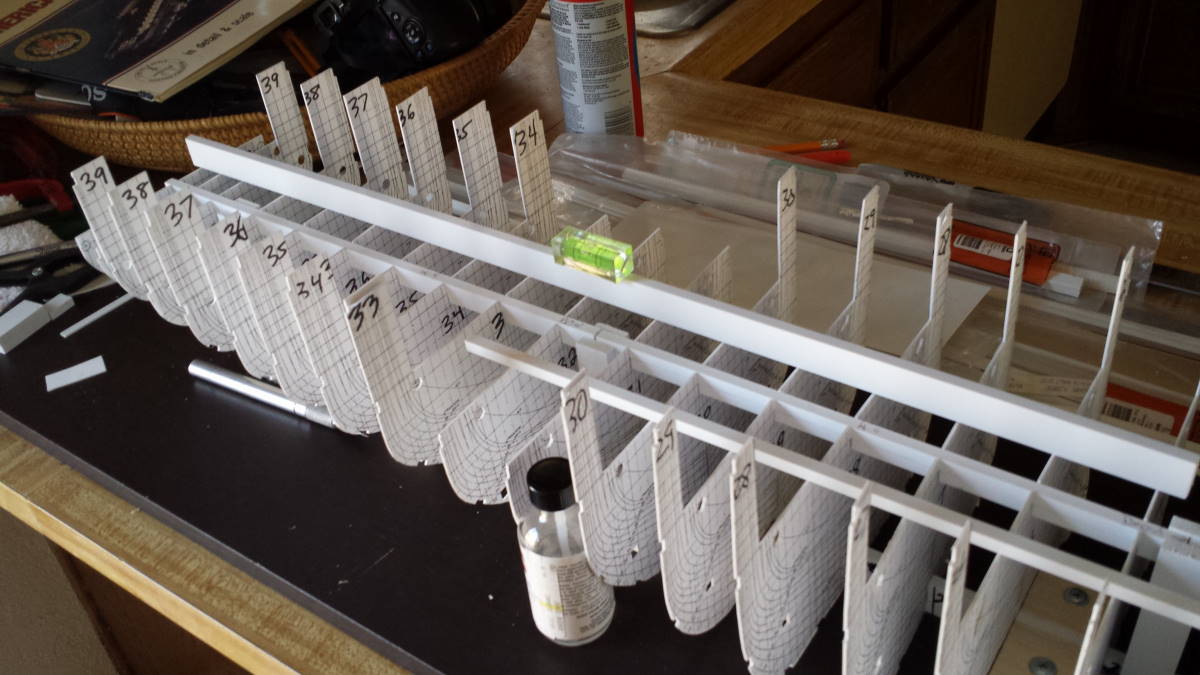
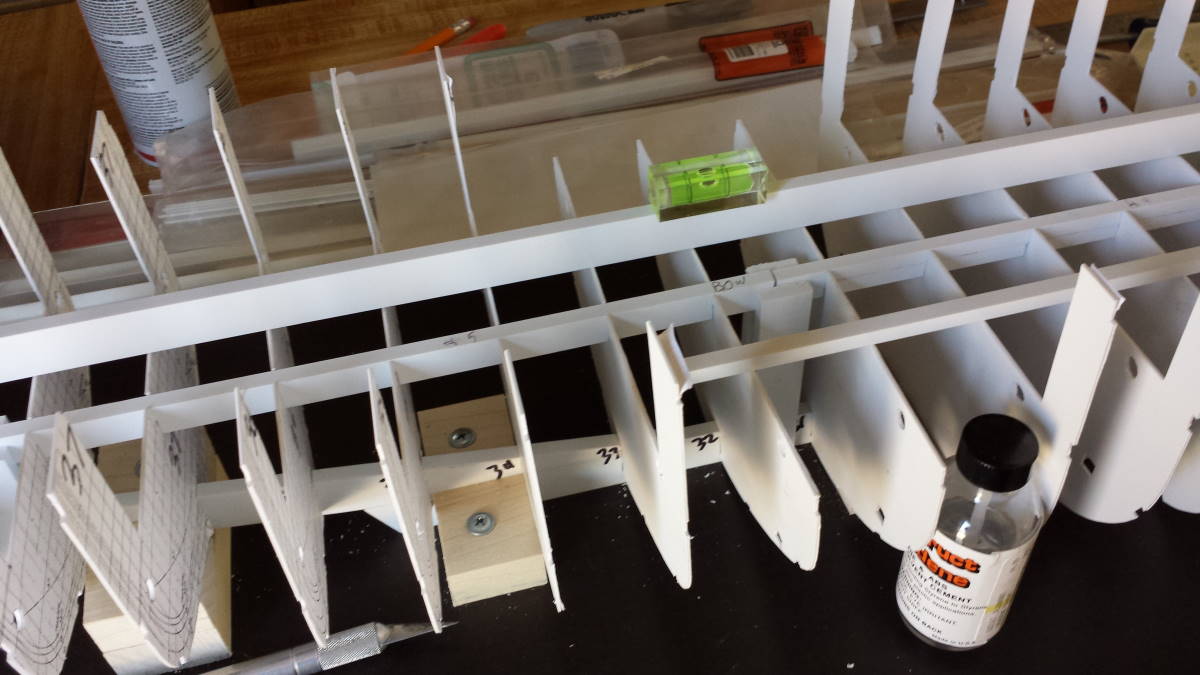
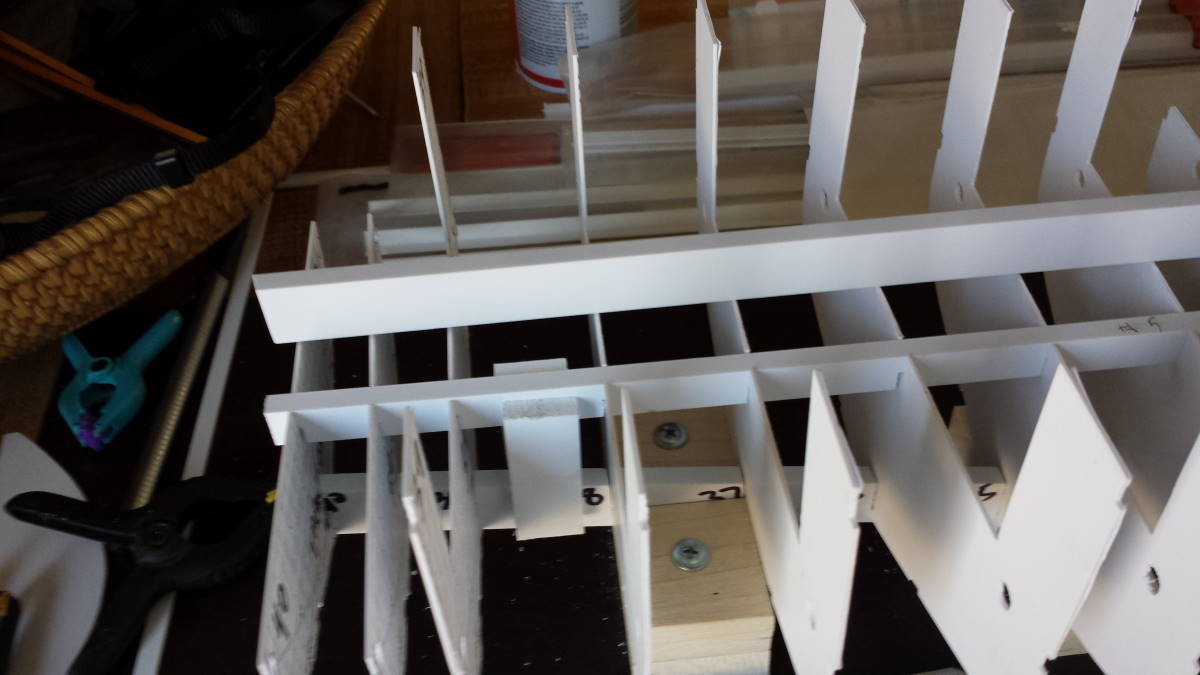
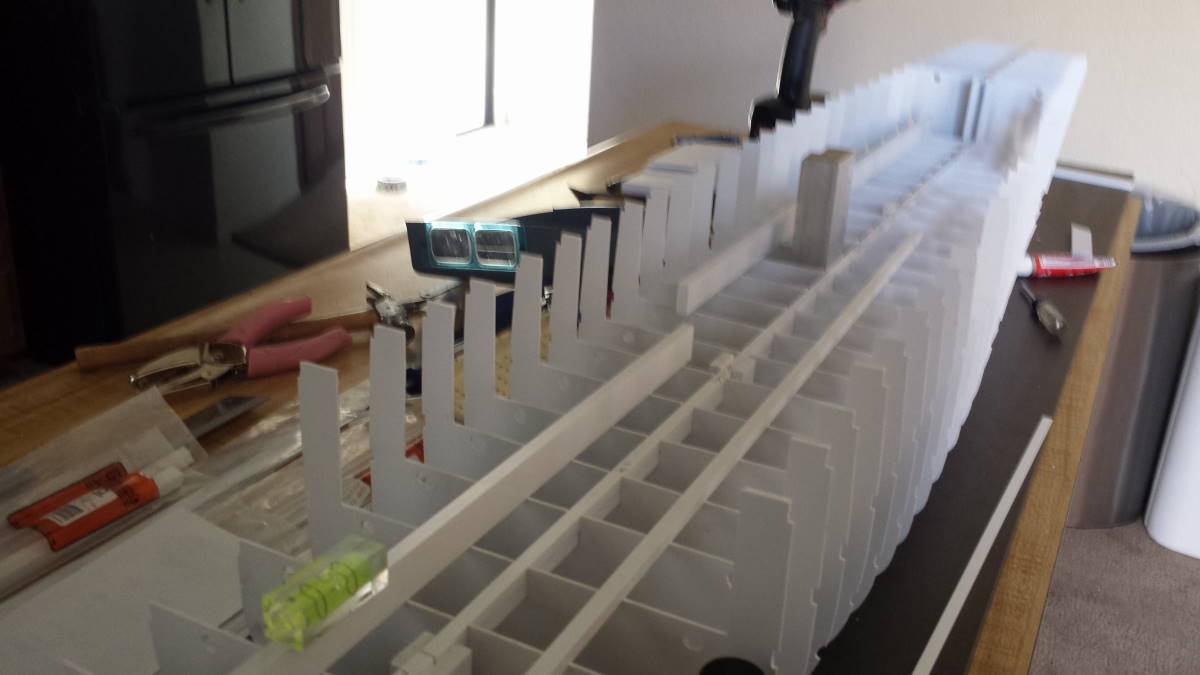
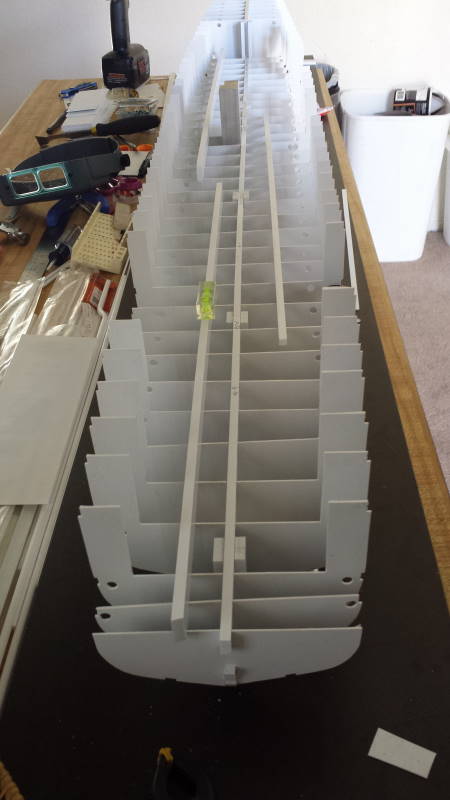
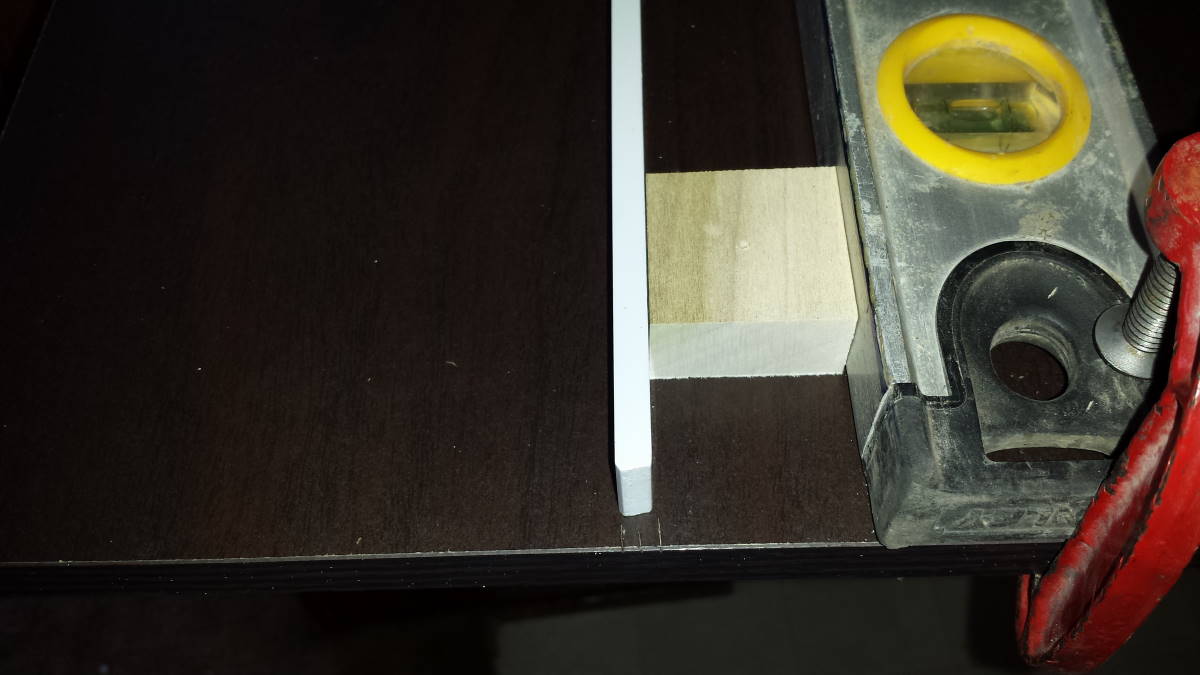
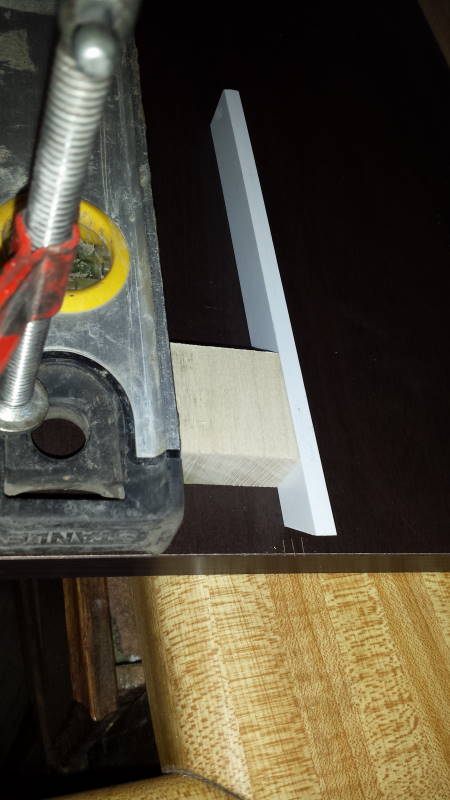
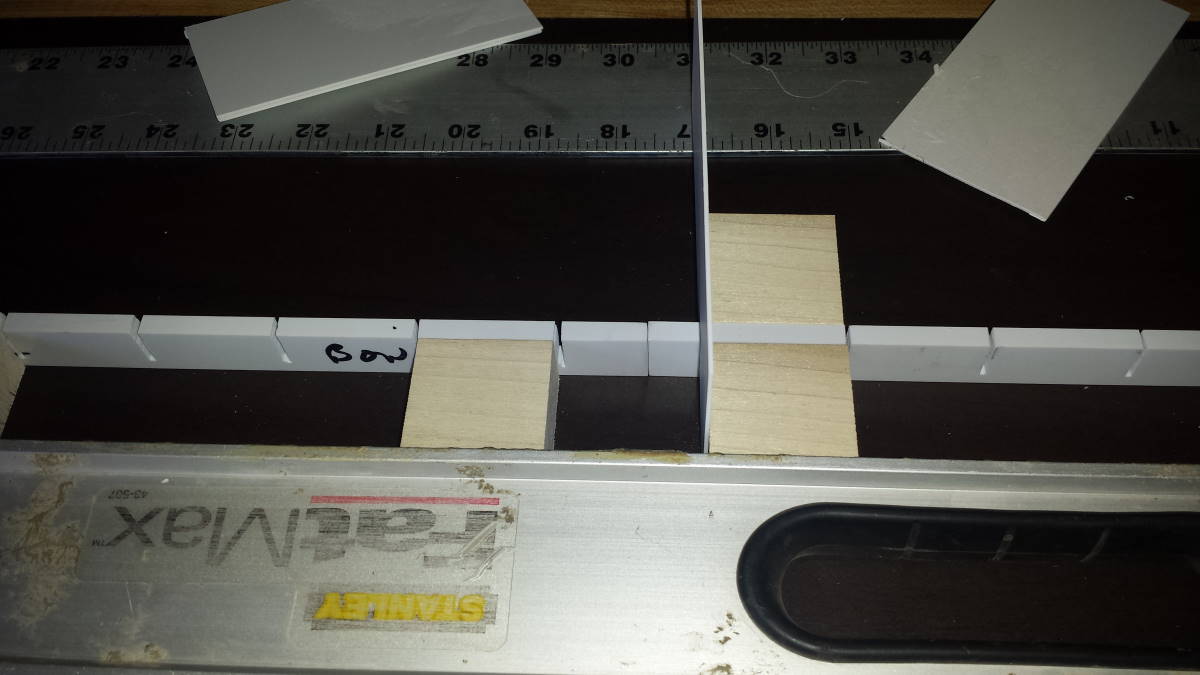
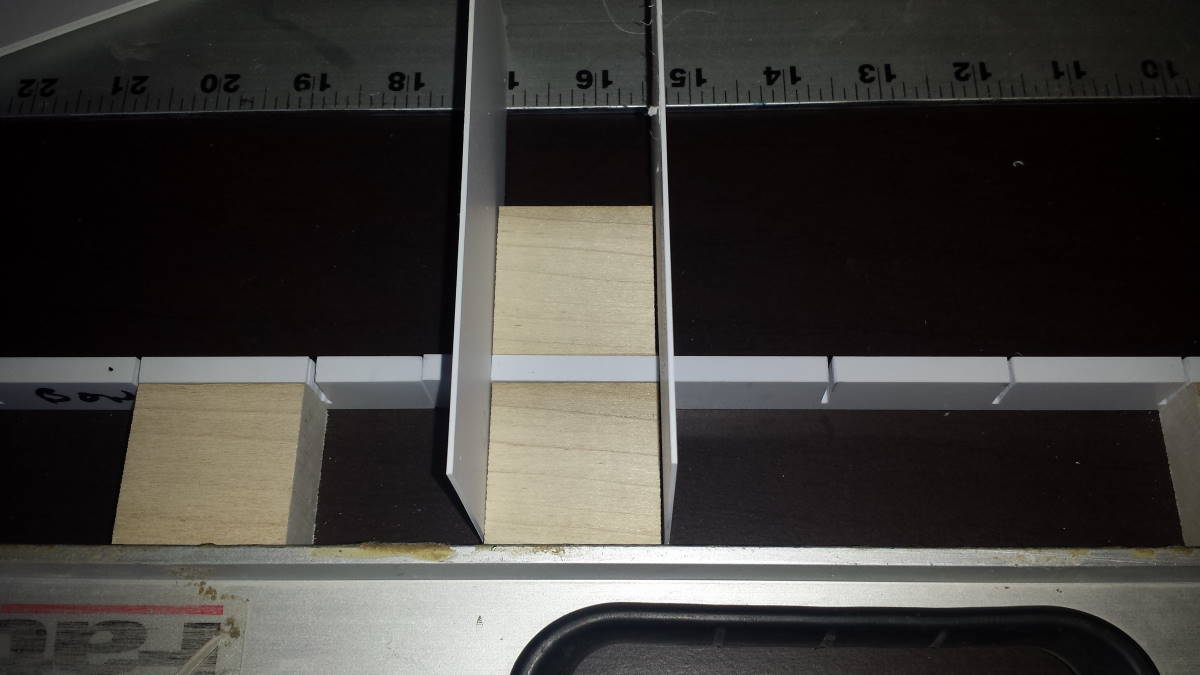
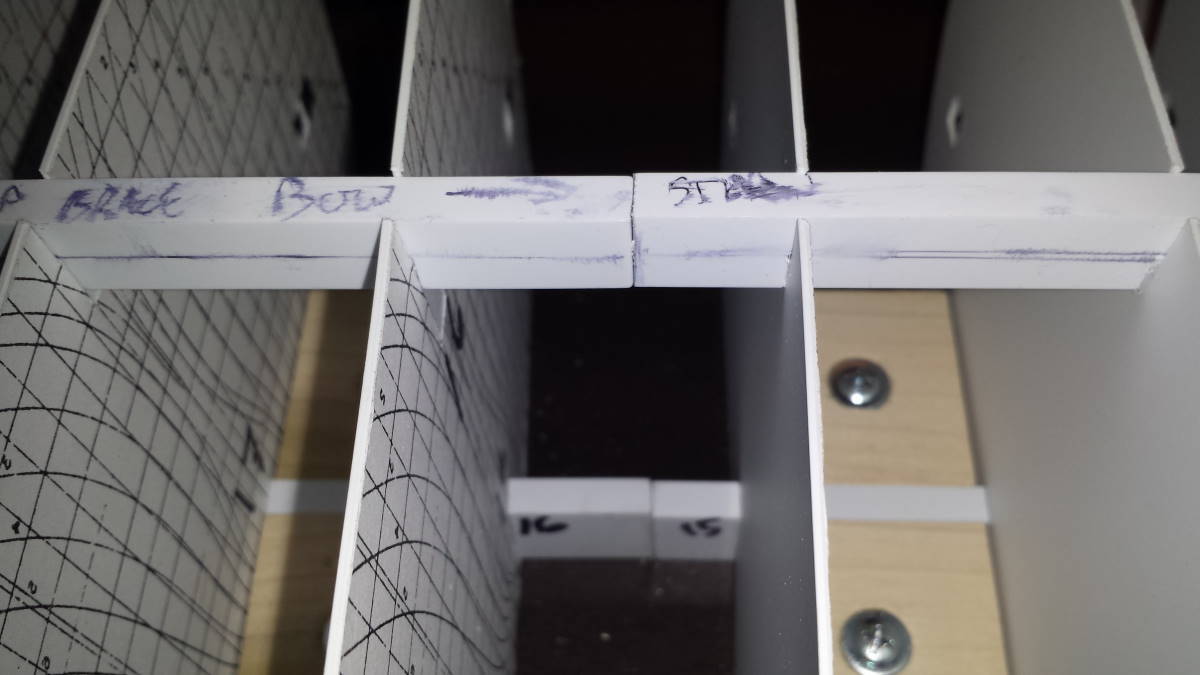
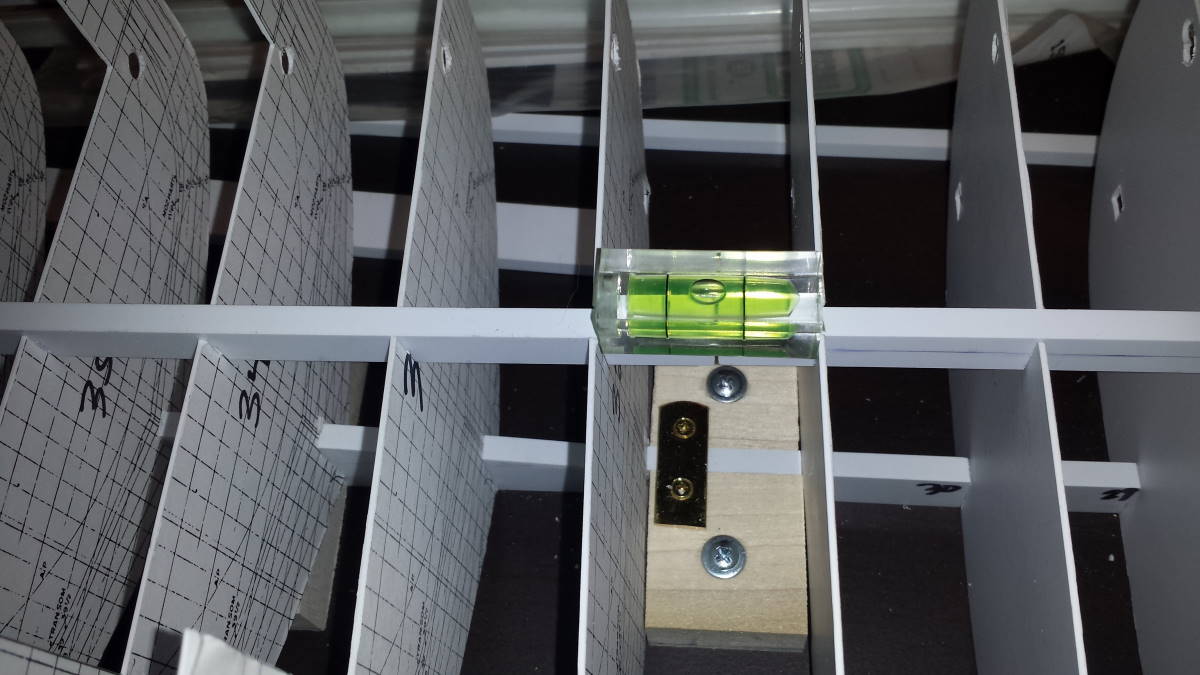
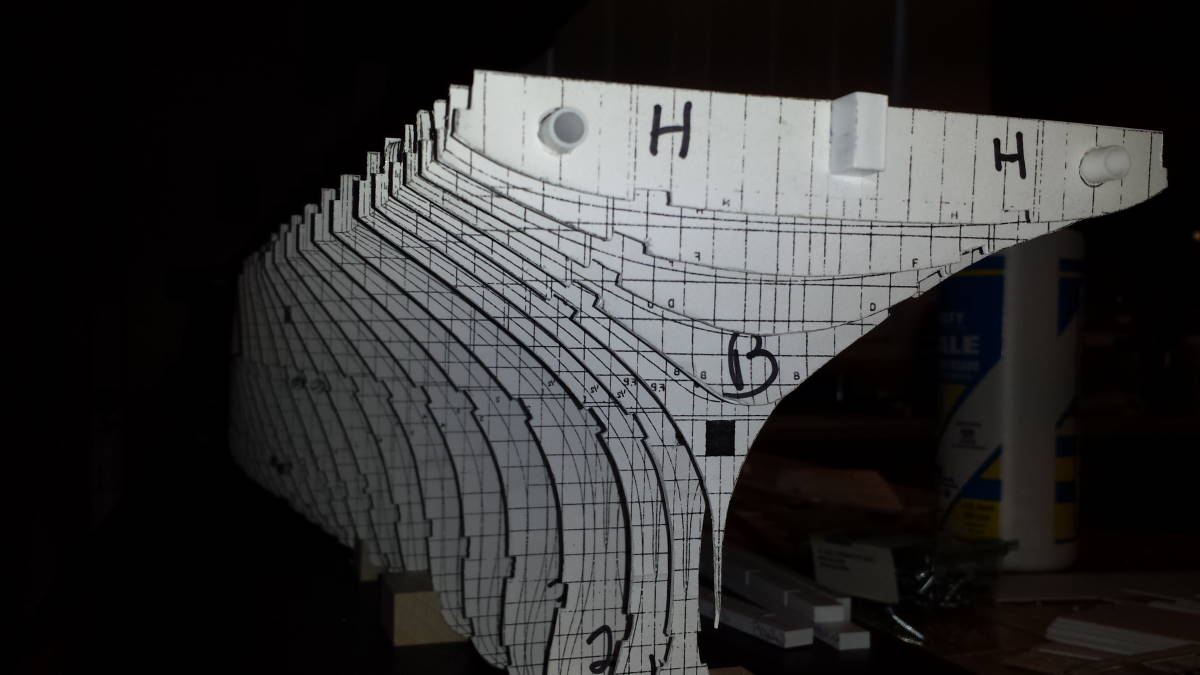
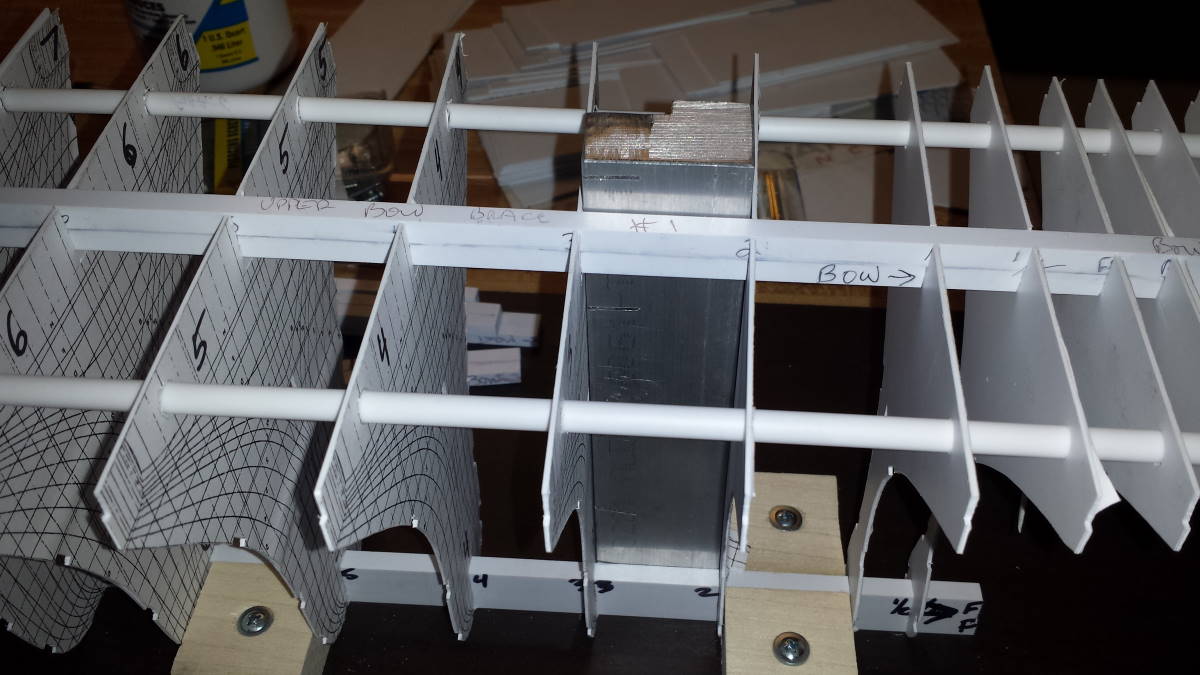
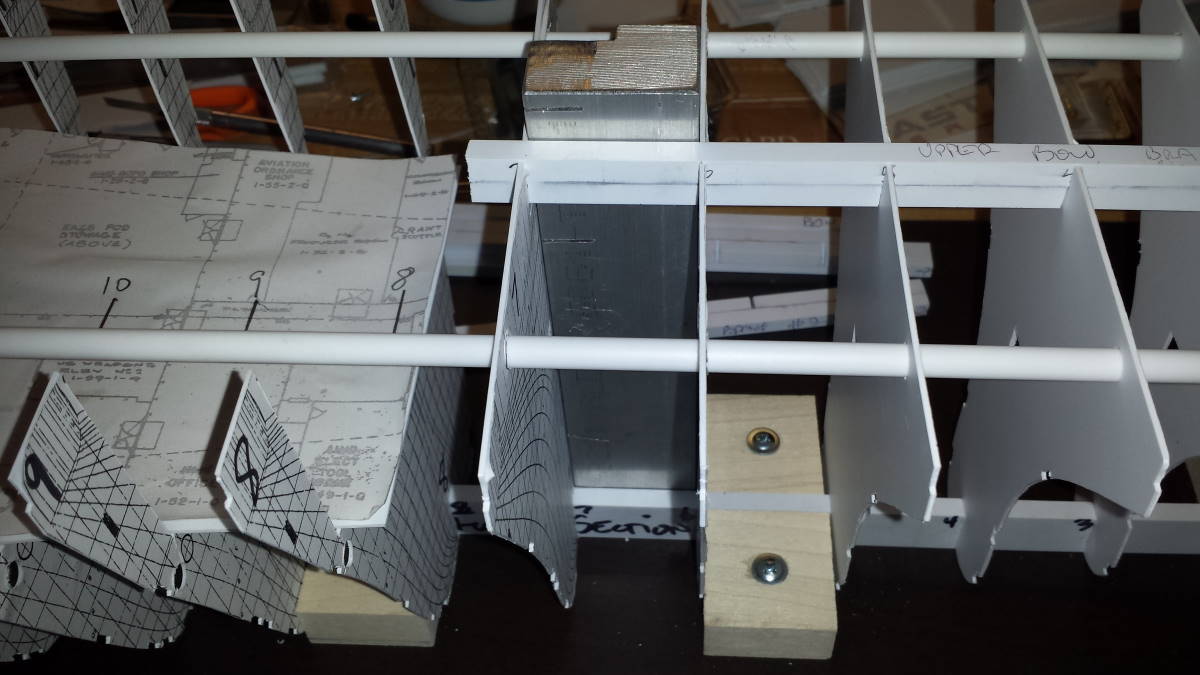
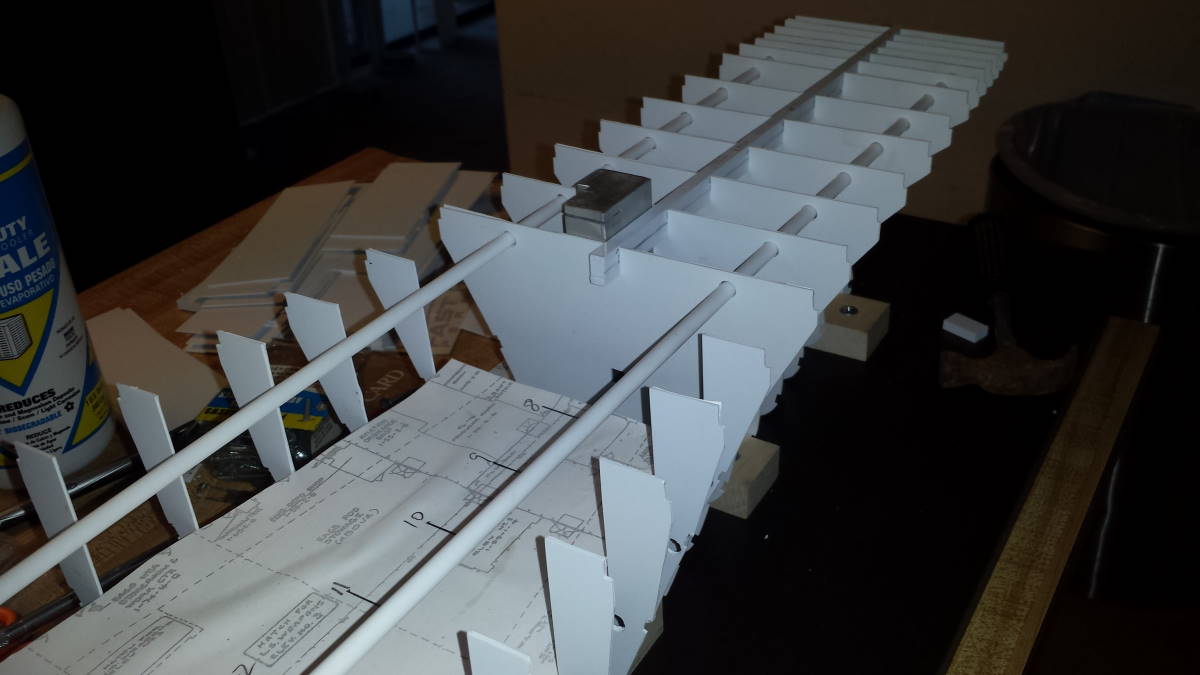
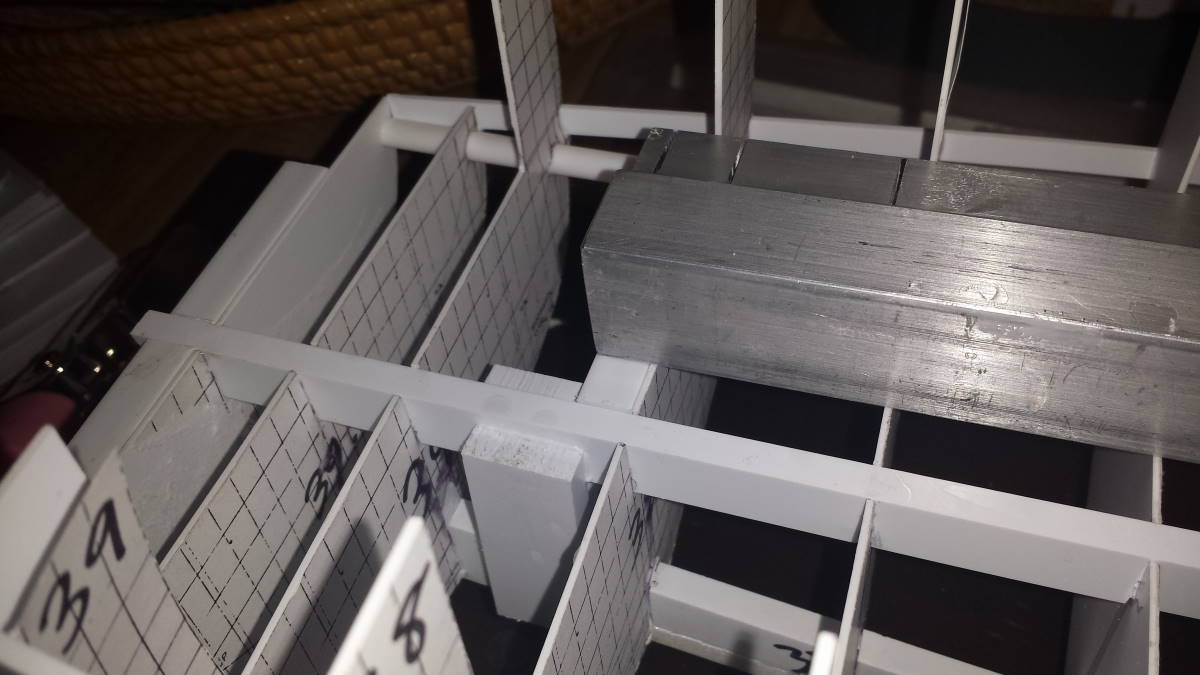
Then I started gluing the 'top cap' or top spar to the vertical risers I had glued in. I used the milled block as perfect vertical to make sure it aligned vertically with the keel below:
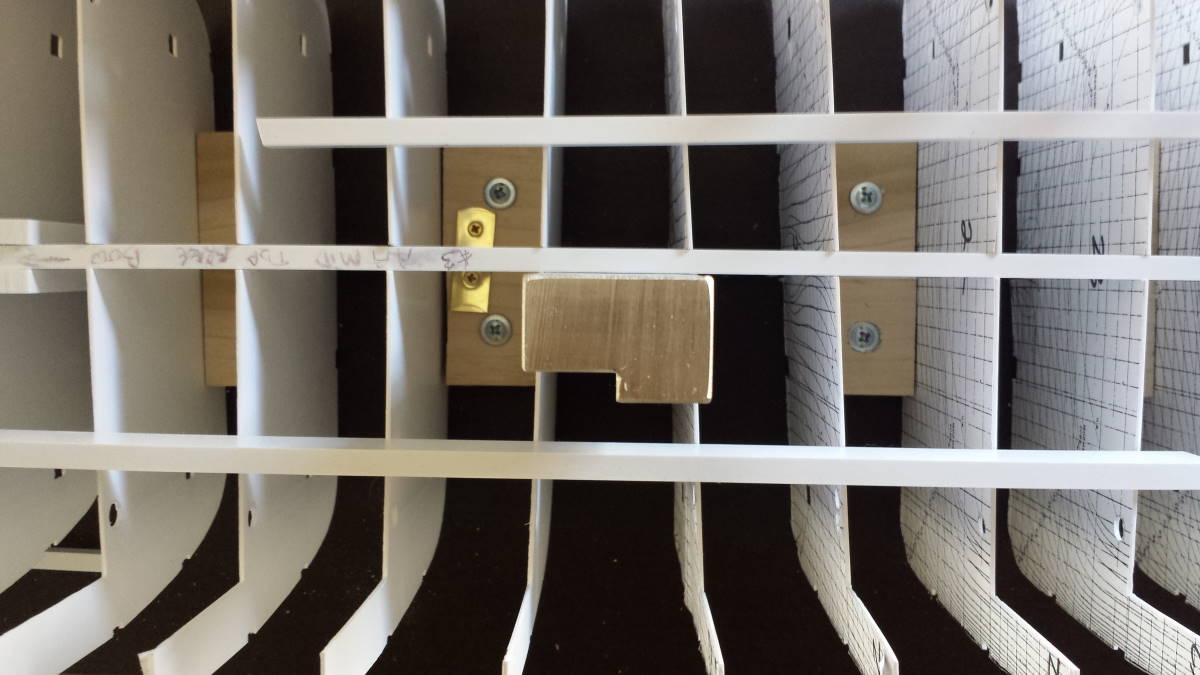
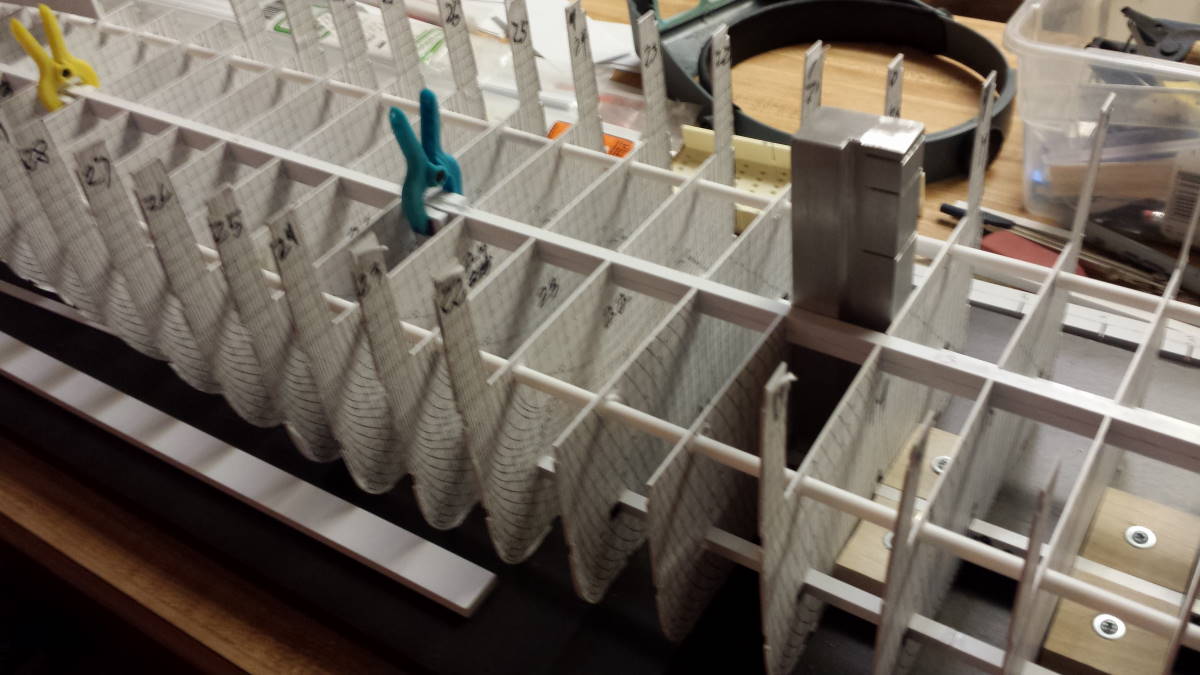
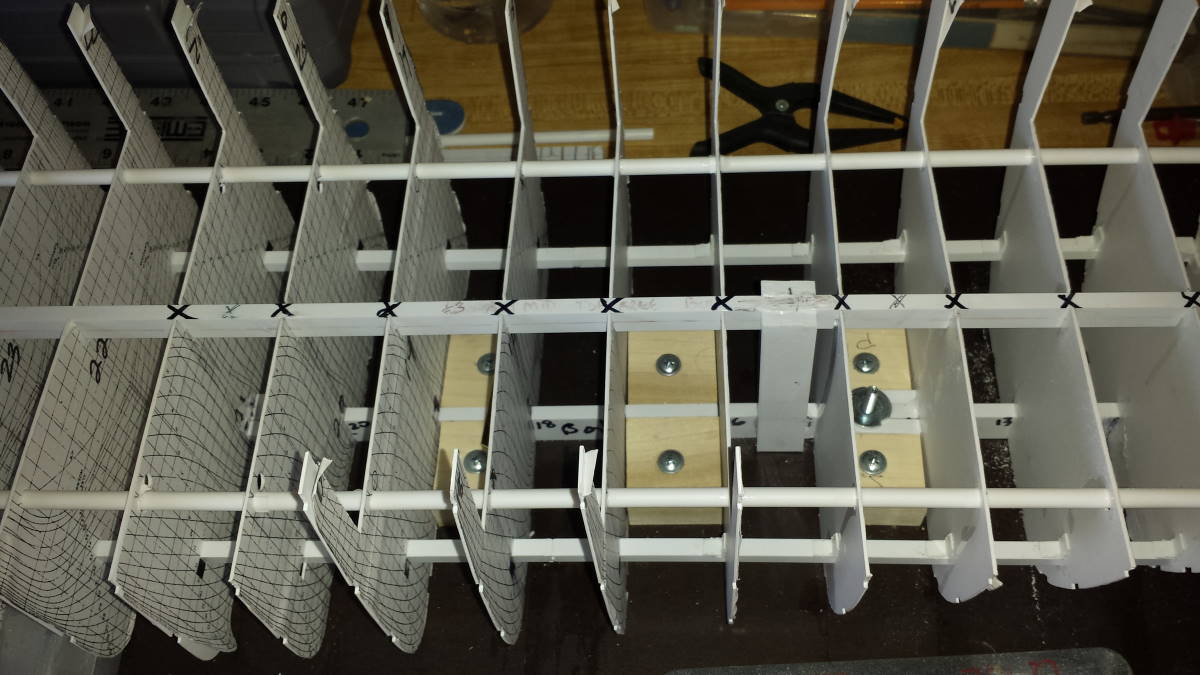
I glued all of the upper contact points:
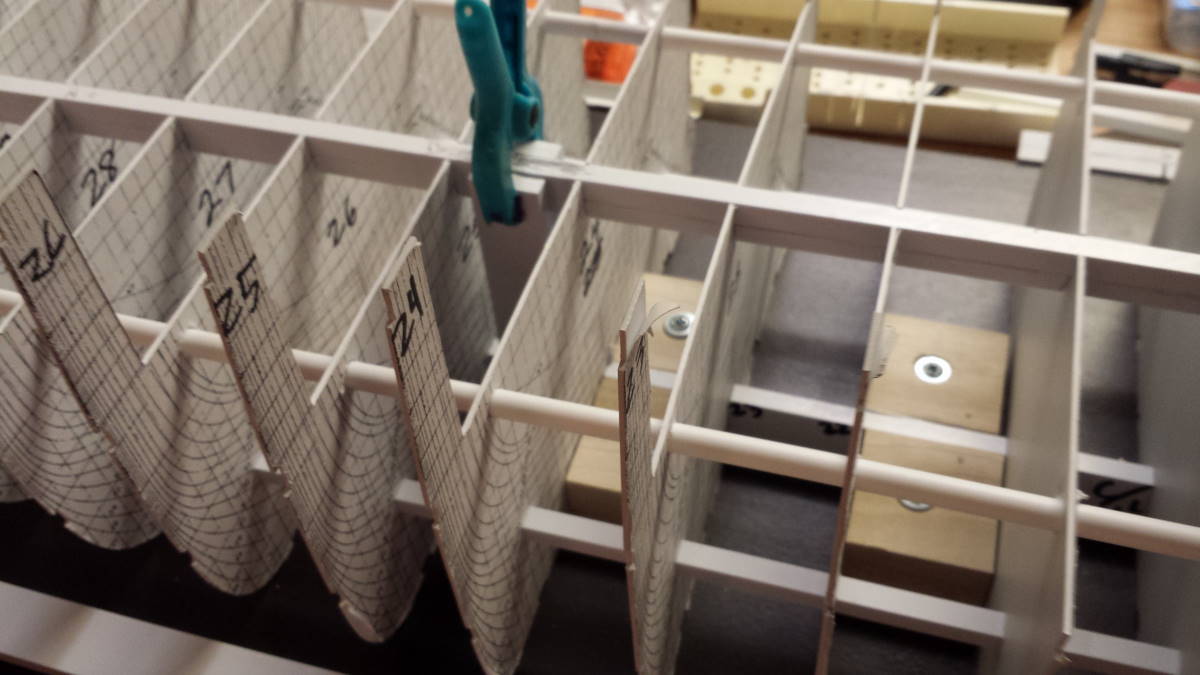
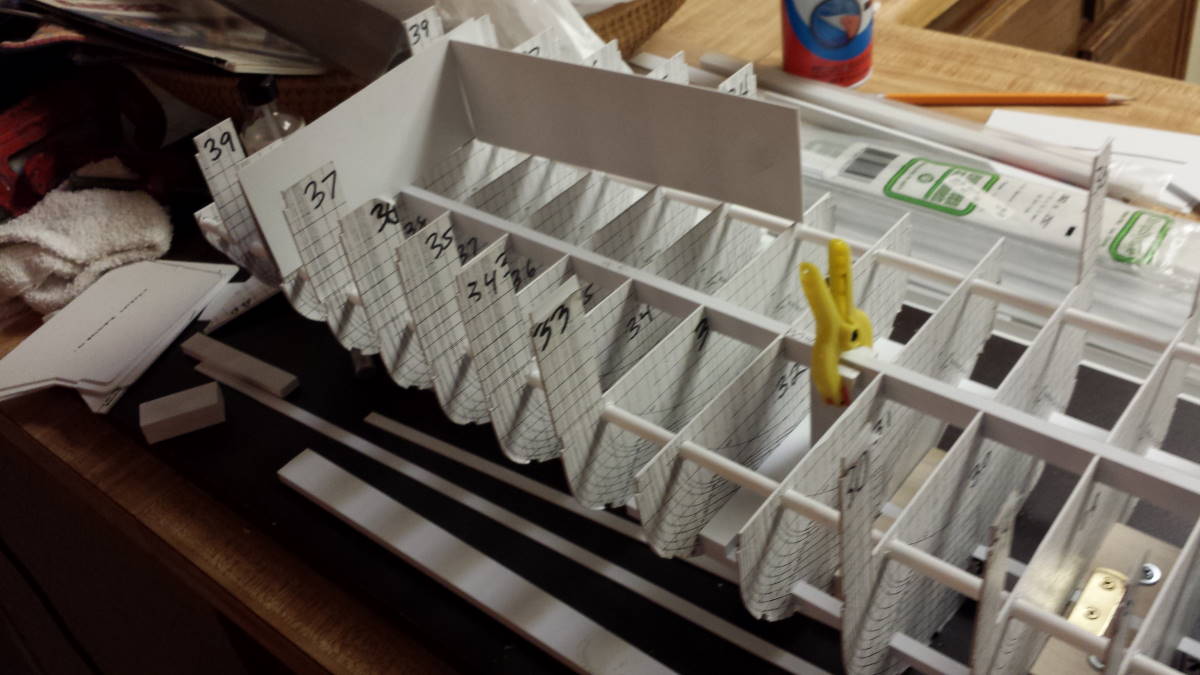
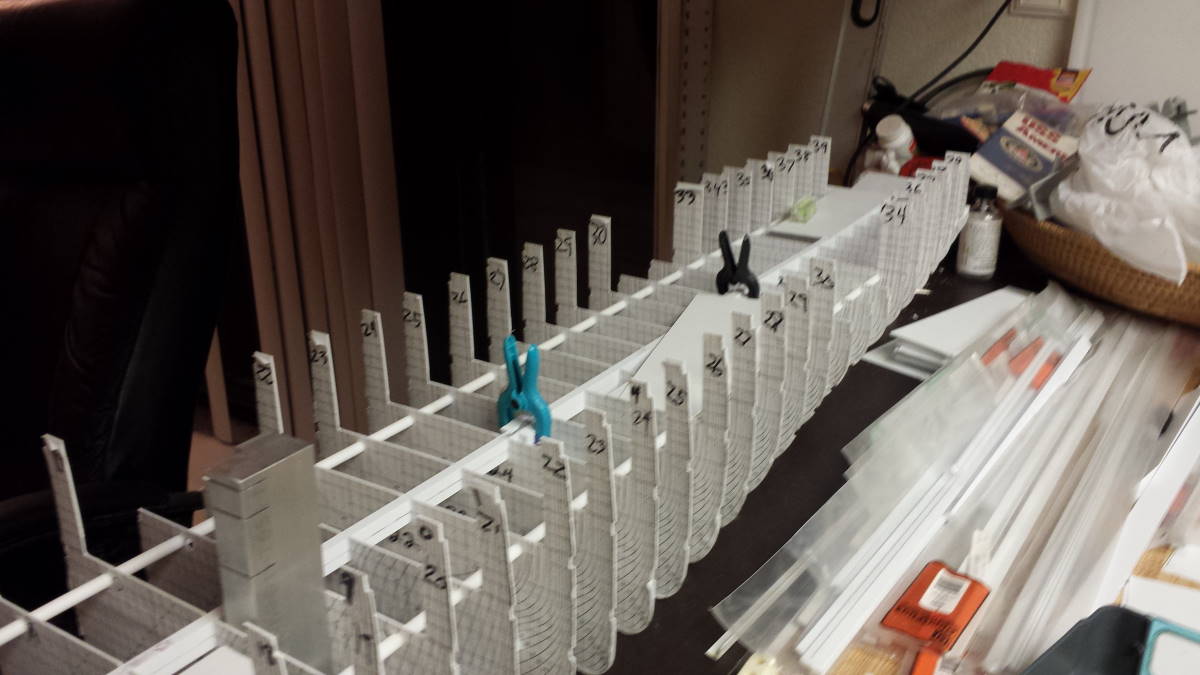
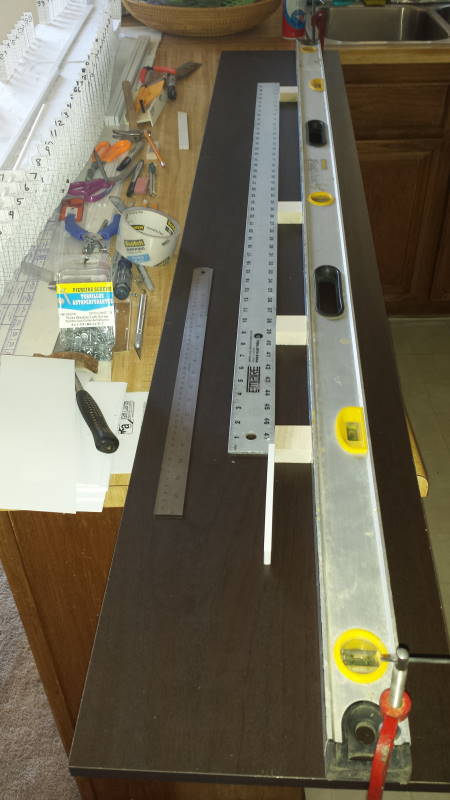
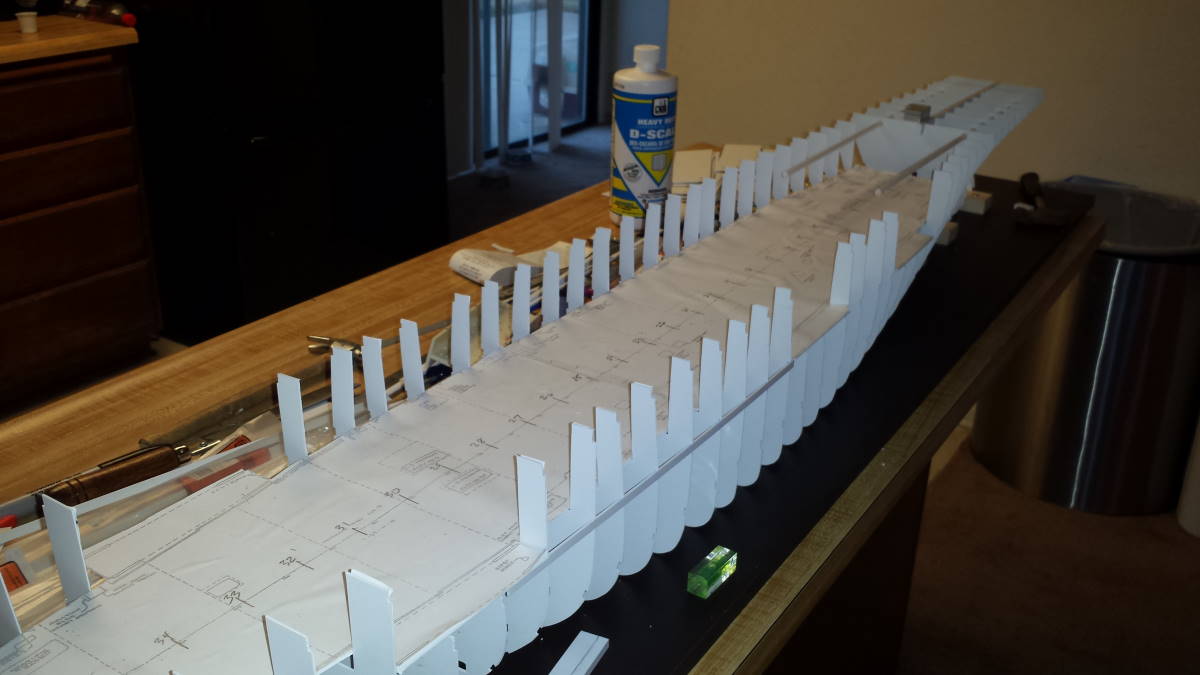
Ensuring that it is perfectly straight:
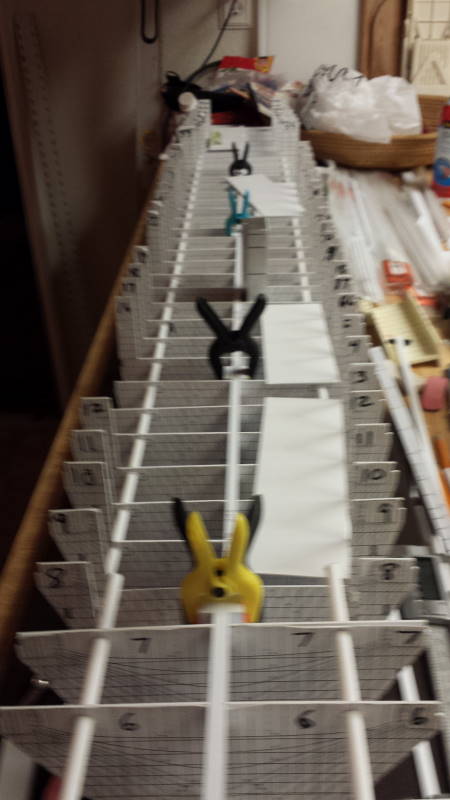
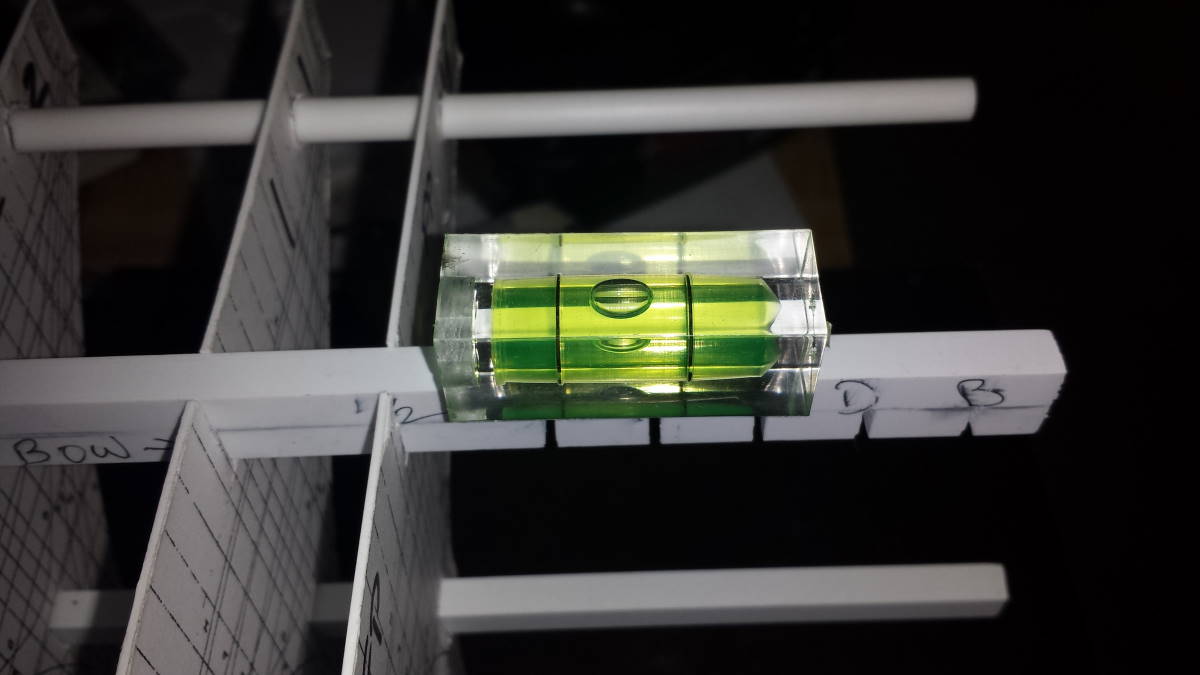
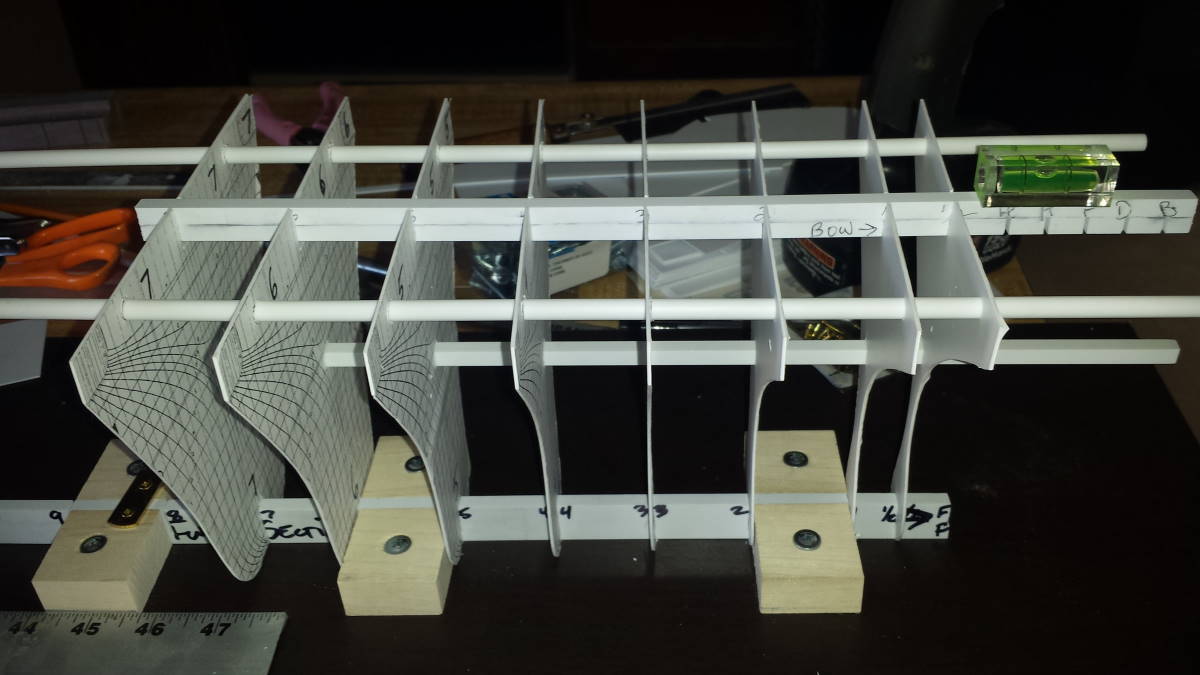
And level:
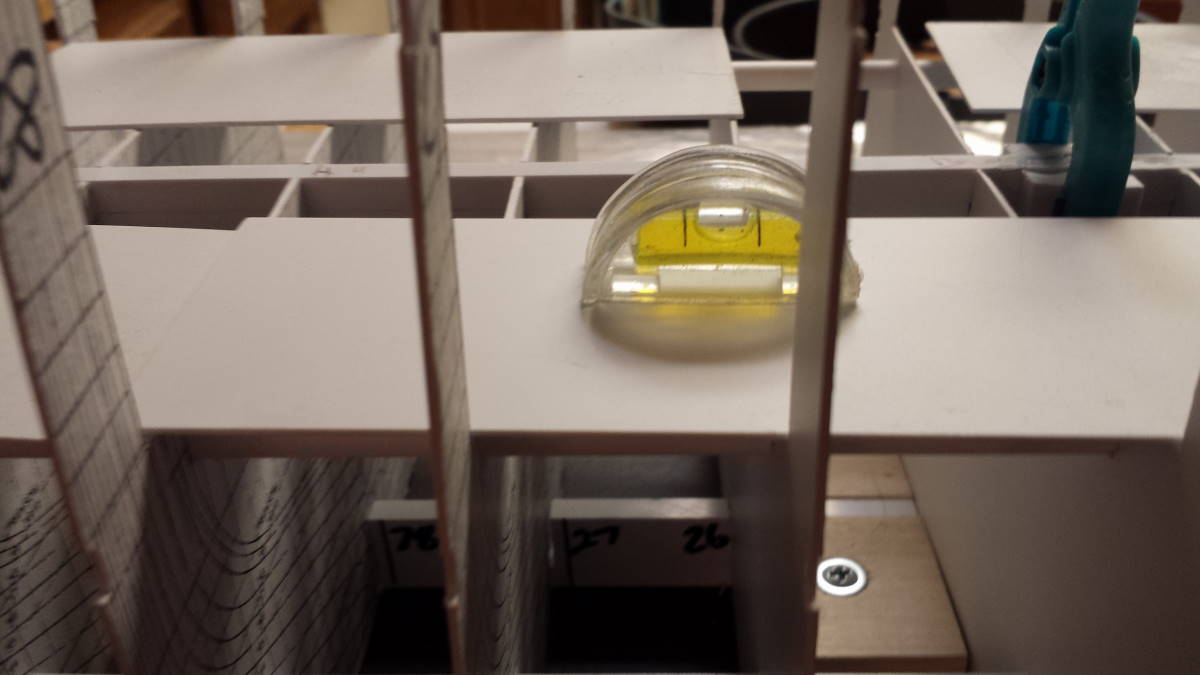
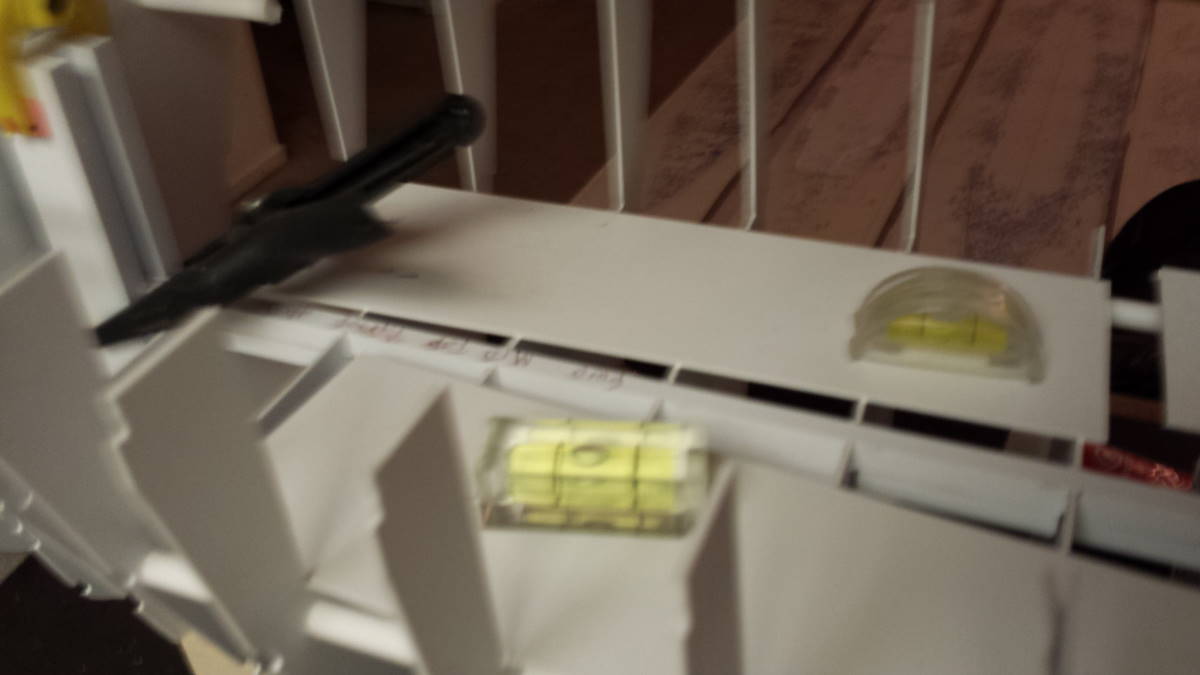
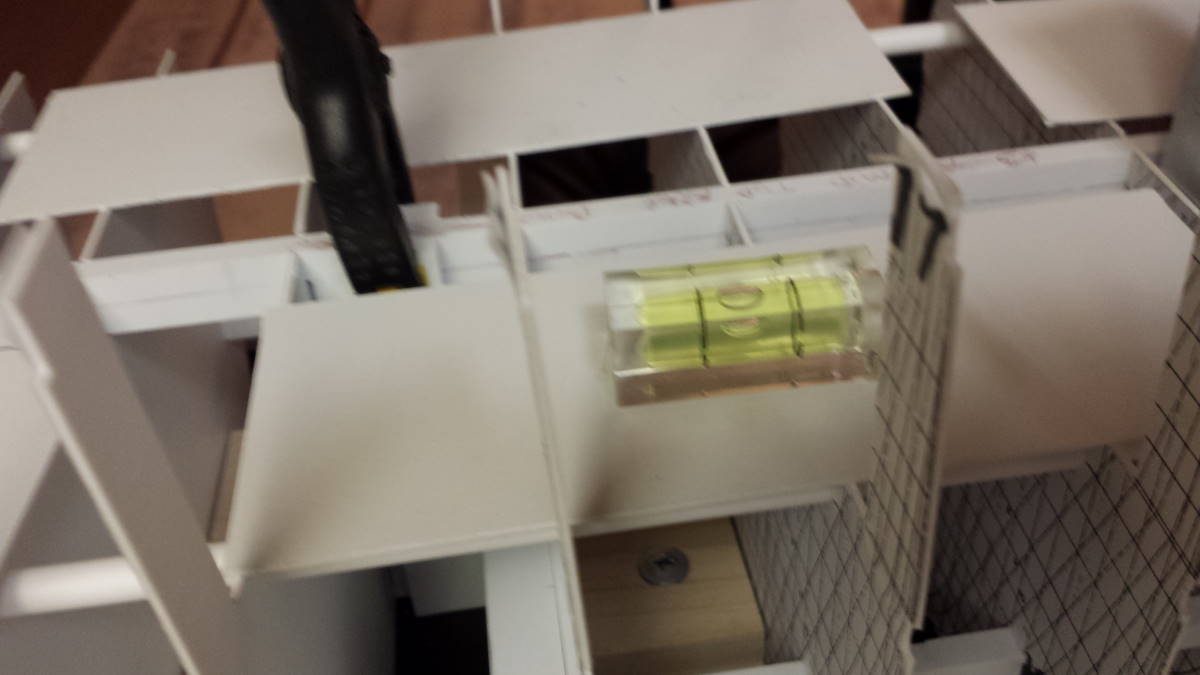
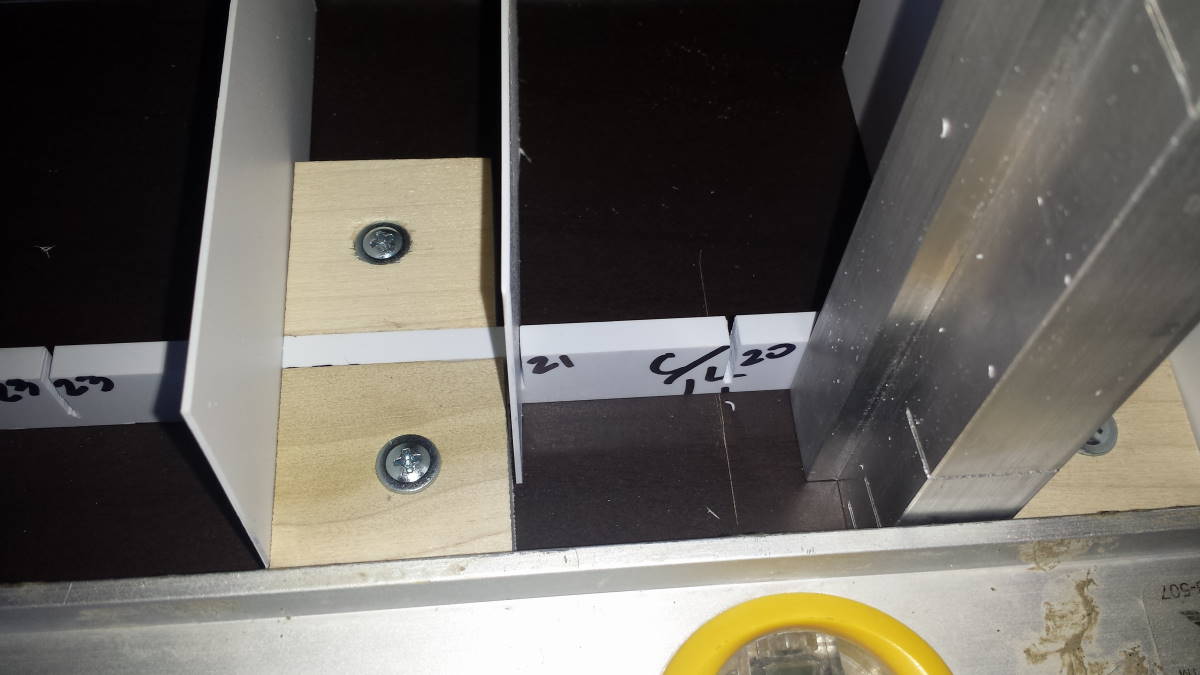
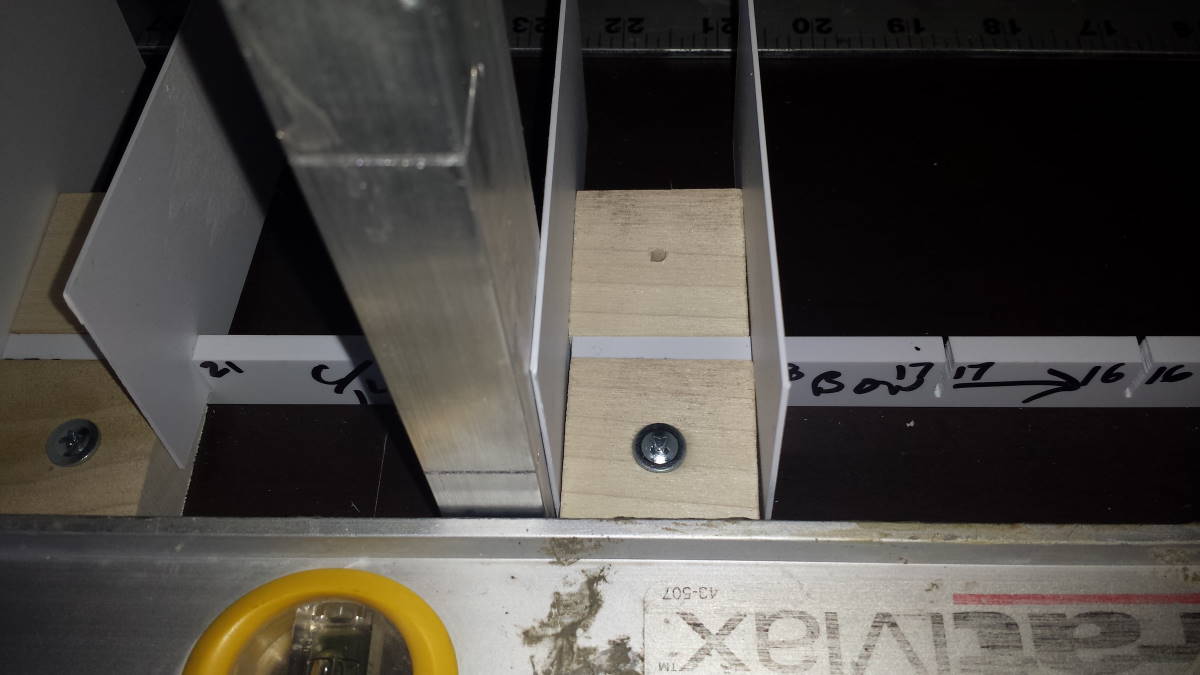
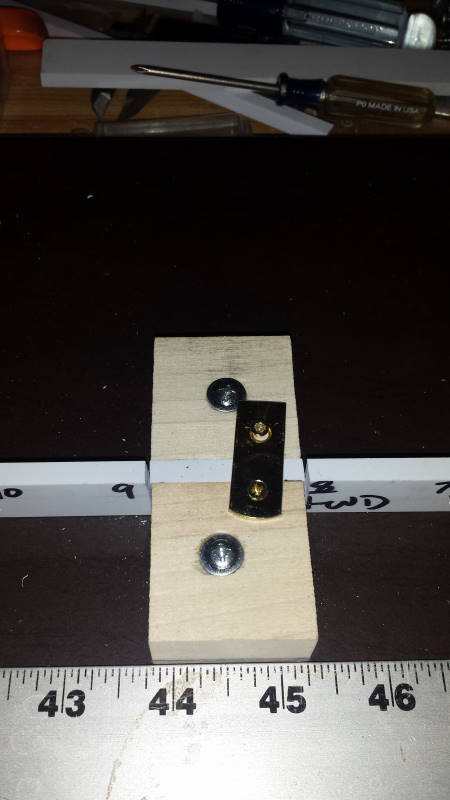
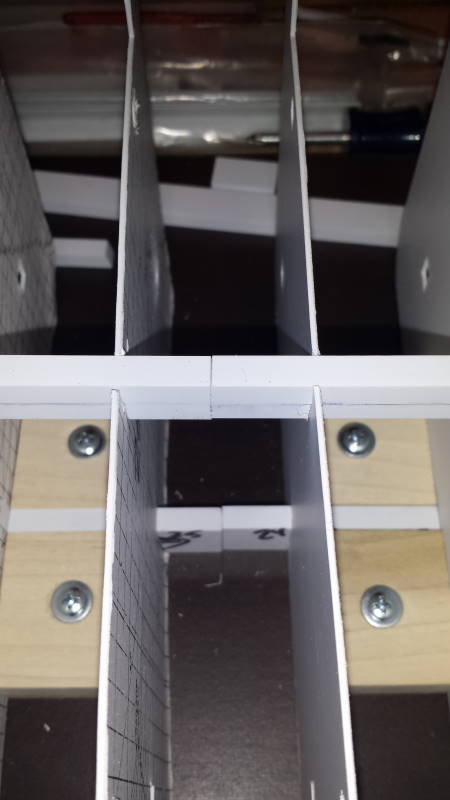
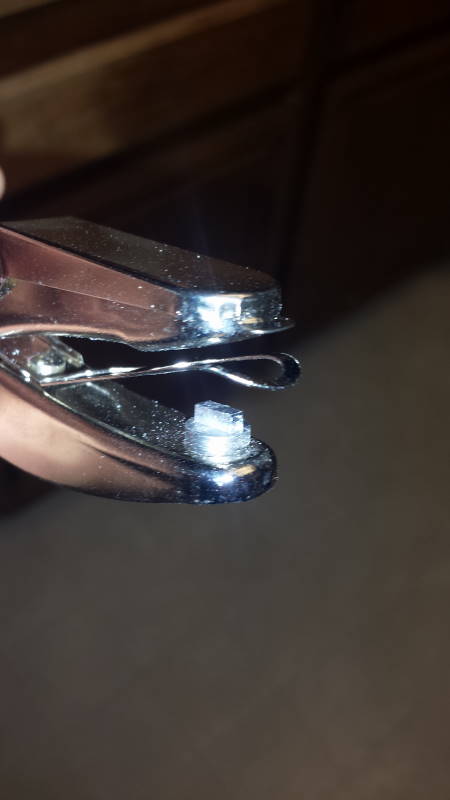
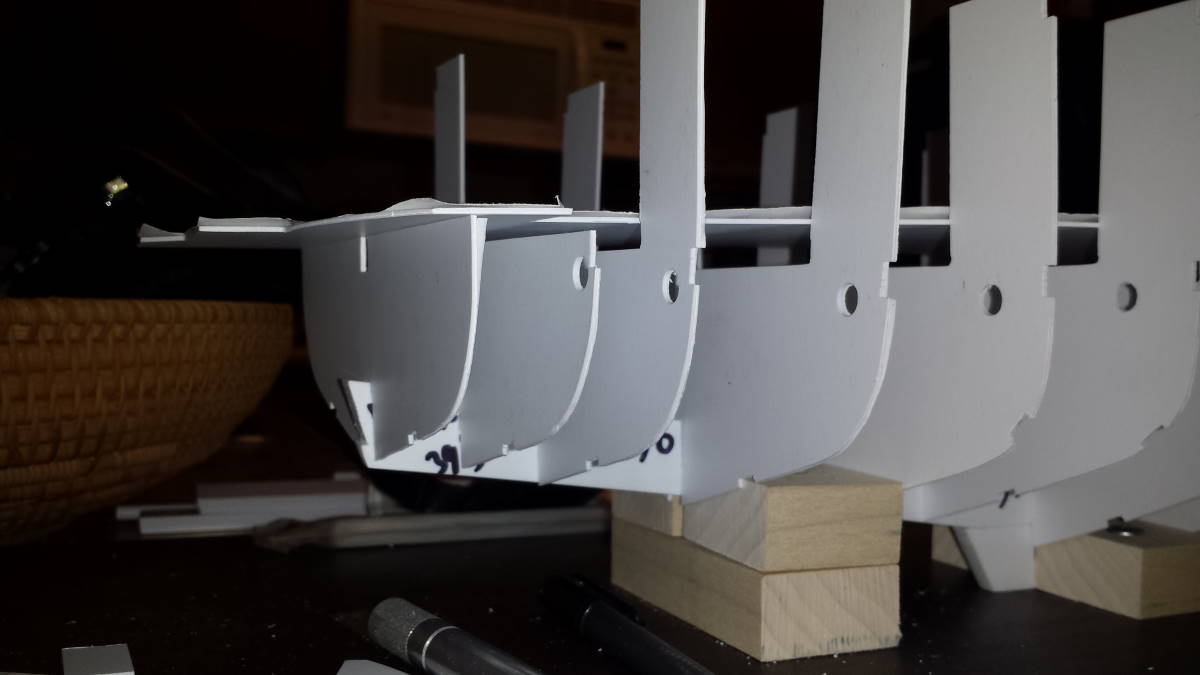
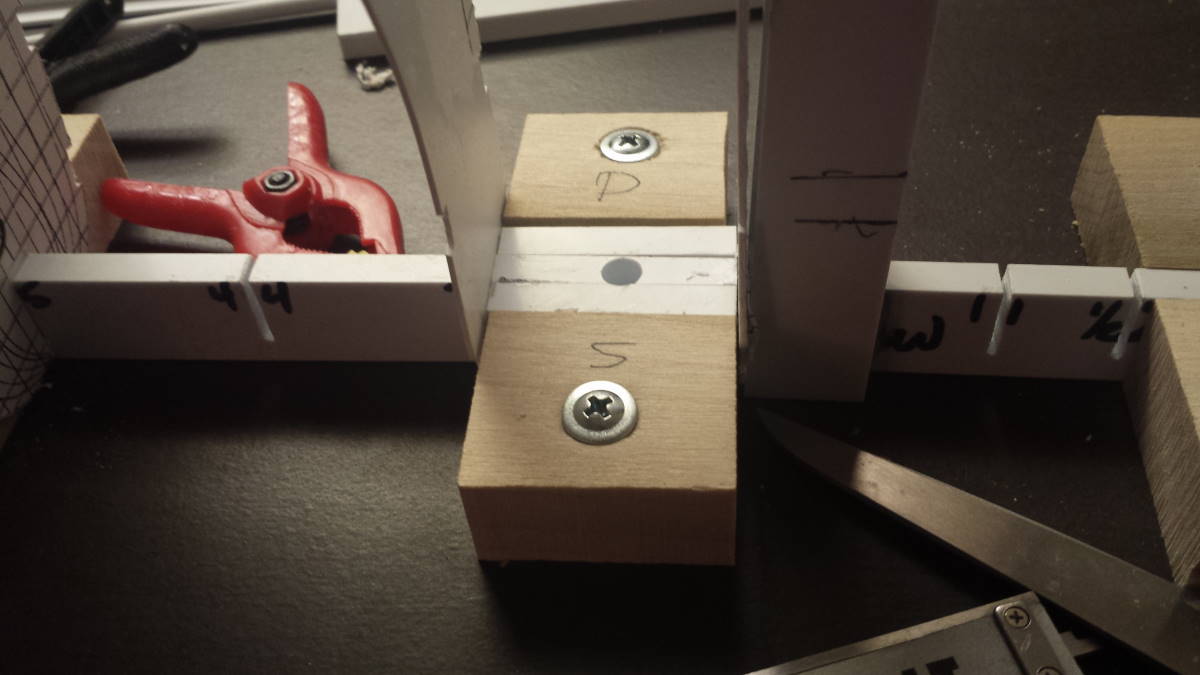
Oh, prior to me gluing the top spar in place, I added 3/4" blocks to six points on the keel and trimmed the jig blocks to fit and then I drilled a 1/4" hole at each point and then hammered in blind capture nuts for the mounting supports:
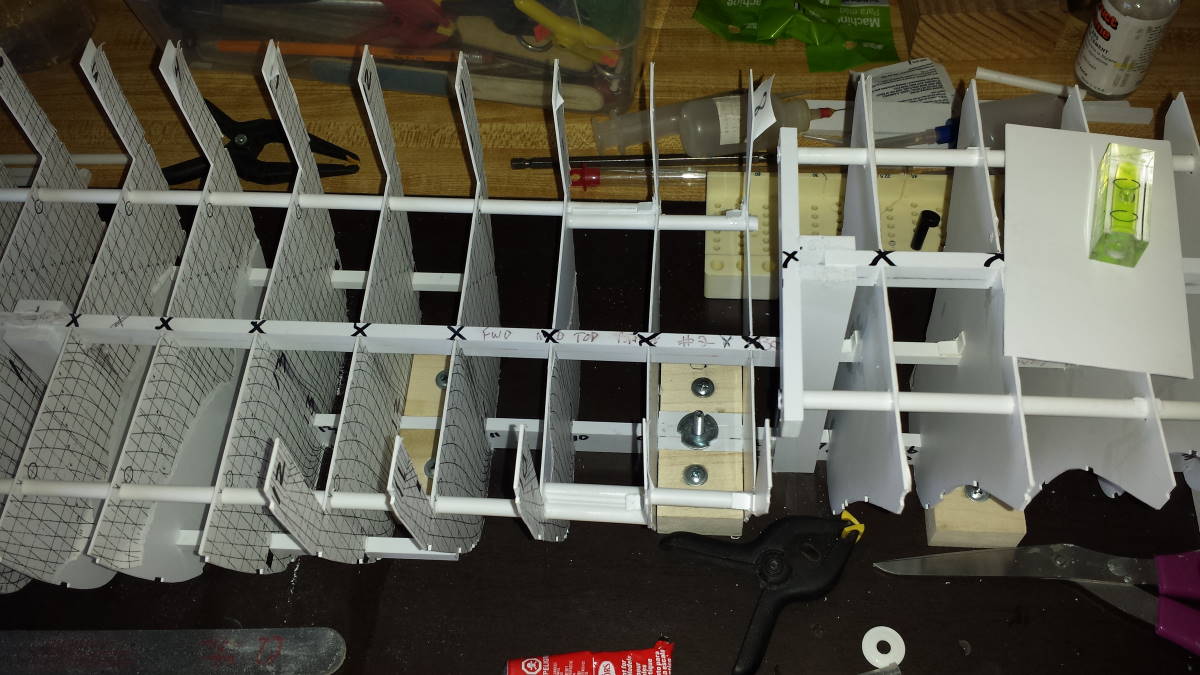
Back to the hull:
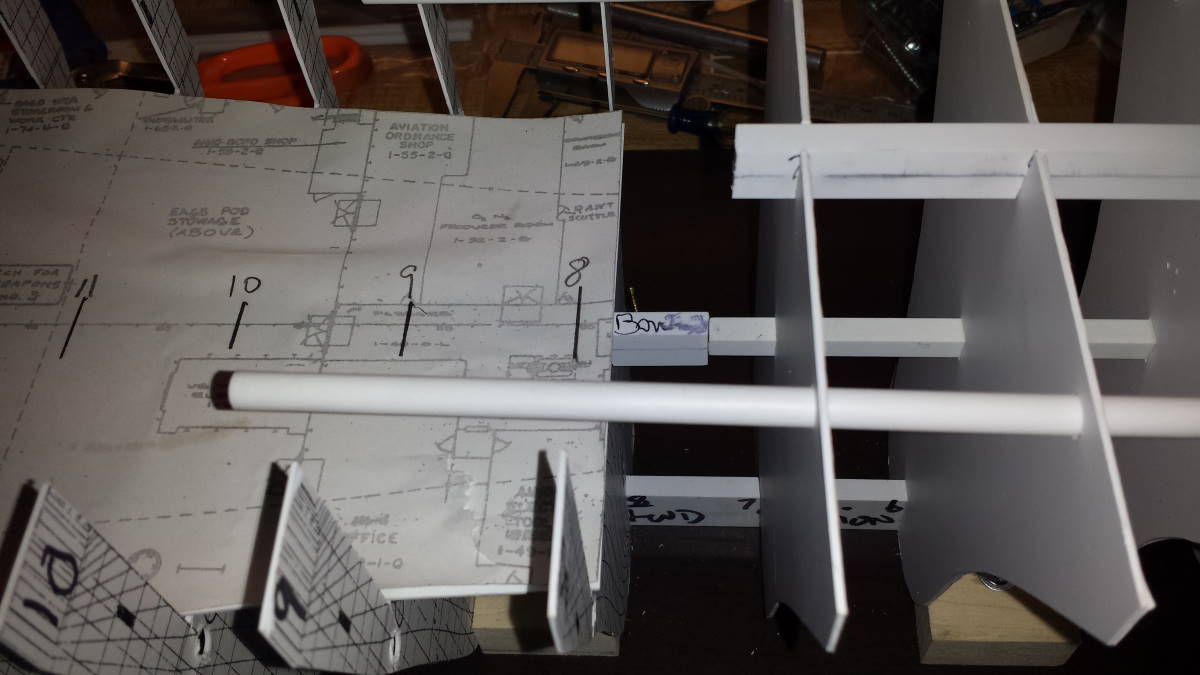
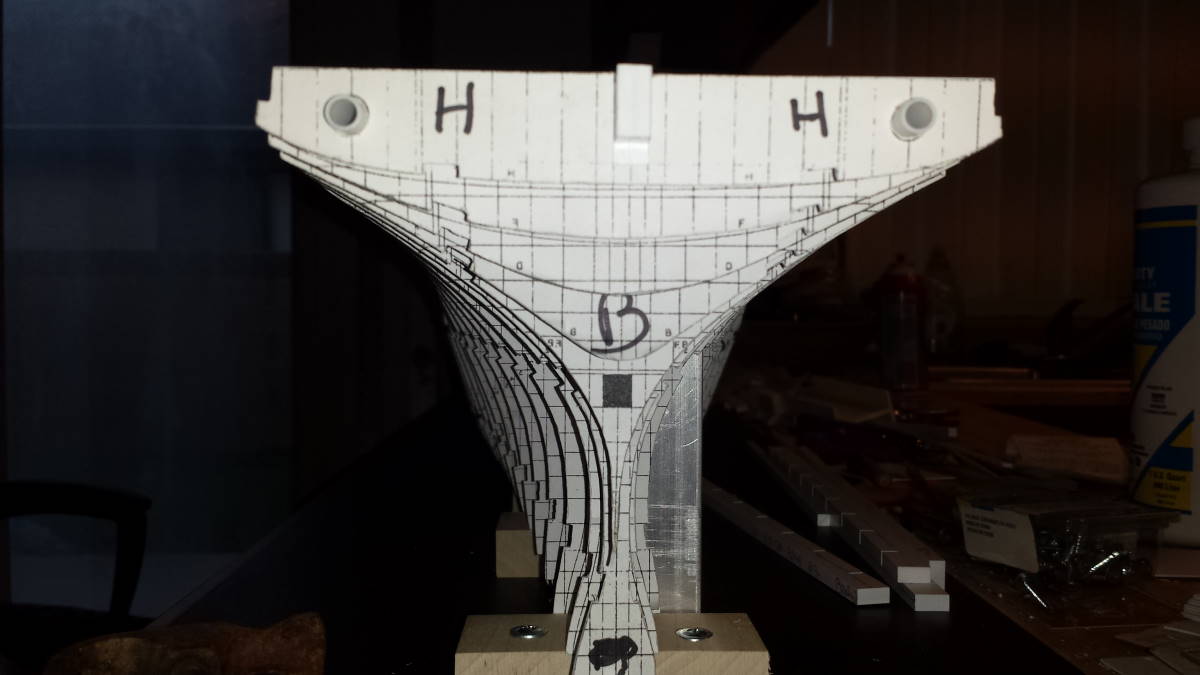
Then I started assembling the bow frames and its top spar with is just under the flight deck:
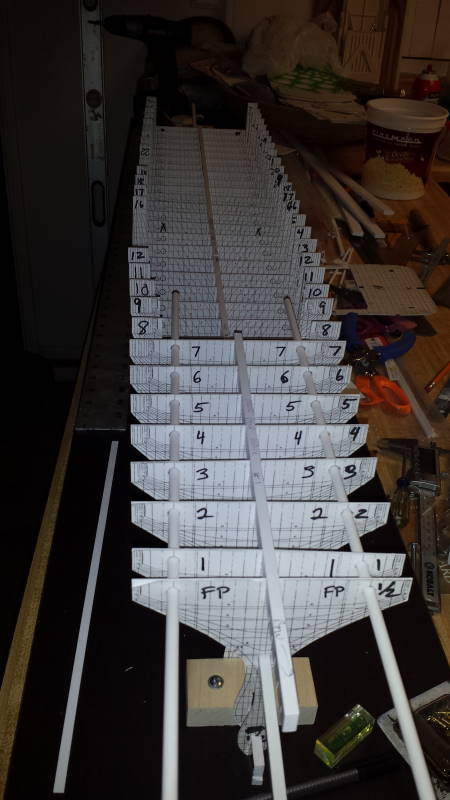
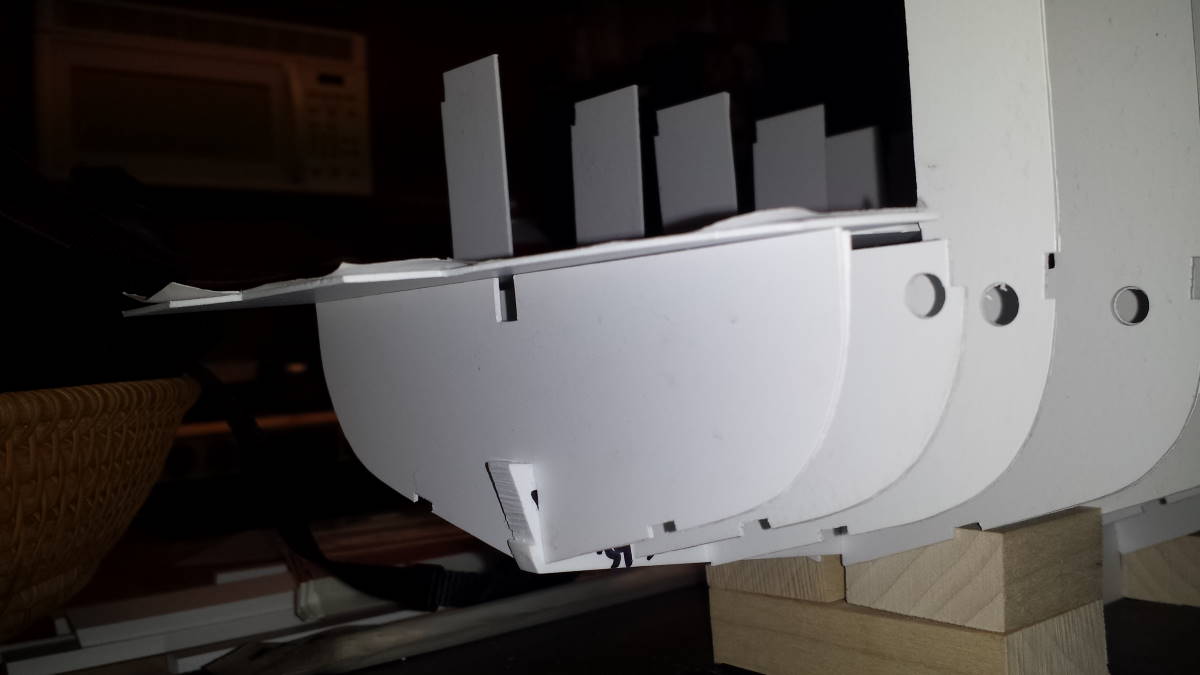
I also added that 1/2" crossmember to tie in the 1/4" round rods: That 1/2" piece will support the very forward hanger bay wall, but that will not ever be in view. The hanger bay starts way aft of that point and there will be a bulkhead there too, and this hidden compartment will be able to hold electronics for ship lighting or other features.
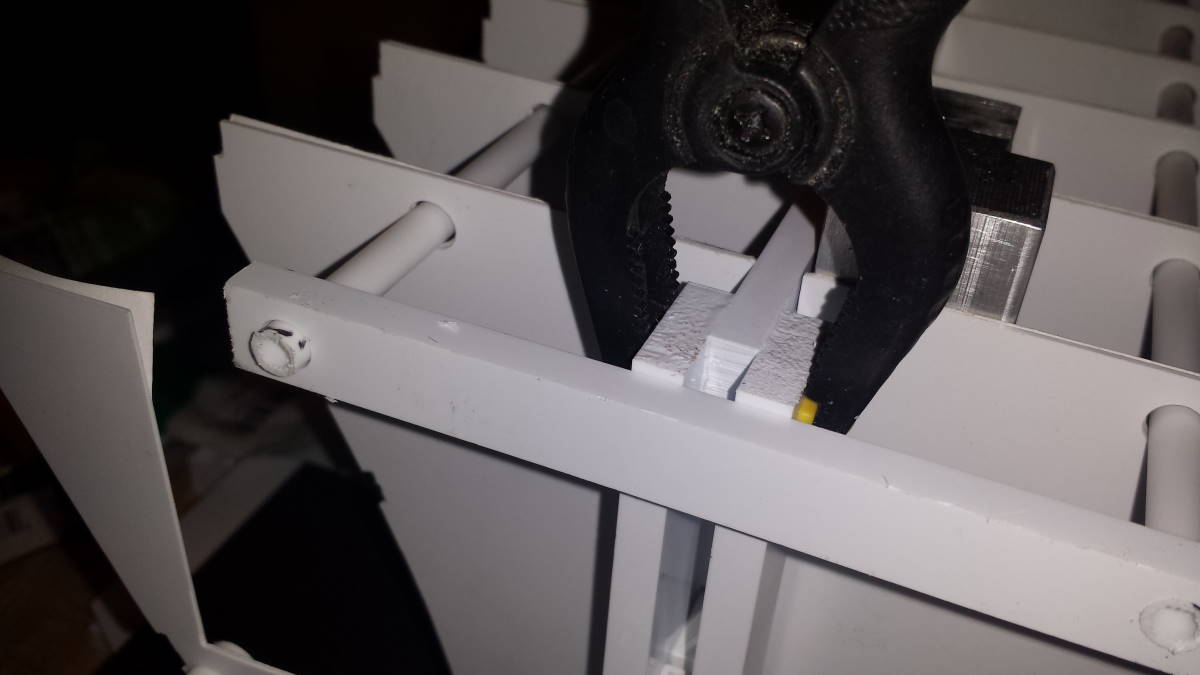
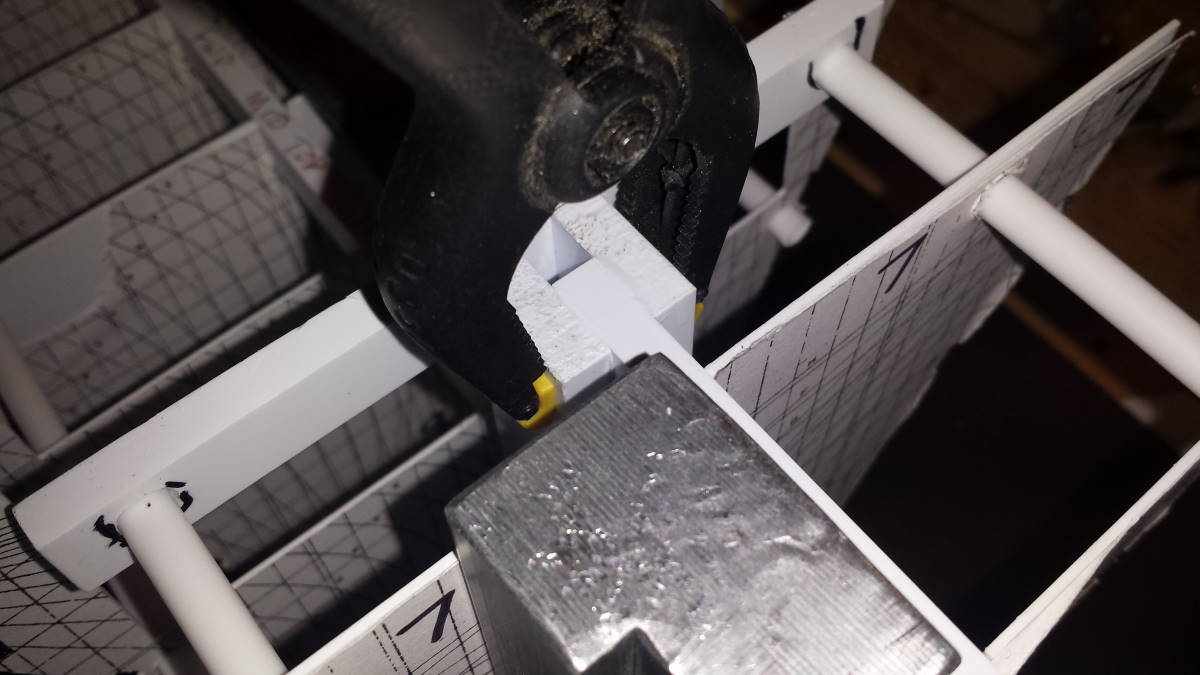
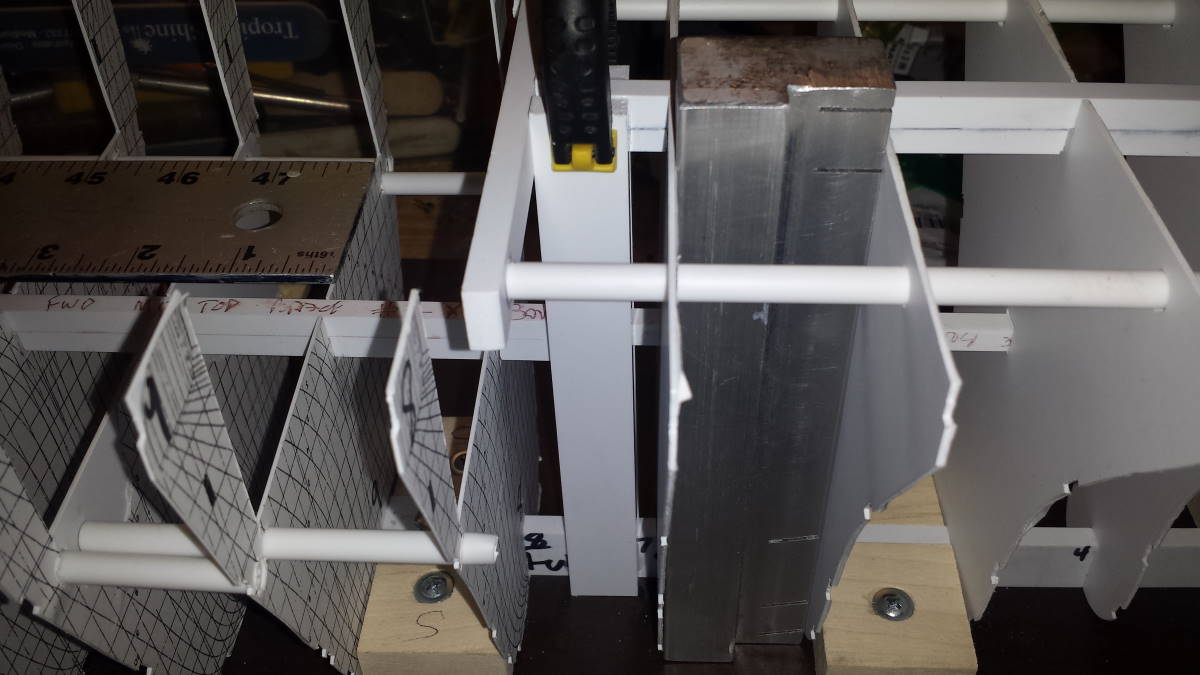
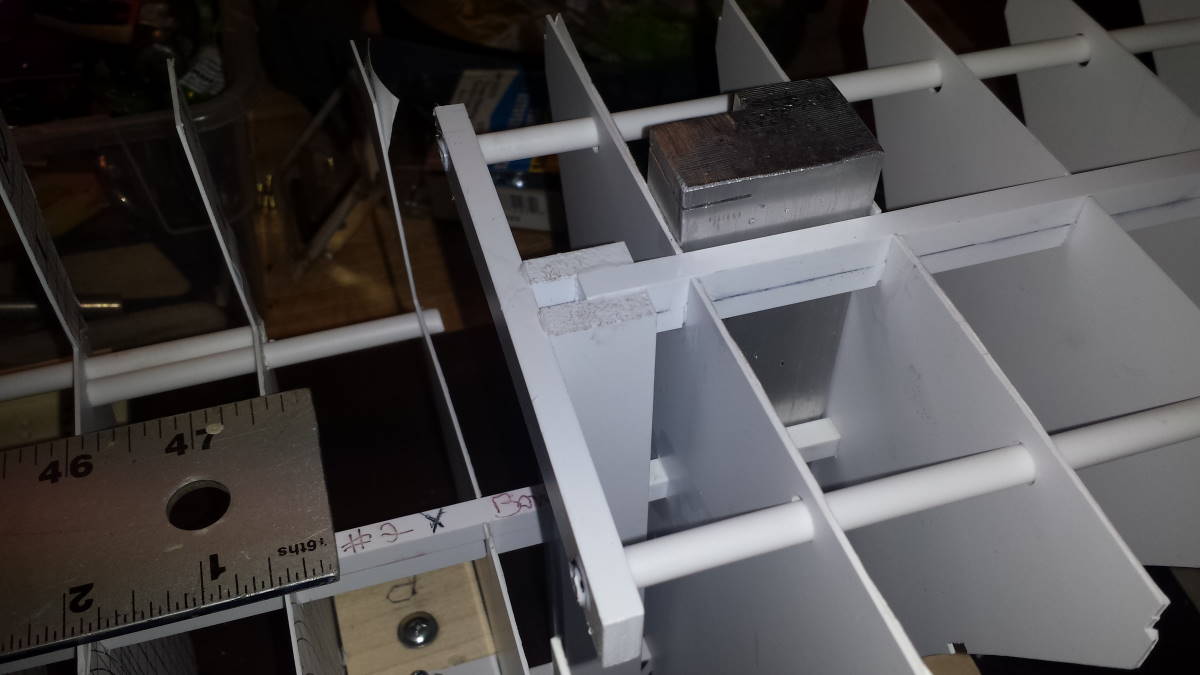
I used that milled block everywhere to ensure all parts were straight and plumb. It was SUCK a handy tool to use and BIG thanks to Mark for making it for me!
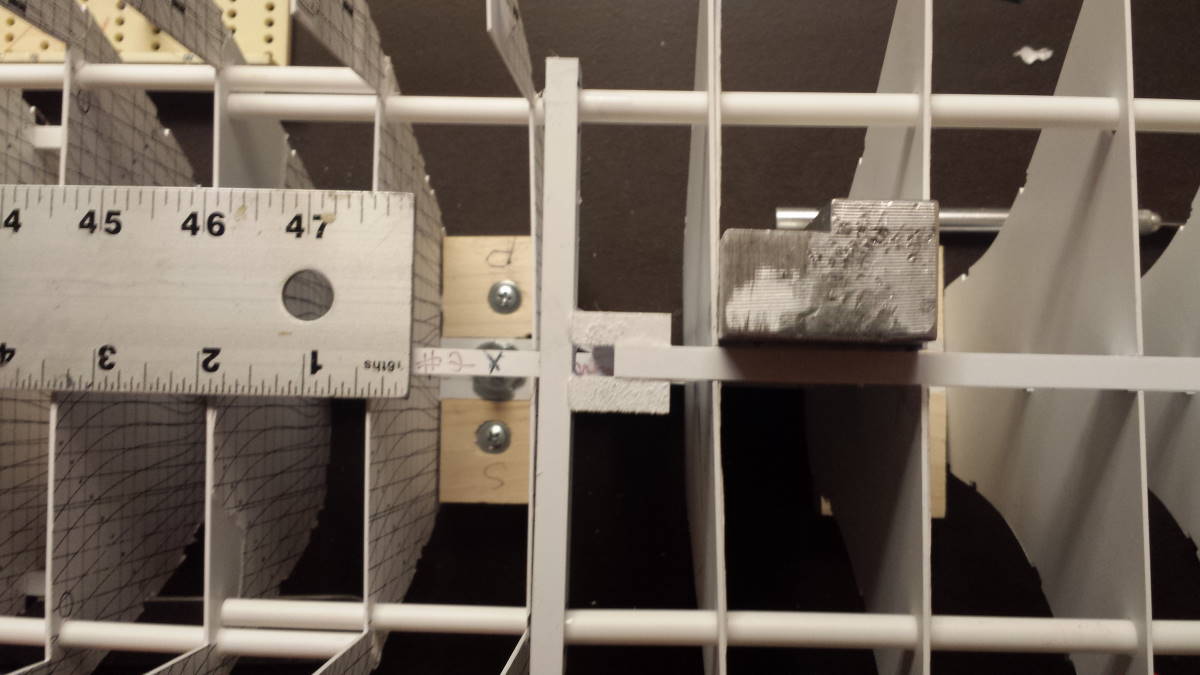
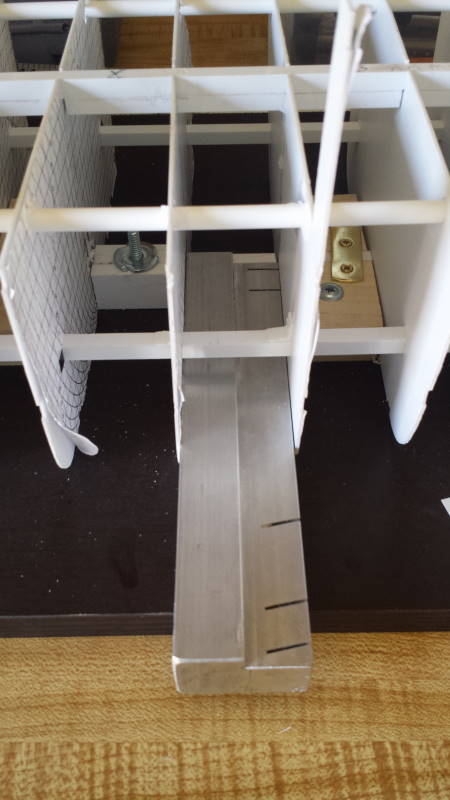
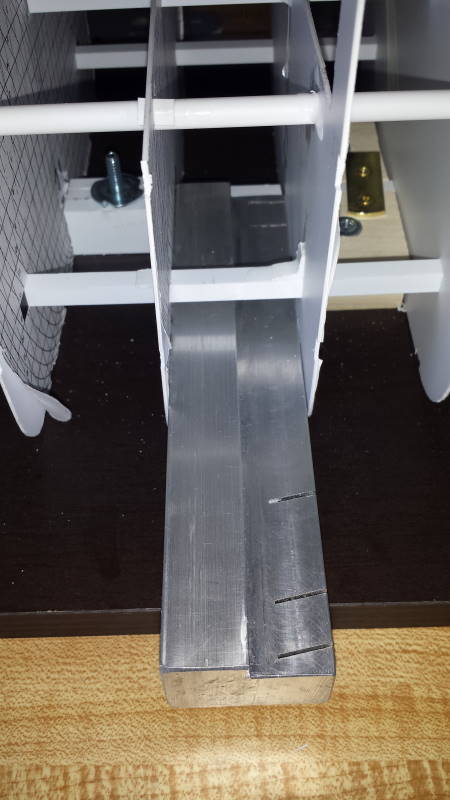
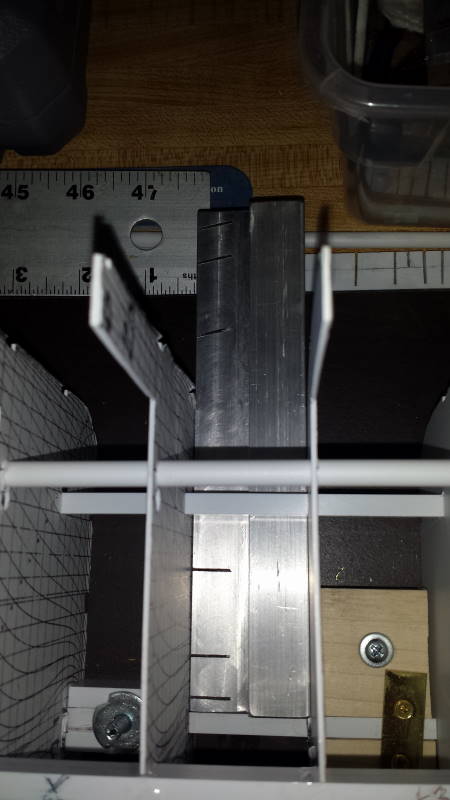
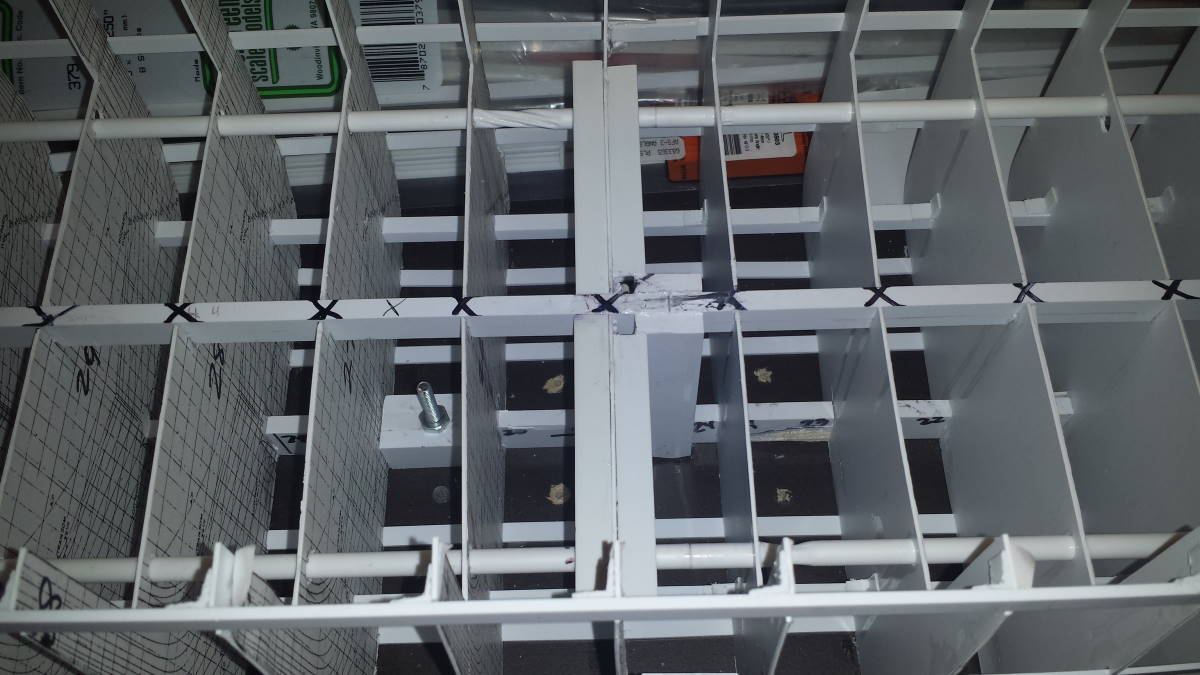
I used the block and made sure all of the frames were as square as possible, and then glued them in place to both the keel and the internal stringers, the 1/4" round and square stock. I made an "X" at the top of each frame to mark the ones that I glued and checked afterwards. I was stunned at how rigid it all came out. I do not think I am going to use the expanding foam between the frames after all.
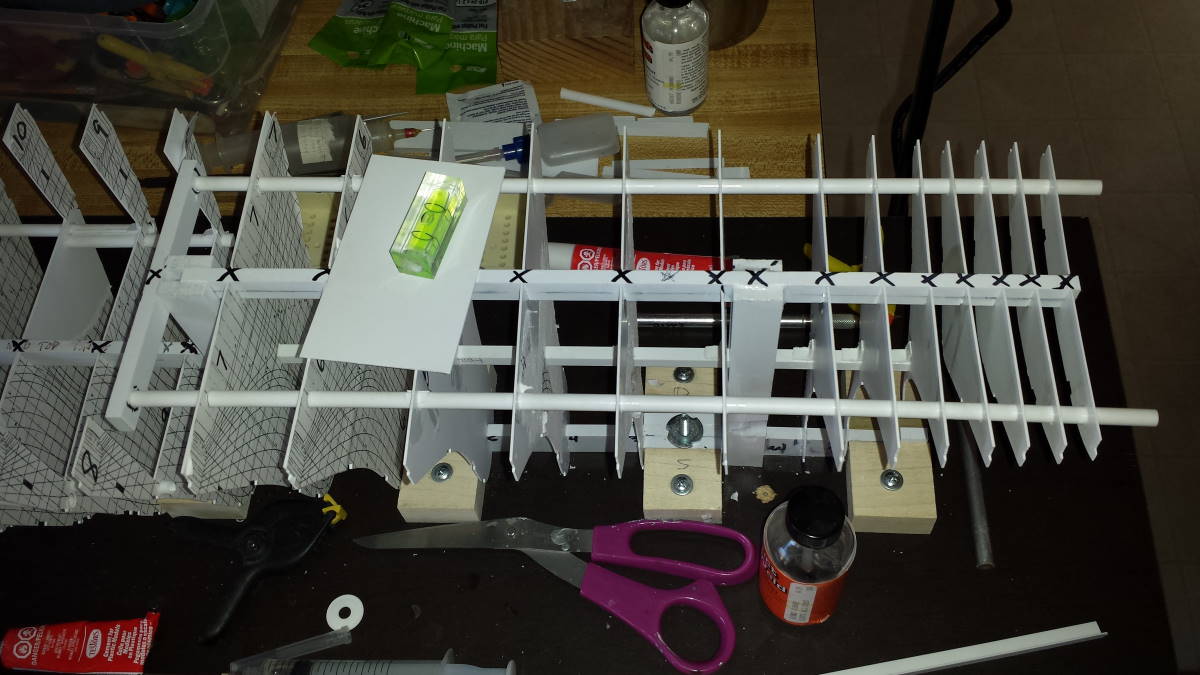
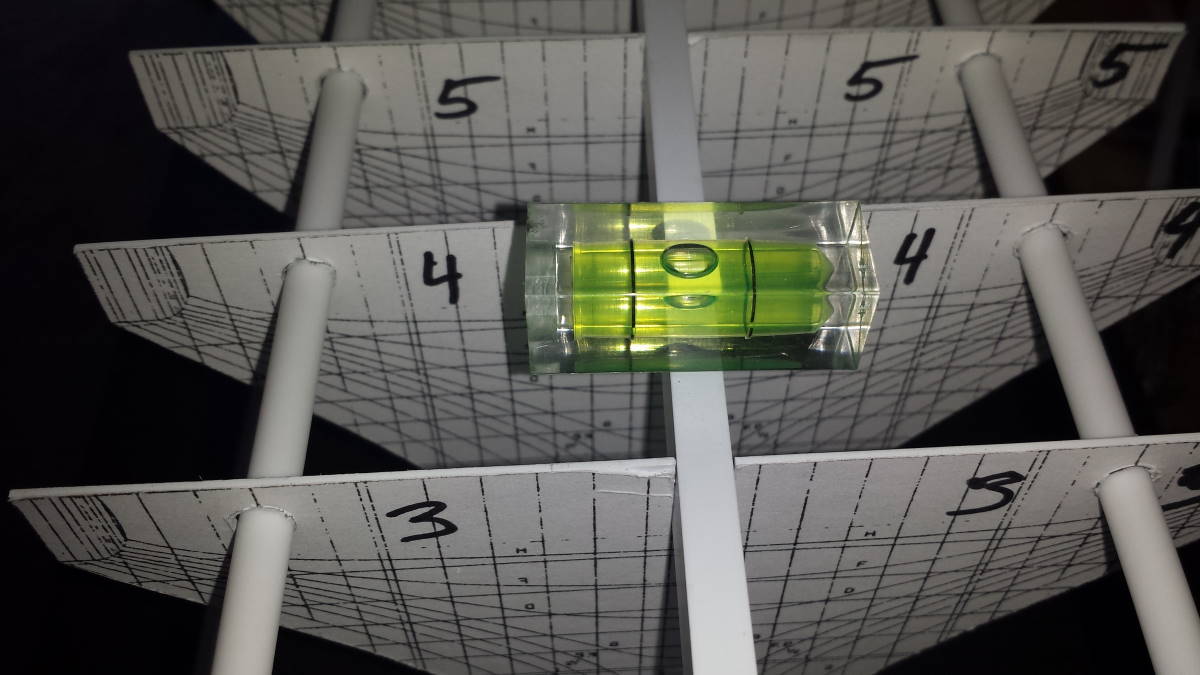
I came out just a little bit off with the lateral level:
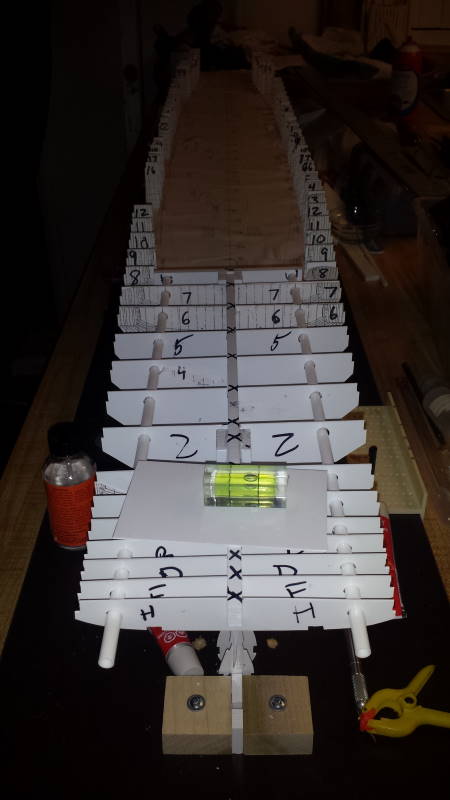
So I took a small torch lighter and heated the fwd riser and corrected it a bit.
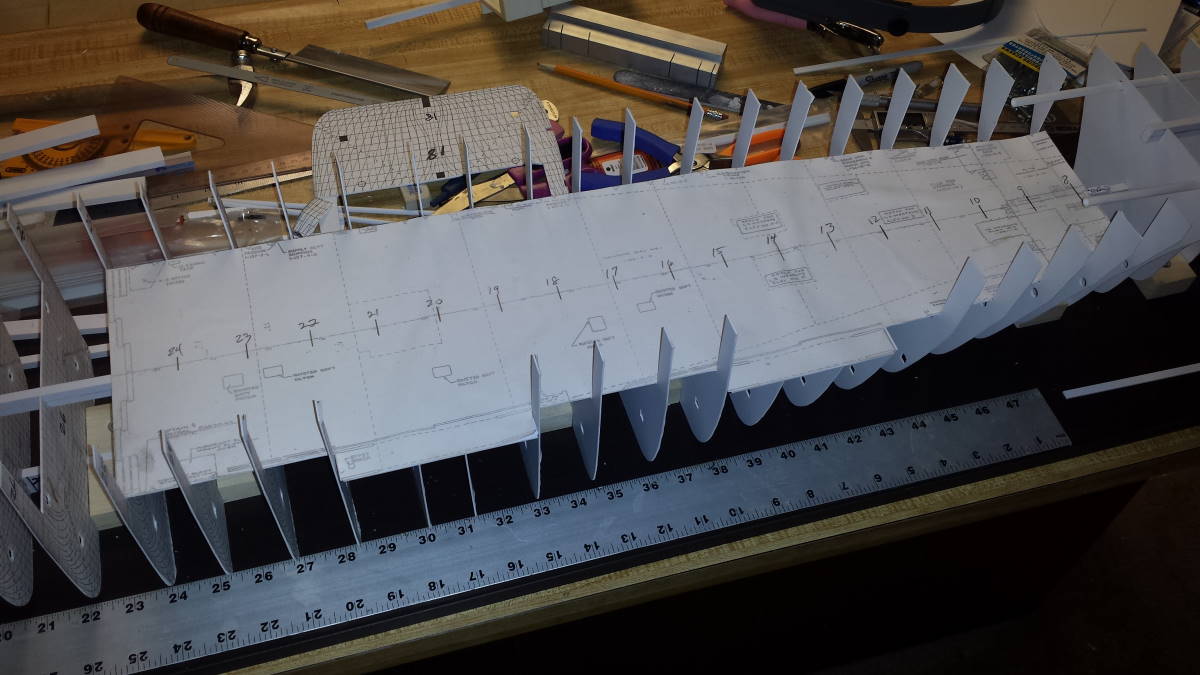
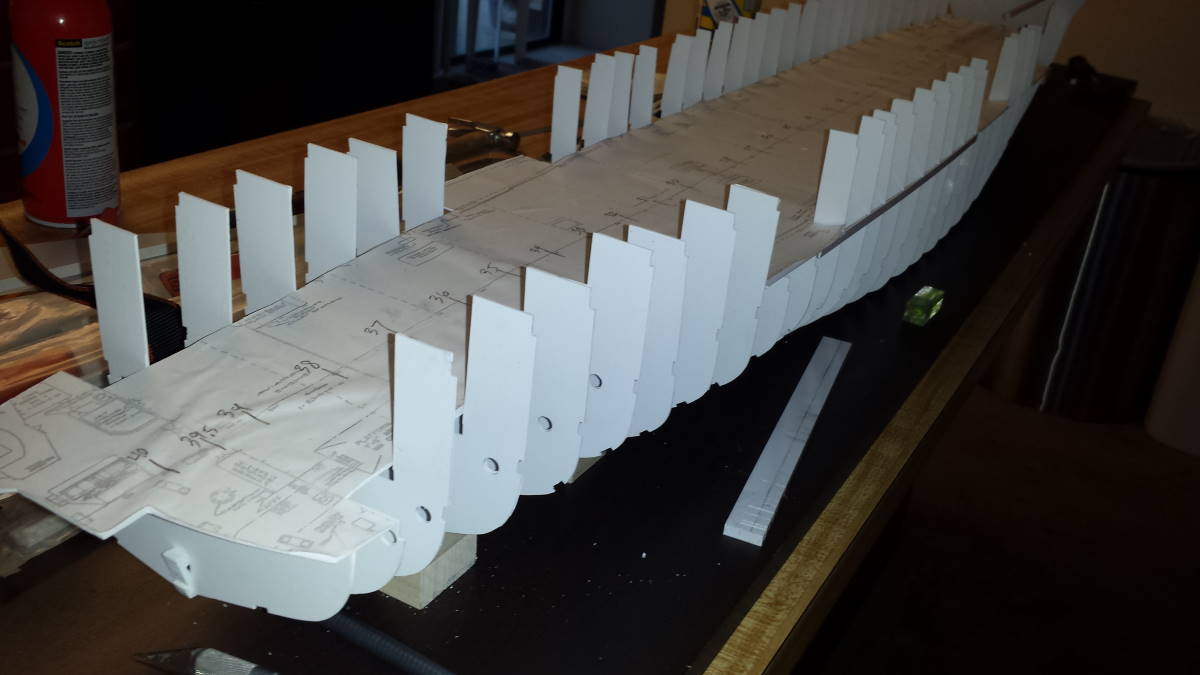
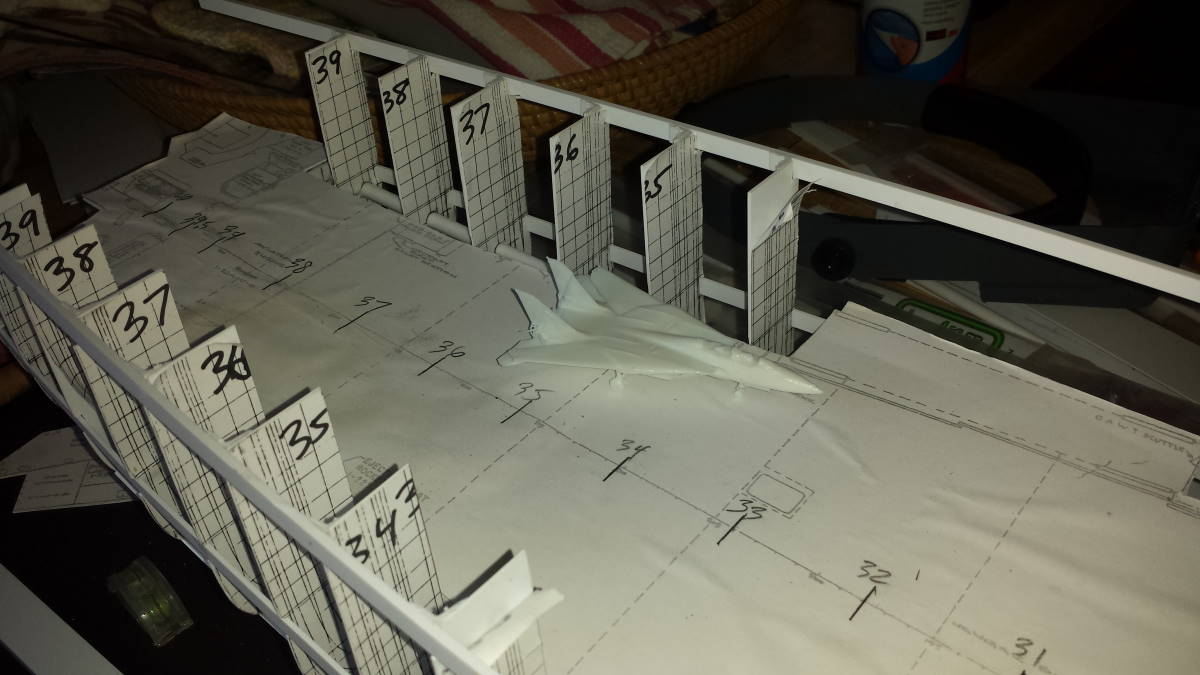
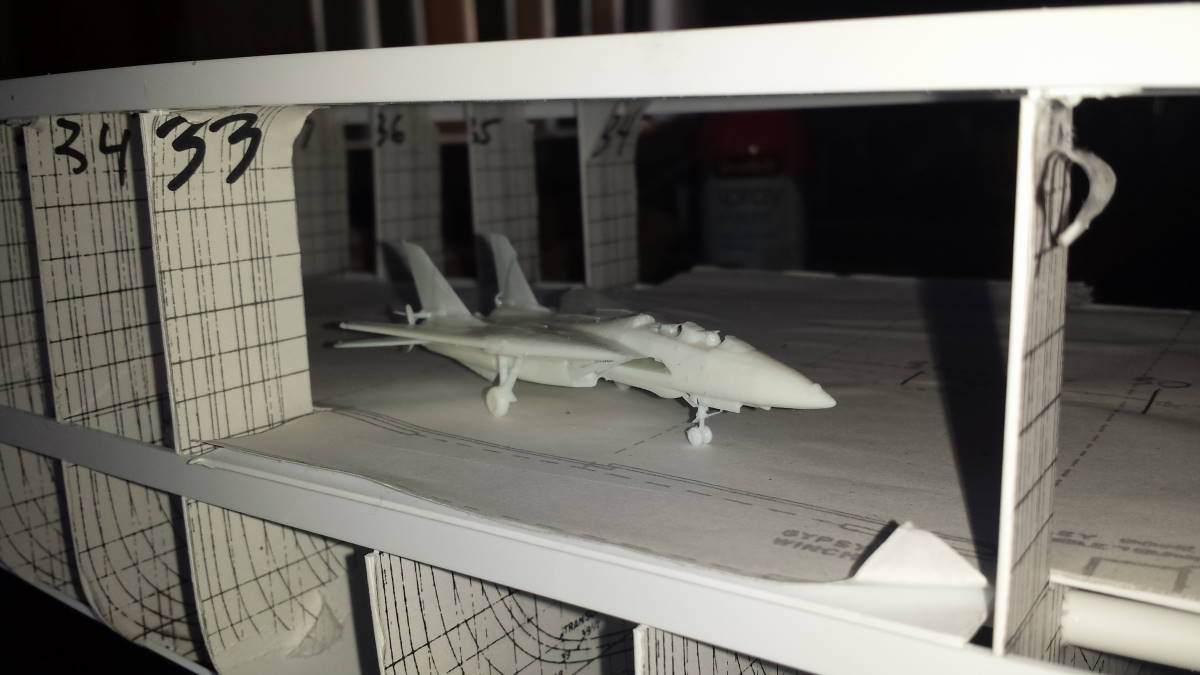
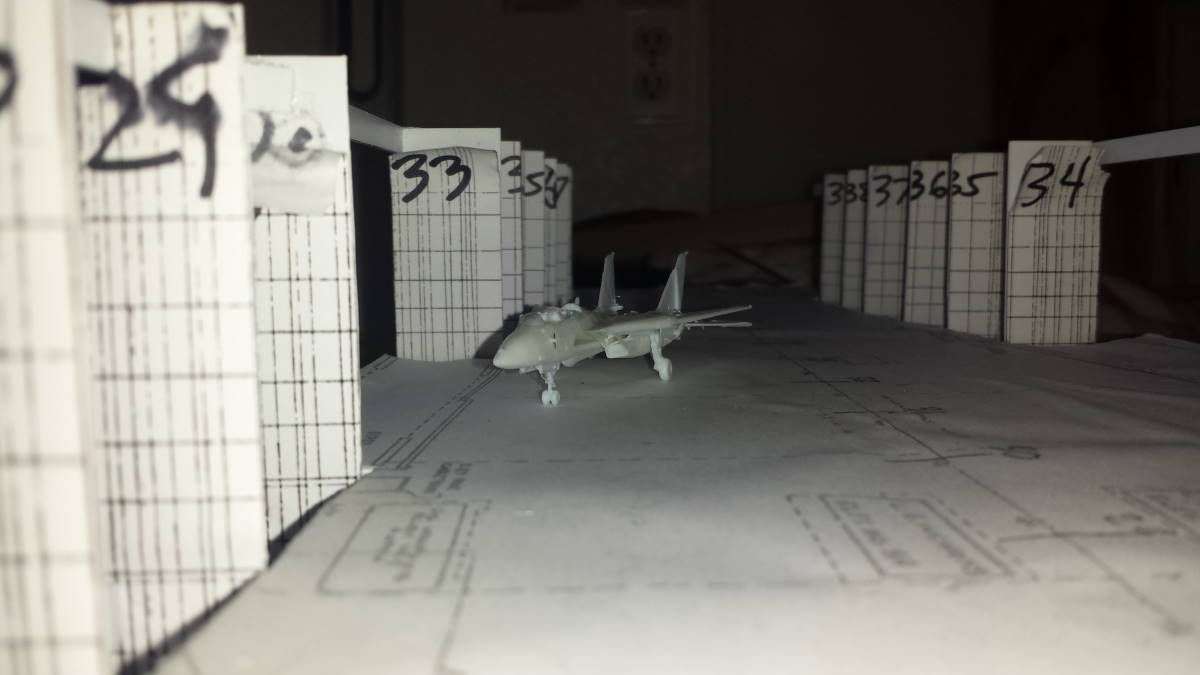
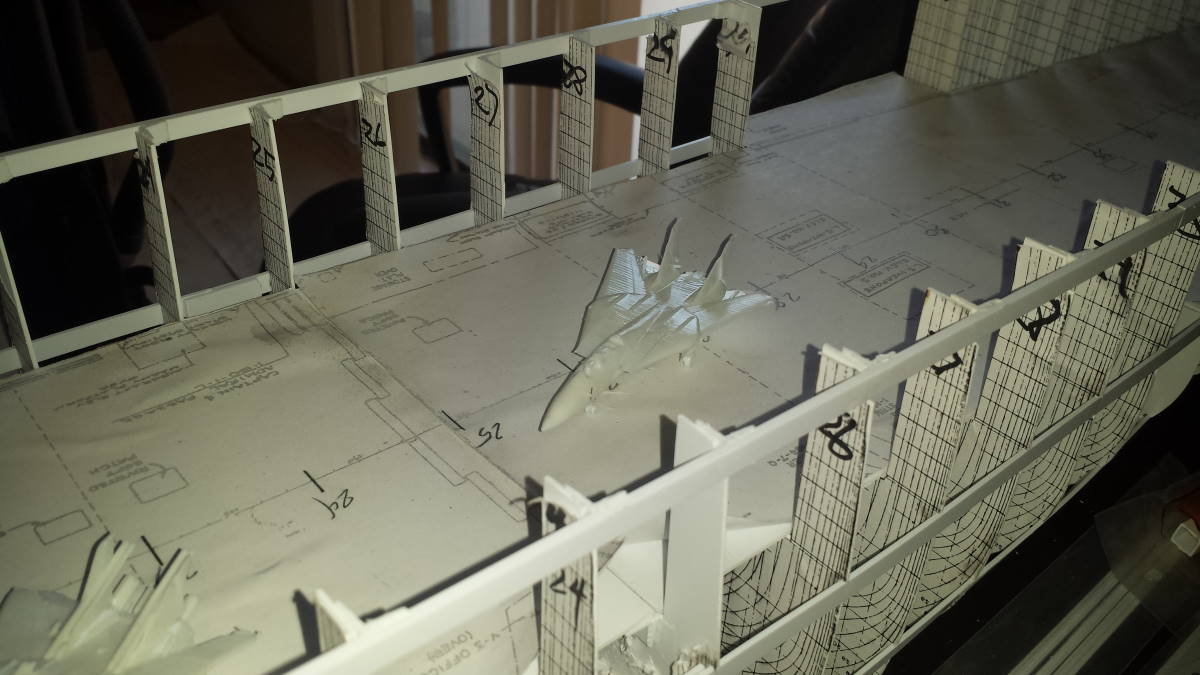
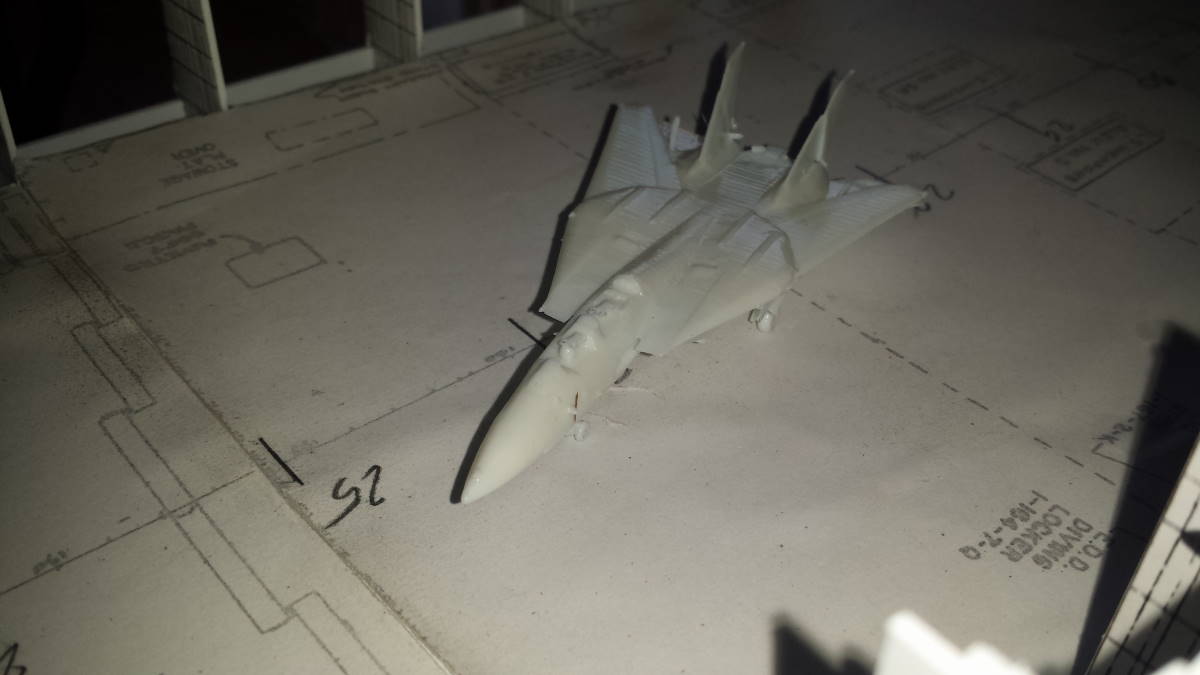
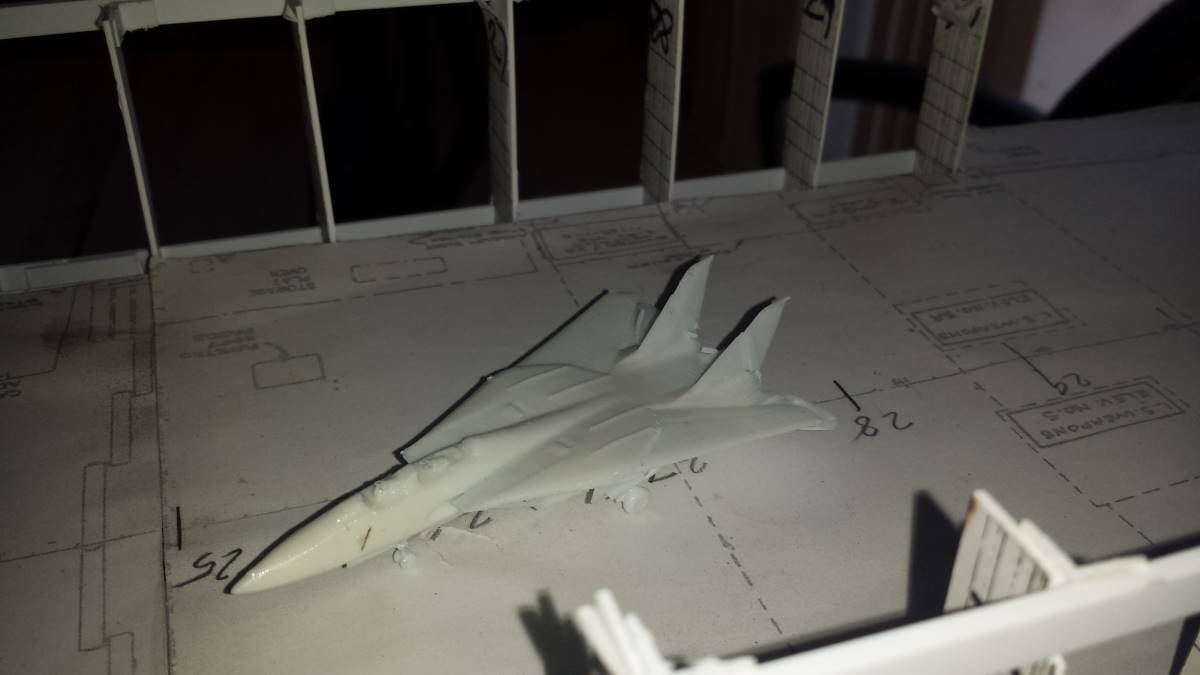
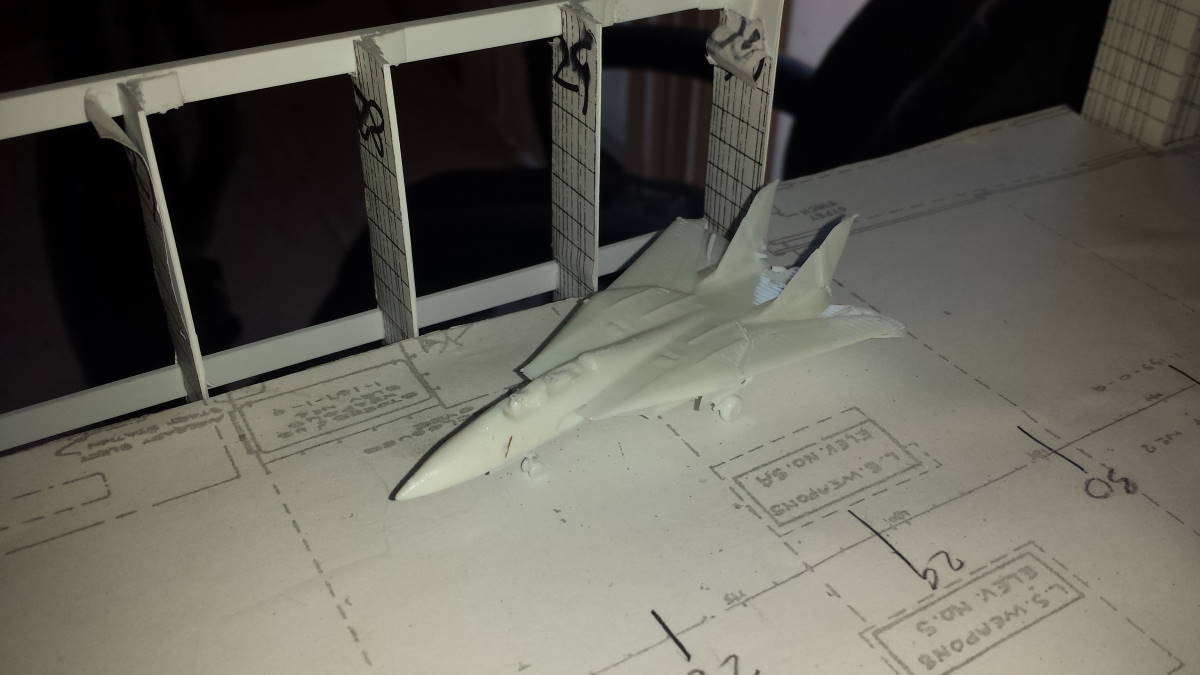
Rough fit of the hanger dec:
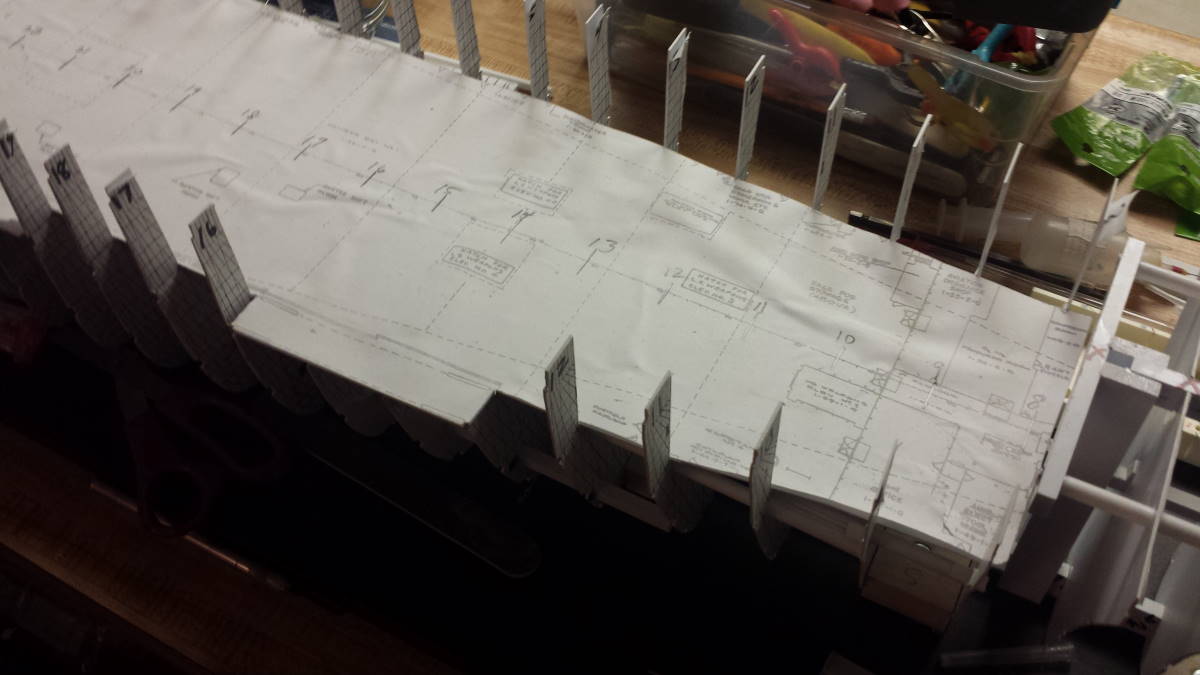
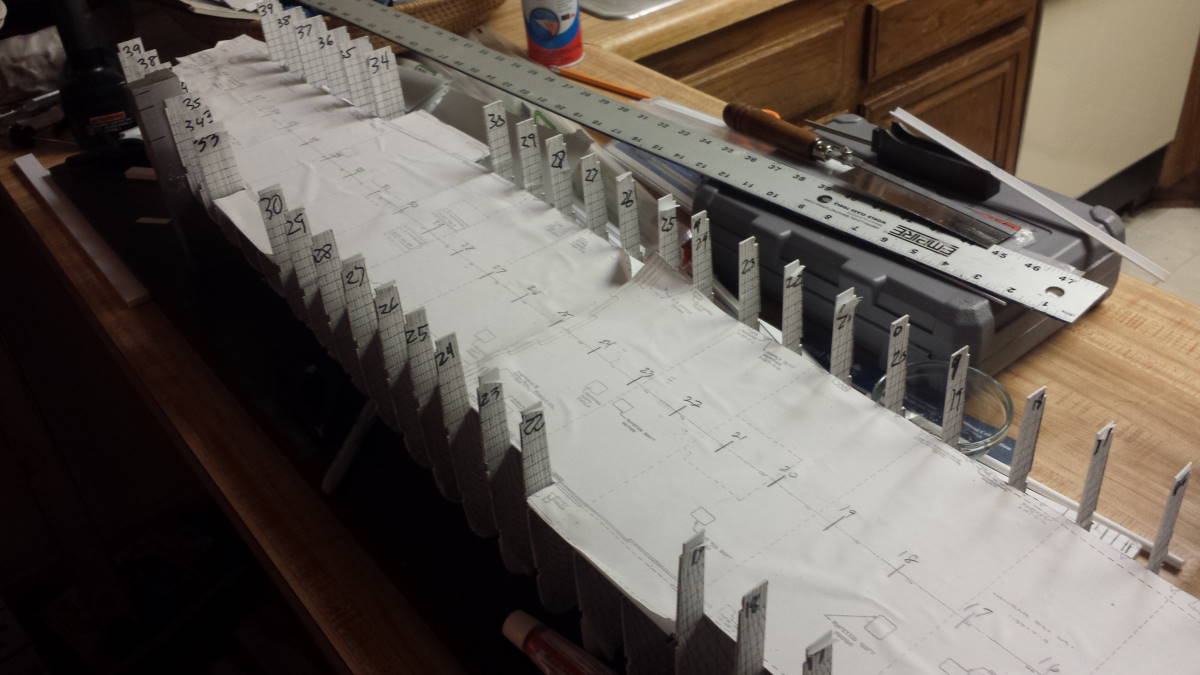
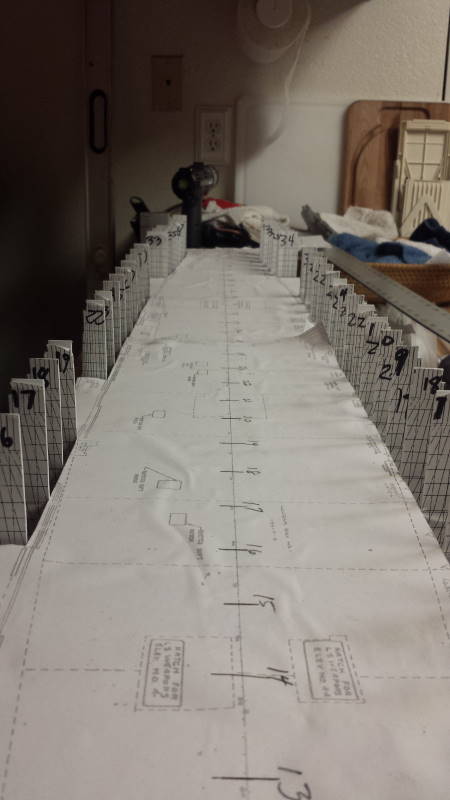
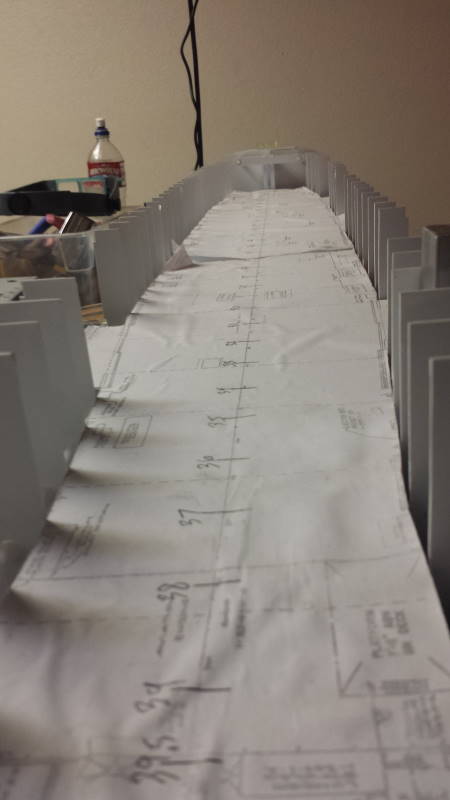
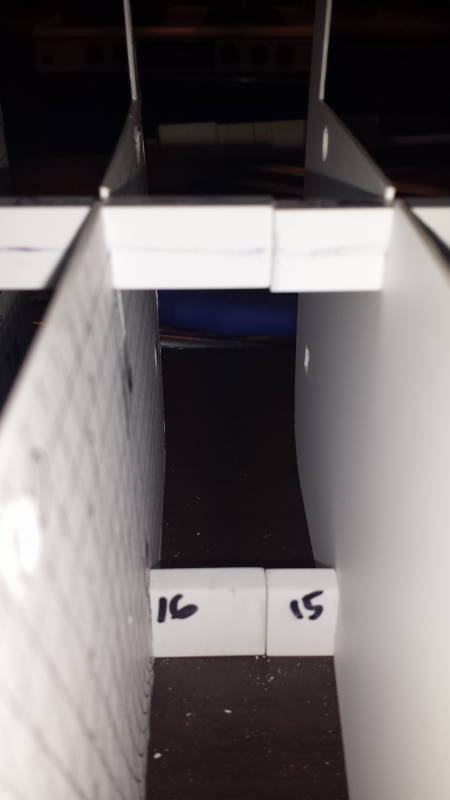
Looking in from "EL Three":
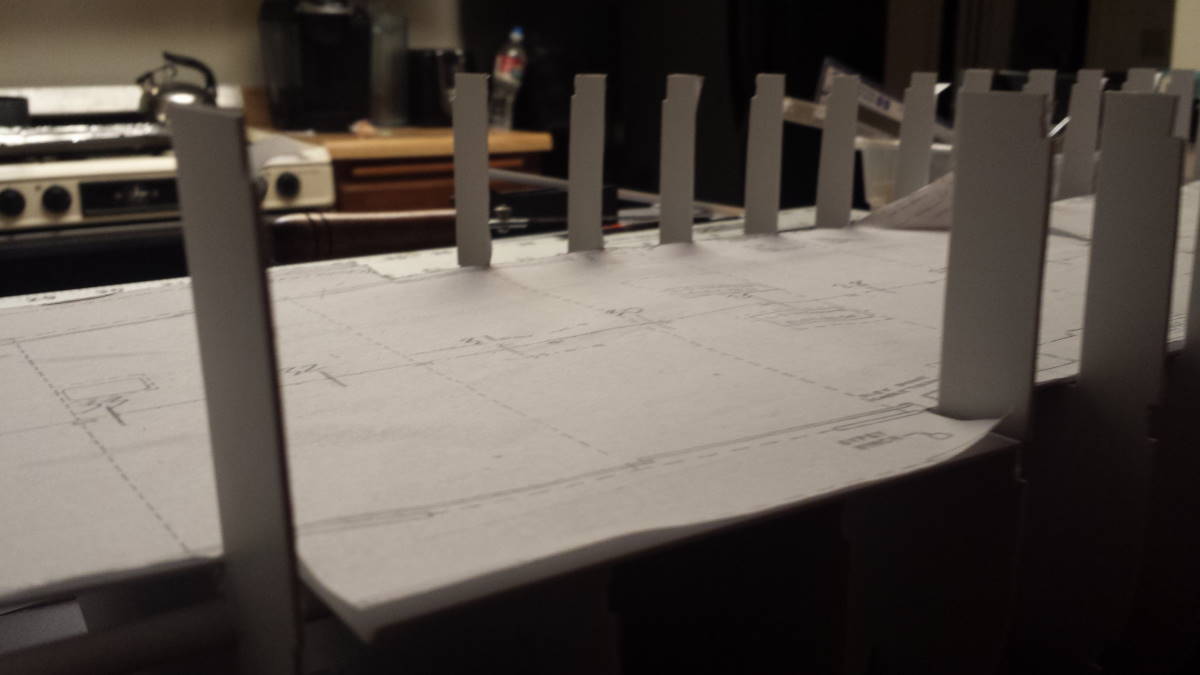
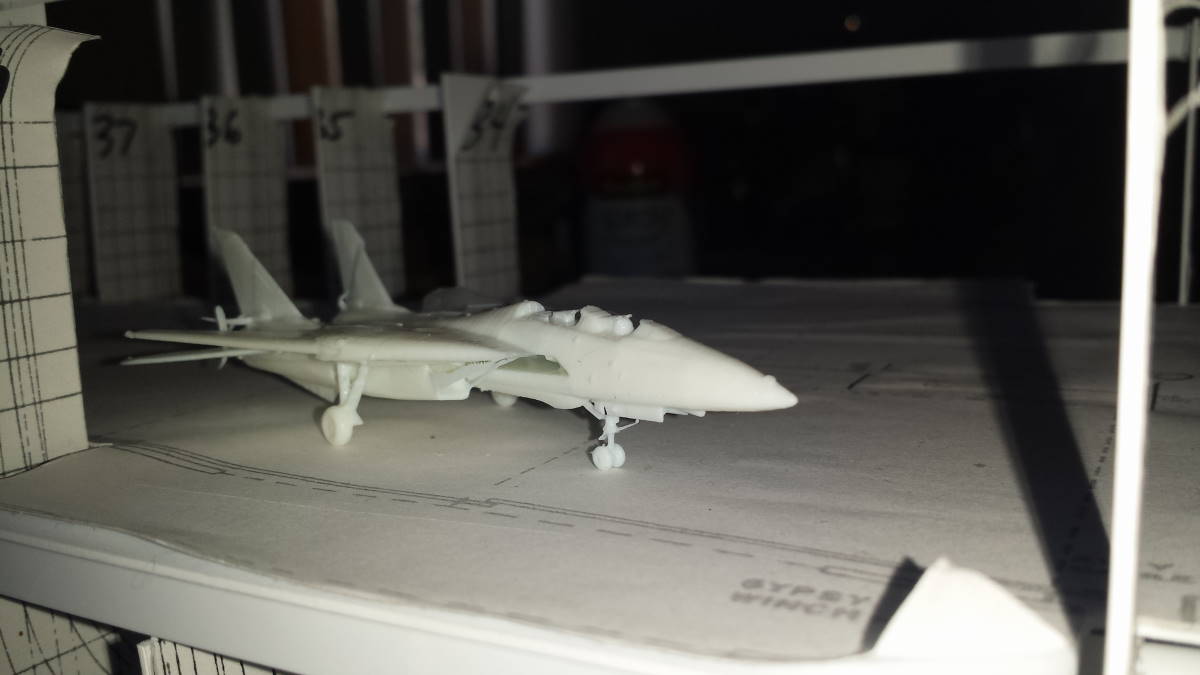
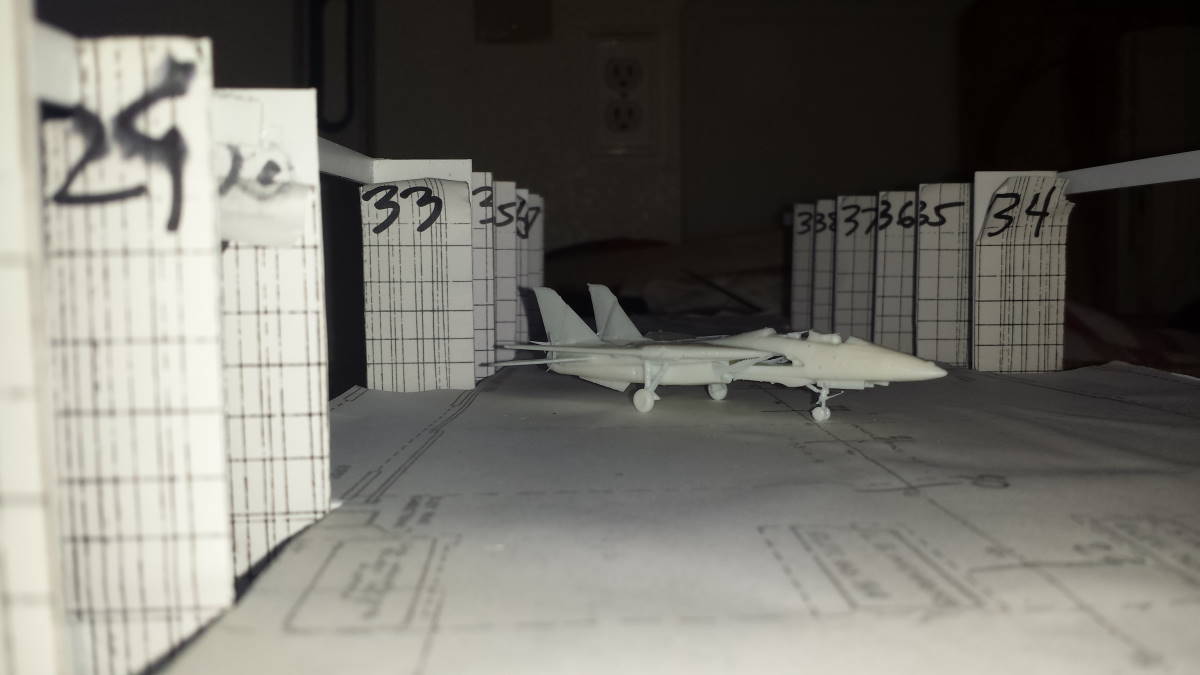
And EL Two and One:
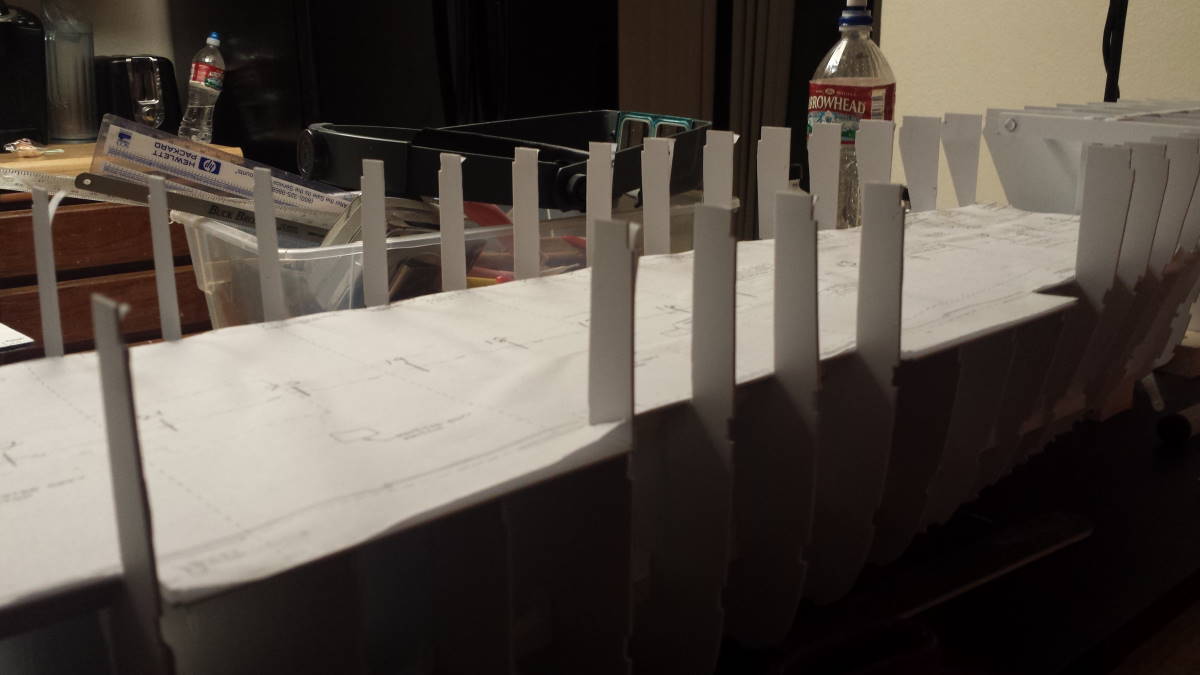
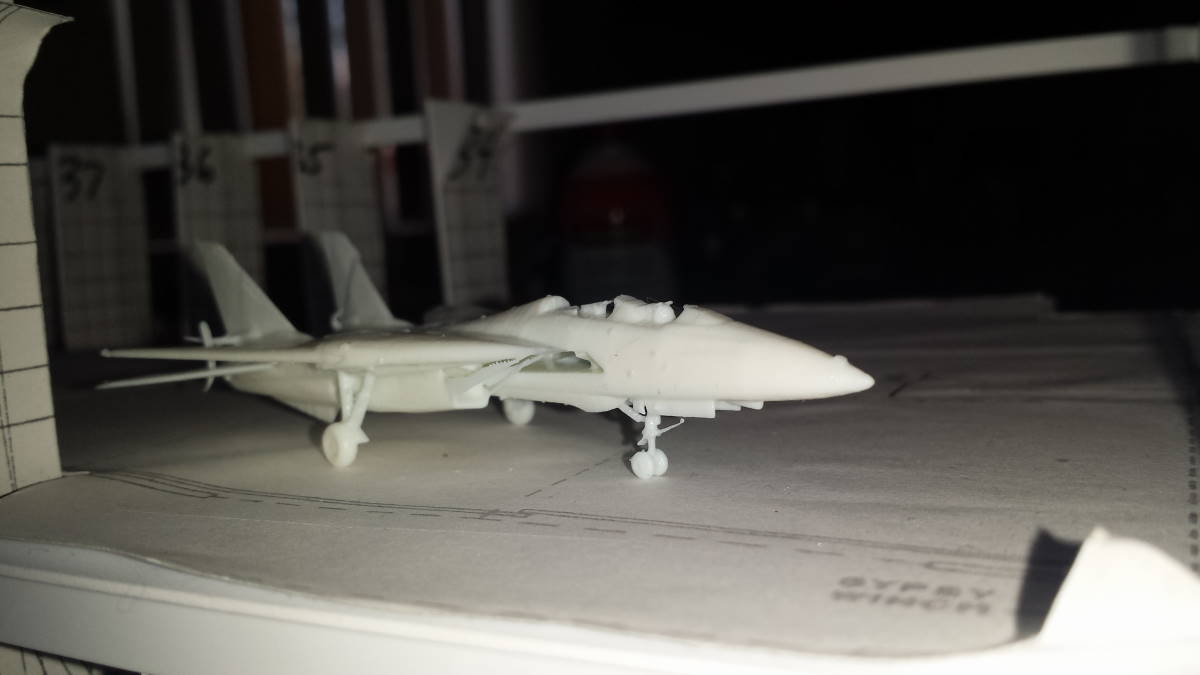
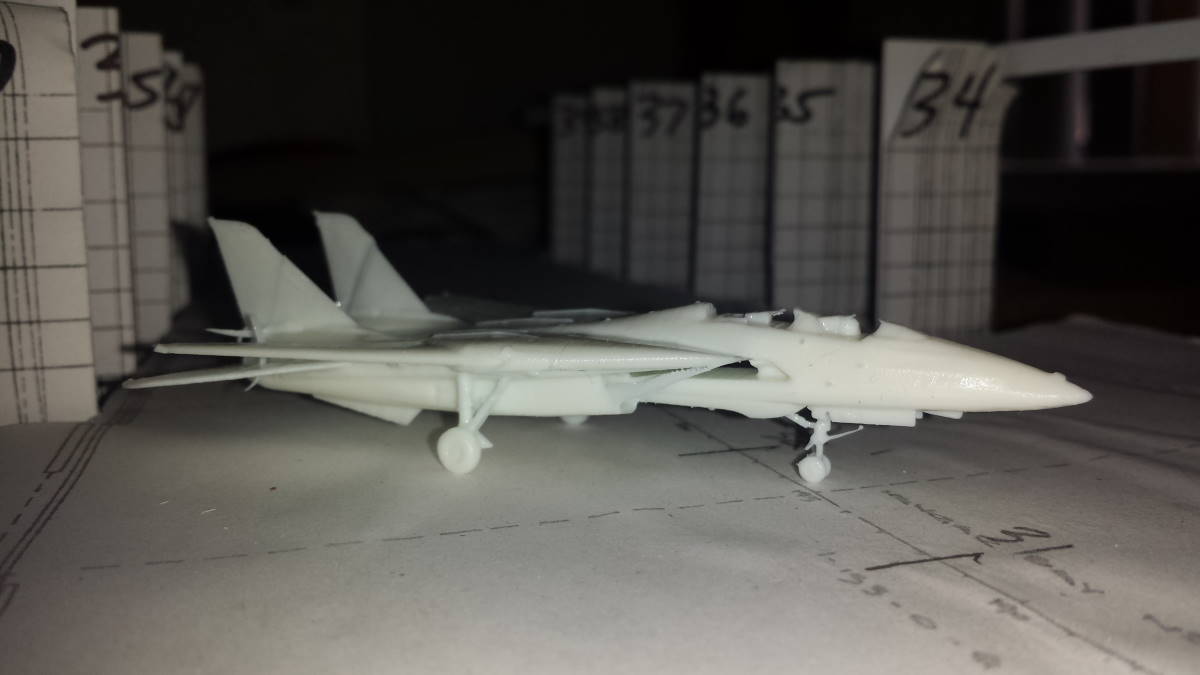
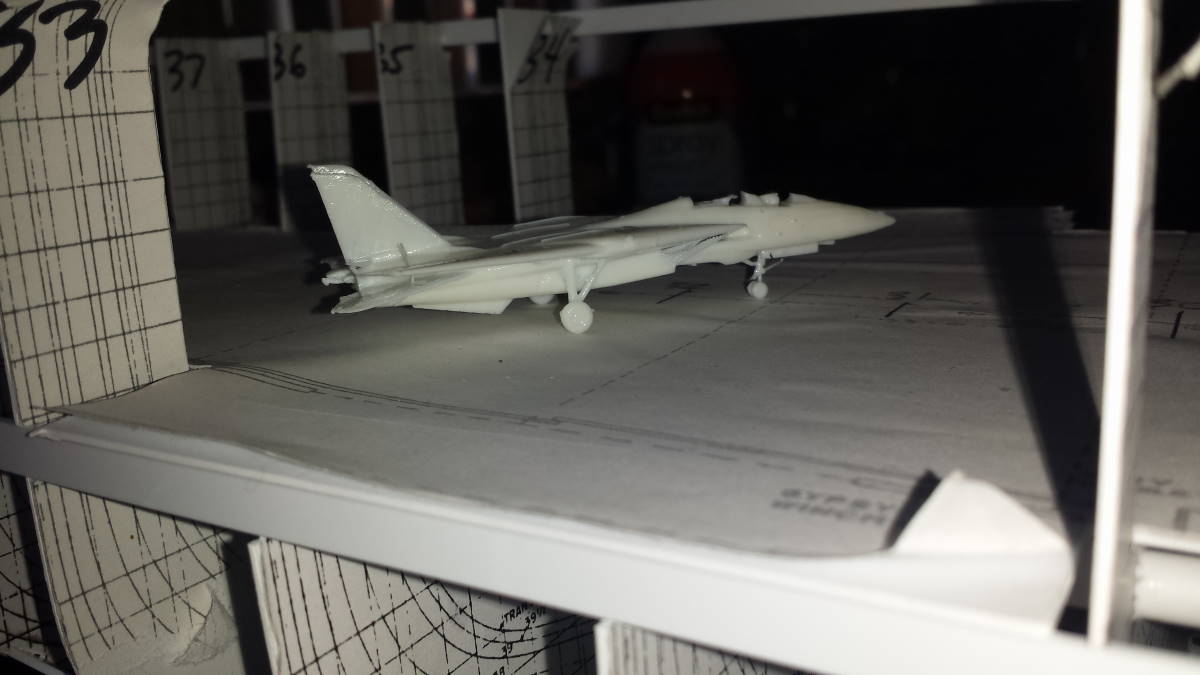
EL One:
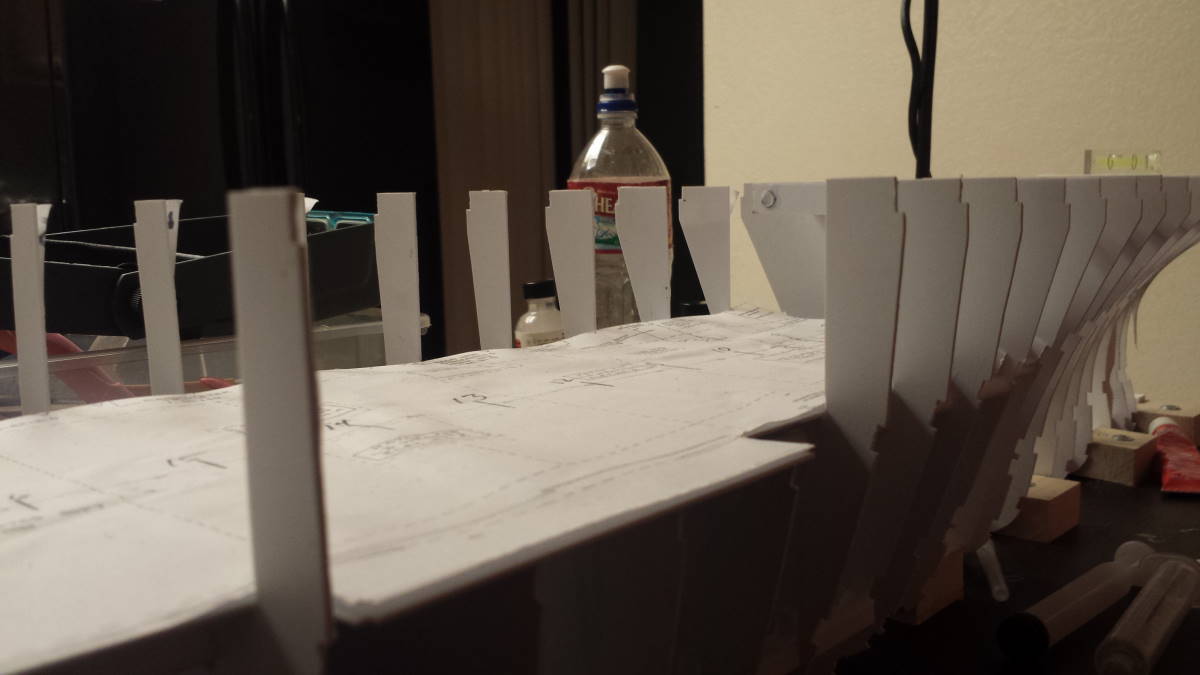
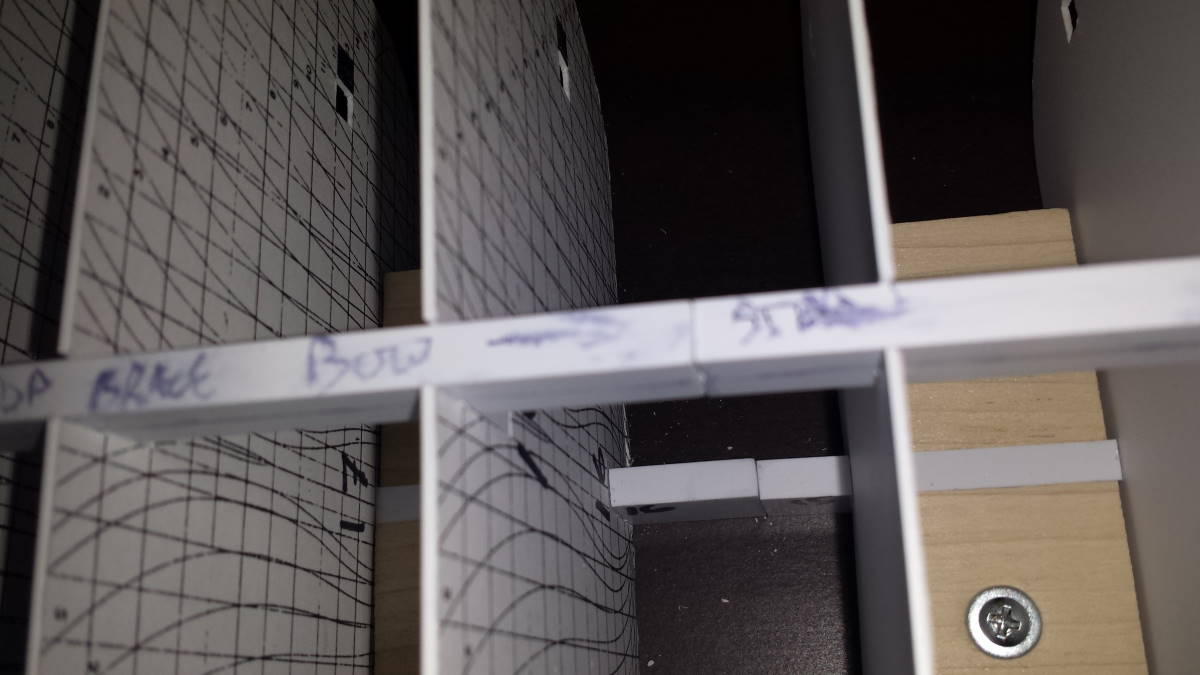
So the next step is to start running the stringers: I started mid hull:
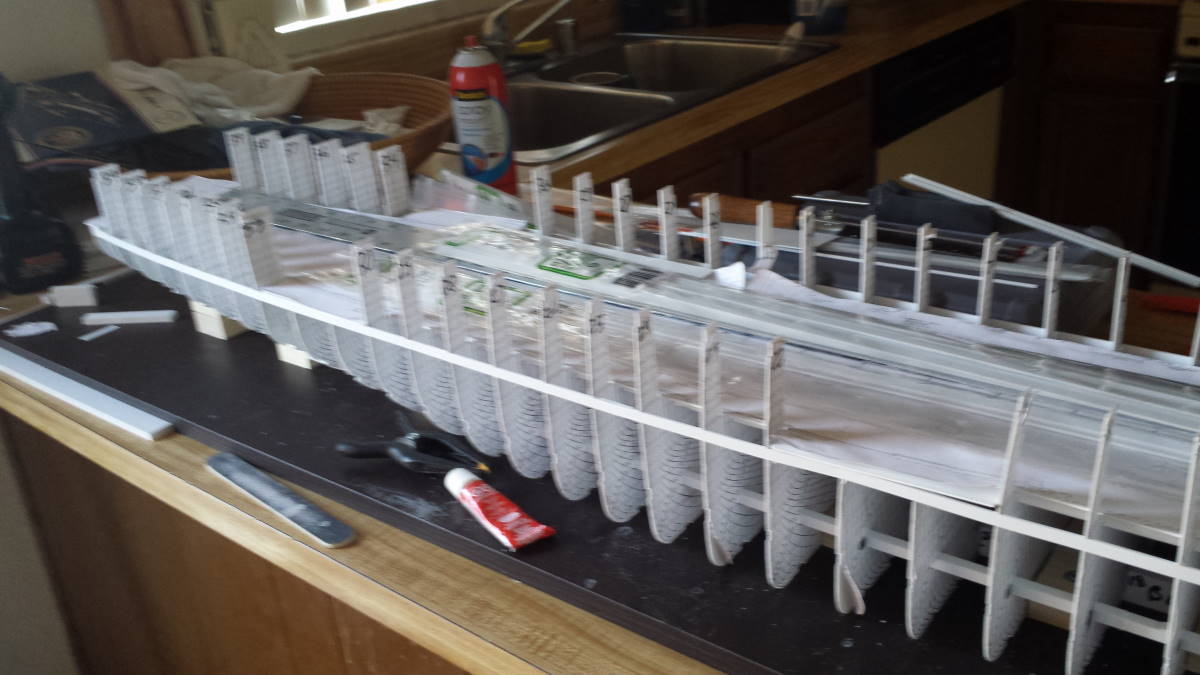
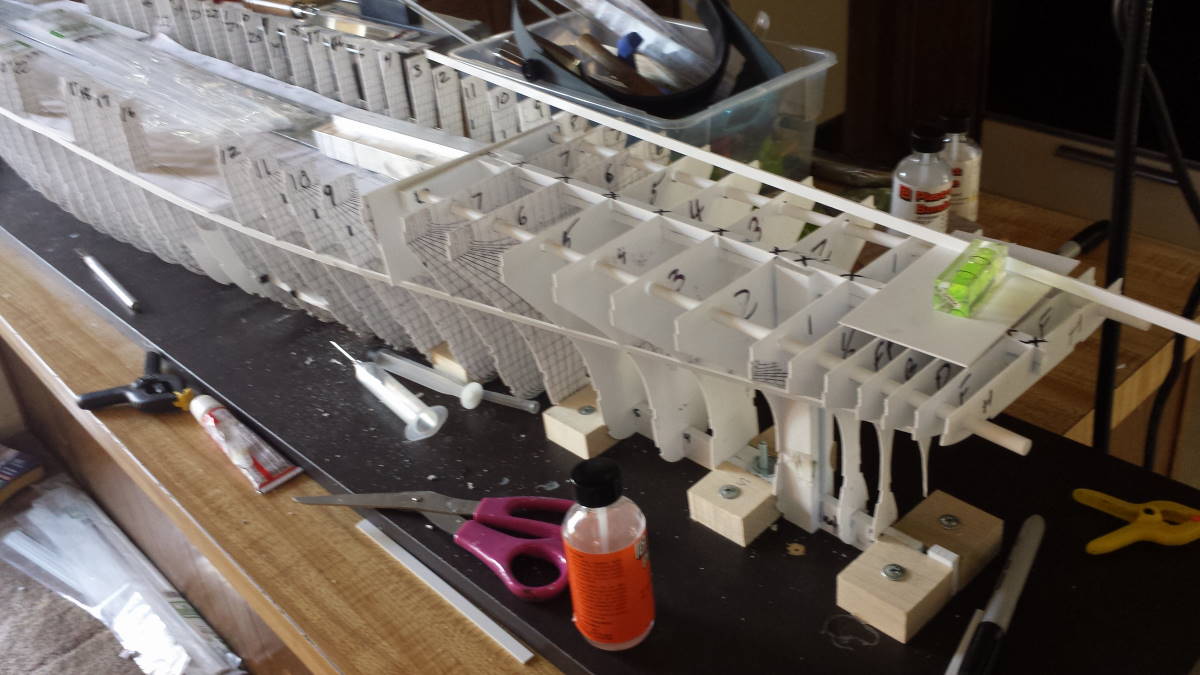
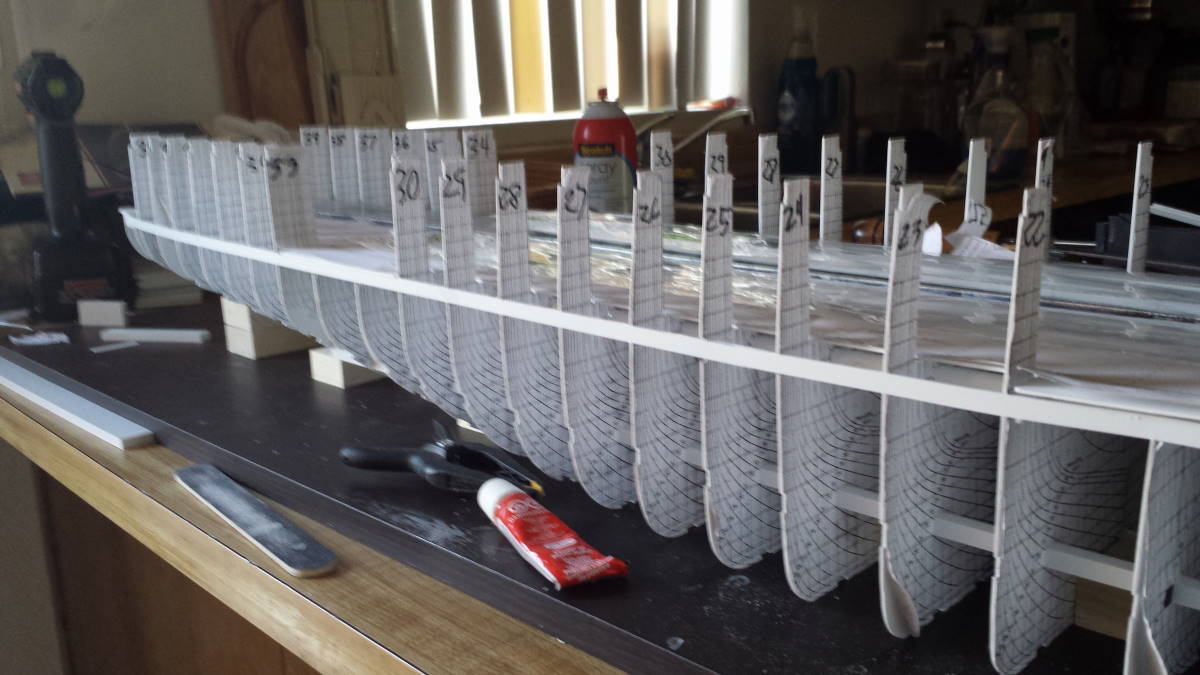
Next I did the port side to keep them equal:
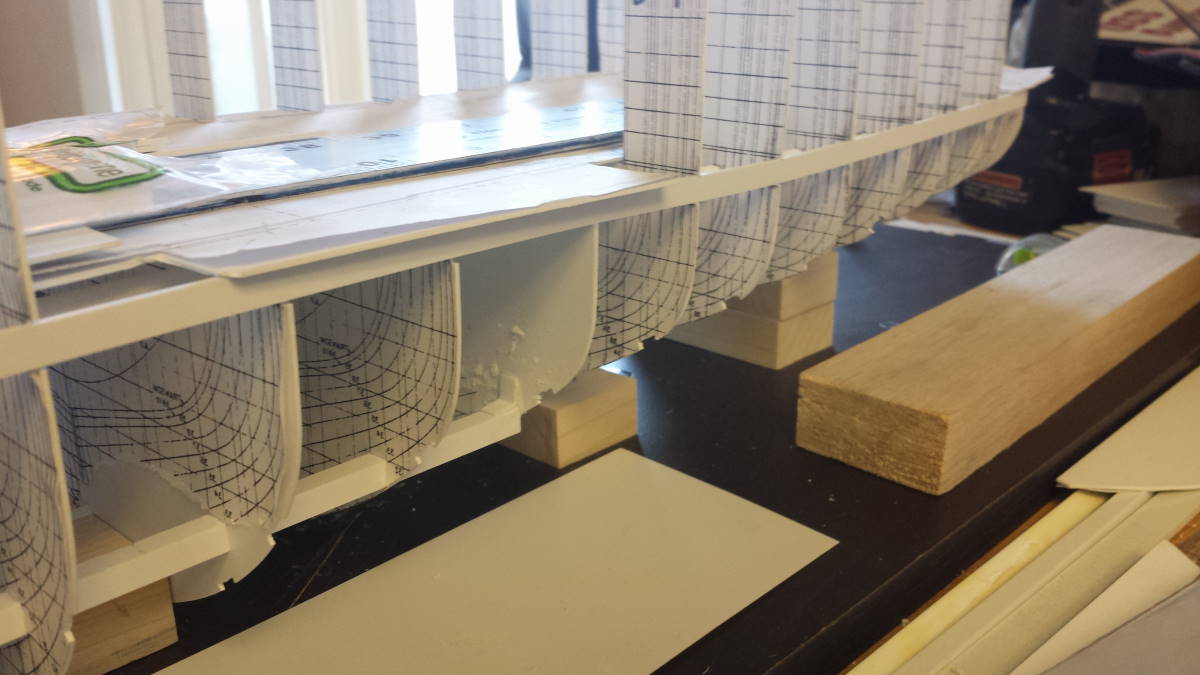
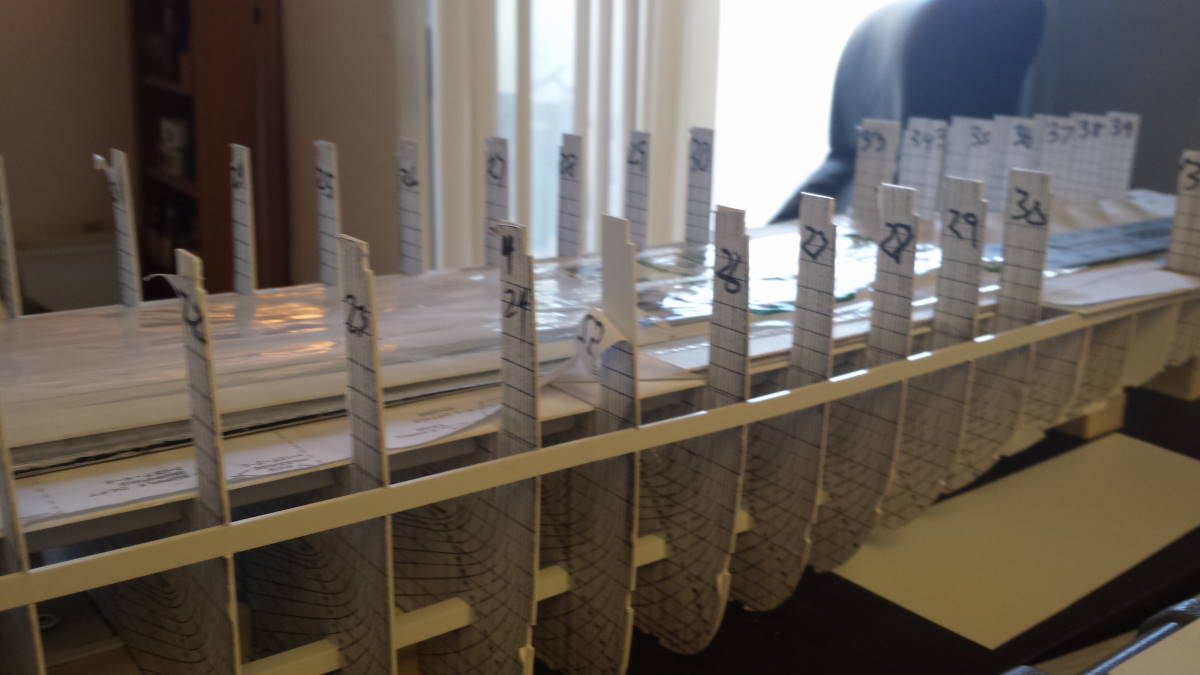
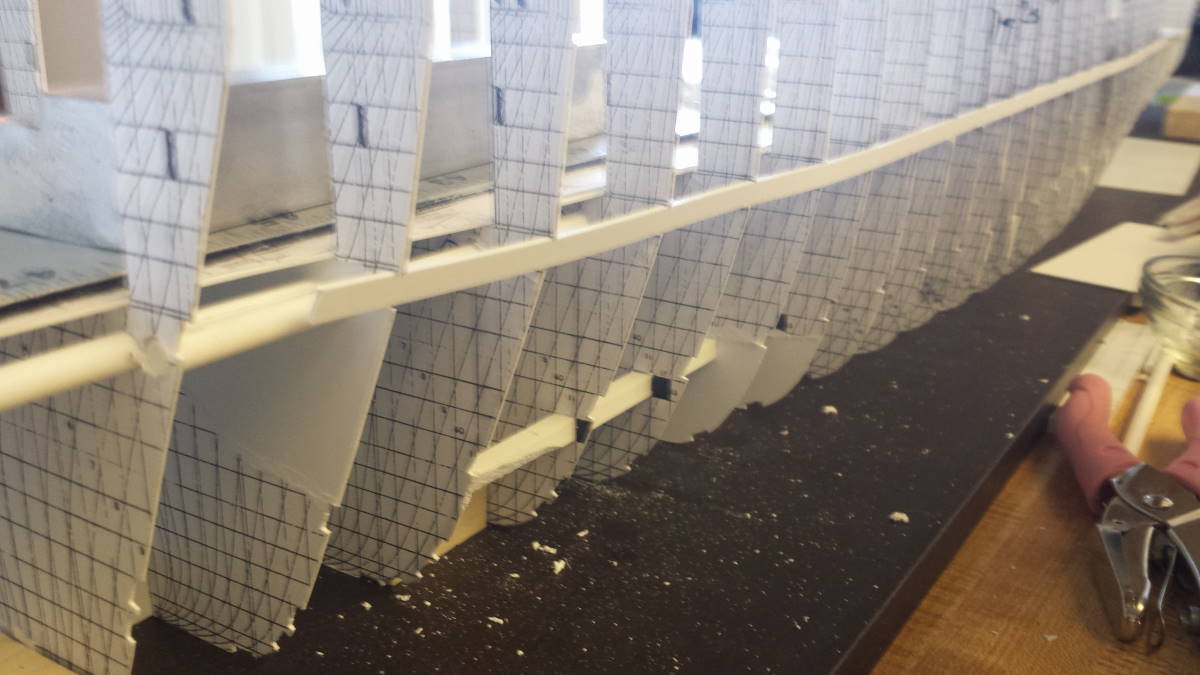
Now the lower one:
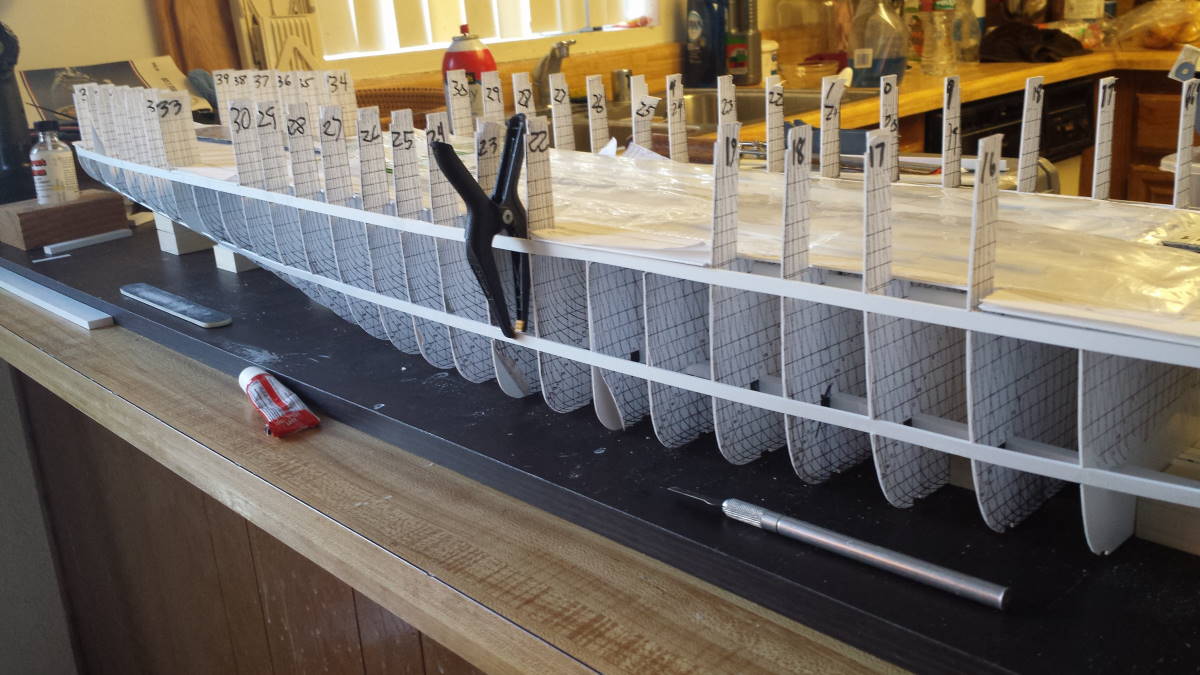
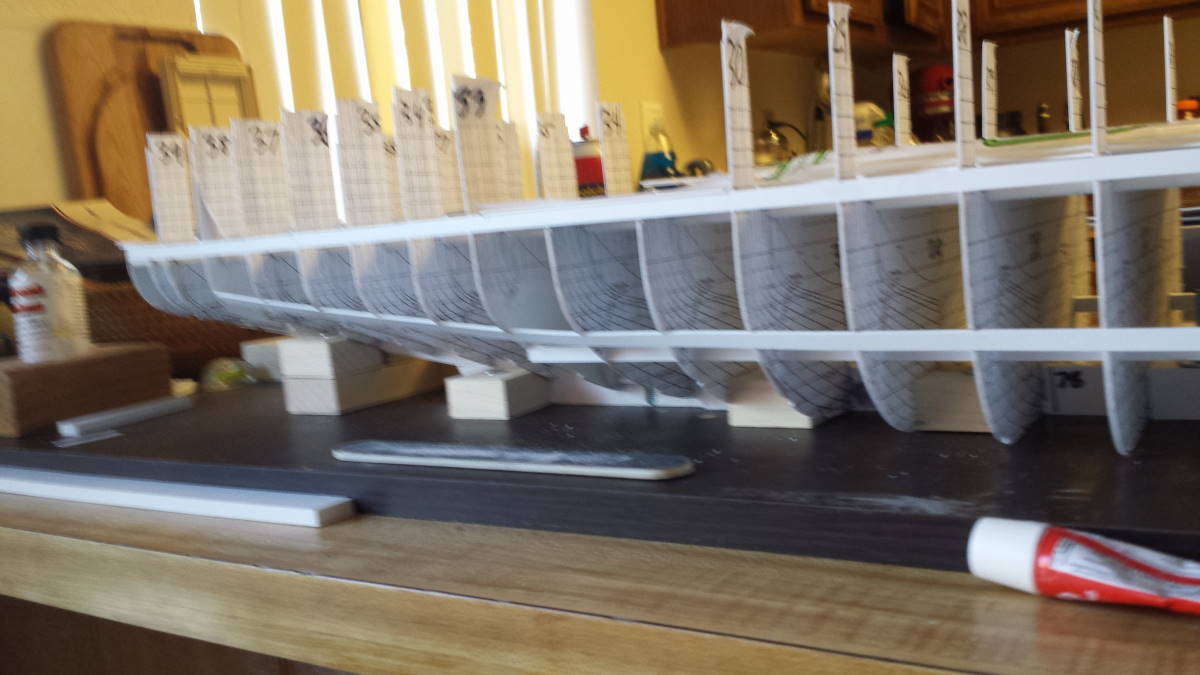
And the upper one:
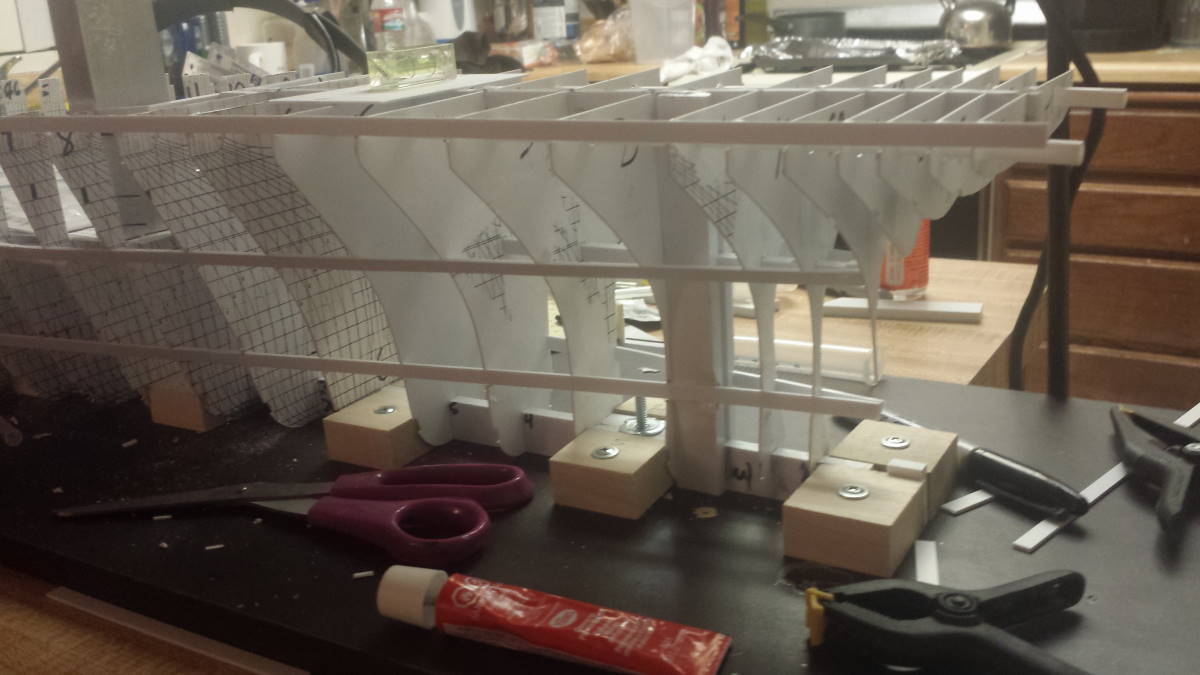
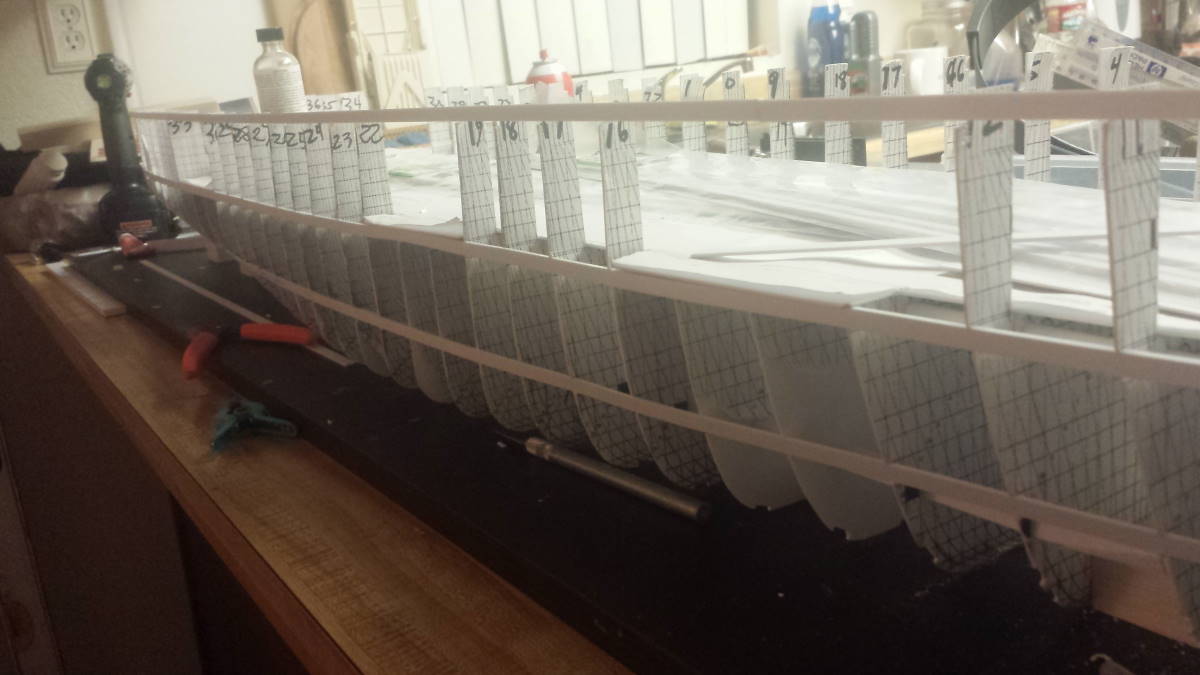
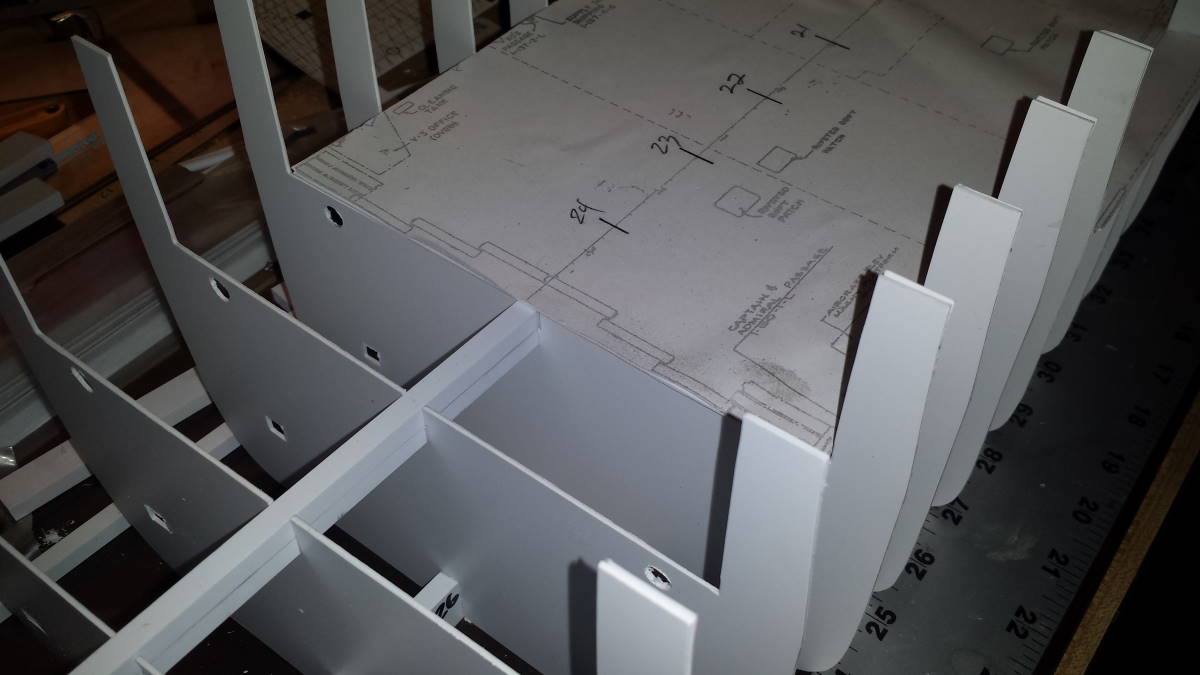
I don't know if you can see them, but I "gusseted" the hanger bay frames with 1/4" cut pieces of 1/4" x 1/4" angle stock, so each frame is very well secured at the top. I'll take a better pic of them, but you get the idea.
At this point all of the topside stringers were in place and the big moment came, to cut it loose of the hold downs and see how rigid this thing actually was! Also, I was hoping that I didn't glue it down to the board anywhere. The mounting board I am using seems pretty impervious to the Bondene cement that I am using by Plastruct, but it does melt the :censored_2: out of the styrene. So I unscrewed all of the jig blocks, starting at the bow, and a few of them did get stuck to the keel, but they were fairly easy to cut loose. I just used a chisel blade #17 Xacto blade and small hammer and they came right off!
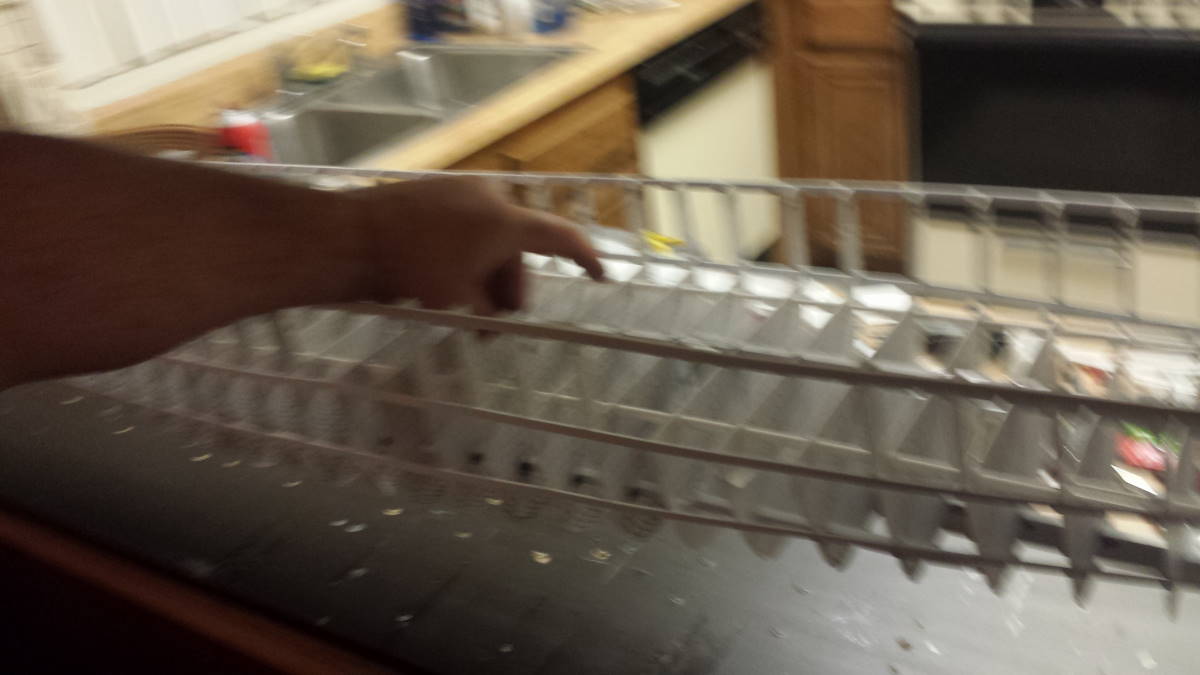
So here is a blurry picture of me holding it at the center point in the hanger bay by the top spar, and there is zero sag:
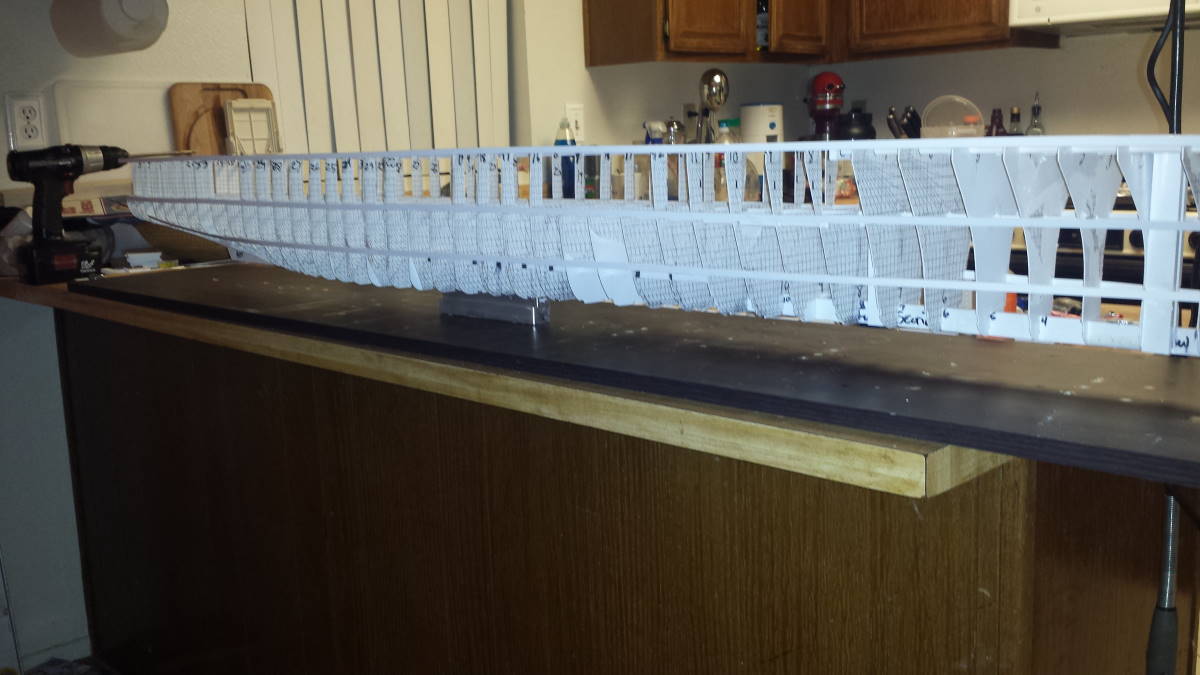
Here she is sitting on just the milled tool and showing there is no sag or warping:
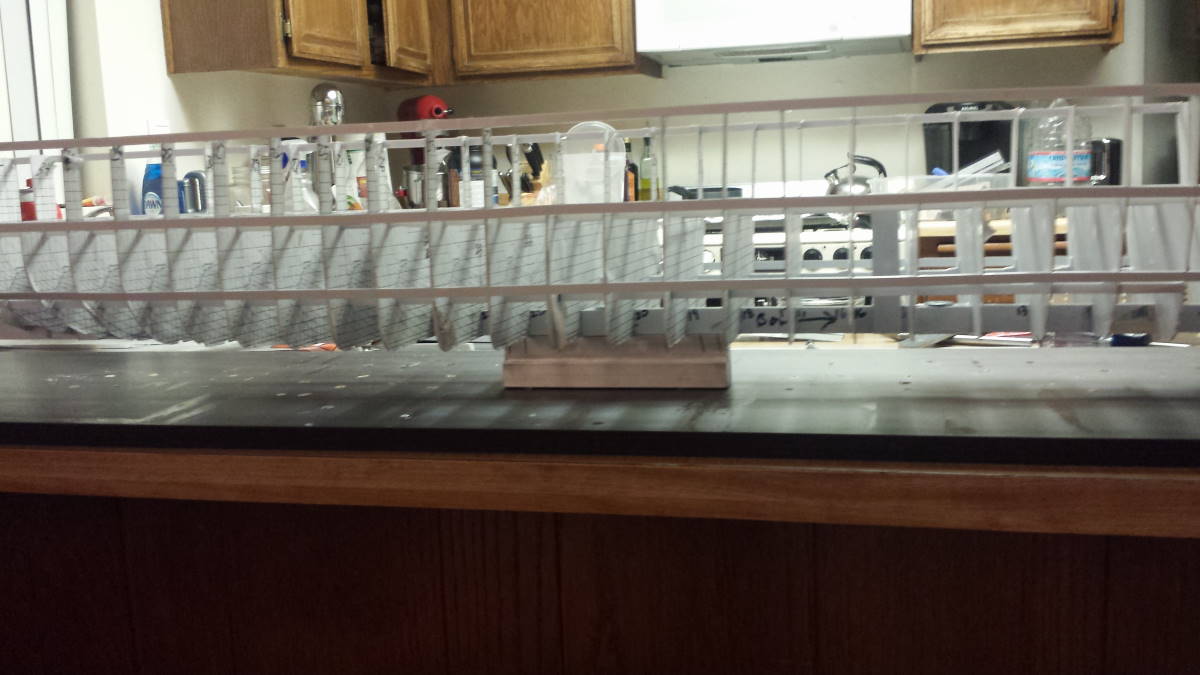
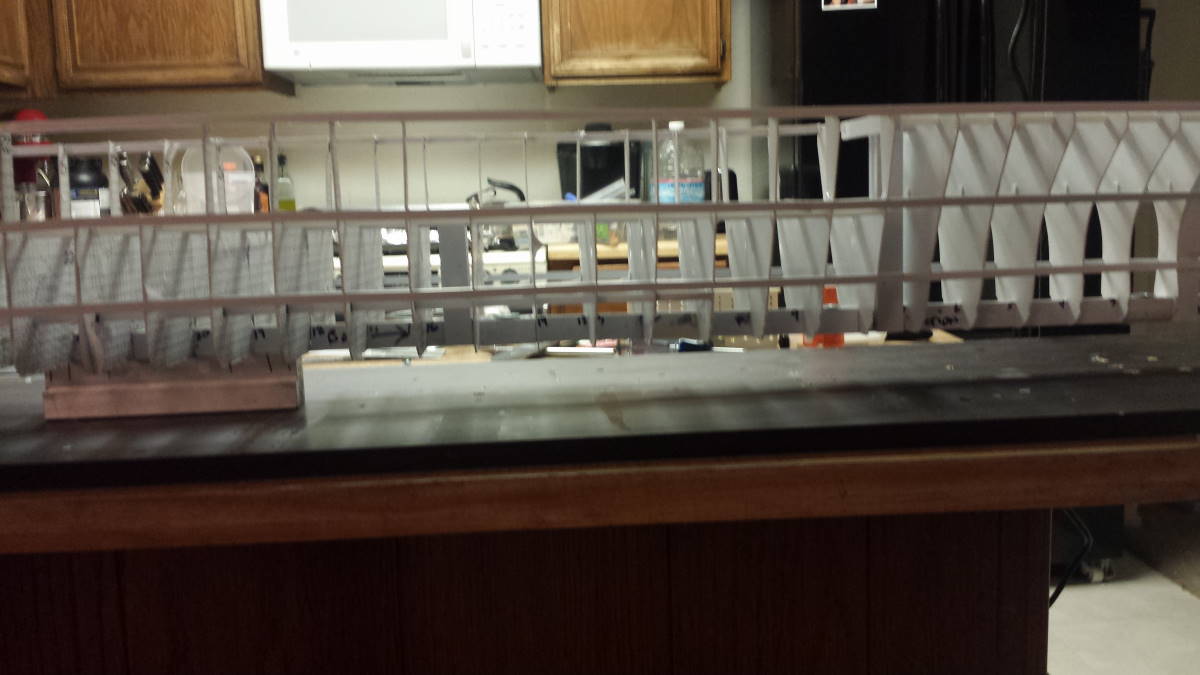
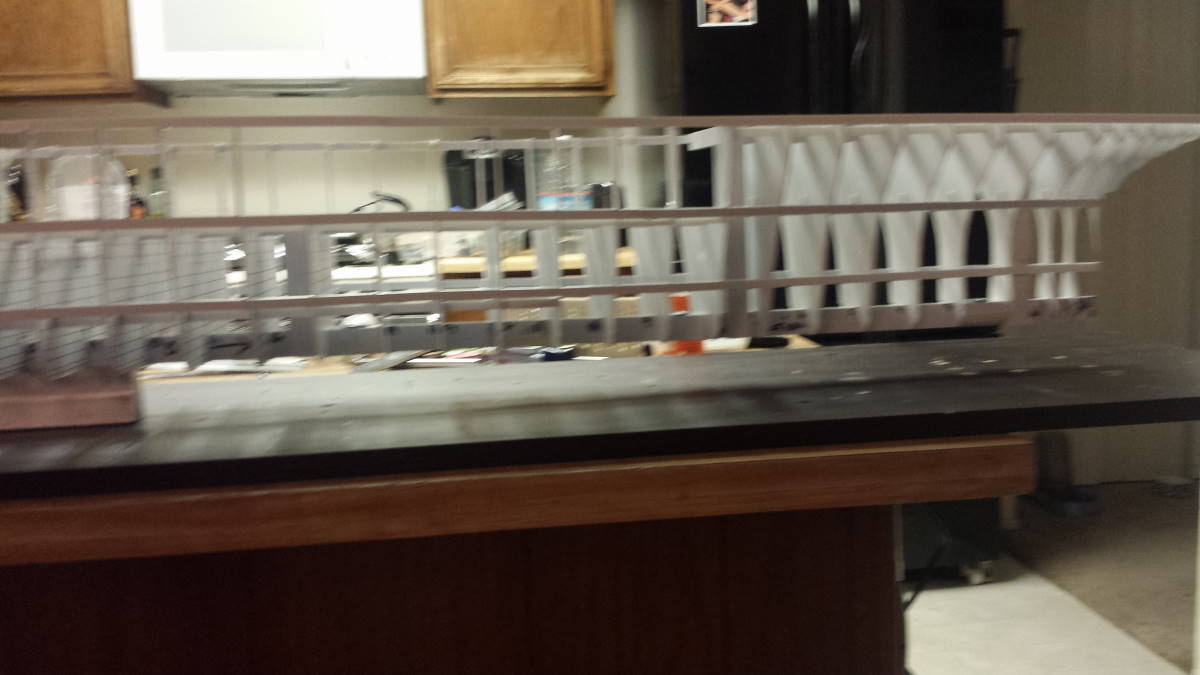
Next, I flipped her over and started running the bottom two stringrers:
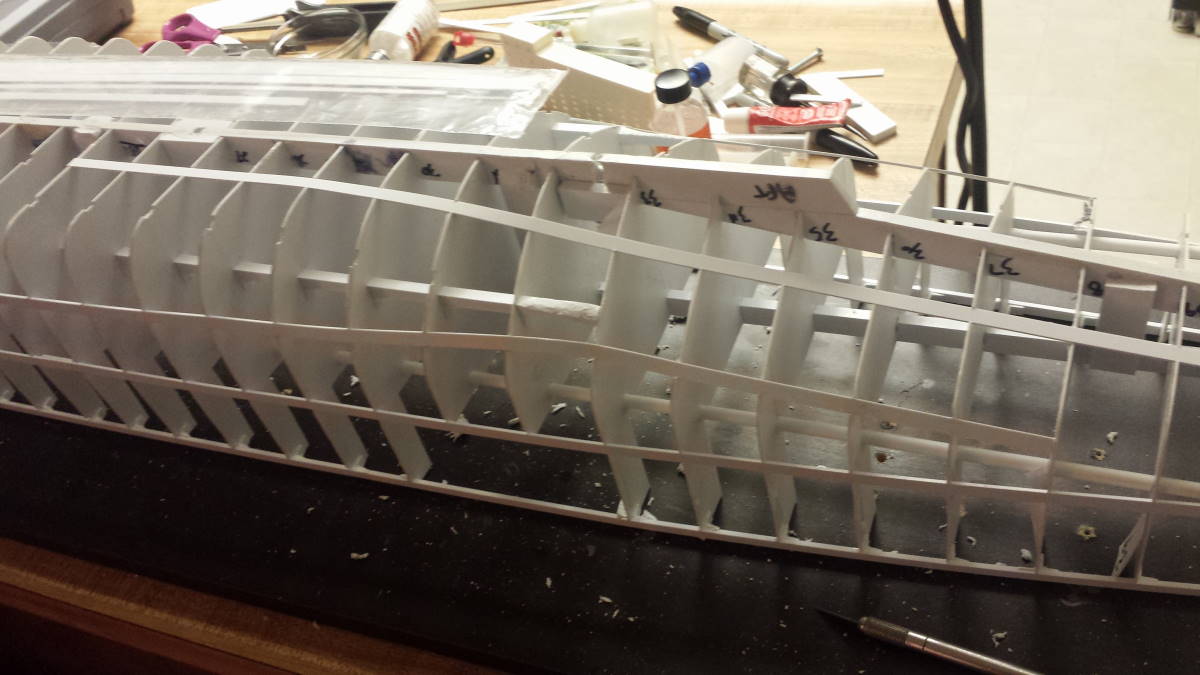
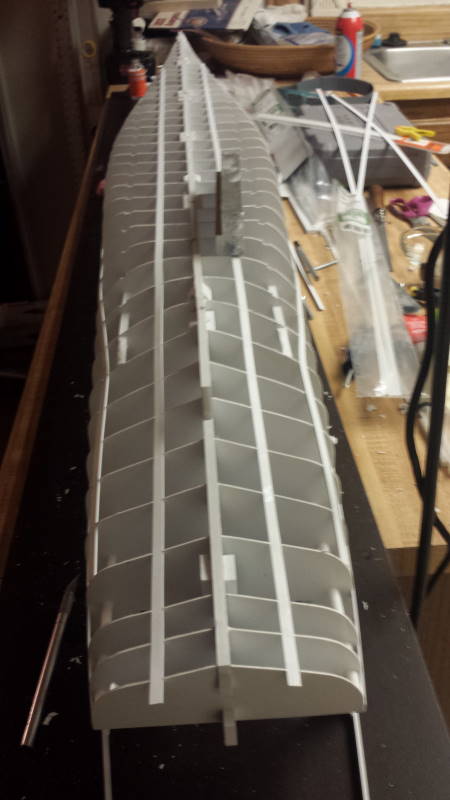
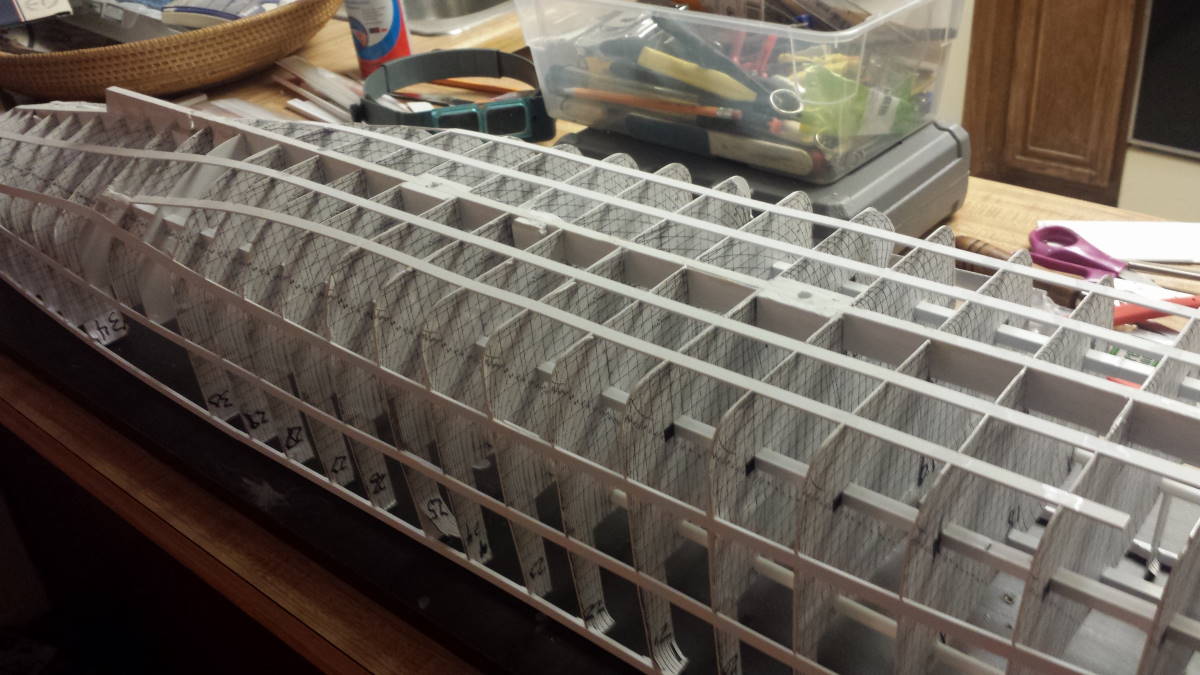
Again, picking her up by the keel and she is solid:
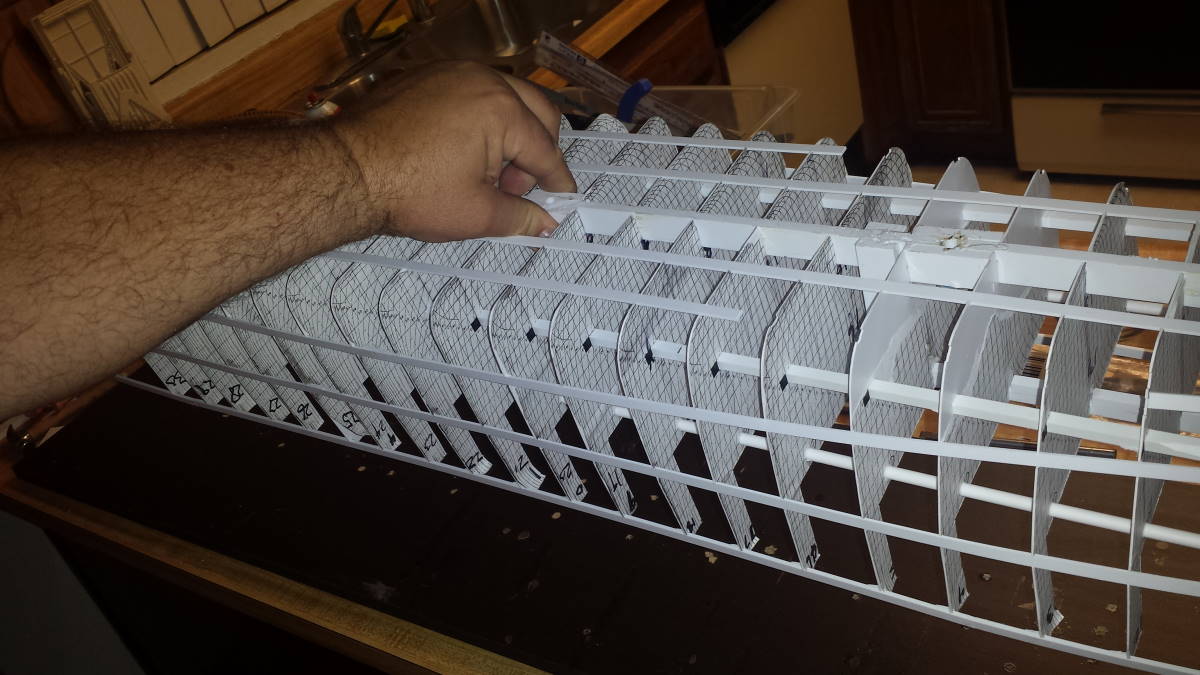
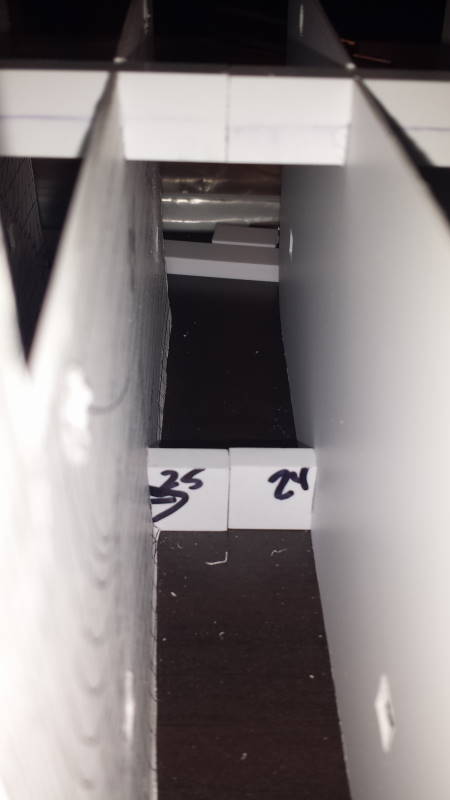
I made 6 mounting points, but only 4 or 5 will be screwed down and one or two will be feeds for power and/or controls. I may do it a slightly different way and drill a couple of extra holes, but I will deermine that after I sheet the hull, but before the hanger bay goes down. This week I will be gluing in 1/4" angle stock for gluing the hanger bay down for increased surface contact. Especially at frame 25 where the two hanger bay sections meet.
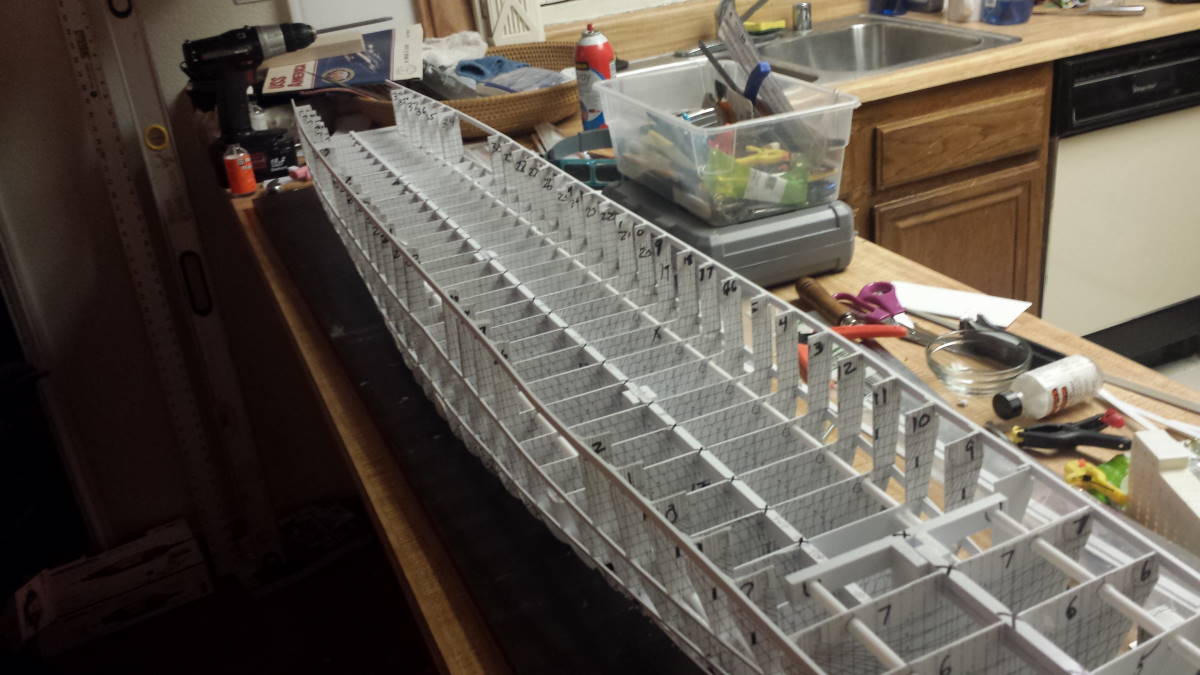
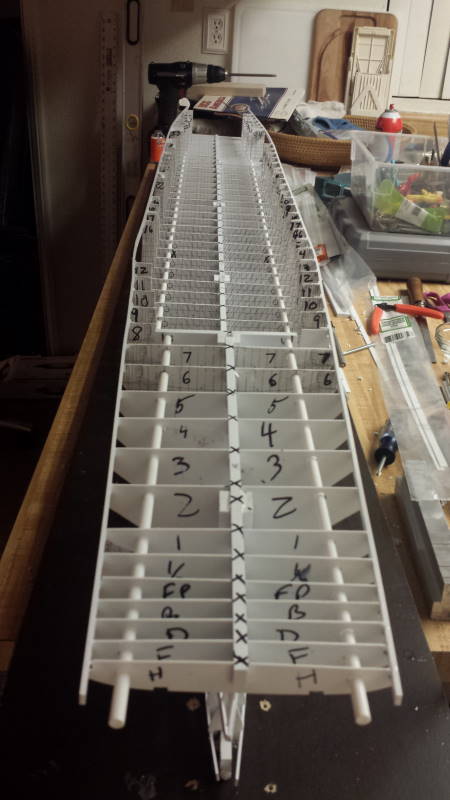
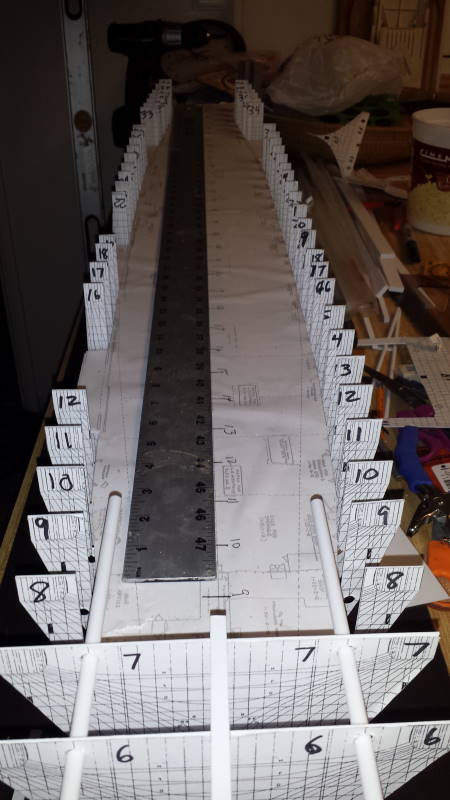
Here she is all glued and tight and with the straight edge down the top spar, and you can see it is arrow straight:
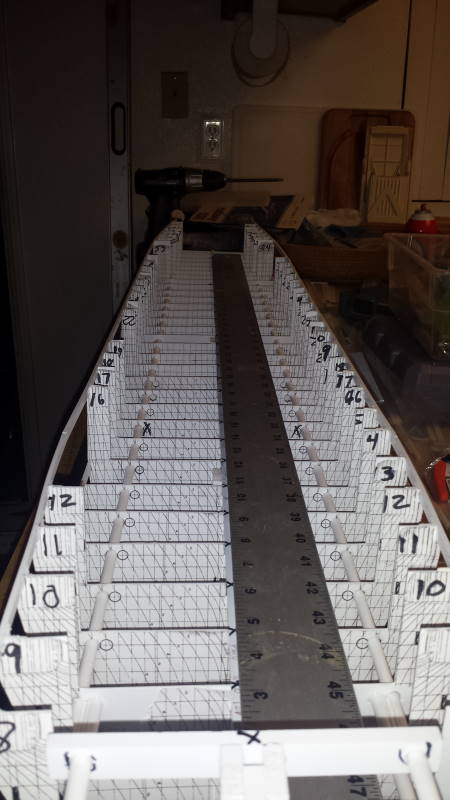
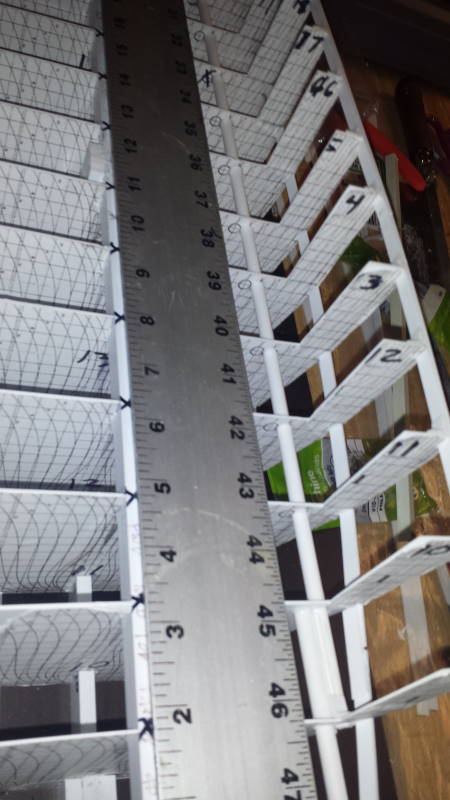
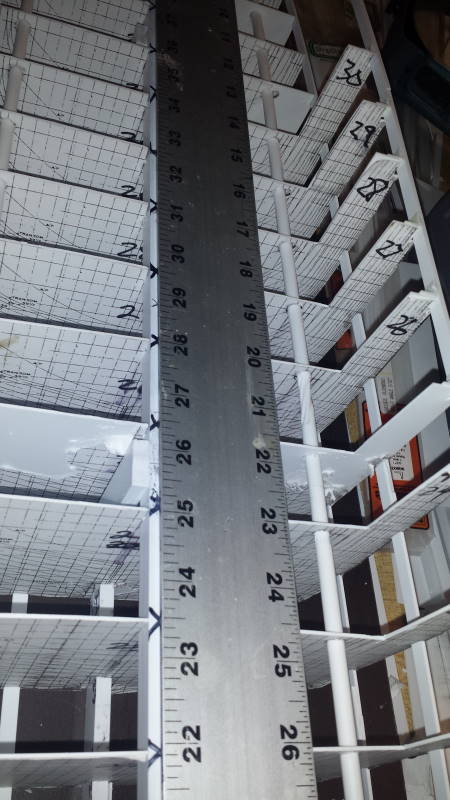
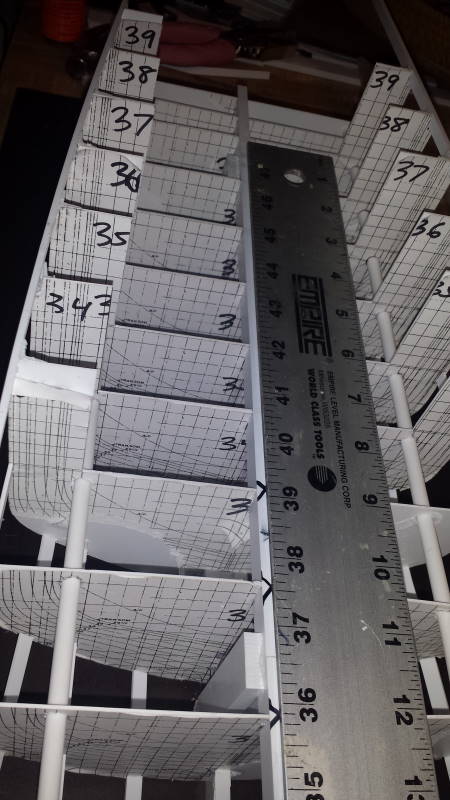
As she sits today ready for sheeting:
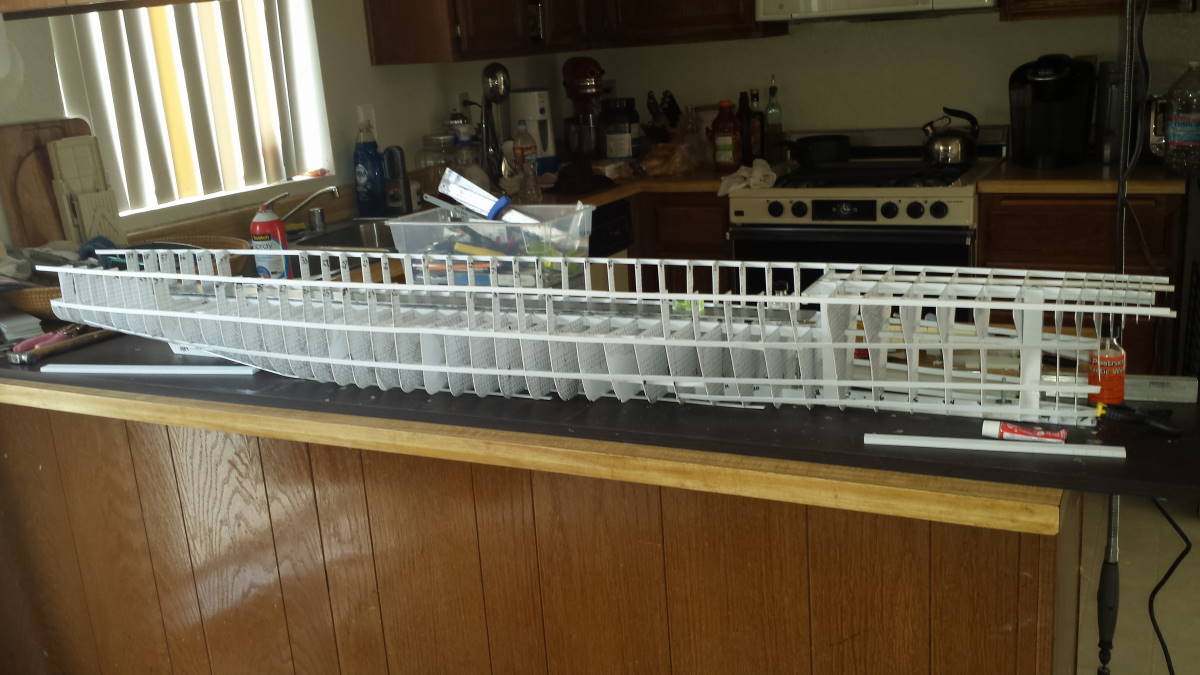
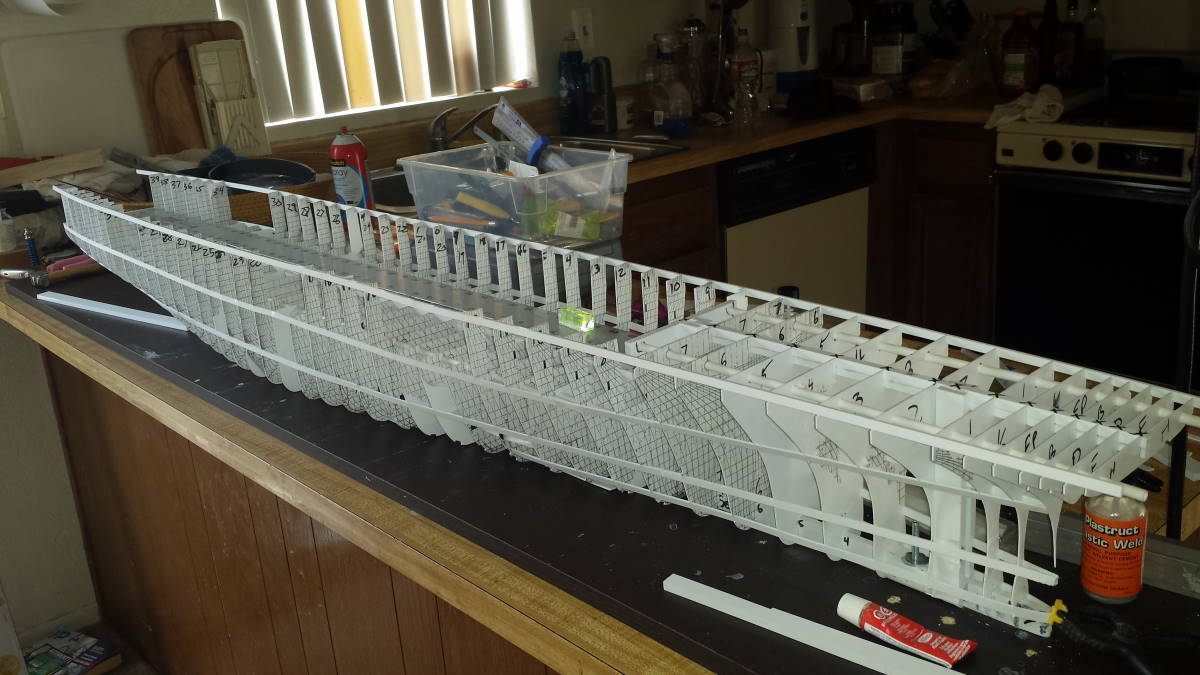
Hope you enjoyed the pics and my work.
My plans for doing the sponsons and the overhangs are this: I ordered a bunch of sheets of 1/2" thick balsa 36" long and I will glue down the copies of the plans I had made. I have a 'plan' view for each of the decks from the second deck down to the 04 level and it clearly marks the width and shape of each sponson at the top of that deck and the bottom, so I know the slope. I will use the band saw and cut each deck out along with alignment marks that I will pre-mark like I did with the frames, then glue the stack together and then shape the outer curves with a spokeshave. I'm pretty good at carving, so this should work. Once I have the shapes done, i will cover with .010" or .020" sheet styrene. I will most likely heat the sheet and sorta vac bag it.
That's it for now, thanks for looking!