To HMS Victory and beyond

Moderators: BB62vet, MartinJQuinn, JIM BAUMANN, Jon, Dan K

User avatar
dafi
Posts: 1005
Joined: Mon Mar 12, 2012 11:13 am
Location: Ludwigsburg/Germany
Contact:

Re: To HMS Victory and beyond

Post by dafi »

Thank you all for the comments and clicks!

And the next adventuere started on MSW with some pictures of the official start of exchanging the copper on the Constitution.

Image

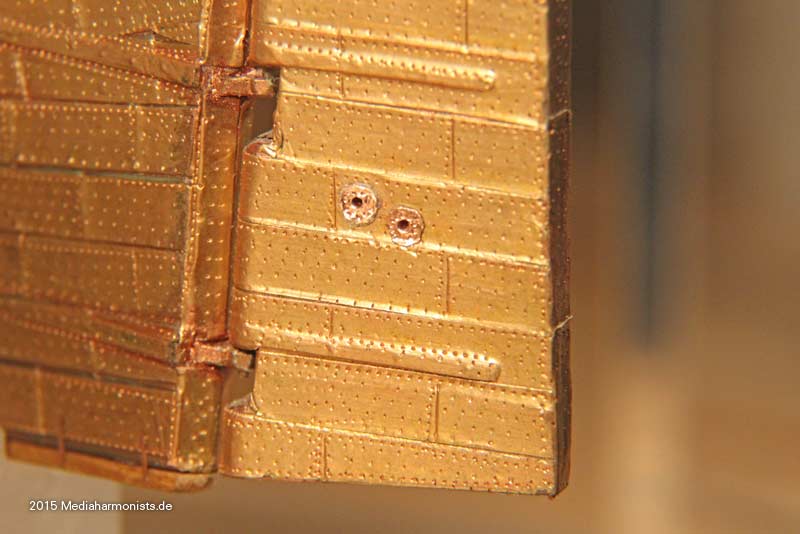
Great picture I thought, and interesting the damages on the left top of the picture. But then I saw the same thing on other photos and realised them being too even.

Image

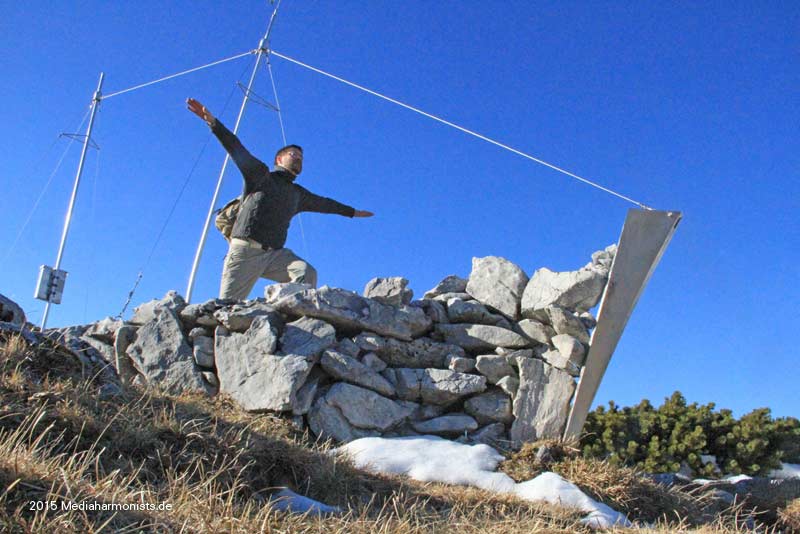
And on top of it symmetrical to the other side ...

Image

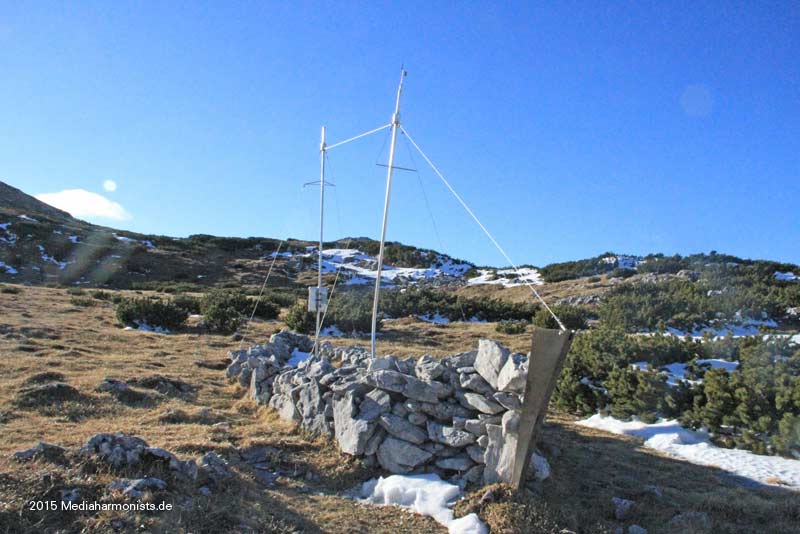
... time to have a closer look.

Image

So then developed a treasure hunt over several forums, many helping and each revealing some new hints.

The more qualified opinions went soon direction of a rudder lift, in case the rudder has to be put back into it�s hinges. Chapman gave the hint, that those holes was also mentioned in the 1930�s plans, with 2" diameter and inside lead. So must must have served a purpose.

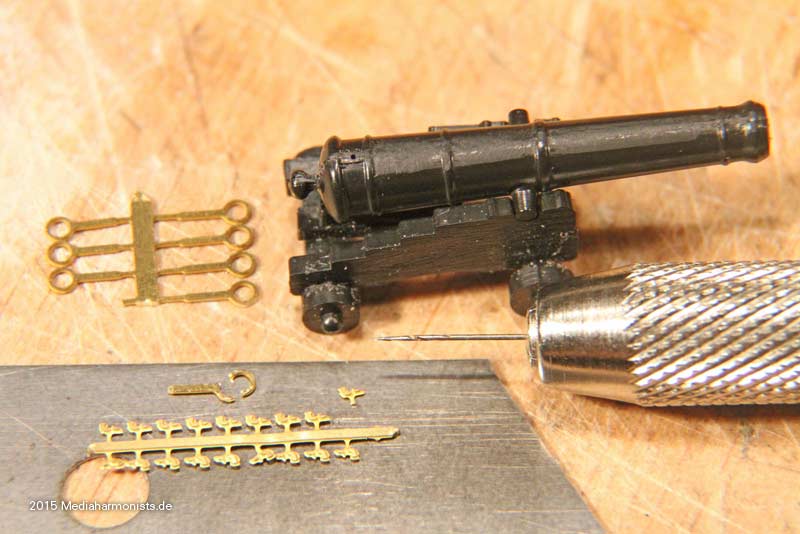
By that time I found holes like these on plenty of rudders. Then appeared drawings from Nares and MSW that showed emergency rudders with the use of those hole. In my german forum I got a link to a picture of the rudder of St. George in Thorsminde showing the same holes and I was done: Time to drill two small holes :-)

Image

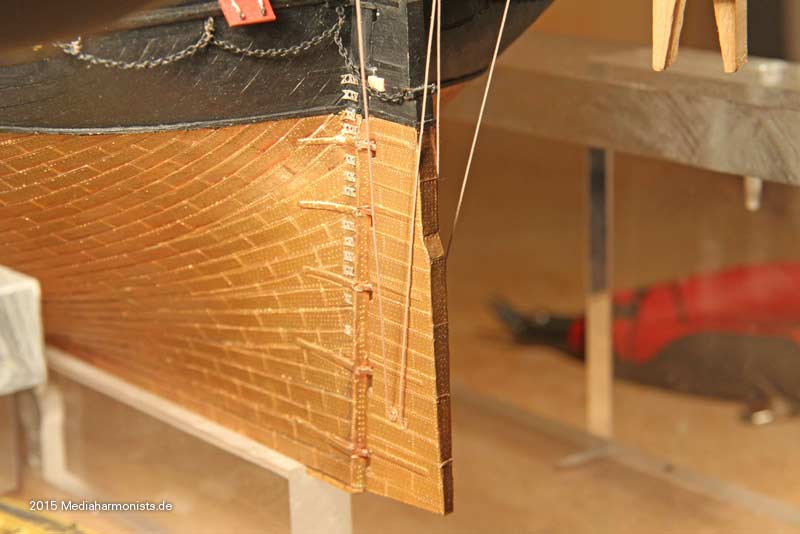
And here the tackles that were used according to Nares and MSW: The aft ones served to lift the rudder and the fore ones to juggle the pins into the hinges. Once done, the rope was easily to be retrieved.
Image

So the mystery about the holes is getting clearer, I will take the tackles down soon as they were only used to reship the rudder :-)

Cheers, Daniel
To Victory and beyond ...
viewtopic.php?f=59&t=99050&start=60

See also our german forum for the age of Sail and History:
http://www.segelschiffsmodellbau.com
User avatar
dafi
Posts: 1005
Joined: Mon Mar 12, 2012 11:13 am
Location: Ludwigsburg/Germany
Contact:

Re: To HMS Victory and beyond

Post by dafi »

Today is Trafalgar day, just a moment to remember. I wrote a small essay for the german magazine Modellmarine, her is the google translation of it.

https://translate.googleusercontent.com ... pjutt1uK5Q

Cheers, Daniel
To Victory and beyond ...
viewtopic.php?f=59&t=99050&start=60

See also our german forum for the age of Sail and History:
http://www.segelschiffsmodellbau.com
User avatar
dafi
Posts: 1005
Joined: Mon Mar 12, 2012 11:13 am
Location: Ludwigsburg/Germany
Contact:

Re: To HMS Victory and beyond

Post by dafi »

A lifesign!

And a big X-Mess-Greeting from dafi with a small quizz:

Where was I at yesterdays X-Mess-Walkies? Think in german, even if it is hard :-)

Image

XXXTHEdafi
To Victory and beyond ...
viewtopic.php?f=59&t=99050&start=60

See also our german forum for the age of Sail and History:
http://www.segelschiffsmodellbau.com
User avatar
dafi
Posts: 1005
Joined: Mon Mar 12, 2012 11:13 am
Location: Ludwigsburg/Germany
Contact:

Re: To HMS Victory and beyond

Post by dafi »

dafi + drink +stone =SMS Trinkstein, the infamous stone frigate :-)
(drink + stone = trinkstein)

My heart will go on!
http://modelshipworld.com/index.php/top ... ntry374670

Just see and feel the spume:-)

Image

It looks like the old girl got battered a bit by the harsh elements up there :-)
Just look at the foremast!

Image

Cheers and all the best, Daniel
To Victory and beyond ...
viewtopic.php?f=59&t=99050&start=60

See also our german forum for the age of Sail and History:
http://www.segelschiffsmodellbau.com
User avatar
JIM BAUMANN
Posts: 5689
Joined: Mon Jan 10, 2005 5:30 pm
Location: Nr Southampton England

Re: To HMS Victory and beyond

Post by JIM BAUMANN »

madness and creativety go hand in hand in the same body and mind...

remarkable !

:thumbs_up_1: :wave_1:
....I buy them at three times the speed I build 'em.... will I live long enough to empty my stash...?
http://www.modelshipgallery.com/gallery ... index.html

IPMS UK SIG (special interest group) www.finewaterline.com
User avatar
dafi
Posts: 1005
Joined: Mon Mar 12, 2012 11:13 am
Location: Ludwigsburg/Germany
Contact:

Re: To HMS Victory and beyond

Post by dafi »

Thank you Jim!

Here more about madness. :censored_2: happens - when I wanted to order more etch in summer, I realised having lost the original film pockets.

...

Big :censored_2:!

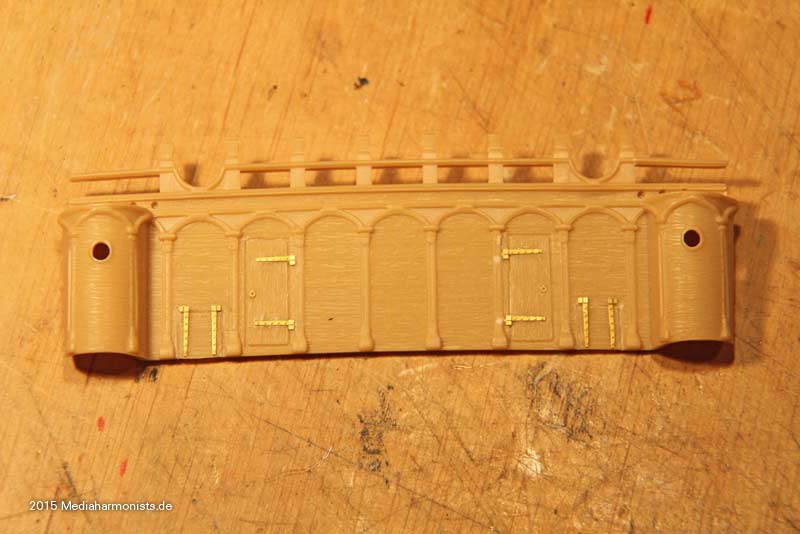
But as one says, make an opportunity out of it I used the chance to rearrange some parts from one plate to another as it made more sense an to add one or two goodies. Nothing big, almost the same, but next it made me aware to update the instructions too. So I took a spare hull and went sticking all golden parts onto it :-)

Here are the first pictures of the basic version, the more elaborate work out will come on the other side after the holidays.

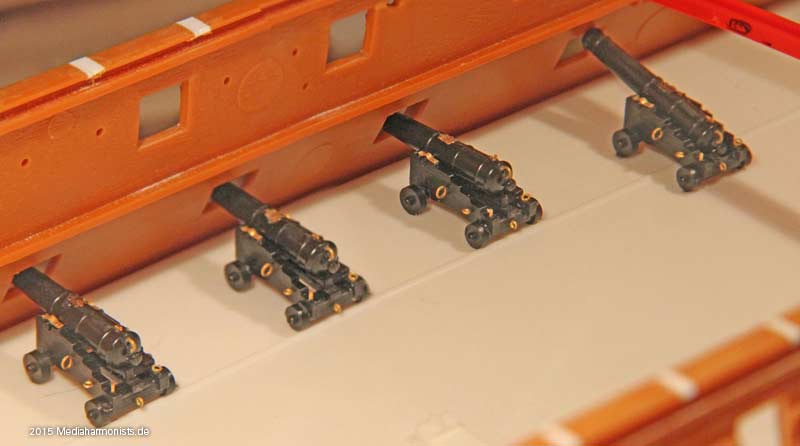
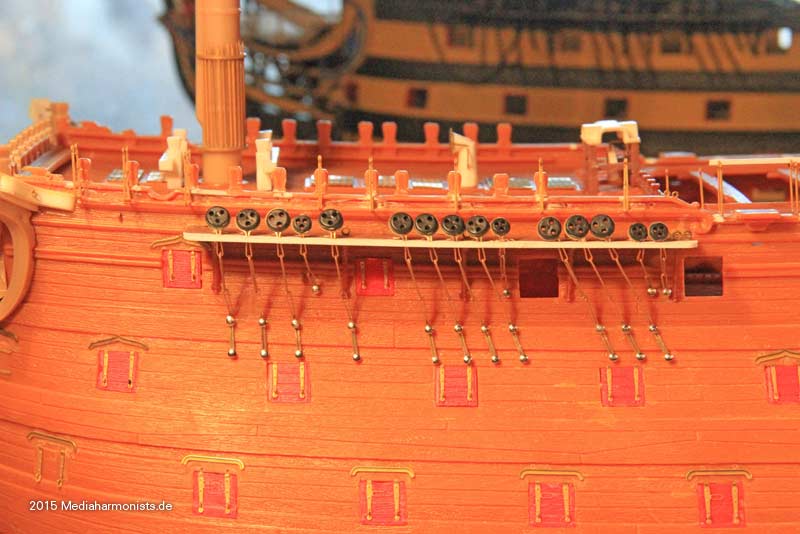
Best place to start? Big Boyz - Big Gunz!!!

Image

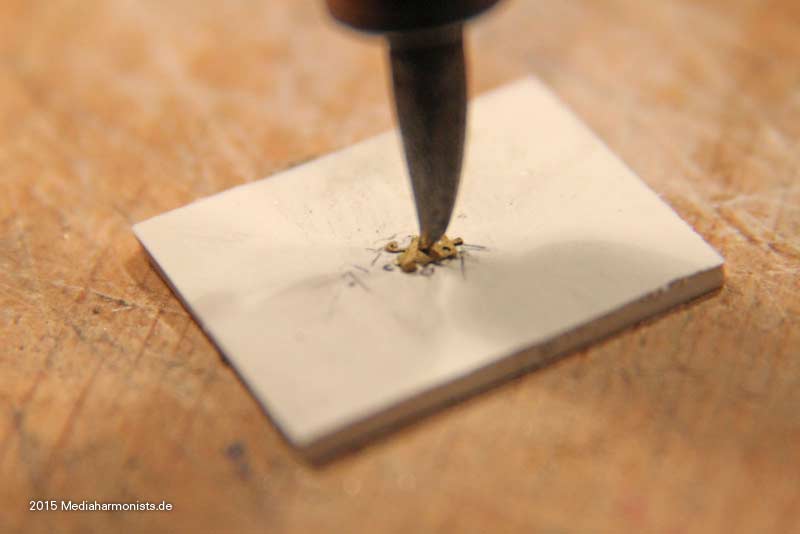
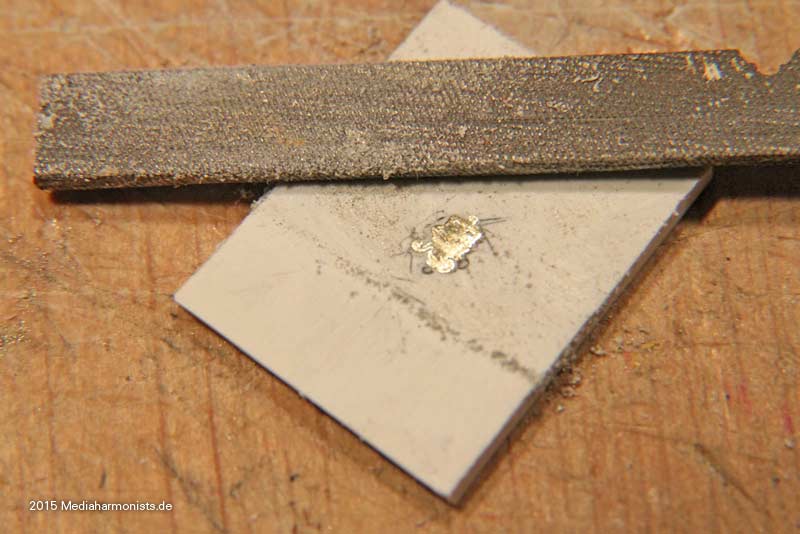
If the etch still are too thick, one can use a soldering iron ...

Image

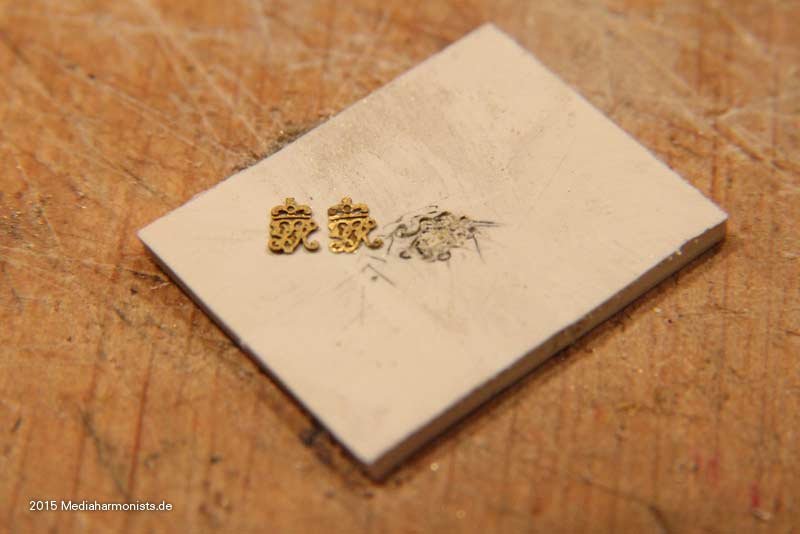
... and sink one specimen into some sheet to get a nice template for the rest ...

Image

... to file down the back from 0,2 mm thickness to something like 0,12 mm.

Image

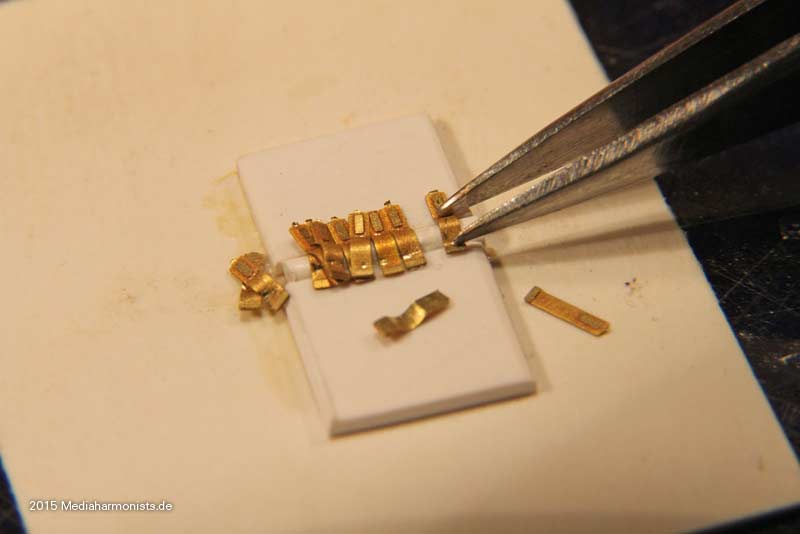
Then still adding the flaps ...

Image

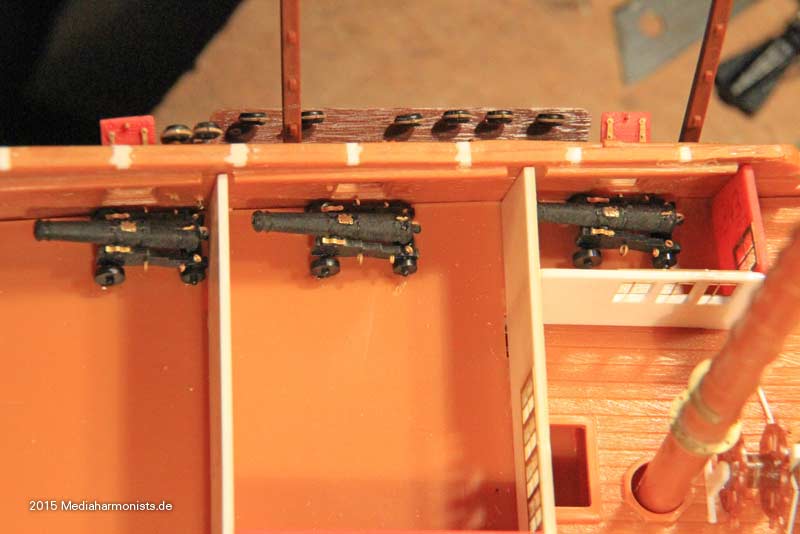
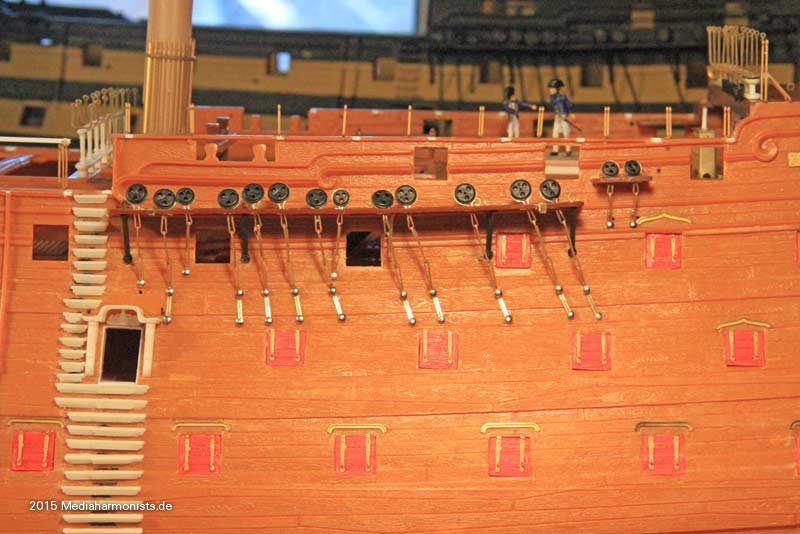
... and Big Gunz are in place ...

Image

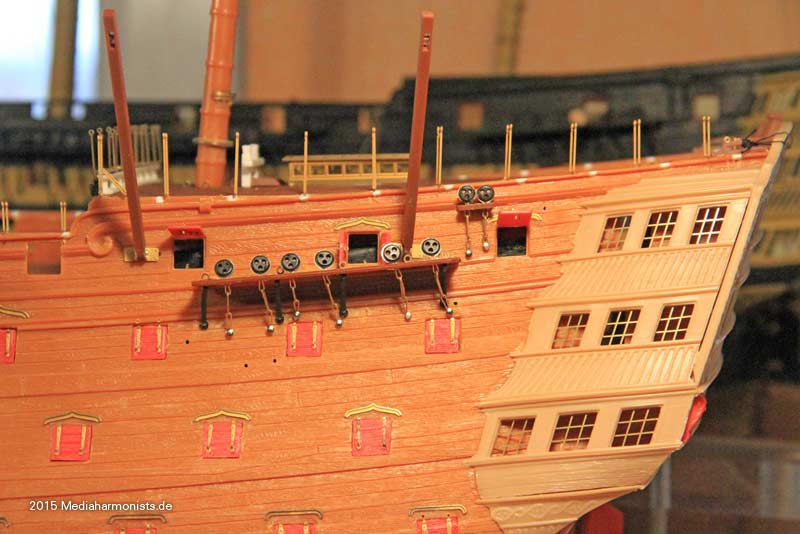
... and the smaller ones along the hull.

Image

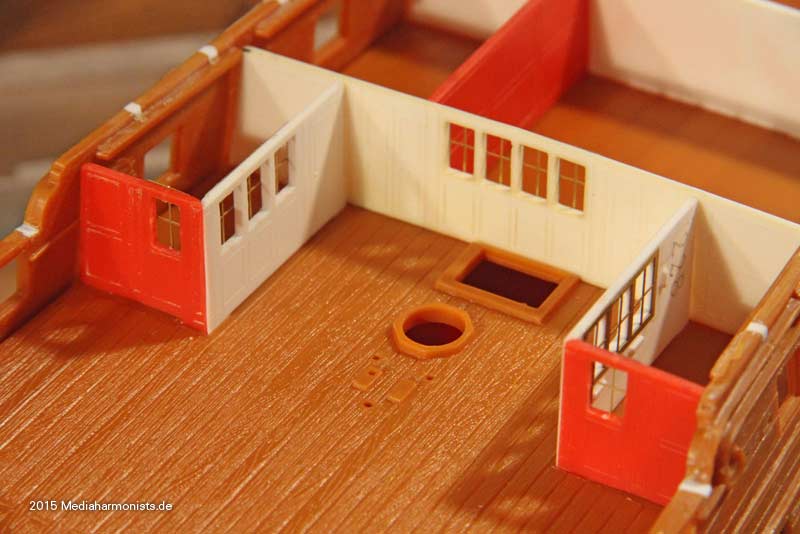
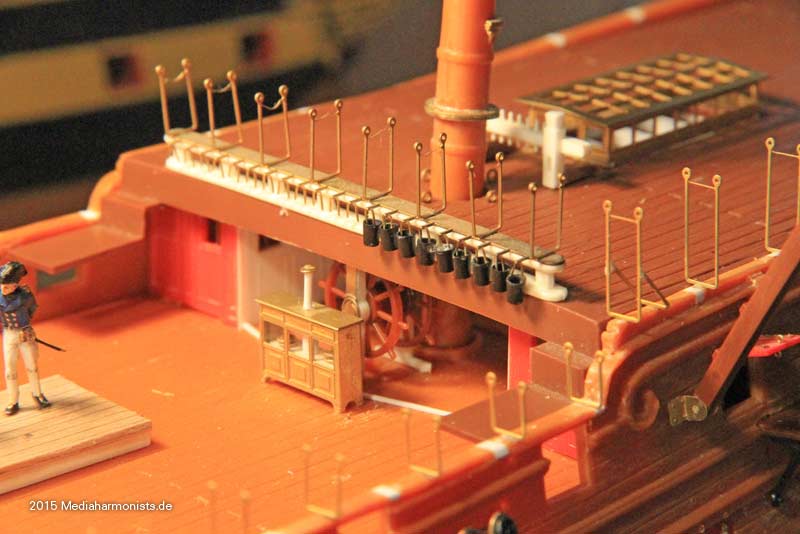
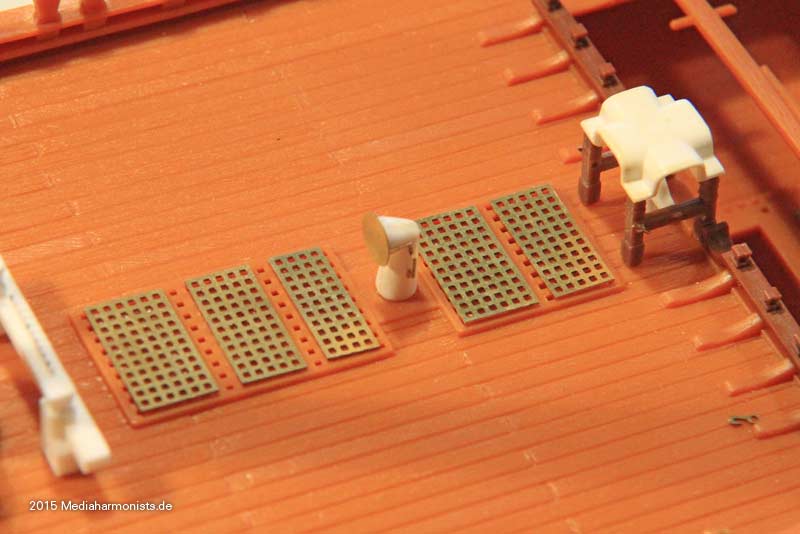
As we are already underneath the poop ...

Image

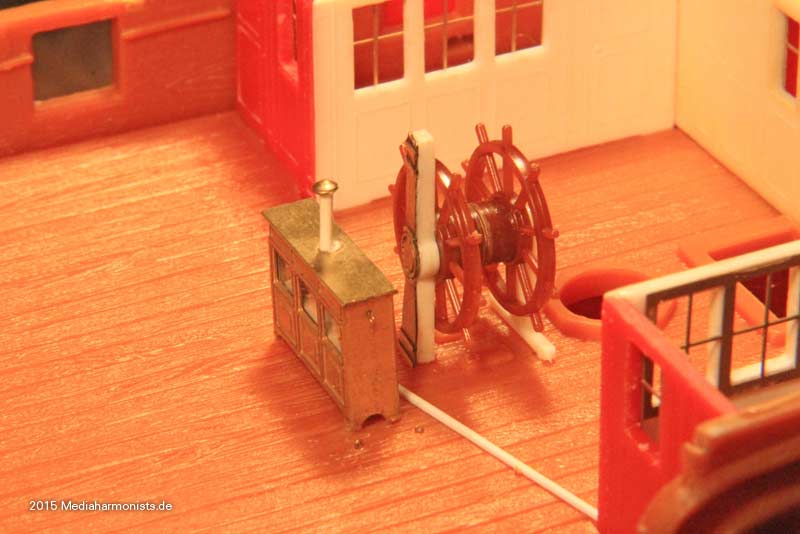
... we have wheel and binnacle ...

Image

... and a closed lid.

Image

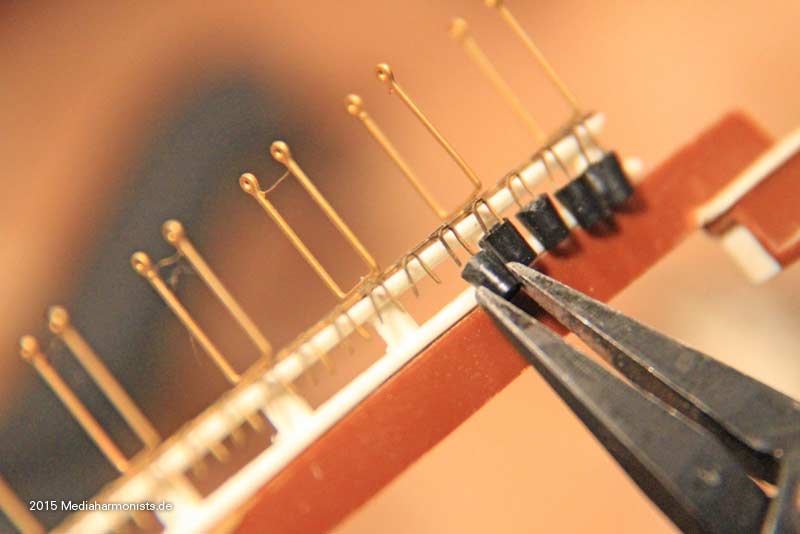
The handles for the buckets are already provided.

Image

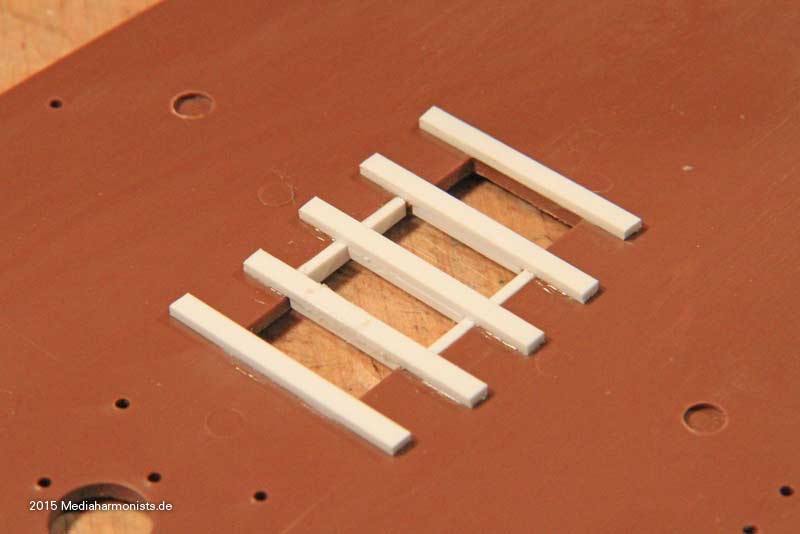
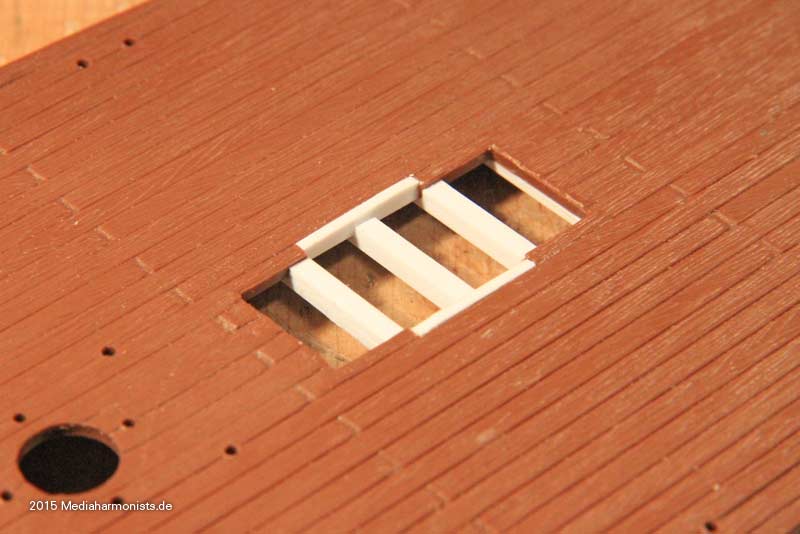
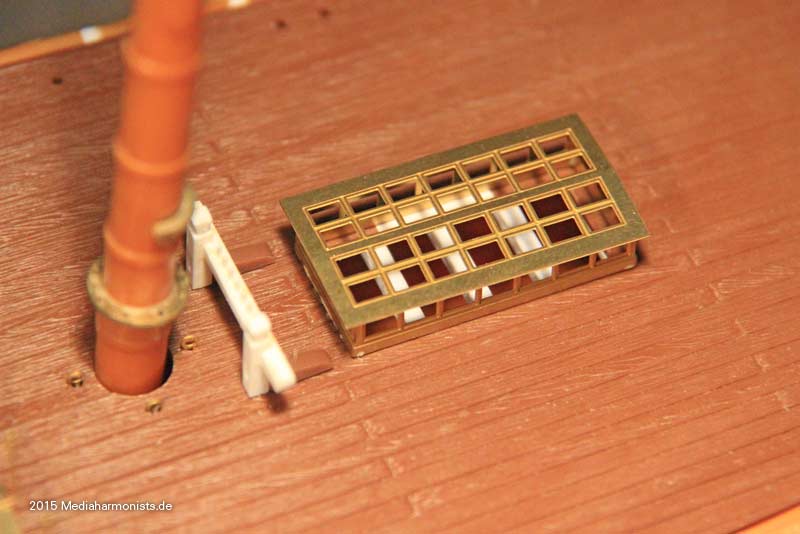
The highlight is of course the skylight. Just add the missing deck beams ...

Image

Image

... and place the light.

Image

Of course the skylight should be some 3 feet more aback, but this as skilled modeler always will be able to do :-)

XXXDAn
To Victory and beyond ...
viewtopic.php?f=59&t=99050&start=60

See also our german forum for the age of Sail and History:
http://www.segelschiffsmodellbau.com
User avatar
dafi
Posts: 1005
Joined: Mon Mar 12, 2012 11:13 am
Location: Ludwigsburg/Germany
Contact:

Re: To HMS Victory and beyond

Post by dafi »

And on we go :-)

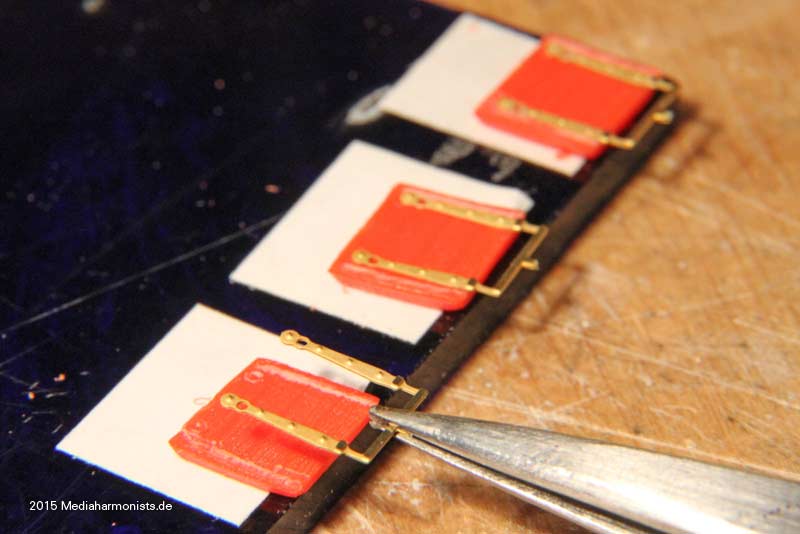
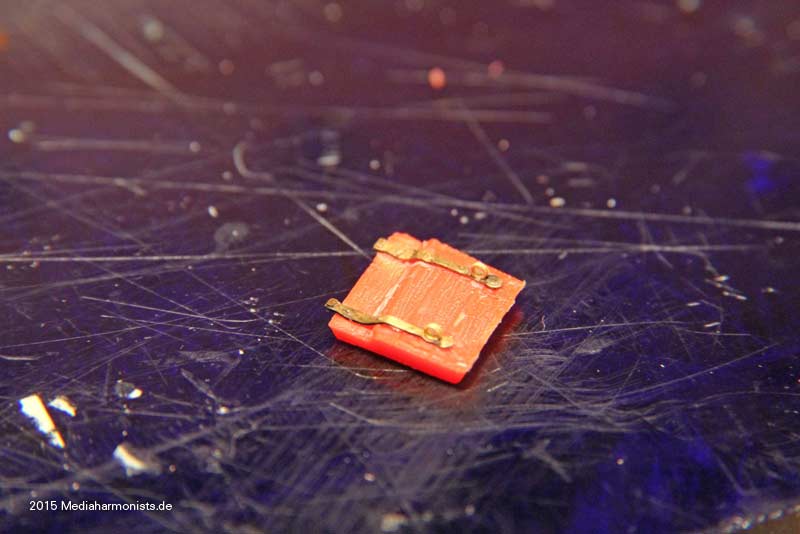
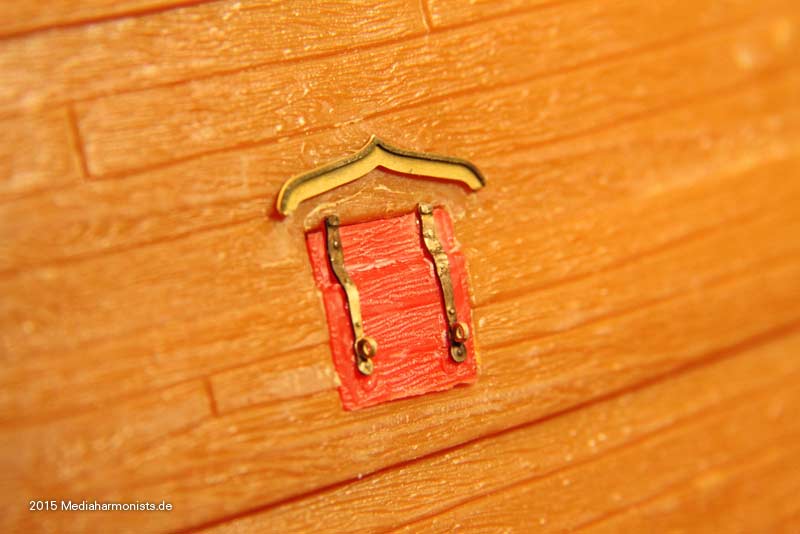
Important for the Big Gunz are the gun port lids. Sandet even and fixed with double sided tape the fittings are easy to place.

Image

Here the adaption for the doubling of the whales ...

Image

... and in place with the rigols.

Image

New ist that the hinges for the stern ports come in the right lengths ...

Image

... and the fittings for the beakhead bulkhead are now included :-)

Image

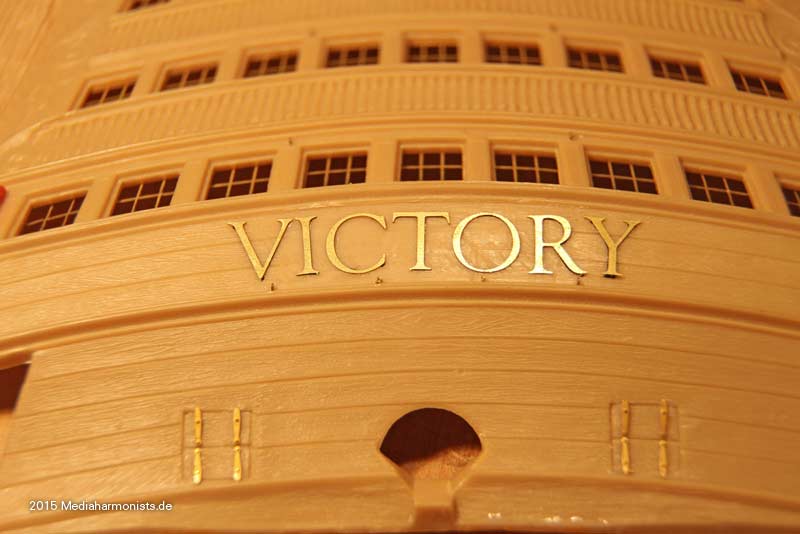
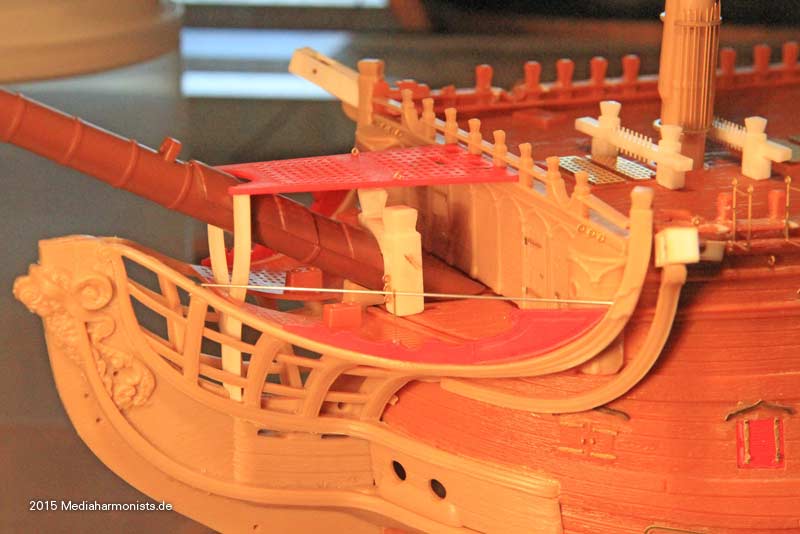
Here the right scheme for the openings for the mariners walk ...

Image

... the old holes are closed with the cut outs.

The bar for the netting of the heads ...

Image

... and timberheads in place ...

Image

... even though I forgot to put the butluvs.

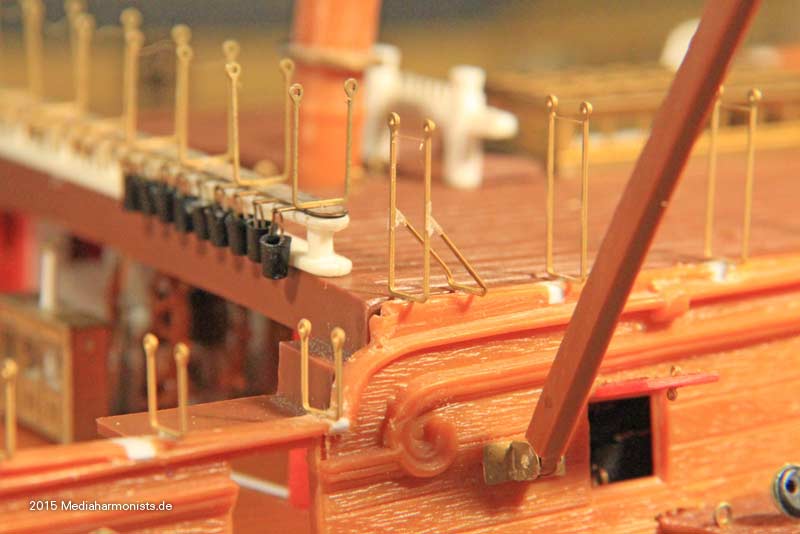
For drilling the hammock crane holders I used some left overs as template ...

Image

... and the cranes can be positioned easily ...

Image

... even if different sizes come together like in the start of the poopdeck.

Image
To Victory and beyond ...
viewtopic.php?f=59&t=99050&start=60

See also our german forum for the age of Sail and History:
http://www.segelschiffsmodellbau.com
User avatar
dafi
Posts: 1005
Joined: Mon Mar 12, 2012 11:13 am
Location: Ludwigsburg/Germany
Contact:

Re: To HMS Victory and beyond

Post by dafi »

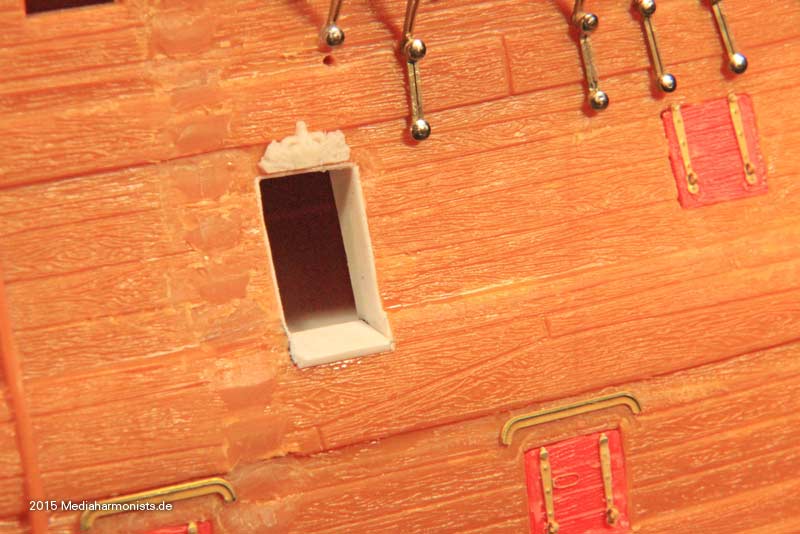
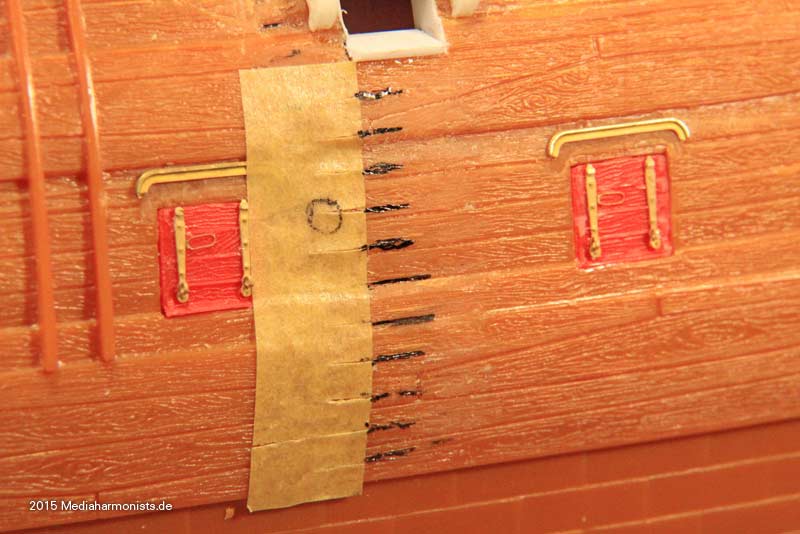
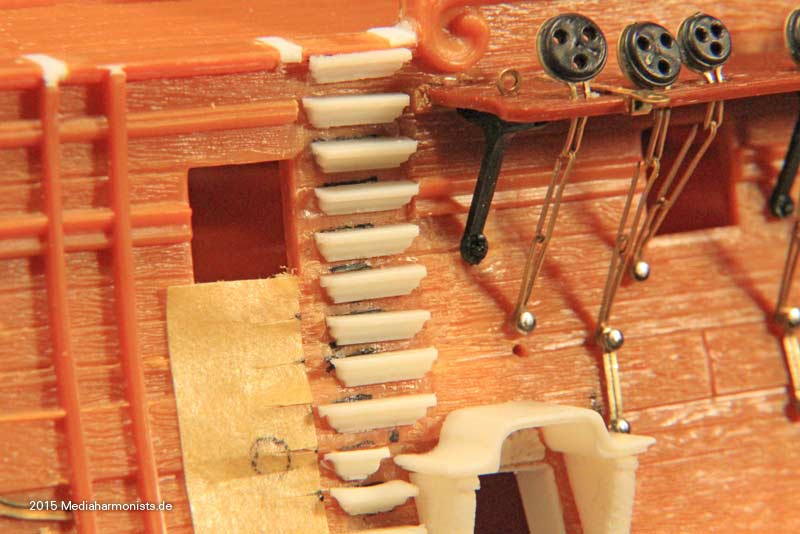
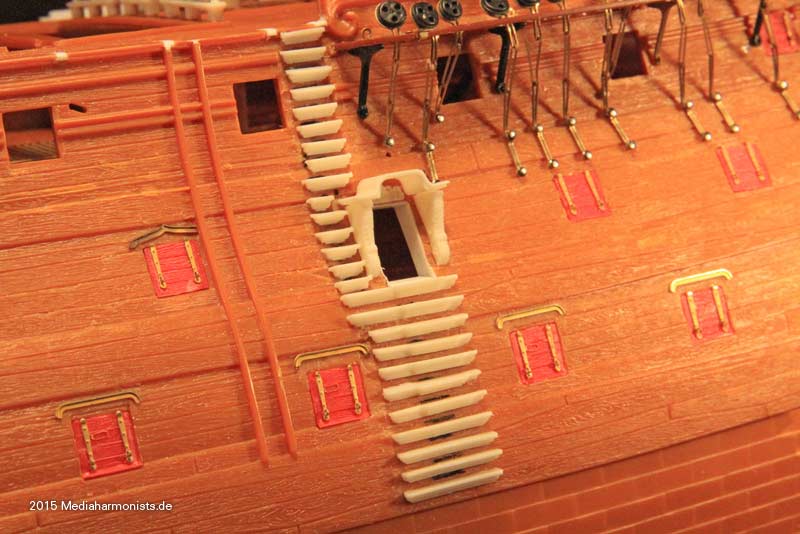
Highly discussed is the side entry port. If one do not want to miss it there is an option :-)

Saw an opening, line it with sheet ...

Image

... prepare the distance of the steps onto a tape and place it, transfer ...

Image

... and glue the steps on.

Image

And done - ok looks easier than actually doing it ;-)

Image


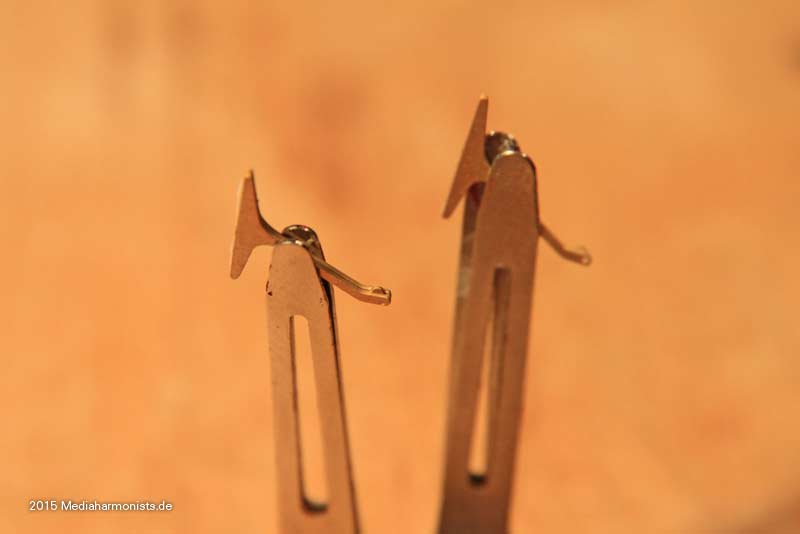
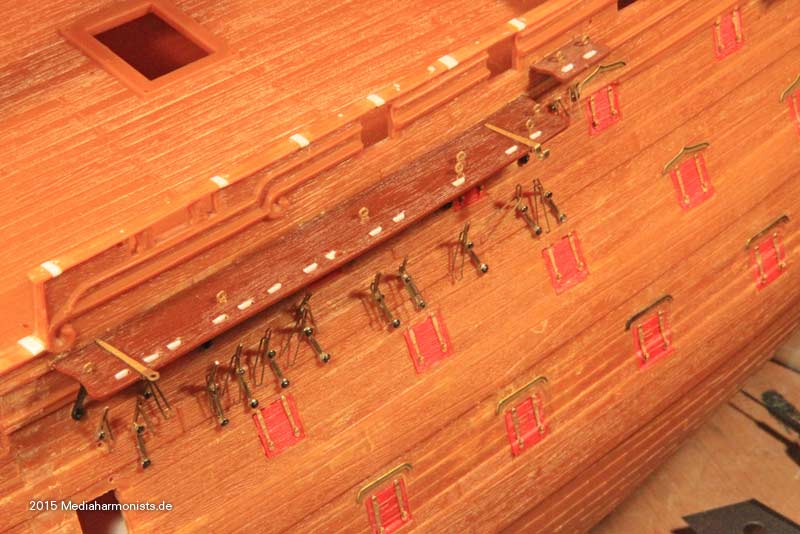
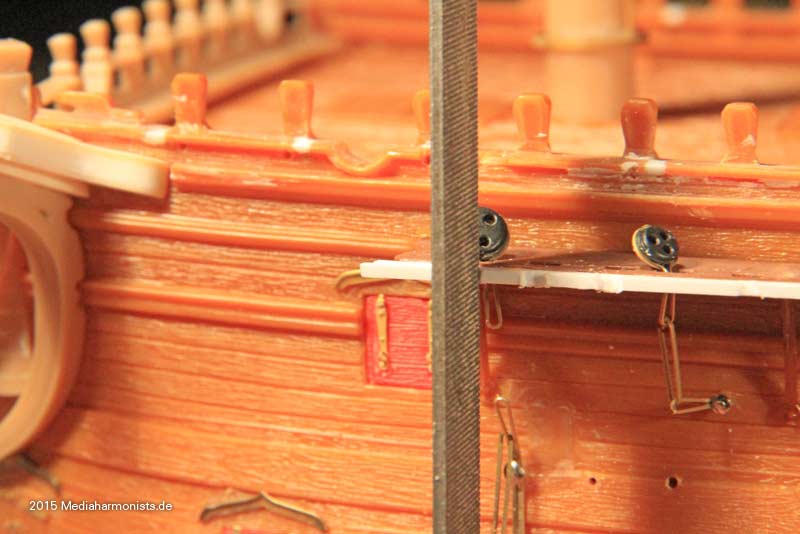
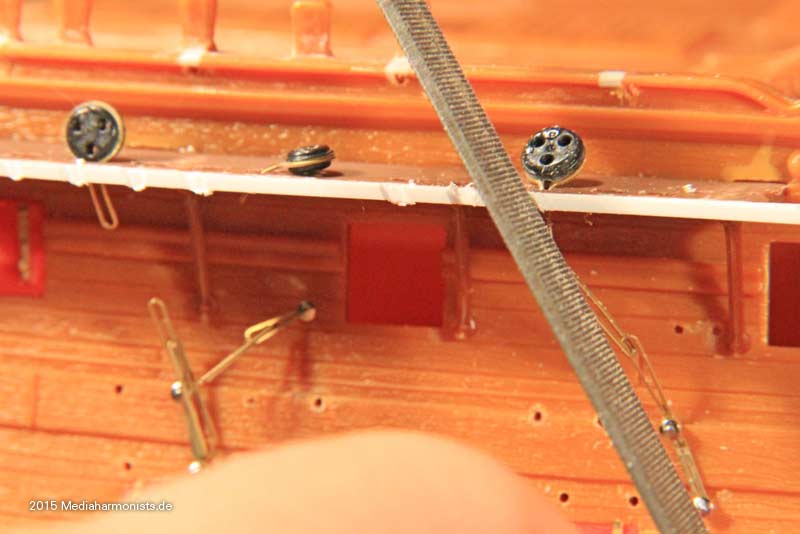
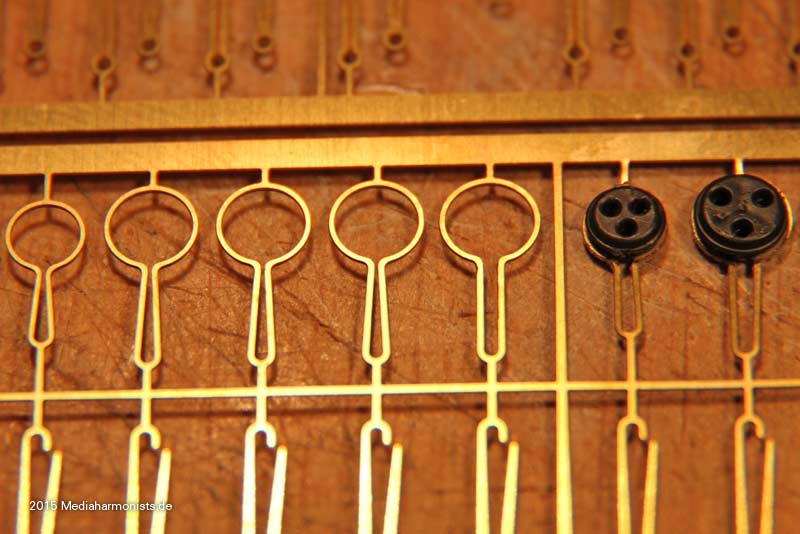
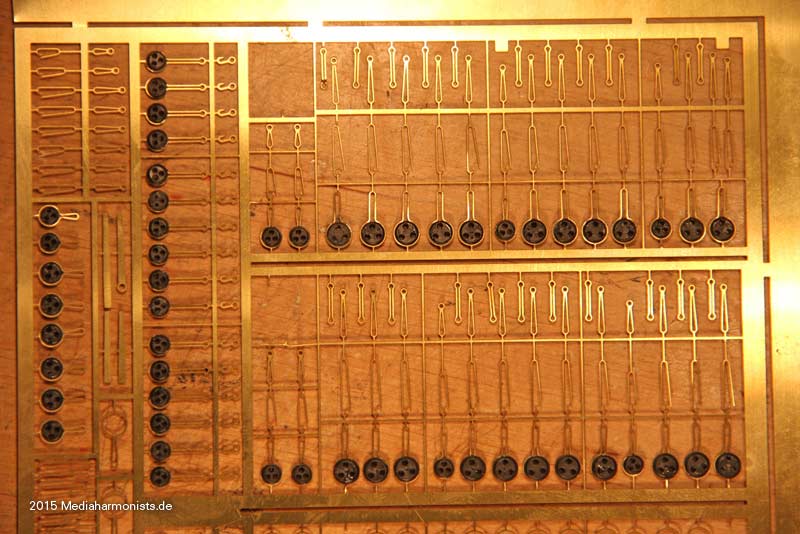
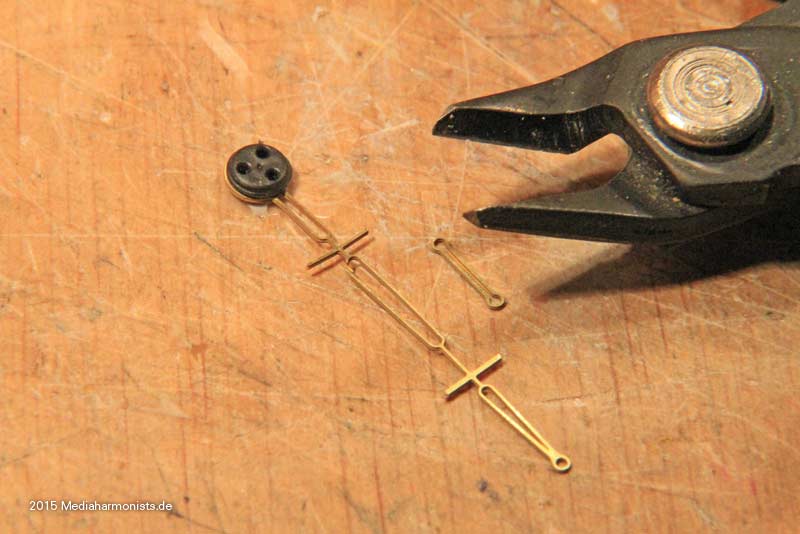
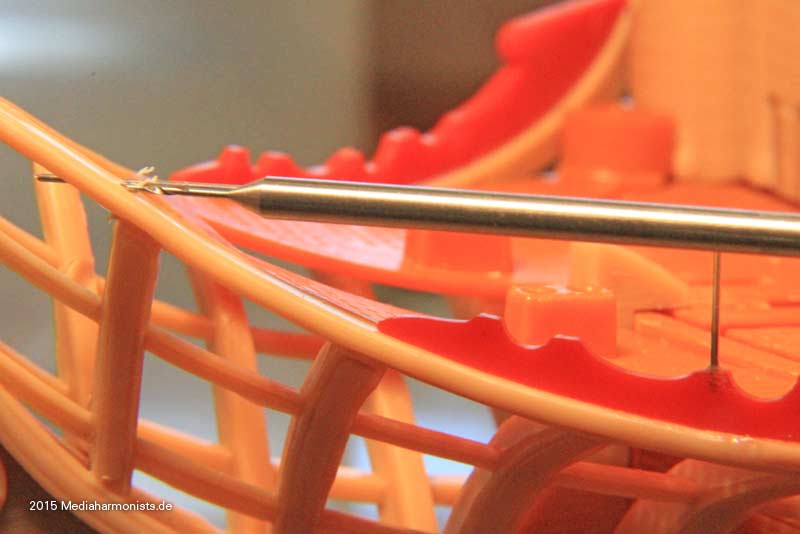
Most changes were done in the channels. The middle one of the irons changed, instead of a small gap the part is bent out and has a overlap, so that the parts can be more neatly closed. As I now always deliver the needles I omitted the old alternative fixing helps and got space for more spare parts.

Here is the standard build with the Heller deadeyes, the use of wooden ones will be shown too later on.

First starting with the main channel boards. The missing fifth iron support is there as it is meant to be.

Image

The main and mizzen channels should have the width of their holes reduced by half by placing some 0,5 x 1 mm Evergreen on the hull�s side ...

Image

Image

... while the fore ones need more attention. Close the old holes completely and enlarge the width of the channel using 2 layers of 1 x 1 mm Evergreen - it is easier than doing it with one bar of 1 x 2 mm :-).

File in new slots deep 0,5 mm , the first ones vertical ...

Image

... and the last ones more angeled fitting direction towards the maintop. Close it with a bar of 0,5 x 1 mm Evergreen ...

Image

... and the boards are finally large enough to avoid the deadeyes to interfere with the hammock cranes.

Image


As the deadeyes vary a tad in diameter open up the irons as necessary ...

Image

... and place the deadeyes the right way round. The complete plate looks like this.

Image

To avoid bending the parts always cut the complete set of an iron ...

Image

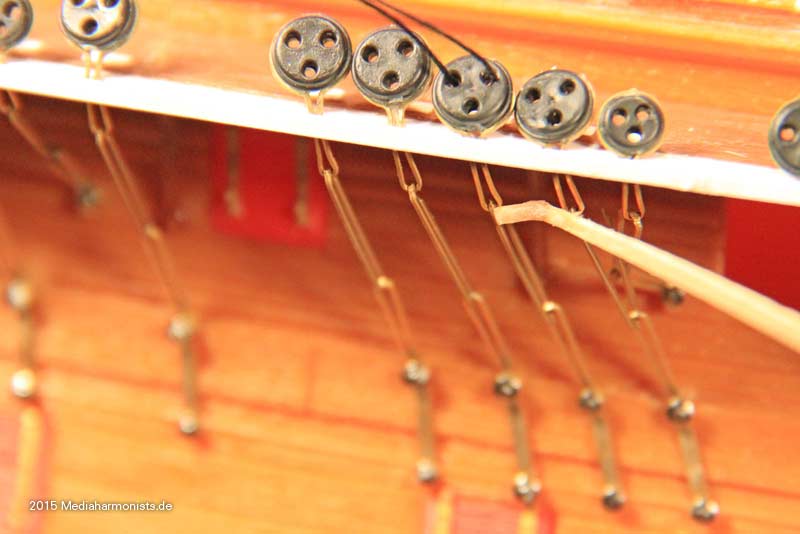
... place it in the slots, fix with the needle and put some superglue ...

Image

... onto the backside of the iron underneath the board ...

Image

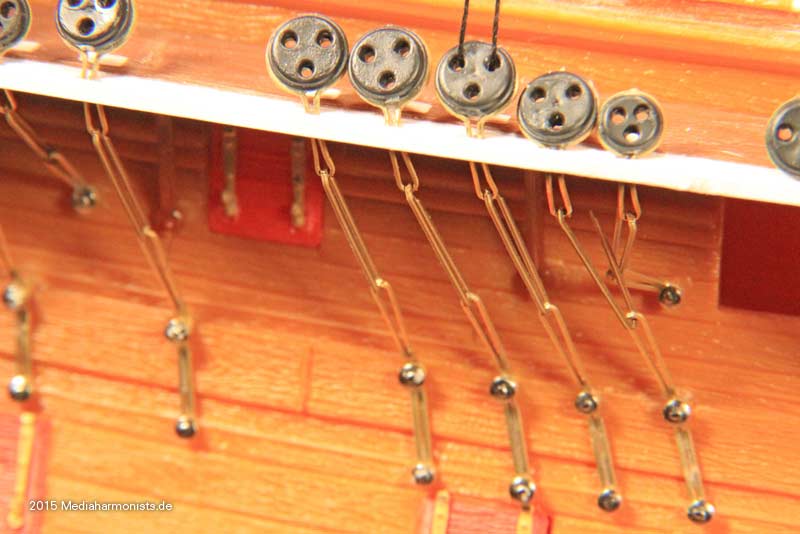
... and use a string to pull the deadeye in place in the right direction and hold still until the glue sets.

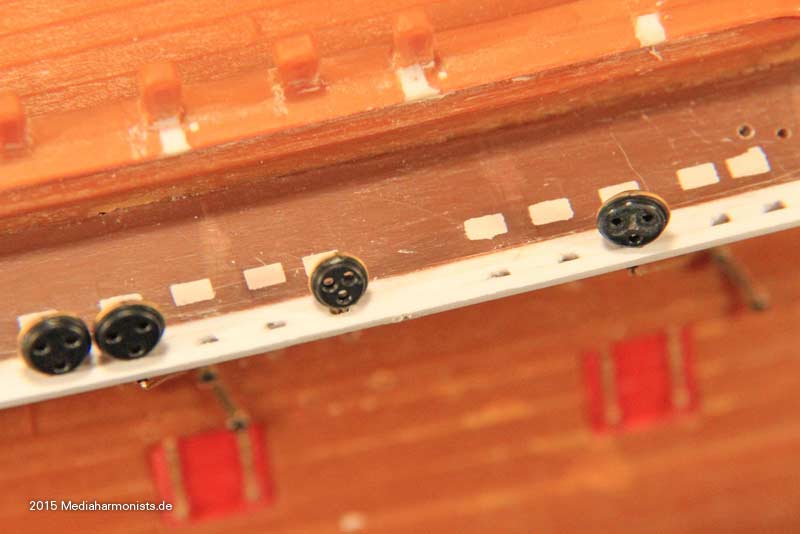
And finished it looks like this:

Image

Image

Image
To Victory and beyond ...
viewtopic.php?f=59&t=99050&start=60

See also our german forum for the age of Sail and History:
http://www.segelschiffsmodellbau.com
User avatar
dafi
Posts: 1005
Joined: Mon Mar 12, 2012 11:13 am
Location: Ludwigsburg/Germany
Contact:

Re: To HMS Victory and beyond

Post by dafi »

And now todays last part.

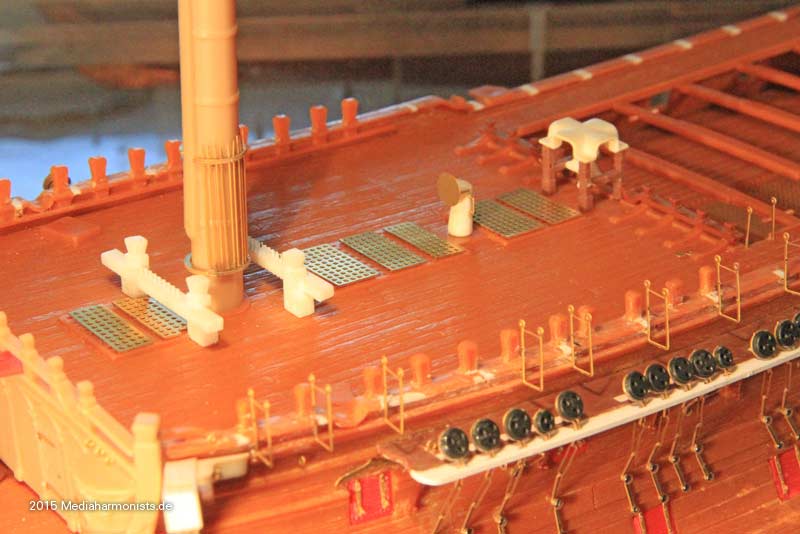
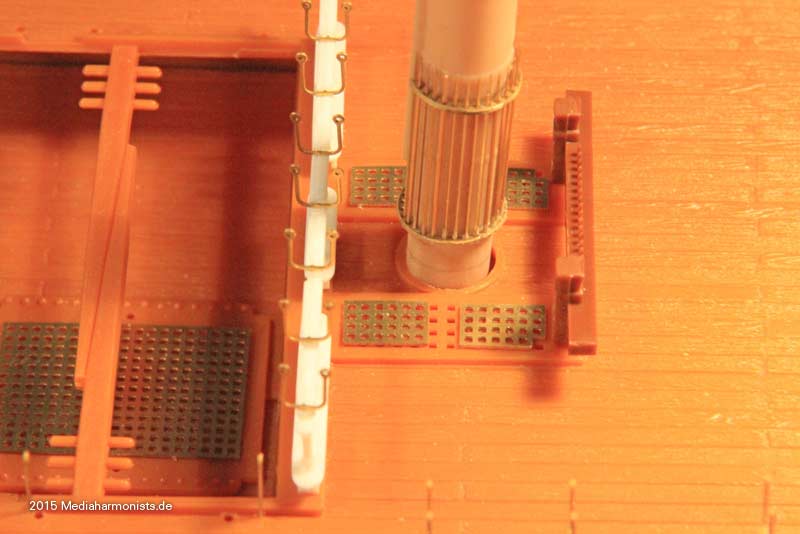
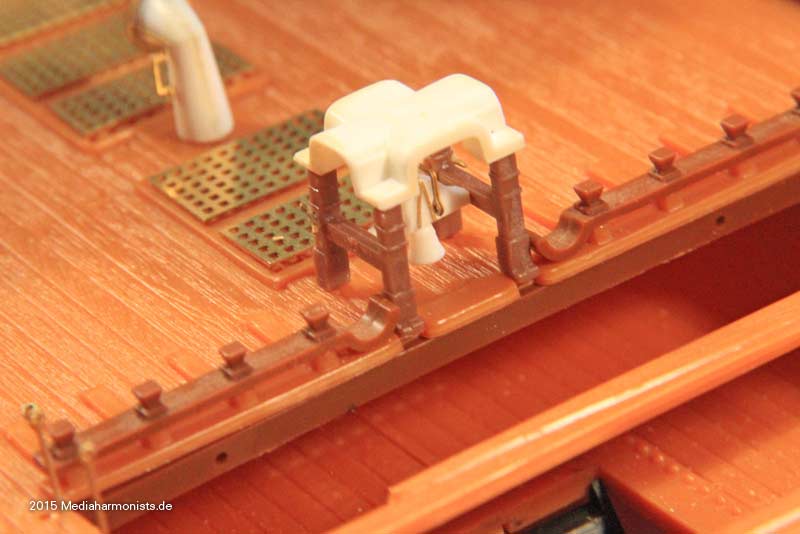
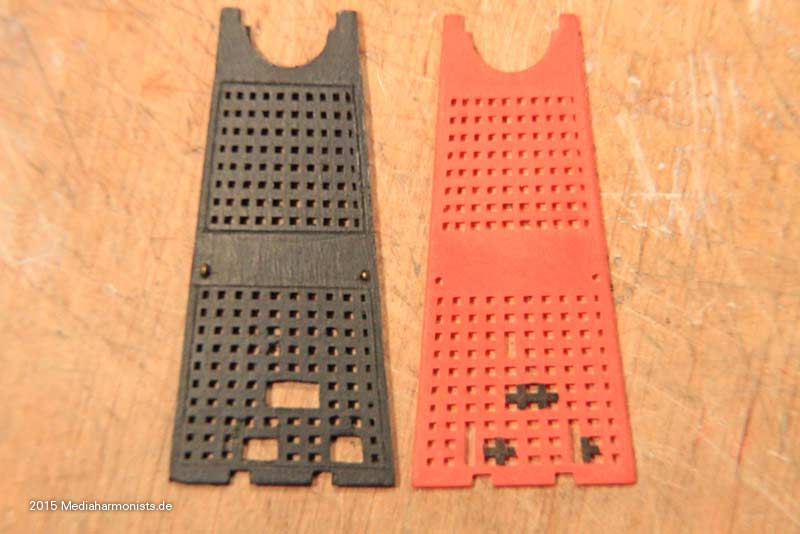
Still working on the deck. Here are the correct lengths of the gratings as seen today ...

Image

... the pikes of the fore ...

Image

... and the main ...

Image

... and the belfry.

Image

So that�s it, more from one of my many working areas soon after returning home from my holiday :-)

XXXDAn
To Victory and beyond ...
viewtopic.php?f=59&t=99050&start=60

See also our german forum for the age of Sail and History:
http://www.segelschiffsmodellbau.com
User avatar
JIM BAUMANN
Posts: 5689
Joined: Mon Jan 10, 2005 5:30 pm
Location: Nr Southampton England

Re: To HMS Victory and beyond

Post by JIM BAUMANN »

very very remarkably good work !!

Jim B :thumbs_up_1:
....I buy them at three times the speed I build 'em.... will I live long enough to empty my stash...?
http://www.modelshipgallery.com/gallery ... index.html

IPMS UK SIG (special interest group) www.finewaterline.com
User avatar
Bill Code
Posts: 679
Joined: Mon May 02, 2005 10:00 am
Location: Michigan

Re: To HMS Victory and beyond

Post by Bill Code »

Superb brass work.... Happy New Year to you !
User avatar
LE BOSCO
Posts: 2261
Joined: Thu Aug 27, 2009 11:05 am
Location: Paris France

Re: To HMS Victory and beyond

Post by LE BOSCO »

always a superb work Daniel :thumbs_up_1: and always a great pleasure to read your thread :woo_hoo:
cheers
Nicolas
User avatar
K494
Posts: 409
Joined: Sun May 20, 2012 6:01 am
Location: Ontario Canada

Re: To HMS Victory and beyond

Post by K494 »

Terrific work! :thumbs_up_1:

Scott
K494 HMCS Arnprior
Royal Canadian Navy
User avatar
dafi
Posts: 1005
Joined: Mon Mar 12, 2012 11:13 am
Location: Ludwigsburg/Germany
Contact:

Re: To HMS Victory and beyond

Post by dafi »

Thank you Sirs and happy new year to you all!

Finally managed to do something on my main build, slowly one step a day literally ;-)

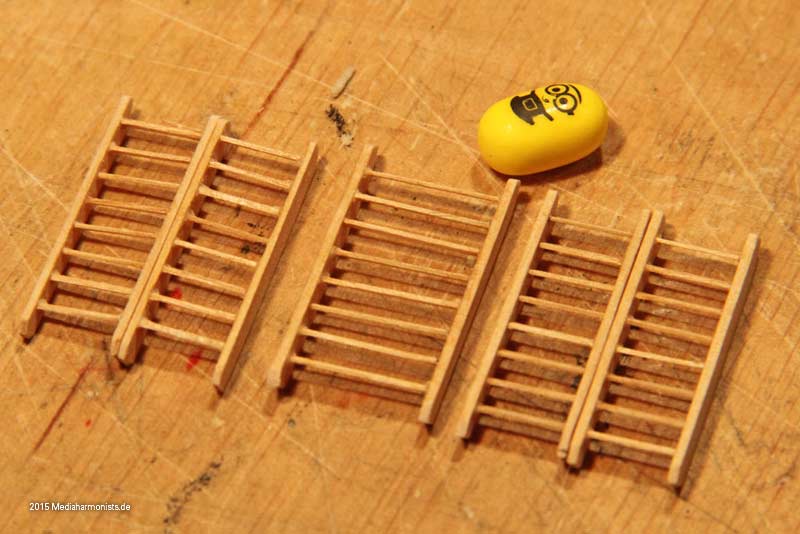
The biggest empty spaces on the lower deck are due to the missing companionways, so lets fill those gaps ...

Image

The ladders on the right should have the same upward orientation in the middle as the one on the left, but i buzzed it ...
Was this to adapt to a possible list of the ship?

Then comes the dry fit ...

Image

... and one does see immediately ...

Image

... why they were removable and could be off set without further trouble.

The aft companionways show that even better ...

Image

... big obstruction ...

Image

... but set aside as fast as the the deck pillars :-)

Image

Cheers, Daniel
To Victory and beyond ...
viewtopic.php?f=59&t=99050&start=60

See also our german forum for the age of Sail and History:
http://www.segelschiffsmodellbau.com
User avatar
LE BOSCO
Posts: 2261
Joined: Thu Aug 27, 2009 11:05 am
Location: Paris France

Re: To HMS Victory and beyond

Post by LE BOSCO »

HI Dan

Always a great pleasure to see your progress :thumbs_up_1: :thumbs_up_1: your Victory is the most accomplished that i see ...Apart from the true model at Portsmouth ( and even not sure) :smallsmile:
cheers
Nicolas
User avatar
dafi
Posts: 1005
Joined: Mon Mar 12, 2012 11:13 am
Location: Ludwigsburg/Germany
Contact:

Re: To HMS Victory and beyond

Post by dafi »

Thank you Nicolas!

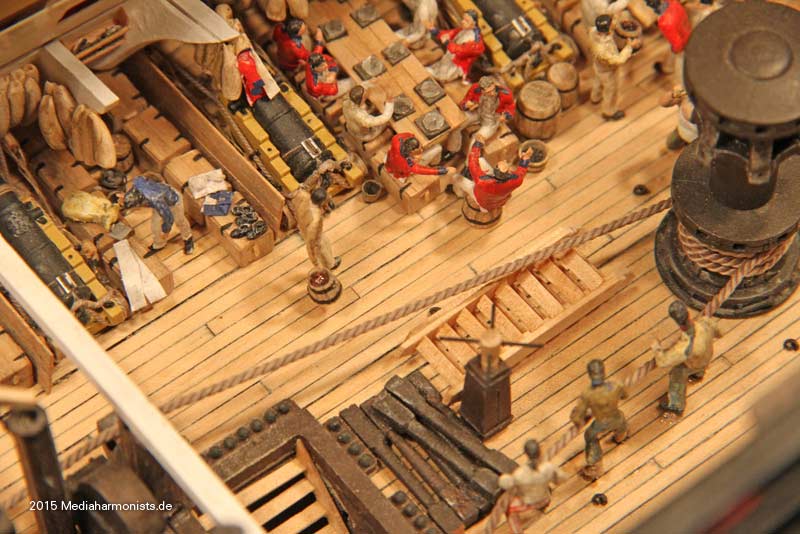
And now, its Hammer Time!

Image

That is the result of well planned building activities.

In the old days I fixed the standing knees without being able to level the upper edge, now that I can, the deck is quite clattered with other activities ...

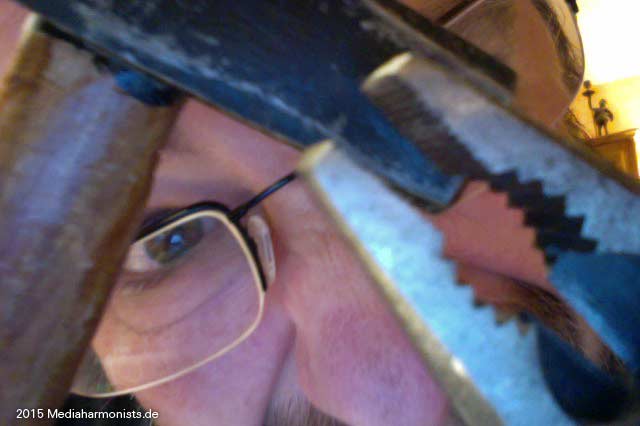
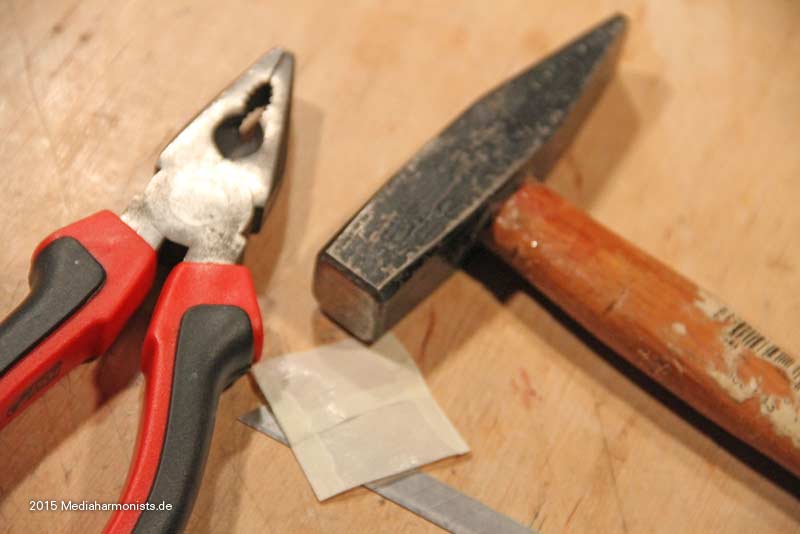
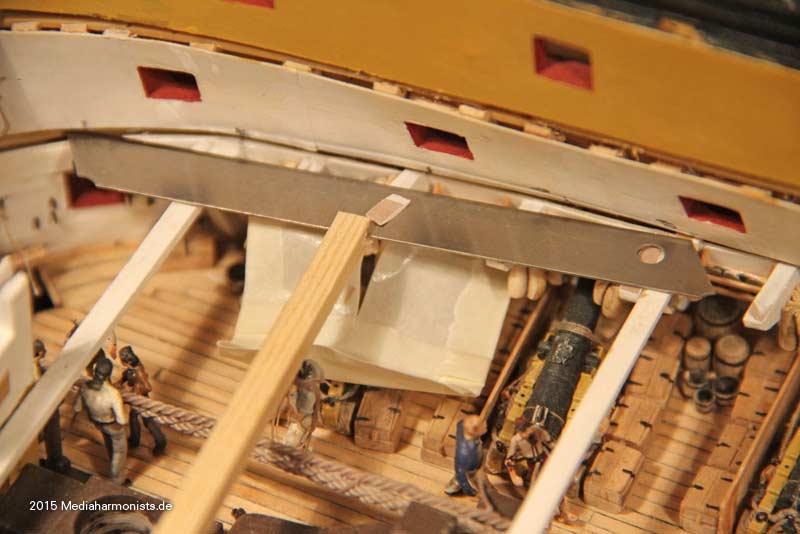
... time to get out the heavy tools for some desperate measures.

Image

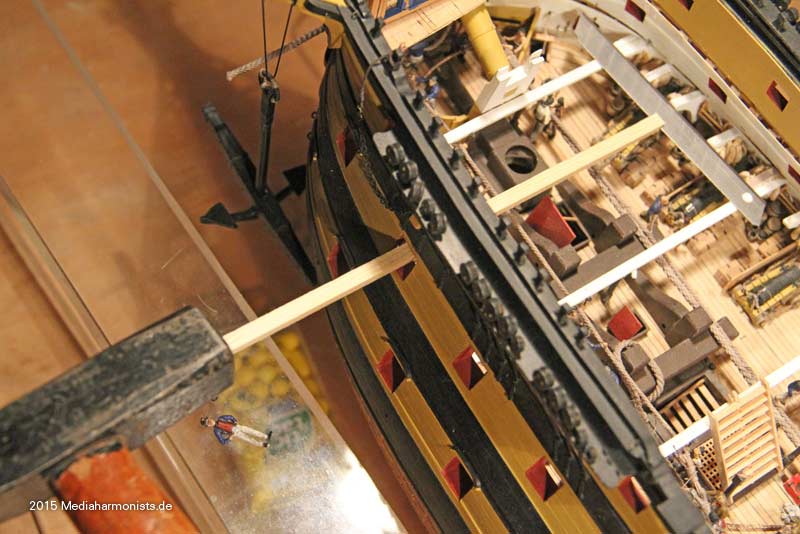
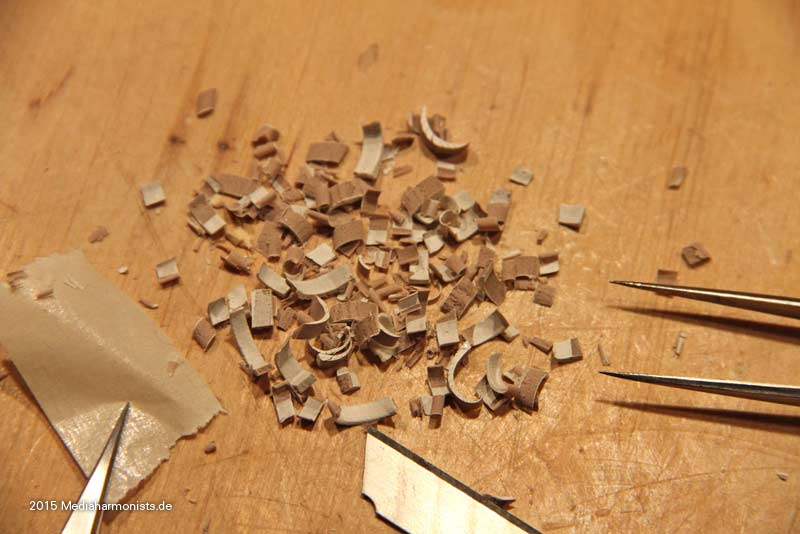
The blade laid over the now existing beams and with some persuasiveness of the hammer (or tweezers as they are smaller) split the knees to pieces.

Image

After the first trials I replaced the hammer with better dosed hand enforcement and it worked wonders.

Image

The bounty was rewarding.

Image

Almost no collateral damages, just some sailors looked a bit down, but they are already up to their feet again :-)

Cheers, Daniel
To Victory and beyond ...
viewtopic.php?f=59&t=99050&start=60

See also our german forum for the age of Sail and History:
http://www.segelschiffsmodellbau.com
User avatar
dafi
Posts: 1005
Joined: Mon Mar 12, 2012 11:13 am
Location: Ludwigsburg/Germany
Contact:

Re: To HMS Victory and beyond

Post by dafi »

Statement 1:

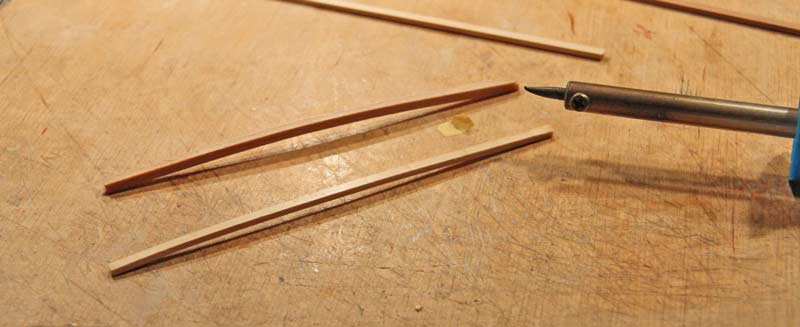
dafi is torturing wood. For the first time I was bending watered wood with the soldering iron - fascinating for a stubborn plastinator how willingly even 3 x 3 mm battens take the right turn :-)

Image

And why this? Originally planned were 5 deck beams to hold the upper deck, but for some unknown reasons the number of deck beams became larger ...
The other deck beams are forced into the curve by the stanchions, but if those are missing ?

Statement 2:

Holes that mean the world - at least to me ;-)

As already seen midships, where the anchor cable is disappearing towards the hold ...

Image

... one can nicely see ...

Image

... how much ladders and stanchions are in the way if it is to work there.

So using swift the jack ...

Image

... and lift the deck beam - and with it all the upper decks - some inches or so, take out the ladders and stanchions ...

Image

... and all that is left on the deck are some small holes and plenty of space to work. Now I too understood the short arms of the jack - it allows to go near the stanchions or even the hull. And as my new deck beams are already fitted with a nice curve, they stay nicely up as they should.

Thinking about the color of the space underneath the stanchions, I believe that the wood in itself possibly stayed with a lighter color, but with all the muck from cleaning that went underneath I opted for a dark brown.

Image

So I prepared the taken out stanchions ...

Image

... pimped them up ...

Image

... and cluttered them together with the ladders behind the companionway.

Image

Looked pittoresk, but not really Bristol fashion, so I preferred the following solution :-)

Image

Question: How were the ladders - if in place - secured on the deck? Was there there chocks or wedges or something nailed to the planks?

Cheers, Daniel
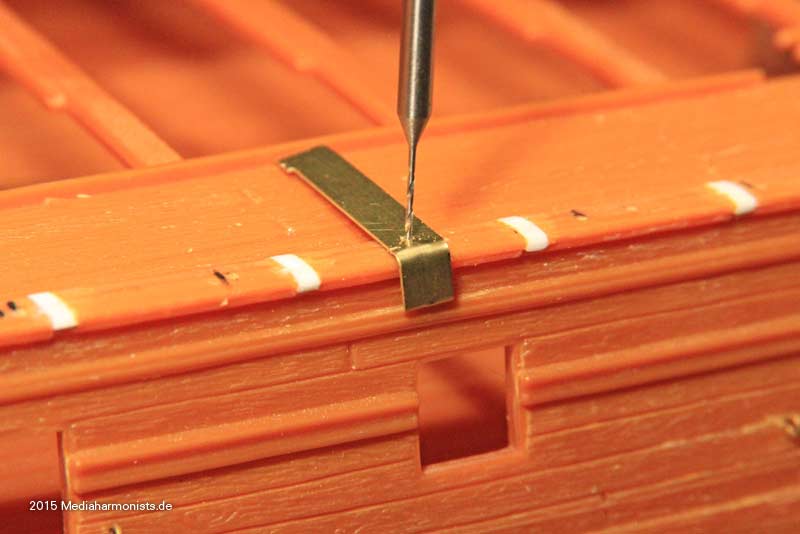


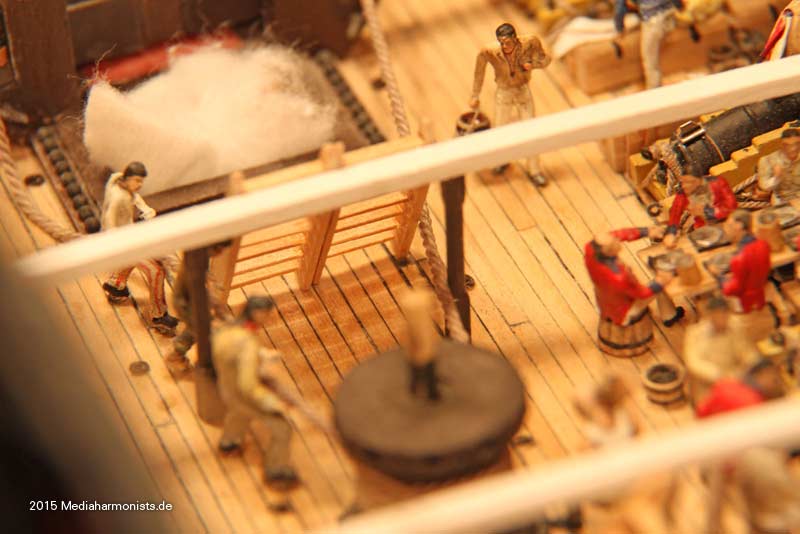
PS: Do not worry on the first pictures, there is no fire in the hold. Just a small ball of wad is doing wonders against the unsought will of certain parts that strongly do believe that their future should be in the hold :-)
To Victory and beyond ...
viewtopic.php?f=59&t=99050&start=60

See also our german forum for the age of Sail and History:
http://www.segelschiffsmodellbau.com
marijn van gils
Posts: 2707
Joined: Tue Feb 06, 2007 10:24 am
Location: Belgium

Re: To HMS Victory and beyond

Post by marijn van gils »

Beautiful work! I never though I would live to see you work on the exterior� :big_grin:
Are you going to keep the decks removable?

Cheers,

Marijn
Thomas E. Johnson
Posts: 1321
Joined: Wed Jan 26, 2005 10:12 pm
Location: Up The Street From Sam Wilson's House

Re: To HMS Victory and beyond

Post by Thomas E. Johnson »

Absolutely insane and incredible work!!!!
User avatar
dafi
Posts: 1005
Joined: Mon Mar 12, 2012 11:13 am
Location: Ludwigsburg/Germany
Contact:

Re: To HMS Victory and beyond

Post by dafi »

Naughty-naughty-messenger, naughty!

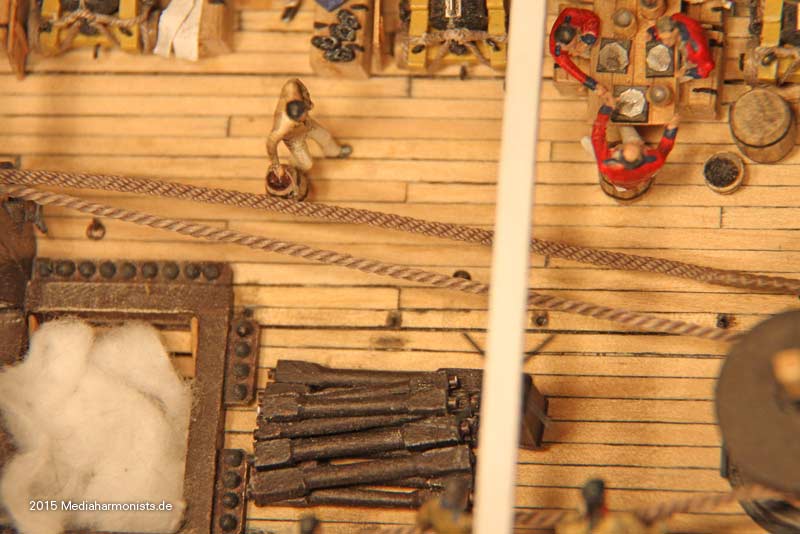
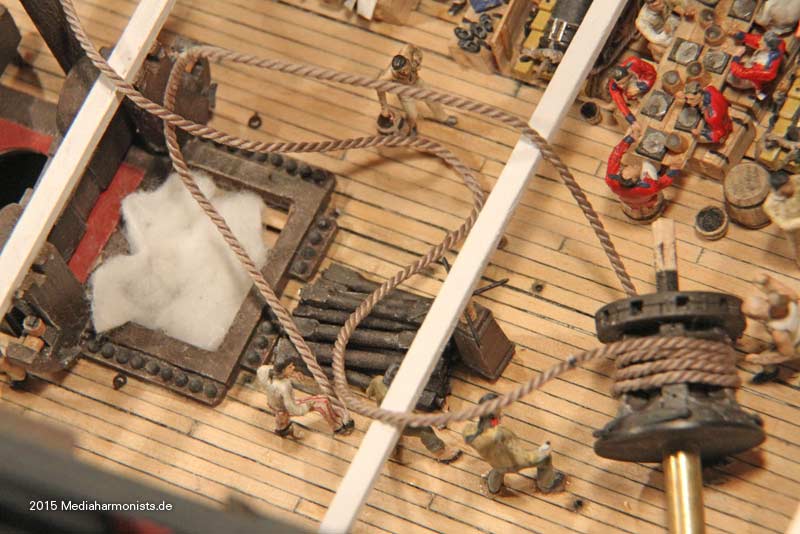
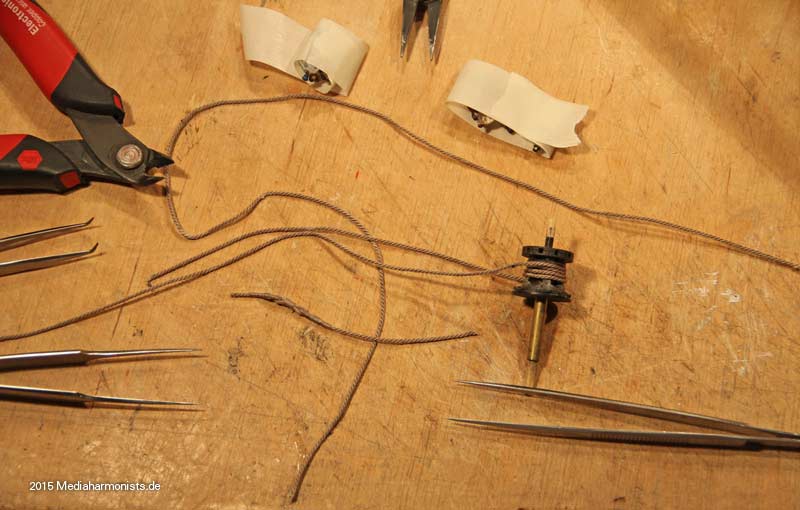
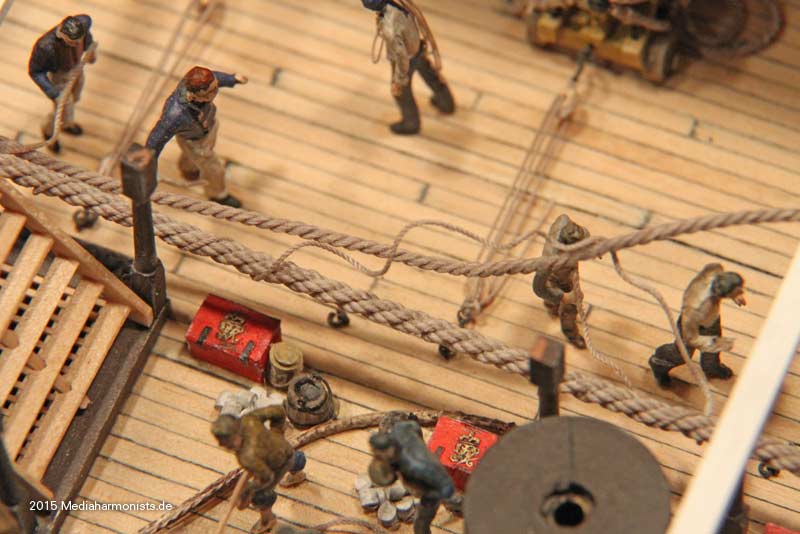
When I first installed the messenger I was opting for the display in Portsmouth, showing a left handed rope as described by Nares for later periods. Now much time later, I have not yet found a source for this setup in the period around 1800. Here are the two cables to compare.

Image

That�s why Ms. Cyrus inspired me ...

Image

... using the wrecking ball and ...

Image

... even though fully dressed taking carefully out the components in question. Luckily the nippers were fixed the right way and ...

Image

... could get off easily. Just call me a smart Nipper :-)

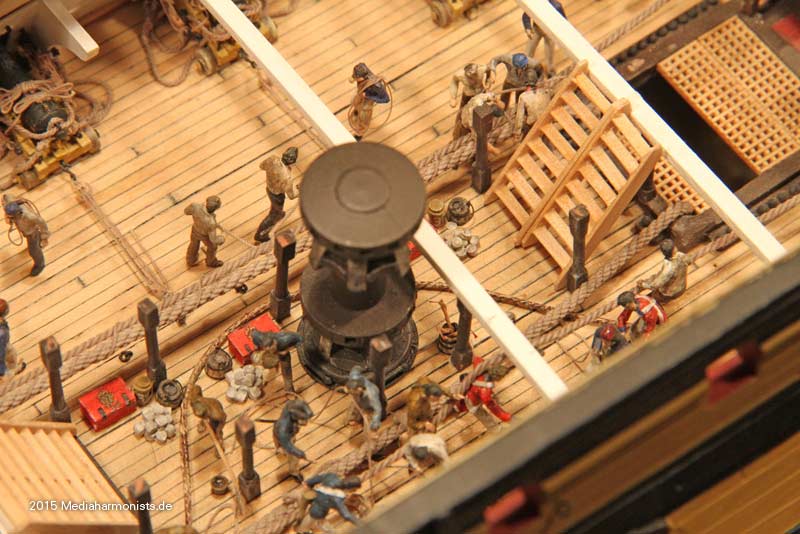
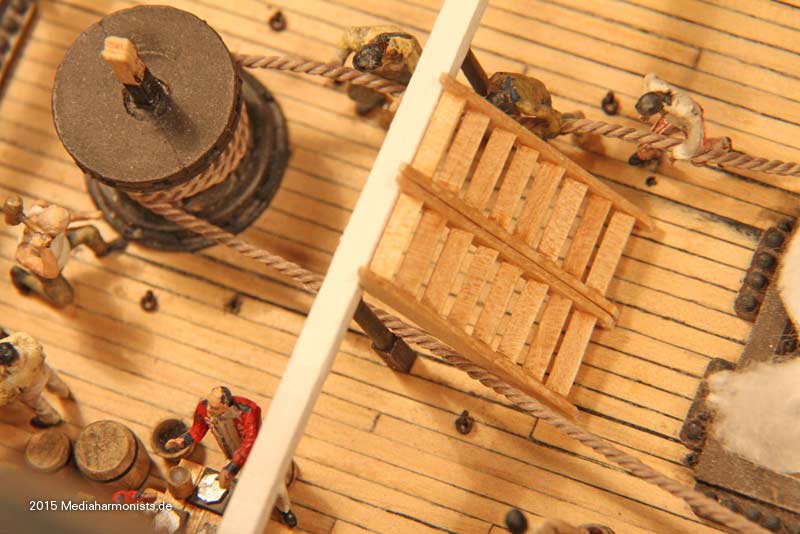
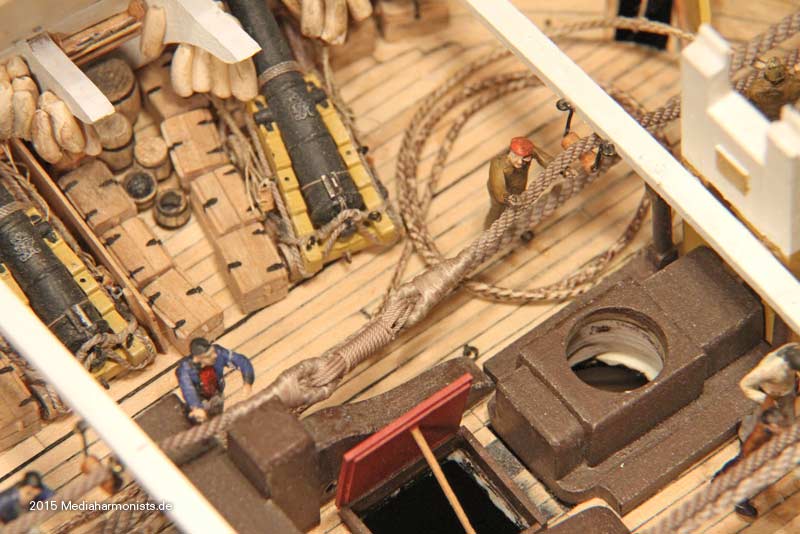
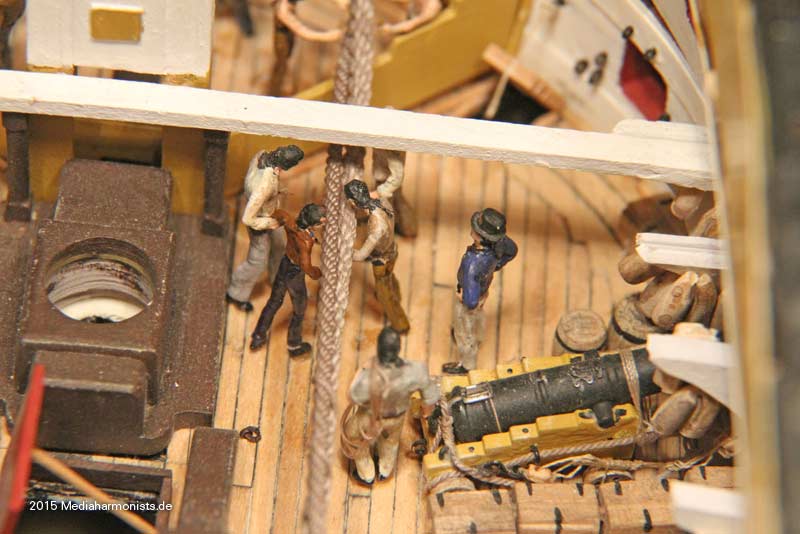
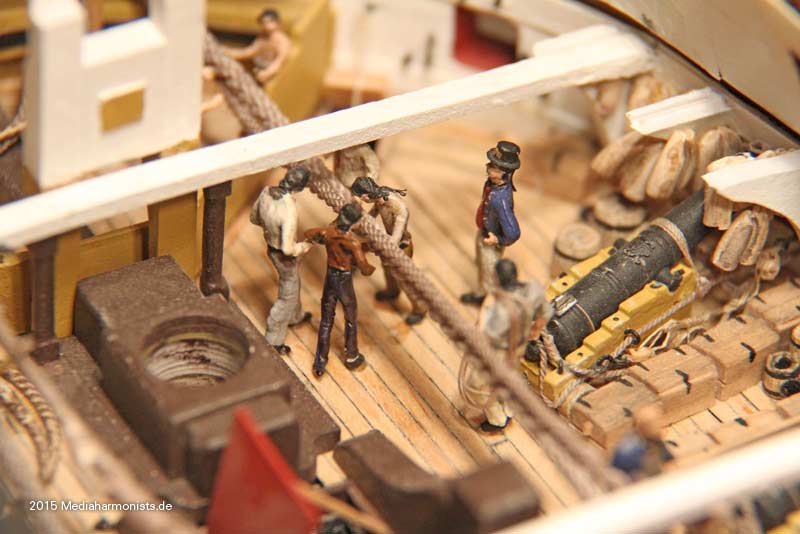
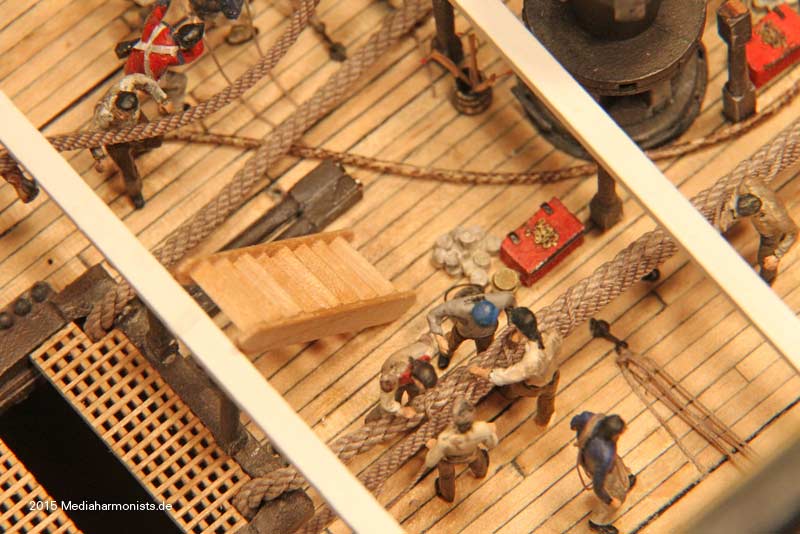
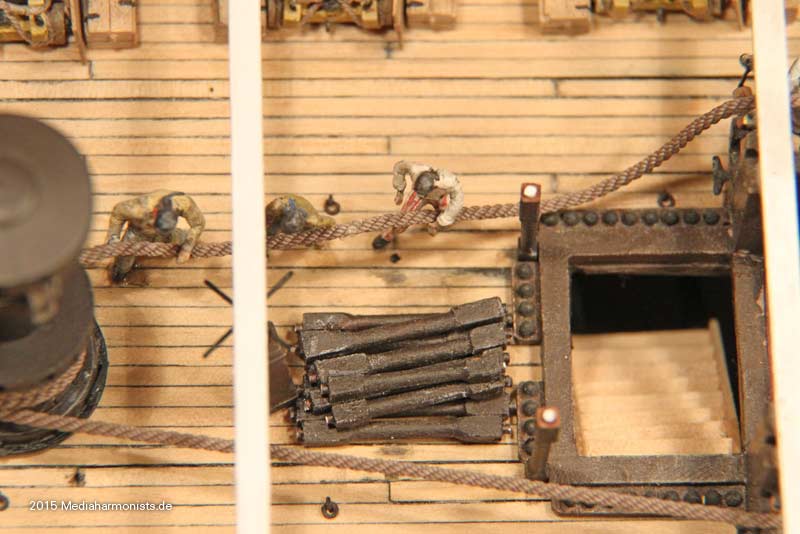
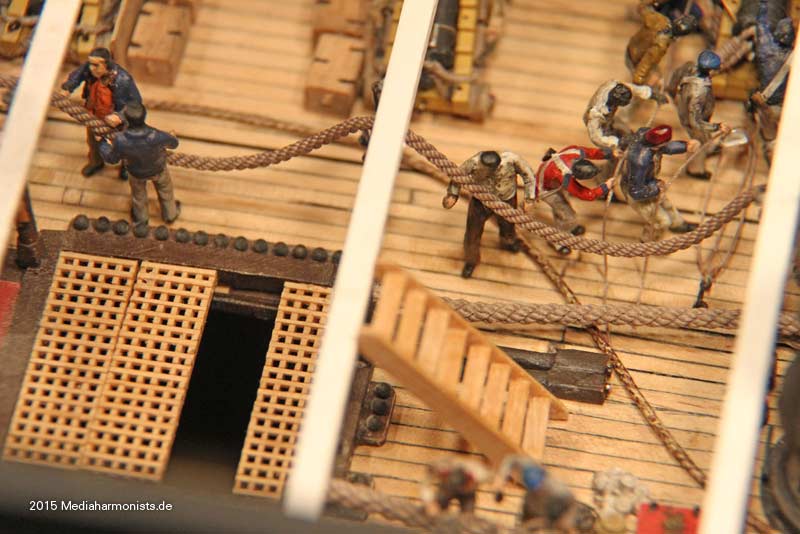
The original build was shown in details, so we have only a fast tour of the changes

The lashing of the messenger ...

Image

Image

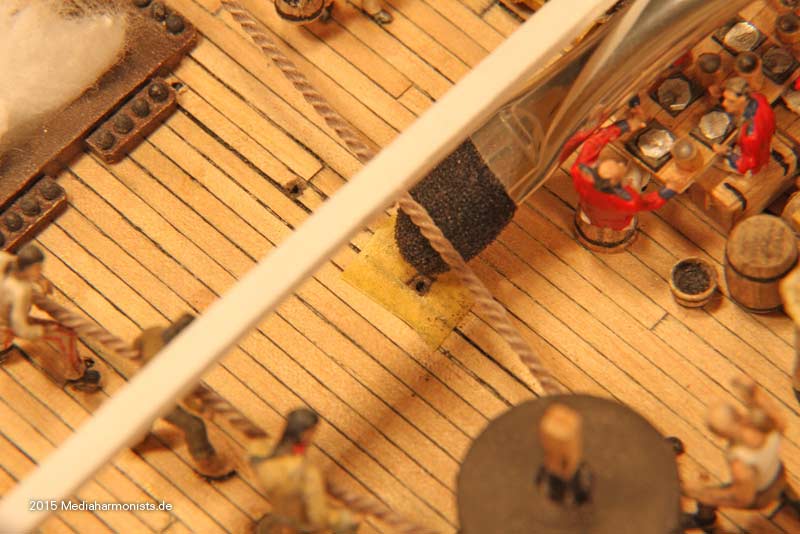
... the rolls to guide the messenger around the bows and the guy with the hose to water the incoming anchor cable and the boys to clewan it with a brush.

Image

Image

The bosums mate surveys those 4 gents nipping the two cables ...

�berwacht diese vier Herren beim Befestigen der Nippers, der Taust�cke, welche Kabelaar und Ankerkabel zusammenhalten ...

Image

Image

... while these man escort the cables backwards ...

Image

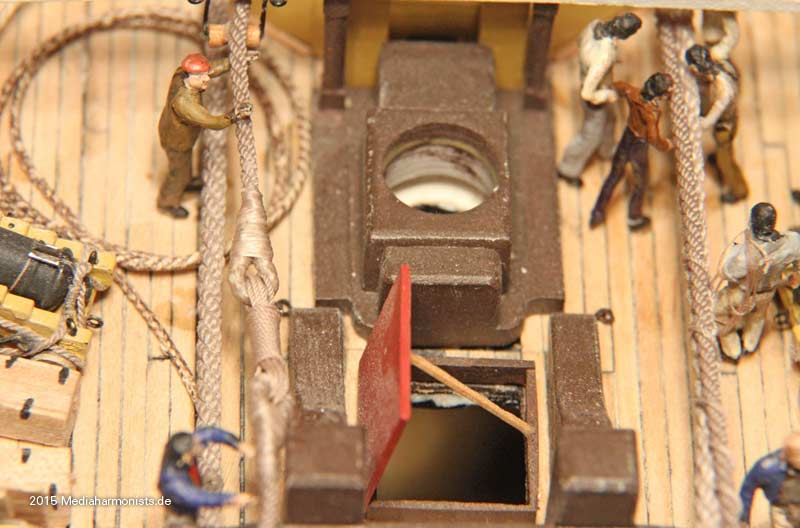
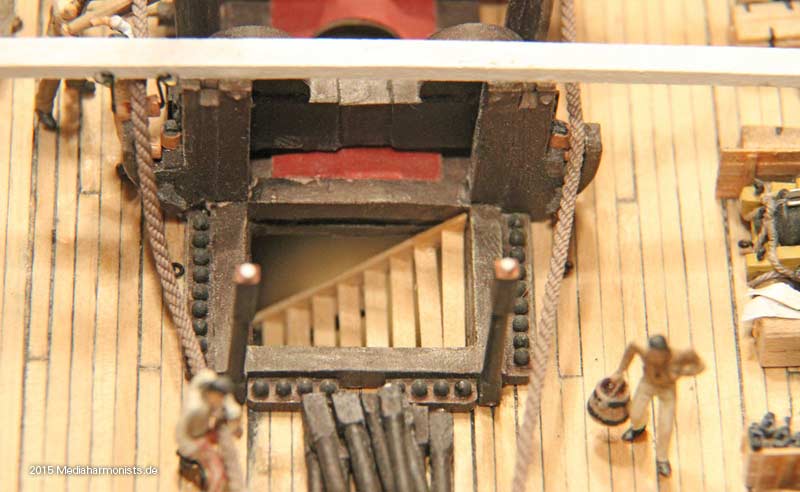
... and those to open the nippers for the anchor cable to disappear in the hold. I gave a bit more space to those gents by taking out the pillars in that area.

Image

Image

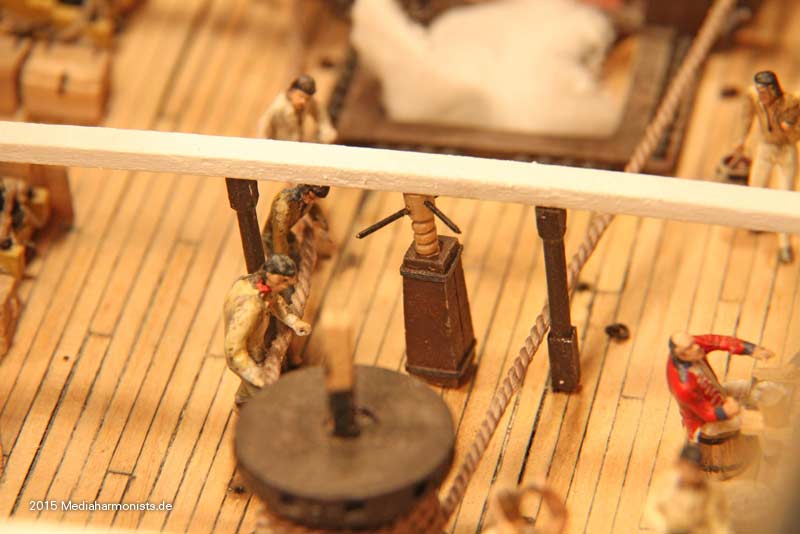
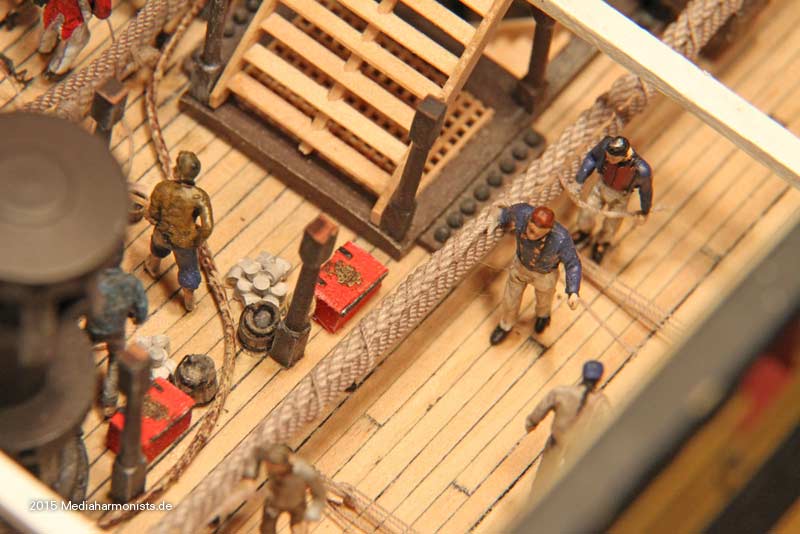
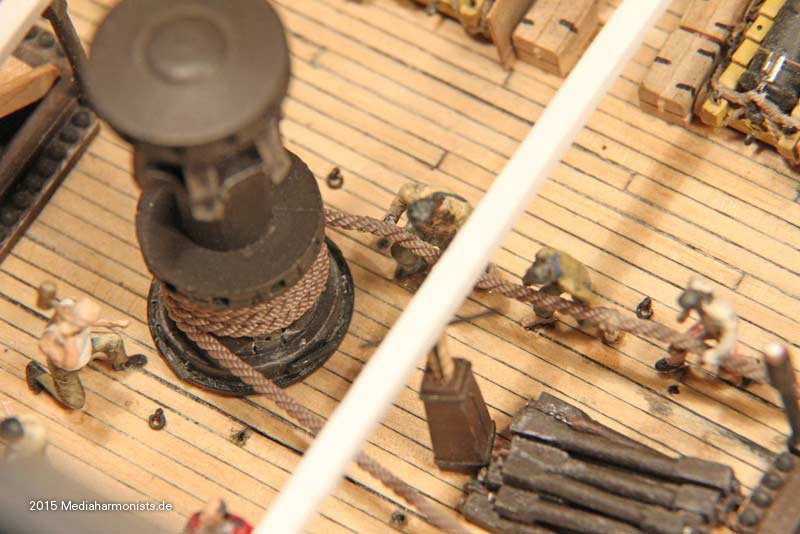
The messenger still moves backwards and changes direction on those solid stanchions ...

Image

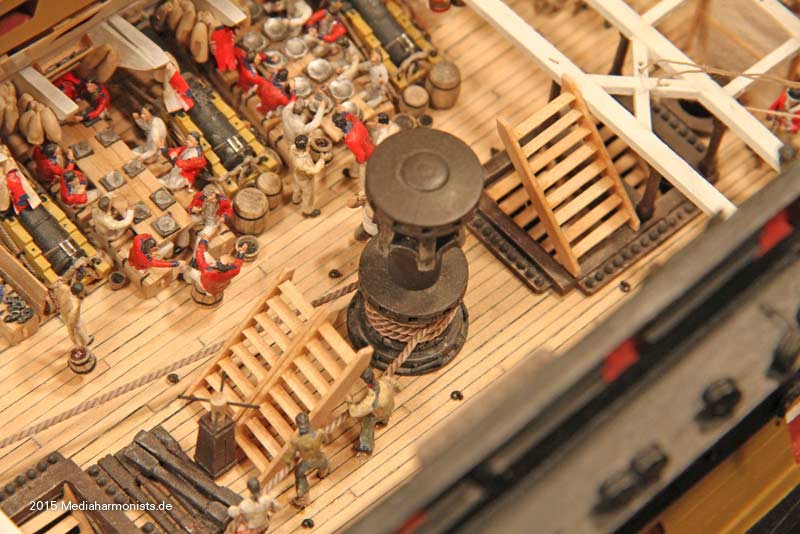
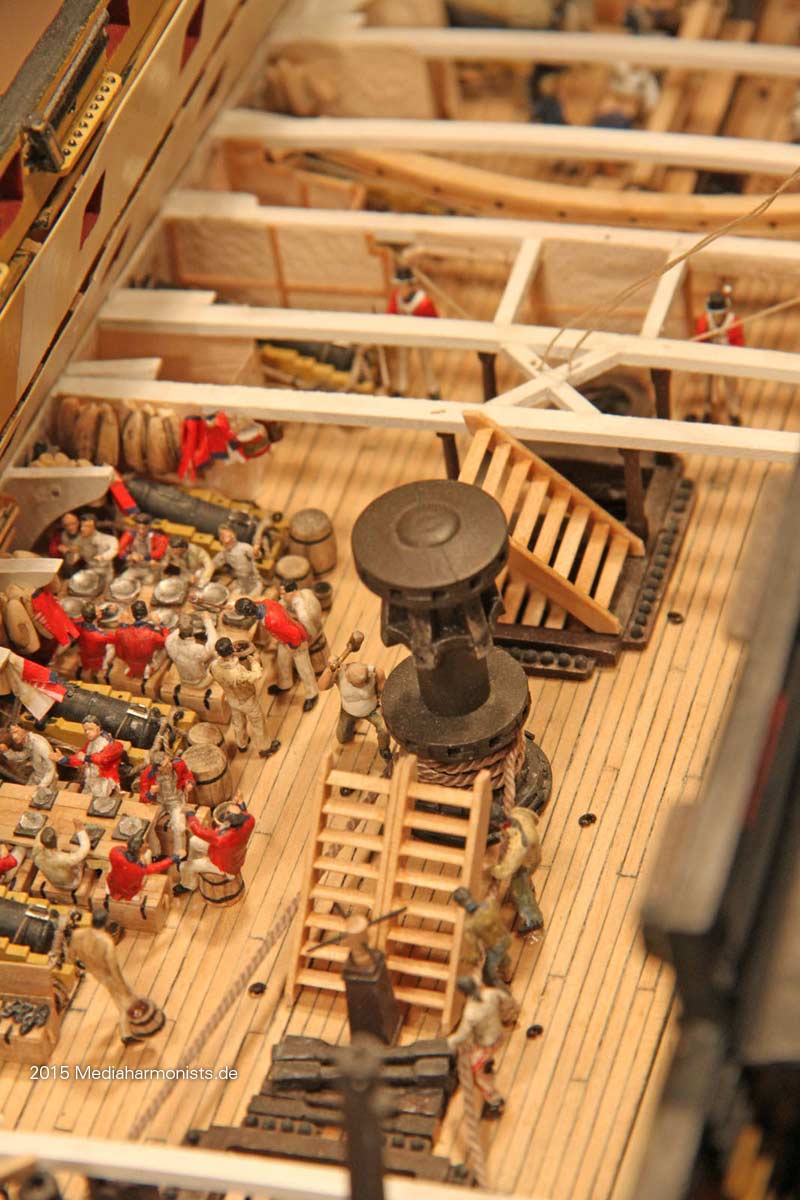
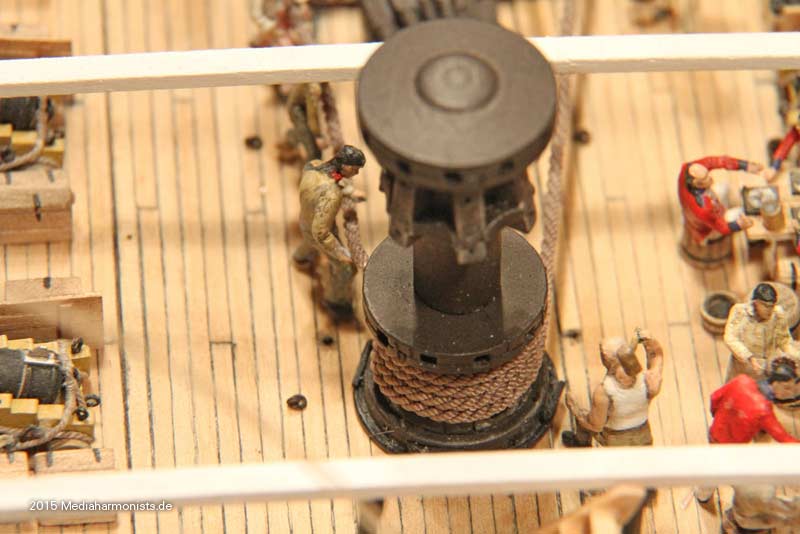
... towards the capstan ...

Image

Image

... and the strain of the pulling already worked the messenger up the drum.

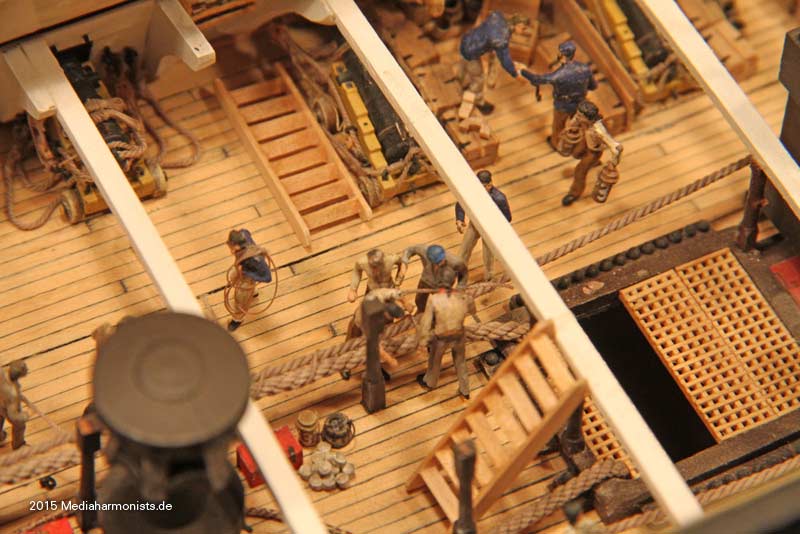
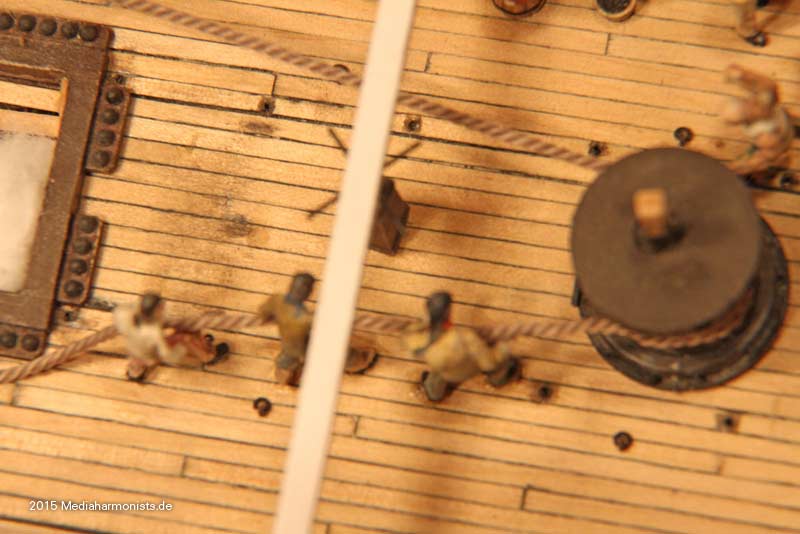
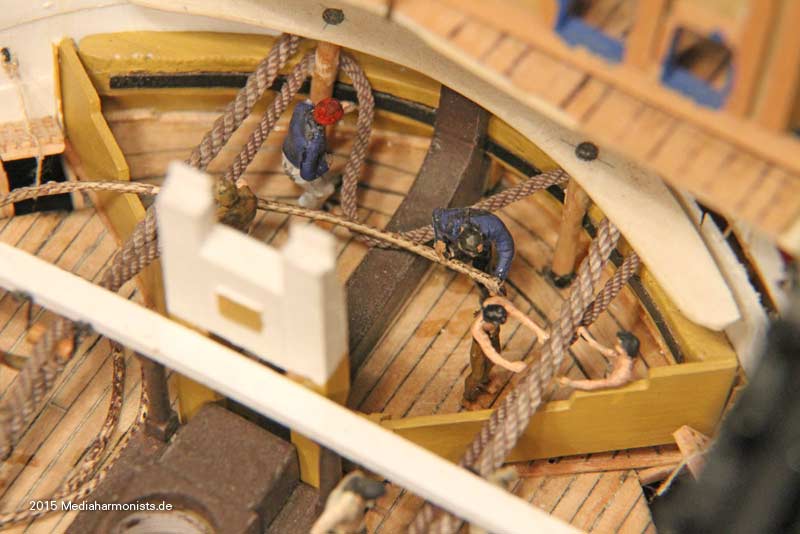
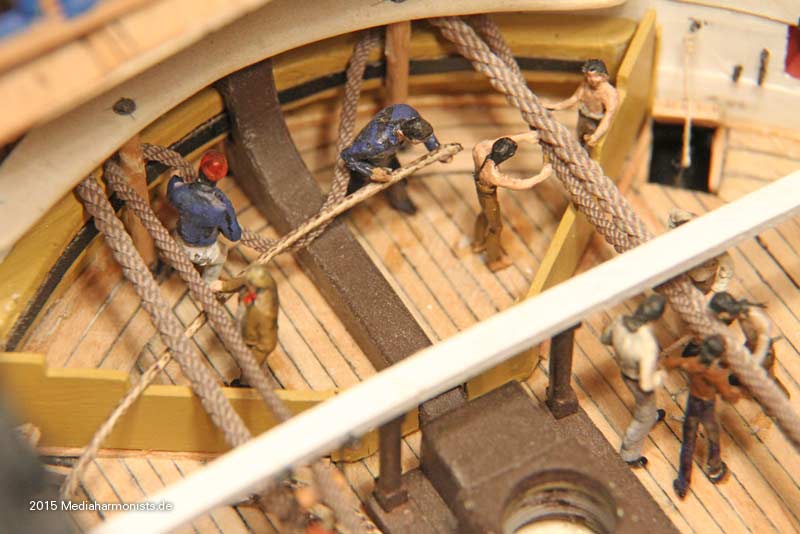
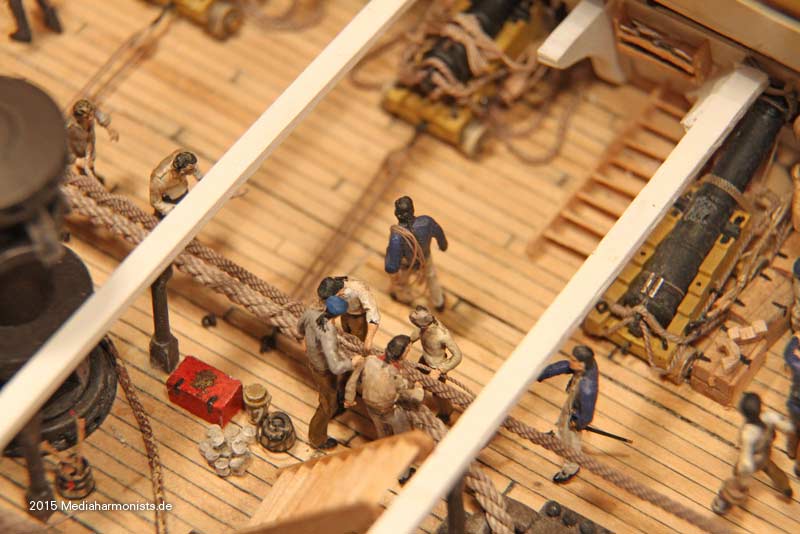
Behind the capstan 3 gents are pulling the rope clear ...

Image

Image

... in that area I placed two more stanchions as they are out of the way and on the rest of the track ...

Image

... some other gents make sure that the messenger is moving swiftly forwards again.

Cheers, Daniel
To Victory and beyond ...
viewtopic.php?f=59&t=99050&start=60

See also our german forum for the age of Sail and History:
http://www.segelschiffsmodellbau.com
Post Reply

Return to “Works in Progress”